These beautiful Valentine Linzer cookies feature red sugar cookies with a heart cutout, sandwiched with a swirl of vanilla bean buttercream. The buttercream rosette peeking through the heart cutout looks so pretty in these lovely Valentine’s Day cookies. Don’t they just say to you, will you be my Valentine? They’re the perfect cookies to make for someone special.
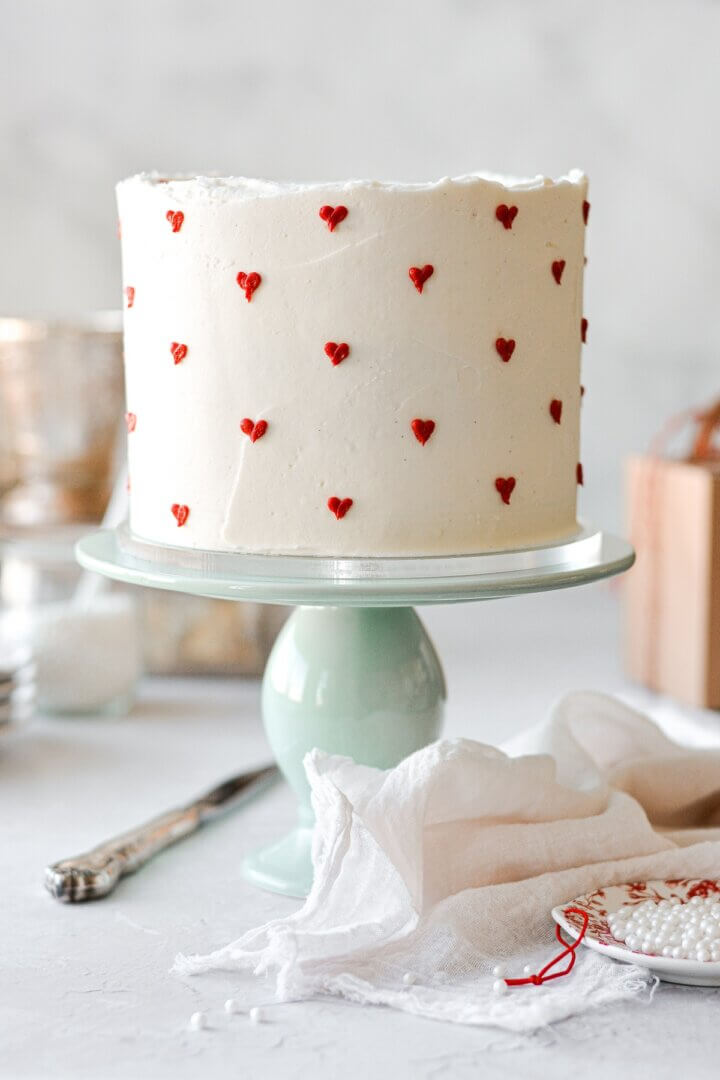
Looking for more Valentine’s Day dessert ideas? Don’t miss this Valentine cake with mini buttercream hearts, ruby chocolate truffles, pink champagne cake and no bake chocolate cherry cheesecake.

This site contains affiliate links. As an Amazon associate, I earn from qualifying purchases. This means that I may make a small commission if you purchase a product using those links. This in no way affects my opinion of those products and services. All opinions expressed on this site are my own.
Why You’ll Love This Recipe
Pretty and Unique. If you love red velvet cake, you’ll adore these pretty cookies. The striking contrast of the red cookies with the white buttercream filling is just beautiful for Valentine’s Day. These Valentine Linzer cookies are perfect for giving to your children’s teachers, your coworkers, or someone special in your life.
Easy to Make Ahead. You can make the dough in advance, and freeze it until you’re ready to cut and bake your cookies. Or just freeze the fully assembled sandwich cookies for a week or two before Valentine’s Day.
High Altitude Tested. I develop all the recipes on my site for Denver’s altitude of 5,280 feet. If you’re at a lower or higher elevation, please see my FAQs for guidance on adjusting recipes for your altitude. Today’s recipe will work at any altitude, since there’s no leavening in the cookies.

See the recipe card at the end of the post for the full ingredients list and instructions.
Ingredients
Cookies
- Flour. All-purpose flour gives the cookies strength and structure.
- Powdered Sugar. Sweetens the cookies, while the fine texture makes the cookies more tender than granulated sugar.
- Cocoa Powder. A small amount of cocoa powder helps to deepen the red color of the cookies.
- Salt. Balances the sweetness and enhances the flavors.
- Butter. Adds richness and moisture, and tenderizes the cookies.
- Milk. Adds moisture to bind the dough together.
- Vanilla Extract. Flavor.
- Red Food Coloring. Necessary for the red color.
Buttercream
- Butter. Gives the buttercream its rich, buttery flavor and texture. For a whiter color, use half vegetable shortening and half butter.
- Powdered Sugar. Sweetens and thickens the buttercream.
- Meringue Powder. Adds stability.
- Salt. Balances the sweetness.
- Vanilla Bean Paste. Adds flavor and pretty specks of vanilla seeds.
- Milk. Add only for desired consistency, if the buttercream is too thick.

Instructions
Make the cookie dough.
- In your food processor, pulse the flour, powdered sugar, cocoa powder and salt until combined.With the processor running, drop in the pieces of butter, one at at time, pulsing a few times until the butter is evenly distributed, and the dough is moistened and crumbly.In a glass measuring cup, stir together the milk, vanilla and red food coloring. Add the liquid to the dough, then process until the dough starts to stick together.
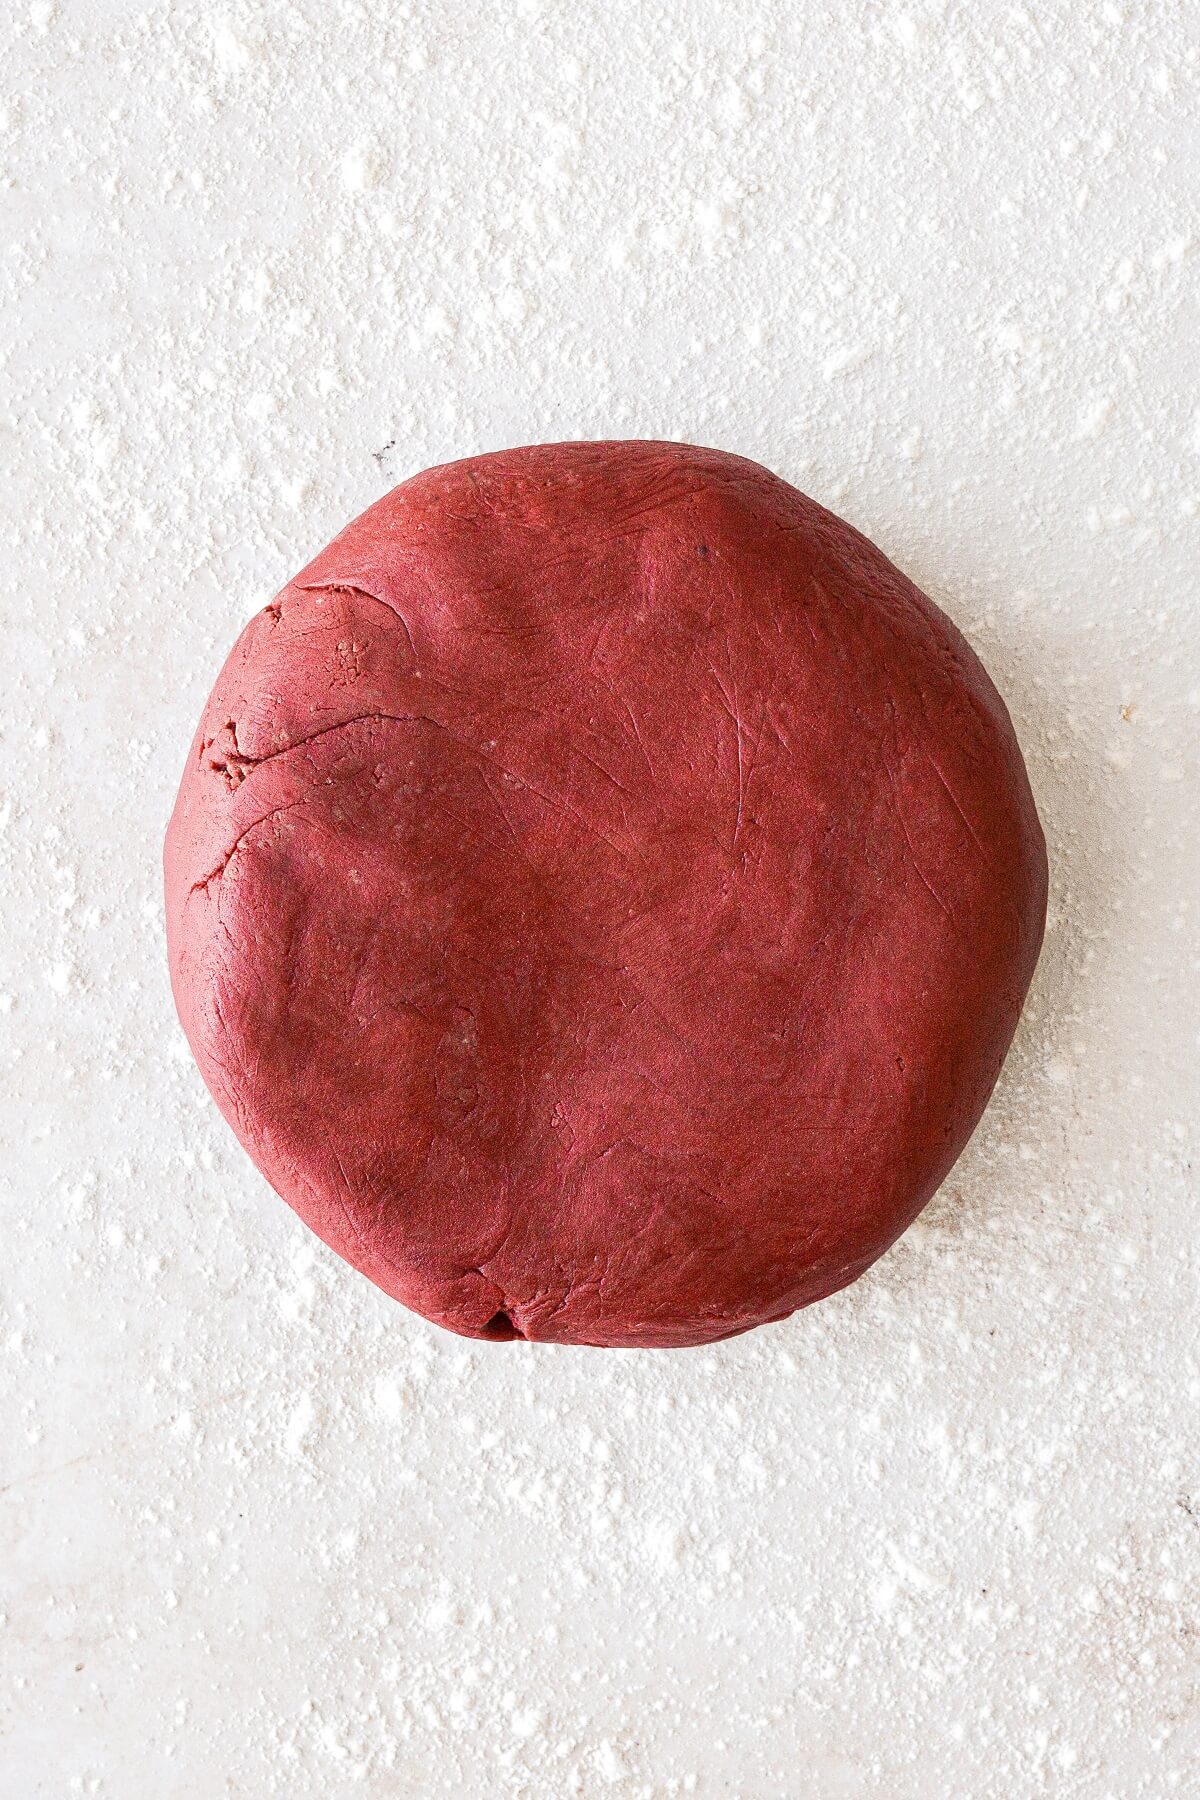
- Dump the dough out onto a clean counter and use your hands to finish bringing the dough together, kneading in any stray bits of flour. The dough should be soft, smooth and supple.
Roll and cut the cookies.
- Shape the dough into a flat disk, wrap in plastic wrap, and refrigerate for 20 minutes. Prepare two baking sheets by lining them with sheets of parchment paper.
- On a lightly floured surface, place the disk of dough, and dust the top of the dough with flour, too. Roll out to an even thickness of a little less than 1/4 inch thick.
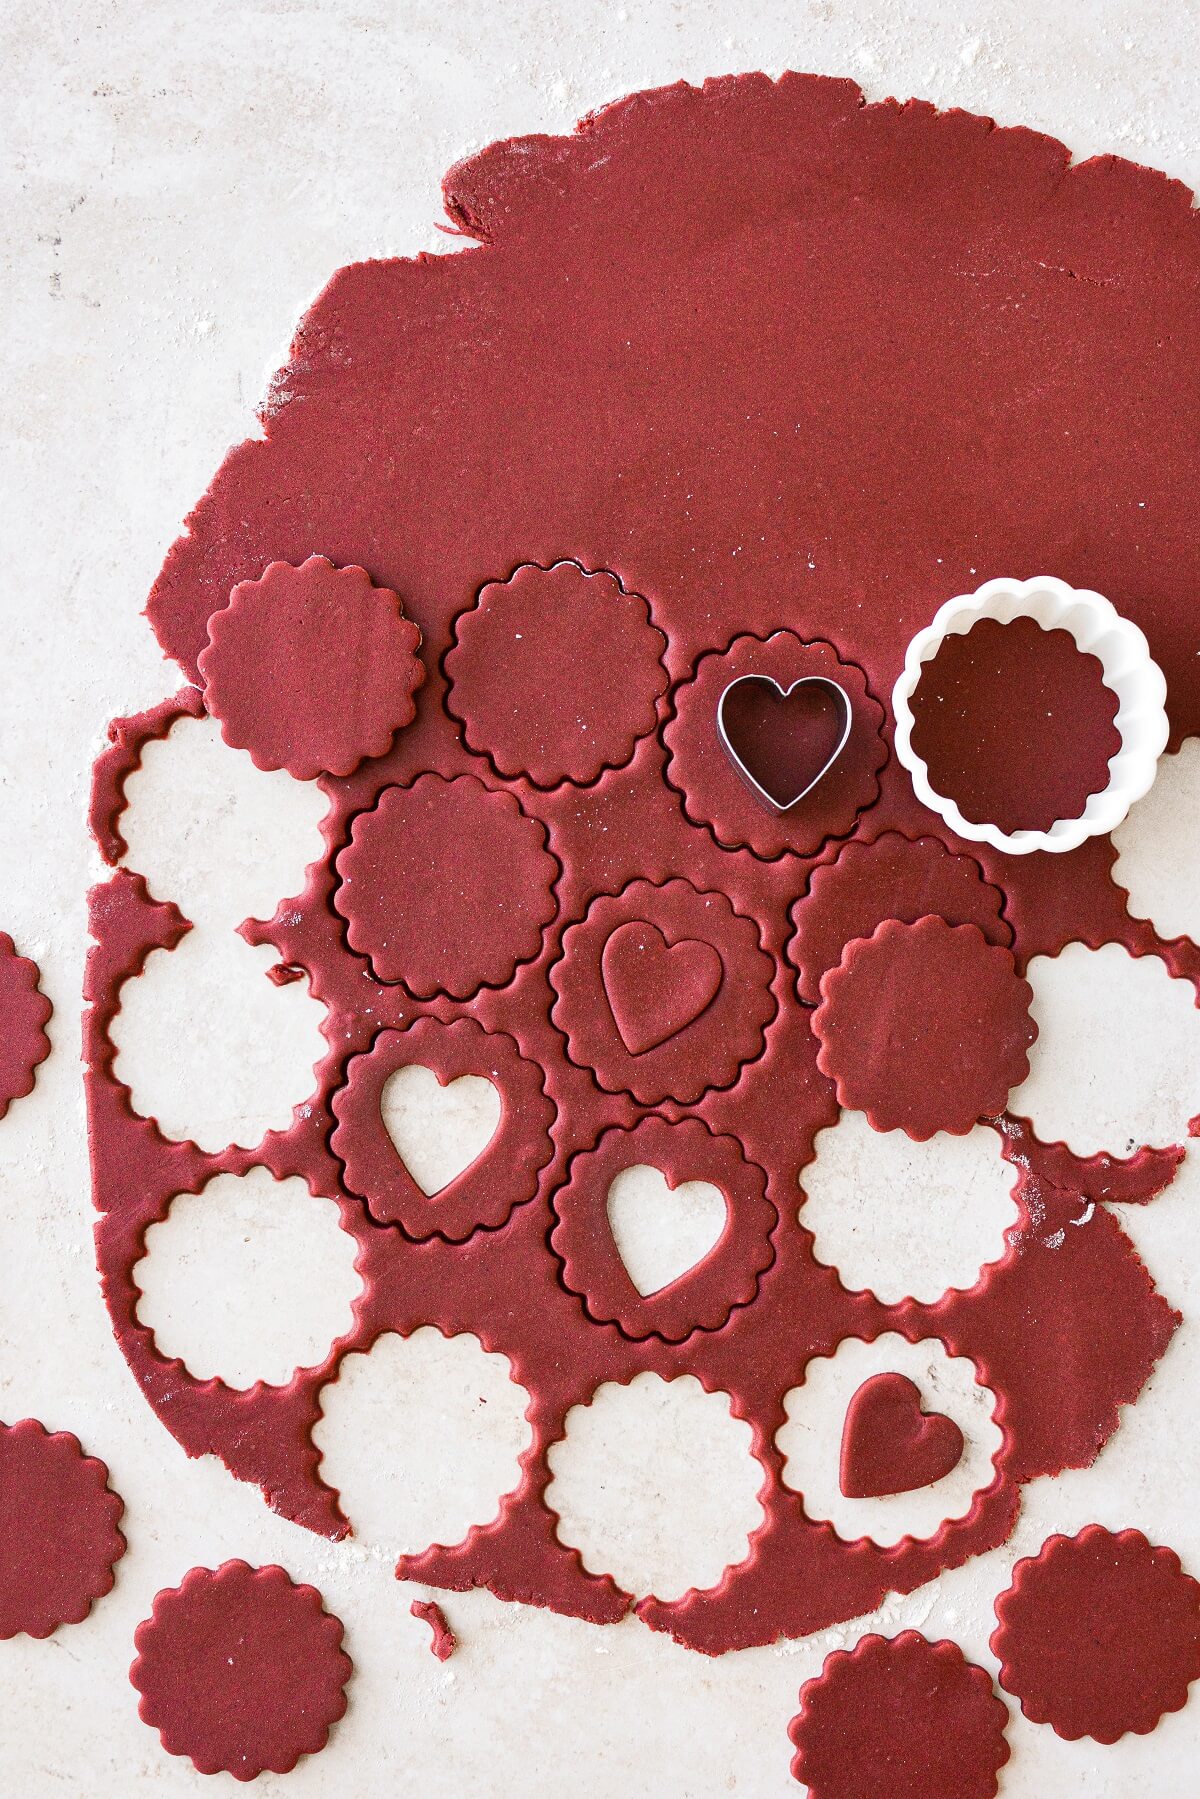
- Cut as many cookies as you can with your 3 inch round fluted cookie cutter, placing the cut cookies 2 inches apart on the parchment lined baking sheets. Gather up the scraps of dough, roll them out again, and continue cutting as many cookies as you can.
- Now use a 1 – 1 1/2 inch heart cookie cutter to cut out the centers of half of the cookies. You can either bake the mini hearts, or gather them up to cut out more cookies. I re-rolled most of the heart cutouts, so I was able to cut 2 dozen bottom cookies and 2 dozen top cookies, for a total of 2 dozen assembled sandwich cookies. Note that the more you re-roll the dough, the more flour it picks up, and doesn’t press together as well when you roll it out again, but it’s still manageable.
Bake the cookies.
- Place the baking sheets with the cut cookies in the refrigerator and chill for 1 hour – chilling the cut cookies helps to ensure they don’t spread and hold their shape perfectly while baking. Tip: Place the bottom cookies on one baking sheet, and the top cookies on another baking sheet, since they will have different baking times.
- Preheat the oven to 350F. Bake the bottom cookies for 12 minutes and the top cookies for 8 minutes. If you very carefully turn a cookie over, it should look done on the bottom, with no appearance of raw or wet dough.
- Cool the cookies for 5 minutes on the pan, then very gently transfer them to a cooling rack to cool completely.Sugar cookies are delicate when warm, especially the top cookies with the cutouts, so handle with care.
Make the buttercream.
- In the bowl of your stand mixer fitted with a paddle attachment, beat the butter for one minute until smooth.
- Add the powdered sugar, meringue powder, salt and vanilla, mixing on low until combined.
- Increase speed to medium, and beat for 4-5 minutes, scraping the bowl occasionally, until very light and fluffy. Only add the milk if needed for desired consistency.

Assemble the Linzer cookies.
- Fit a piping bag with tip 1M, and fill with buttercream.
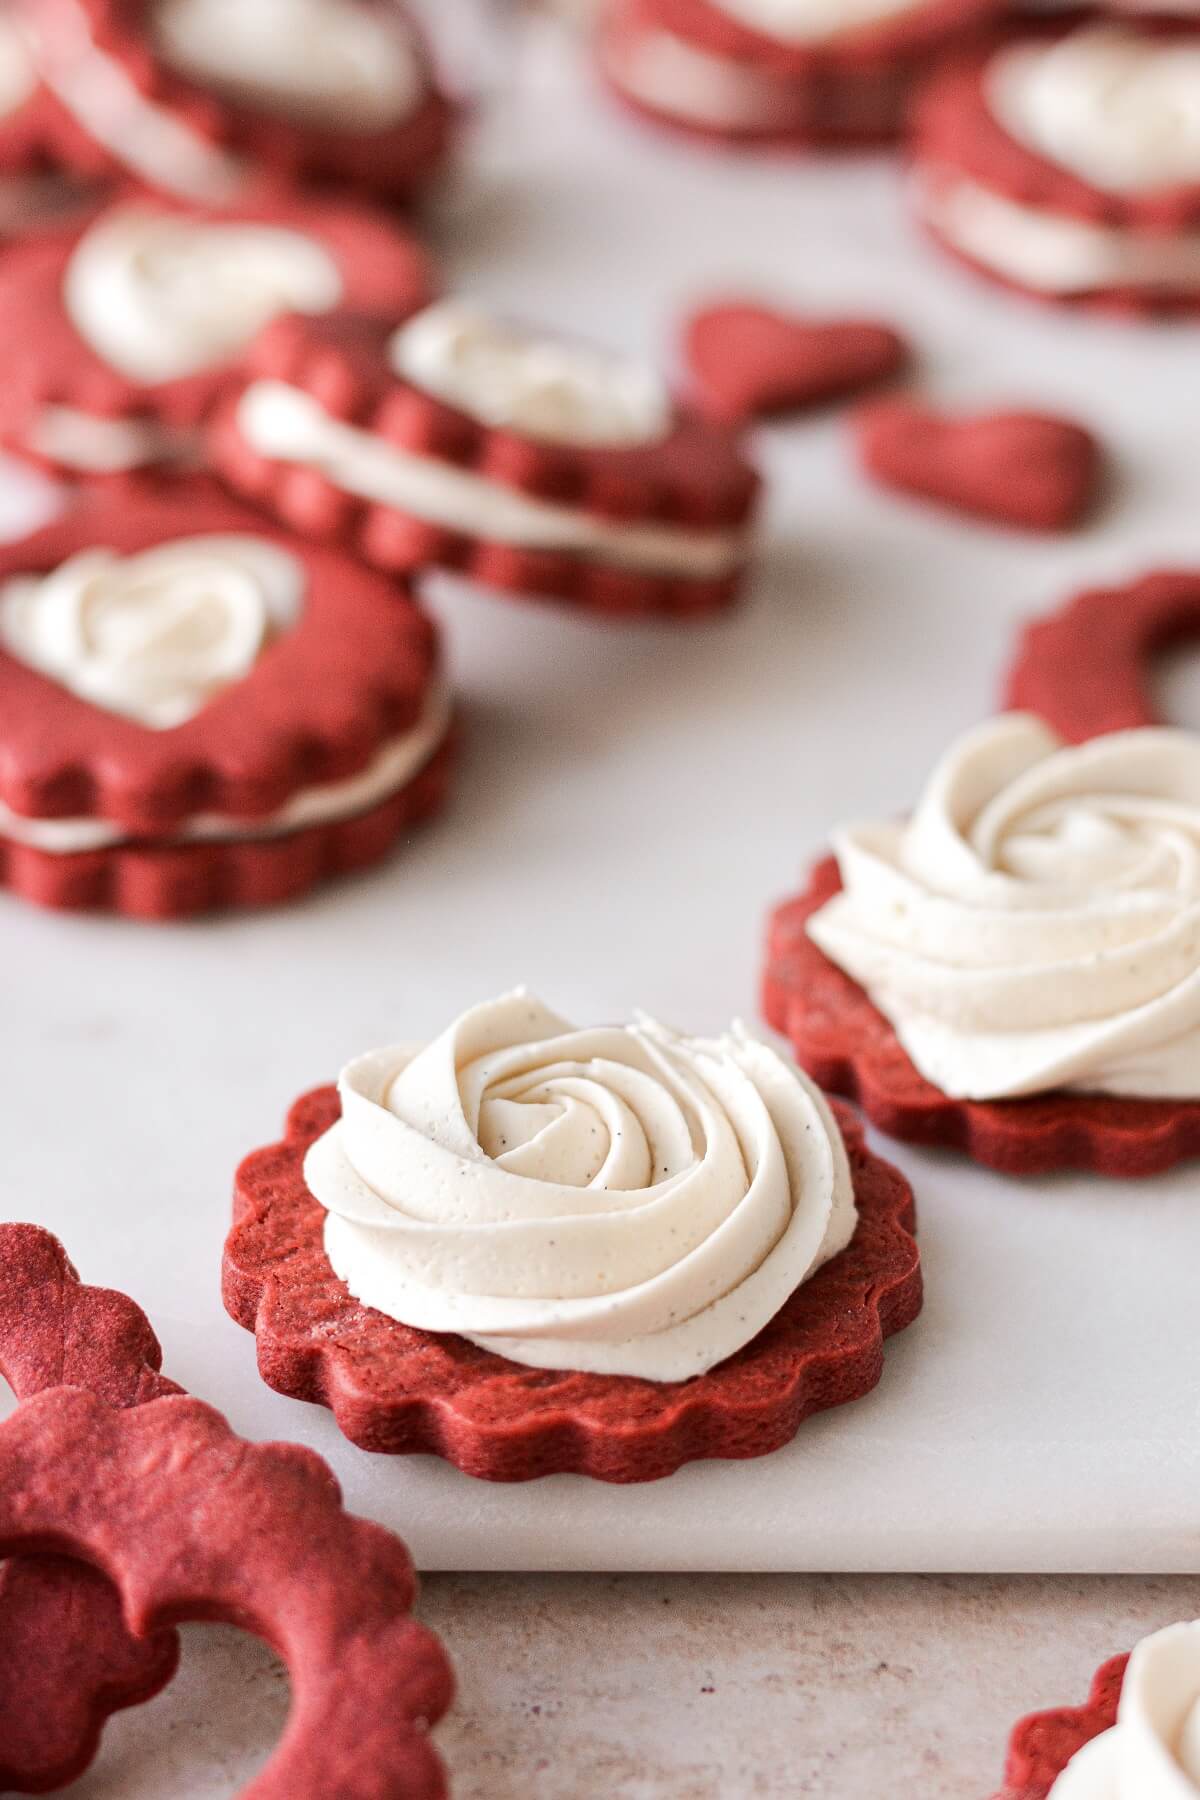
- Turn over the bottom cookies, so the bottom side is facing up. Starting at the center of the cookie, pipe a swirl or rosette, tapering off at the edge. Leave about 1/4 inch space all around.
- Place one of the top cookies on top of the buttercream and press down gently.
- Store the cookies in an airtight container (in a single layer so as not to smush the buttercream that’s peeking up through the center cutout), and refrigerate for up to 5 days, or freeze for up to 3-6 months.
Be sure to read all of my BAKING FAQs where I discuss ingredients, substitutions and common baking questions, so that you can be successful in your own baking!
Frequently Asked Questions
What does the cocoa powder do in these cookies?
Just like with red velvet cake, adding a small amount of cocoa powder, along with the red gel food coloring, helps to deepen the color of these Valentine Linzer cookies. Without the cocoa powder, the shade of red would be lighter and paler.
What size cookie cutters did you use?
I used a 3-inch round fluted cookie cutter and a 1 1/2-inch heart cookie cutter for the center cutouts.
Can I make and freeze the dough in advance?
To make the dough in advance, wrap the disk of dough in plastic wrap, label it, and refrigerate for up to 5 days, or freeze for 3-6 months. Frozen dough should be thawed overnight in the refrigerator. Then take the dough out of the fridge about 1 hour before you’re ready to roll out the dough. It should still be cool to the touch when you roll it out, but pliable enough to roll without too much difficulty.
Can I freeze these cookies?
Yes, you can freeze the baked cookies in an airtight container for up to 3-6 months. Once you fill them with buttercream, I suggest freezing the cookies in an airtight container for no more than a few weeks.
You Might Also Like

Please check out my Amazon Shop for a curated collection of some of my favorite cake pans from trusted brands, baking tools, ingredients, pretty things and fashion finds. I recommend products that I buy and use every day!
Did you love today’s recipe? Please rate the recipe and let me know in the comments what you thought! Also, be sure to follow Curly Girl Kitchen on Instagram, and tag me when you try one of my recipes so I can see all your delicious creations!
Buttercream Filled Valentine Linzer Cookies
All recipes on Curly Girl Kitchen are developed for high altitude at 5,280 feet. See FAQs for adjusting to higher or lower elevations.
Equipment
- Food Processor or Pastry Cutter
- Rolling Pin and Cookie Cutters (3-inch cutter + 1 1/2-inch cutter)
- Piping Bag + Tip 1M
- Stand Mixer with Paddle Attachment
Ingredients
Cookies
- 3 cups all-purpose flour, spooned and leveled
- 1 cup powdered sugar
- 1 tbsp unsweetened Dutch-processed cocoa powder
- ½ tsp coarse Kosher salt (if using table salt, use half the amount)
- 1 cup cold unsalted butter, cut into 16 pieces
- ¼ cup whole milk
- 2 tsp vanilla extract
- 1 tsp "super red" gel food coloring
Buttercream
- ¾ cup unsalted butter, softened to room temperature
- 1 ½ cups powdered sugar
- 1 ½ tsp meringue powder
- ⅛ tsp coarse Kosher salt (if using table salt, use half the amount)
- 1 tsp vanilla bean paste
- 1-2 tbsp milk or cream, only if needed for consistency
Instructions
Cookies
- In your food processor, pulse the flour, powdered sugar, cocoa powder and salt until combined.With the processor running, drop in the pieces of butter, one at at time, pulsing a few times until the butter is evenly distributed, and the dough is moistened and crumbly.In a glass measuring cup, stir together the milk, vanilla and red food coloring. Add the liquid to the dough, then process until the dough starts to stick together.
- Dump the dough out onto a clean counter and use your hands to finish bringing the dough together, kneading in any stray bits of flour. The dough should be soft, smooth and supple.
- Shape the dough into a flat disk, wrap in plastic wrap, and refrigerate for 20 minutes.Prepare two baking sheets by lining them with sheets of parchment paper.
- On a lightly floured surface, place the disk of dough, and dust the top of the dough with flour, too. Roll out to an even thickness of a little less than 1/4 inch thick.Cut as many cookies as you can with your 3 inch round fluted cookie cutter, placing the cut cookies 2 inches apart on the parchment lined baking sheets.Gather up the scraps of dough, roll them out again, and continue cutting as many cookies as you can.
- Now use a 1 – 1 1/2 inch heart cookie cutter to cut out the centers of half of the cookies. You can either bake the mini hearts, or gather them up to cut out more cookies.I re-rolled most of the heart cutouts, so I was able to cut 2 dozen bottom cookies and 2 dozen top cookies, for a total of 2 dozen assembled sandwich cookies. Note that the more you re-roll the dough, the more flour it picks up, and doesn't press together as well when you roll it out again, but it's still manageable.
- Place the baking sheets with the cut cookies in the refrigerator and chill for 1 hour – chilling the cut cookies helps to ensure they don't spread and hold their shape perfectly while baking.Tip: Place the bottom cookies on one baking sheet, and the top cookies on another baking sheet, since they will have different baking times.
- Preheat the oven to 350F.Bake the bottom cookies for 12 minutes and the top cookies for 8 minutes. If you very carefully turn a cookie over, it should look done on the bottom, with no appearance of raw or wet dough.
- Cool the cookies for 5 minutes on the pan, then very gently transfer them to a cooling rack to cool completely.Sugar cookies are delicate when warm, especially the top cookies with the cutouts, so handle with care.
Buttercream
- In the bowl of your stand mixer fitted with a paddle attachment, beat the butter for one minute until smooth.
- Add the powdered sugar, meringue powder, salt and vanilla, mixing on low until combined.
- Increase speed to medium, and beat for 4-5 minutes, scraping the bowl occasionally, until very light and fluffy. Only add the milk if needed for desired consistency.
Assembly
- Fit a piping bag with tip 1M, and fill with buttercream.
- Turn over the bottom cookies, so the bottom side is facing up. Starting at the center of the cookie, pipe a swirl or rosette, tapering off at the edge. Leave about 1/4 inch space all around.
- Place one of the top cookies on top of the buttercream and press down gently.
- Store the cookies in an airtight container (in a single layer so as not to smush the buttercream that's peeking up through the center cutout), and refrigerate for up to 5 days, or freeze for up to 3-6 months.
Notes
- Making the Dough without a Food Processor: If you don’t have a food processor, you’ll need a large bowl and a pastry cutter. In the bowl, combine the flour, sugar and salt. Scatter with the cold butter pieces and use the pastry cutter to cut the butter in until very finely cut and evenly distributed. Drizzle with the vanilla and milk, then use your hands to work the liquid into the dry ingredients until it forms into a soft dough.
- Freezing the Dough: To make the dough in advance, wrap the disks of dough in plastic wrap, label them, and refrigerate for up to 5 days, or freeze for 3-6 months. Frozen dough should be thawed overnight in the refrigerator. Then take the dough out of the fridge about 1 hour before you’re ready to roll out the dough. It should still be cool to the touch when you roll it out, but pliable enough to roll without too much difficulty.


Leave a Reply