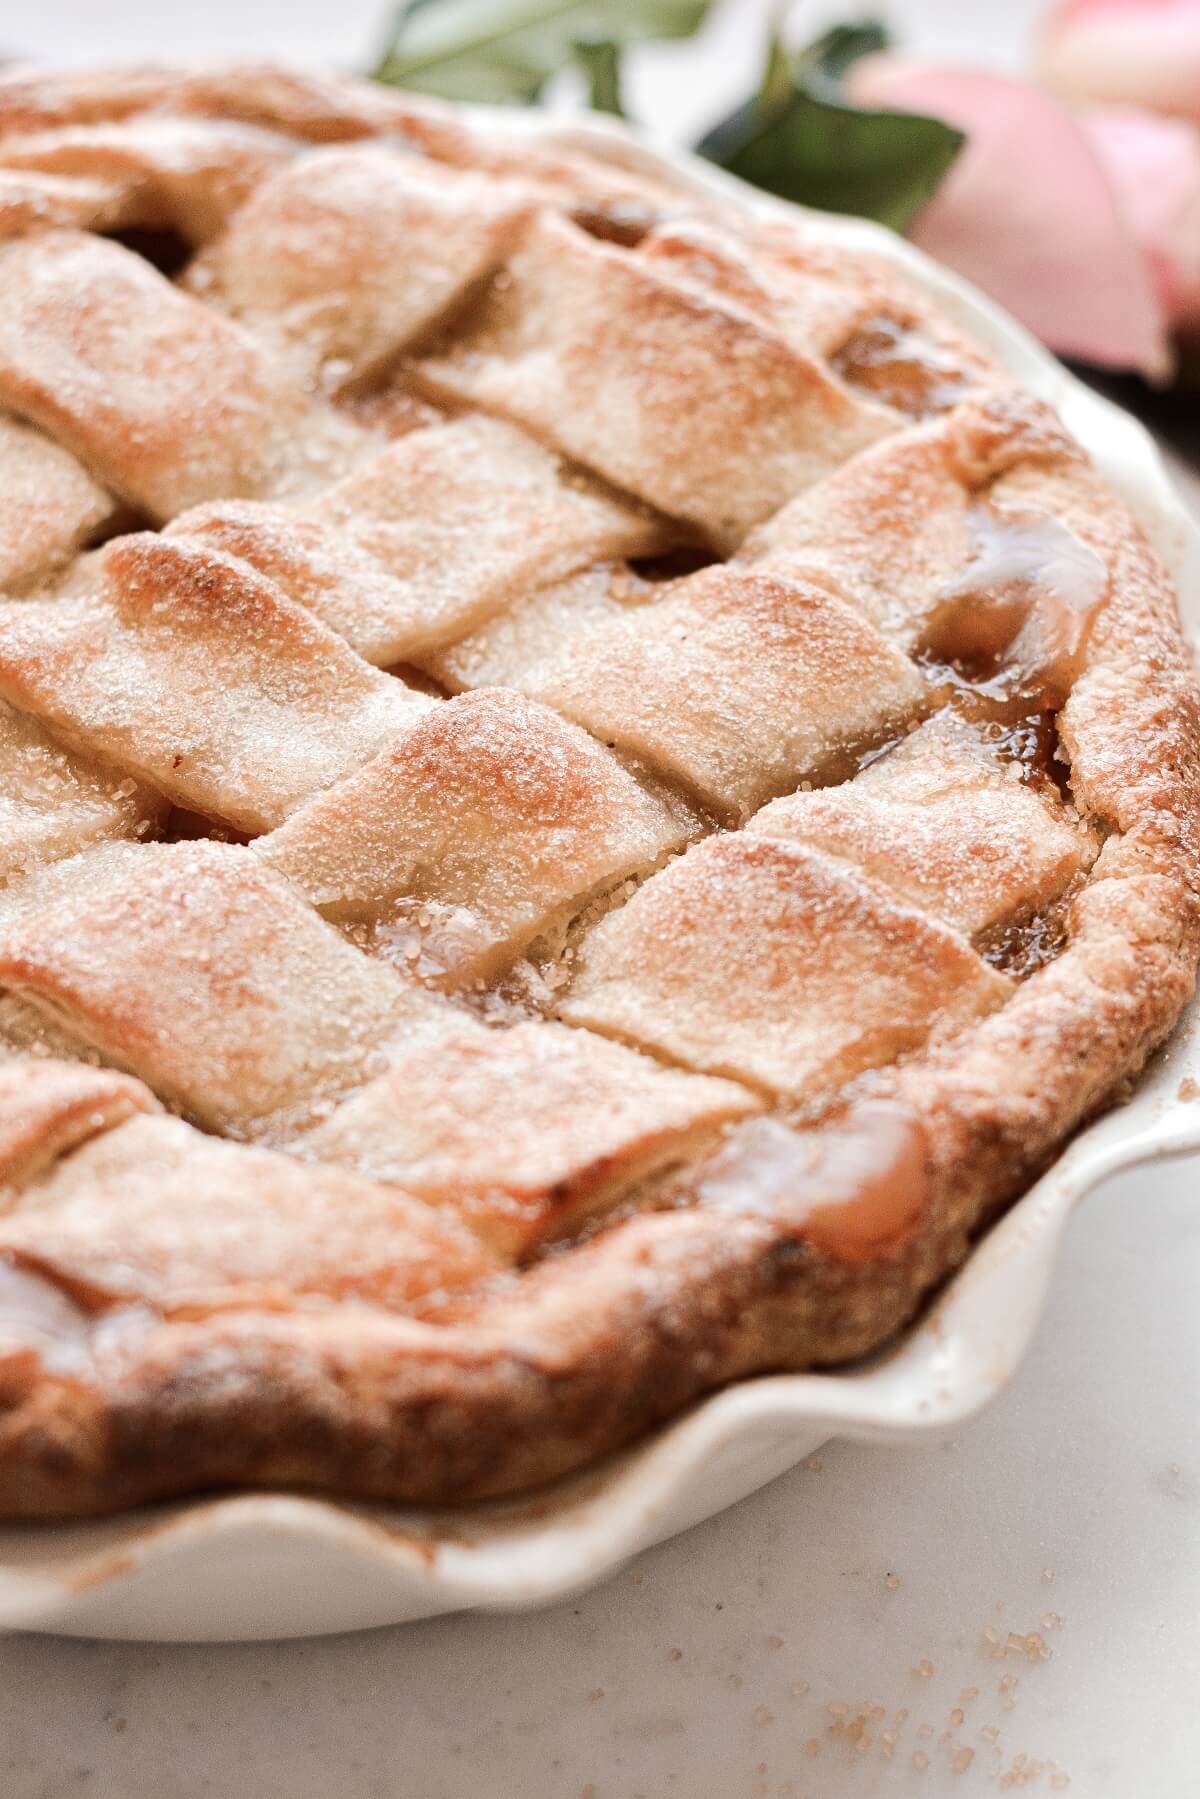
It’s all about all butter flaky pie dough today. This is a tutorial post, with lots of details about ingredients, equipment, processes and best practices. I’ve also included tips and variations on my recipe, and a bonus section on how to blind-bake a pie crust. But if you don’t need all of this, just go straight to the recipe. So let’s make some pie dough!
I’ve been making my own homemade pie dough for as long as I’ve been baking. On the very rare occasion that I’ve bought a package of store-bought dough, I found myself pretty disappointed with the flavor and texture. Homemade is just so much better! And, honestly, it doesn’t take that much effort to make your own pie dough that is flaky, tender, and versatile enough for a variety of sweet and savory recipes. You can use pie dough for sweet pies, tarts and galettes, of course, but also for savory pot pies, quiches, and breakfast pop tarts.
Be sure to check out these recipes for blueberry lattice pie, classic pecan pie, and banana cream pie.
This site contains affiliate links. As an Amazon associate, I earn from qualifying purchases. This means that I may make a small commission if you purchase a product using those links. This in no way affects my opinion of those products and services. All opinions expressed on this site are my own.
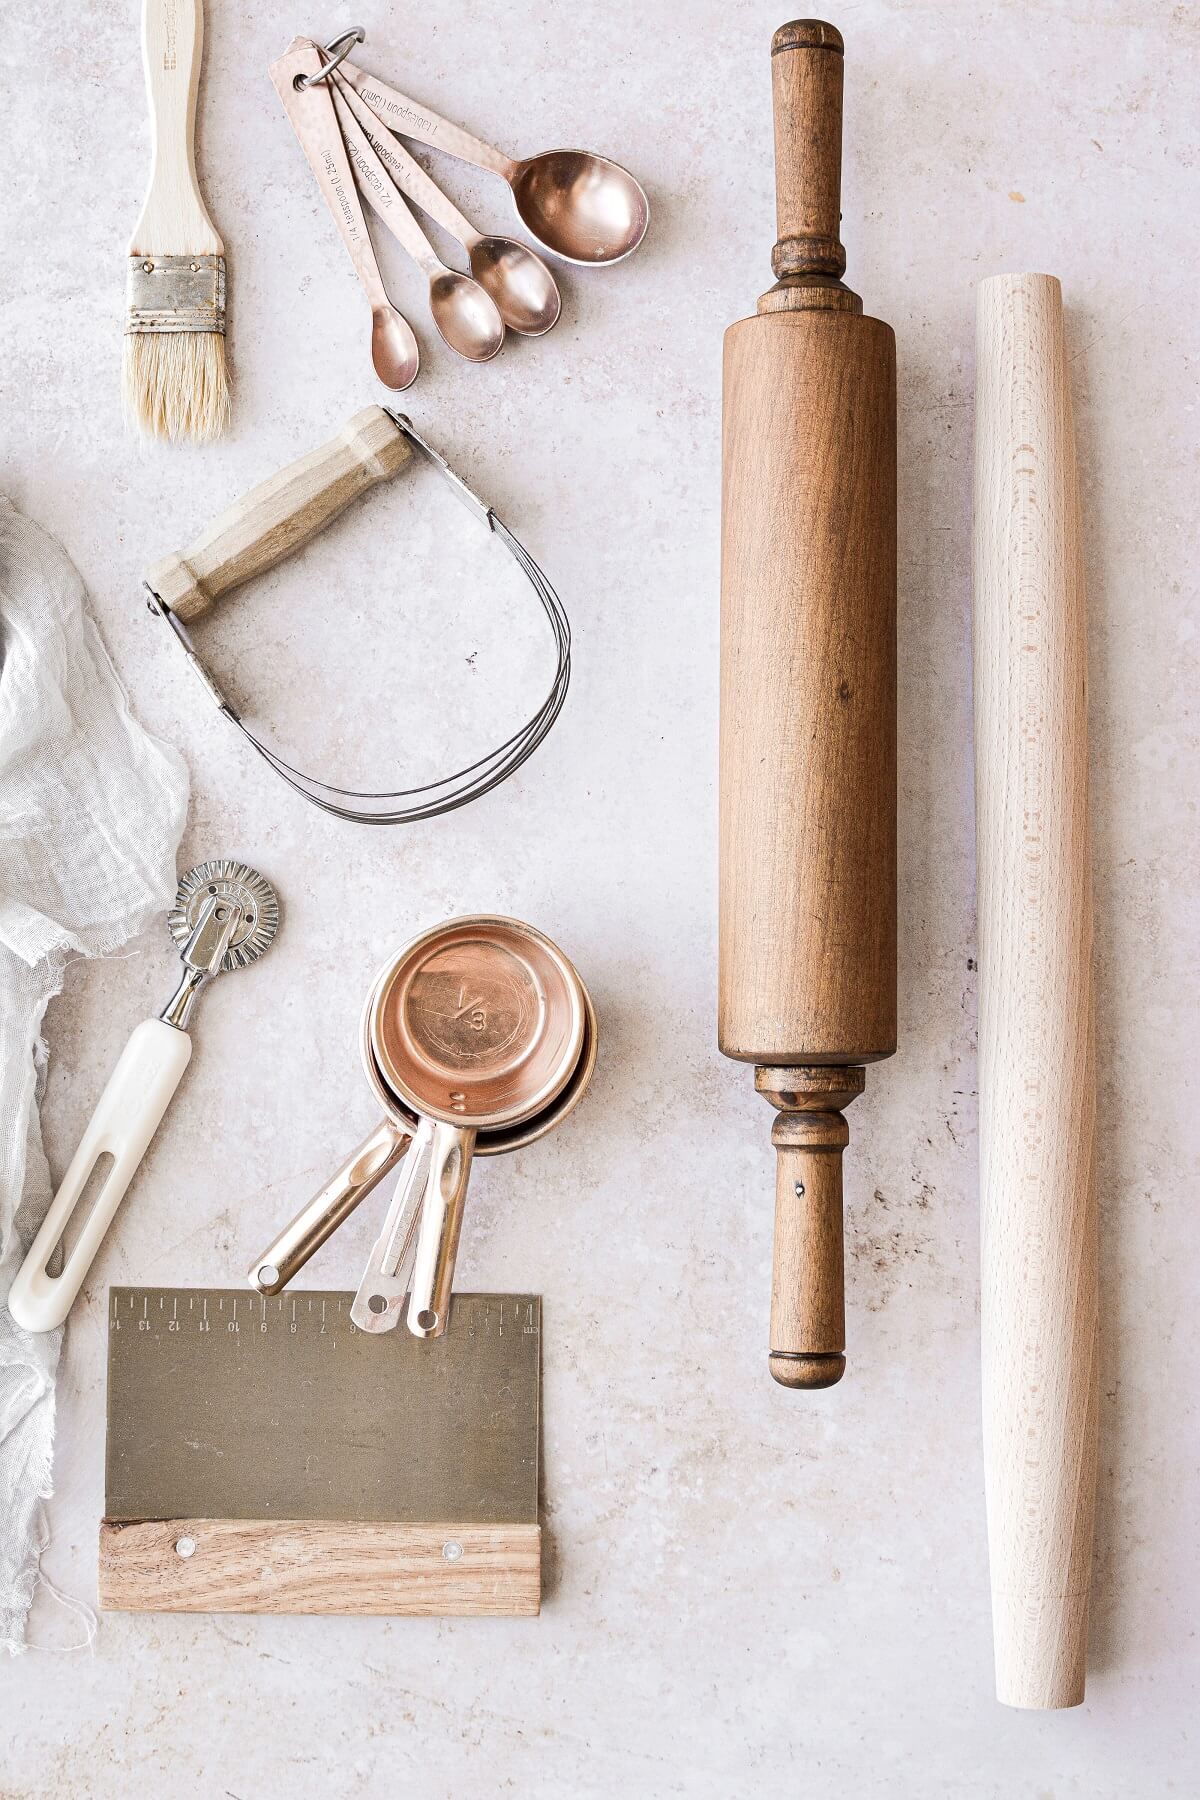
Tools and Equipment
- Mixing Bowl, Measuring Cups & Spoons.
- Pastry Cutter. The pastry cutter is optional, but it is convenient. I usually start with tablespoon-sized chunks of butter, and use my pastry cutter to cut them into the flour, until they’re about 1/4 inch in size. Then I use my fingers to smash the chunks into flat bits of butter all throughout the flour. If you don’t have a pastry cutter, just dice the butter smaller to start, and then use your fingers to smash all the bits into the flour.
- Rolling Pin. The type of rolling pin you choose is totally a matter of personal preference. I like a rolling pin that’s very long and straight, with no handles or tapering.
- Bench Scraper. The bench scraper is a necessary tool for making pie dough. You’ll use it to help loosen the dough from your counter while you’re rolling. I use the same bench scraper for smoothing buttercream around cakes as I do for making pie dough.
- Pastry Brush. A pastry brush is helpful for brushing the dough with egg wash.
- Pastry Wheel. Not totally necessary, since you can just use a sharp knife, but a pastry wheel is very helpful for cutting strips of dough. I use a straight ruler as a guide, then run the pastry wheel next to it to cut straight strips for lattice, or squares for homemade pop tarts. There are all kinds of pastry wheels available, including straight or fluted, or even ones with multiple adjustable wheels for cutting multiple strips of dough at once.
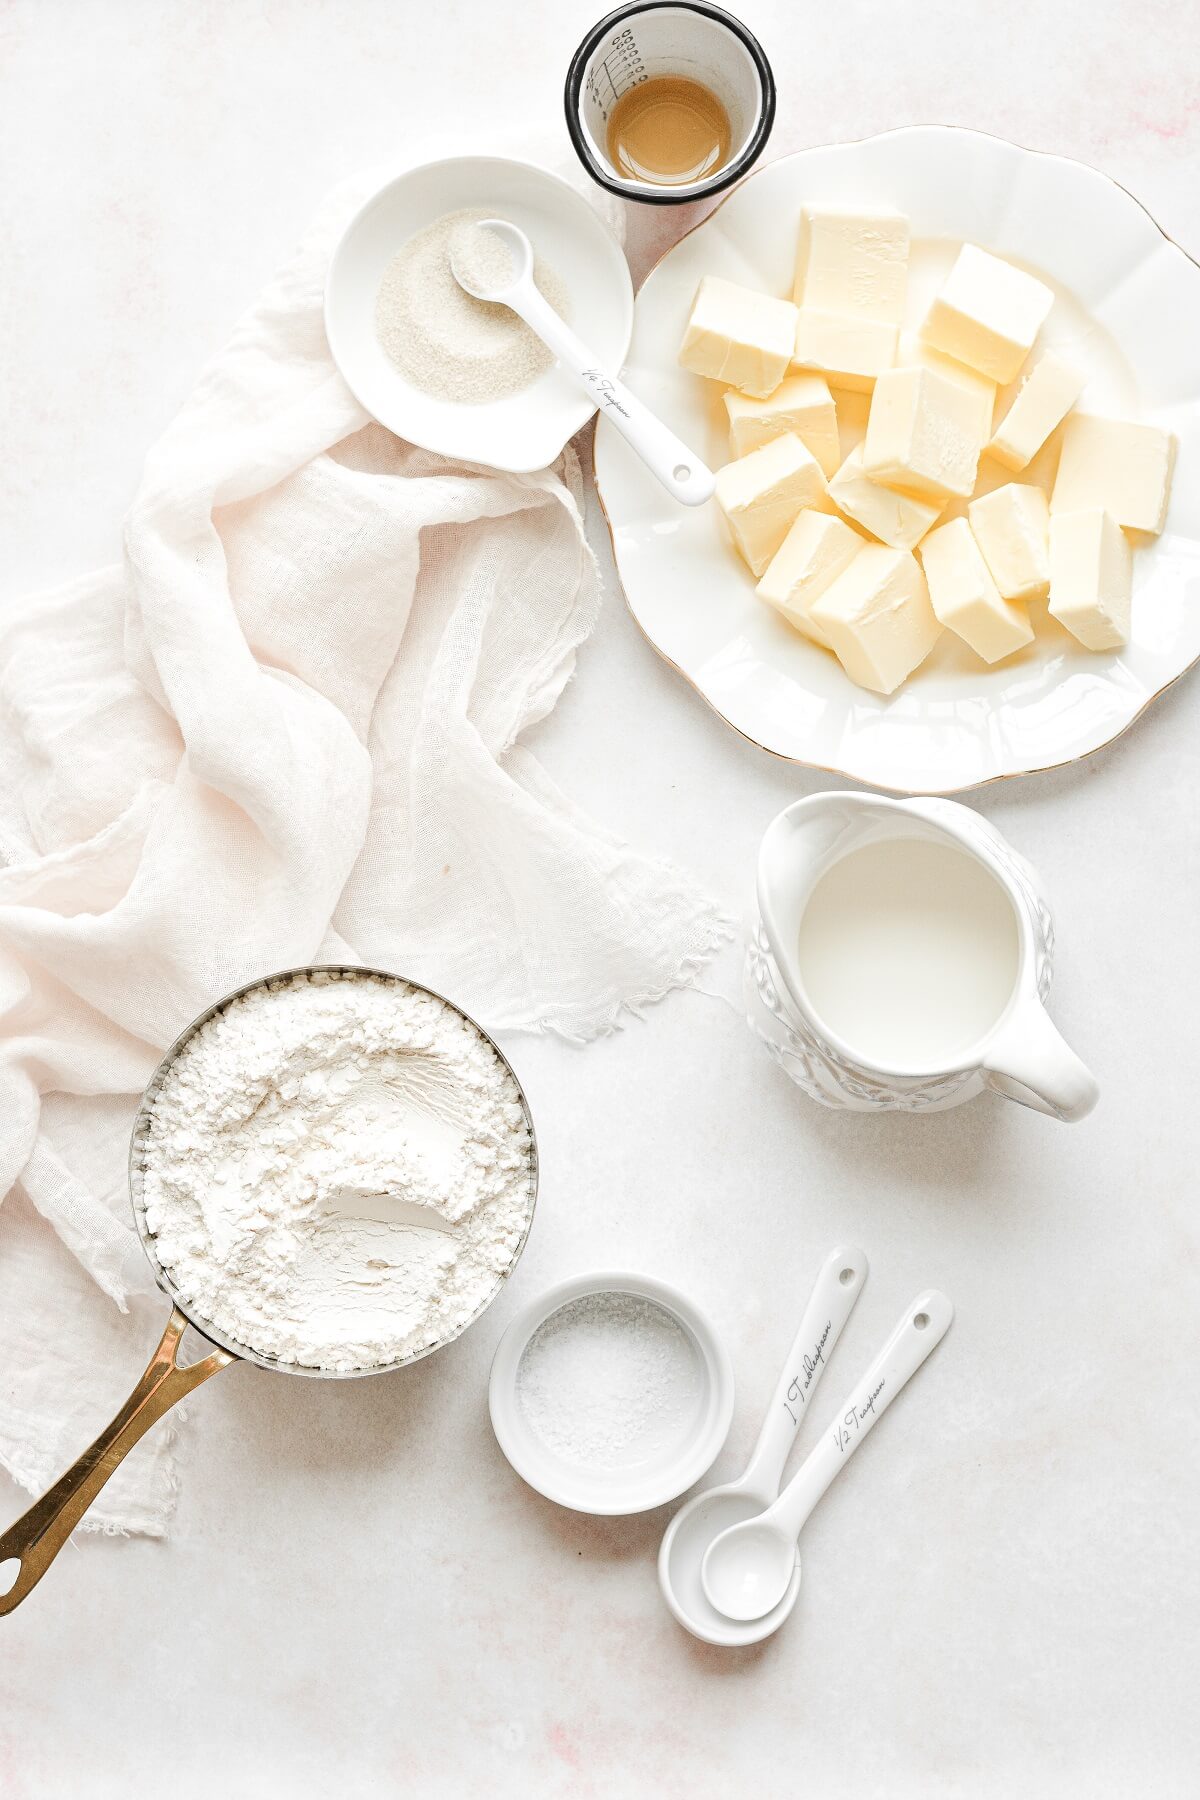
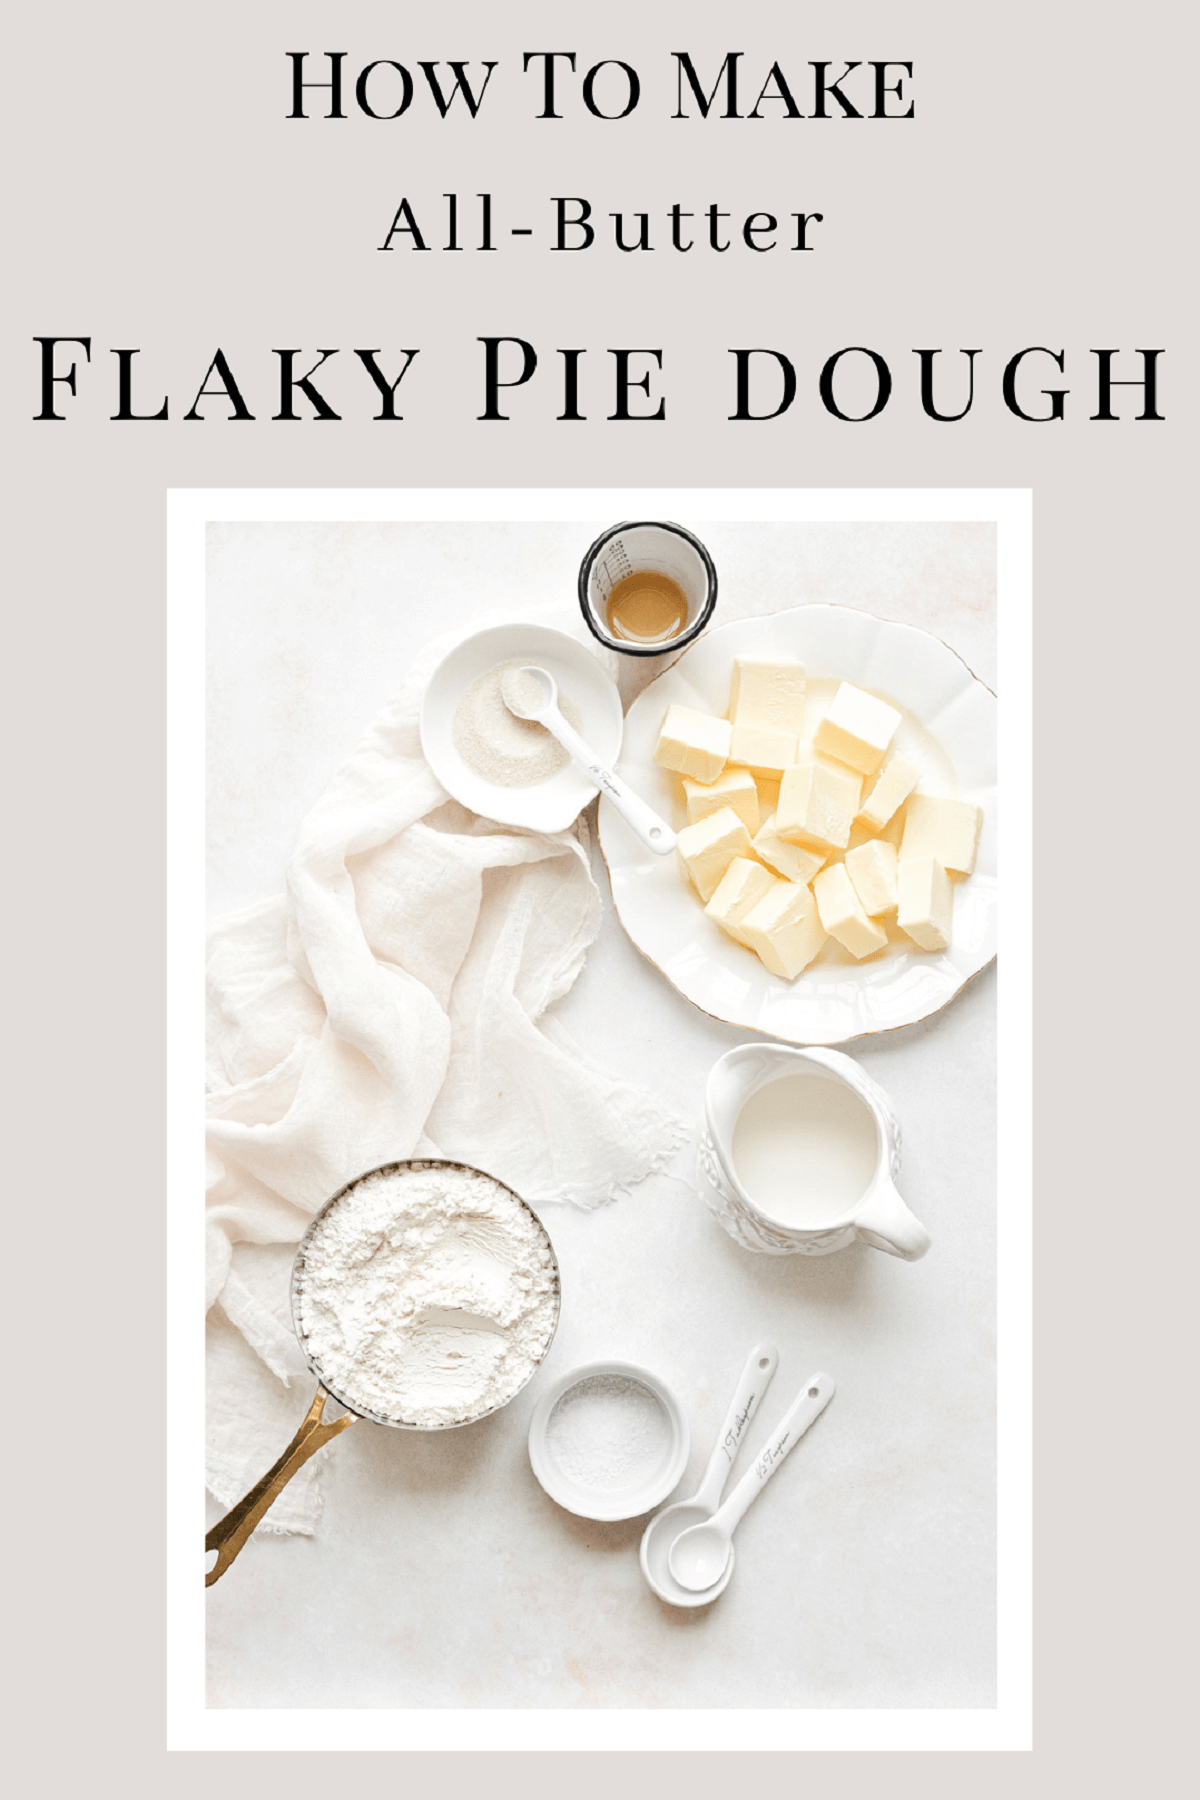
Ingredients for All Butter Flaky Pie Dough
- Flour. I use all-purpose flour (as do, I would imagine, most home bakers). But professional pie bakers use pastry flour, which has a slightly lower percentage of protein, making for a more tender crust. If you don’t have access to pastry flour, you can try adding a few tablespoons of corn starch (not to be confused with corn flour or corn meal) to your flour to achieve a similar protein content.
- Sugar. Granulated sugar, just a pinch; the majority of the sweetness in a pie will come from the filling.
- Salt. Coarse Kosher salt, for flavor.
- Butter. Butter, rather than shortening, gives pie dough the best flavor. Use unsalted butter, so you can control the saltiness of your dough. When the chunks of butter heat up during the bake, the water in the butter evaporates into steam. The steam forms little air pockets, which is what makes the crust flaky. You can use a fancy expensive brand of butter, if you want to splurge, or if you like the flavor better, but the less expensive store brand works just fine.
- Vinegar. Apple cider vinegar, just a little, contributes to the flakiness.
- Milk. Most people use ice water, but I like to use whole milk, for extra flavor and richness; the milk is what brings the dough together.
TIP: COLD ingredients make the best, flakiest pie crust.
Instructions
Make the dough.
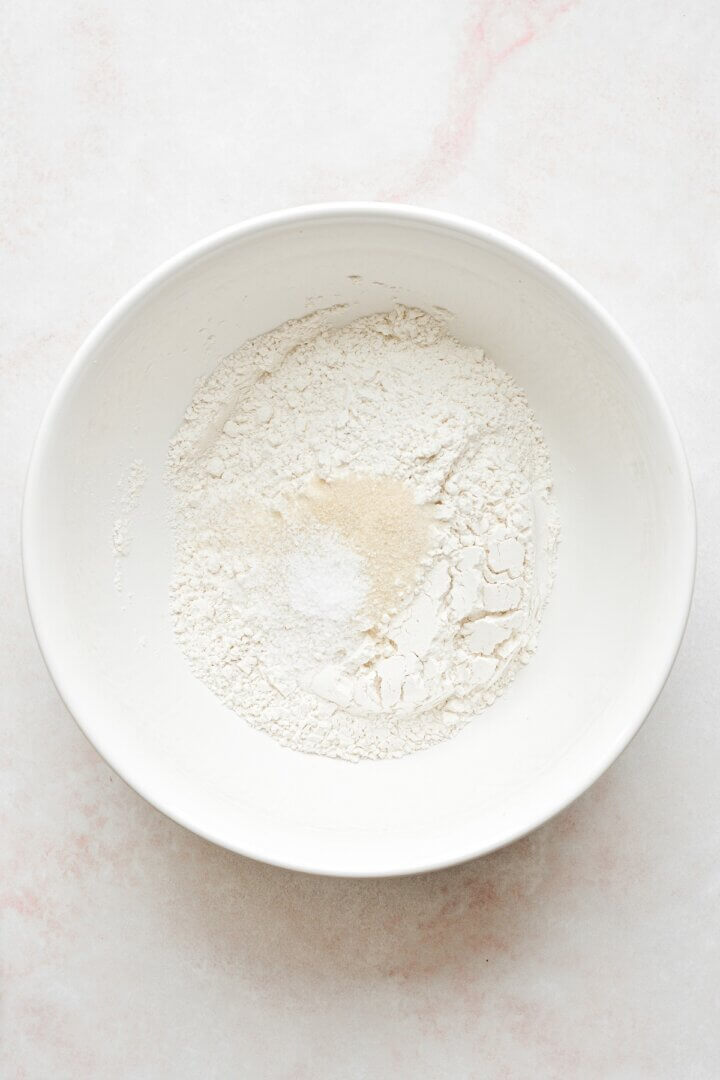
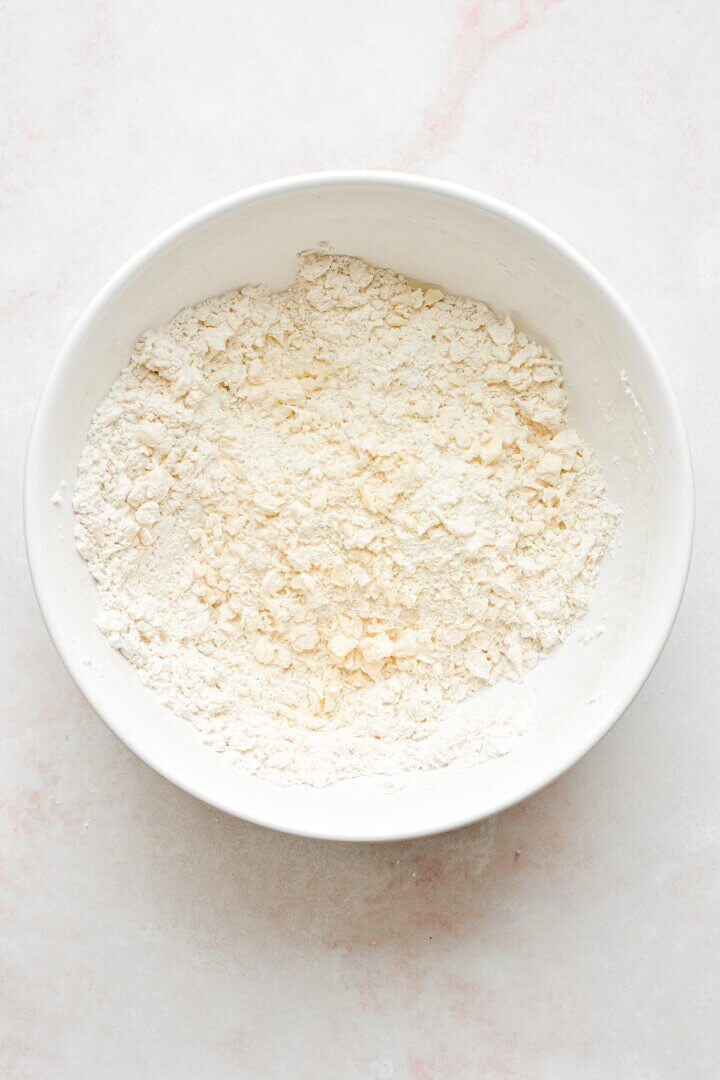
- In a large mixing bowl, combine the flour, sugar and salt (Image 1). Scatter the butter over the flour and use a pastry cutter to cut the butter into smaller chunks, about 1/4 inch in size. Now use your fingers and smash each chunk of butter flat (Images 2 & 3).
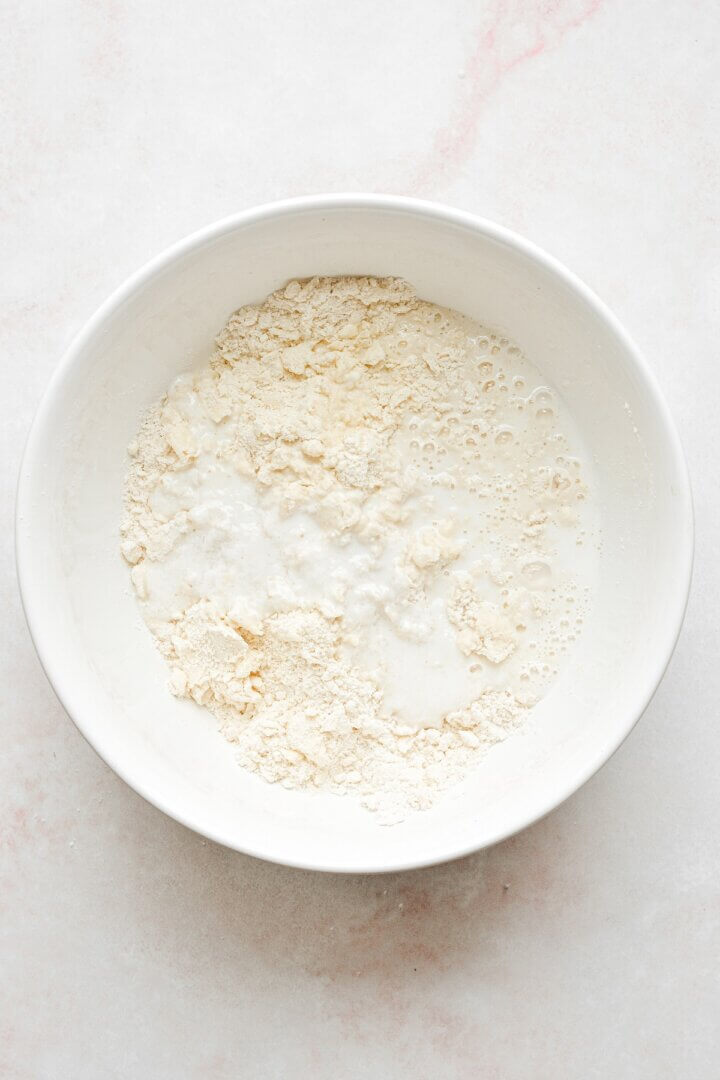
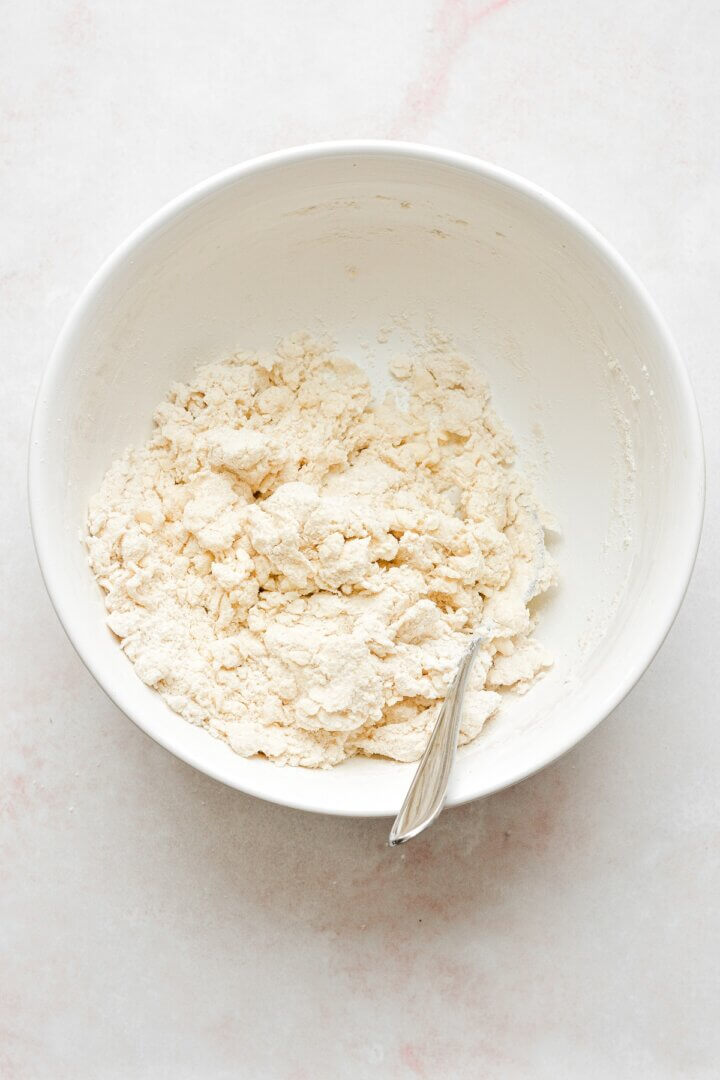
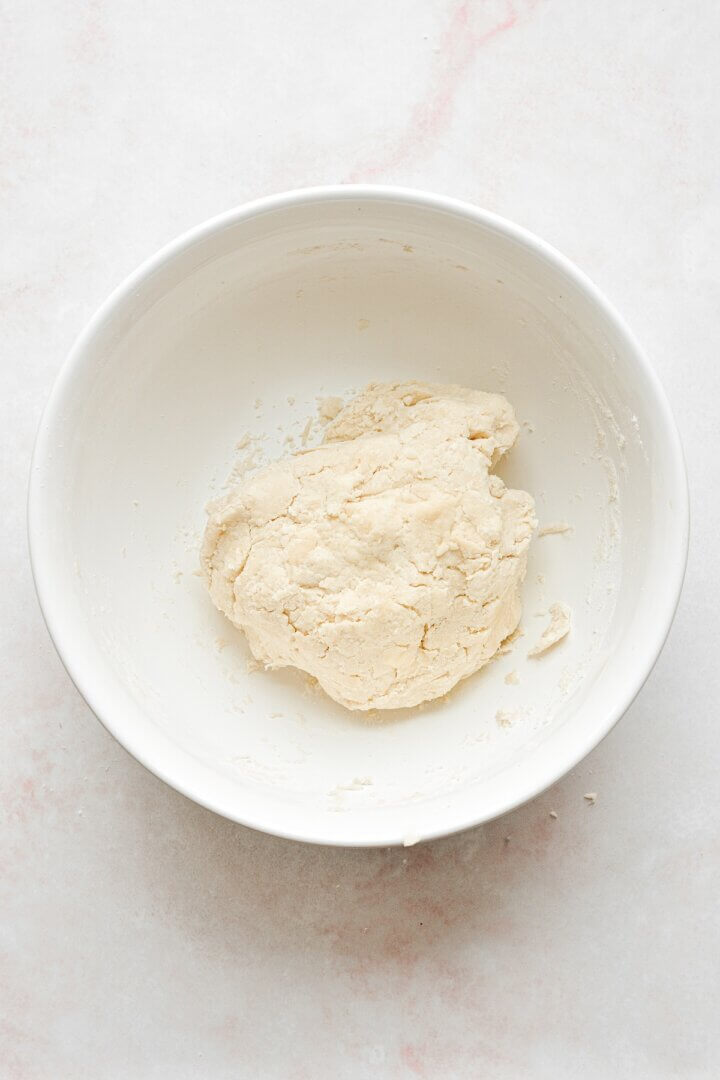
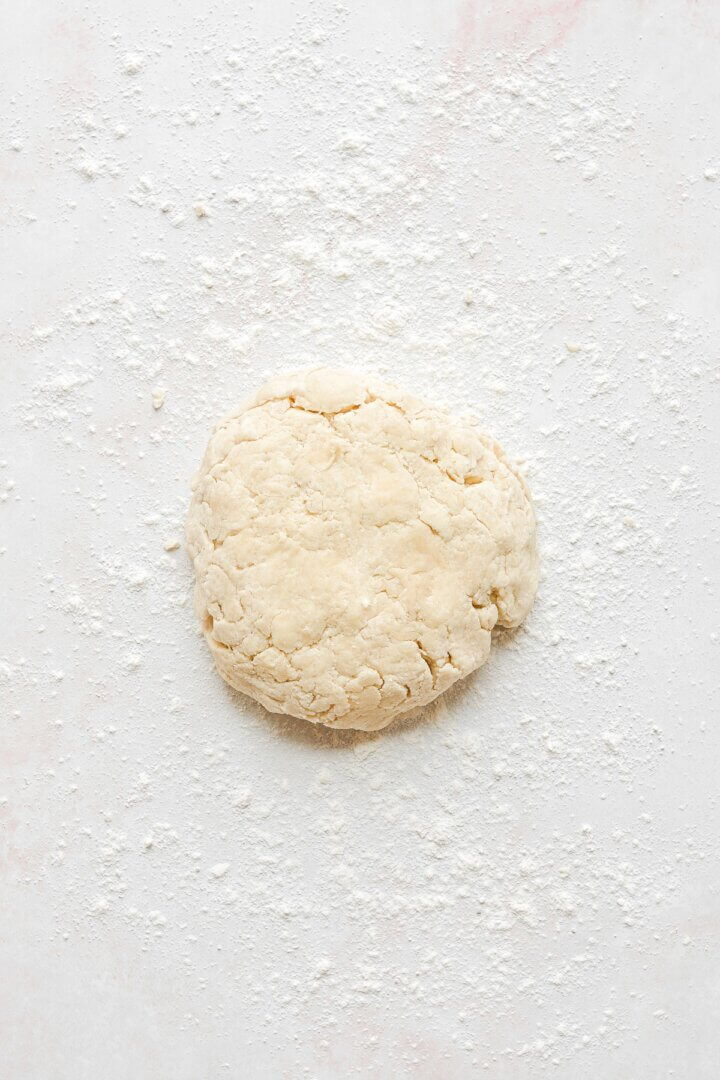
- Drizzle the apple cider vinegar and milk over the flour mixture and toss to combine (Images 4 & 5). Dump the mixture out onto a clean work surface (or just mix it in the bowl), and use your hands to gather the crumbs together. Keep gathering and pressing the crumbs together until it comes together into a ball – this should only take a minute or two (Image 6). Use your bench scraper to scrape all the bits of dough off the work surface, if any of it sticks. Divide the dough into two portions, and just work with one portion at a time.
TIP: DON’T be tempted to add more liquid than the recipe calls for. Over-hydrating pie dough makes a tough crust.

Roll, fold and chill the dough.
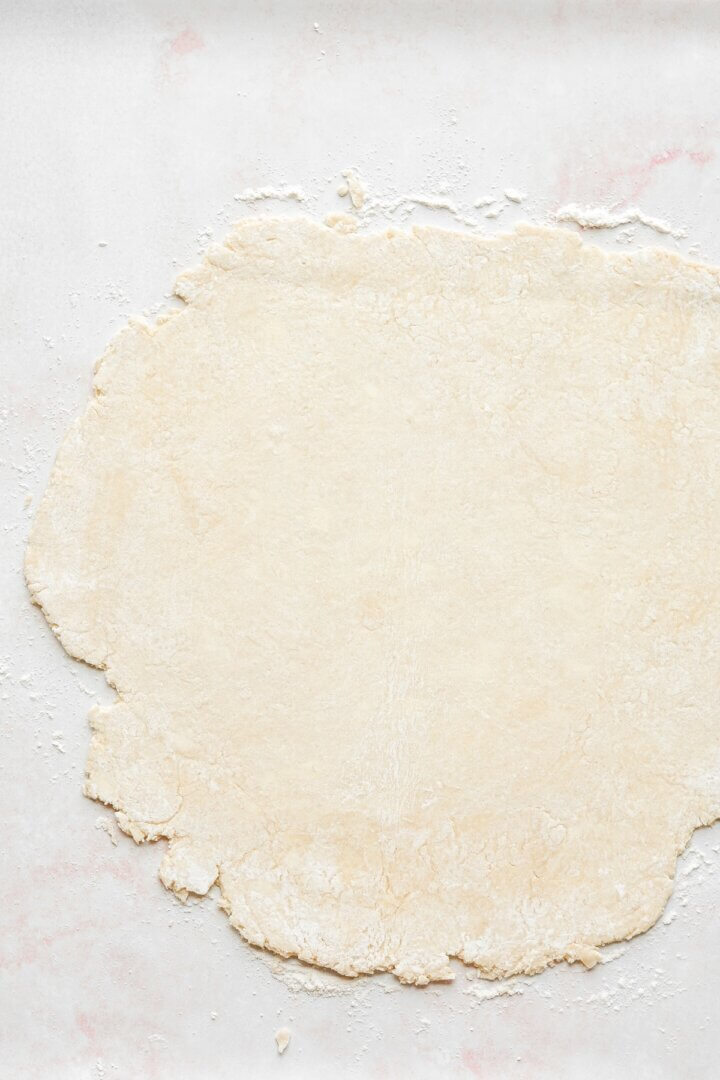
- Lightly flour your work surface, the ball of dough, and your rolling pin (Image 7). Roll the dough out, using using your bench scraper to loosen the dough from your work surface, and sprinkling more flour as needed to keep it from sticking, into a rough circle about 1/4 inch thick. There may be a few cracks in the dough, and you should see visible chunks of butter throughout (Image 8).
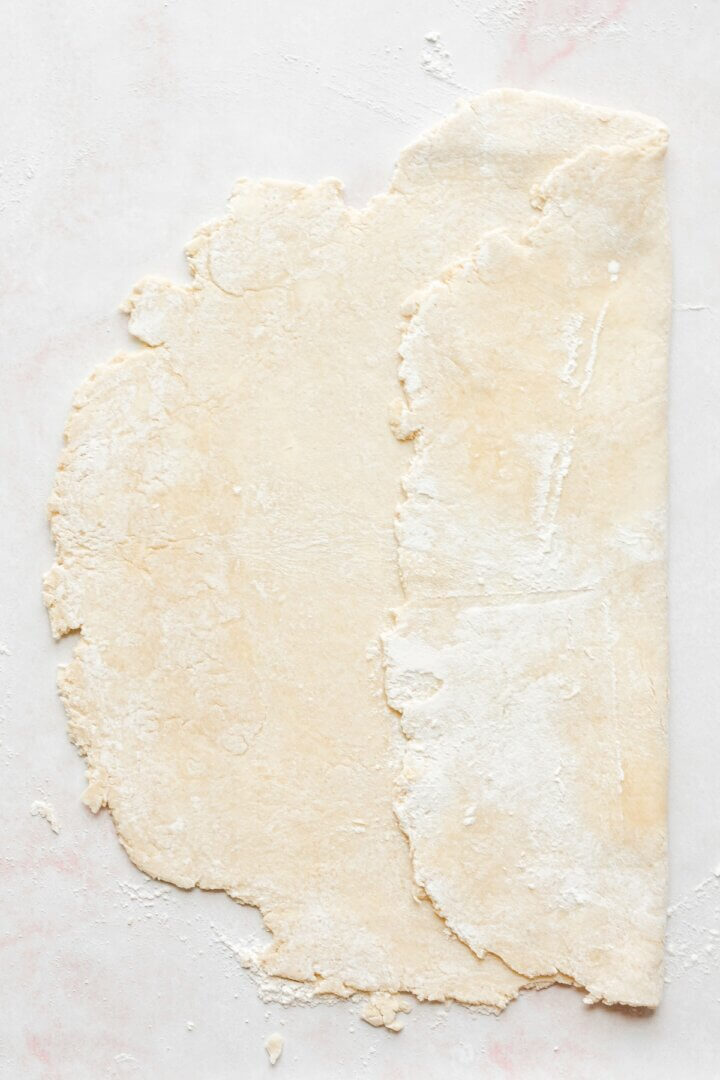
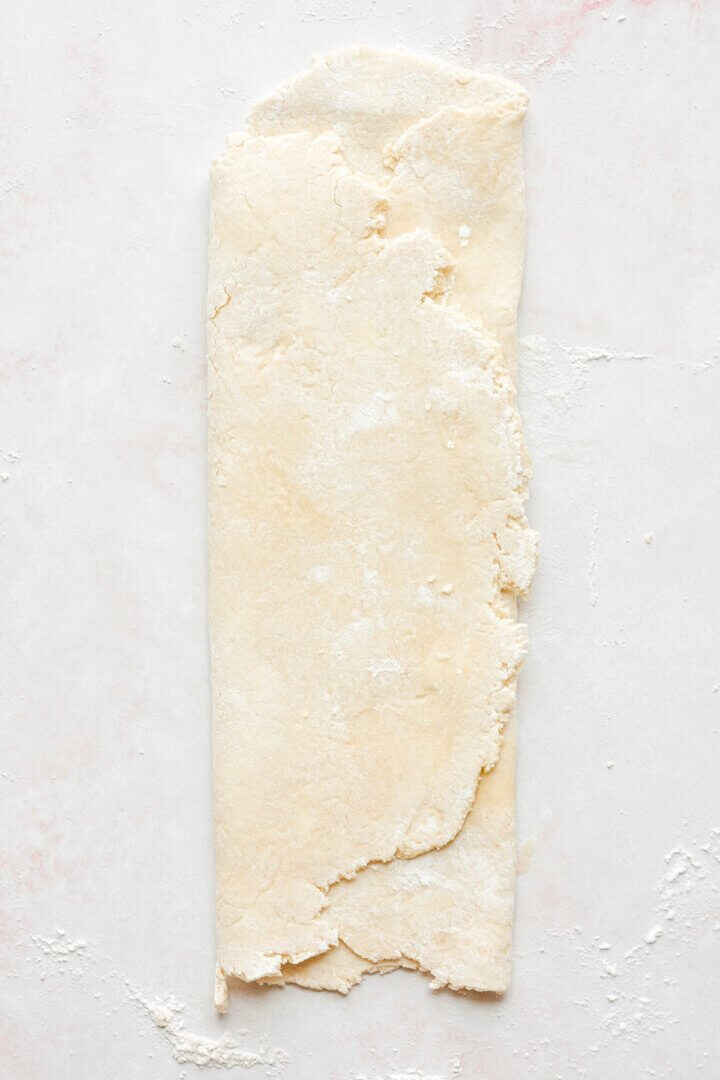
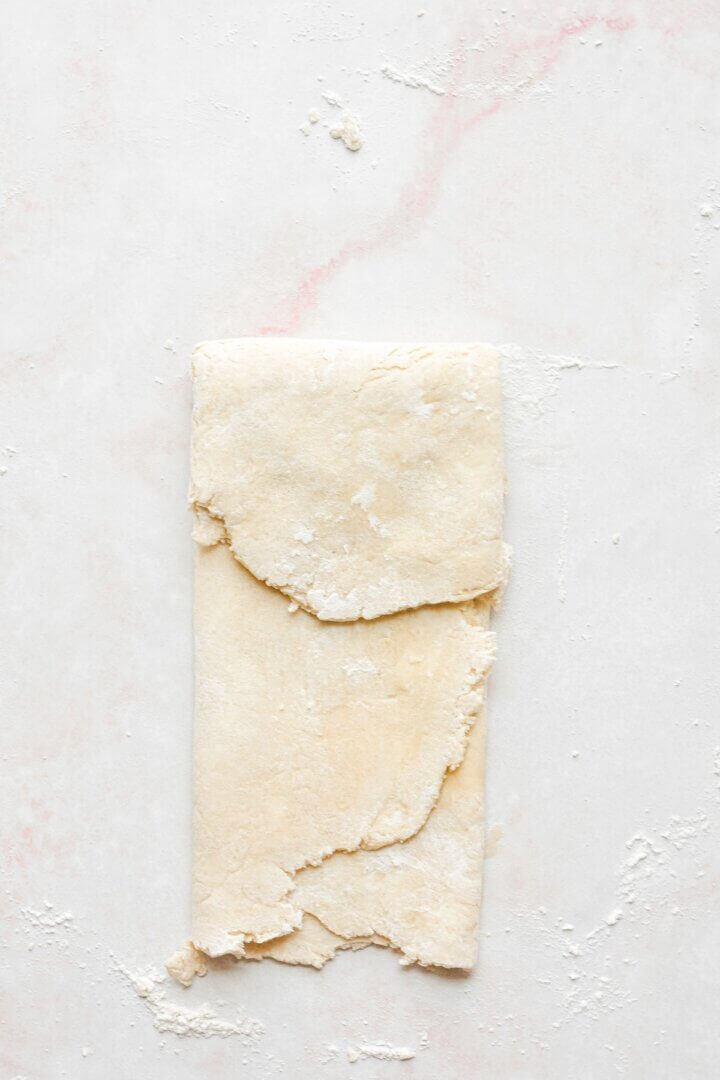
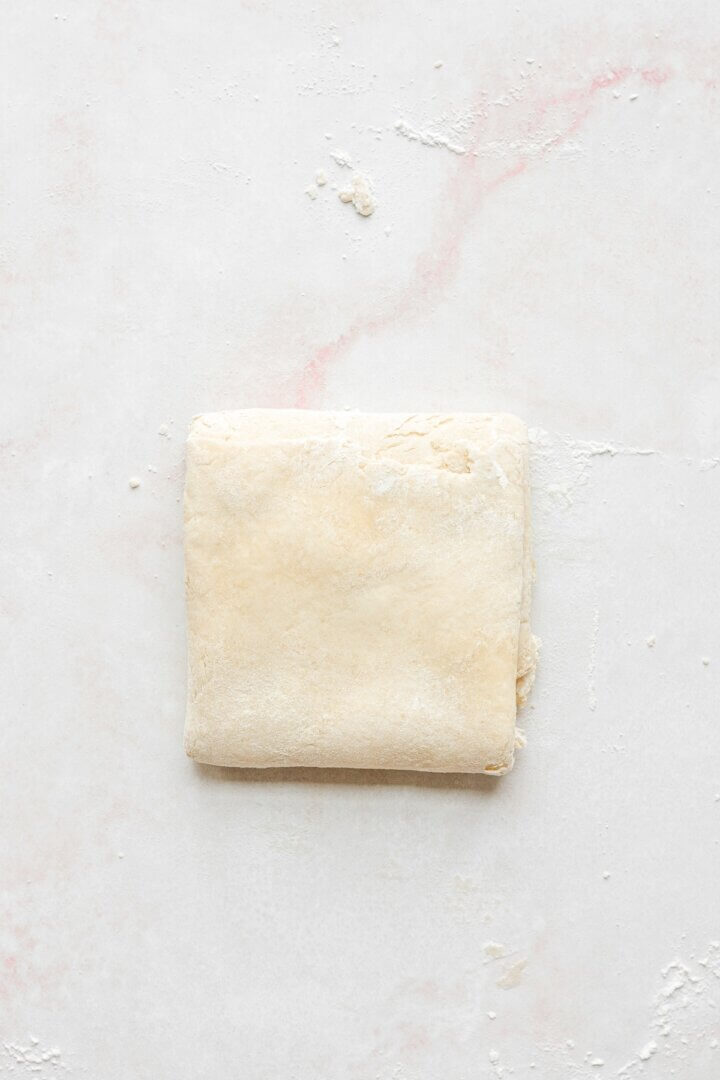
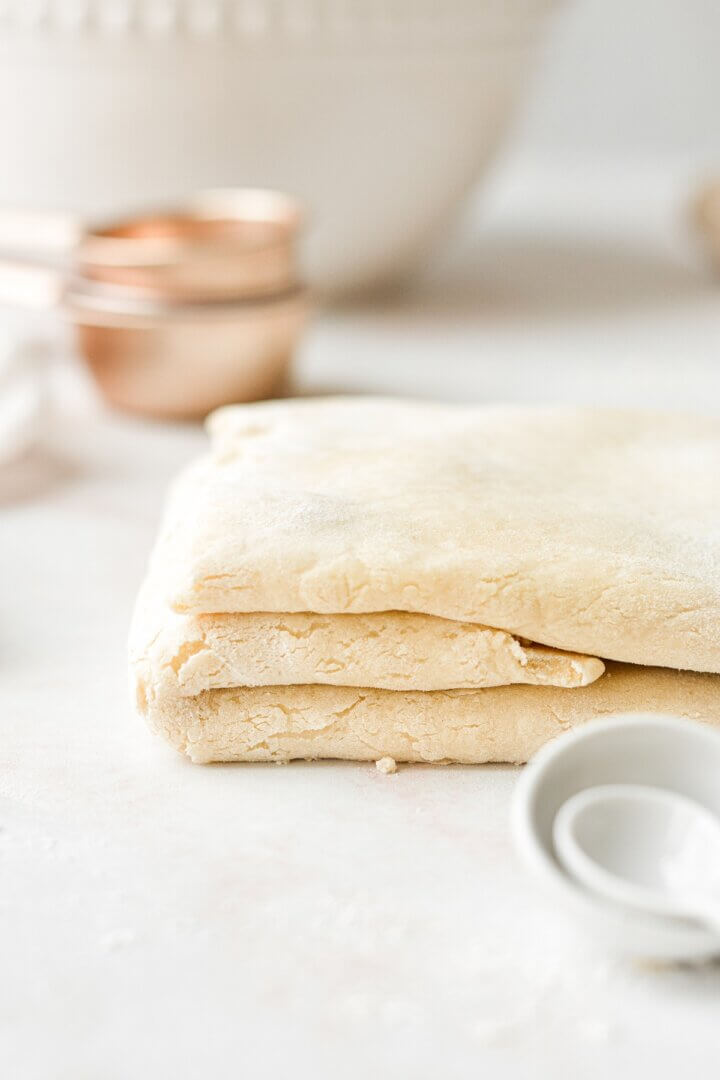
- Fold the dough into thirds, like a letter, and then in thirds again, so you have a neat little package of dough. Wrap in plastic wrap, and refrigerate for about 20 minutes, to let the dough rest and chill. Repeat the rolling and folding step with the second portion of dough (Images 9-12).
TIP: One of my best practices for making an incredibly flaky crust, is to roll the dough out, then fold it into thirds, like a letter, and then thirds again, into a tidy little package of dough. After letting it rest and chill, then rolling it out a second time, the dough is smooth, supple and strong. All those layers from folding the dough and smashing the butter pieces make the most deliciously light and flaky crust.
Roll out the dough again, and bake.
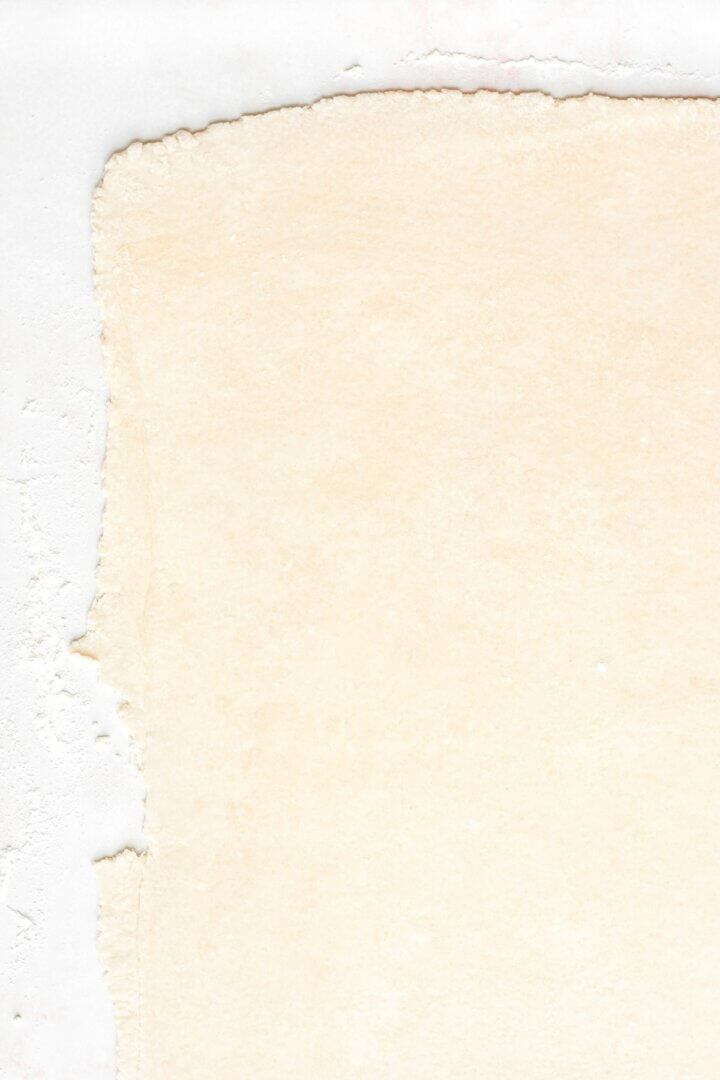
- After chilling the dough for 20 minutes, it’s ready to be rolled out for your pie. Flour your work surface again, and roll the dough out, using more flour as needed to keep it from sticking, until large enough to fit into your pie pan with a little overhang. You’ll notice that the dough, after being folded and chilled, rolls out into a much smoother dough that’s strong enough to be cut into lattice strips or other decorative cutouts, as well (Images 13 & 14).
- Your pie dough is now ready to be filled and baked.
Tips and Recipe Variations
The ingredients are few and simple. The process for making flaky all butter pie dough is really quite easy, but there are a few best practices which ensure that your pie dough will be perfect.
Yield
The recipe below makes enough dough for a double-crust pie. If you only need half for a single-crust pie, freeze the other half for another use. If making lots of decorative cutouts or elaborate lattice work, you may want to make 1 1/2 x the recipe to ensure you don’t run out of dough, and freeze any extra.
Cold Ingredients
Keep your ingredients cold, right up until you need them. Cold ingredients make a better, flakier pie crust. If your kitchen is especially hot, you may even need to place a few bags of ice water on your kitchen counter to chill it before rolling out your dough.
Work Quickly
As you handle the dough (smashing the butter, gathering the crumbs into a ball), you should work quickly, so the heat of your hands doesn’t melt the butter. You also want to avoid handling the dough too much; over-working pie dough will lead to a tougher crust, as well as a crust that shrinks excessively when it bakes.
Ice Water or Milk
You can certainly use ice water instead of milk, but I like the richness of the whole milk. You can even experiment with half and half or buttermilk – I’ve used both. Don’t be tempted to add more liquid than the recipe calls for. The dough should be just moist enough to hold together. Over-hydrating the dough will make a tough crust.
Egg Yolk for Richness
Sometimes I’ll add an egg yolk to the dough, along with the liquid, just to add a little extra richness. If I add an egg yolk, I’ll reduce the milk from 6 tablespoons to just 4-5 tablespoons.
Egg White Wash
After assembling my pie, I always brush the top crust with egg white. Some people use milk, or cream, or an egg yolk wash, but I like the light, even browning that I get with an egg white wash. The egg white also acts as the “glue” to adhere any decorative cutouts to your top crust.
Sprinkle with Sugar
Immediately following the egg white wash, I sprinkle my pie lightly with regular granulated sugar. The fine sugar crystals add a nice crunchy finish to the top crust and a pretty sparkly sheen.
Dry Milk Powder
A few tablespoons of dry milk powder can also add extra flavor to pie crust.
Spices and Herbs
Depending on what type of filling is going into your pie, you can even add a few herbs or spices to your pie dough to enhance the flavor of the filling. Vanilla bean, ginger, nutmeg, or even more savory herbs like rosemary or thyme could all be interesting. Spices or dried herbs should be mixed in with the flour before adding your butter and liquid ingredients.
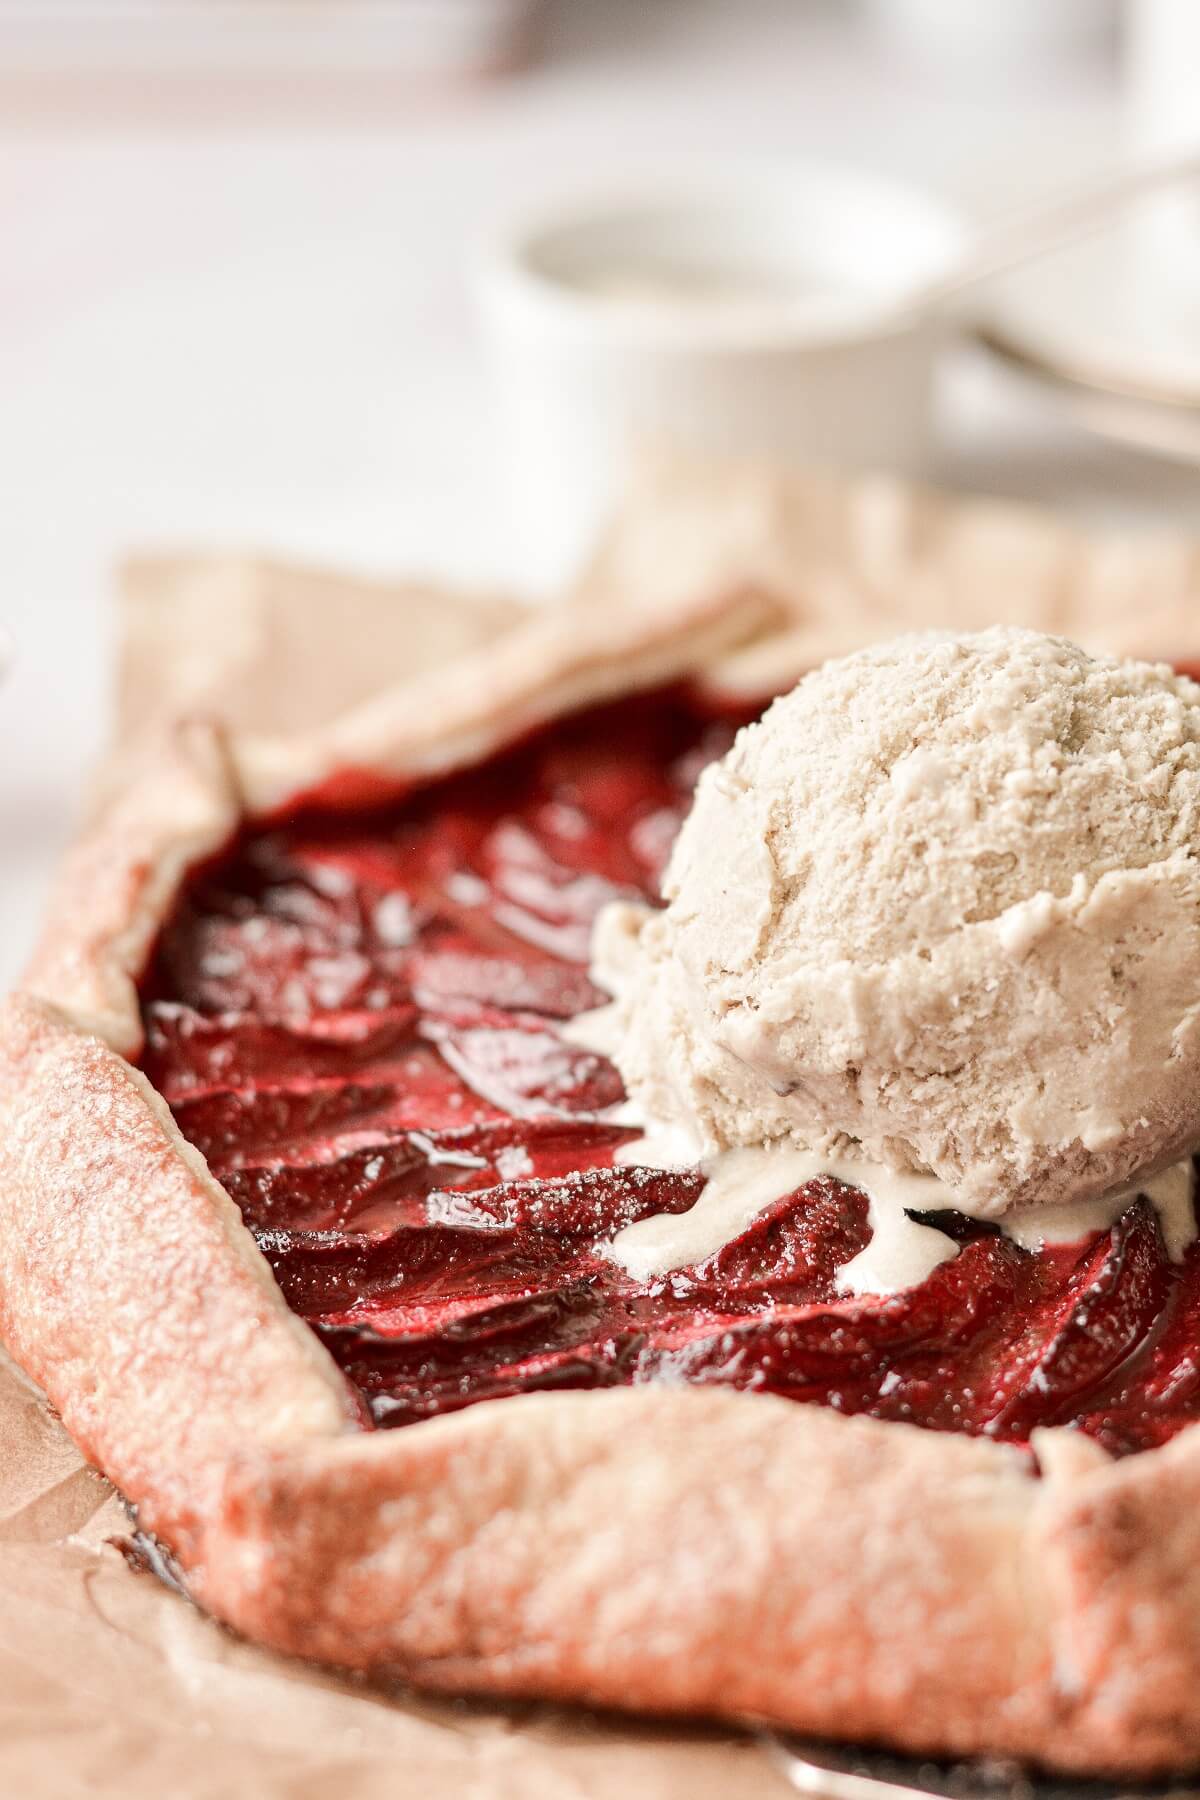
Blind-Baking Pie Dough
The process of “blind-baking” or “pre-baking” pie dough involves baking an unfilled pie crust, during which you’ll need to weigh the dough down with something (such as dried beans), since it’s being baked without any other filling. This weight helps prevent the bottom crust from puffing up too much and the sides from sliding down the side of the pan.
The pre-baked crust will later be filled with a prepared cream or custard filling that doesn’t need to be baked or only needs a very short bake time. For example, a lemon pie, coconut cream pie or chocolate cream pie needs a pre-baked pie crust that is ready to be filled with a prepared filling. Pecan pies and pumpkin pies also greatly benefit from a pre-baked crust.
And while it may not be common practice to blind bake the pie dough for fruit pies, I’ve begun doing so. Too many times I’ve been disappointed in the flabby, under-cooked bottom crust that’s weighed down by juicy blueberries or cherries. Pre-baking, or even just partially baking your crust before filling and baking your fruit pies guarantees that your crust will always be perfectly baked and flaky, even on the bottom.
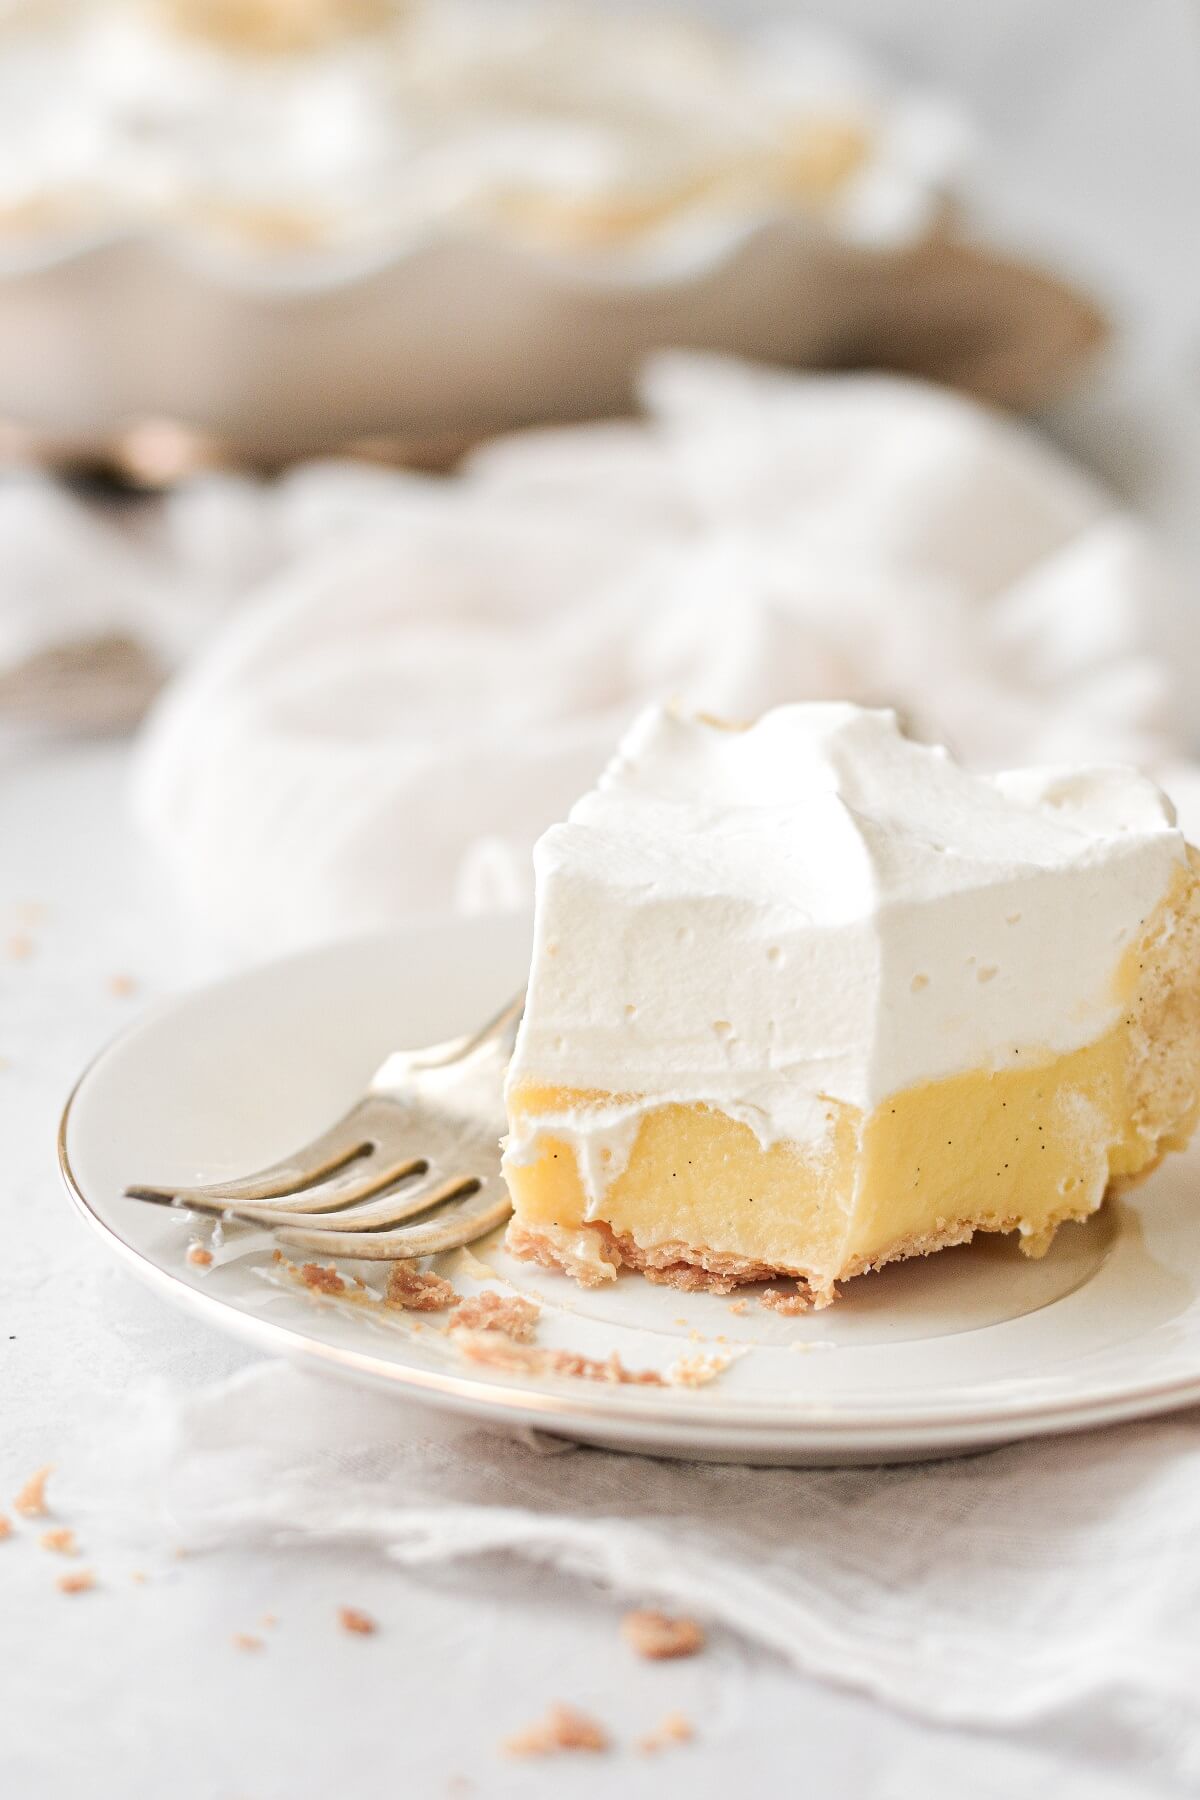
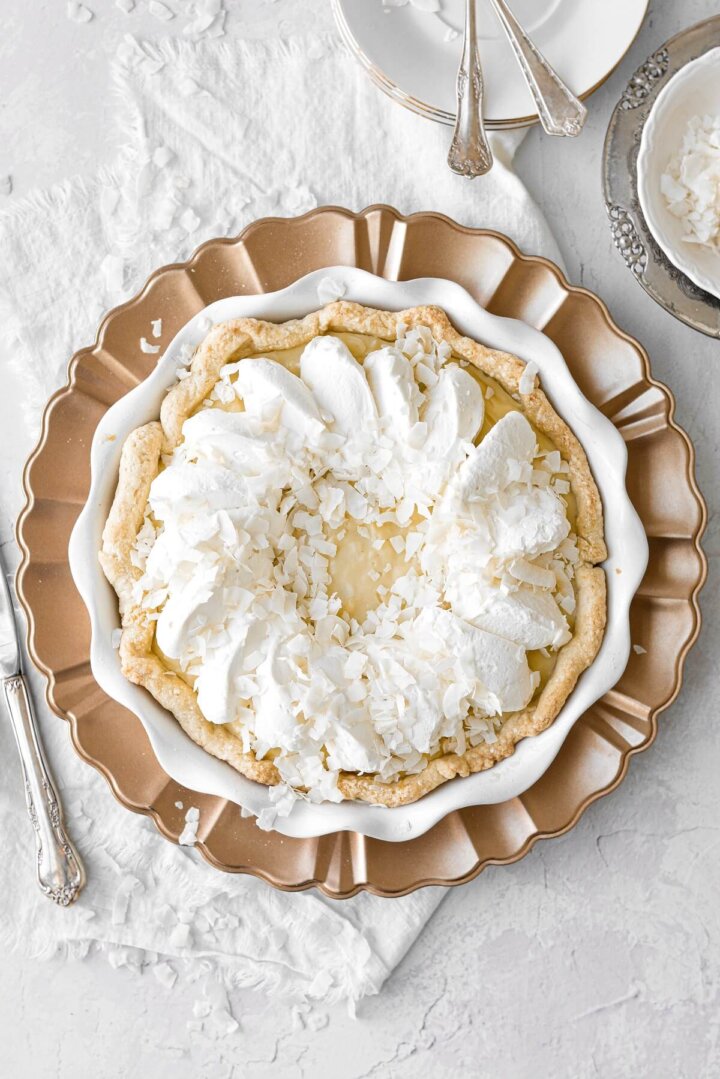
The next image is my banana cream pie, with a pre-baked pie crust.
Instructions for Blind-Baking Pie Dough
Roll, Dock and Chill the Dough
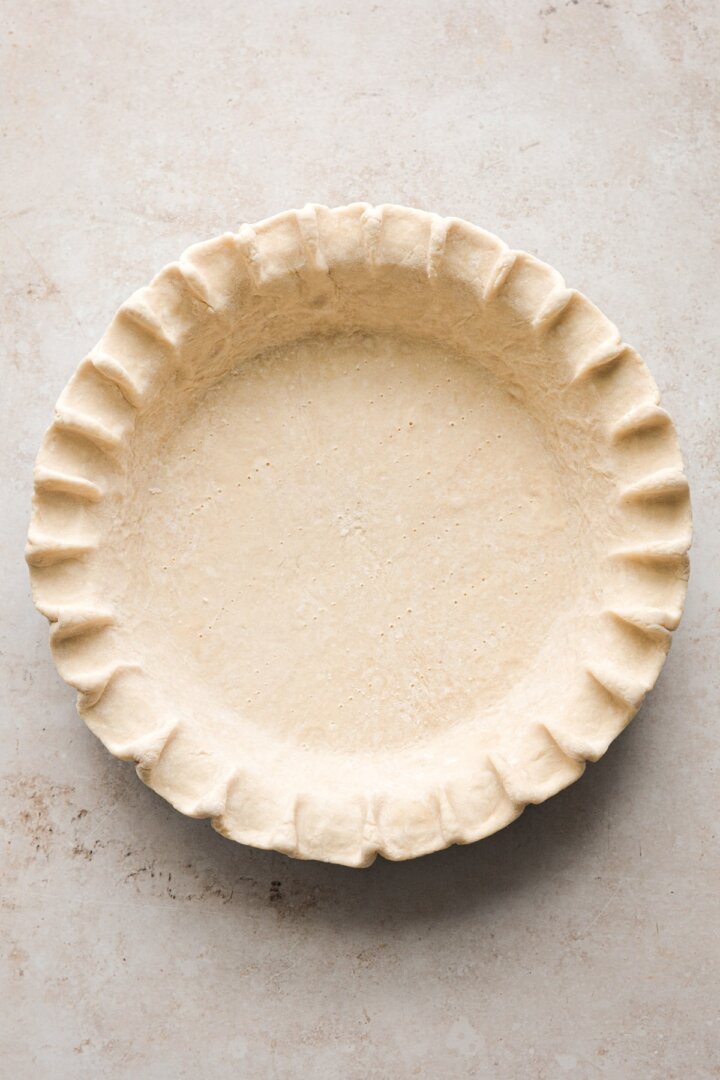
To blind-bake your pie dough, follow the recipe below, roll out your pie dough and fit into your pie pan, with the dough hanging over the edges just a little. Fold the edges of the dough under slightly, to make a neat edge. Use a fork to lightly prick the bottom of the dough all over – this is called “docking” the dough. Docking the dough helps prevent it from puffing up too much by allowing steam to escape the tiny holes. Refrigerate for one hour so the dough is well-chilled.

Fill with Pie Weights and Bake
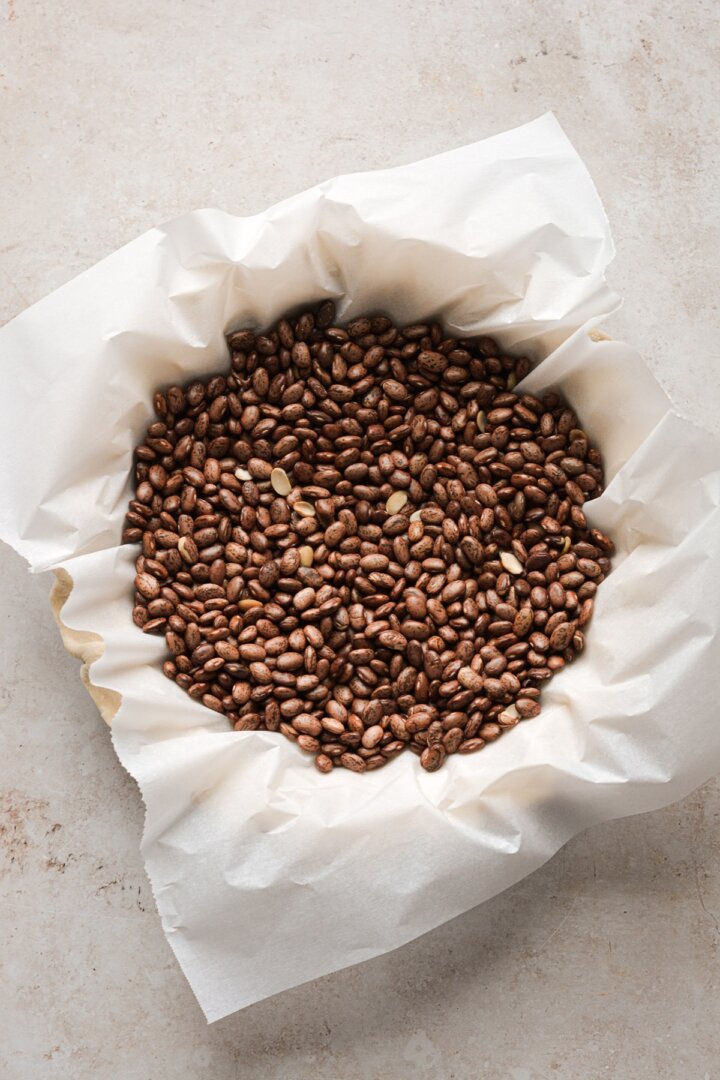
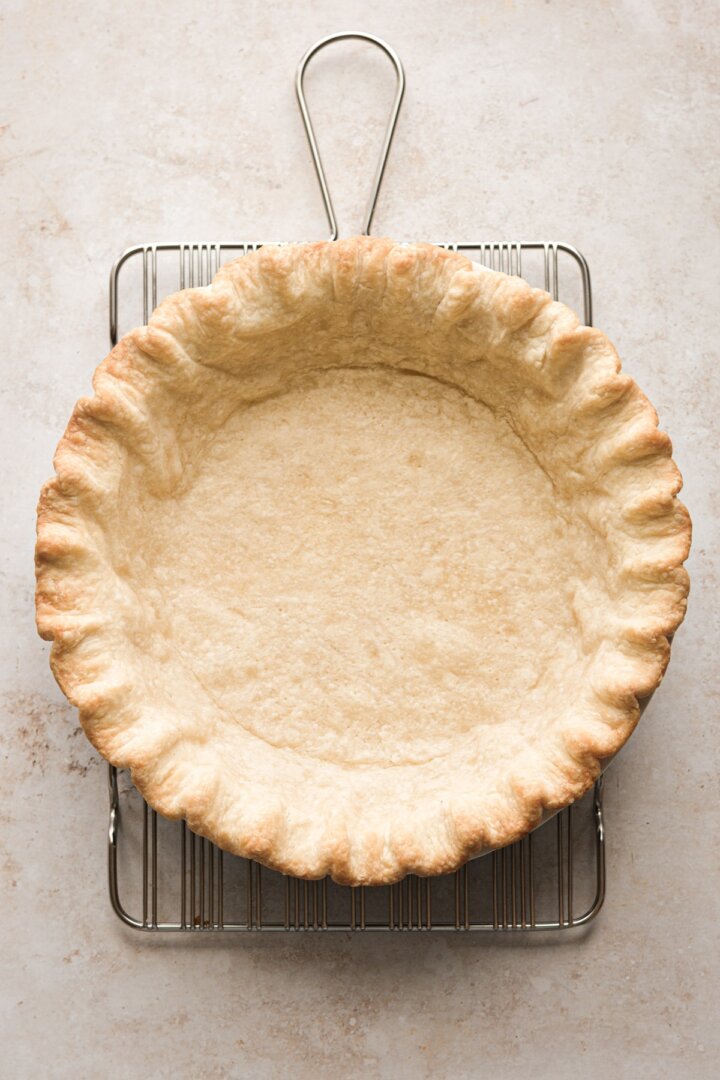
While the dough is chilling, pre-heat the oven to 400 degrees F. Set a piece of parchment paper (not wax paper) onto the chilled crust, and fill the paper with pie weights or dried beans/rice. Bake for 15 minutes on the middle rack in the oven. Remove from the oven, and carefully remove the parchment paper with the weights and set aside.
Brush with Egg White and Finish Baking Without Pie Weights
Use a pastry brush to brush an egg white wash all over the crust. Return the crust to the oven (without the weights), and bake for another 15-20 minutes, until the bottom is golden brown and cooked through. If needed, cover the edges of the pie with a pie shield if they’re getting too dark while you’re waiting for the bottom to cook.
Cool and Fill your Pie Crust
Let the crust cool. It’s now ready to be filled with your prepared filling.
You Might Also Like
Please check out my Amazon Shop for a curated collection of some of my favorite cake pans from trusted brands, baking tools, ingredients, pretty things and fashion finds. I recommend products that I buy and use every day!
Did you love today’s recipe? Please rate the recipe and let me know in the comments what you thought! Also, be sure to follow Curly Girl Kitchen on Instagram, and tag me when you try one of my recipes so I can see all your delicious creations!
All Butter Pie Dough
All recipes on Curly Girl Kitchen are developed for high altitude at 5,280 feet. See FAQs for adjusting to higher or lower elevations.
Equipment
- Rolling Pin
- Pastry Cutter
- Bench Scraper
Ingredients
- 2 ½ cups (325g) all-purpose flour, spooned and leveled (plus extra for rolling)
- 1 tbsp (14g) granulated sugar
- 1 tsp coarse Kosher salt (if using table salt, use half the amount)
- 1 cup (226g) cold unsalted butter, diced
- 2 tsp (10g) apple cider vinegar
- 6-8 tbsp (100-135ml) cold whole milk
Instructions
- In a large mixing bowl, combine the flour, sugar and salt. Scatter the butter over the flour and use a pastry cutter to cut the butter into smaller chunks, about 1/4 inch in size. Now use your fingers and smash each chunk of butter flat.Baker's Note: You can also combine the flour, sugar, salt and butter in a food processor, until crumbly and moistened.
- Drizzle the apple cider vinegar and milk over the flour mixture and toss to combine. Dump the mixture out onto a clean work surface, and use your hands to gather the crumbs together. Keep gathering and pressing the crumbs together until it comes together into a ball – this should only take a minute or two. Use your bench scraper to scrape all the bits of dough off the work surface, if any of it sticks. Divide the dough into two portions, and just work with one portion at a time.
- Lightly flour your work surface, the ball of dough, and your rolling pin. Roll the dough out, using using your bench scraper to loosen the dough from your work surface, and sprinkling more flour as needed to keep it from sticking, into a rough circle about 1/4 inch thick. There may be a few cracks in the dough, and you should see visible chunks of butter throughout.
- Fold the dough into thirds, like a letter, and then in thirds again, so you have a neat little package of dough. Wrap in plastic wrap, and refrigerate for about 20 minutes, to let the dough rest and chill. Repeat the rolling and folding step with the second portion of dough.
- After chilling the dough for 20 minutes, it’s ready to be rolled out for your pie. Flour your work surface again, and roll the dough out, using more flour as needed to keep it from sticking, until large enough to fit into your pie pan with a little overhang. You’ll notice that the dough, after being folded and chilled, rolls out into a much smoother dough that’s strong enough to be cut into lattice strips or other decorative cutouts, as well.
- Your pie dough is now ready to be filled and baked.
Notes

Hi! Do you just spoon and level the flour? Or do you sift it?
I don’t sift flour for pie dough, but I always aerate the flour in the canister with a spoon, then spoon and level it in my measuring cups.
Do you have changes to altitude for classic Bundt and pound cakes? Bought a Ultimate Pound Cakes Book! Need adjustment to Salt Lake City , Utah elevation! Thanks! Love your pie recipe!
I have many bundt cake and pound cake recipes on my site, but I’m not able to offer advice on recipes that I haven’t tested. You may want to check out this conversion chart: https://www.kingarthurbaking.com/learn/resources/high-altitude-baking
I have not made the crust yet but am wondering about freezing and grating the butter. When I made scones using butter, that is the method I used and thought it might work well in a pie crust. I no longer make scones that way since finding your Almond Scones but am tempted to try grating the butter for crusts. Any ideas or comments about this method for pie crusts? Thanks.
I’m sure that would work well! The dough will probably come together more quickly with the frozen grated butter, since you won’t have to cut in large chunks of butter.
I can say with 100% certainty that this is the best pie dough I have ever made, and it’s all thanks to you Heather! We made the full recipe, froze one dough and used one dough to make a dessert using some apple pie filling I canned after picking apples locally this past Fall. Everyone in the house loved it (especially that buttery, flakey dough!) I thought I had found the perfect pie dough recipe when I discovered America’s Test Kitchen’s recipe using ice water and sour cream, but this Curly Girl Kitchen recipe will be replacing that old standby in my collection of favorites. Thank you!!
I love your recipes but this one just didn’t work and I’m trying to figure out why. I weighed and measured the flour and did it in a food processor until it was crumbly. I added 4 T cold milk and just couldn’t get it to ball up. I added several more T of water and it still is dry and crumbly. Put it in the fridge to cool but disappointed in myself that it just was such a struggle. Haven’t rolled it out yet. I am using Hungarian flour for high altitude. Do you think that makes a difference?
Roz, it might be the flour. Hungarian High Altitude Flour has a higher protein content, similar to bread flour, and high protein flours tend to absorb more liquid. Pie dough or pastry dough should be made with all-purpose flour, or even pastry flour, which has an even lower protein content than all purpose flour. Also, my recipe calls for 6-8 tablespoons liquid, and I usually add the full 8 tablespoons (1/2 cup) since the climate is so dry here, so did you add all the milk? Note that pie dough does not come together as easily as cookie dough, since it should be just moist enough to barely hold together. An over-hydrated pie dough makes a very tough pie crust. If you look at other recipes, I think you’ll find that they all have very similar ratios of flour to fat to liquid. Sally’s Baking recipe for all butter pie dough, for example, is nearly identical to mine. I hope you have better luck with a different flour!
I don’t want to bake anything. I just come for the pictures. They give such an emotional feel that gives you the warm and fuzzy.