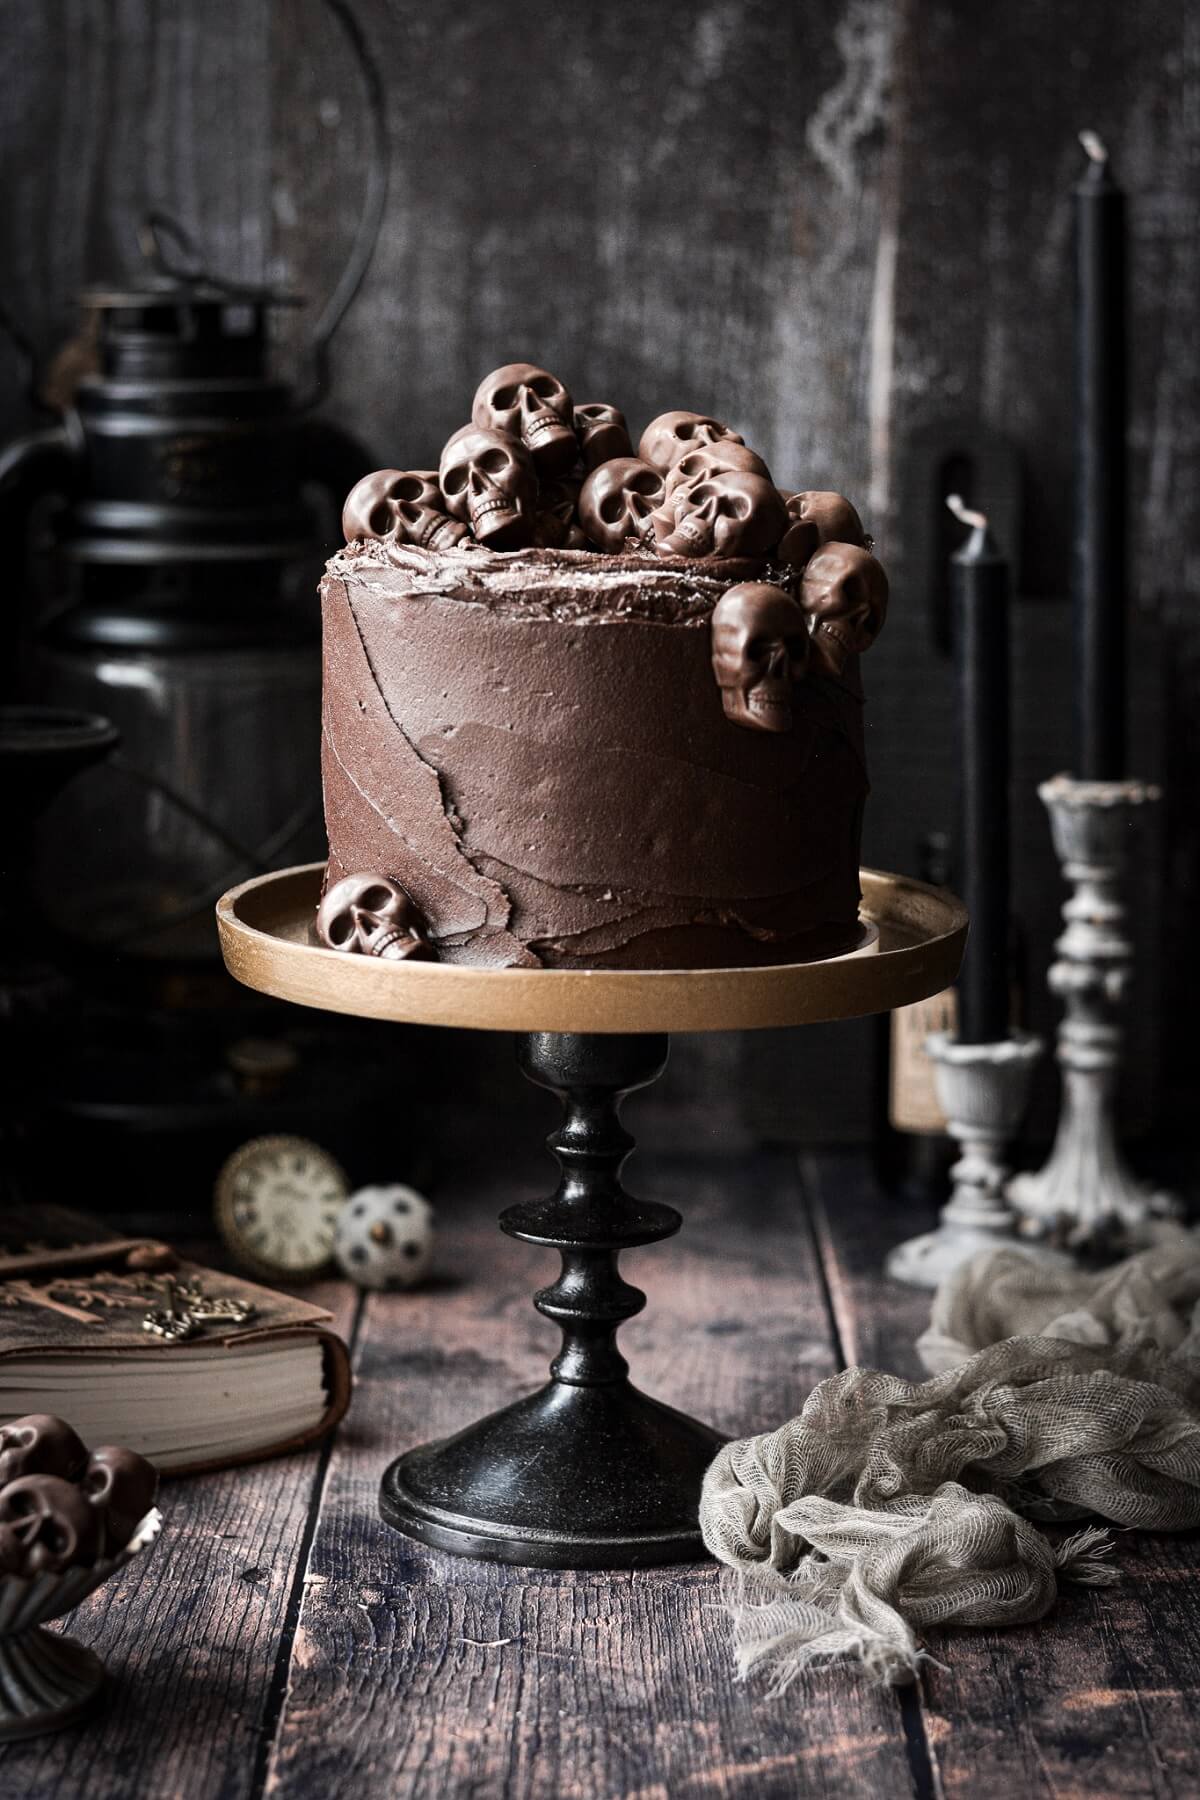
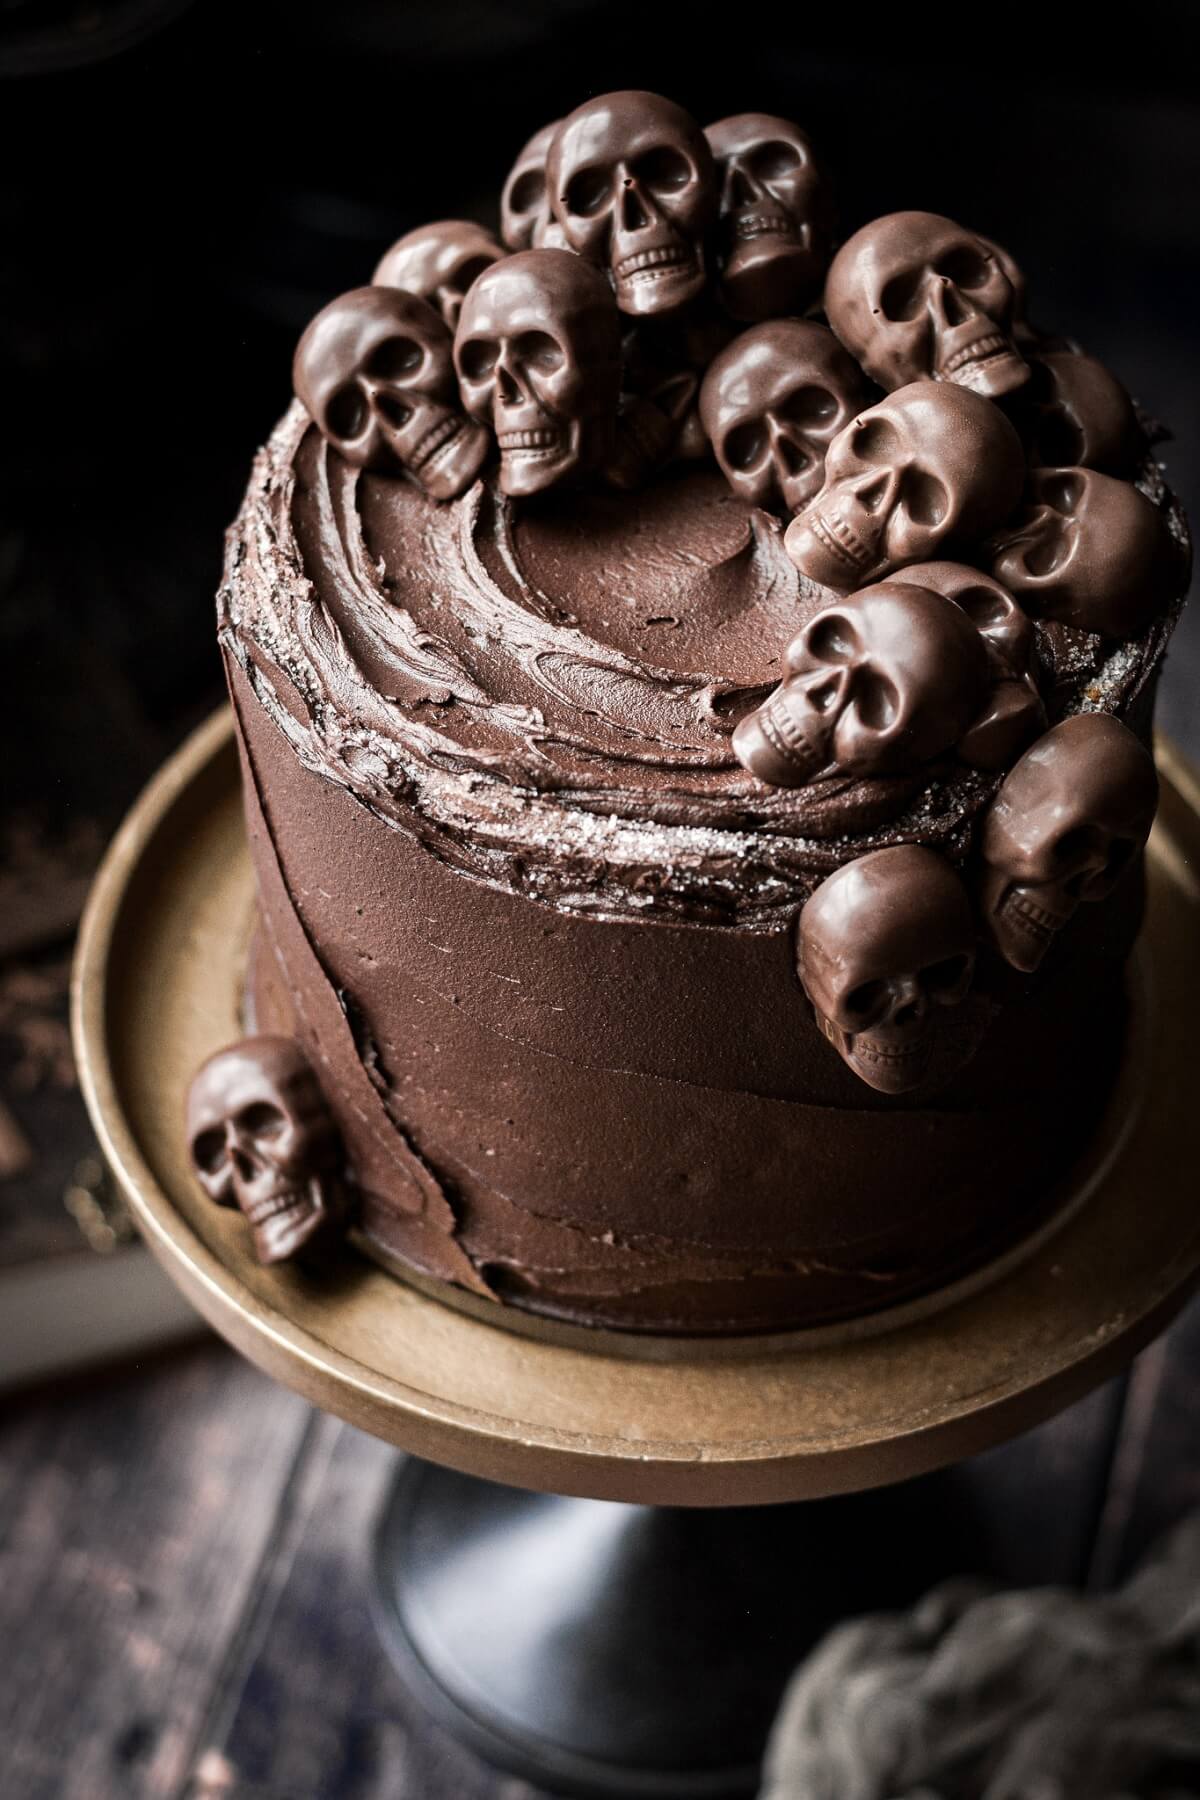
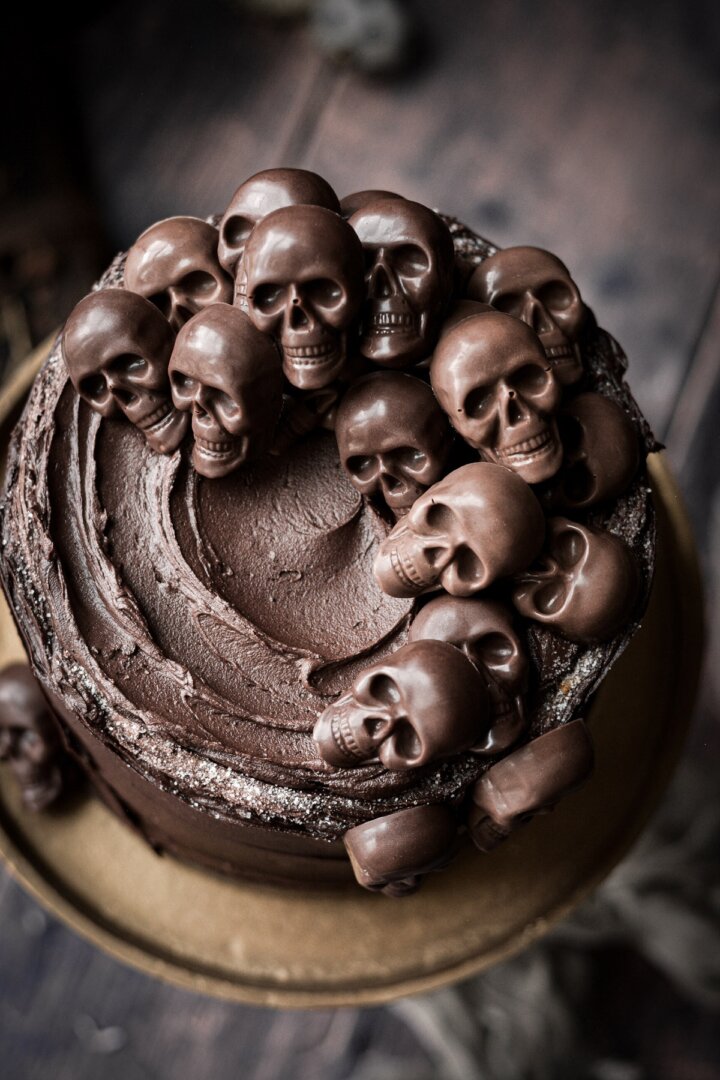
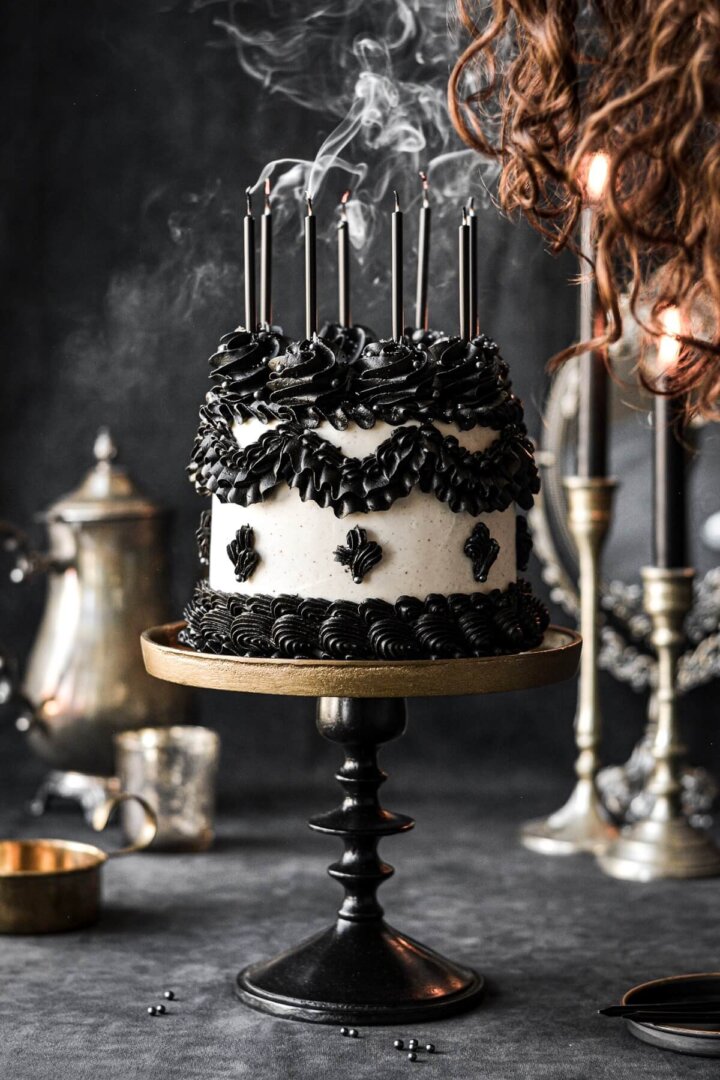
A soft and fluffy, high altitude ginger cake spiced with ground ginger, frosted with chocolate buttercream, and decorated with mini chocolate skulls for Halloween. Decorating this chocolate skull cake is so fun and easy, and the finished cake is just creepy enough for a Halloween celebration or a gothic themed party.
You might also love this Lambeth style black and white Halloween cake, brown butter pumpkin cake, black velvet cake, and iced pumpkin sugar cookies.
This site contains affiliate links. As an Amazon associate, I earn from qualifying purchases. This means that I may make a small commission if you purchase a product using those links. This in no way affects my opinion of those products and services. All opinions expressed on this site are my own.
Why You’ll Love This Recipe
Easy to Decorate. You don’t need any special cake decorating skills for today’s chocolate skull cake. All you have to do is melt some chocolate, pour it into a mold, and then arrange the chocolate skulls on top of the cake.
High Altitude Tested. I develop all the recipes on my site for Denver’s altitude of 5,280 feet. If you’re at a lower or higher elevation, please see my FAQs for guidance on adjusting recipes for your altitude.
See the recipe card at the end of the post for the full ingredients list and instructions.
Ingredients
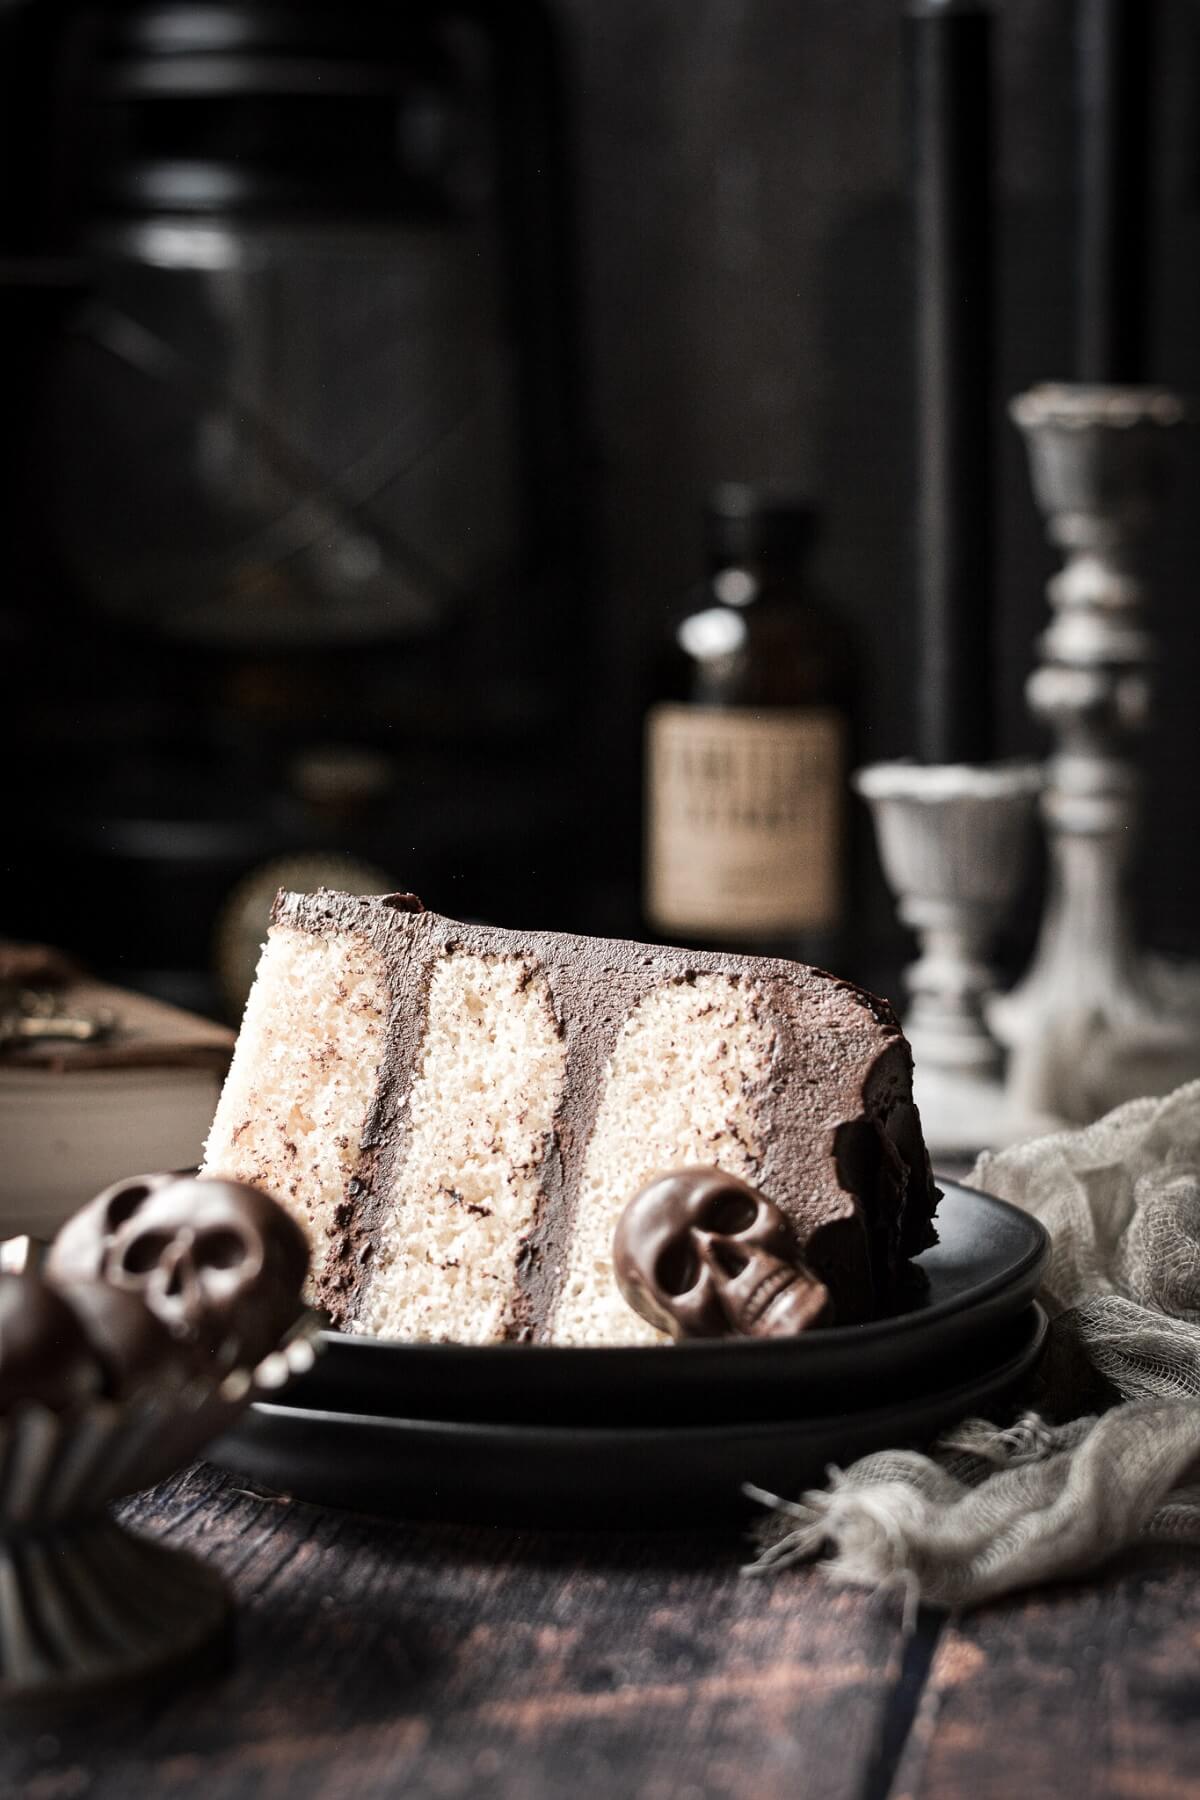
- Ginger Cake. I used my vanilla ginger cake recipe, which has such a nice balance of sweet and spicy flavors. It’s soft, fluffy and moist, and so delicious with the rich chocolate buttercream.
- Chocolate Buttercream. This is the best chocolate buttercream with its rich, buttery flavor and perfectly spreadable/pipable consistency.
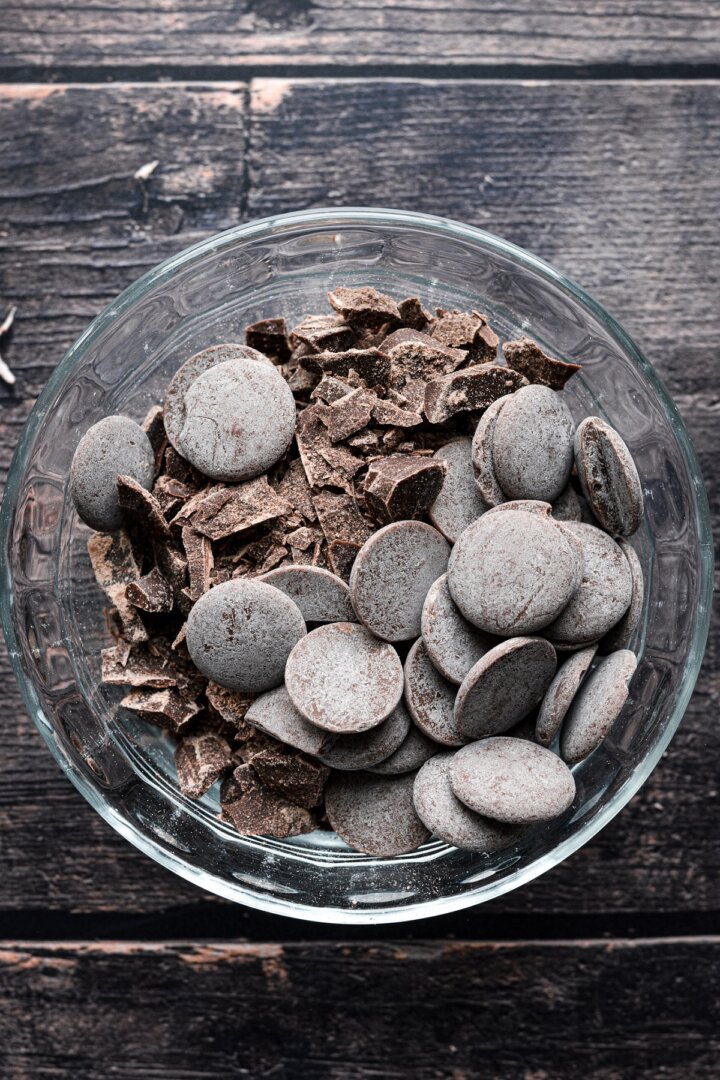
- Chocolate Candy Melts. To make the chocolate skulls, I recommend using chocolate candy melts, as they’re less expensive than buying good quality bars of chocolate. You may also need some coconut oil to slightly thin the chocolate, if the candy melts are too thick when they melt.


Instructions
Cake
- Preheat the oven to 350 F, position a rack in the center of the oven, and spray the bottoms of three 8-inch cake pans with non-stick baking spray. If making half the recipe, spray three 6-inch cake pans with non-stick baking spray. (The photographed cake in today’s post is a three layer 6-inch cake.)
- In a bowl, sift together the cake flour, sugar, baking powder, salt and ground ginger. Use a whisk to combine the dry ingredients well.
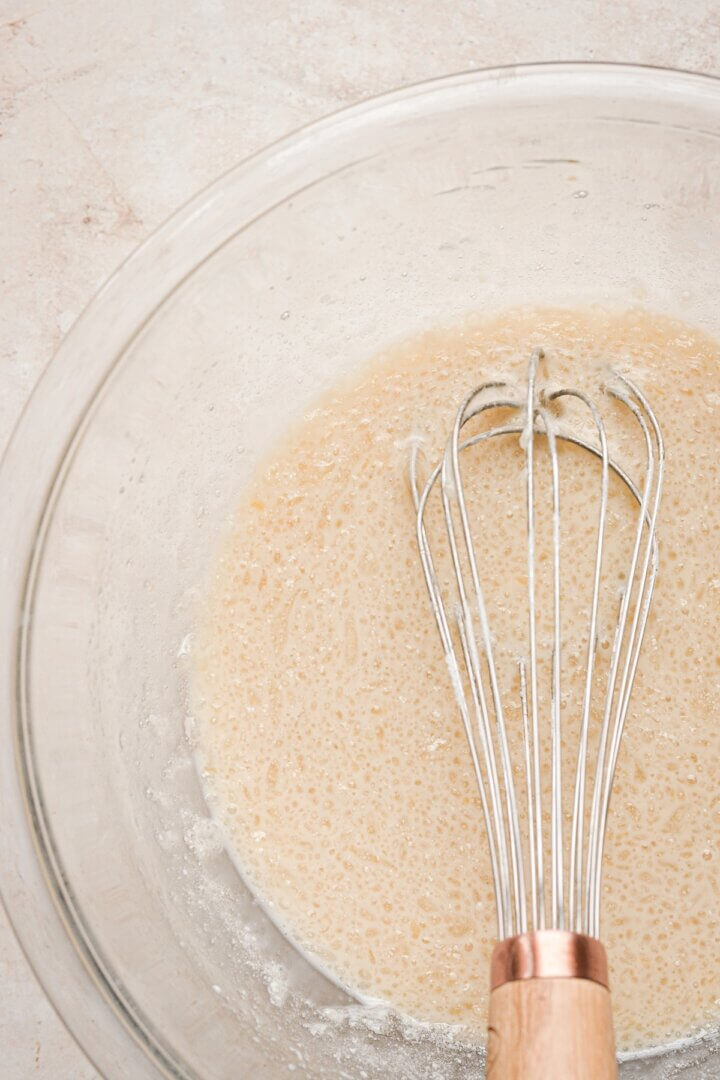
- In another large bowl, whisk together the eggs, egg whites, milk, apple cider vinegar, brown sugar, melted butter, oil and vanilla extract until smooth.
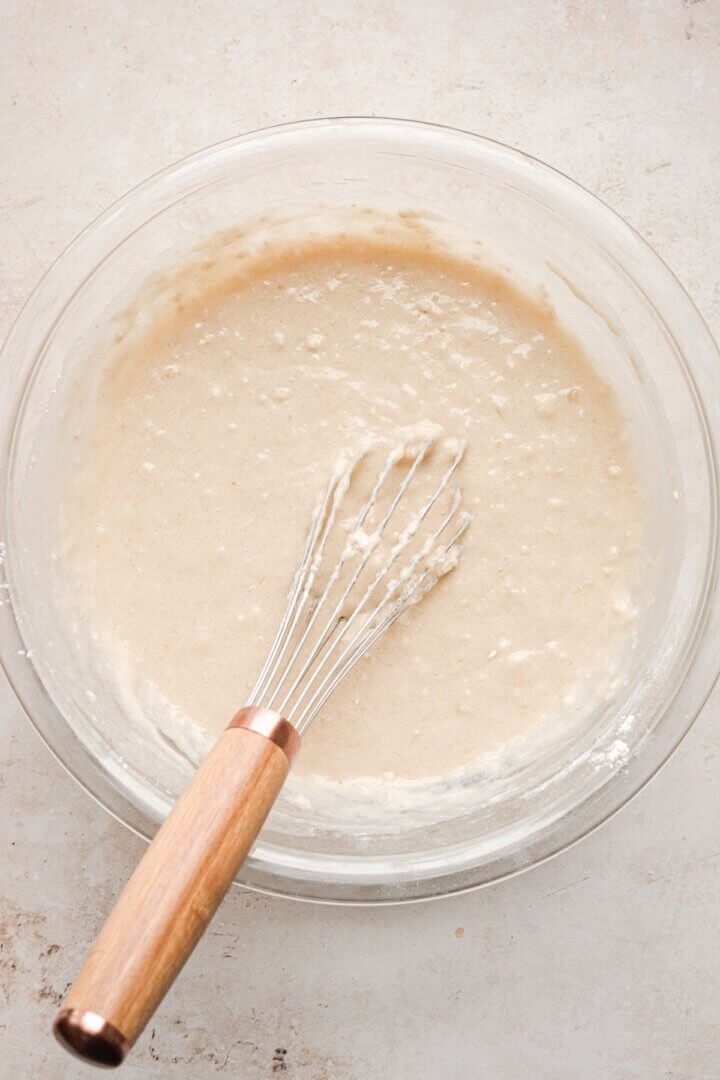
- Add the dry ingredients to the wet, and whisk until combined, about 10-15 seconds. A few lumps in the batter are okay; take care not to over mix. Divide the batter between the cake pans. Tap a few times against the counter to pop any large air bubbles.



- Bake 8-inch cakes for about 21-25 minutes (bake 6-inch cakes for about 18-20 minutes), or until a cake tester or a toothpick comes out clean, and the tops spring back when lightly touched.
- Set the pans on a wire rack, cover them loosely with a clean kitchen towel, and cool completely before frosting. When ready to frost and assemble the cake, remove the cakes from the pans. If the cakes are domed on top, use a sharp knife to slice off a small portion to level the cakes for stacking.

Buttercream
- In the bowl of your stand mixer fitted with the paddle attachment, beat the butter for 1 minute until smooth.
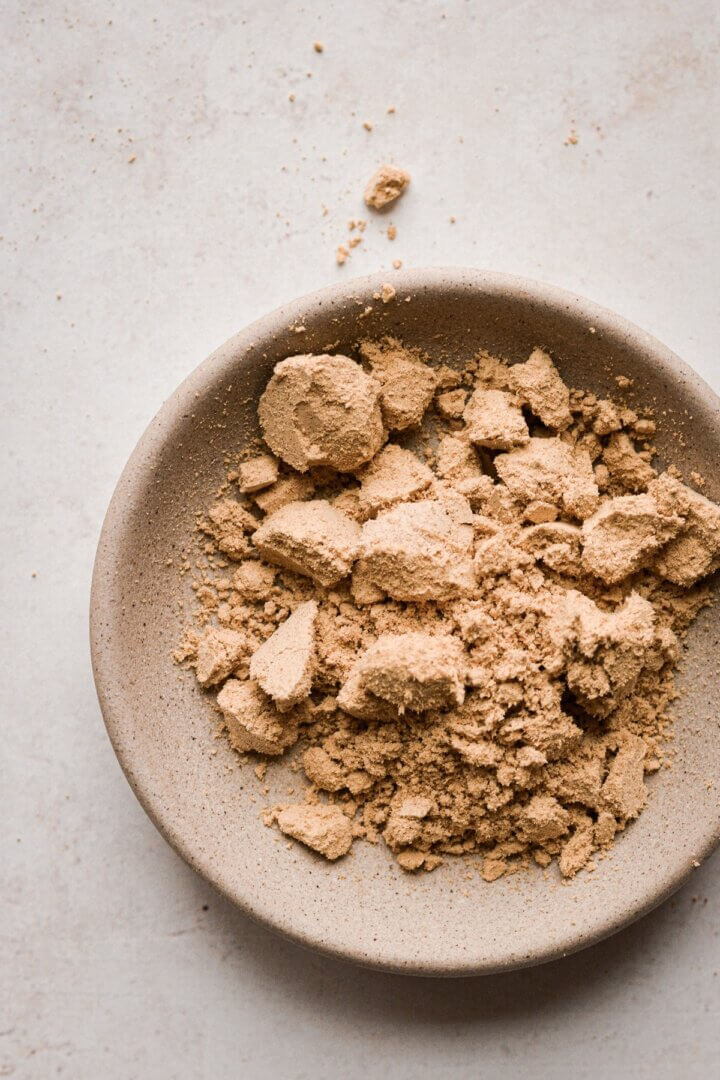
- With the mixer running on low, add the powdered sugar by spoonfuls, the cocoa powder, meringue powder and the salt, mixing until thick and combined.
- Add the vanilla; increase speed to medium and whip for 4-5 minutes, scraping the bowl down several times, until light and fluffy. Add the milk only if needed for desired consistency. Note that in warmer weather, when the butter is softer, you’ll rarely need to add the milk.
- Fill and frost the cooled cakes with the buttercream.

Chocolate Skulls
- Working with half the chocolate candy melts at a time, melt the chocolate in a heat-proof bowl over a double boiler, stirring with a spatula until smooth. If the chocolate is too thick and stiff, add the coconut oil, a teaspoon at a time, until it smooths out.
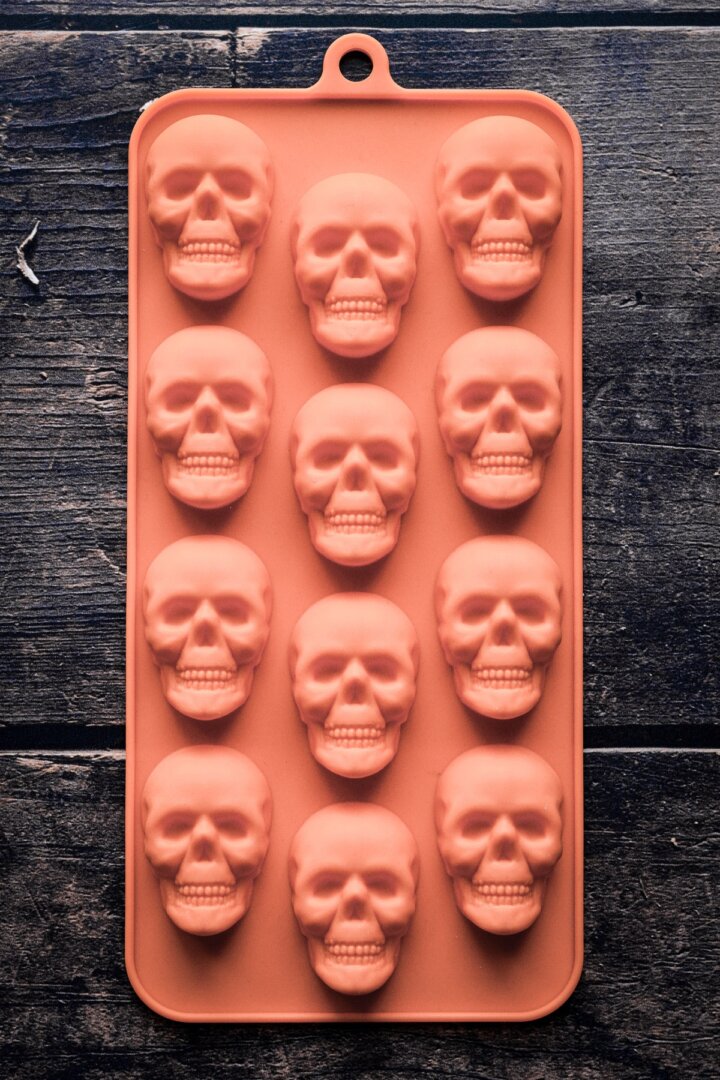
- Set the silicone skull mold on a baking sheet to keep it steady. Spoon the melted chocolate into the molds, filling them just halfway full. Rap the baking sheet firmly against the counter to settle the chocolate into all the grooves of the molds. Then use a toothpick or cake tester to swirl the chocolate around in the molds, making sure there are no gaps or air bubbles, especially in the small grooves around the nose and eye sockets. Spoon more melted chocolate into the molds to fill them full.
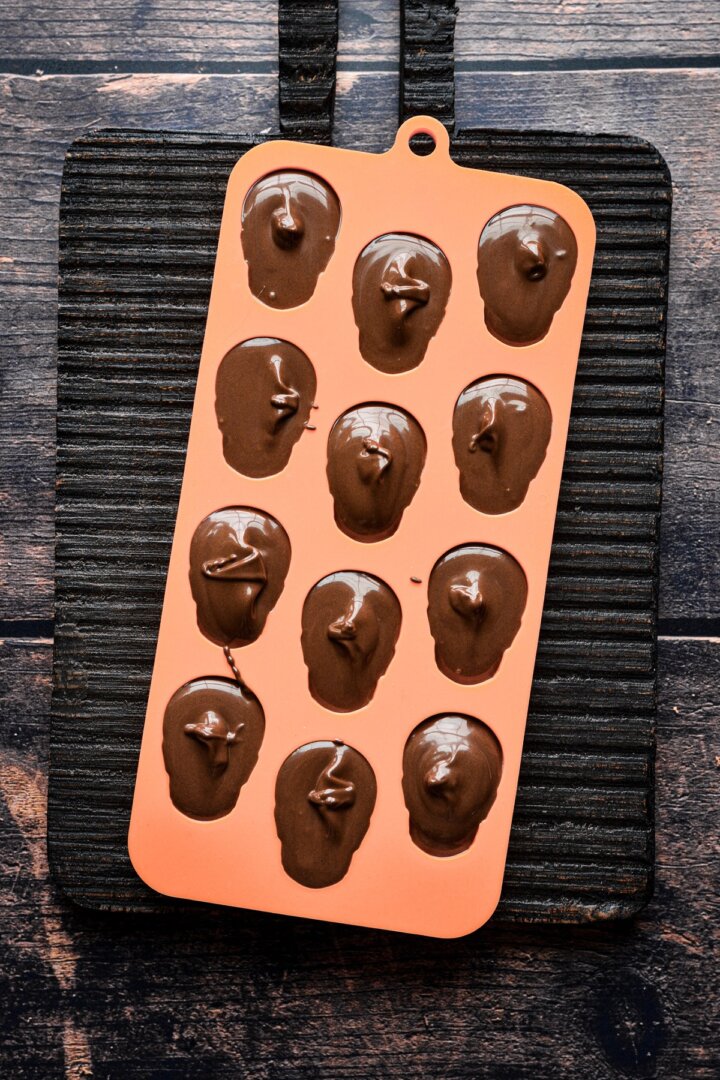
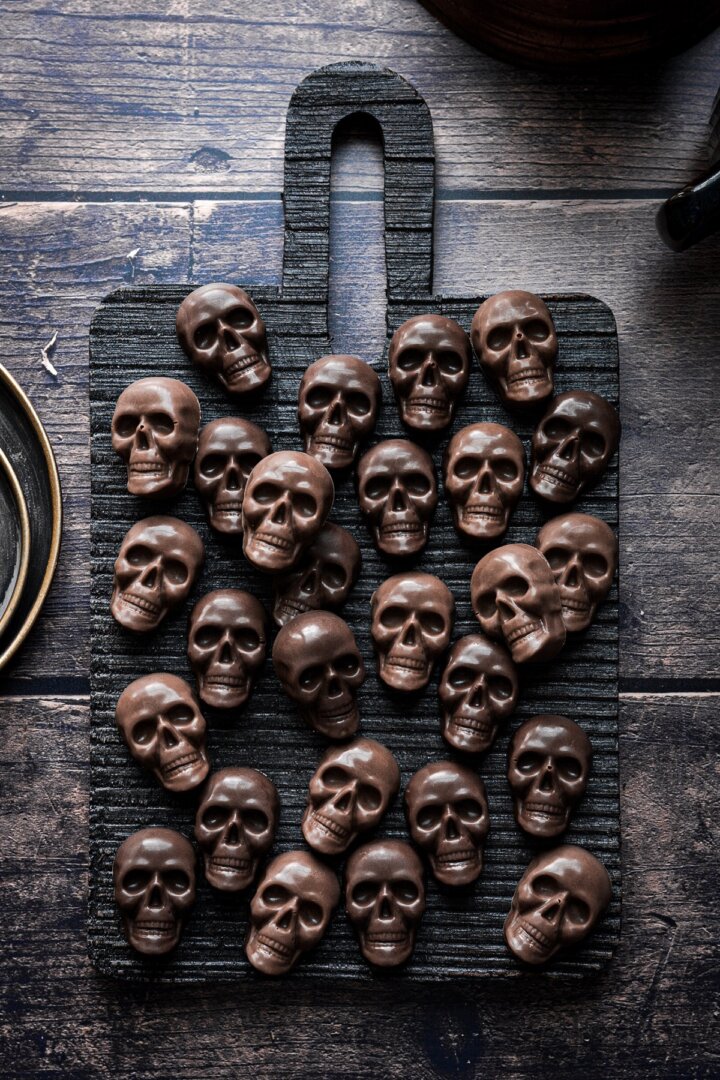
- Set the mold in the freezer for 15 minutes to harden the chocolate, then pop the skulls out of the molds. Refrigerate the chocolate skulls until needed to decorate your chocolate skull cake.

Be sure to read all of my BAKING FAQs where I discuss ingredients, substitutions and common questions with cake making, so that you can be successful in your own baking! I also suggest reading these comprehensive posts on making Perfect American Buttercream, How to Stack, Fill, Crumb Coat and Frost Layer Cakes and How to Use Piping Bags.
Frequently Asked Questions
Leftover cake should be stored in an airtight container or cake carrier, at room temperature, for up to 3 days.
What mold did you use to make the chocolate skulls?
I found this skulls silicone candy mold at my local Michaels. It makes chocolate skulls that are about 1 x 1 1/2 inches in diameter, and each mold holds around 1/2 ounce of chocolate, so I was able to make 2 dozen skulls with 12 ounces of chocolate.
You can also find lots of silicone skull molds on Amazon, but from what I could find, I didn’t like the designs as much as the one from Michaels, or the skulls were very small, about the size of gummy bears.
Can I melt chocolate chips to make the skulls?
I don’t recommend using chocolate chips for melting, since they contain stabilizers that prevent them from melting smoothly. It’s best to either use candy melts or chop up bars of chocolate. The skulls look great made from black candy melts or cocoa candy melts.
Can I make this chocolate skull cake ahead of time and freeze it?
You can freeze the frosted cake (without the skulls) in an airtight container for up to 2 weeks. For the chocolate skulls, you can make them a few days in advance, and keep them refrigerated in an airtight container until you’re ready to decorate your cake.

You Might Also Like
Please check out my Amazon Shop for a curated collection of some of my favorite cake pans from trusted brands, baking tools, ingredients, pretty things and fashion finds. I recommend products that I buy and use every day!
Did you love today’s recipe? Please rate the recipe and let me know in the comments what you thought! Also, be sure to follow Curly Girl Kitchen on Instagram, and tag me when you try one of my recipes so I can see all your delicious creations!

High Altitude Ginger Chocolate Skull Cake for Halloween
All recipes on Curly Girl Kitchen are developed for high altitude at 5,280 feet. See FAQs for adjusting to higher or lower elevations.
Equipment
- Stand Mixer with Paddle Attachment
Ingredients
Cake
- 3 ¼ cups cake flour, spooned and leveled, then sifted
- 1 ¼ cups granulated sugar
- 3 tsp baking powder
- 1 tsp coarse Kosher salt (if using table salt, use half the amount)
- 1 tbsp ground ginger
- 2 large eggs, room temperature
- 2 large egg whites, room temperature
- 1 ½ cups whole milk, room temperature
- 1 tsp apple cider vinegar
- ¼ cup light brown sugar, lightly packed
- ½ cup unsalted butter, melted, and then cooled for 10 minutes
- ½ cup vegetable oil
- 2 tsp vanilla extract
Buttercream
- 2 cups unsalted butter, softened to room temperature
- 3 cups powdered sugar
- 1 cup unsweetened Dutch processed cocoa powder
- 1 tbsp meringue powder (optional)
- ¼ tsp coarse Kosher salt (if using table salt, use half the amount)
- 2 tsp vanilla extract or vanilla bean paste
- 2 tbsp milk or cream, only if needed for consistency
Chocolate Skulls
- 12 oz chocolate candy melts
- 1-2 tbsp solid coconut oil, if needed to thin the chocolate
Instructions
Cake
- Preheat the oven to 350 F, position a rack in the center of the oven, and spray the bottoms of three 8-inch cake pans with non-stick baking spray. If making half the recipe, spray three 6-inch cake pans with non-stick baking spray. (The photographed cake in today's post is a three layer 6-inch cake.)
- In a bowl, sift together the cake flour, sugar, baking powder, salt and ground ginger. Use a whisk to combine the dry ingredients well.
- In another large bowl, whisk together the eggs, egg whites, milk, apple cider vinegar, brown sugar, melted butter, oil and vanilla extract until smooth.
- Add the dry ingredients to the wet, and whisk until combined, about 10-15 seconds. A few lumps in the batter are okay; take care not to over mix. Divide the batter between the cake pans. Tap a few times against the counter to pop any large air bubbles.
- Bake 8-inch cakes for about 21-25 minutes (bake 6-inch cakes for about 18-20 minutes), or until a cake tester or a toothpick comes out clean, and the tops spring back when lightly touched.
- Set the pans on a wire rack, cover them loosely with a clean kitchen towel, and cool completely before frosting. When ready to frost and assemble the cake, remove the cakes from the pans. If the cakes are domed on top, use a sharp knife to slice off a small portion to level the cakes for stacking.
Buttercream
- In the bowl of your stand mixer fitted with the paddle attachment, beat the butter for 1 minute until smooth.
- With the mixer running on low, add the powdered sugar by spoonfuls, the cocoa powder, meringue powder and the salt, mixing until thick and combined.
- Add the vanilla; increase speed to medium and whip for 4-5 minutes, scraping the bowl down several times, until light and fluffy. Add the milk only if needed for desired consistency. Note that in warmer weather, when the butter is softer, you'll rarely need to add the milk.
- Fill and frost the cooled cakes with the buttercream.
Chocolate Skulls
- Working with half the chocolate candy melts at a time, melt the chocolate in a heat-proof bowl over a double boiler, stirring with a spatula until smooth. If the chocolate is too thick and stiff, add the coconut oil, a teaspoon at a time, until it smooths out.
- Set the silicone skull mold on a baking sheet to keep it steady. Spoon the melted chocolate into the molds, filling them just halfway full. Rap the baking sheet firmly against the counter to settle the chocolate into all the grooves of the molds. Then use a toothpick or cake tester to swirl the chocolate around in the molds, making sure there are no gaps or air bubbles, especially in the small grooves around the nose and eye sockets. Spoon more melted chocolate into the molds to fill them full.
- Set the mold in the freezer for 15 minutes to harden the chocolate, then pop the skulls out of the molds. Refrigerate the chocolate skulls until needed to decorate your cake.
- The mold I used makes chocolate skulls that are about 1 x 1 1/2 inches in diameter, and each mold holds around 1/2 ounce of chocolate, so I was able to make 2 dozen skulls with 12 ounces of chocolate.

Just a quick question. How the recipe is written is for the three 8 inch pans correct?
Yes, that’s correct.
Thank you!