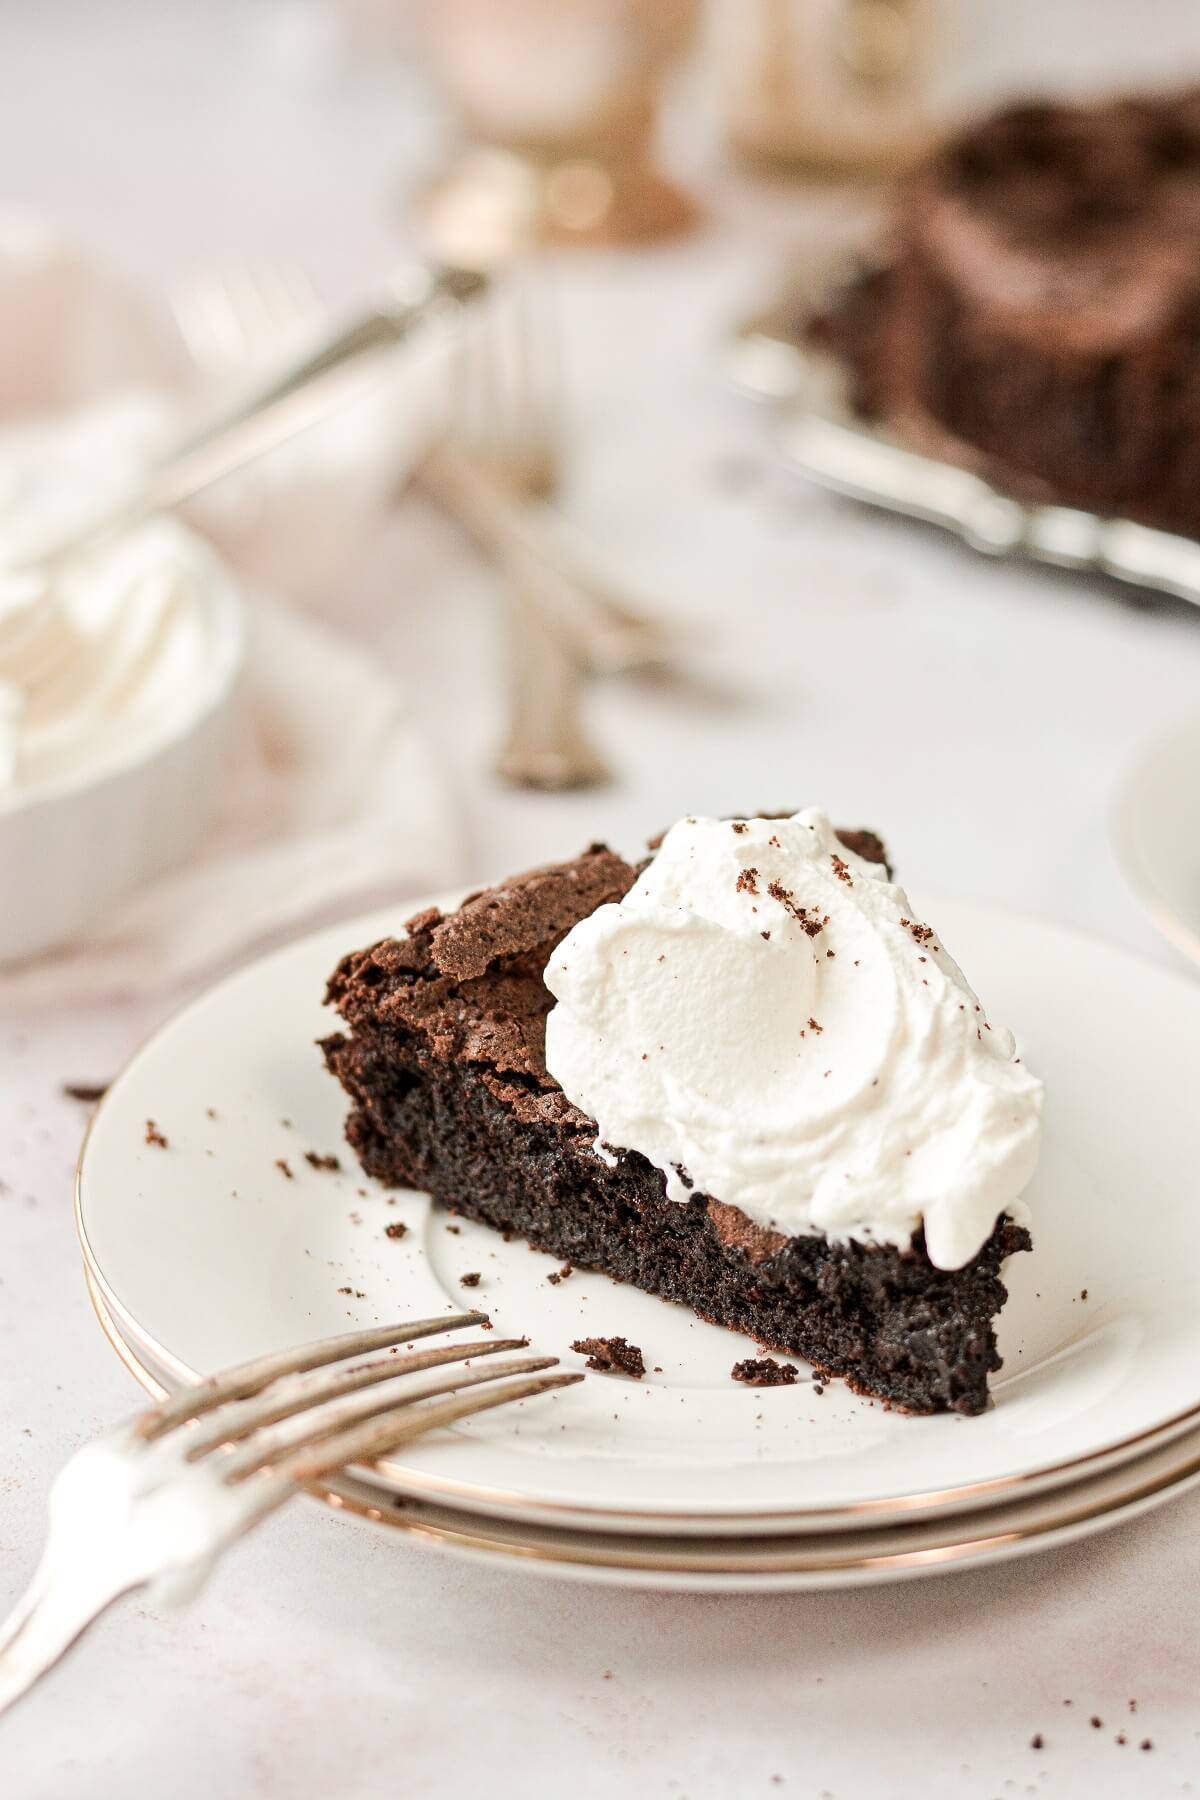
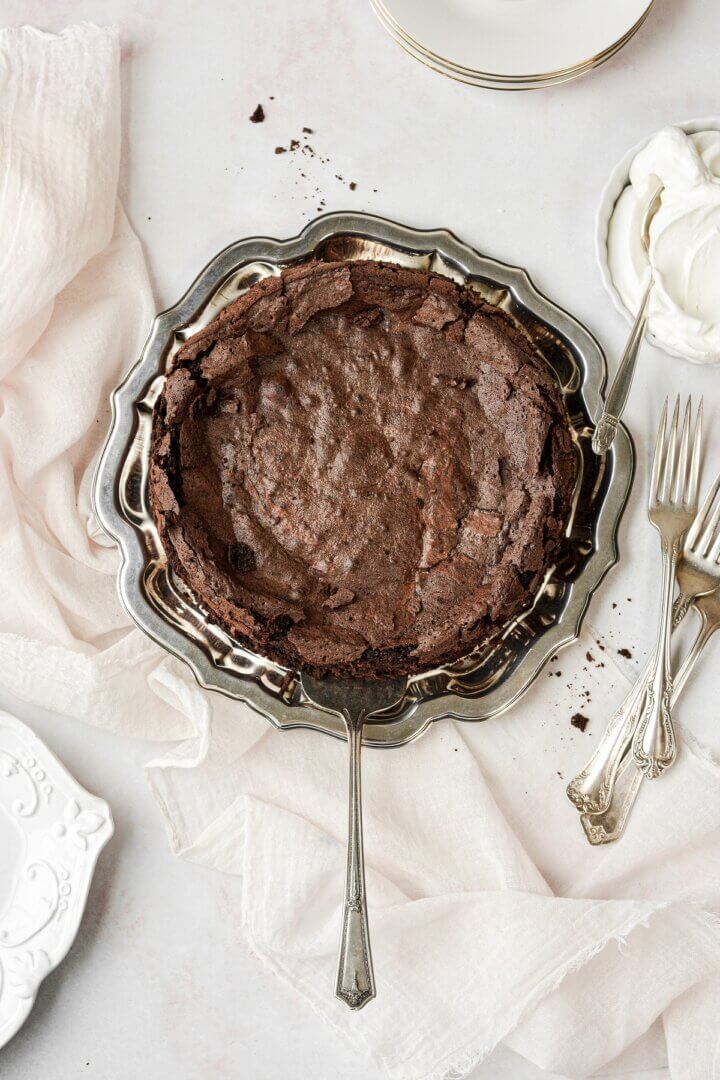
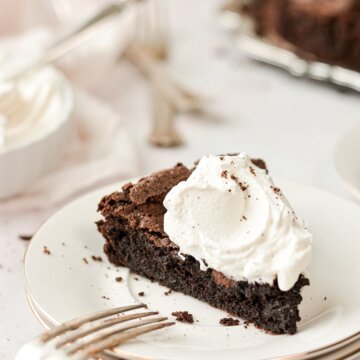
This high altitude flourless chocolate cake is rich and decadent, and so easy to make. Imagine a cake that looks like a fudge brownie, with a crackly meringue crust on top, and an incredibly soft, moist and creamy texture underneath. It’s naturally gluten free, and only requires a few simple staple ingredients to make the cake batter. Top each slice with lightly sweetened, bourbon vanilla whipped cream for a truly incredible dessert.
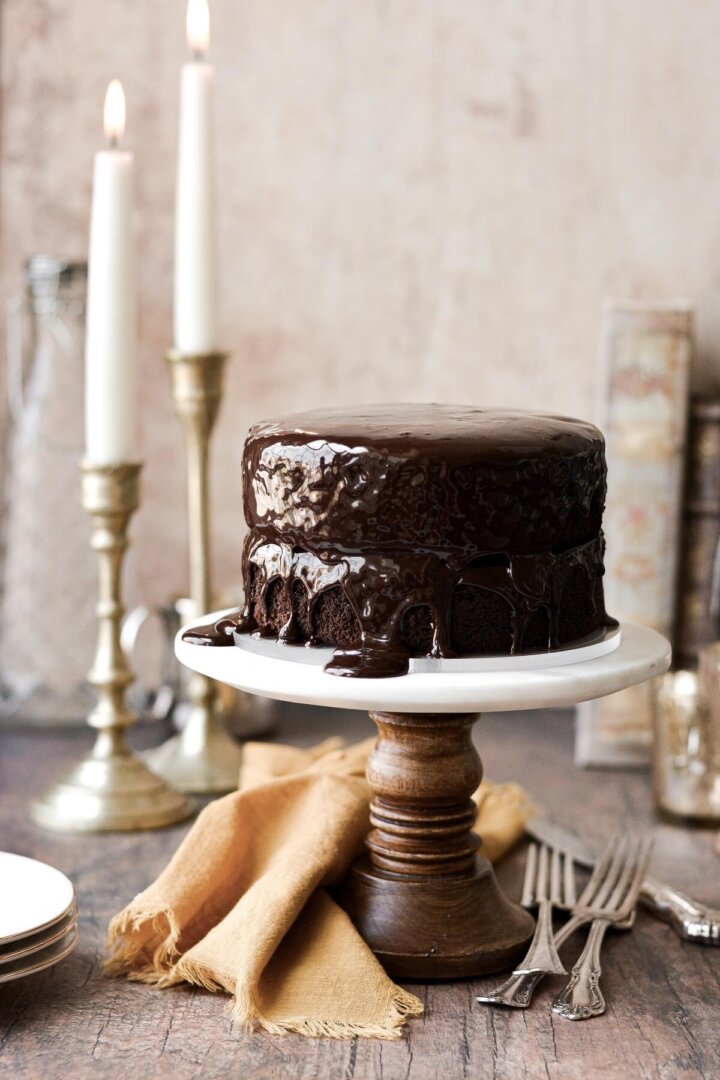
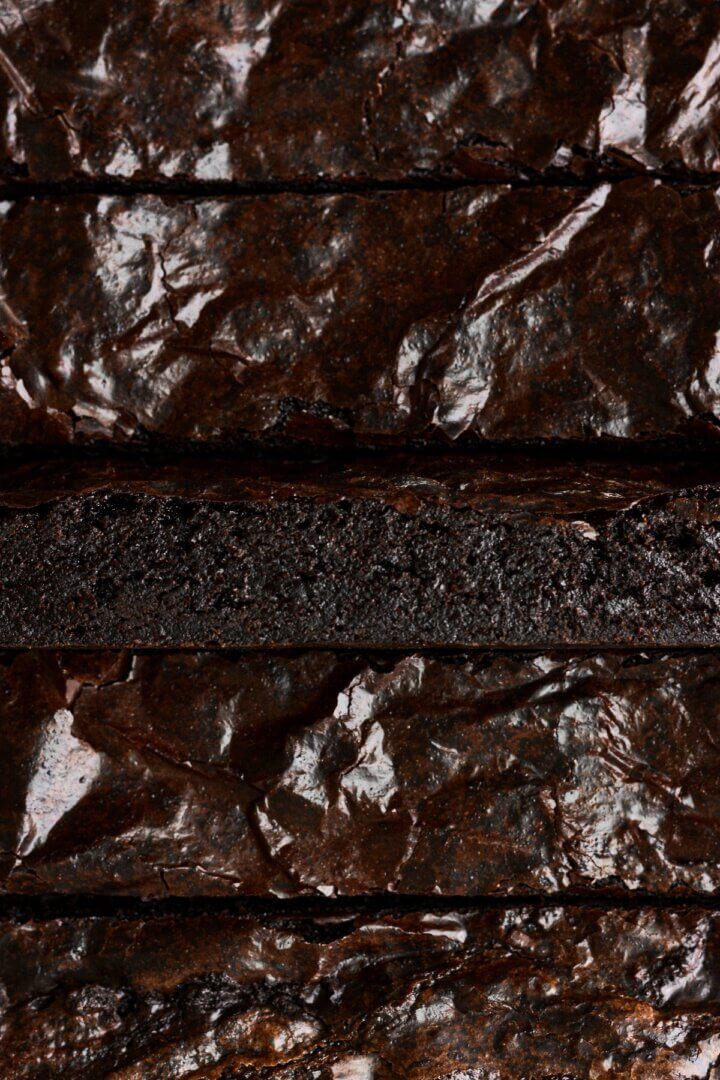
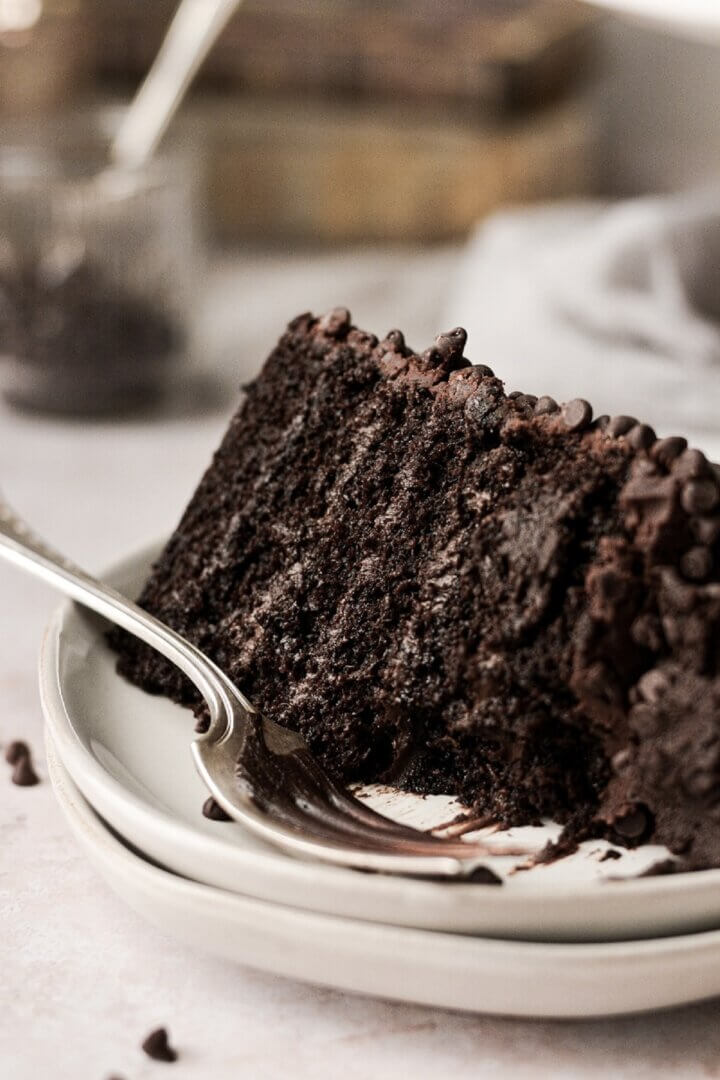
You might also love this chocolate fudge cake with ganache, brownie shortbread bars, and chocolate truffle cake.
This site contains affiliate links. As an Amazon associate, I earn from qualifying purchases. This means that I may make a small commission if you purchase a product using those links. This in no way affects my opinion of those products and services. All opinions expressed on this site are my own.
Why You’ll Love This Cake
Double Chocolate. A combination of melted dark chocolate and Dutch-processed cocoa powder gives this cake a rich, deep, intensely chocolatey flavor and wonderful texture.
Gluten Free. With no flour or grain-based ingredients, this cake is naturally gluten free.
Bourbon Whipped Cream. You could make regular whipped cream, of course, but a little bourbon takes it to the next level of deliciousness.
Easy and Simple. This is a very easy cake to make, with just a few simple ingredients and an uncomplicated method for mixing the batter and baking the cake. The rustic look of the cake is unfussy, and is just wonderful topped with whipped cream, ice cream or caramel sauce.
High Altitude Tested. I develop all the recipes on my site for Denver’s altitude of 5,280 feet. If you’re at a lower or higher elevation, please see my FAQs for guidance on adjusting recipes for your altitude.
TIP: Choose a good-quality dark chocolate between 55-65% cacao. Chocolate chips don’t melt as smoothly, and are not recommended for this cake.
Ingredients
Cake
- Chocolate. A good-quality chocolate will give your flourless chocolate cake the best flavor. I recommend choosing a dark chocolate between 55-65% cacao.
- Unsalted Butter. Adds fat, richness and flavor, and a moist, creamy texture.
- Eggs. Gives the cake structure, and leavens the batter as it bakes, so the cake puffs up a bit like a souffle, with a crackly, meringue crust on top.
- Granulated Sugar. Adds sweetness and moisture.
- Vanilla Extract. Flavor.
- Cocoa Powder. The cocoa powder takes the place of the flour, and gives the cake structure. Use an unsweetened, Dutch-processed cocoa powder your cake.
- Espresso Powder. Deepens and enhances the flavor of the chocolate, but does not make the cake taste like coffee.
See the recipe card at the end of the post for the full ingredients list and instructions.
Instructions
Cake
- Preheat the oven to 325 F, and position a rack in the center of the oven. Lightly spray an 8-inch springform pan with a removable bottom with non-stick baking spray.
- Using a double boiler, melt the chocolate and butter, then stir together until smooth.
- Meanwhile, combine the eggs, sugar and vanilla in a bowl. Use an electric mixer to beat the egg mixture on medium speed for 5 minutes. It will increase in volume and become lighter in color.
- Whisk the melted butter and chocolate into the whipped egg mixture until smooth.
- Sift the cocoa powder and espresso powder over the batter and whisk until smooth. Pour the batter into the pan.
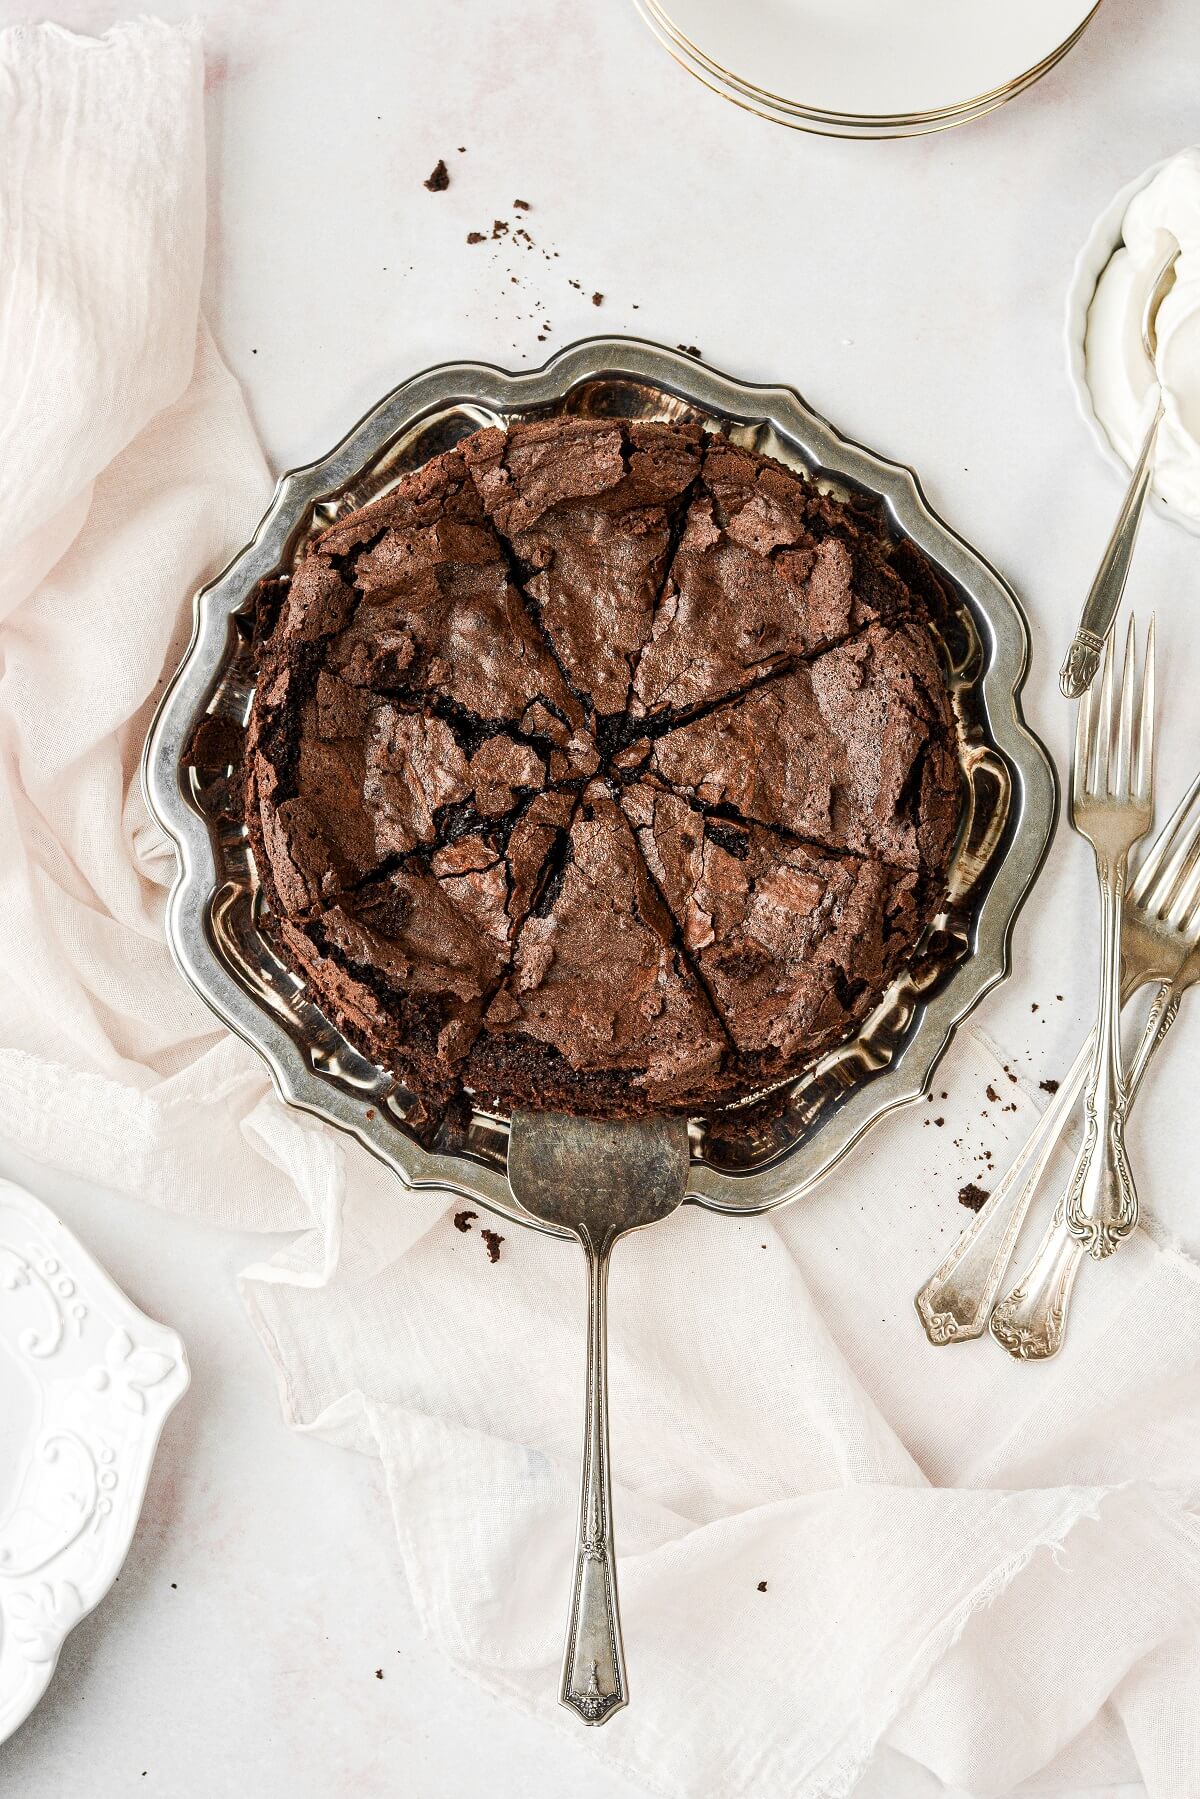
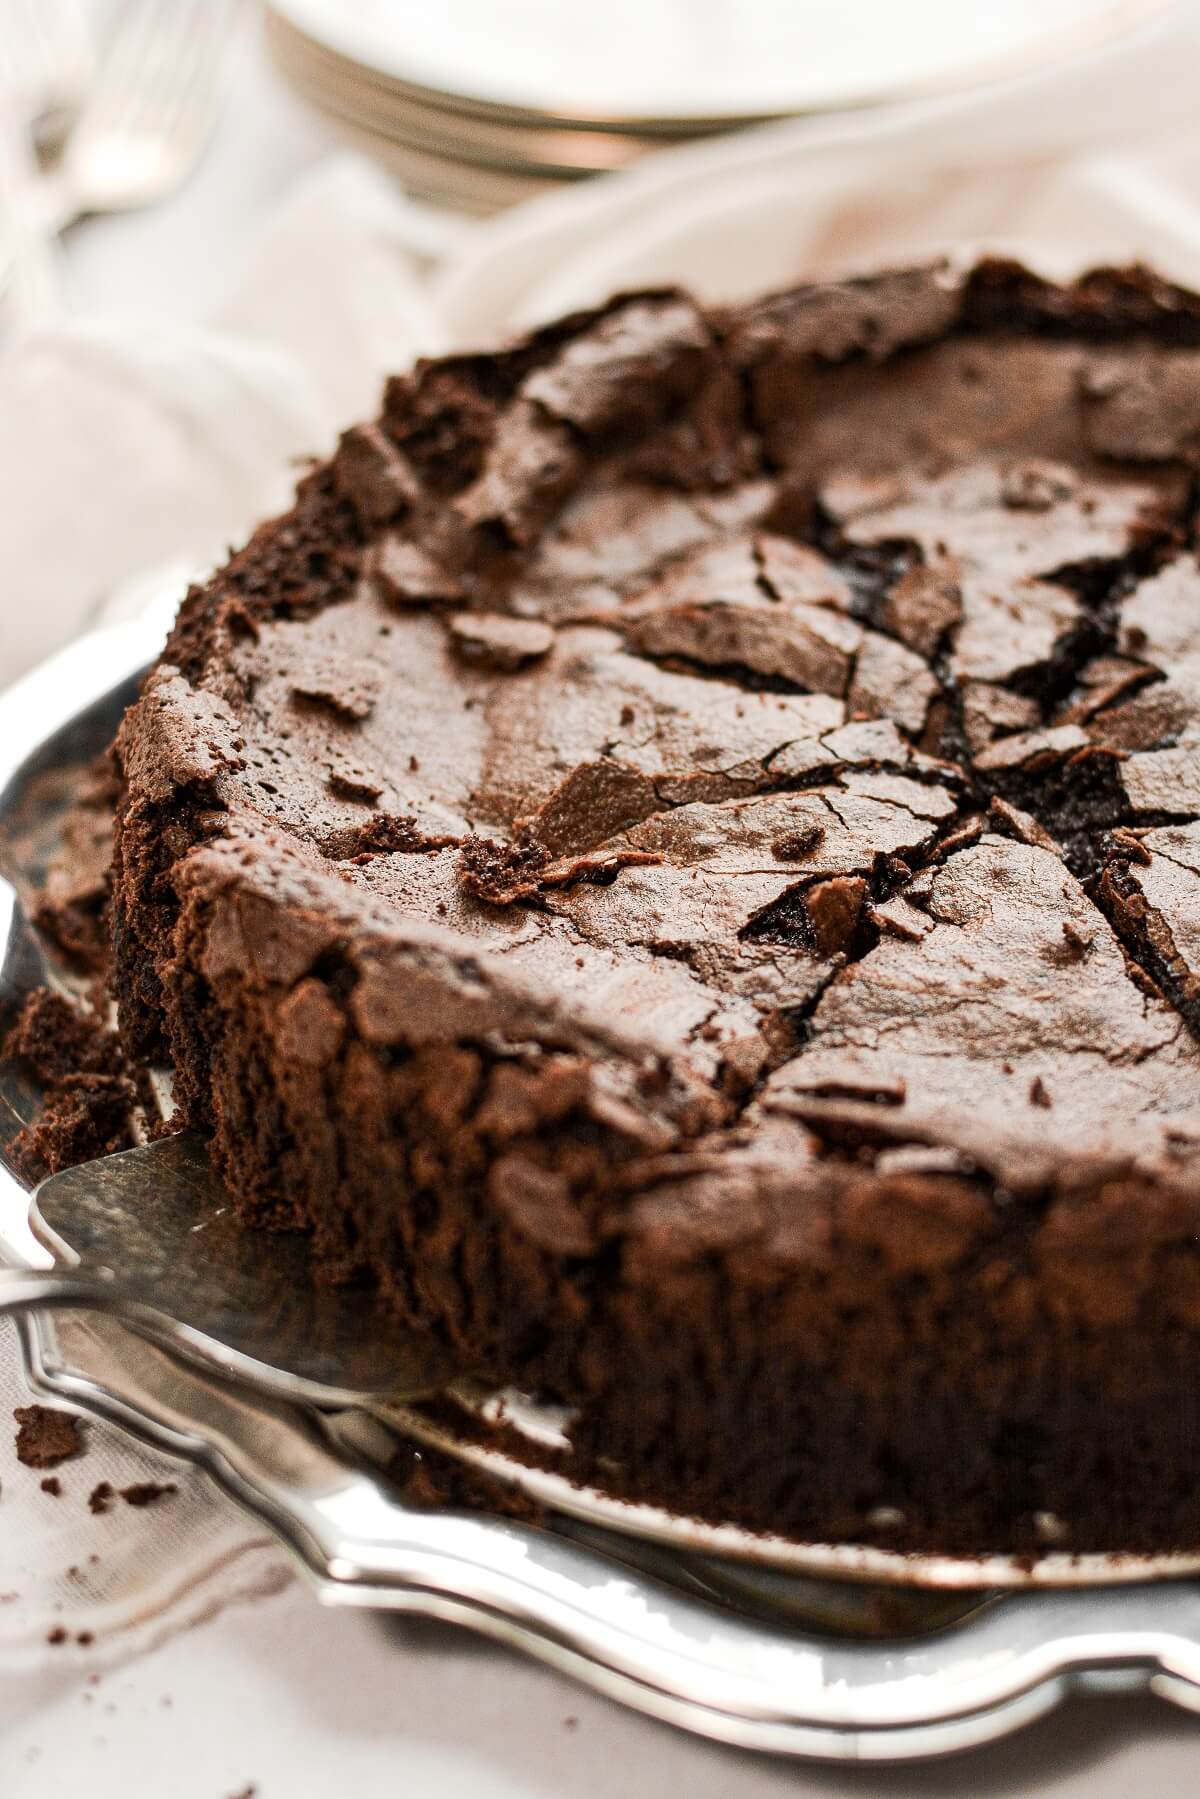
- Bake the cake for 25 minutes. The cake will puff up quite a bit, with a crackly surface on top. Set the pan on a cooling rack. Immediately run a knife around the side to loosen the cake from the pan, but leave the cake in the pan.
- As the cake cools, it will settle back down and will not look nearly as puffed as when you first took it out of the oven. This is completely normal and is nothing to worry about. If the edges are higher, you can just gently press them down a bit so the cake is the same thickness across. Cool for at least 2-3 hours before serving.
Whipped Cream
- Whip the cream, bourbon, vanilla and powdered sugar with an electric mixer until soft, fluffy peaks form.
- Remove the sides of the pan, and cut the cooled cake into 8 pieces. The surface will be crackly, with a very moist, soft and fudgy texture underneath.
- Serve each slice of cake with the whipped cream.
Topping Ideas
- Berries or Fruit Sauce. Flourless chocolate cake is fantastic with any type of berry, or perhaps a fruit compote or coulis.
- Salted Caramel Sauce. For a truly decadent treat, drizzle slices of the cake with salted caramel sauce, or toffee butter bourbon sauce.
- Whipped Cream. Add bourbon like I did in today’s recipe, or keep it plain with just vanilla extract. Vanilla bean paste would make it even more special, or add a teaspoon or two of espresso powder for a mocha whipped cream.
- Ice Cream. Vanilla or salted caramel ice cream is fantastic with this cake.
- Chocolate Ganache. Add even more chocolate flavor and a beautiful finish to the cake with a layer of rich ganache, made from equal parts (by weight) chocolate and heavy whipping cream.
- Toasted Meringue. While I’m not that big a fan of meringue, I do like the idea of topping the cake with crumbled graham crackers and toasted meringue for a delicious s’mores cake.
Be sure to read all of my BAKING FAQs where I discuss ingredients, substitutions and common baking questions, so that you can be successful in your own baking!
Frequently Asked Questions
Should I use chocolate chips or chopped chocolate?
Chocolate chips don’t melt as smoothly, since they have ingredients to prevent them from melting. However, you can still use them in this cake with good results. A good-quality chocolate will give your flourless chocolate cake the best flavor, though. I recommend choosing a dark chocolate between 55-65% cacao.
What kind of cocoa powder should I use?
A dark, unsweetened, Dutch-processed cocoa powder is best, such as Rodelle or Drost.
Can this recipe be doubled?
No, I wouldn’t recommend it, as the cake won’t bake properly.
Is the cake supposed to deflate after I take it out of the oven?
Yes, this is completely normal. The whipped eggs cause the cake to puff up quite a bit as the cake bakes, and then deflate as it cools.
Do I have to use a springform pan?
It is necessary to use a springform pan, which has a base attached to removable sides, so you can easily unmold the cake. This cake is very fragile, and might fall apart if you try to turn it out of a standard cake pan.
Is this cake dense like brownies?
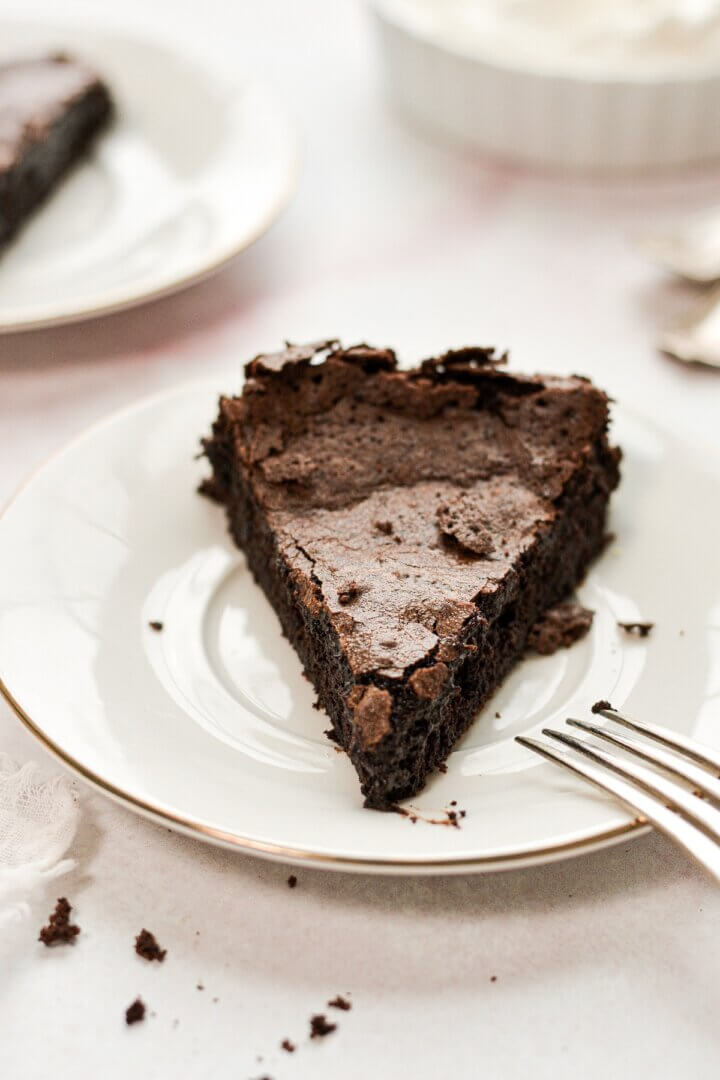
It is very brownie like, with a rich, fudgy texture, although it is more moist and not quite as dense as brownies.
Should I refrigerate the leftover cake?
This cake does not need to be refrigerated. Cover it tightly with plastic wrap or store it in an airtight container at room temperature for up to 3 days. The whipped cream, of course, needs to be refrigerated.
Can I leave the bourbon out of the whipped cream?
You sure can! Just leave the bourbon out, and make the whipped cream as instructed.
You Might Also Like
Please check out my Amazon Shop for a curated collection of some of my favorite cake pans from trusted brands, baking tools, ingredients, pretty things and fashion finds. I recommend products that I buy and use every day!
Did you love today’s recipe? Please rate the recipe and let me know in the comments what you thought! Also, be sure to follow Curly Girl Kitchen on Instagram, and tag me when you try one of my recipes so I can see all your delicious creations!
High Altitude Flourless Chocolate Cake (GF)
All recipes on Curly Girl Kitchen are developed for high altitude at 5,280 feet. See FAQs for adjusting to higher or lower elevations.
Equipment
- Electric Mixer (Stand or Hand-Held)
- 8-inch Springform Pan with Removable Bottom
Ingredients
Cake
- 8 oz good-quality chocolate, about 55-65% cacao, chopped
- 4 oz (1/2 cup) unsalted butter
- 4 large eggs
- ½ cup granulated sugar
- 1 tsp vanilla extract
- ¼ cup unsweetened, Dutch-processed cocoa powder, sifted
- 2 tsp instant espresso powder or instant coffee, optional (not regular ground coffee)
Whipped Cream
- ¾ cup cold heavy whipping cream
- 1 ½ tsp bourbon, optional
- ¾ tsp vanilla extract
- 2 tbsp powdered sugar
Instructions
Cake
- Preheat the oven to 325 F, and position a rack in the center of the oven. Lightly spray an 8-inch springform pan with a removable bottom with non-stick baking spray.
- Using a double boiler, melt the chocolate and butter, then stir together until smooth.
- Meanwhile, combine the eggs, sugar and vanilla in a bowl. Use an electric mixer to beat the egg mixture on medium speed for 5 minutes. It will increase in volume and become lighter in color.
- Whisk the melted butter and chocolate into the whipped egg mixture until smooth.
- Sift the cocoa powder and espresso powder over the batter and whisk until smooth. Pour the batter into the pan.
- Bake the cake for 25 minutes. The cake will puff up quite a bit, with a crackly surface on top. Set the pan on a cooling rack. Immediately run a knife around the side to loosen the cake from the pan, but leave the cake in the pan.
- As the cake cools, it will settle back down and will not look nearly as puffed as when you first took it out of the oven. This is completely normal and is nothing to worry about. If the edges are higher, you can just gently press them down a bit so the cake is the same thickness across.Cool for 2-3 hours before serving.
Whipped Cream
- Whip the cream, bourbon, vanilla and powdered sugar with an electric mixer until soft, fluffy peaks form.
- Remove the sides of the pan, and cut the cooled cake into 8 pieces. The surface will be crackly, with a very moist, soft and fudgy texture underneath.
- Serve each slice of cake with the whipped cream.

That really looks yummy, especially because I really love chocolate! I hope I can bake something like that, too.
Love the decadence of this dessert!
Ooooh! I am going to have to try this!
A gorgeous flourless chocolate cake is a thing of beauty, seductive and simple and I hardly think anything can be done to improve it, 'coz its already so puh-fect. But let me tell you that you've done it.
If anything can add to a flourless chocolate cake then its a salted caramel glaze! Pure heaven!
Came out amazing! Very decedent, I’m very impressed, easy to follow directions.
Can I omit the cocoa powder if I dont have it?
I need to make this in a 9” spring form pan as a special request. How much should I increase the recipe by? Also, I have a cake spatula to move the cake from the base to a cardboard round – do you think this will work? Thank you in advance – can’t wait to try this!! 🙂
I would increase it by 1 1/2 times. To transfer the cake off the base, you should line the base of the pan with a circle of parchment paper – then slide your spatula under the paper to easily move the cake and paper to a cardboard round.
This sounds amazing! I live at 6,600 ft altitude. Do you think I need to make any adjustments?
You shouldn’t need to make any adjustments.