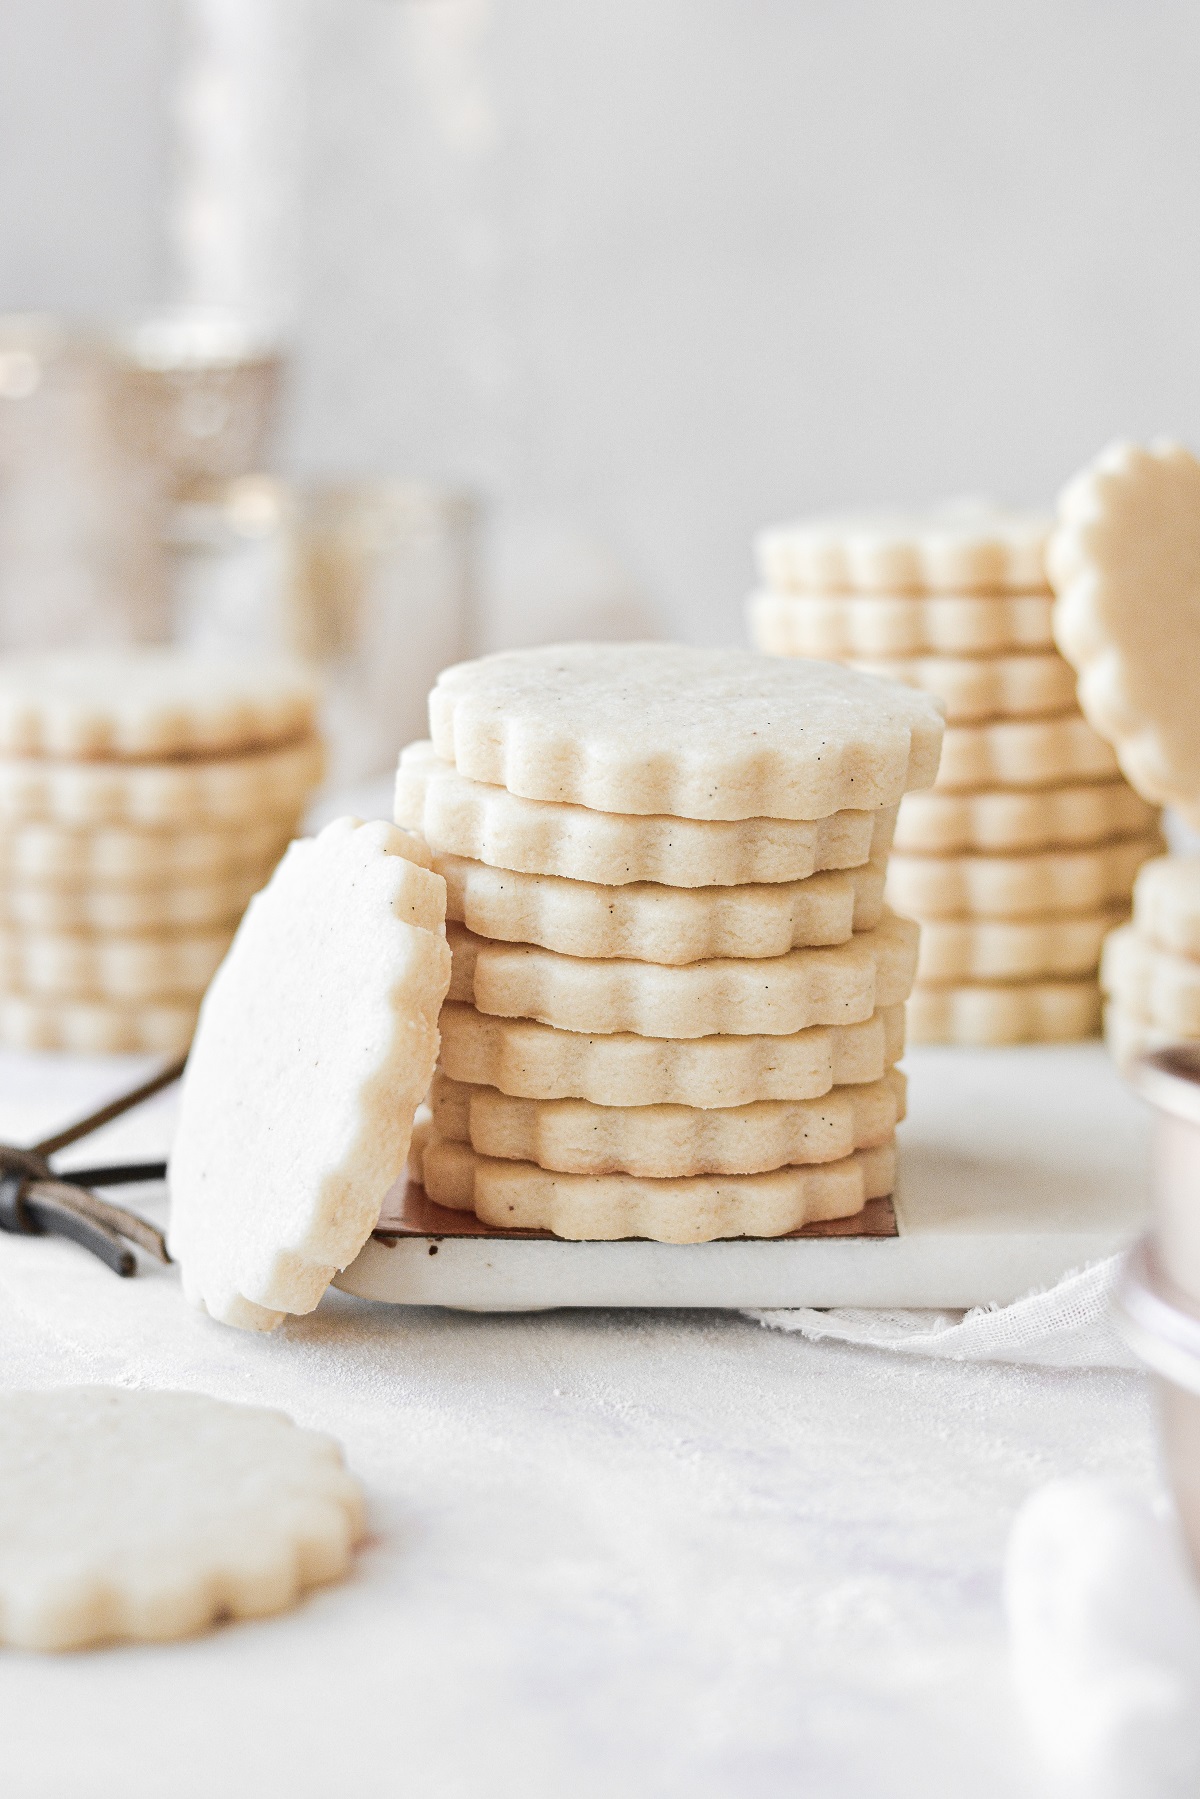
A good classic shortbread cookies recipe is one of the most versatile and adaptable pastries for bakers. Roll the dough out for perfectly shaped cutout cookies that don’t spread or lose their shape. And whether you’re baking at high altitude or at sea level, this recipe will work perfectly. Dip the cookies in chocolate and sprinkle them with toffee, or add finely chopped nuts to the dough. Experiment with different spices and extracts, and try various icings on top such as buttercream or royal icing.
Besides cookies, you can press the dough into a tart pan, bake, and then fill with custard and fruit. You can even use the dough as a crumb topping, which makes it perfect for all sorts of crumbly, fruit-filled cookie bars. Today’s comprehensive post will teach you how to easily make the most perfect, no spread shortbread cookie dough with step-by-step photos, as well as recipe variations and decorating ideas!
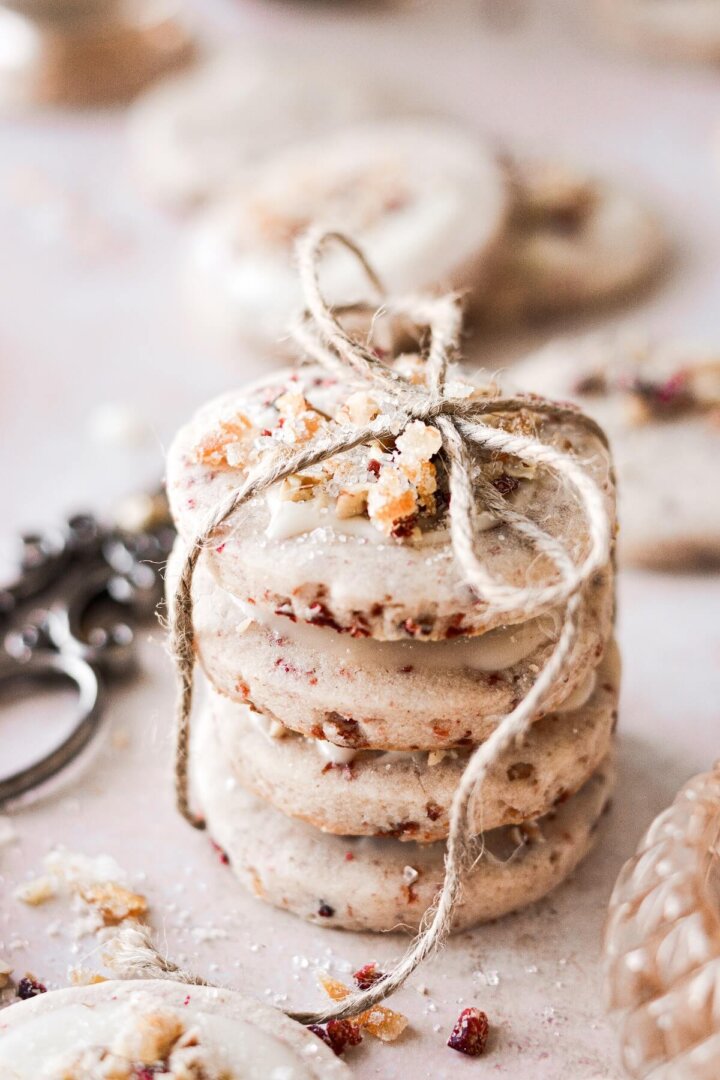
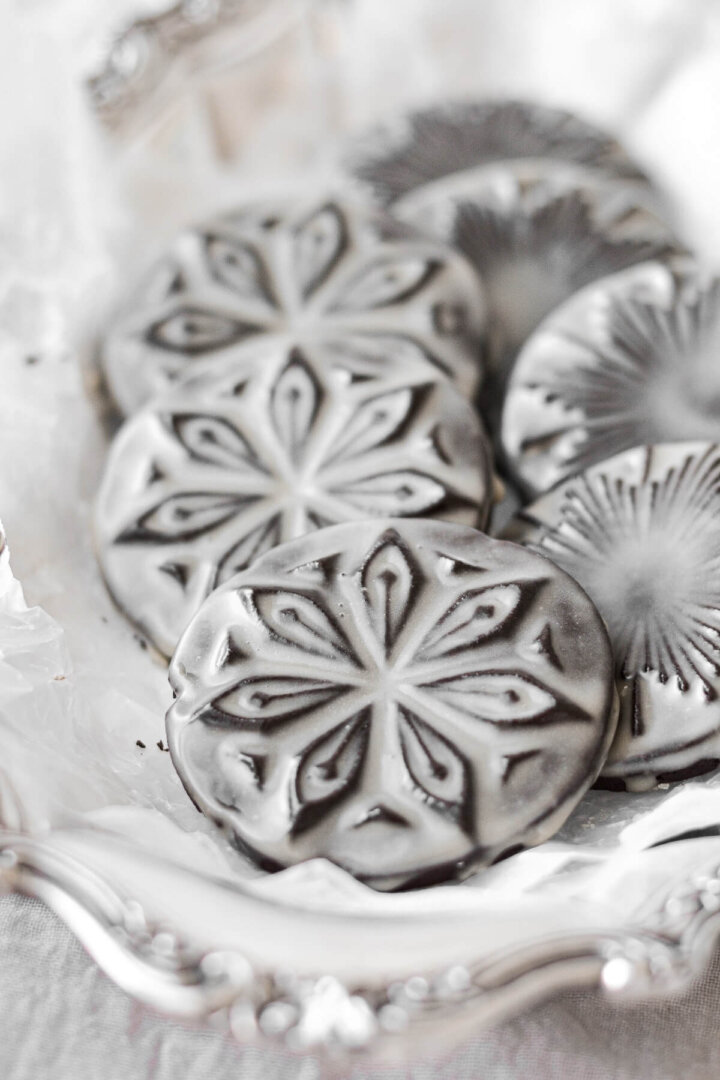
Looking for more cutout cookie recipes? You’ll love these stamped chocolate shortbread cookies with coffee icing, chocolate hazelnut linzer cookies, and pumpkin cookies with maple icing.
This site contains affiliate links. As an Amazon associate, I earn from qualifying purchases. This means that I may make a small commission if you purchase a product using those links. This in no way affects my opinion of those products and services. All opinions expressed on this site are my own.
What is Shortbread?
Shortbread is a traditional Scottish biscuit or cookie, known for its rich, buttery flavor and delicate, crumbly texture. It doesn’t contain leavening or eggs, so the cookies don’t rise or spread at all as they bake, making it a perfect cutout cookie recipe.
A “short” pastry is one with a high ratio of fat to flour and sugar, with little or no gluten development. Since the gluten is kept short, these cookies have a tender, crumbly, melt-in-your-mouth texture, unlike the chewy texture of leavened cookies, such as chocolate chip cookies.
Why You’ll Love These Cookies
Deliciously Buttery. The flavor of the butter really shines in shortbread cookies. You can experiment with different brands of butter, including some of the fancier European butters, to find the best flavor for your cookies.
Easy to Make. While you can make the dough with a pastry cutter, it’s really so quick and easy to make using a food processor. The dough comes together in just a couple of minutes, and by using a food processor, there’s no chance of overworking the dough which would result in tough cookies.
Versatile. There’s nothing you can’t do with these cookies. From spices to extracts to nuts and chocolate, there are hundreds of different ways you can customize this recipe.
High Altitude Tested. I develop all the recipes on my site for Denver’s altitude of 5,280 feet. If you’re at a lower or higher elevation, please see my FAQs for guidance on adjusting recipes for your altitude.
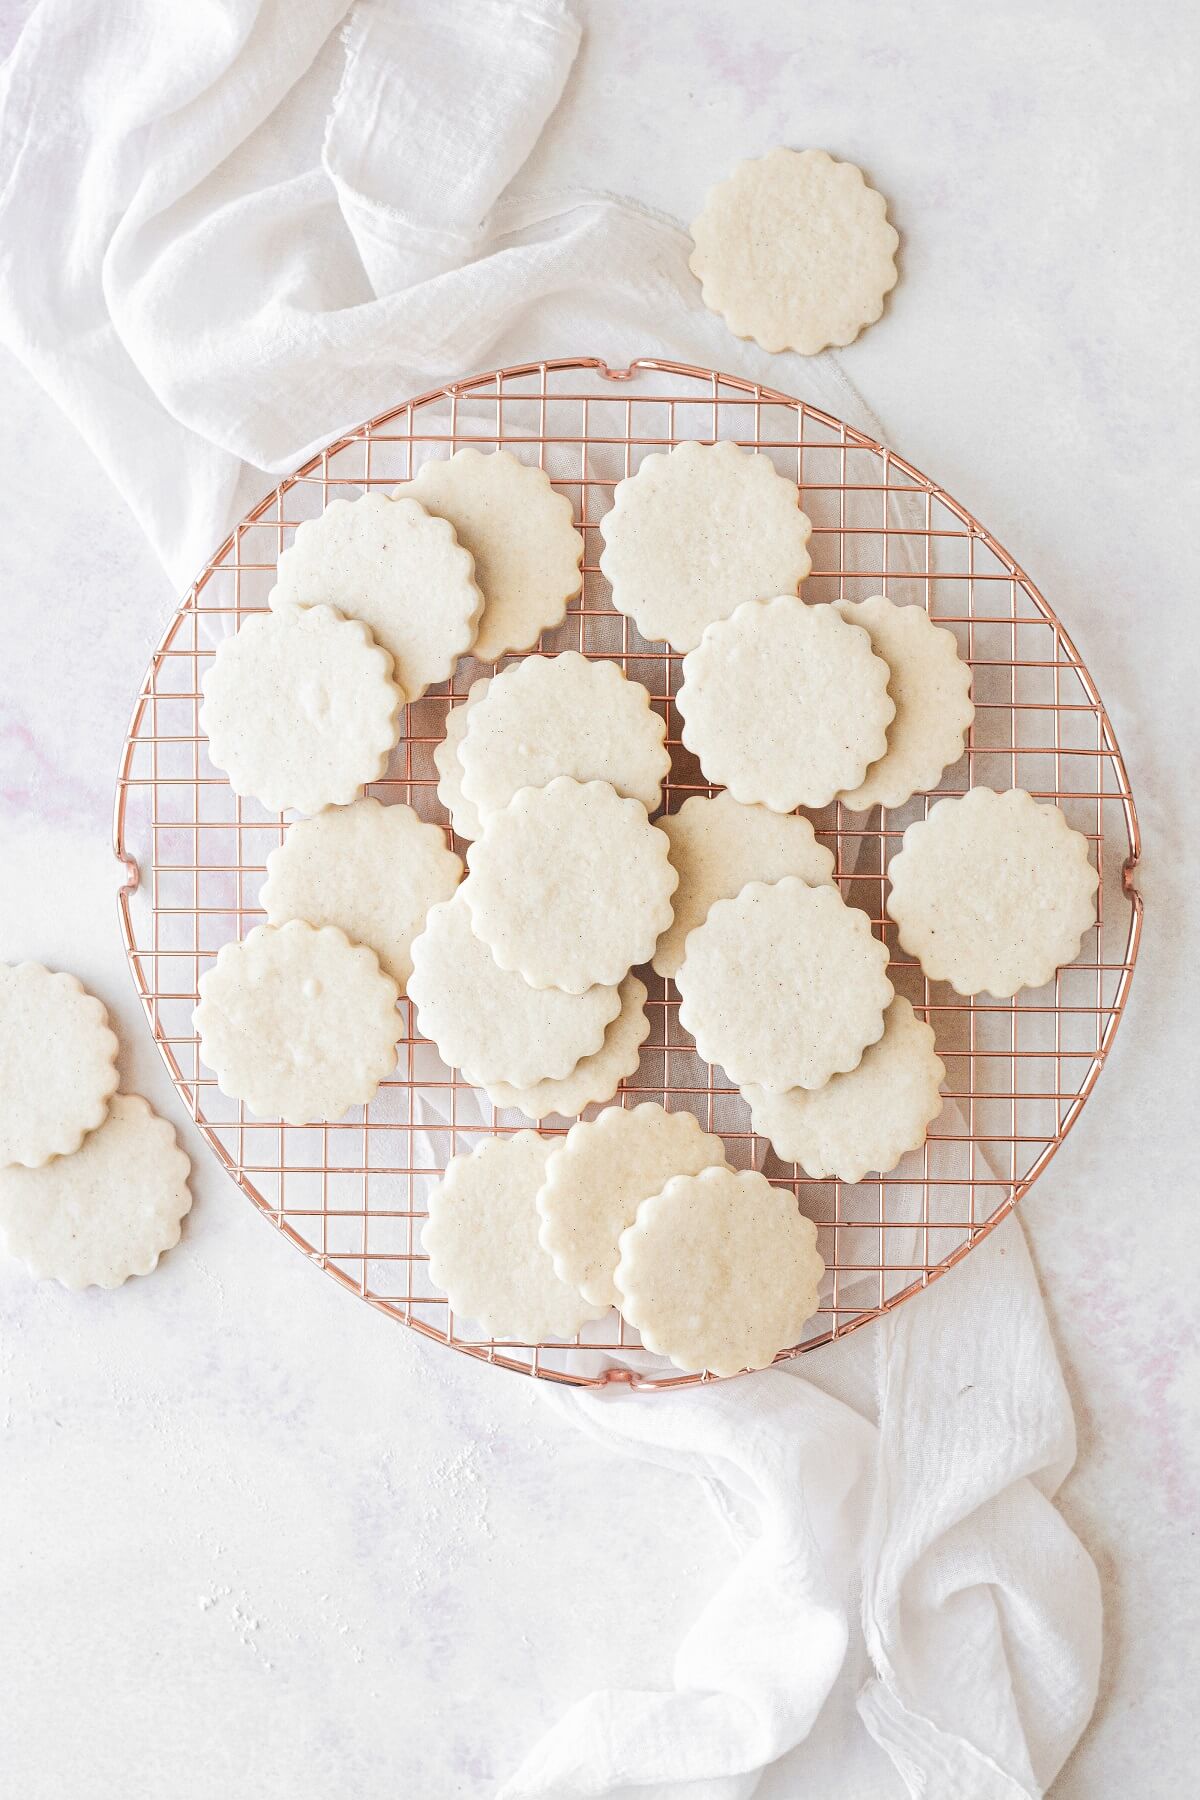
See the recipe card at the end of the post for the full ingredients list and instructions.
Ingredients
- All-Purpose Flour. Provides structure and strength to the cookie dough.
- Powdered Sugar. Sweetens the cookies, while the fine texture of the powdered sugar makes a softer cookie than granulated sugar.
- Salt. Coarse Kosher salt balances the sweetness.
- Unsalted Butter. Adds flavor, moisture, richness and fat. As the water in the butter evaporates, the steam creates tiny flaky layers for a very tender cookie.
- Vanilla. The vanilla adds flavor, and I prefer to use a real vanilla bean to get the best flavor and all those pretty specks in the cookies. I’ve been buying Tahitian vanilla beans online, and I find them to be very affordable. The vanilla bean flecks look just gorgeous in these cookies. You can also use vanilla bean paste, or a good quality vanilla extract.
- Cardamom. A little cardamom adds such a nice depth of flavor, but it’s completely optional, so feel free to leave it out.
- Milk. Without any eggs in the dough, I add a splash of milk, which moistens the dough and binds it together without adding any leavening, like an egg would do.
Instructions (with step-by-step photos)
Make the Dough.
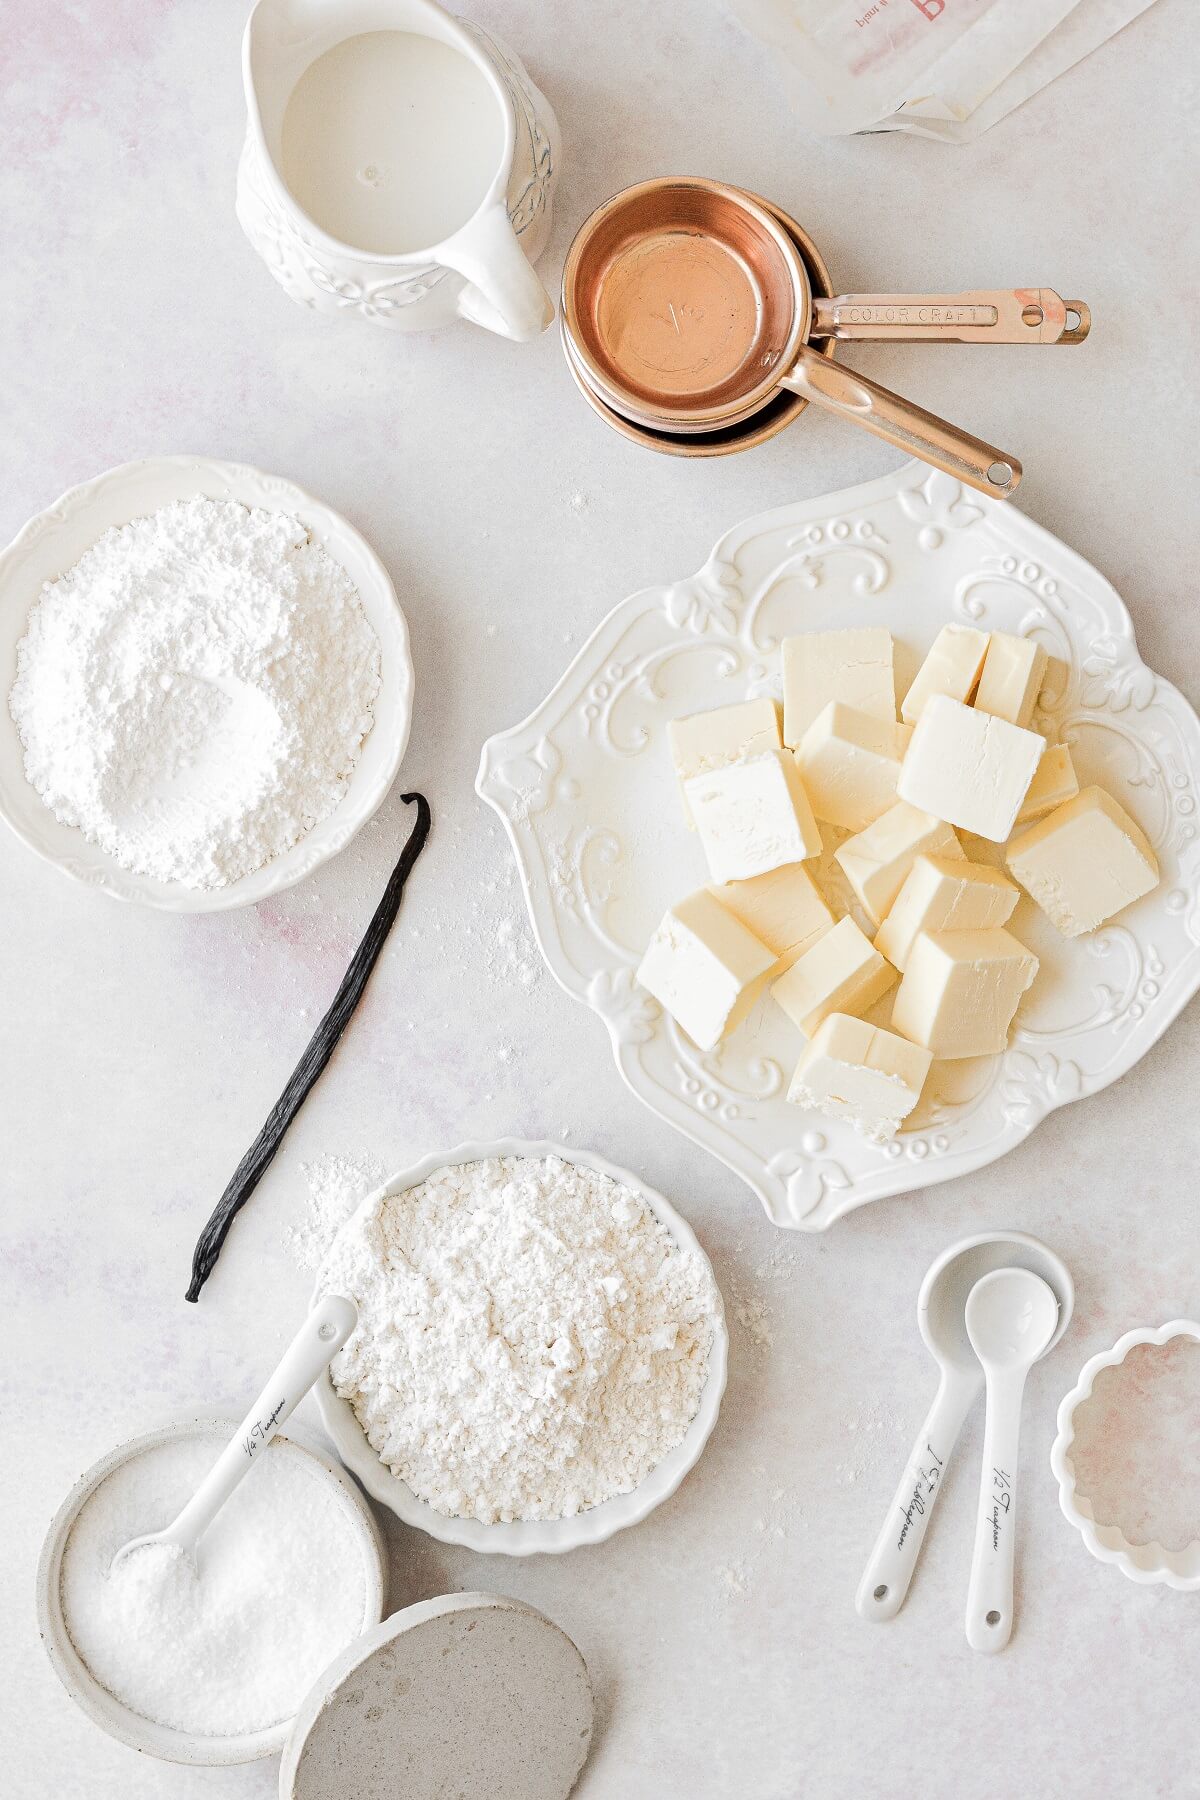
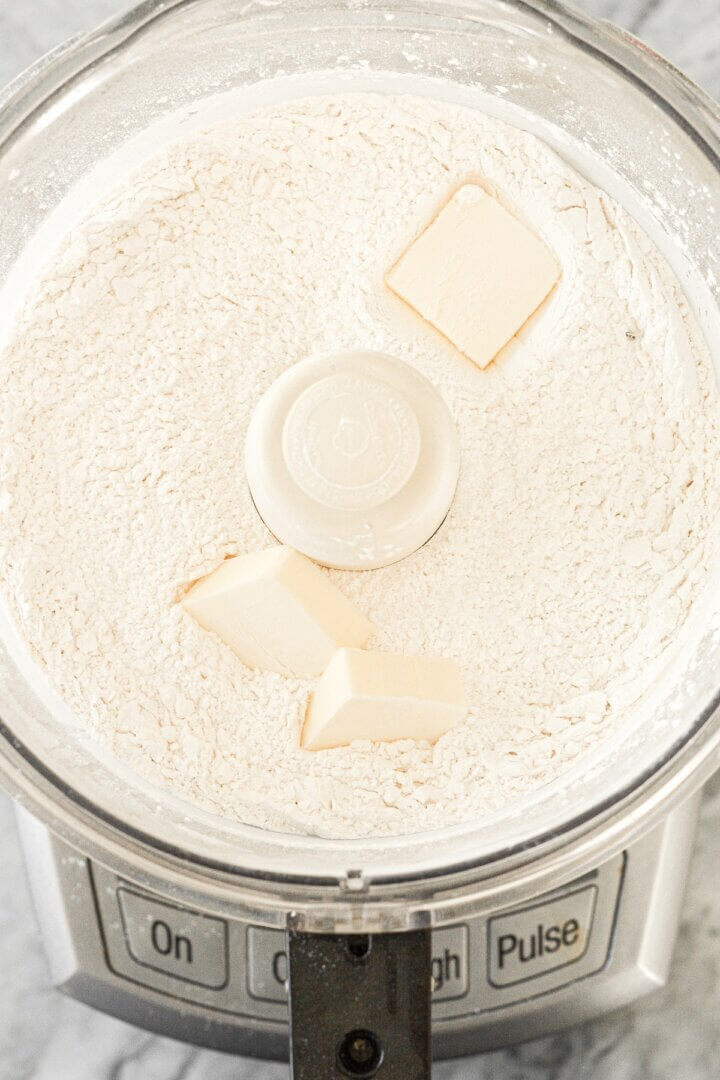
- In your food processor, pulse the flour, powdered sugar, salt, cardamom and vanilla until combined. (Image 1)
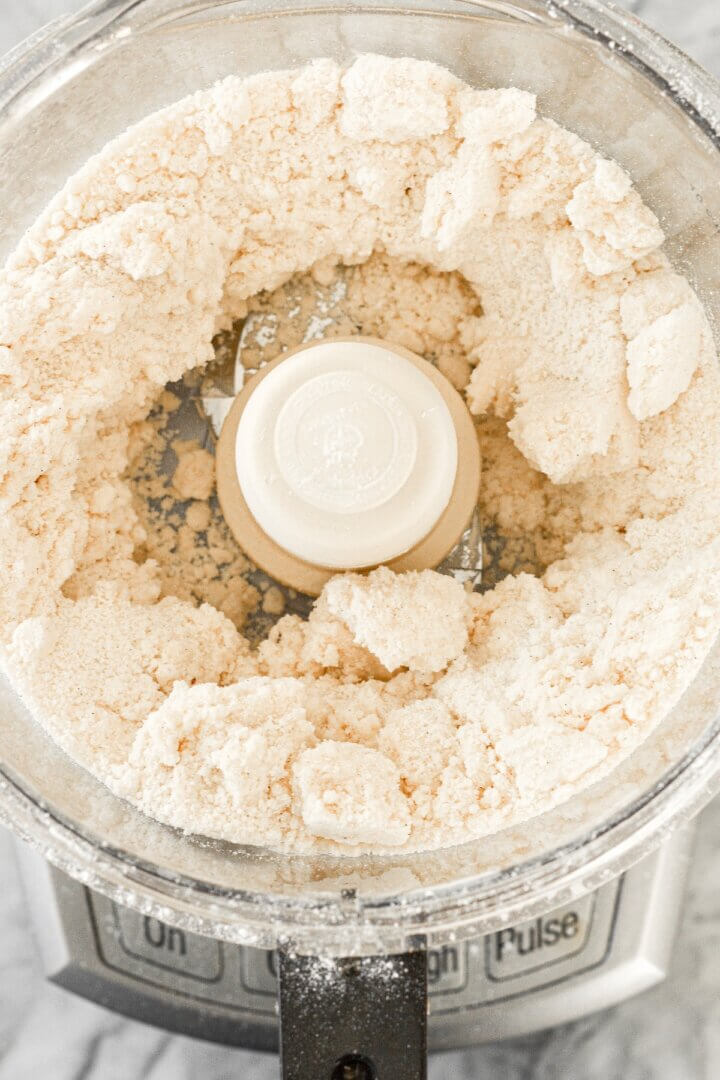
- With the processor running, drop in the pieces of butter, one at at time, pulsing a few times until the butter is evenly distributed, and the dough is moistened and crumbly. (Image 2)
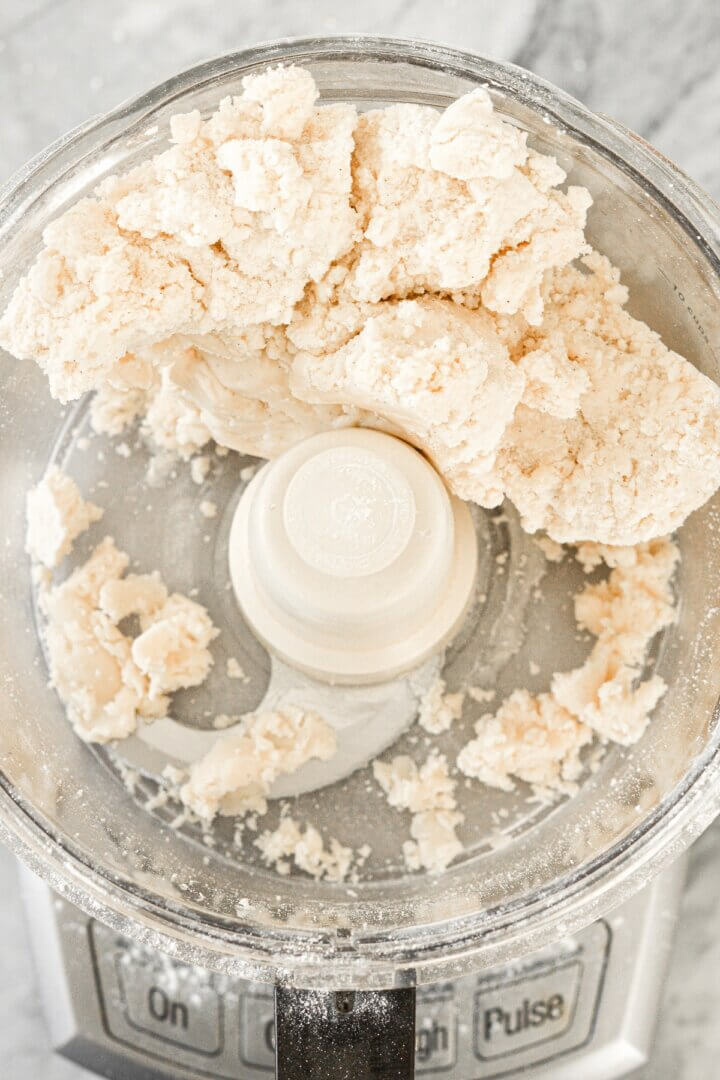
- Add the milk, then process until the dough starts to stick together. Stop when the dough starts to gather together on one side of the food processor. (Image 3 & 4)
Shape and Chill the Dough.
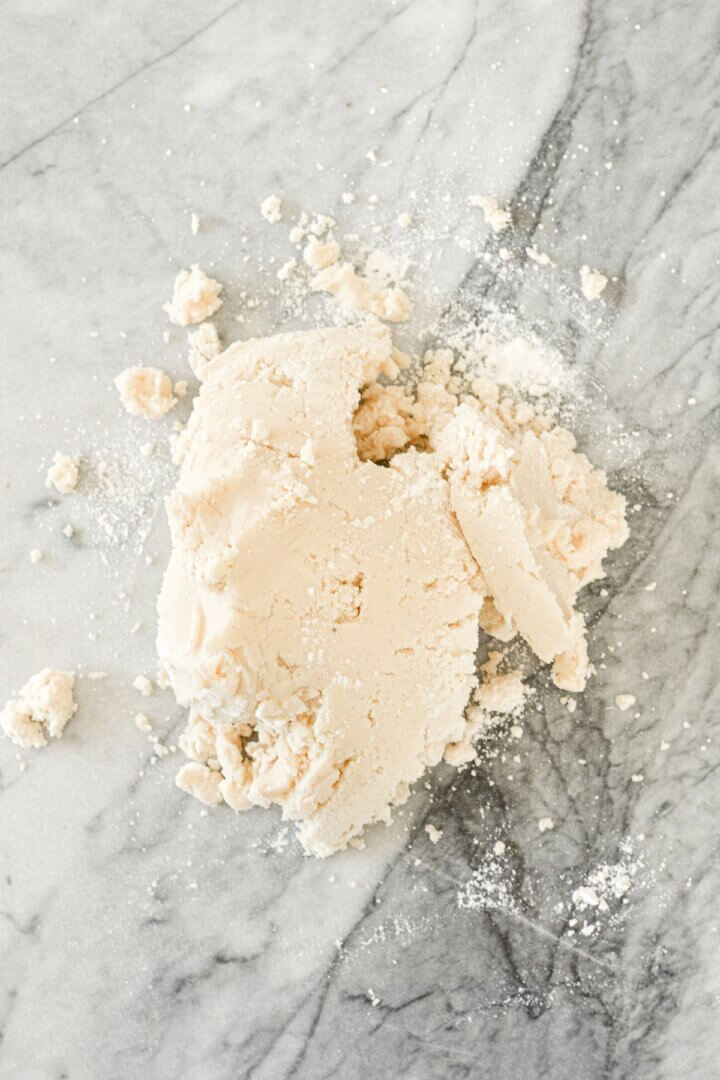
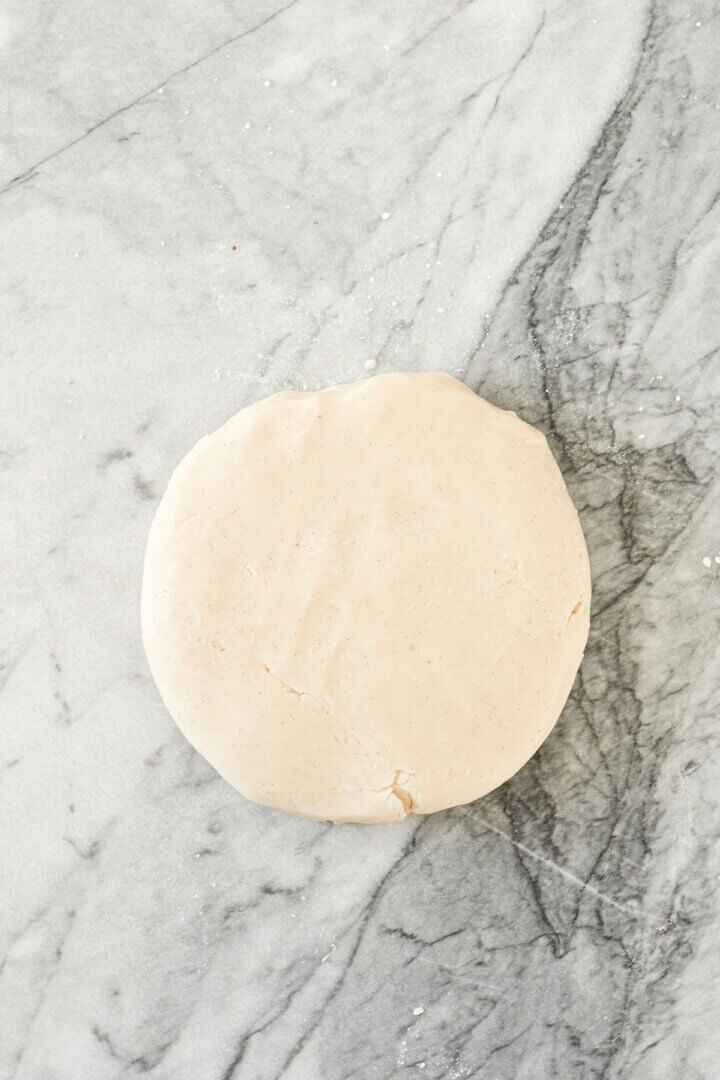
- Dump the dough out onto a clean counter and use your hands to finish bringing the dough together, kneading in any stray bits of flour. The dough should be soft, smooth and supple. (Image 5)
- Shape the dough into a flat disk, wrap in plastic wrap, and refrigerate for 20 minutes. (Image 6)
Roll and Cut the Dough.
- Prepare two baking sheets by lining them with sheets of parchment paper.
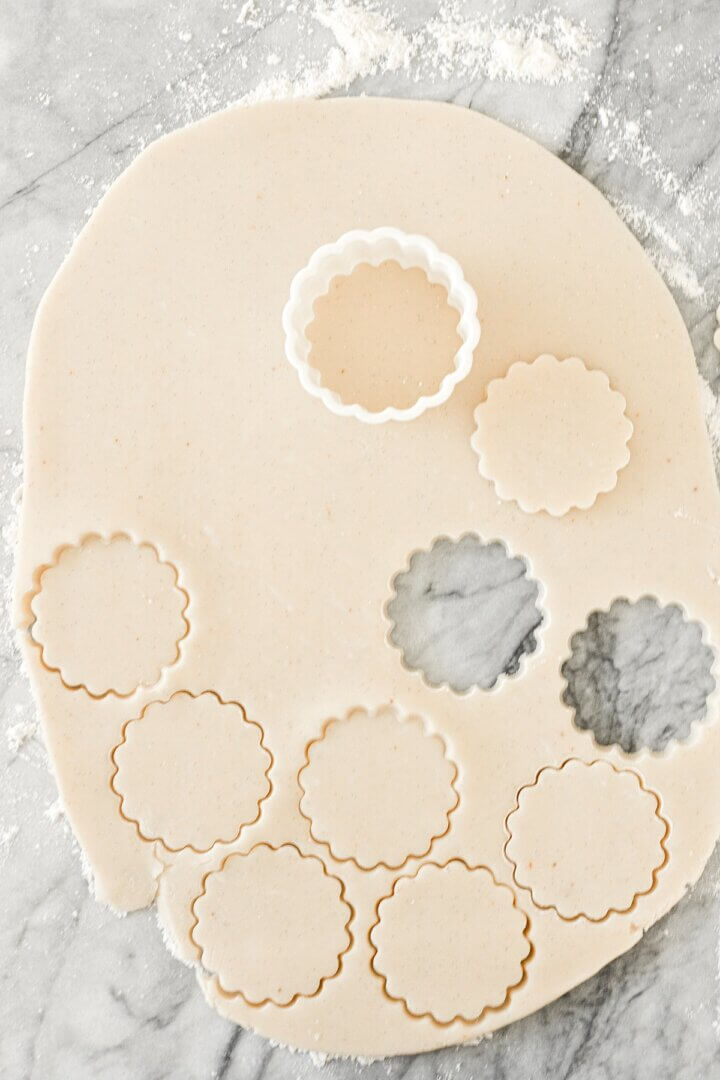
- On a lightly floured surface, place the disk of dough, and dust the top of the dough with flour, too. Roll out to an even thickness of 1/4 inch thick.
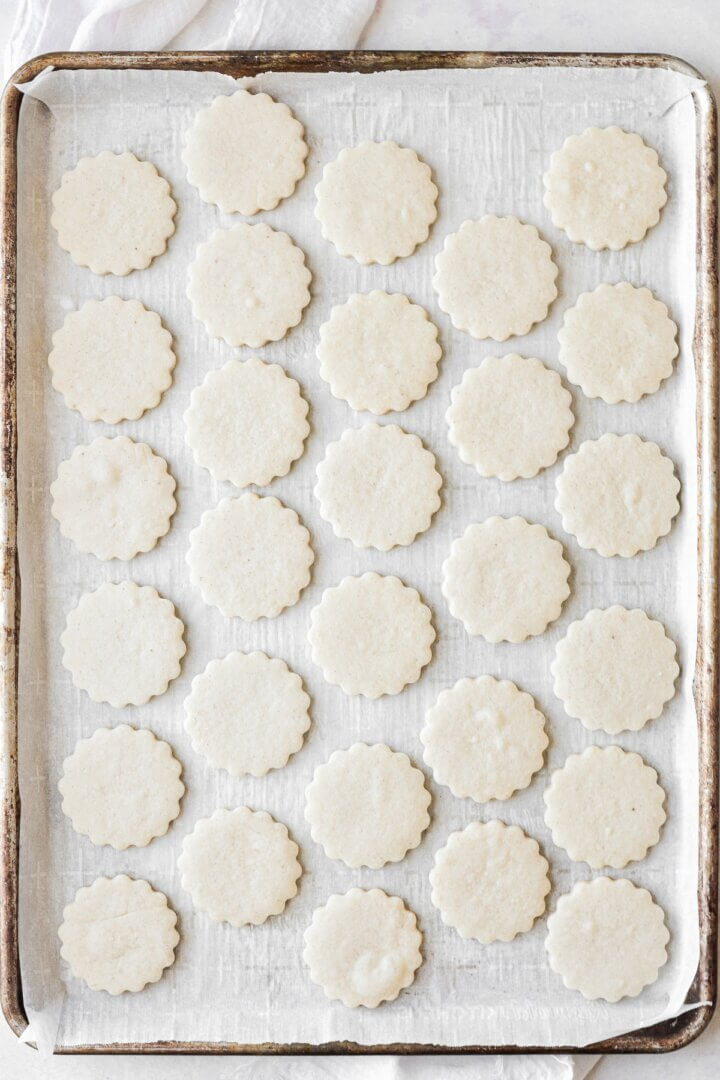
- Use any size/shape cookie cutters to cut as many cookies as you can, placing the cut cookies 1-2 inches apart on the parchment lined baking sheets. Using a 2 – 2 1/2 inch cookie cutter, you’ll get about 28 cookies from this recipe. (Image 7)
- Gather up the scraps of dough, roll them out again, and continue cutting as many cookies as you can.
Chill the Cut Cookies, then Bake.
- Place the baking sheets with the cut cookies in the refrigerator and chill for 1 hour. Chilling the cut cookies helps to ensure they don’t spread and hold their shape perfectly while baking.
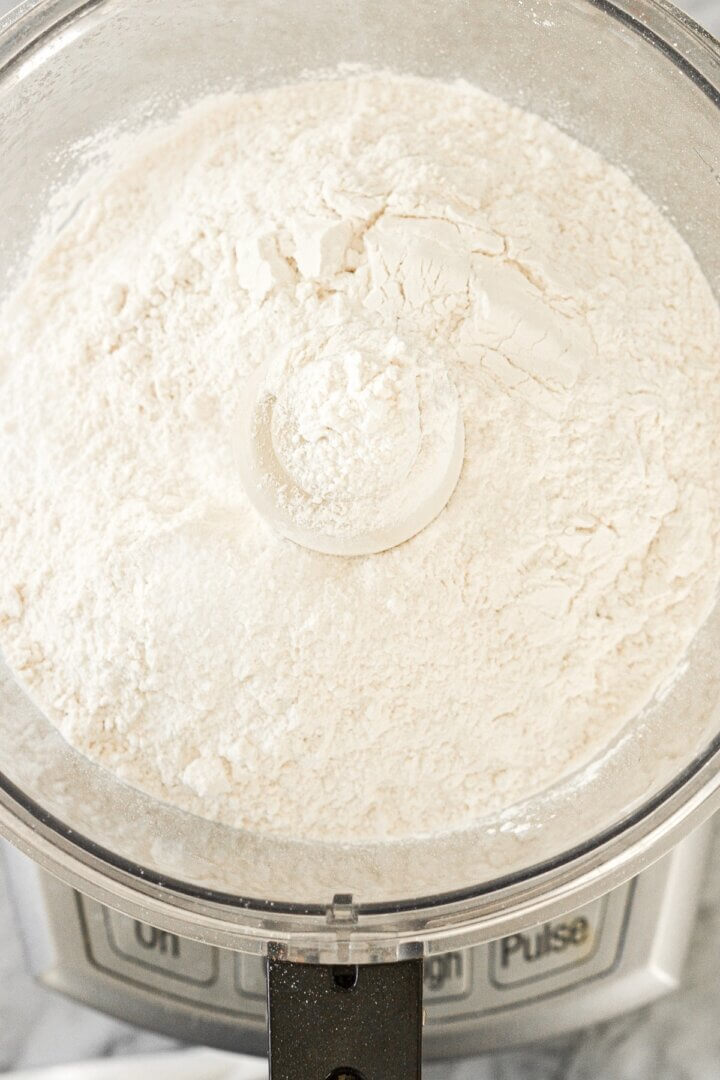
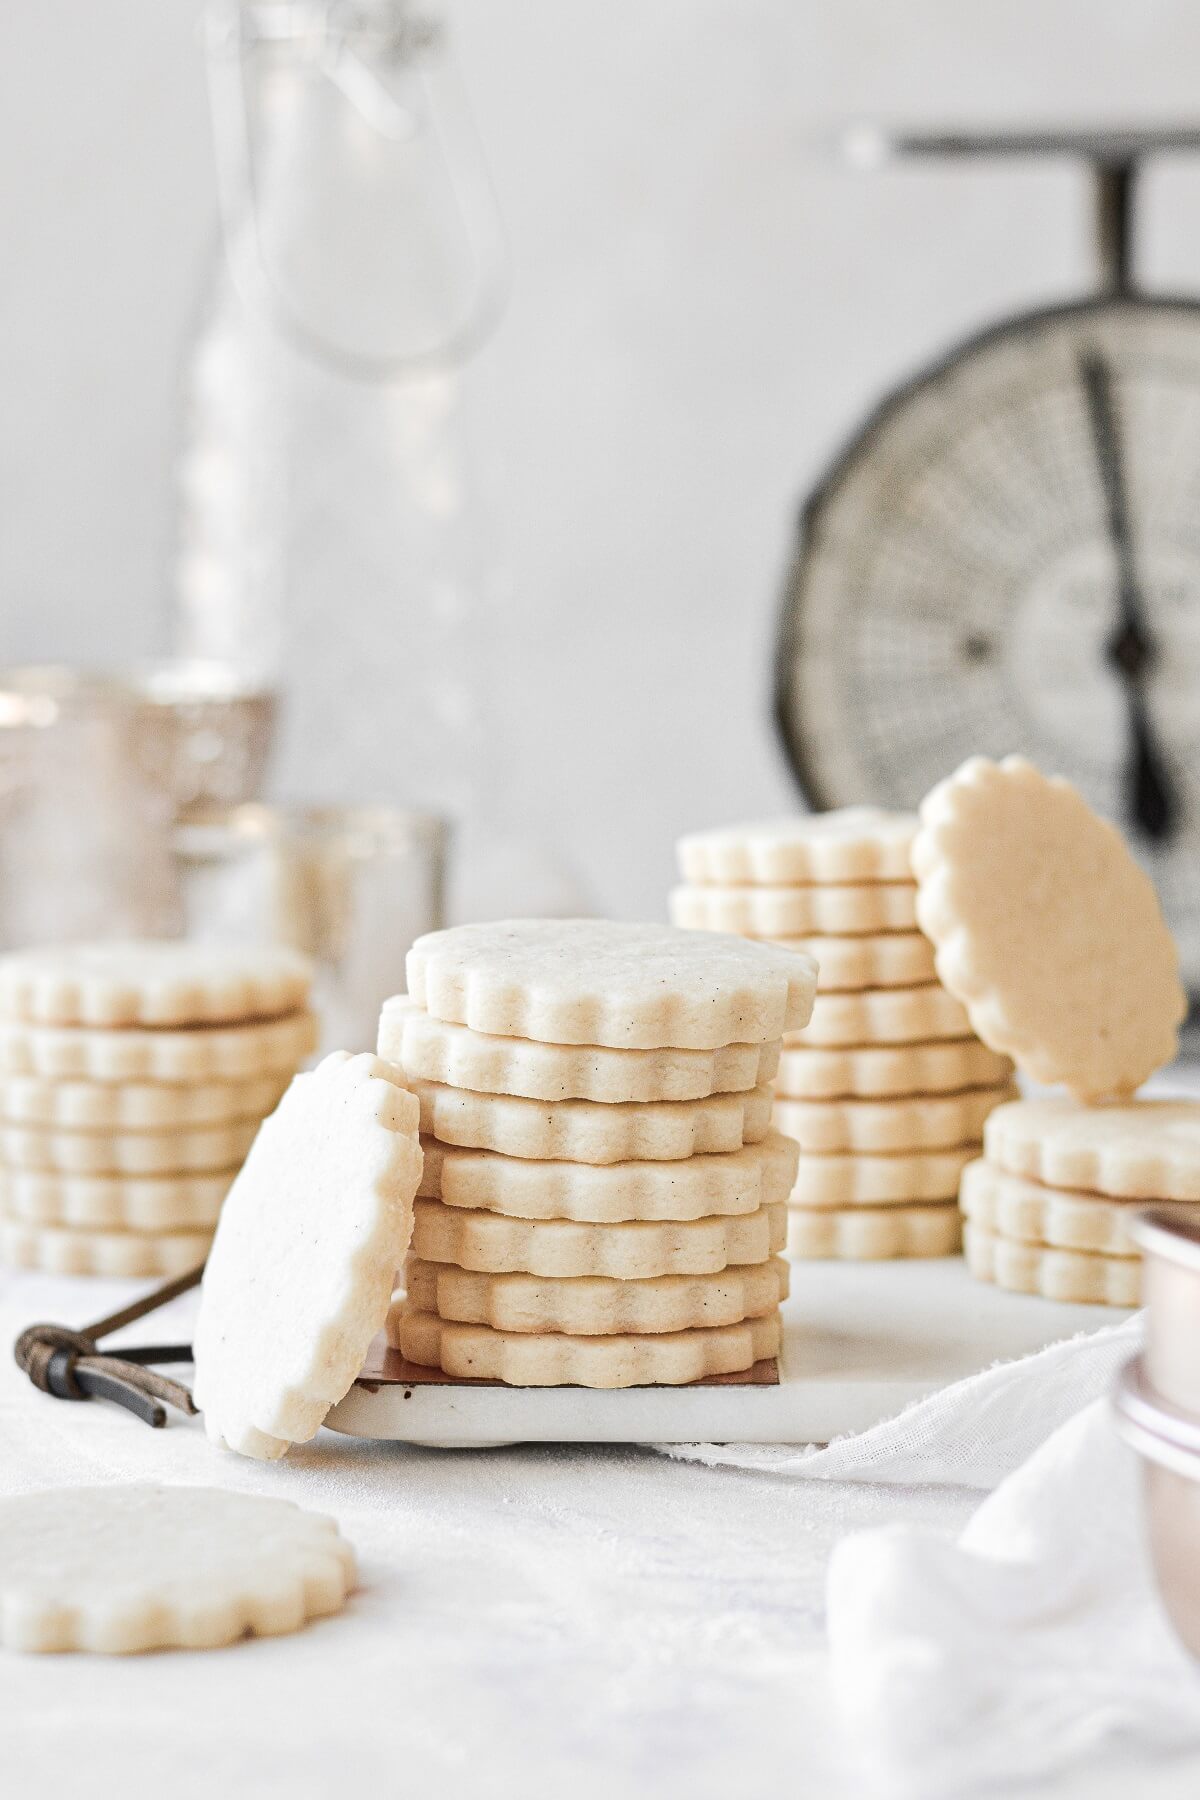
- Preheat the oven to 350F. Bake the chilled cookies on the center oven rack for about 11 1/2 – 12 minutes. The tops should be a very pale golden with no dark browning, and you should see tiny flaky layers around the edges. (Image 8)
- If you (very carefully) turn a cookie over with a spatula, the bottom should have light golden browning, with no appearance of raw or wet dough.
- Cool the cookies for 5 minutes on the pan, then very gently transfer them to a cooling rack to cool completely.
- Shortbread cookies are delicate when warm, so handle with care. The cookies will initially be slightly crisp around the edges, but they soften as they’re stored and will remain wonderfully soft and buttery.
- Let your cookies cool completely before frosting and decorating.
TIP: Note that if your cookies are larger, or your pan is more crowded with the cookies placed close together, it could take from 15-17 minutes to bake the cookies. This is NOT a cookie that you want to under-bake, since a doughy, under-baked shortbread cookie does not have a pleasant texture. Be sure your cookies are fully baked.
Baking Tips
Cold Ingredients. Your butter and liquid needs to be very cold for the best results. If you feel like you need more liquid, add it very slowly, as too much liquid will make the dough tough, rather than tender. Trust me, though, that while it starts off looking like just a pile of flour, it does come together into a dough, so you don’t need as much liquid as you’d think.
Cold Dough. Be sure to follow the instructions to chill your cookies prior to baking, to ensure they don’t spread or lose their shape. When the heat of the oven hits the cold dough, it creates all those wonderful, buttery flaky layers in the cookies.
Don’t Overwork the Dough. Over-working dough leads to tough cookies. So stop the food processor as soon as the dough starts to ball together. When kneading the dough to work in any stray bits of flour, just knead it a few times and stop. When rolling and cutting the cookies, try to cut as many as possible the first time around.
Don’t Roll the Dough Too Thin. A thickness of 1/4 inch is perfect for shortbread cookies. While it can be tempting to roll the dough thinner so you can cut more cookies, these become very delicate when they’re too thin.
Storing and Freezing
Make Ahead. Shortbread cookies keep extremely well, so you can make them well in advance and store them until you’re ready to decorate or eat them.
Storing. Keep the cookies in an airtight container at room temperature, where they will keep for at least a week. Humid climates can sometimes soften the cookies more than you might like, but in Colorado, we don’t have a problem with humidity.
Freezing. Store the cookies in an airtight container and freeze for 3-6 months. Thaw for several hours at room temperature before icing or decorating.
Gifting Ideas
Since shortbread keeps so well, it’s perfect to give as gifts or add to a Christmas cookie box. I always add a variety of shortbread to my Christmas cookie boxes (see my 2019 cookie box and 2020 cookie box), and it’s a favorite with everyone.
Recipe Variations
- Chocolate Chip Toffee Shortbread
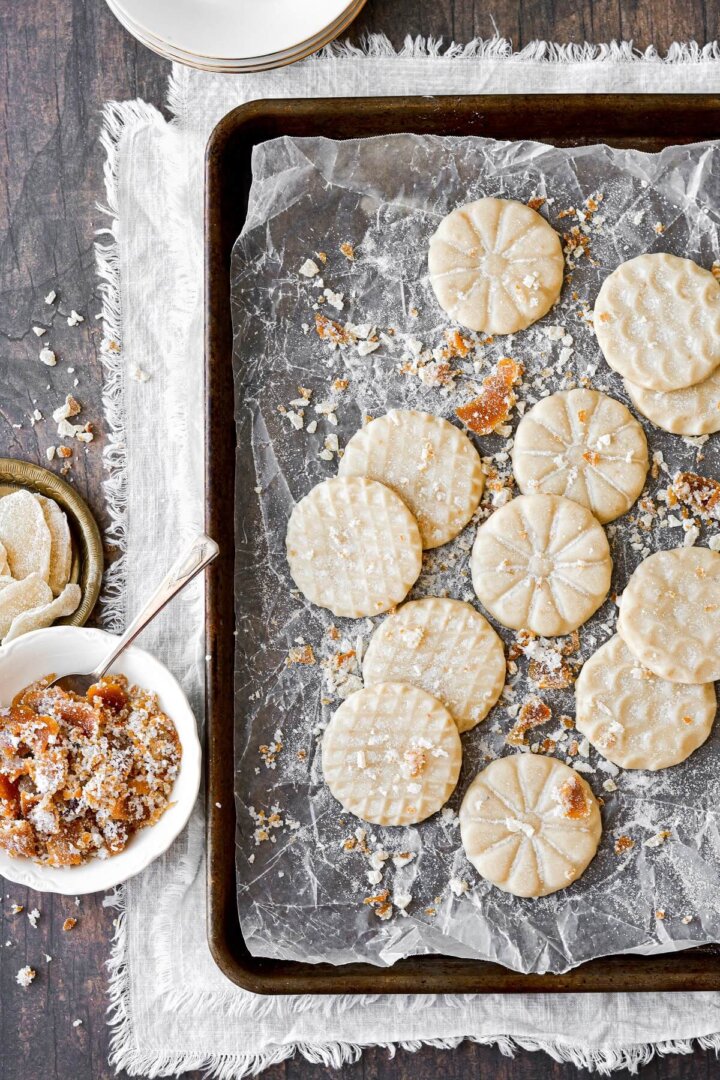
- Orange Ginger Shortbread Cookies with Orange Icing
- Snowflake Shortbread Cookies
- Chocolate Shortbread with Coffee Icing
- Snickerdoodle Shortbread
- Almond Shortbread. Add 1 teaspoon almond extract and 1/4 cup very finely chopped almonds to the shortbread dough. You could even ice them with royal icing, flavored with almond extract. Spread the icing onto the cookies, and immediately press the iced top of the cookie into crushed almonds. Sprinkle with a small amount of flaky finishing salt.
- Maple Pecan Shortbread: Add 1 teaspoon maple extract and 1/4 cup very finely chopped pecans to the dough. You could even ice them with royal icing, flavored with maple extract. Spread the icing onto the cookies, and immediately press the iced top of the cookie into crushed pecans. Sprinkle with a small amount of flaky finishing salt.
- Decorate a “Gingerbread” Village Cake with shortbread.
- Make linzer cookies.
Frosting and Decorating Ideas
Chocolate. A simple and delicious way to decorate a shortbread cookie is to dip or drizzle it with white or dark chocolate, then sprinkle the chocolate with flaky sea salt. So good!
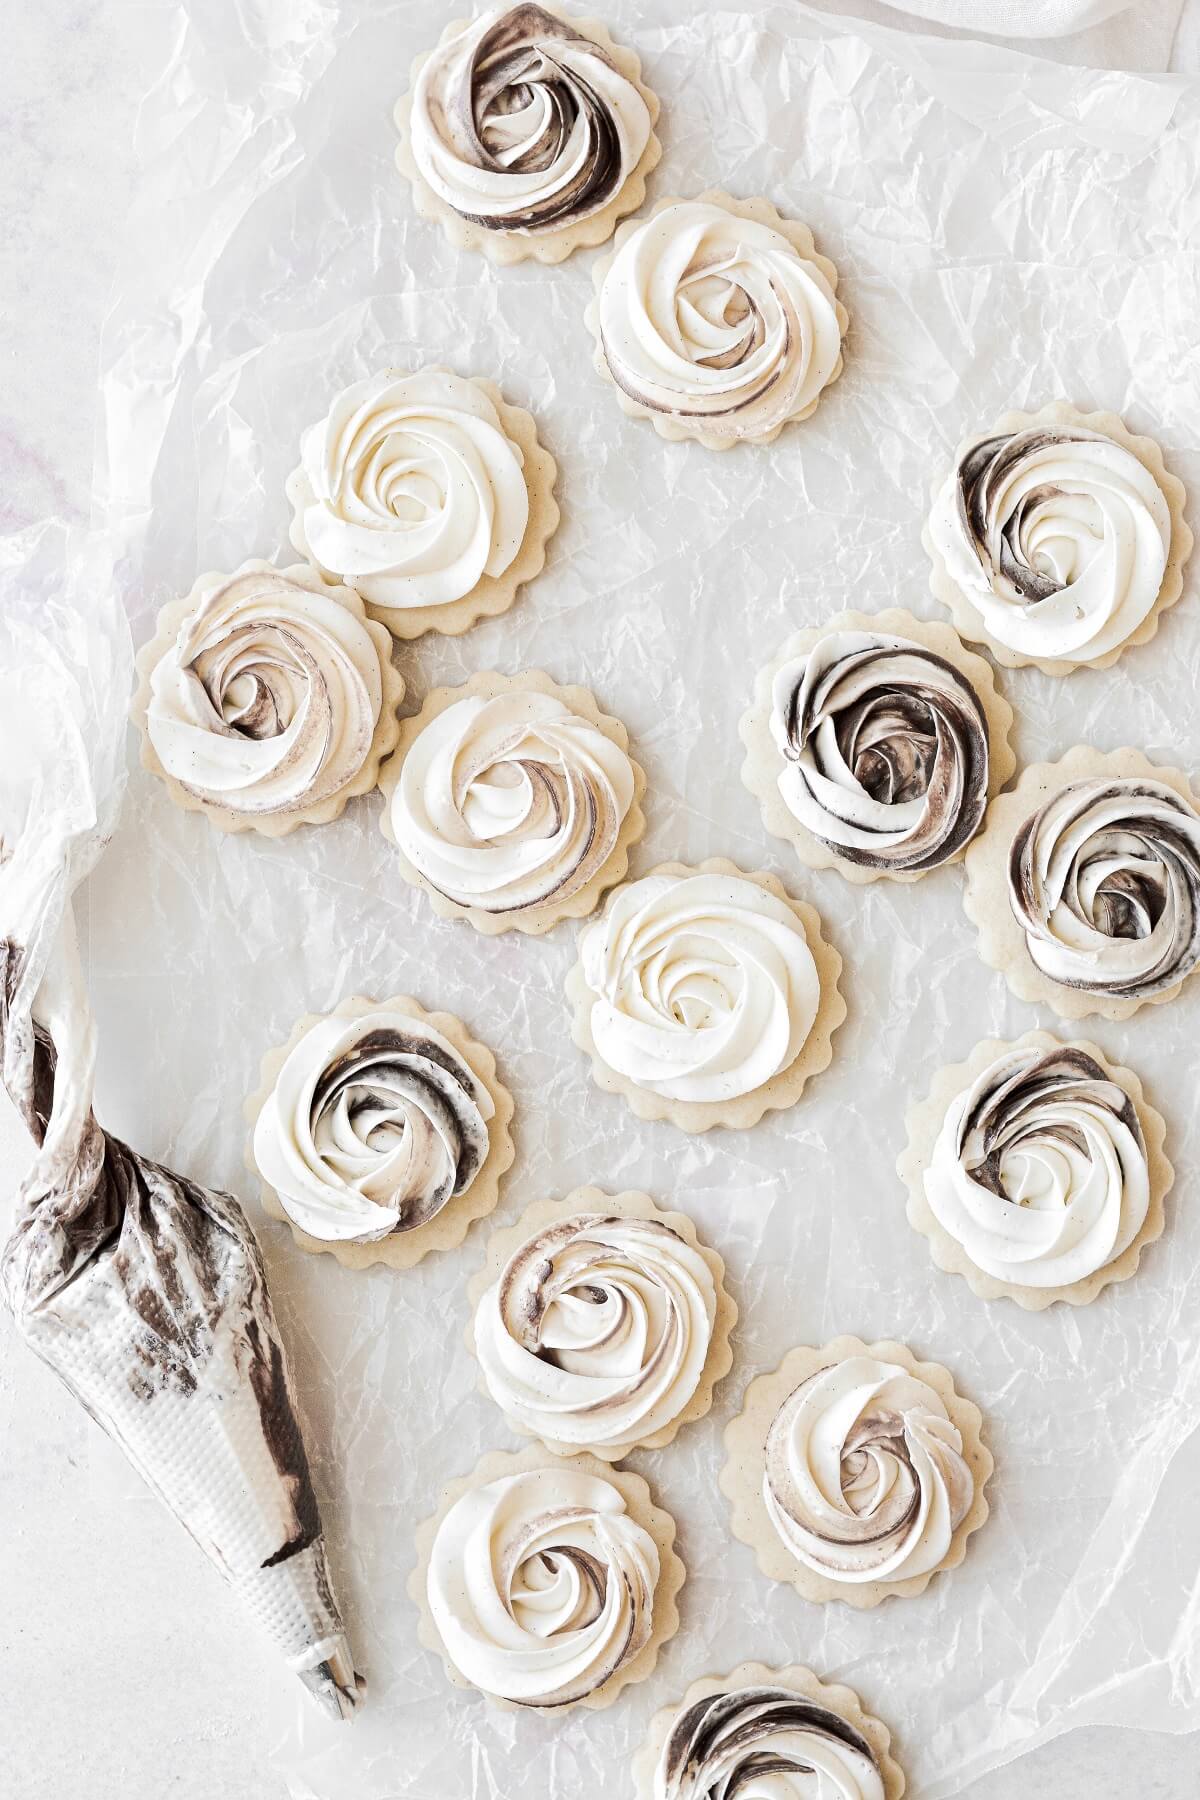
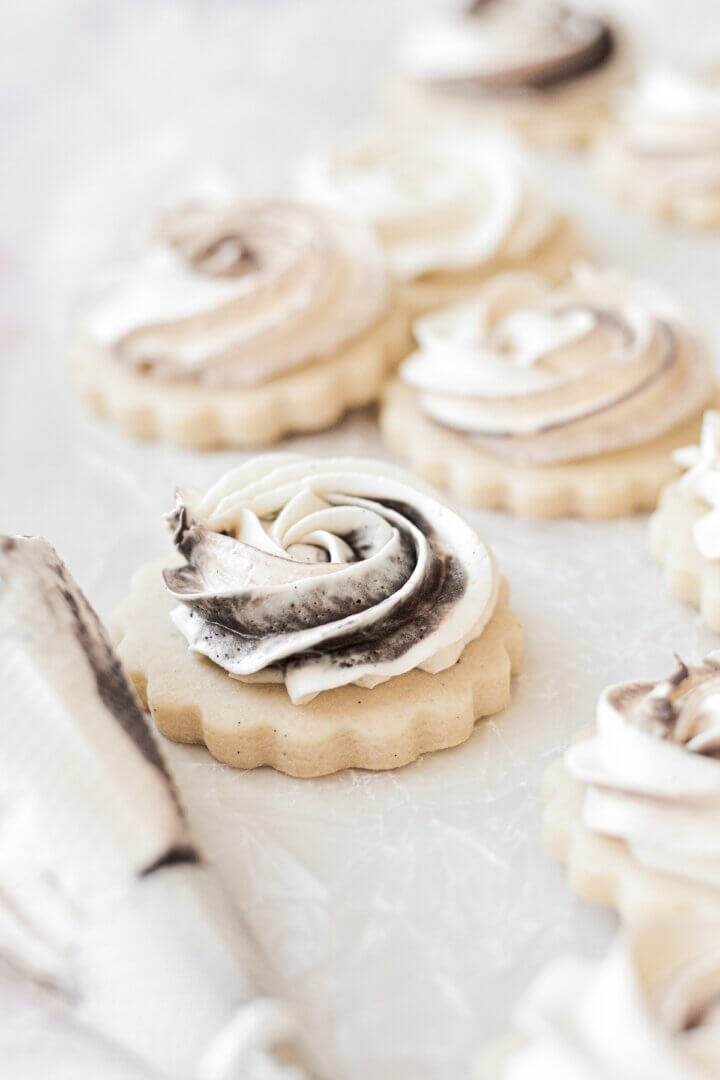
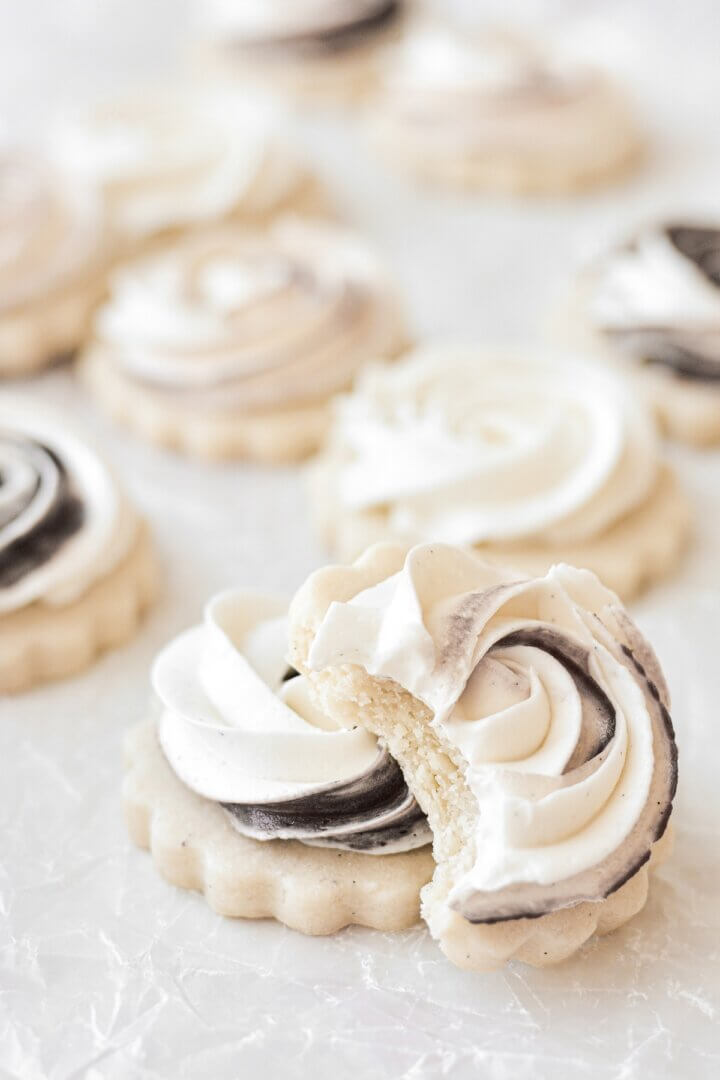
Buttercream Frosting. Buttercream is just wonderful on these cookies, and there are so many ways you can use it for decorating. See my recipe for perfect American buttercream for all my tips and flavor variations. Spread it on thinly like I did on these pumpkin shaped cookies. Or pipe it on in pretty rosettes like I did on today’s photographed cookies. Note that buttercream does not dry hard, so the cookies will need to be stored in a single layer to preserve the design of the frosting. (In the next image, I used piping tip 1M to pipe the buttercream rosettes.)
Royal Icing. Since these cookies don’t spread or lose their shape, they work so well for decorated iced cookies. See my recipe for easy royal icing to learn how to give your cookies a beautiful, professional look. Since royal icing dries with a hard finish, it’s easy to stack and store the cookies for later.
Stamped or Embossed Cookies. If you don’t want to frost your cookies, another really fun and unique way to decorate them is by embossing them with alphabet letter embossers, or with cookie stamps for any number of beautiful impressions on the dough.
Powdered Sugar. A dusting of powdered sugar is simple and lovely, especially on an intricate cutout pattern, like these delicate snowflake cookies.
Sprinkles or Sparkling Sugar. Another fun (and EASY) way to decorate these is with sprinkles or sparkling sugar. For the cookies in the next image, I mixed rainbow nonpareils right into the cookie dough. After cutting out the dough, I brushed the top of the cookies with egg white, then added more sprinkles before baking. The egg white acts as “glue” to adhere the sprinkles to the cookies.


Be sure to read all of my BAKING FAQs where I discuss ingredients, substitutions and common baking questions, so that you can be successful in your own baking!
Frequently Asked Questions
Can I use salted butter instead of unsalted?
You sure can, but be sure to omit the salt in the recipe if you use salted butter. The reason most baking recipes use unsalted butter is because the amount of salt varies between brands of butter, and you can easily control the amount of salt by adding it to unsalted butter.
Are these cookies soft or crunchy?
They’re somewhere in between. They have a buttery, tender, melt-in-your-mouth texture that’s just wonderful.
Do I need to use a real vanilla bean?
If you don’t have vanilla beans, use vanilla bean paste to get the pretty specks of vanilla bean, or a good-quality vanilla extract.
What if I don’t have a food processor?
You can certainly make the cookie dough with a pastry cutter instead of a food processor, but it takes a few more minutes to cut the butter in, and then work the crumbs with your hands to bring it together into a smooth dough. A food processor makes the process super quick and easy.
What tip did you use for piping the buttercream roses?
I used tip 1M, with a combination of chocolate and vanilla buttercream.
You Might Also Like
Please check out my Amazon Shop for a curated collection of some of my favorite cake pans from trusted brands, baking tools, ingredients, pretty things and fashion finds. I recommend products that I buy and use every day!
Did you love today’s recipe? Please rate the recipe and let me know in the comments what you thought! Also, be sure to follow Curly Girl Kitchen on Instagram, and tag me when you try one of my recipes so I can see all your delicious creations!
High Altitude Vanilla Bean Shortbread Cookies
All recipes on Curly Girl Kitchen are developed for high altitude at 5,280 feet. See FAQs for adjusting to higher or lower elevations.
Equipment
- Food Processor or Pastry Cutter
- Rolling Pin, Bench Scraper and Cookie Cutters
Ingredients
- 3 cups all-purpose flour, spooned and leveled
- 1 cup powdered sugar
- ½ tsp coarse Kosher salt (if using table salt, use half the amount)
- ⅛ tsp ground cardamom, optional
- 2 tsp vanilla bean paste or the seeds scraped from 1 vanilla bean (or 2 tsp vanilla extract)
- 1 cup cold unsalted butter, cut into 16 pieces
- ¼ cup cold whole milk
Instructions
- In your food processor, pulse the flour, powdered sugar, salt, cardamom and vanilla until combined.With the processor running, drop in the pieces of butter, one at at time, pulsing a few times until the butter is evenly distributed, and the dough is moistened and crumbly.Add the milk, then process until the dough starts to stick together.
- Dump the dough out onto a clean counter and use your hands to finish bringing the dough together, kneading in any stray bits of flour. The dough should be soft, smooth and supple.
- Shape the dough into a flat disk, wrap in plastic wrap, and refrigerate for 20 minutes.Prepare two baking sheets by lining them with sheets of parchment paper.
- On a lightly floured surface, place the disk of dough, and dust the top of the dough with flour, too. Roll out to an even thickness of 1/4 inch thick.Use any size/shape cookie cutters to cut as many cookies as you can, placing the cut cookies 1-2 inches apart on the parchment lined baking sheets. Using a 2 – 2 1/2 inch cookie cutter, you'll get about 28 cookies from this recipe.Gather up the scraps of dough, roll them out again, and continue cutting as many cookies as you can.
- Place the baking sheets with the cut cookies in the refrigerator and chill for 1 hour. Chilling the cut cookies helps to ensure they don't spread and hold their shape perfectly while baking.
- Preheat the oven to 350F.Bake the chilled cookies on the center oven rack for about 11 1/2 – 12 minutes. The tops should be a very pale golden with no dark browning, and you should see tiny flaky layers around the edges. If you (very carefully) turn a cookie over with a spatula, the bottom should have light golden browning, with no appearance of raw or wet dough.Note that if your cookies are larger, or your pan is more crowded with the cookies placed close together, it could take from 15-17 minutes to bake the cookies. This is NOT a cookie that you want to under-bake, since a doughy, under-baked shortbread cookie does not have a pleasant texture. So be sure your cookies are fully baked.
- Cool the cookies for 5 minutes on the pan, then very gently transfer them to a cooling rack to cool completely.Shortbread cookies are delicate when warm, so handle with care. The cookies will initially be slightly crisp around the edges, but they soften as they're stored and will remain wonderfully soft and buttery.
- Let your cookies cool completely before frosting and decorating. You can bake the cookies in advance, store in an airtight container, and freeze for 3-6 months until you're ready to frost them.

I can't wait to make these! I, too, absolutely love shortbread! This recipe seems to highlight the pleasure of simplicity of quality ingredients to create a superb and yummy treat.
What is the recipe for the buttercream frosting that you show on the cookies?
That’s my Perfect American Buttercream: https://curlygirlkitchen.com/perfect-american-buttercream-frosting/
Thanks!!
I tried the shortbread cookie this 4th of July weekend. They came out great. I had some blueberries so I briefly sautéed them in half a stick of browned butter and 1/4 cup of light brown sugar. Topped the cookies with that and homemade vanilla ice cream 🍦😋!!+!
That sounds fantastic! I would never have thought to serve them that way.
Thanks a lot for sharing this Amazing recipe simple ingredients but full of flavor! I’m not an experienced baker this recipe is super easy and so good I had to submit a review,first batch I made I used the cardamom but I liked it more without it so far I’ve made 4 batches for my sons birthday party I’m planning on decorating with royal icing and freezing for 2 weeks… no spread whatsoever perfect for cut out cookies 🙂 I’m glad I found this recipe since I’m not a big fan of sugar cookies time of baking is spot on I rolled them at 5/16” for 17 min
I’m so glad you love the cookies!
Hi, I have vanilla bean powder, would that work?
If it’s black, yes, that’s dried/ground vanilla beans, and can be used for baking instead of fresh beans or vanilla bean paste. If it’s white, that’s vanilla flavored sugar, and won’t add enough vanilla flavor. You can always use vanilla extract, too!