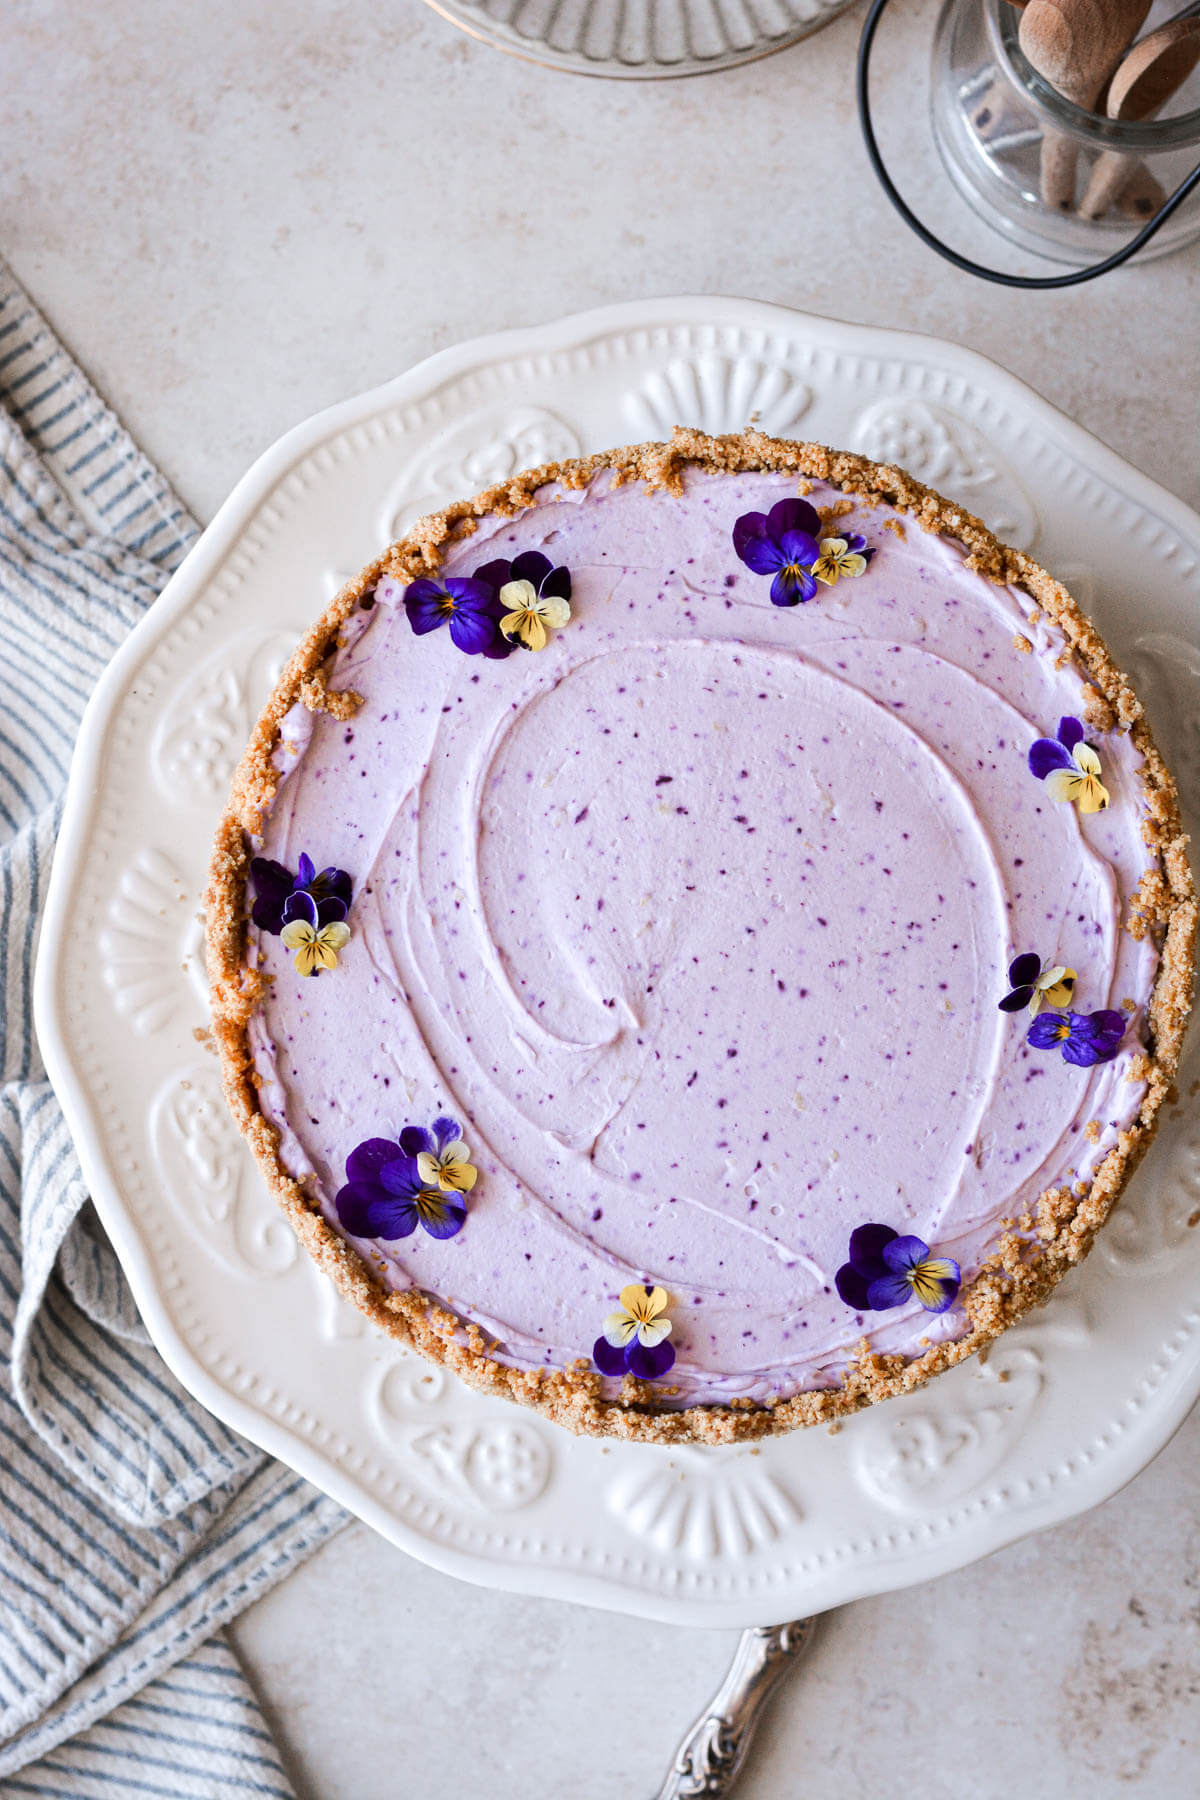
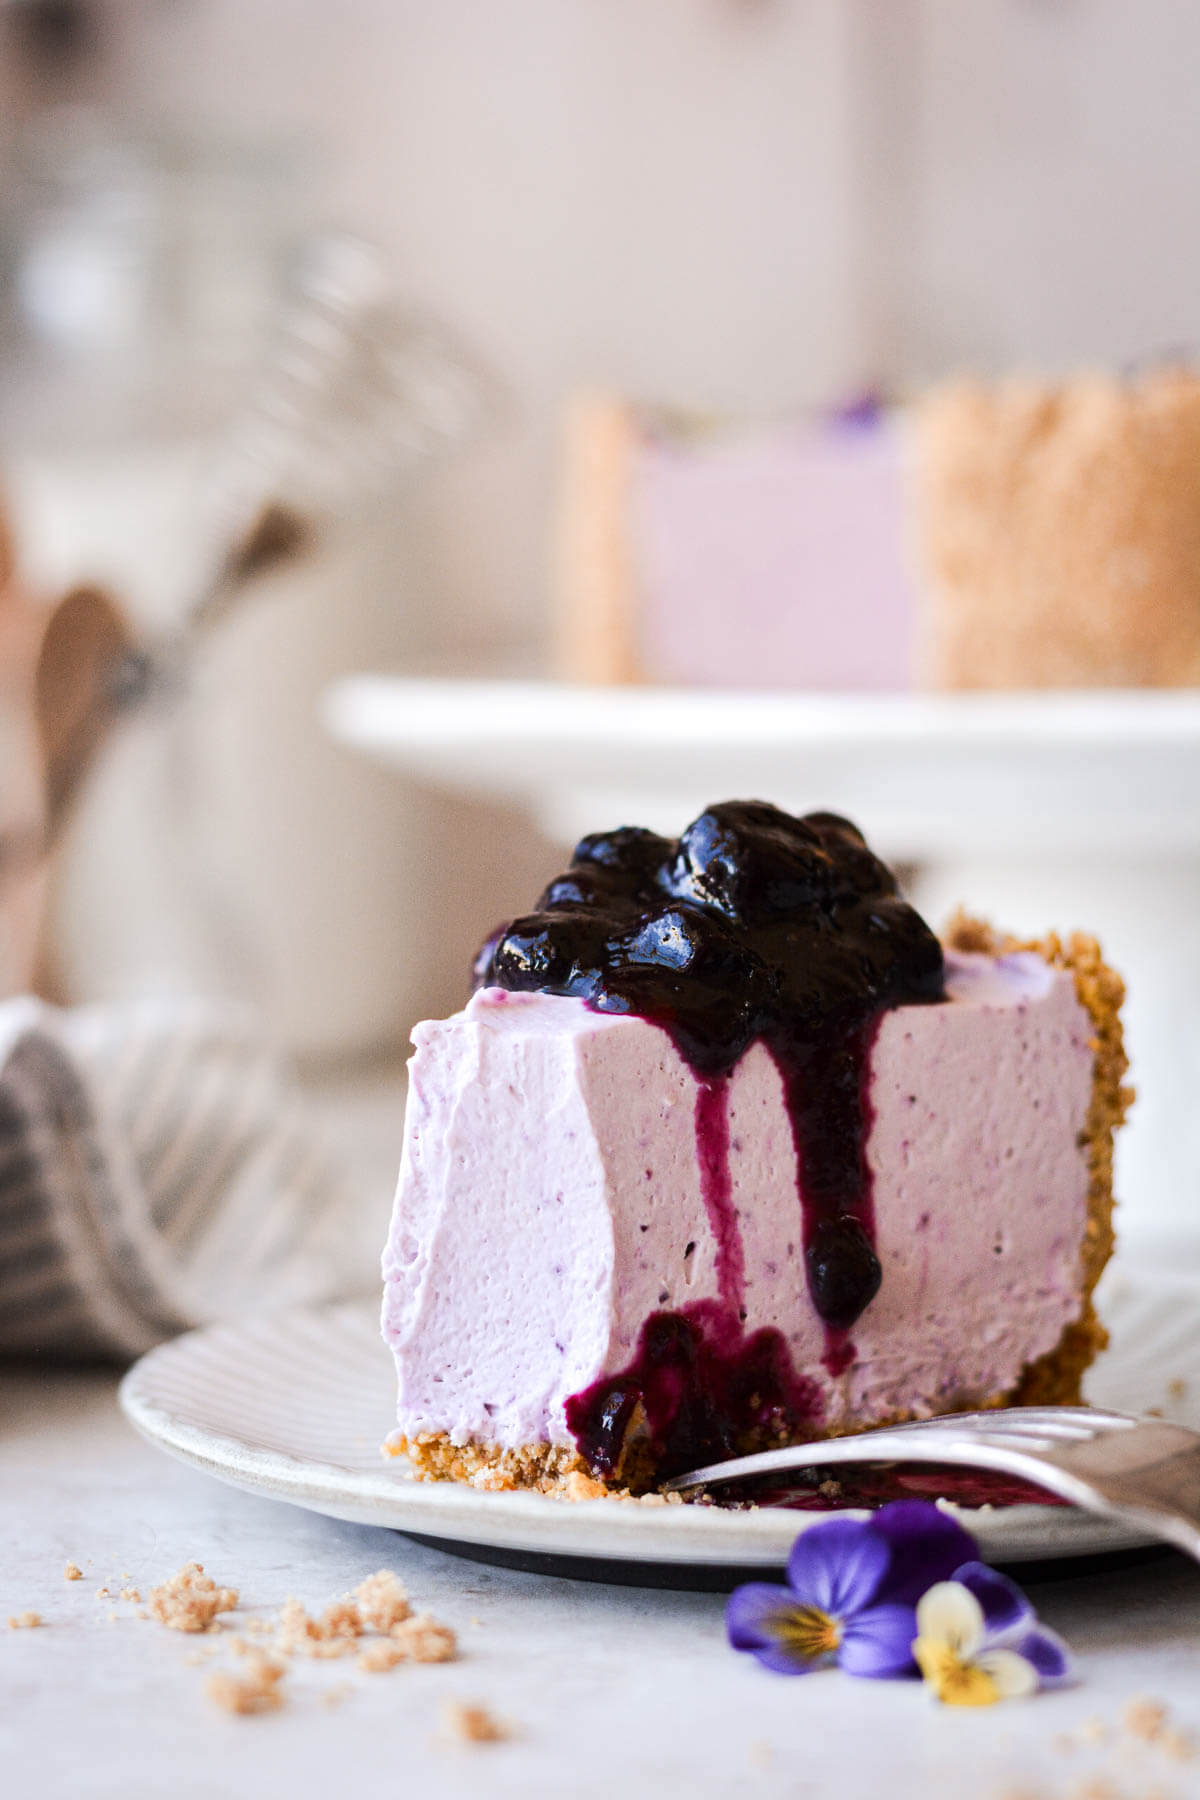
A creamy no bake lemon blueberry cheesecake, flavored with fresh lemon zest and blueberry puree in the filling, with a buttery, salted graham cracker crust. Decorate the cheesecake with fresh, edible flowers for a lovely spring dessert on Easter or Mother’s Day!
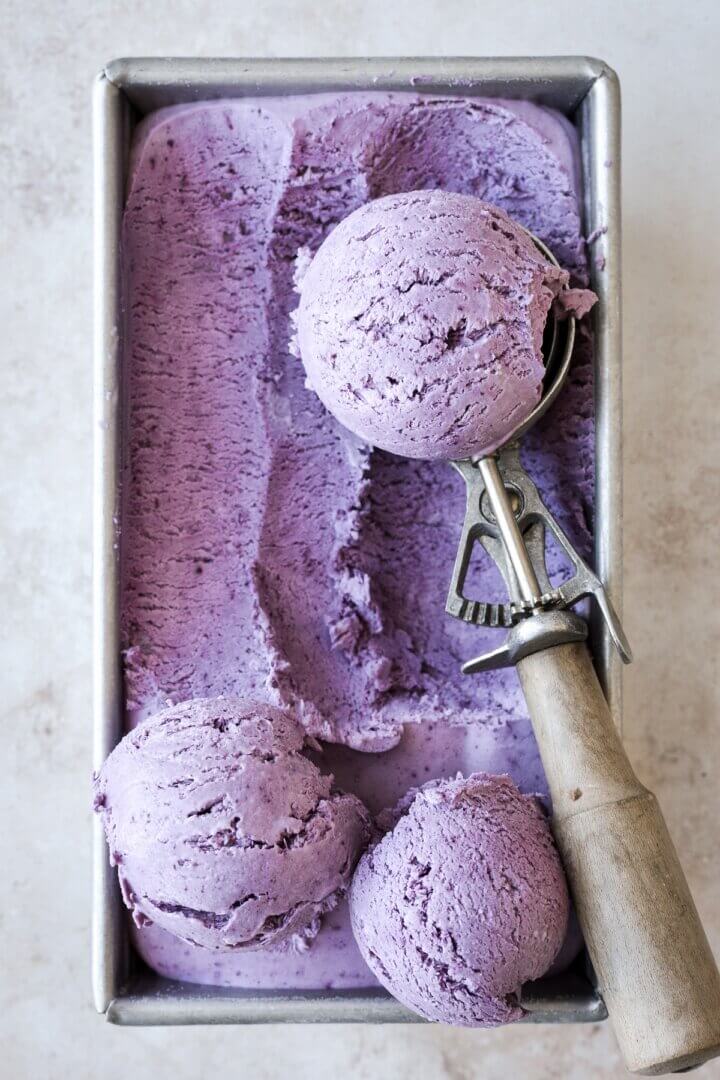
You might also love these high altitude recipes for lemon blueberry loaf cake, blueberry jam and cream chantilly cake, and blueberry ice cream.
This site contains affiliate links. As an Amazon associate, I earn from qualifying purchases. This means that I may make a small commission if you purchase a product using those links. This in no way affects my opinion of those products and services. All opinions expressed on this site are my own.
Why You’ll Love This Recipe
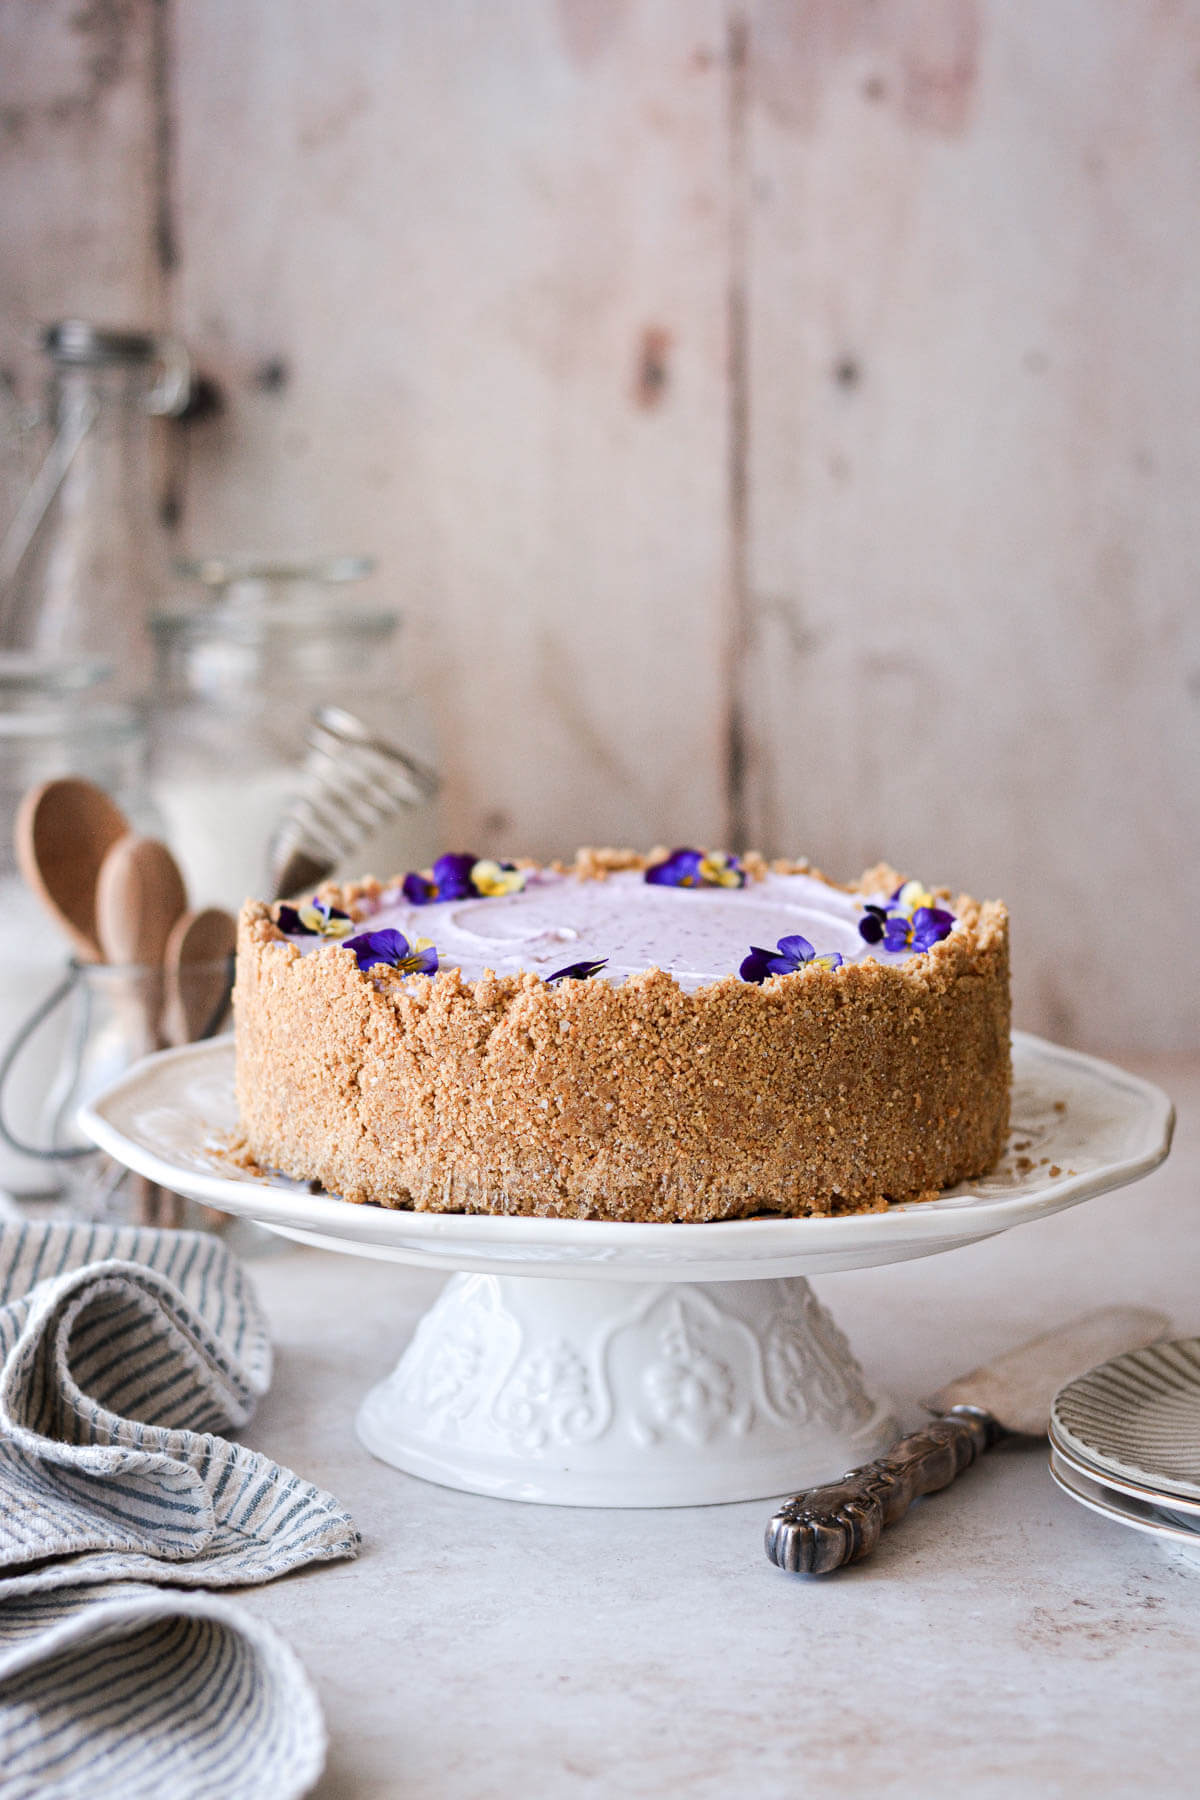
“Almost” No Bake. Although the filling for today’s lemon blueberry cheesecake is not baked, you will need to briefly bake just the crust. This step toasts the crust for a deeper flavor, but also helps it hold together better.
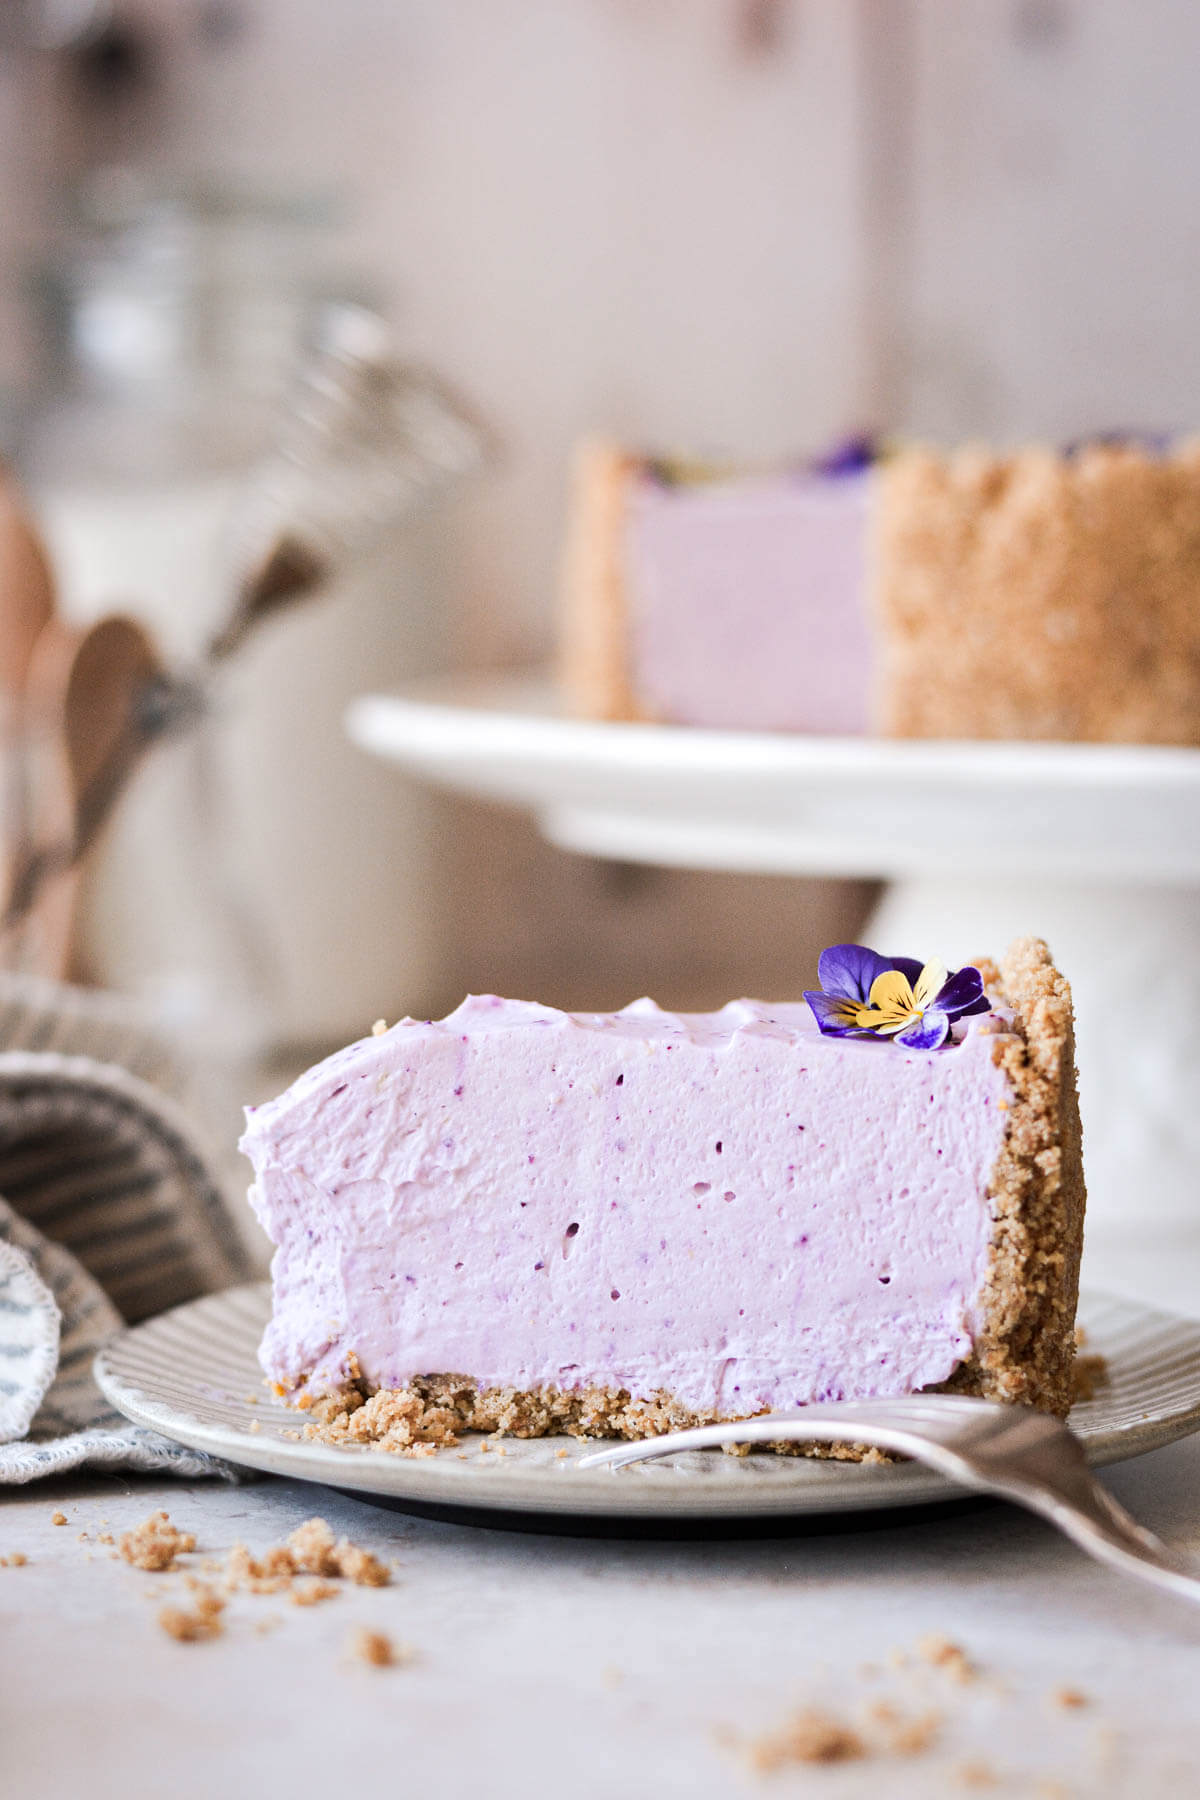
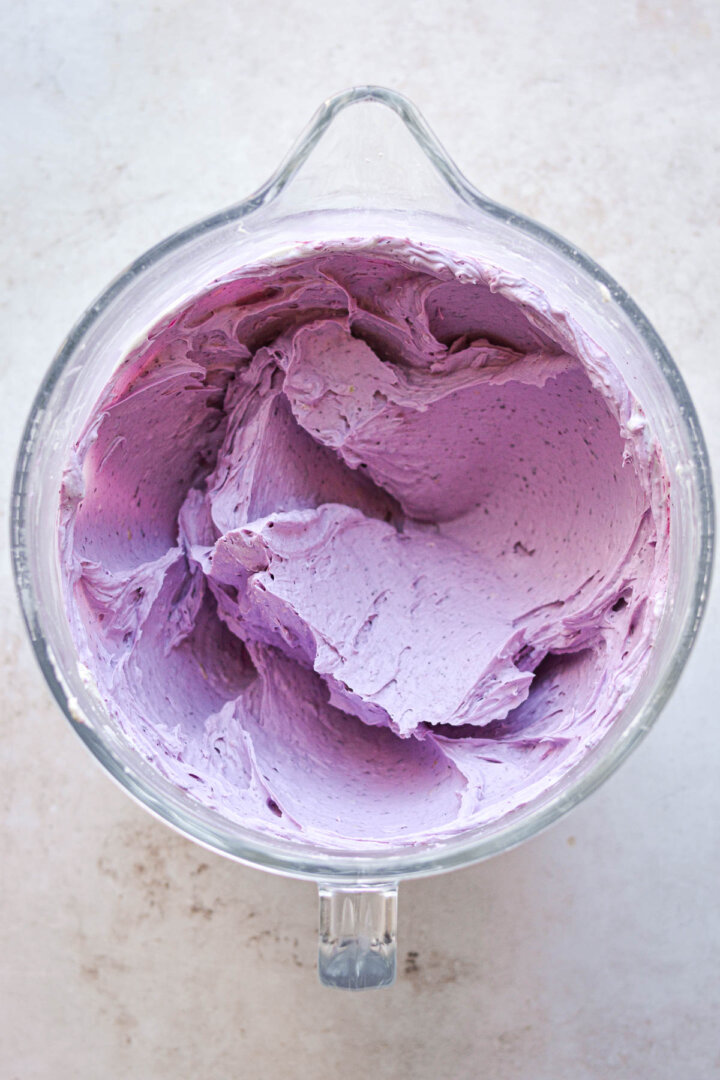
No Food Coloring. The vibrant purple color is completely natural, from blueberry puree that’s whipped into the cheesecake filling.
Easy to Make. This is a very simple recipe that any beginning baker can master and feel good about bringing to a special spring celebration or holiday dinner.
See the recipe card at the end of the post for the full ingredients list and instructions.
Ingredients
Crust
- Graham Crackers. You can use any flavor of graham crackers that you like, but I think the original honey flavored ones are best with lemon blueberry cheesecake. If you’re not able to find graham crackers, use digestive biscuits or vanilla wafer cookies.
- Granulated Sugar. Adds a little more sweetness, although I usually don’t add sugar to my graham cracker crusts, since the crackers are already sweet.
- Coarse Kosher Salt. Balances the sweetness.
- Unsalted Butter. Melted butter moistens the crust to bind it together, and adds a rich, buttery flavor.
Blueberry Sauce
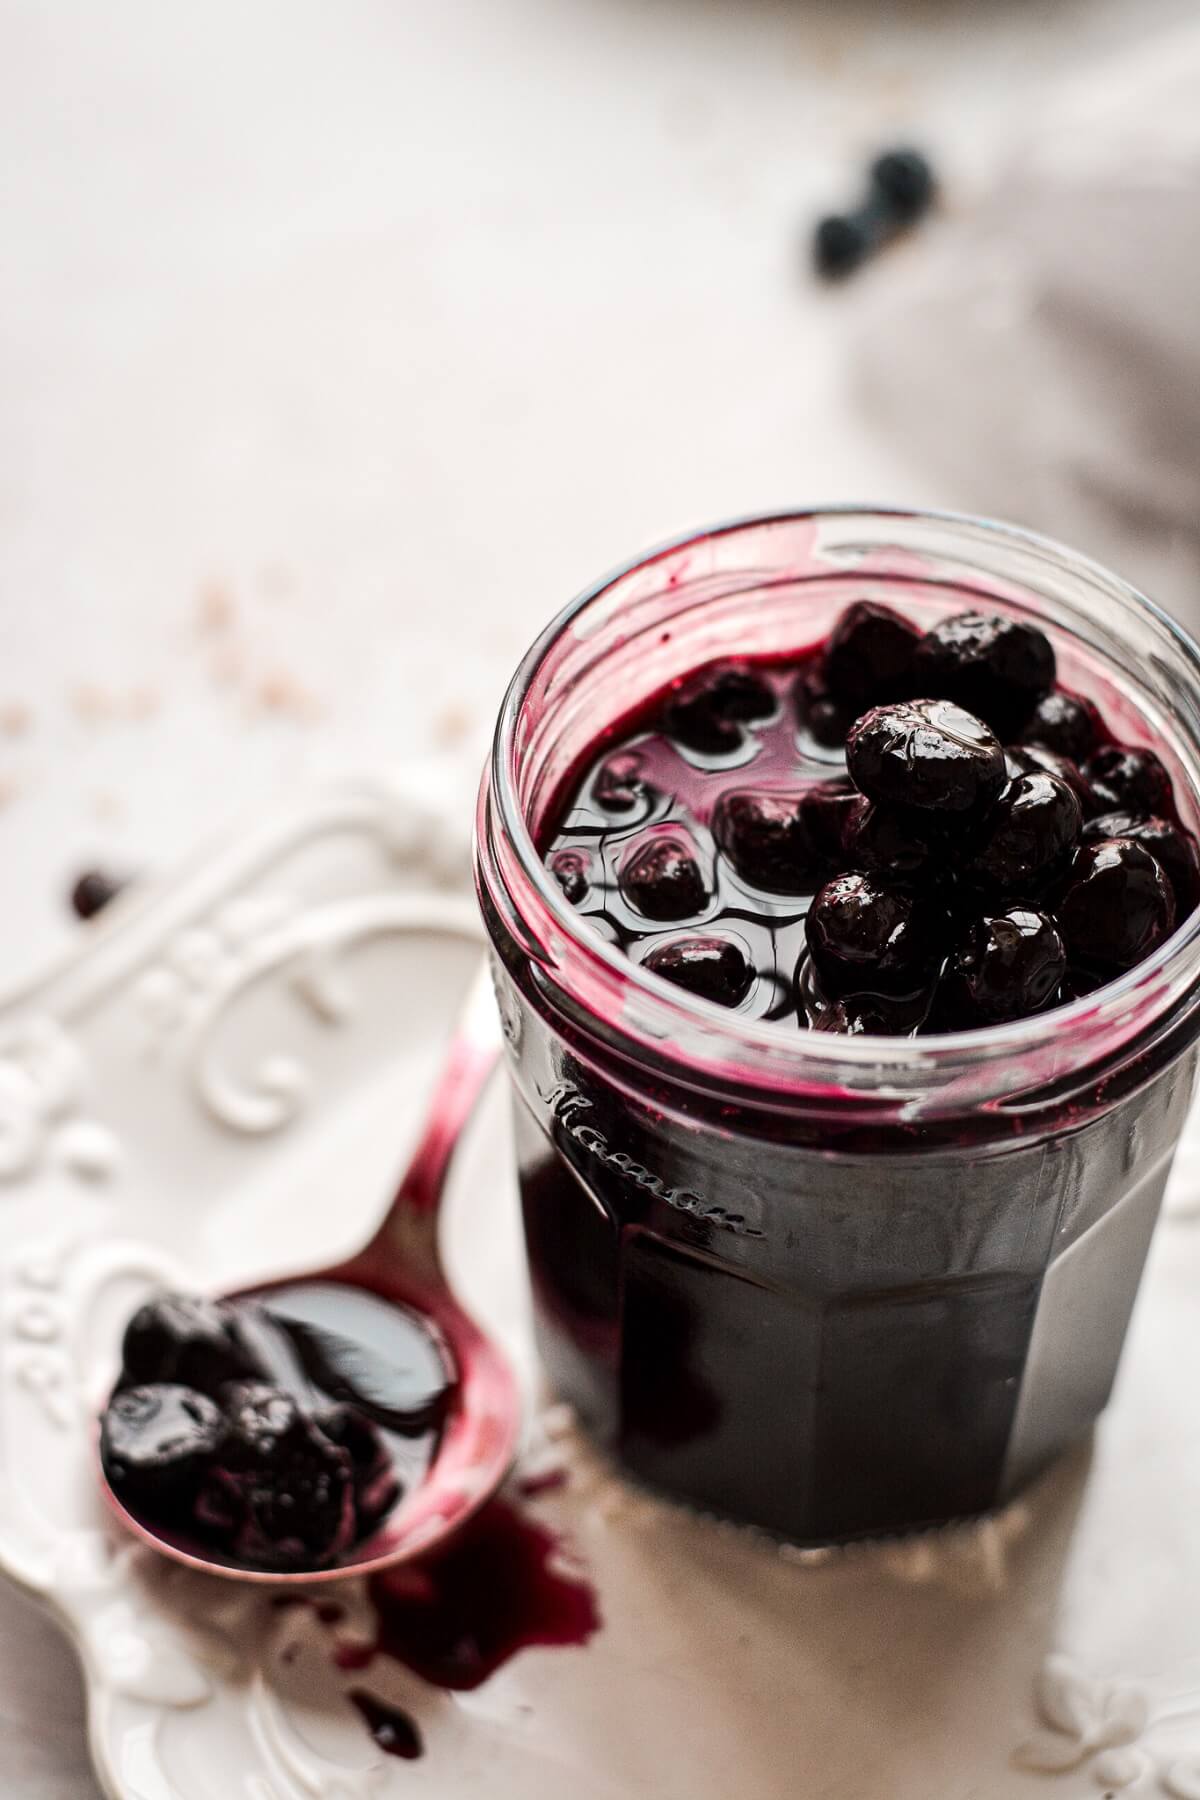
- Blueberries. Preferably, use frozen blueberries, which break down into a sauce more easily than fresh blueberries.
- Sugar. Adds sweetness, and helps to draw the moisture from the blueberries.
- Corn Starch. Thickening agent, so the sauce isn’t too watery.
- Lemon Juice. Since you’ll need fresh lemon zest for the filling, I recommend using the juice from the same lemon in your blueberry sauce.
Filling
- Cream Cheese. Since this is a no bake cheesecake filling, you’ll be starting with cold cream cheese. When it’s whipped with the cream, you’ll have a very stable cheesecake filling that won’t deflate.
- Powdered Sugar. Adds sweetness and dissolves easily in the filling.
- Lemon Zest. Freshly grated lemon zest adds brightness to complement the flavor of the blueberries.
- Blueberry Sauce. You’ll be using some of the blueberry sauce you made, pureeing and straining it, and then adding it to the filling. This will add blueberry flavor and a gorgeous natural color.
- Vanilla Extract. Flavor.
- Cream. You need the high fat content of heavy whipping cream for a thick, stable no bake cheesecake filling.
Instructions
Blueberry Sauce
- In a saucepan, combine the frozen blueberries with the sugar and corn starch, then stir in the lemon juice.
- Bring to a simmer over medium heat for several minutes, stirring frequently, until the sauce boils and thickens. Remove from the heat.
- Measure 1/2 cup of the sauce into a small food processor or Ninja, and puree into a liquid. Press the puree through a mesh strainer into a bowl to remove the seeds and pulp. You’ll be using the 1/2 cup of strained puree in the cheesecake filling, and serving the rest of the sauce on the side. Refrigerate the blueberry sauce until needed. If the sauce seems too thick after cooling, simply stir in some water, a tablespoon at a time.
Crust
- Preheat the oven to 325F. Lightly spray the bottom of an 8-inch springform pan with non-stick baking spray, or line it with parchment paper.
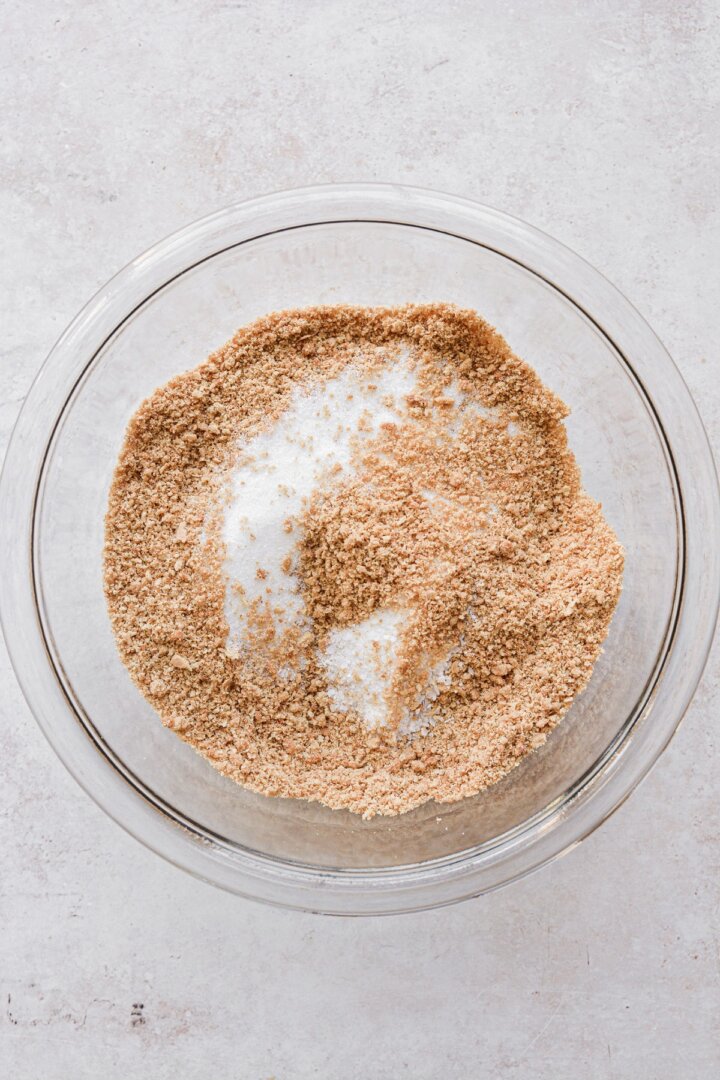
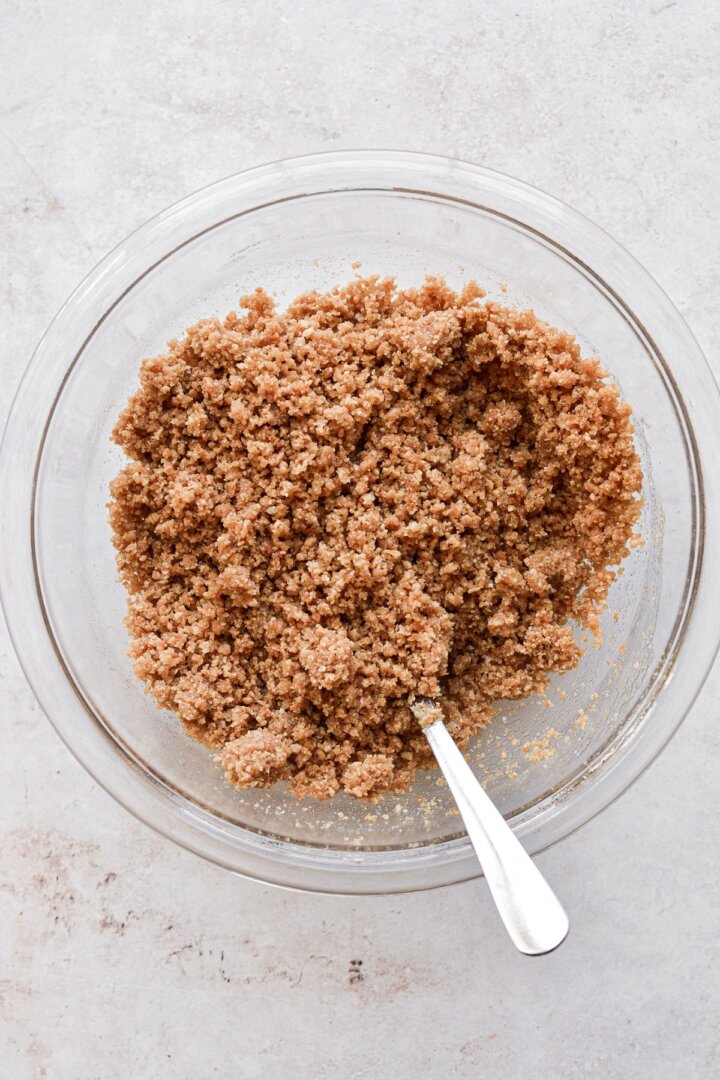
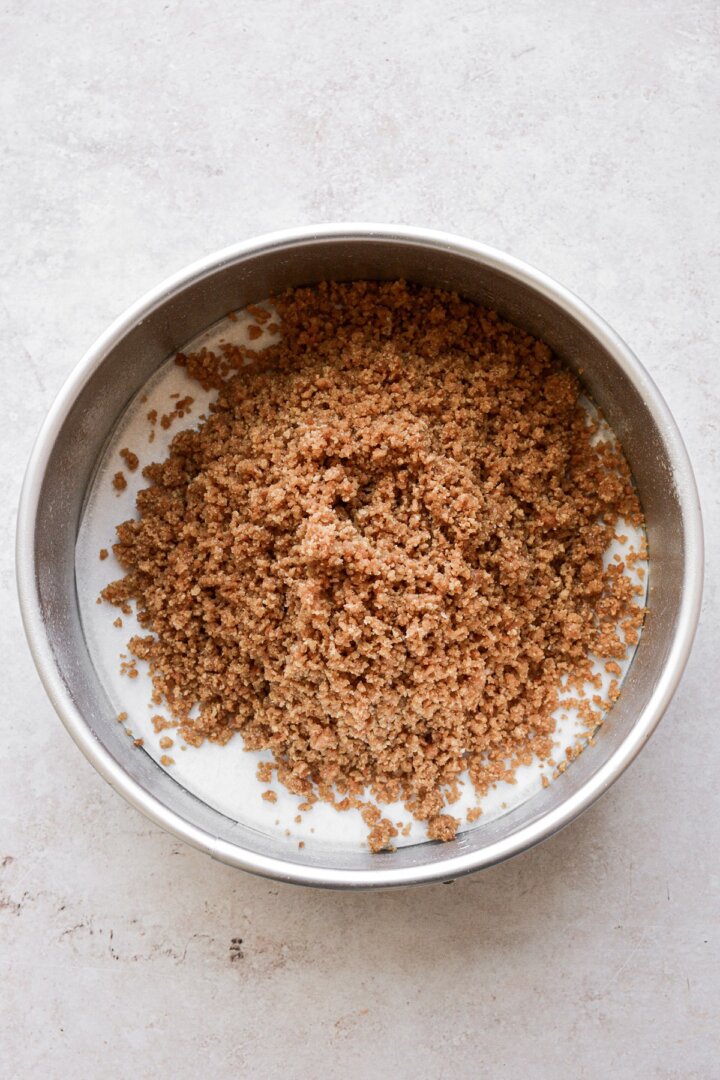
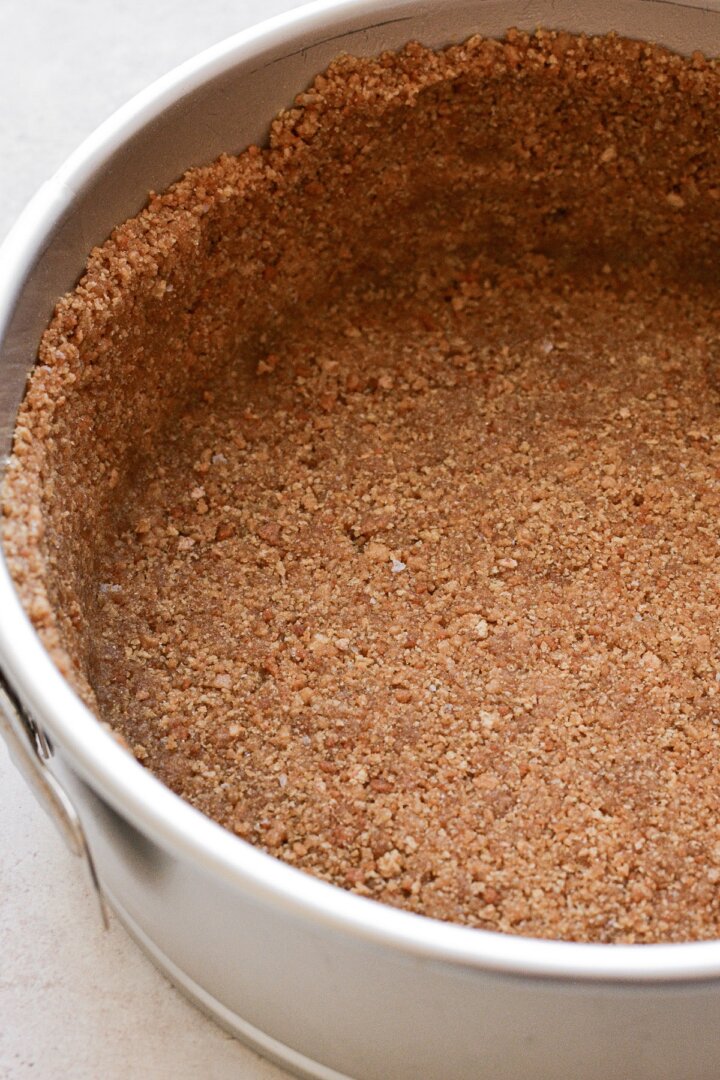
- Combine the crushed graham crackers with the sugar and salt. Drizzle with the melted butter, and toss with a fork until moistened and crumbly. Dump the crumbs into the pan, and press the crumbs firmly against the bottom and up the sides of the pan.
- Bake the crust for 10 minutes, until fragrant and golden brown. Cool completely. You can speed up the cooling by letting it cool at room temperature for 10 minutes, then in the refrigerator for another 10 minutes.
Filling
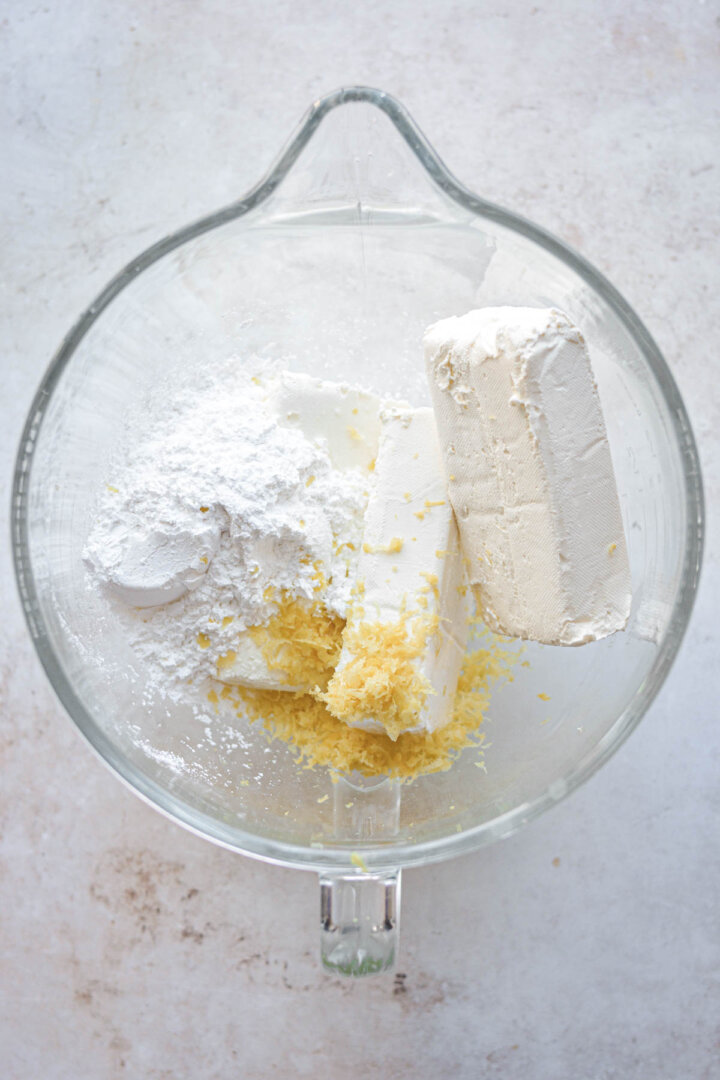
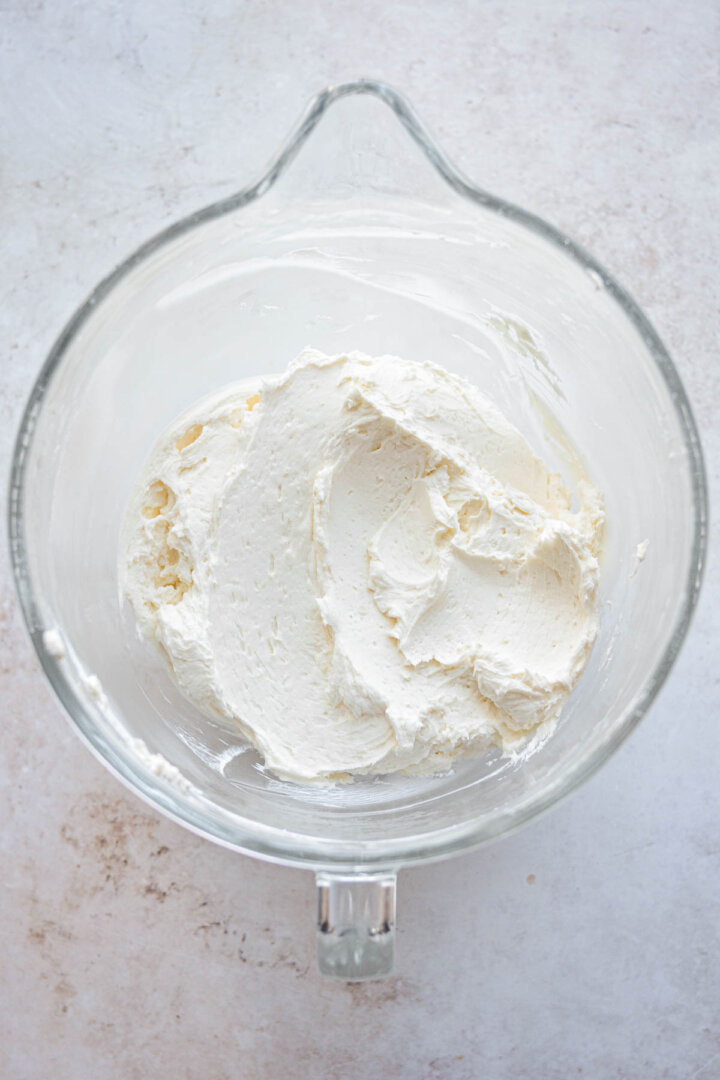
- In the bowl of your stand mixer fitted with the paddle attachment, beat the cream cheese, powdered sugar and lemon zest on medium speed for 2 minutes, until smooth.
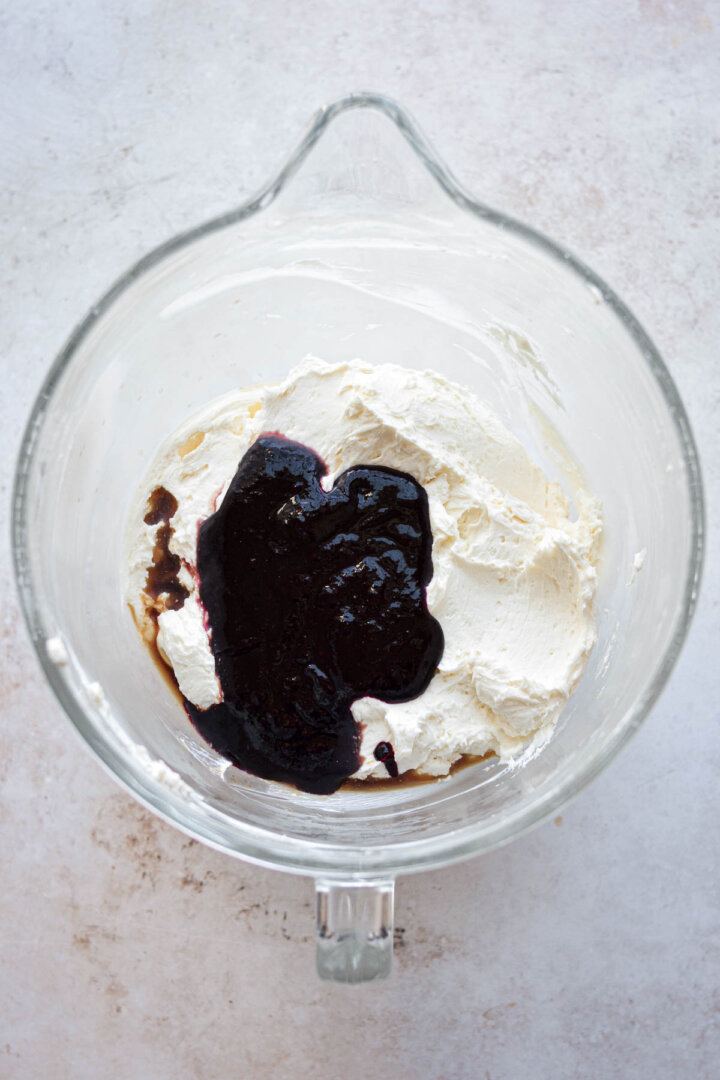
- Scrape the bowl down and beat in the strained blueberry puree and the vanilla extract, until smooth, then beat in 1/4 cup of the cream.
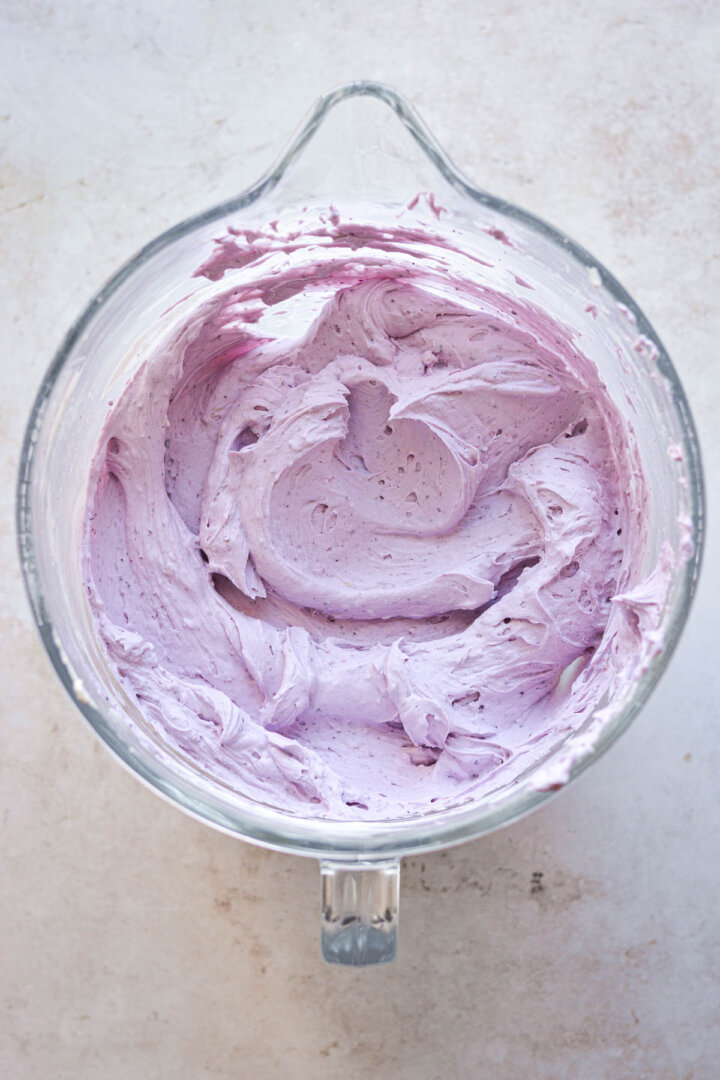
- Pour in the rest of the cream, switch to the whisk attachment, and beat for several more minutes on medium speed until thick, fluffy peaks form that hold their shape.
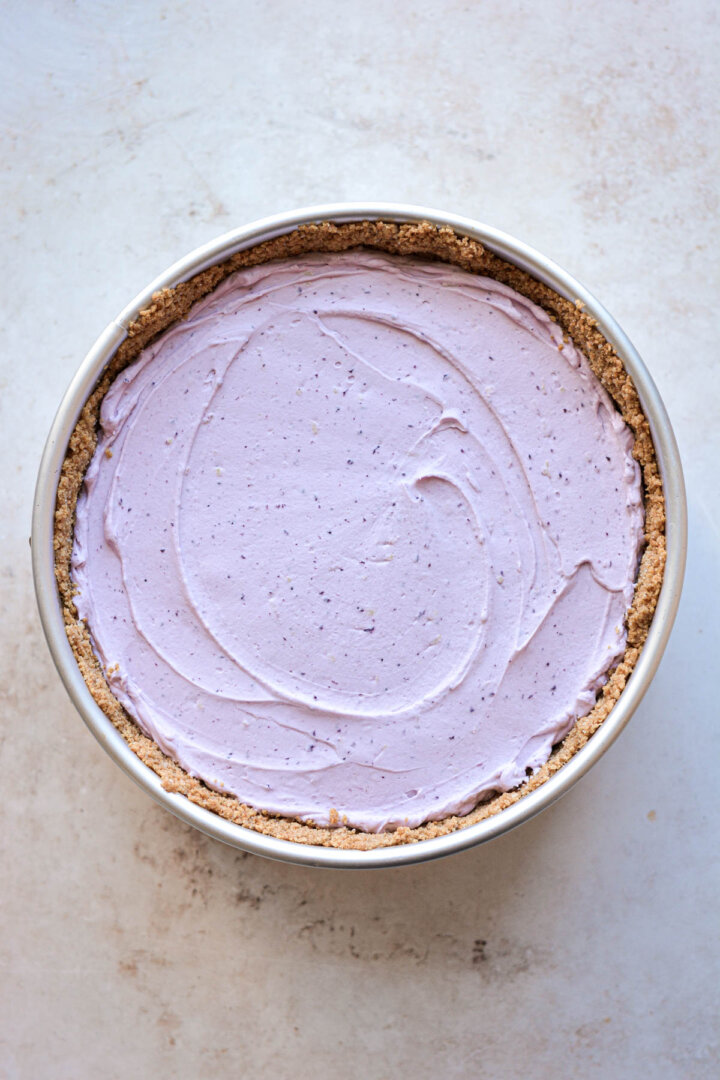
- Spread the filling into the cooled crust. Refrigerate the cheesecake for 2 hours before serving.
Serving
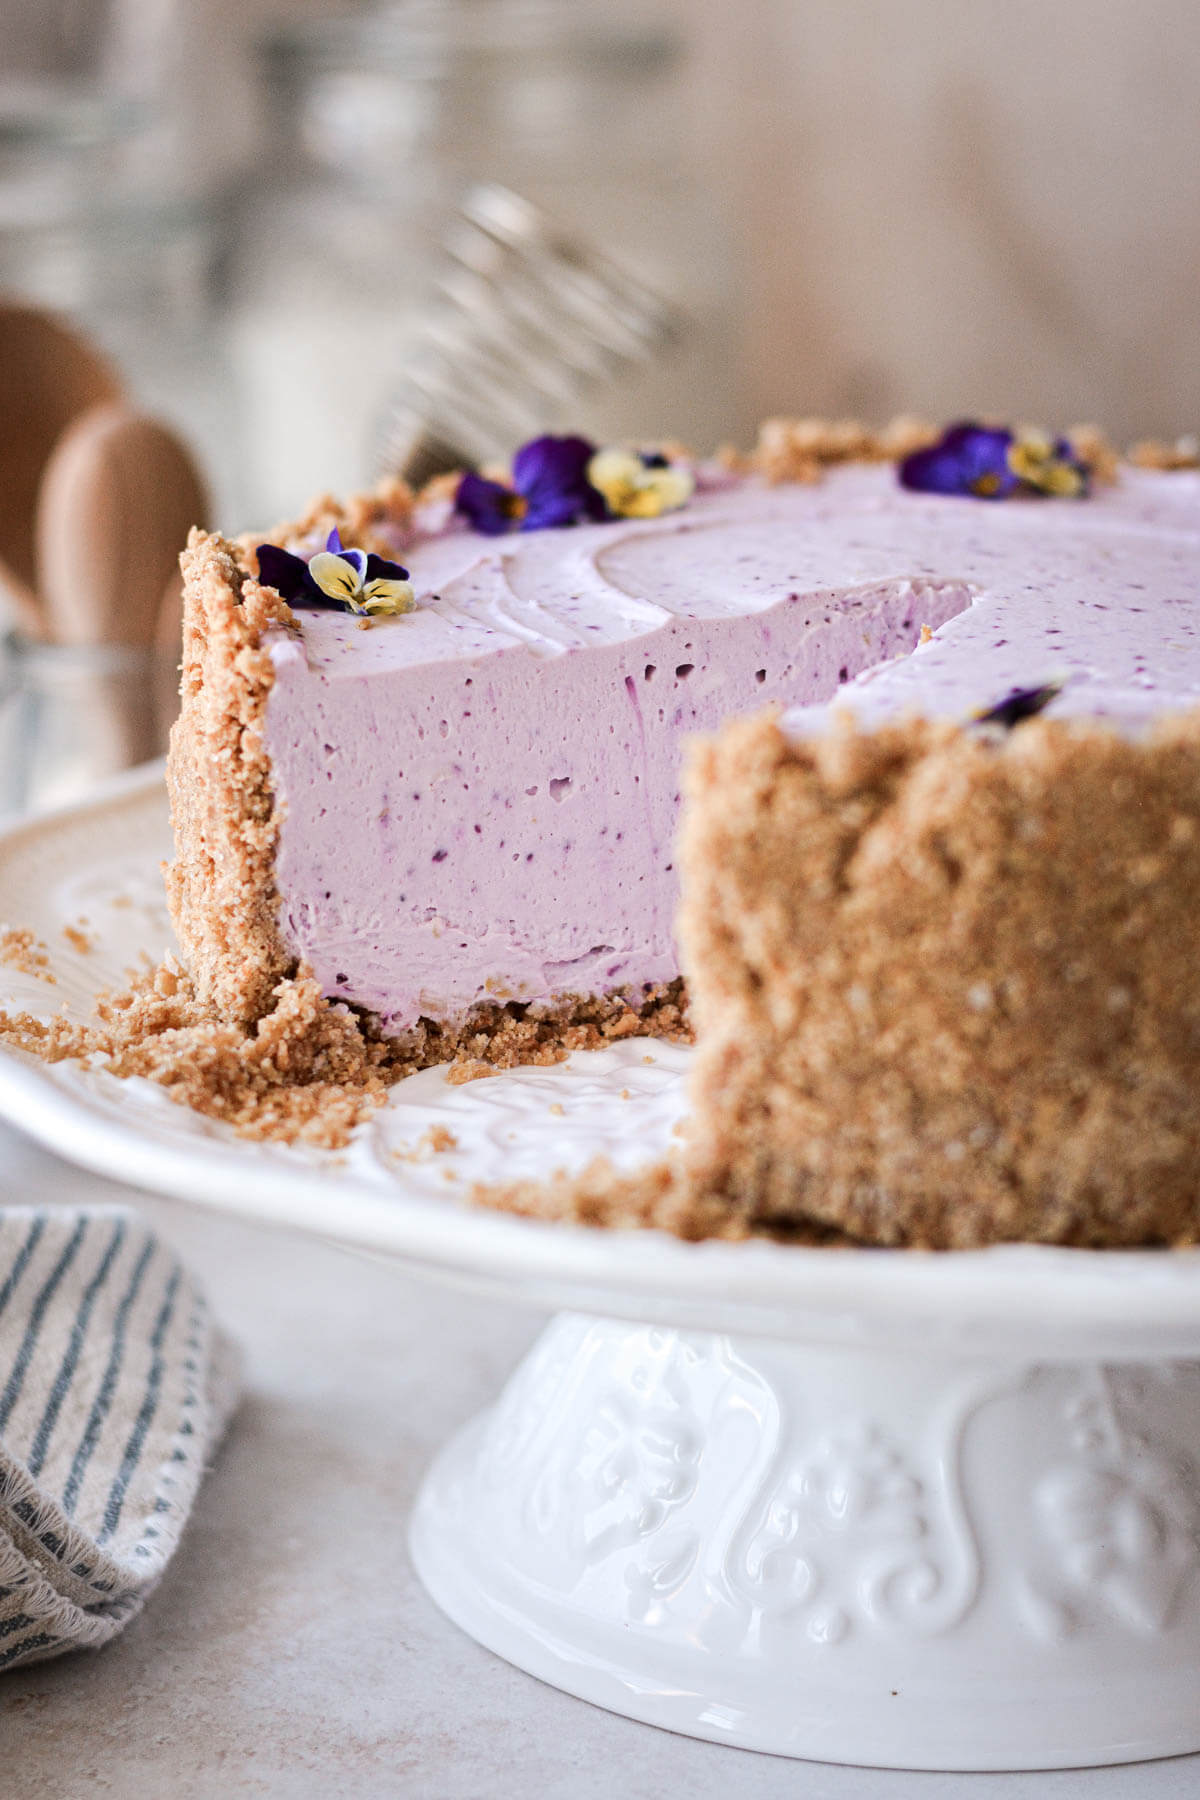
- To serve, run a sharp knife around the sides of the pan to loosen the crust from the pan, then carefully remove the sides of the pan. Set the cheesecake on a serving plate or cake pedestal.
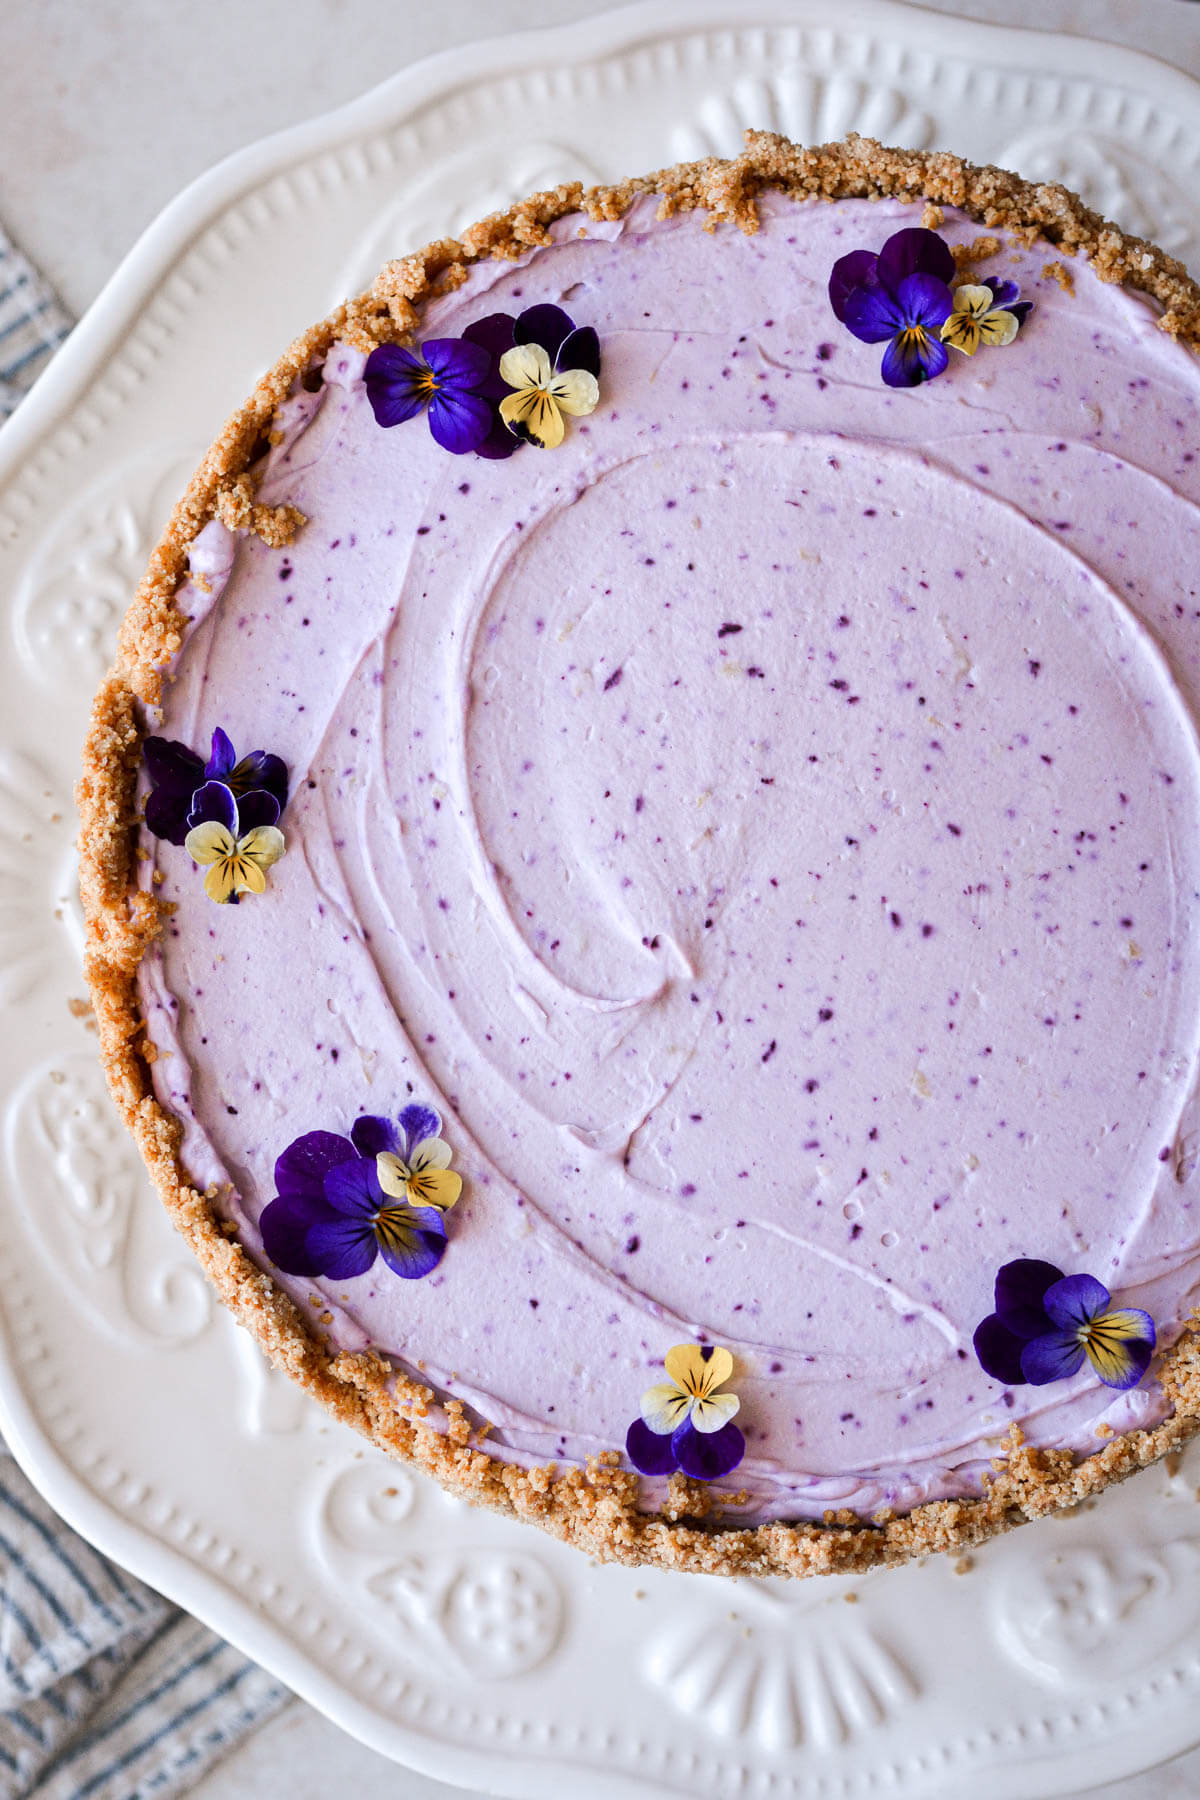
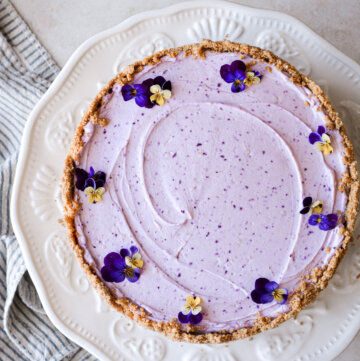
- If you like, you can spread the blueberry sauce on top of the cheesecake, or just serve it on the side. I decorated my cheesecake with wild pansies from my back yard.
Be sure to read all of my BAKING FAQs where I discuss ingredients, substitutions and common baking questions, so that you can be successful in your own baking!
Frequently Asked Questions
If you can’t find graham crackers, use digestive biscuits or vanilla wafers.
A springform pan is a type of cake pan that has sides that can be removed from the base. It’s typically used for cheesecakes and other molded desserts so that the cheesecake can be easily removed from the pan and presented on a cake pedestal. If you don’t have a springform pan, you can assemble this recipe in a deep-dish pie pan, and just serve it the same as you would slices of pie. For a wider cheesecake that’s not as tall, you can use a 9 or 10-inch springform pan.
You should cover and refrigerate your cheesecake, and it’s best eaten within 2-3 days.
It can be difficult to find edible flowers at grocery stores or even farmer’s markets. To decorate my cheesecake, I picked some wild johnny jump ups (which are in the same family as pansies and violas) from my backyard. Please do your own research on what plants and flowers are safe to eat, and use your judgement before consuming any wild plant.
You Might Also Like
Please check out my Amazon Shop for a curated collection of some of my favorite cake pans from trusted brands, baking tools, ingredients, pretty things and fashion finds. I recommend products that I buy and use every day!
Did you love today’s recipe? Please rate the recipe and let me know in the comments what you thought! Also, be sure to follow Curly Girl Kitchen on Instagram, and tag me when you try one of my recipes so I can see all your delicious creations!
No Bake Lemon Blueberry Cheesecake
All recipes on Curly Girl Kitchen are developed for high altitude at 5,280 feet. See FAQs for adjusting to higher or lower elevations.
Equipment
- 8-inch Springform Pan with Removable Bottom
- Electric Mixer (Stand or Handheld)
Ingredients
Blueberry Sauce
- 12 oz frozen blueberries
- ¼ cup granulated sugar
- 1 tbsp corn starch
- 2 tbsp lemon juice
Crust
- 1 ¾ cups finely crushed graham crackers, approximately 1 1/2 "sleeves"
- 2 tbsp granulated sugar, optional
- ¾ – 1 tsp coarse Kosher salt (if using table salt, use half the amount)
- ½ cup unsalted butter, melted
Filling
- 1 ½ lbs cream cheese, softened for 30 minutes at room temperature
- ¾ cup powdered sugar
- 1 tbsp freshly grated lemon zest
- ½ cup blueberry sauce, pureed and strained
- 1 tsp vanilla extract
- 1 ¼ cups cold heavy whipping cream, divided
Instructions
Blueberry Sauce
- In a saucepan, combine the frozen blueberries with the sugar and corn starch, then stir in the lemon juice.
- Bring to a simmer over medium heat for several minutes, stirring frequently, until the sauce boils and thickens. Remove from the heat.
- Measure 1/2 cup of the sauce into a small food processor or Ninja, and puree into a liquid. Press the puree through a mesh strainer into a bowl to remove the seeds and pulp. You'll be using the 1/2 cup of strained puree in the cheesecake filling, and serving the rest of the sauce on the side. Refrigerate the blueberry sauce until needed. If the sauce seems too thick after cooling, simply stir in some water, a tablespoon at a time.
Crust
- Preheat the oven to 325F. Lightly spray the bottom of an 8-inch springform pan with non-stick baking spray, or line it with parchment paper.
- Combine the crushed graham crackers with the sugar and salt. Drizzle with the melted butter, and toss with a fork until moistened and crumbly. Dump the crumbs into the pan, and press the crumbs firmly against the bottom and up the sides of the pan.
- Bake the crust for 10 minutes, until fragrant and golden brown. Cool completely. You can speed up the cooling by letting it cool at room temperature for 10 minutes, then in the refrigerator for another 10 minutes.
Filling
- In the bowl of your stand mixer fitted with the paddle attachment, beat the cream cheese, powdered sugar and lemon zest on medium speed for 2 minutes, until smooth.
- Scrape the bowl down and beat in the strained blueberry puree and the vanilla extract, until smooth, then beat in 1/4 cup of the cream.
- Pour in the rest of the cream, switch to the whisk attachment, and beat for several more minutes on medium speed until thick, fluffy peaks form that hold their shape.
- Spread the filling into the cooled crust. Refrigerate the cheesecake for 2 hours before serving.
Serving
- To serve, run a sharp knife around the sides of the pan to loosen the crust from the pan, then carefully remove the sides of the pan. Set the cheesecake on a serving plate or cake pedestal.
- If you like, you can spread the blueberry sauce on top of the cheesecake, or just serve it on the side.

Leave a Reply