
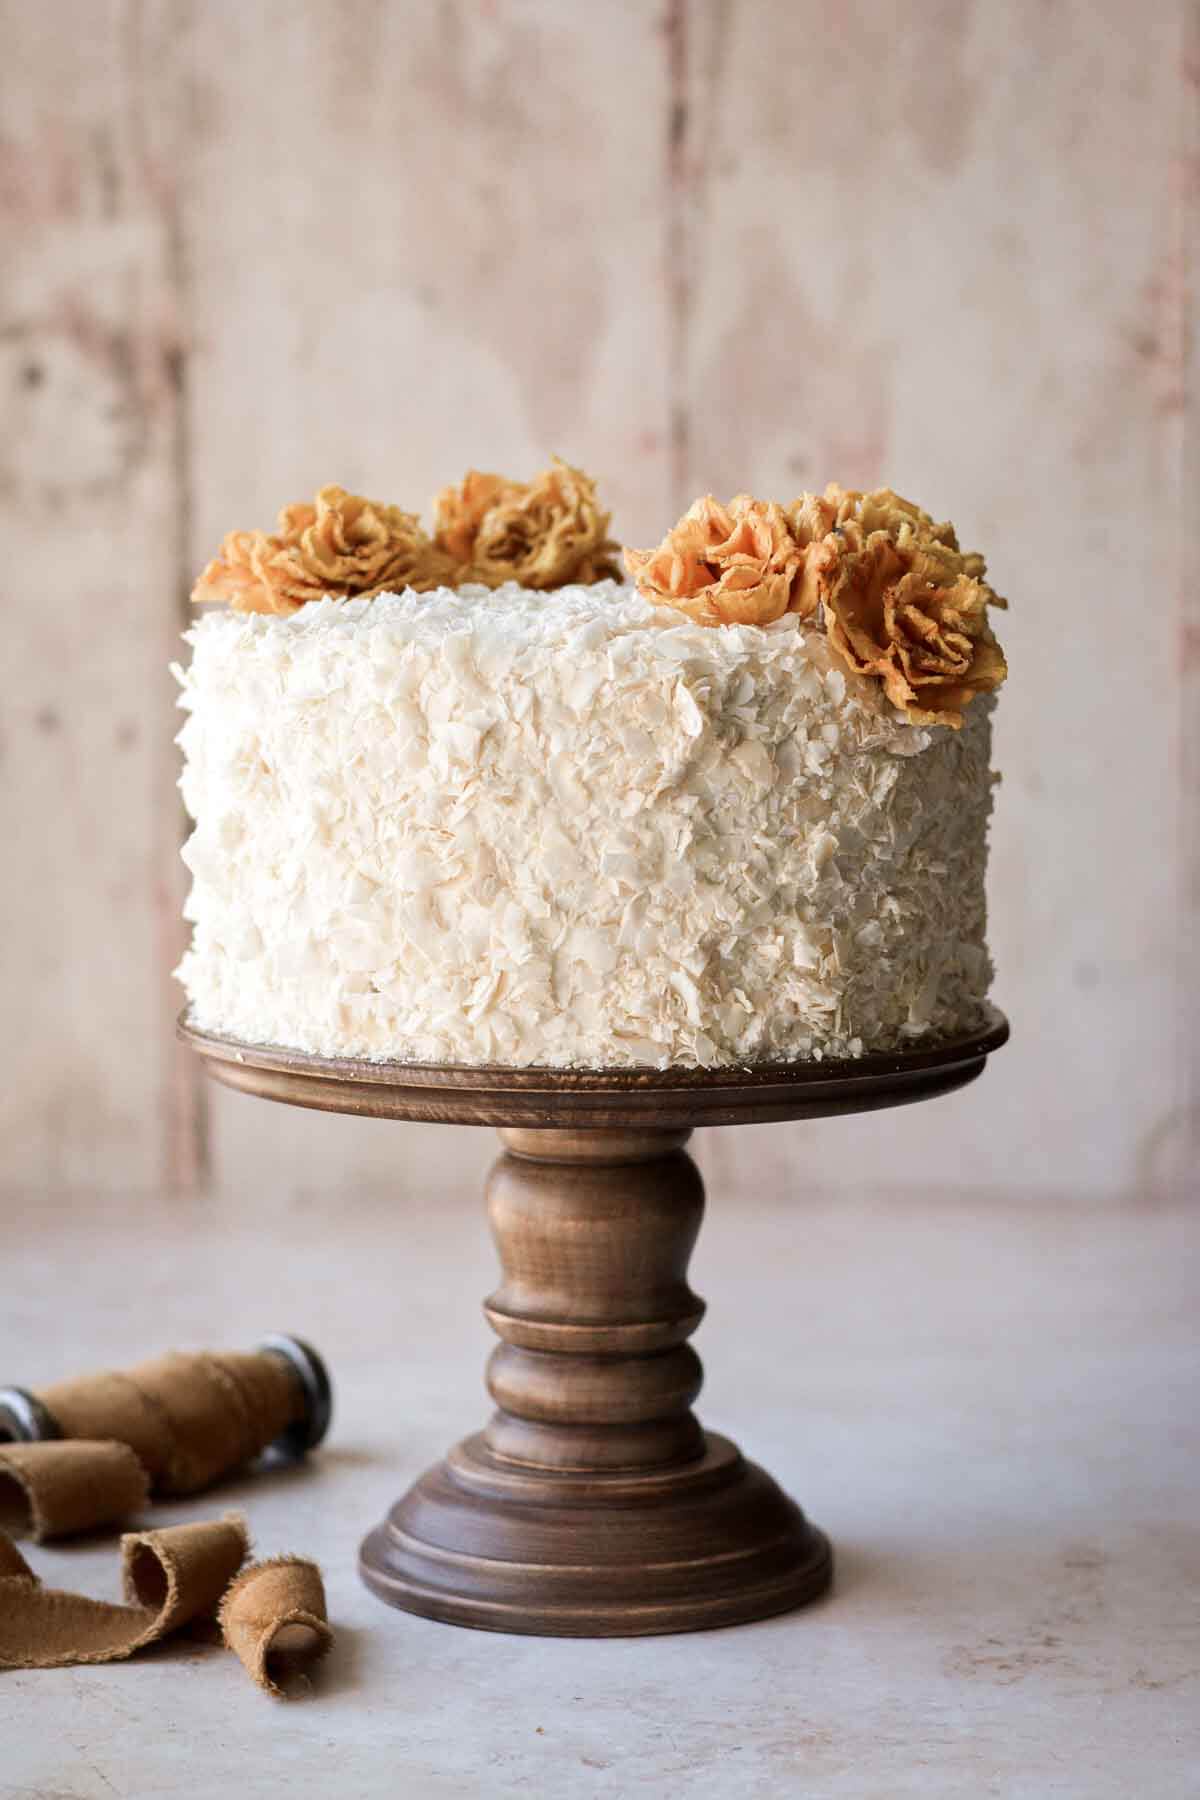
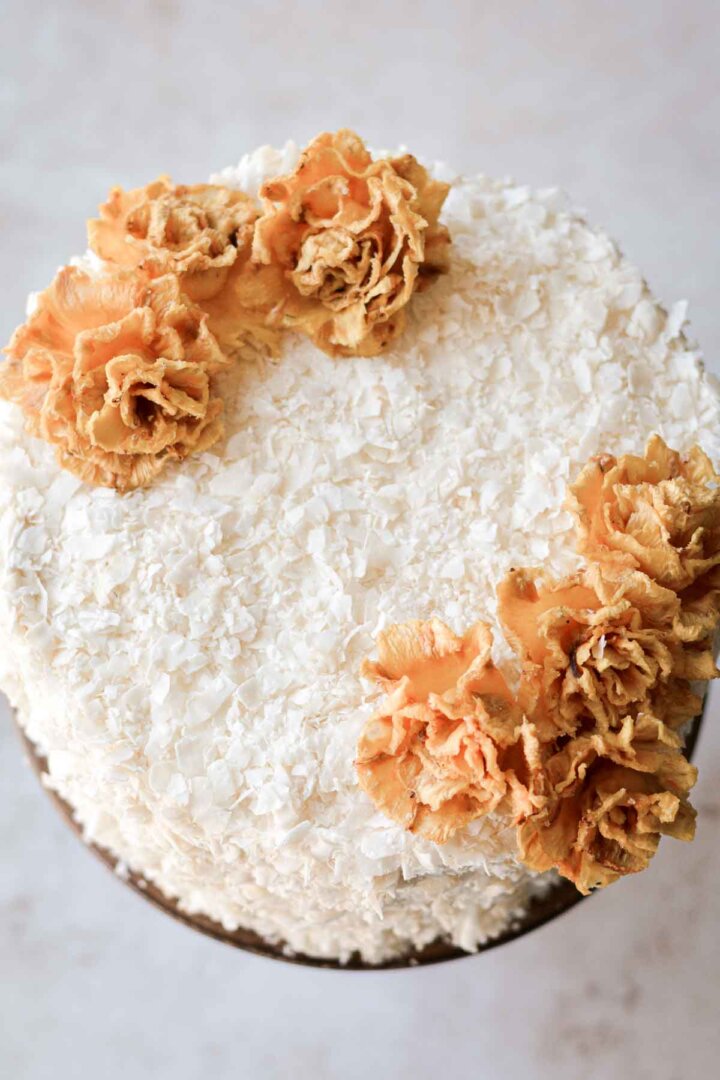
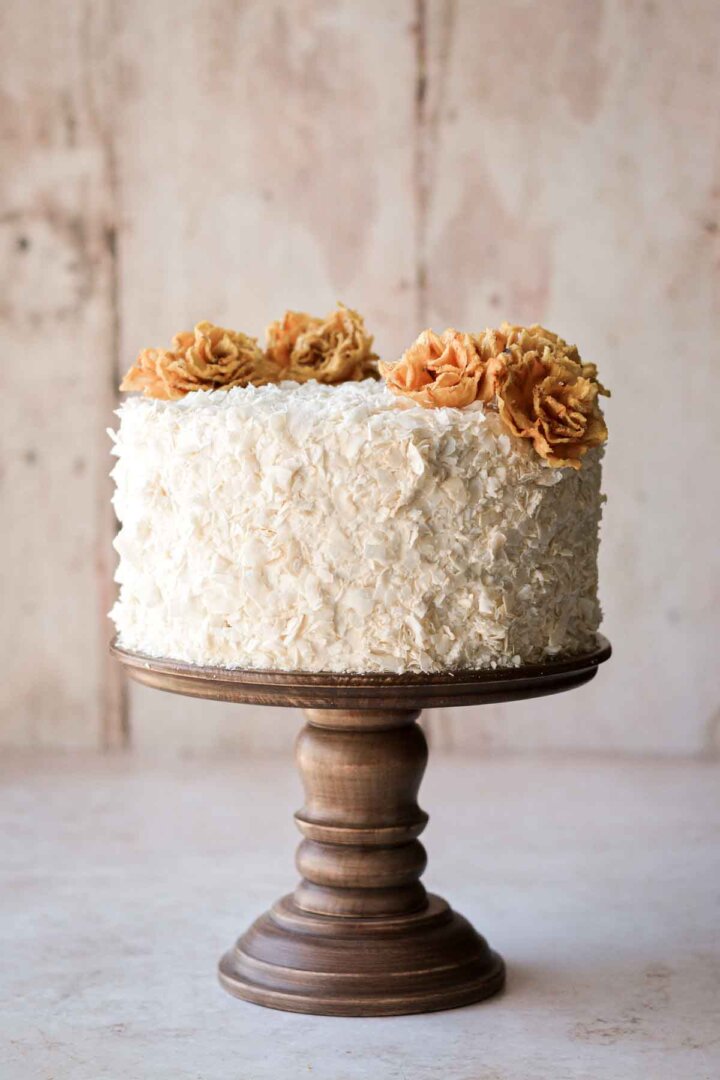
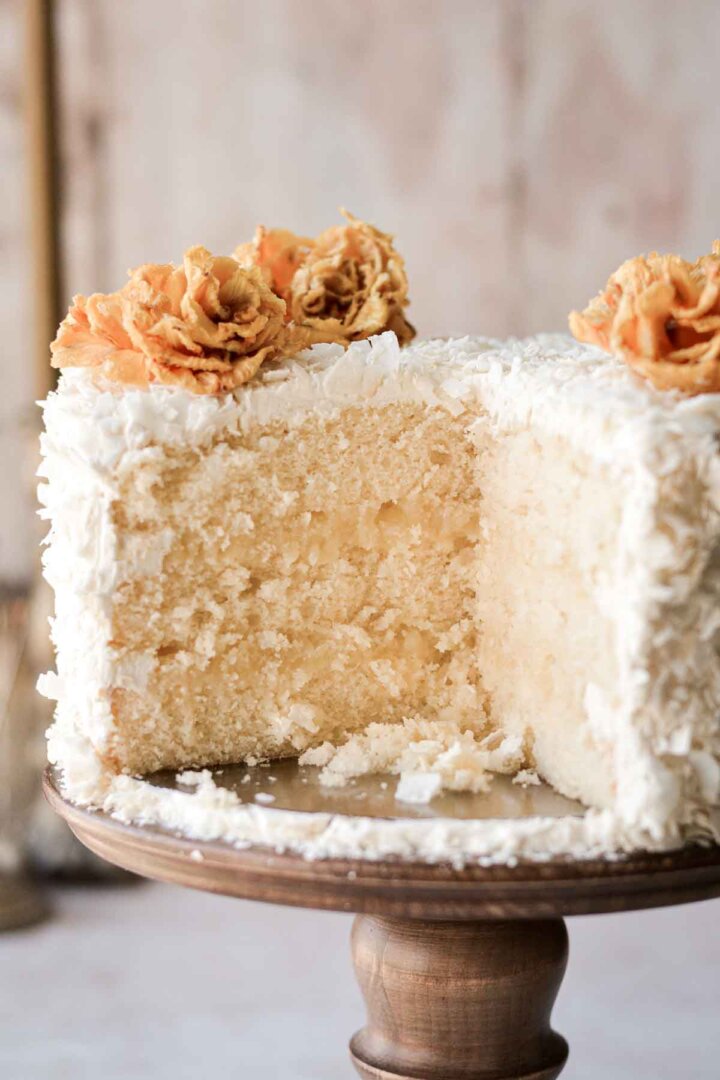
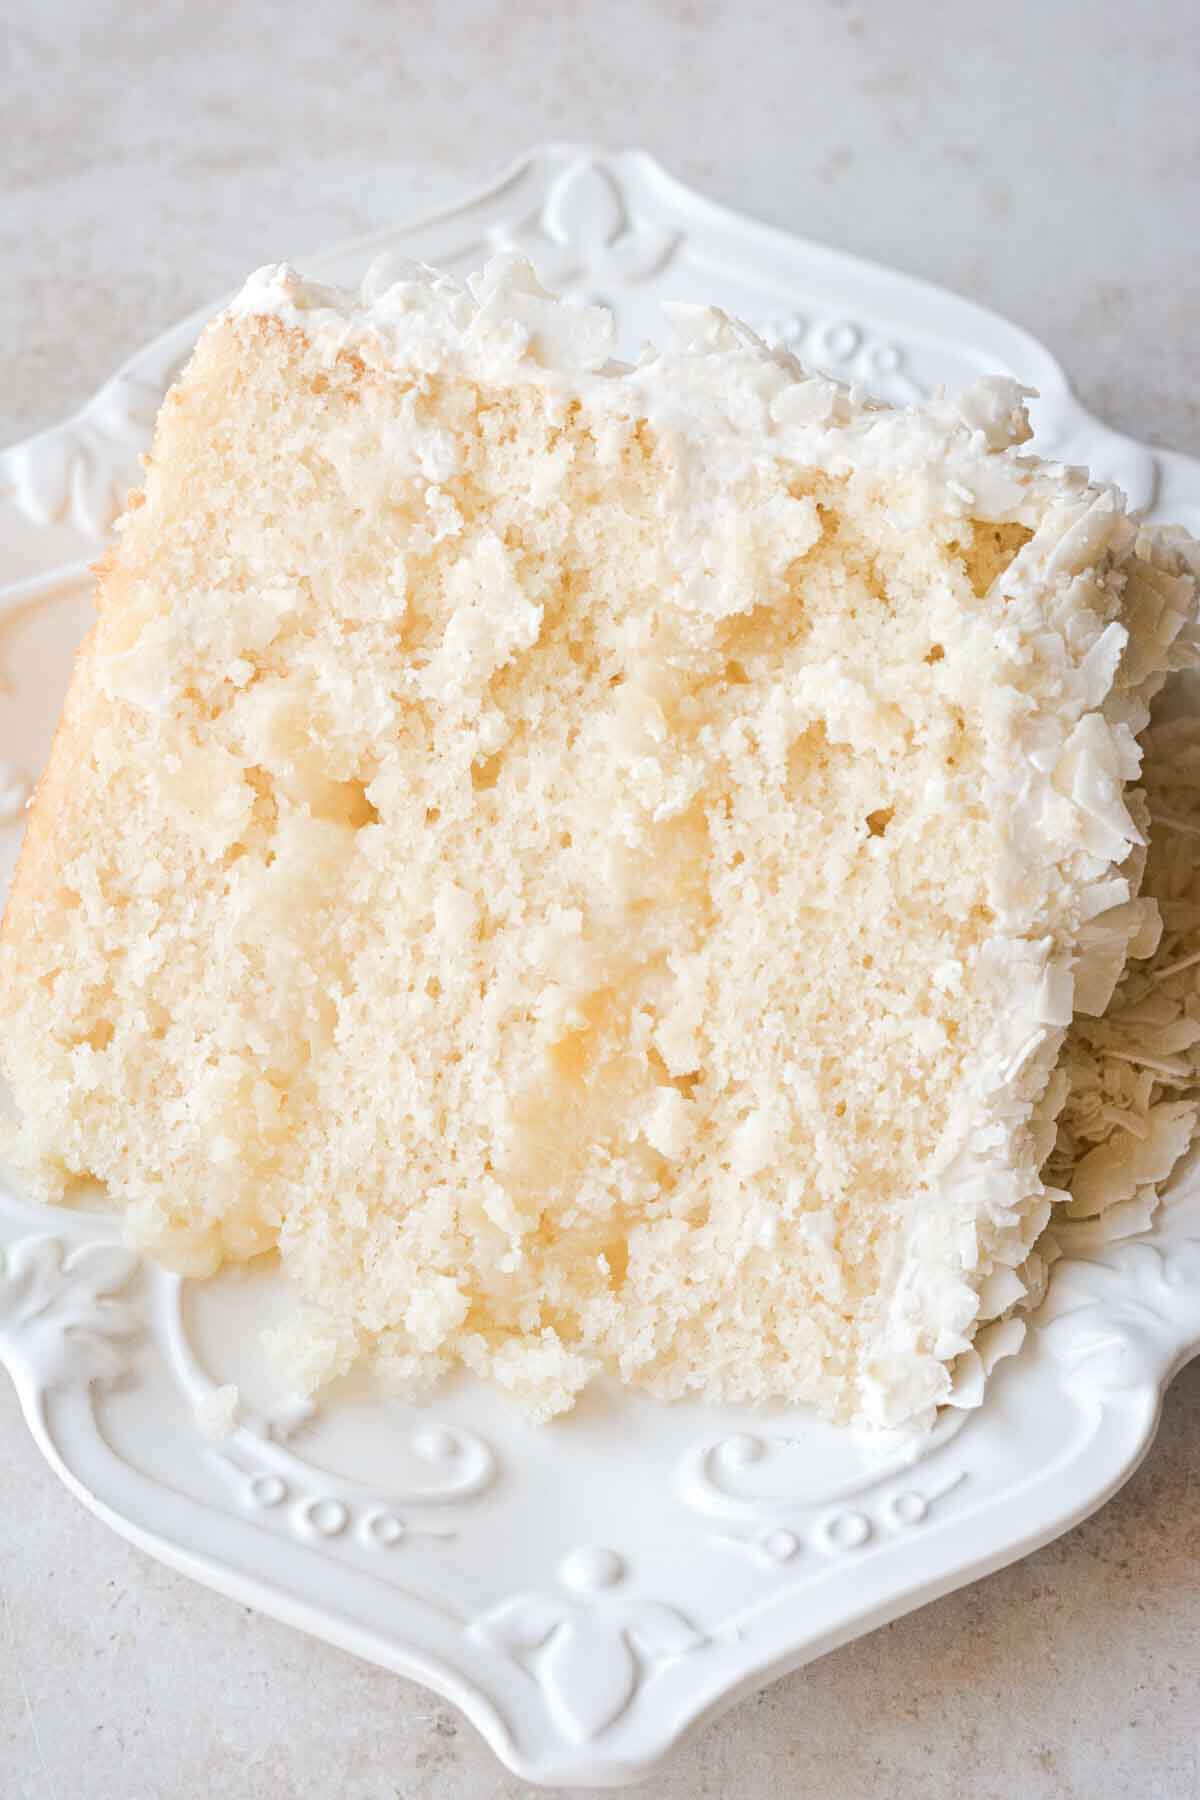
This high altitude pineapple coconut cake has three layers of soft, fluffy cake, layered with crushed pineapple filling, frosted with fluffy coconut buttercream, and decorated with edible pineapple flowers.
You might also love these high altitude recipes for pineapple coconut cupcakes (piña colada cupcakes), pineapple upside down cake, and white chocolate coconut cheesecake.
This site contains affiliate links. As an Amazon associate, I earn from qualifying purchases. This means that I may make a small commission if you purchase a product using those links. This in no way affects my opinion of those products and services. All opinions expressed on this site are my own.
Why You’ll Love This Recipe
Everything from Scratch. Each element of this cake is homemade, with no boxed mixes.
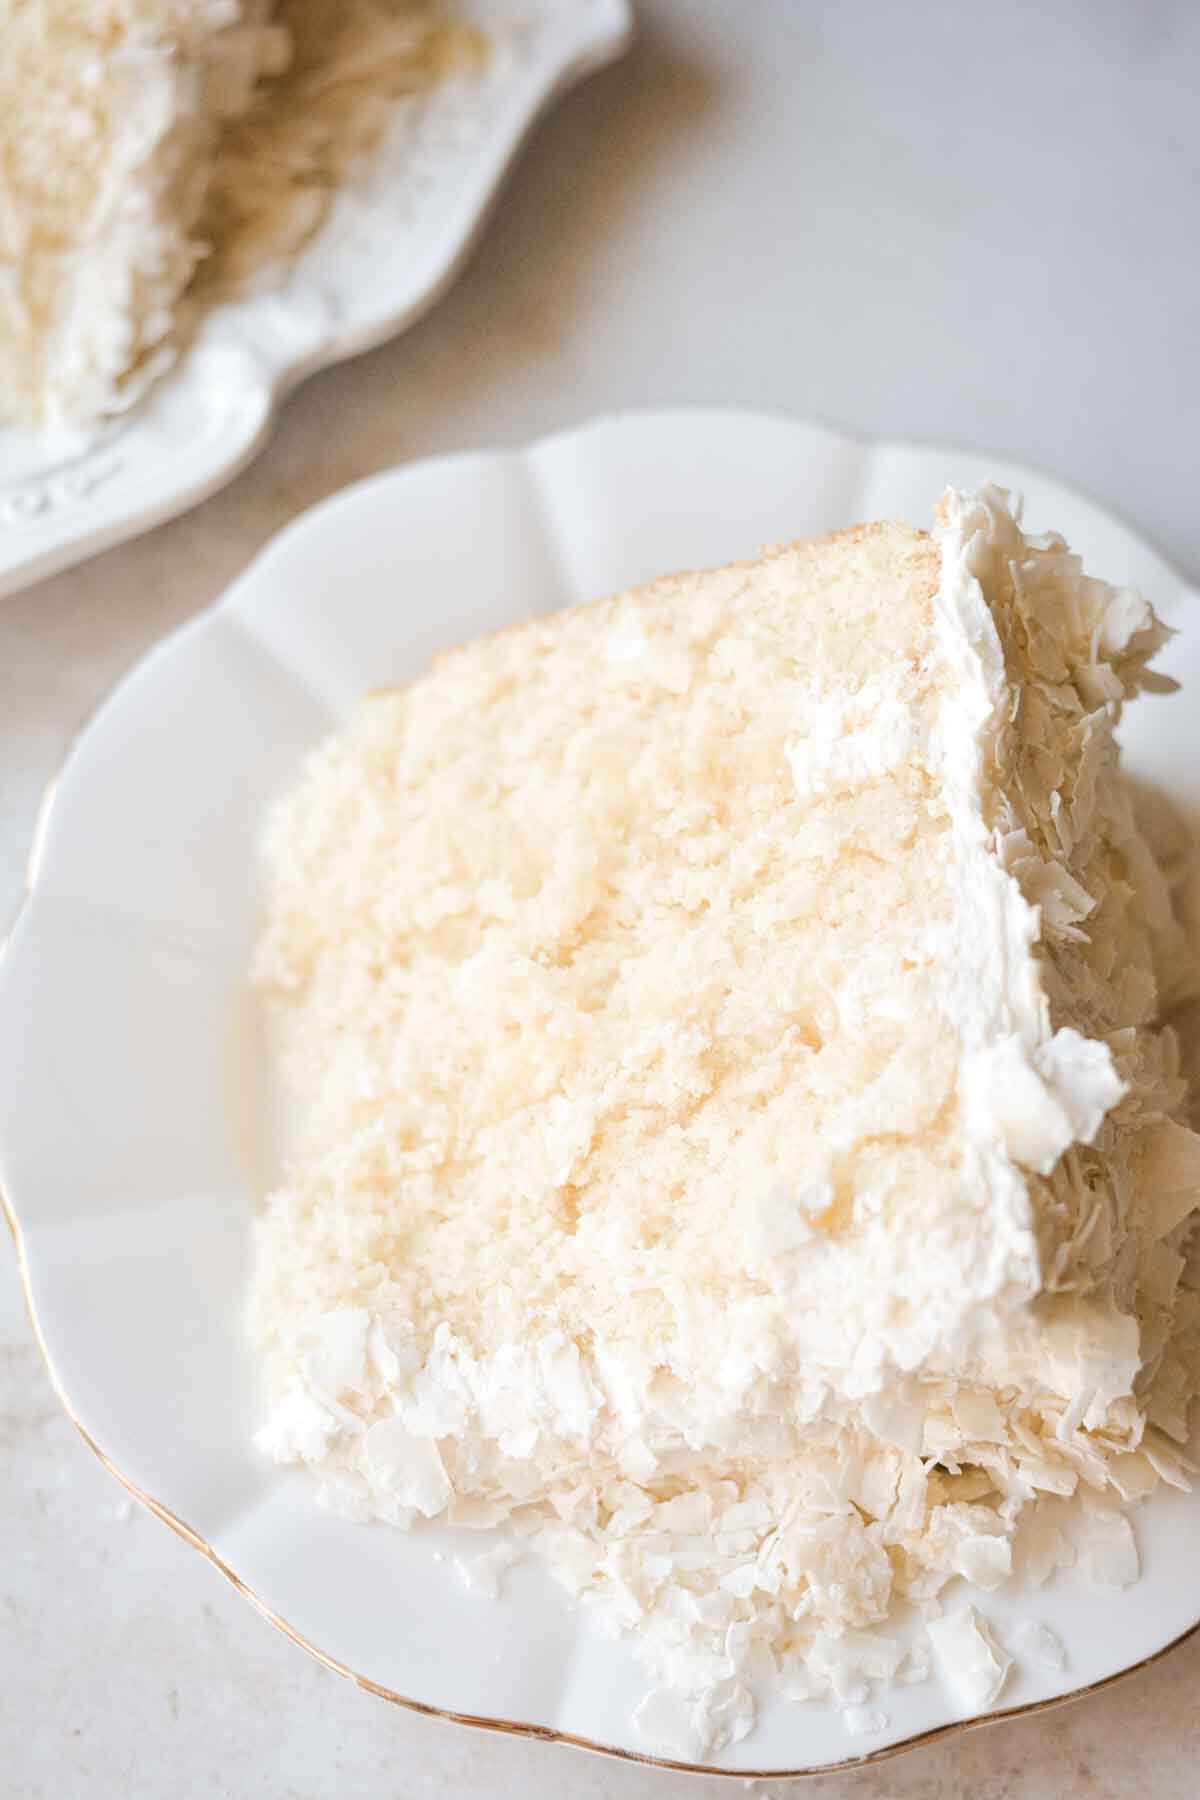
Moist for Days. The cake is super moist on its own, but paired with the pineapple filling, it stays soft, moist and delicious for days after baking.
Summery and Tropical. The combination of pineapple and coconut is perfect for hot summer days, like sipping a piña colada on the beach.
High Altitude Tested. I develop all the recipes on my site for Denver’s altitude of 5,280 feet. If you’re at a lower or higher elevation, please see my FAQs for guidance on adjusting recipes for your altitude.
See the recipe card at the end of the post for the full ingredients list and instructions.
Ingredients
- Crushed Pineapple. A can of crushed pineapple in juice is the base for the filling. Sweetened with a little sugar, thickened with corn starch, and finished with butter, it’s the most delicious cake filling.
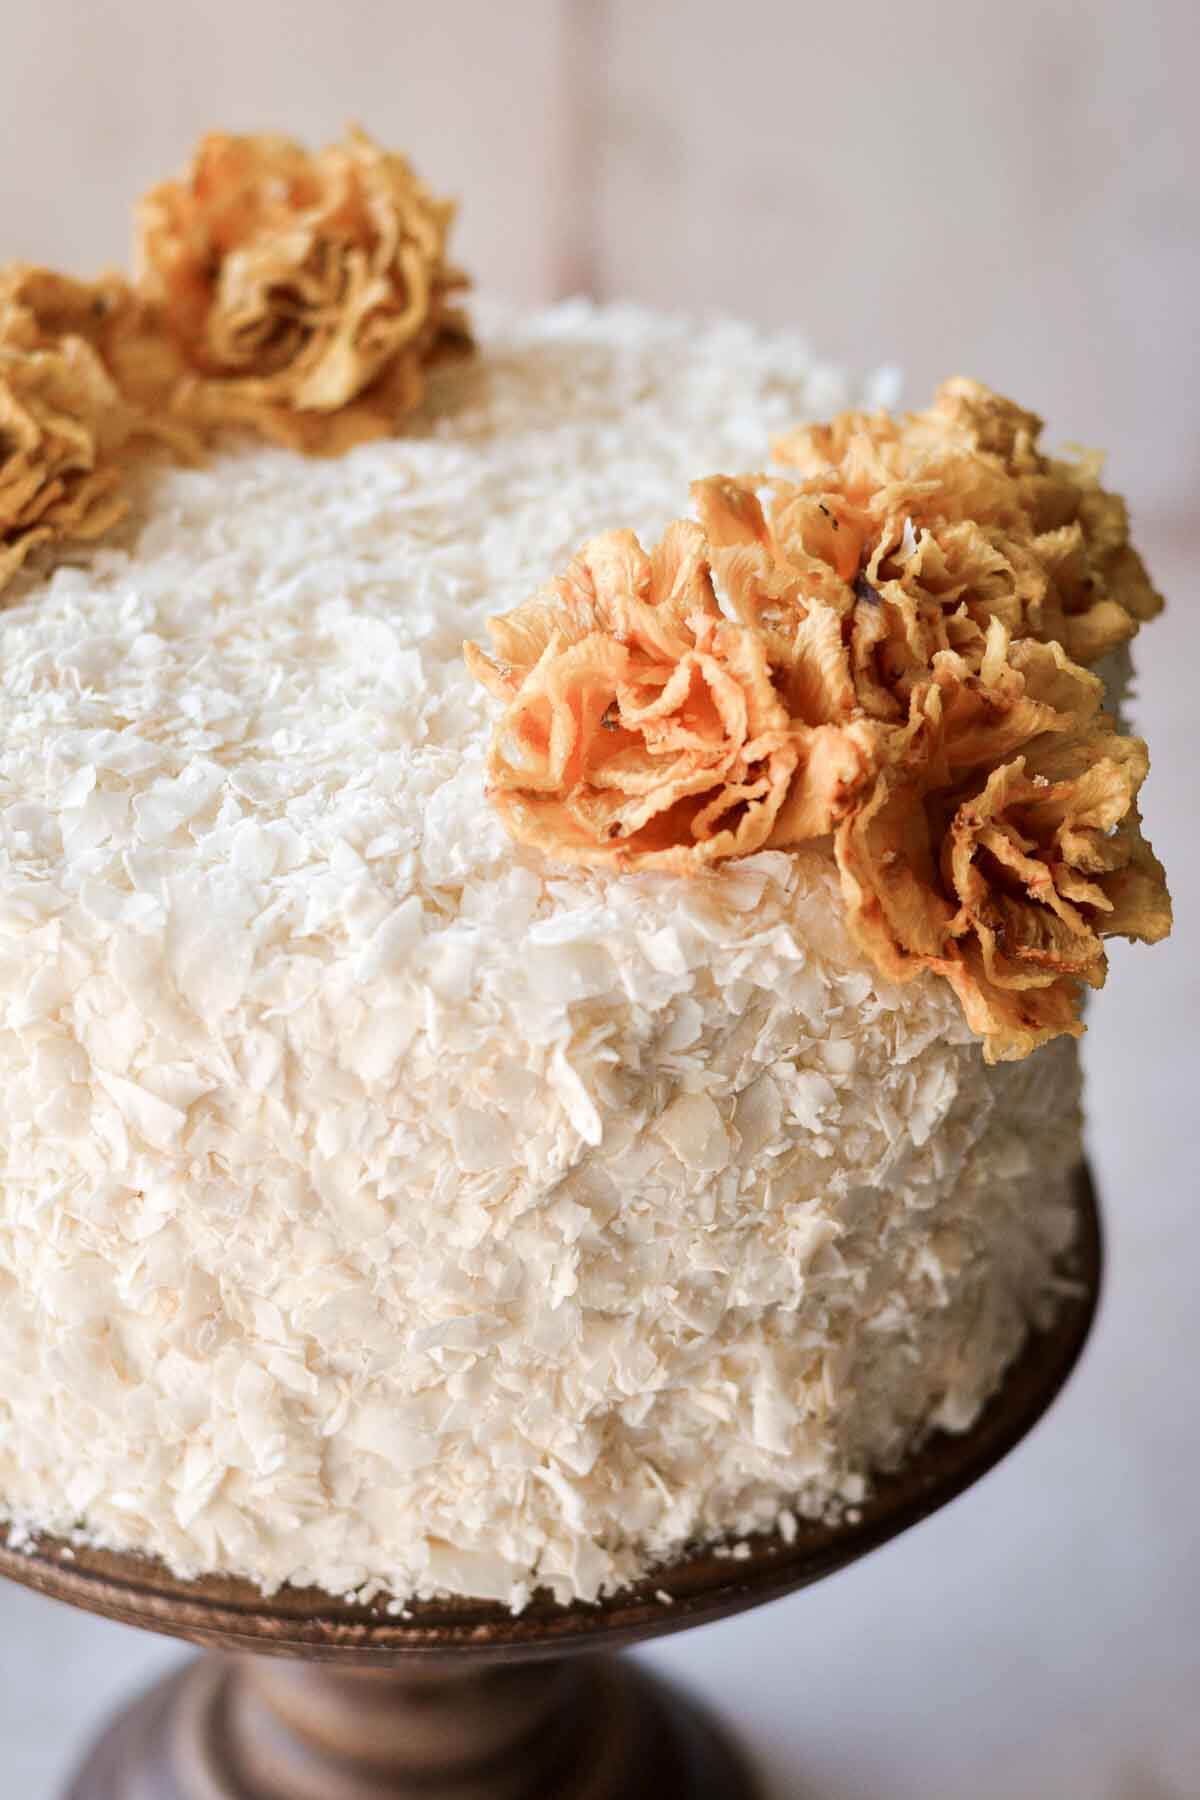
- Fresh Pineapple. The handmade edible pineapple flowers are an extra step, but they look just gorgeous on the cake. You’ll need a whole, fresh pineapple to make them, not canned pineapple slices.
- Cake Flour. Cake flour gives the cake a softer, fluffier crumb, as cake flour has less protein than all purpose flour.
- Granulated Sugar + Powdered Sugar.
- Baking Powder.
- Salt.
- Butter + Vegetable Oil.
- Milk + Sour Cream.
- Eggs.
- Vanilla Extract + Coconut Extract.
- Coconut Flakes. I always use and recommend natural, unsweetened coconut flake, rather than sweetened shredded coconut. Not only does it look prettier, but it tastes so much better.
Instructions
Pineapple Filling
- When making the pineapple filling, it’s best to use non-reactive saucepans and utensils. Coated pans and silicone whisks/spatulas are better than metal, to avoid a metallic taste in the filling.
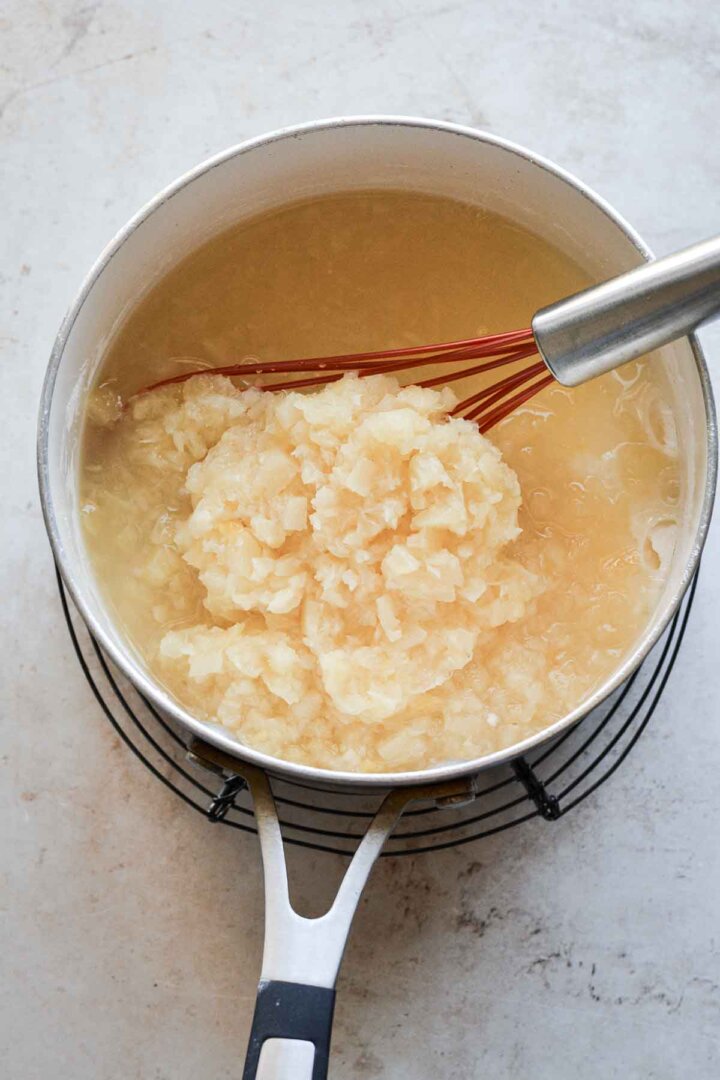
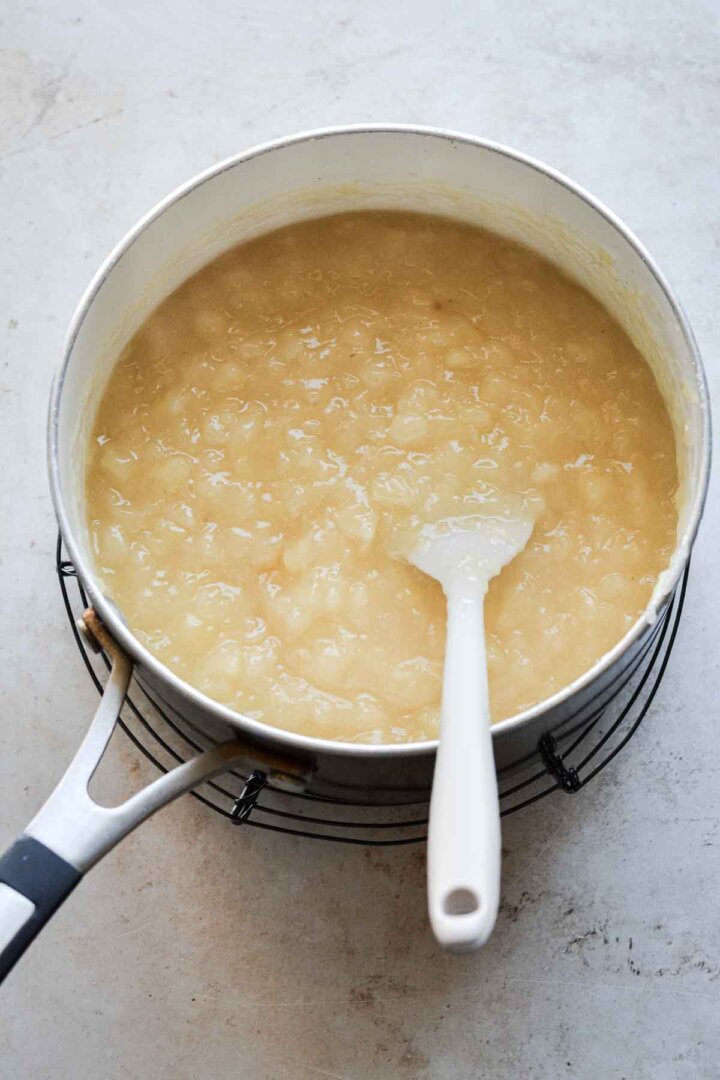
- In a medium sized saucepan, combine the sugar and corn starch. Whisk in the crushed pineapple (including all the juice in the can) and the lemon juice.
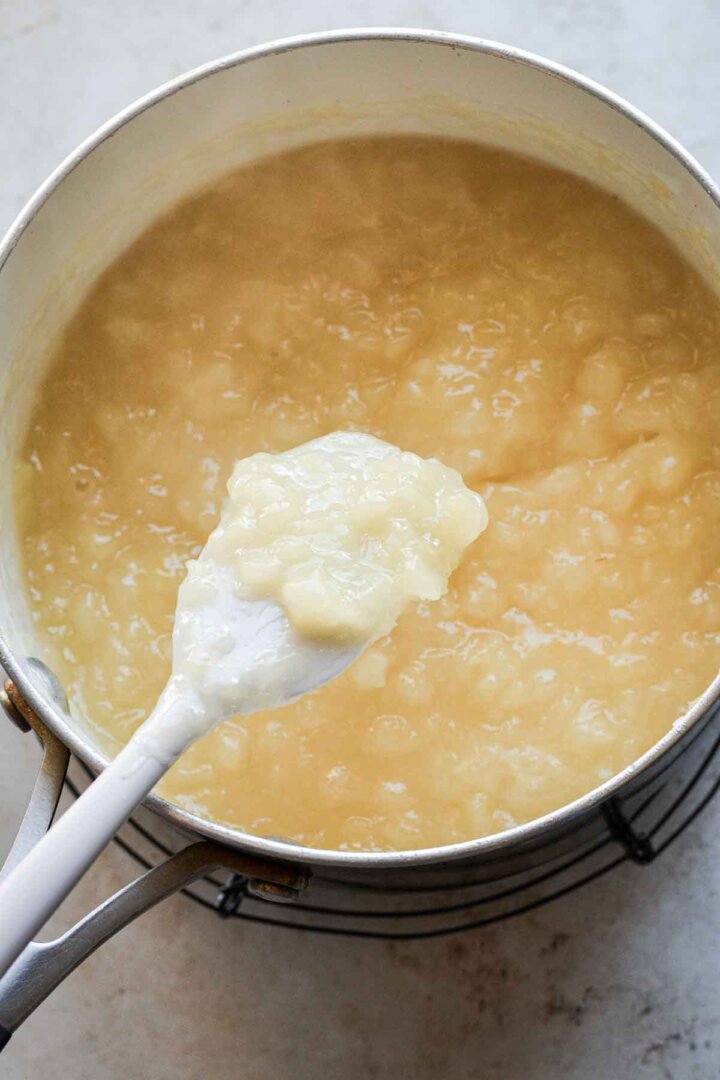
- Over medium heat, cook the filling until it bubbles and starts to thicken, then cook for one more minute until thick. Remove from the heat and stir in the butter.
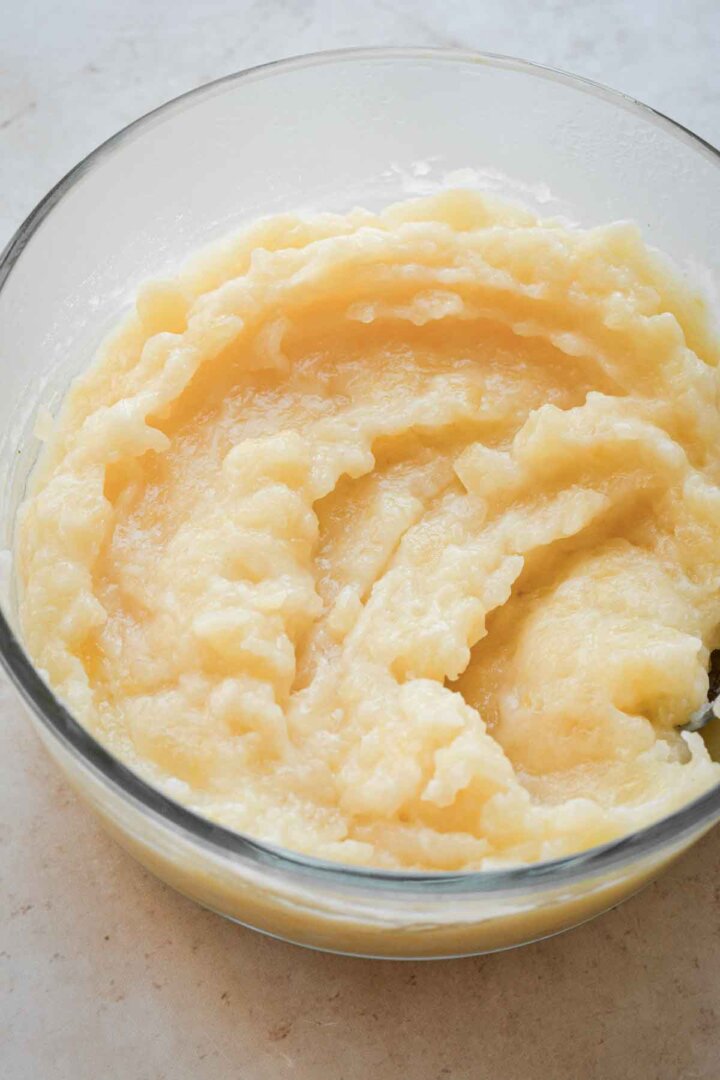
- Refrigerate the filling in a lidded container until completely chilled. You can make the filling up to two days in advance.
Pineapple Flowers
- Set a cooling rack on a large baking sheet. Since you’ll have more pineapple slices than can fit on one rack, you can stack several cooling racks on the same baking sheet by using balls of aluminum foil as “risers” between each rack.
- Cut the top and bottom off the pineapple. Slice off the rough peel, then use a paring knife to remove the “eyes”. Be sure to leave the pineapple core intact.
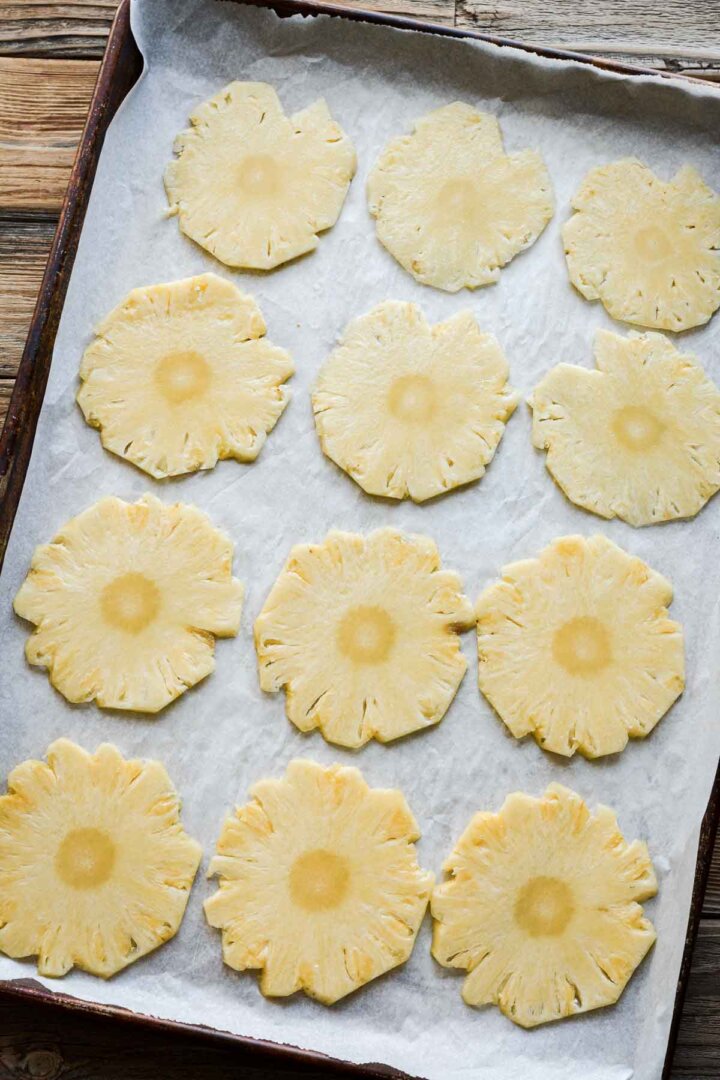
- Lay the pineapple on its side and cut very thin slices, as thin as you can get them, about 1/16 of an inch thick. Pat the excess moisture out of the pineapple slices with paper towels, then arrange the slices on the cooling racks.
- Preheat the oven to 200 F, with the rack positioned in the lower third of the oven.
- Bake the pineapple slices for about 2 hours, rotating the pan halfway through. If you sliced them thinly enough, they should feel pretty dry after two hours, with the edges getting crinkly and golden brown.
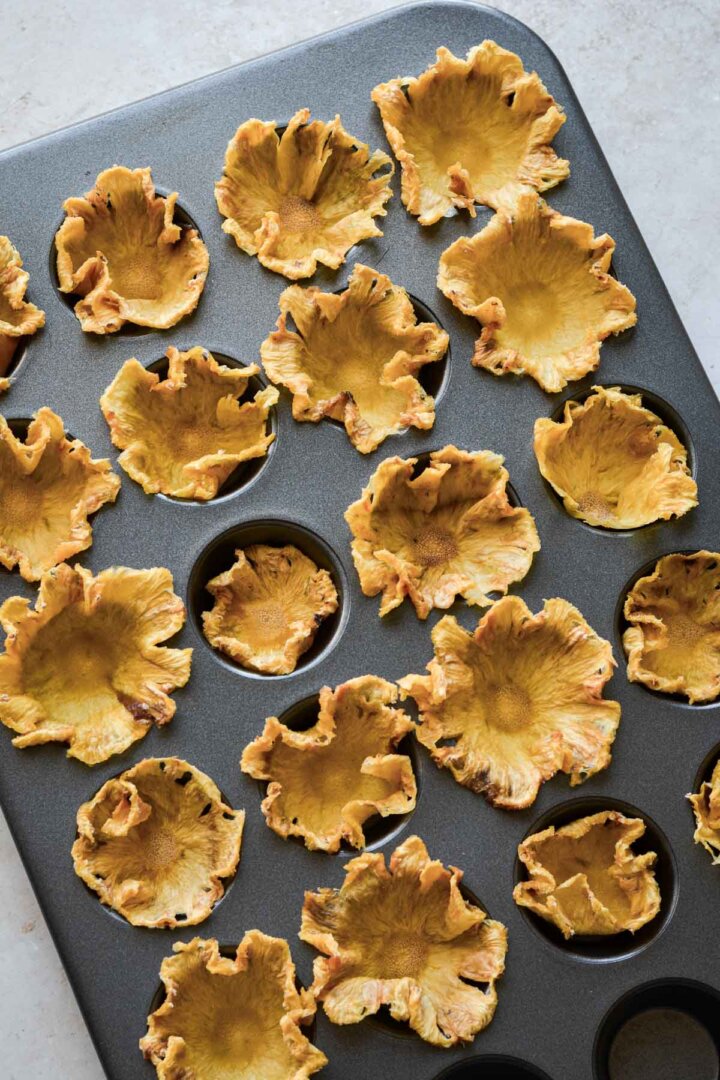
- Remove the pan from the oven, and immediately press the hot pineapple slices into a cupcake pan (a mini cupcake pan with 24 cups works very well) to mold them into a cupped flower shape. If you don’t work quickly, they will stiffen up and won’t easily conform to the cups. If this happens, return the baking sheet to the oven for a few minutes to soften the pineapple up so you can mold the flowers.
- Let the pineapple flowers cool completely. Initially, the flowers will be slightly crisp as they cool, but they do tend to soften up again as they sit. Keep the flowers in the cupcake pan until you’re ready to use them, to help them maintain their shape. It’s not advised to make the pineapple flowers more than 24 hours before you’ll be using them.
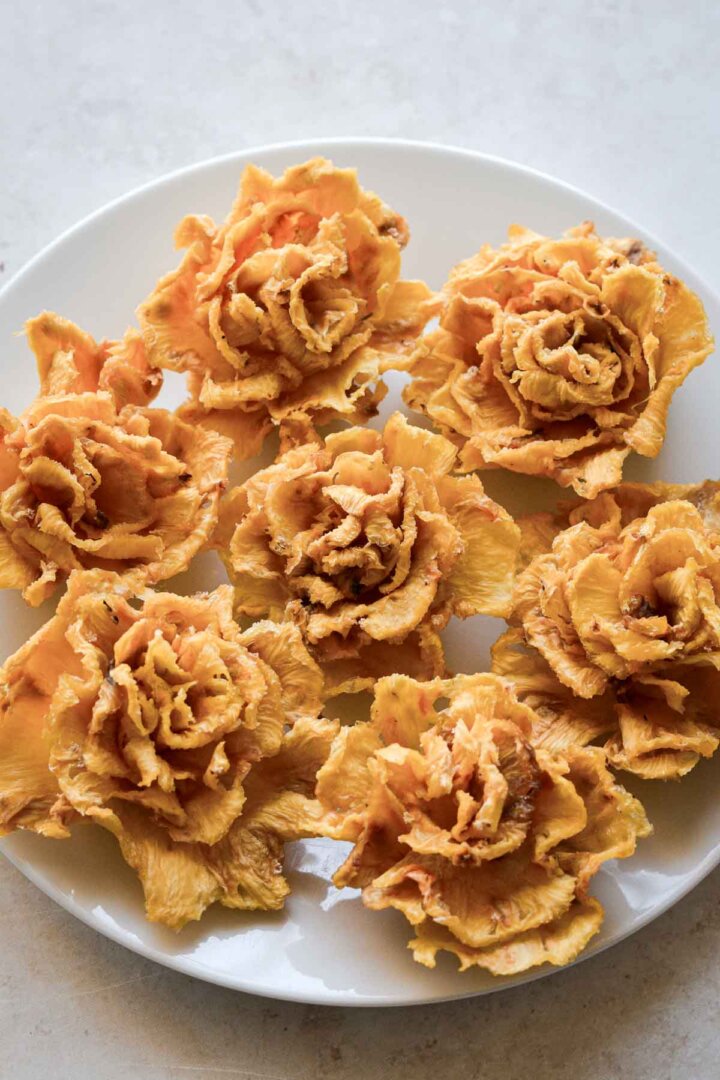
- You can use the flowers exactly as they are, but to make more realistic looking flowers, I took a few of the smaller ones, cut out the center core with scissors, and rolled up the flower to nest inside the larger ones. Set the finished flowers in your refrigerator overnight, if you won’t be decorating your cake until the next day.
Cake
- Preheat the oven to 350 F, and position a rack in the center of the oven. Lightly spray the bottoms of three 9-inch round cake pans with non-stick baking spray, and line the pans with circles of parchment paper.
- In a large bowl, sift together the flour, sugar, baking powder and salt.
- Separately, whisk together the melted butter, milk, sour cream, eggs, oil, vanilla, and coconut extracts.
- Pour the liquid ingredients into the dry, and whisk until well combined. Divide the batter between the prepared pans.
- Bake the cakes for about 30-32 minutes, until a cake tester inserted in the center comes out clean, and the tops spring back when gently touched.
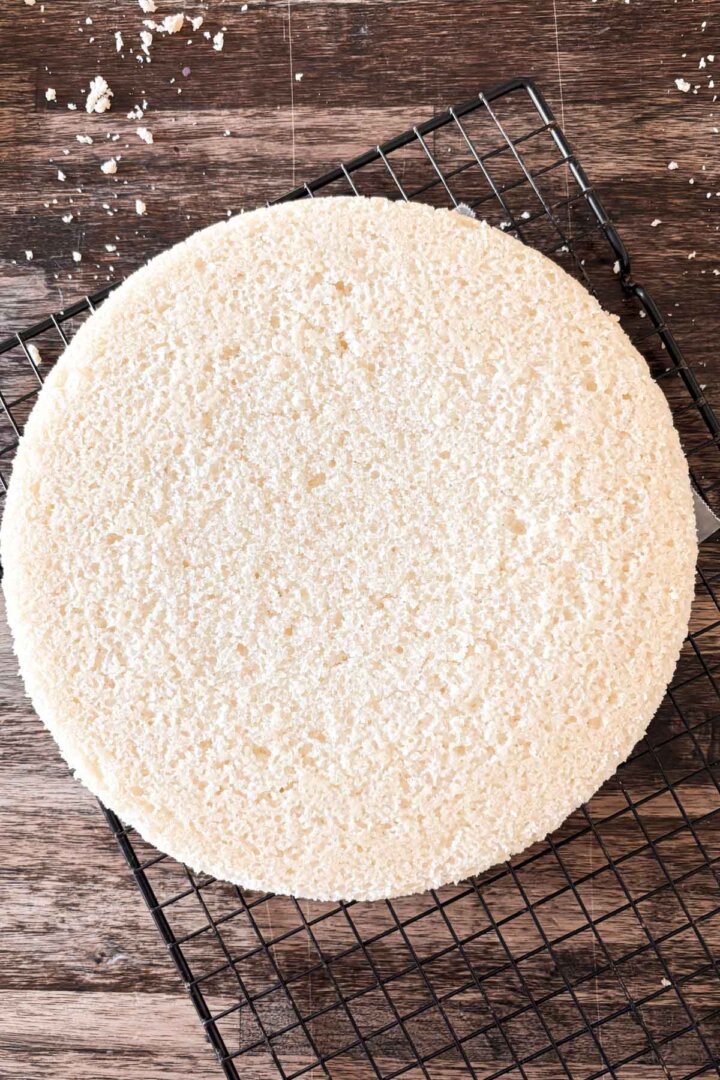
- Cool the cakes in the pans for 15 minutes, then invert the cakes onto cooling racks to cool completely before frosting. Tip: place another circle of parchment on top of the cakes before inverting them onto racks, to prevent the cakes from sticking to the racks or your hands, as you move them around.


Buttercream
- In the bowl of your stand mixer fitted with the paddle attachment, beat the butter for one minute until smooth.
- In a bowl, combine the powdered sugar, meringue powder, and salt. With the mixer on low, add the sugar mixture by spoonfuls. Add the vanilla.
- Increase the speed to medium, and whip the buttercream for 4-5 minutes, until very light and fluffy, stopping to scrape the bowl down once or twice. If the buttercream seems too thick or stiff, you can add milk, one tablespoon at a time. Turn the speed down to “stir” and mix for one more minute.
Assembly and Decorating
- Place one of the cooled cake layers on a cake stand or cake plate, making sure you peel off the parchment paper.
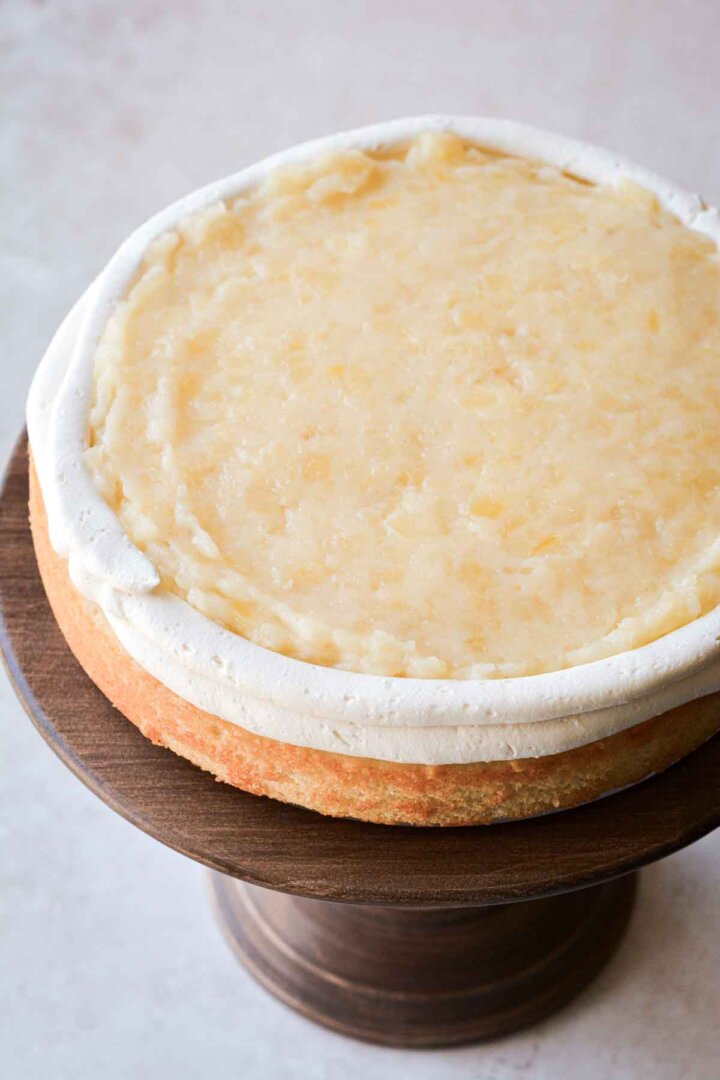
- Fit a piping bag with a medium sized round tip, fill half full with buttercream, and pipe a “dam” around the edge of the cake.
- Spread half of the chilled pineapple filling over the cake, up to the dam of buttercream.
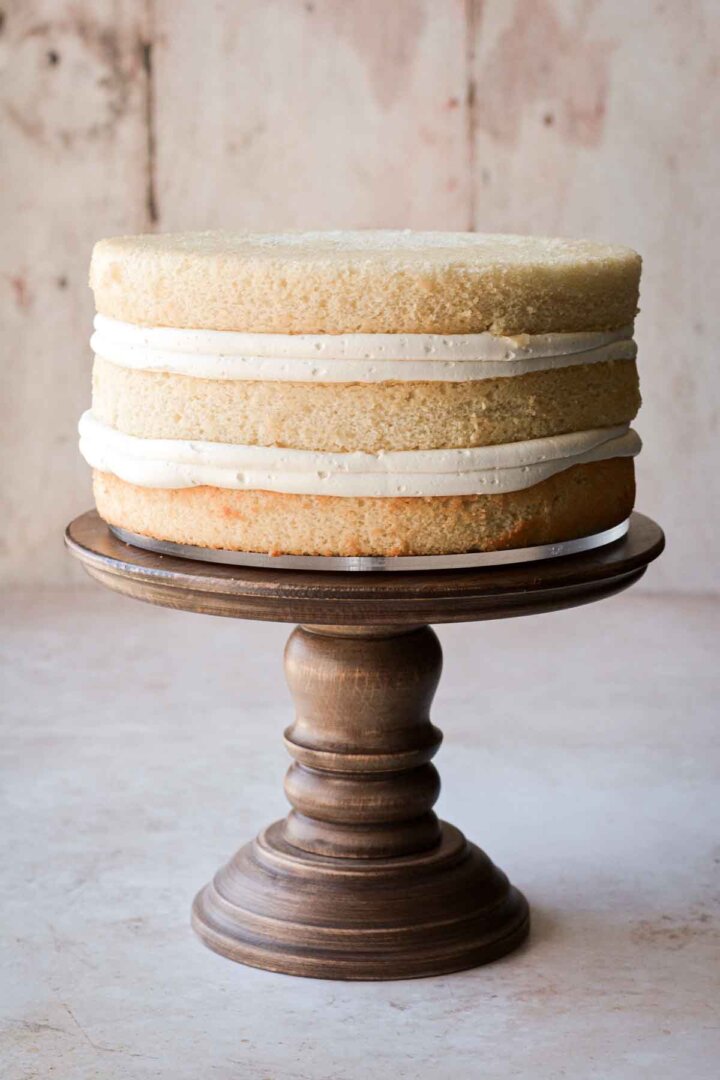
- Repeat with a second layer of cake and a buttercream dam, and spread the remaining half of the pineapple filling over the cake. Stack the third layer of cake on top.
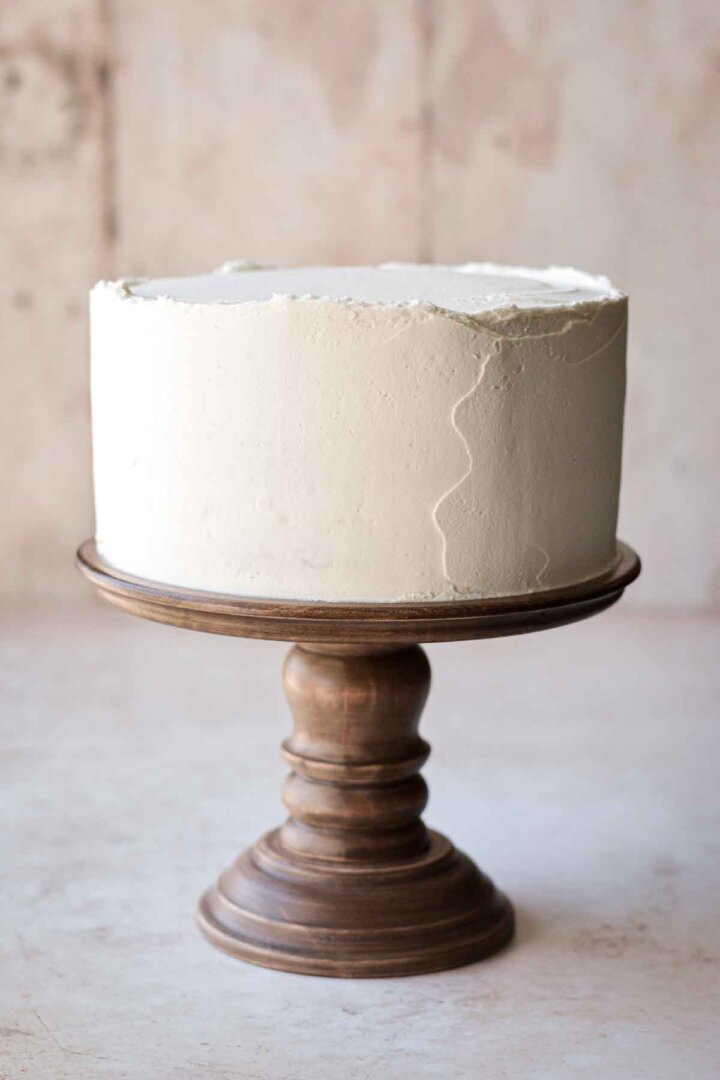
- Frost the cake all over with a thin crumb coat of buttercream. Refrigerate for 15 minutes, then frost the cake with a final coat of buttercream.
- Press the coconut all over the sides and top of the cake.
- Finish by decorating with the pineapple flowers, using toothpicks if needed, to secure the flowers to the cake.
Be sure to read all of my BAKING FAQs where I discuss ingredients, substitutions and common questions with cake making, so that you can be successful in your own baking! I also suggest reading these comprehensive posts on making Perfect American Buttercream, How to Stack, Fill, Crumb Coat and Frost Layer Cakes and How to Use Piping Bags.
Frequently Asked Questions
The filling can be made two days in advance, refrigerated until needed.
The flowers can be made one day in advance, refrigerated until needed.
No, the canned pineapple slices are far too thick. You need to thinly slice fresh pineapple, with the core intact.
Store leftover cake in an airtight container at room temperature for up to three days.
You Might Also Like


Please check out my Amazon Shop for a curated collection of some of my favorite cake pans from trusted brands, baking tools, ingredients, pretty things and fashion finds. I recommend products that I buy and use every day!
Did you love today’s recipe? Please rate the recipe and let me know in the comments what you thought! Also, be sure to follow Curly Girl Kitchen on Instagram, and tag me when you try one of my recipes so I can see all your delicious creations!
Please check out my Amazon Shop for a curated collection of some of my favorite cake pans from trusted brands, baking tools, ingredients, pretty things and fashion finds. I recommend products that I buy and use every day!
High Altitude Pineapple Coconut Cake
All recipes on Curly Girl Kitchen are developed for high altitude at 5,280 feet. See FAQs for adjusting to higher or lower elevations.

Equipment
- Stand Mixer with Paddle Attachment
- 9 Inch Round Cake Pans (x3)
Ingredients
Pineapple Filling
- ½ cup granulated sugar
- 3 tbsp corn starch
- 1 can (20 oz) crushed pineapple in juice
- 2 tsp lemon juice
- ¼ cup (4 tbsp) unsalted butter
Pineapple Flowers
- 1 fresh pineapple
Cake
- 4 cups cake flour, fluffed, spooned and leveled
- 2 cups granulated sugar
- 3 ½ tsp baking powder
- 1 tsp coarse Kosher salt (if using table salt, use half the amount)
- ¾ cup (12 tbsp) unsalted butter, melted
- 1 cup whole milk, room temperature
- 1 cup sour cream, room temperature
- 4 large eggs, room temperature
- ½ cup vegetable oil
- 2 tsp vanilla extract
- 2 tsp coconut extract
Buttercream
- 1 ½ cups (3 sticks) unsalted butter, softened to room temperature
- 3 cups powdered sugar
- 2 tsp meringue powder, optional
- ⅛ tsp coarse Kosher salt
- 1 ½ tsp vanilla extract
- 1 cup unsweetened natural coconut flakes
Instructions
Pineapple Filling
- When making the pineapple filling, it's best to use non-reactive saucepans and utensils. Coated pans and silicone whisks/spatulas are better than metal, to avoid a metallic taste in the filling.
- In a medium sized saucepan, combine the sugar and corn starch. Whisk in the crushed pineapple (including all the juice in the can) and the lemon juice.
- Over medium heat, cook the filling until it bubbles and starts to thicken, then cook for one more minute until thick. Remove from the heat and stir in the butter.
- Refrigerate the filling in a lidded container until completely chilled. You can make the filling up to two days in advance.
Pineapple Flowers
- Set a cooling rack on a large baking sheet. Since you’ll have more pineapple slices than can fit on one rack, you can stack several cooling racks on the same baking sheet by using balls of aluminum foil as “risers” between each rack.
- Cut the top and bottom off the pineapple. Slice off the rough peel, then use a paring knife to remove the “eyes”. Be sure to leave the pineapple core intact.
- Lay the pineapple on its side and cut very thin slices, as thin as you can get them, about 1/16 of an inch thick. Pat the excess moisture out of the pineapple slices with paper towels, then arrange the slices on the cooling racks.
- Preheat the oven to 200 F, with the rack positioned in the lower third of the oven.
- Bake the pineapple slices for about 2 hours, rotating the pan halfway through. If you sliced them thinly enough, they should feel pretty dry after two hours, with the edges getting crinkly and golden brown.
- Remove the pan from the oven, and immediately press the hot pineapple slices into a cupcake pan (a mini cupcake pan with 24 cups works very well) to mold them into a cupped flower shape. If you don’t work quickly, they will stiffen up and won’t easily conform to the cups. If this happens, return the baking sheet to the oven for a few minutes to soften the pineapple up so you can mold the flowers.
- Let the pineapple flowers cool completely. Initially, the flowers will be slightly crisp as they cool, but they do tend to soften up again as they sit. Keep the flowers in the cupcake pan until you’re ready to use them, to help them maintain their shape. It’s not advised to make the pineapple flowers more than 24 hours before you’ll be using them.
- You can use the flowers exactly as they are, but to make more realistic looking flowers, I took a few of the smaller ones, cut out the center core with scissors, and rolled up the flower to nest inside the larger ones. Set the finished flowers in your refrigerator overnight, if you won't be decorating your cake until the next day.
Cake
- Preheat the oven to 350 F, and position a rack in the center of the oven. Lightly spray the bottoms of three 9-inch round cake pans with non-stick baking spray, and line the pans with circles of parchment paper.
- In a large bowl, sift together the flour, sugar, baking powder and salt.
- Separately, whisk together the melted butter, milk, sour cream, eggs, oil, vanilla, and coconut extracts.
- Pour the liquid ingredients into the dry, and whisk until well combined. Divide the batter between the prepared pans.
- Bake the cakes for about 30-32 minutes, until a cake tester inserted in the center comes out clean, and the tops spring back when gently touched.
- Cool the cakes in the pans for 15 minutes, then invert the cakes onto cooling racks to cool completely before frosting. Tip: place another circle of parchment on top of the cakes before inverting them onto racks, to prevent the cakes from sticking to the racks or your hands, as you move them around.
Buttercream
- In the bowl of your stand mixer fitted with the paddle attachment, beat the butter for one minute until smooth.
- In a bowl, combine the powdered sugar, meringue powder, and salt. With the mixer on low, add the sugar mixture by spoonfuls. Add the vanilla.
- Increase the speed to medium, and whip the buttercream for 4-5 minutes, until very light and fluffy, stopping to scrape the bowl down once or twice. If the buttercream seems too thick or stiff, you can add milk, one tablespoon at a time. Turn the speed down to "stir" and mix for one more minute.
Assembly and Decorating
- Place one of the cooled cake layers on a cake stand or cake plate, making sure you peel off the parchment paper.
- Fit a piping bag with a medium sized round tip, fill half full with buttercream, and pipe a "dam" around the edge of the cake.
- Spread half of the chilled pineapple filling over the cake, up to the dam of buttercream.
- Repeat with a second layer of cake and a buttercream dam, and spread the remaining half of the pineapple filling over the cake. Stack the third layer of cake on top.
- Frost the cake all over with a thin crumb coat of buttercream. Refrigerate for 15 minutes, then frost the cake with a final coat of buttercream.
- Press the coconut all over the sides and top of the cake.
- Finish by decorating with the pineapple flowers, using toothpicks if needed, to secure the flowers to the cake.
Notes
- The filling can be made two days in advance, refrigerated until needed.
- The flowers can be made one day in advance, refrigerated until needed.
- Store leftover cake in an airtight container at room temperature for up to three days.
 https://curlygirlkitchen.com/
Hi Heather, could I substitute coconut milk for milk to get even more coconut flavor in the cake?
Not in this recipe (that is to say, I haven’t tested it in this recipe). But my other coconut cake recipe uses canned coconut milk: https://curlygirlkitchen.com/classic-coconut-cake/
Ok , thank you for the quick reply!