
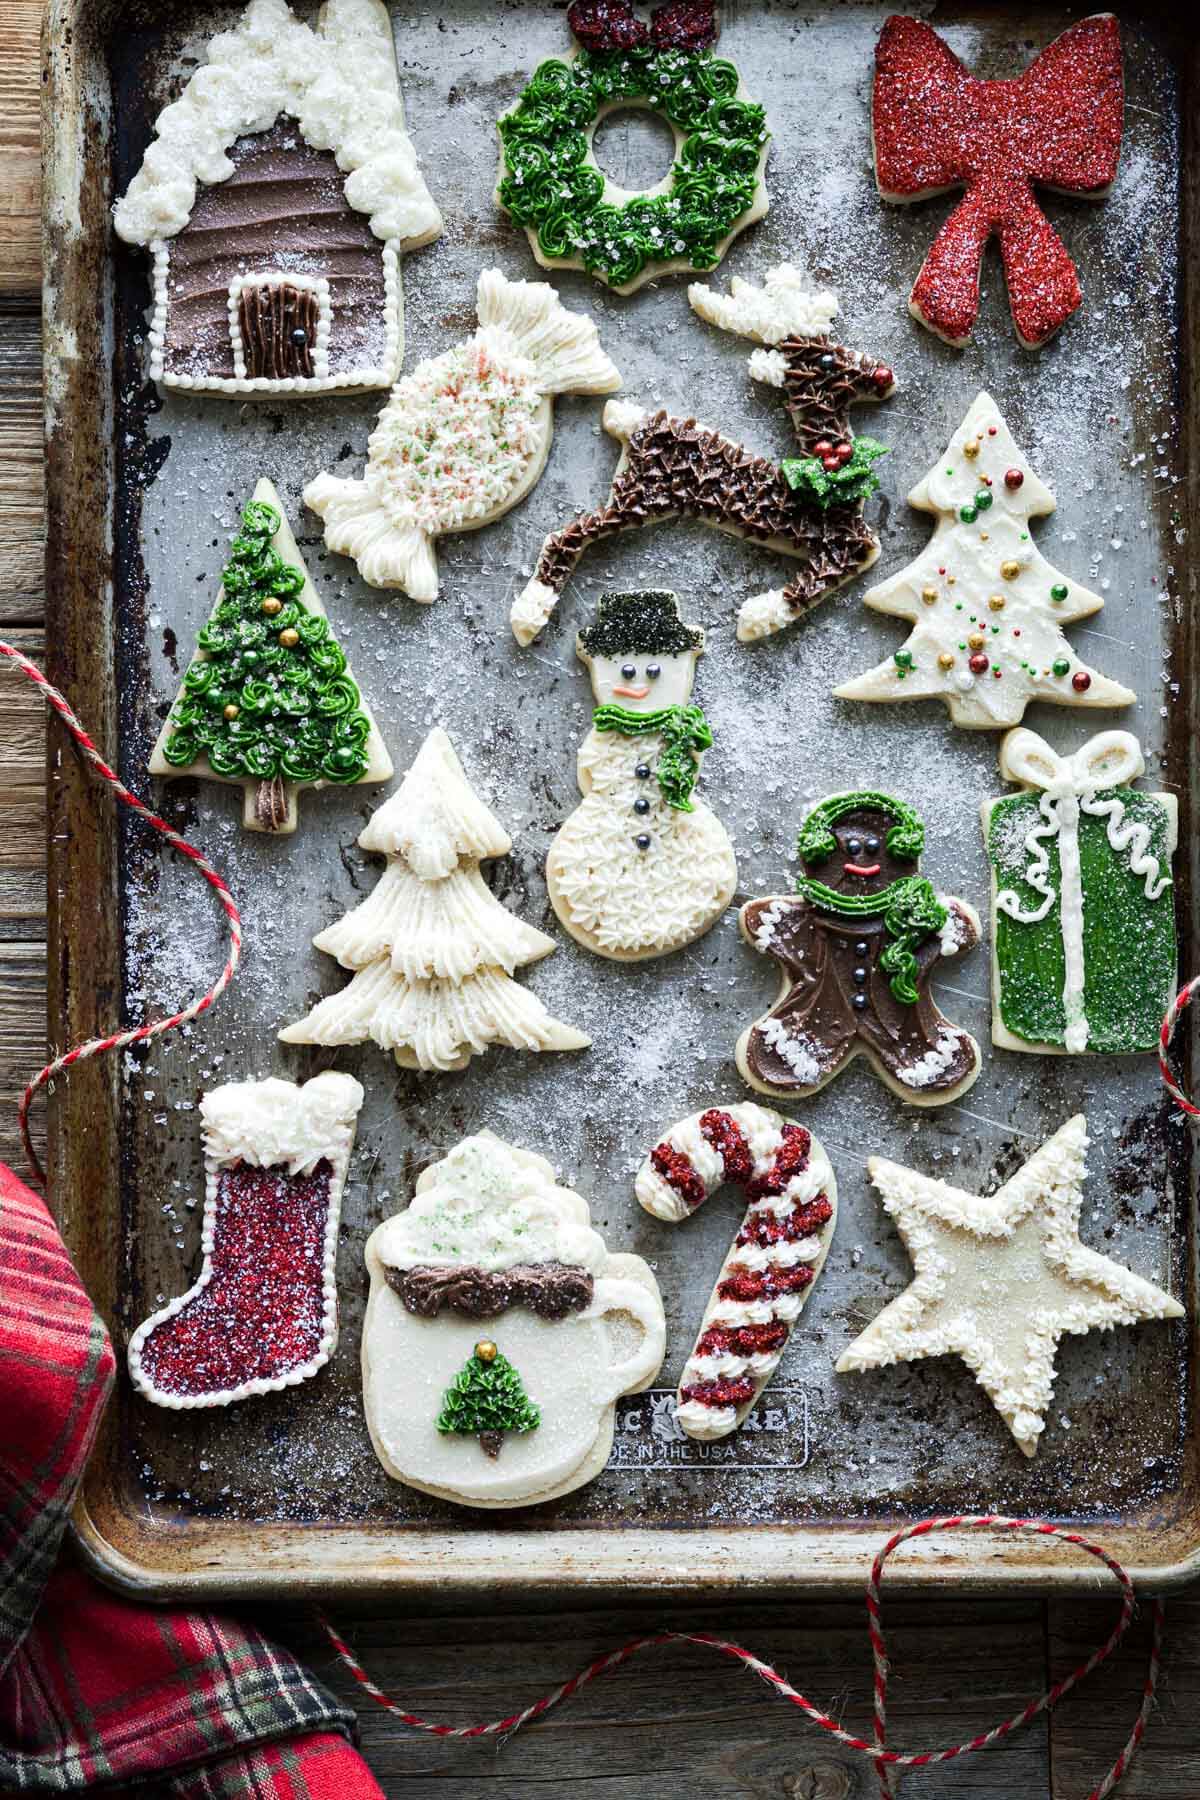
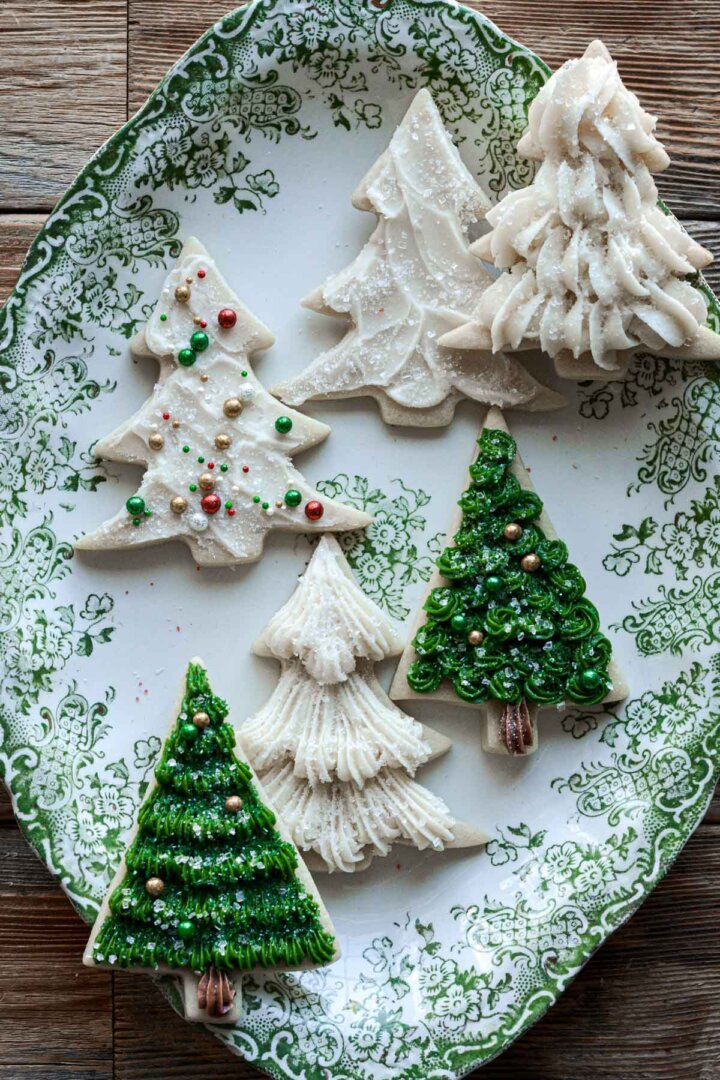
A festive assortment of cutout cookies, decorated with buttercream frosting for the Christmas holidays. With just a few different piping tips and some easy piping techniques, these buttercream decorated Christmas cookies are a fun project for the whole family. See the video tutorial in the recipe card to watch how to decorate each cookie!
You might also love these green and white checkerboard shortbread cookies, iced brown sugar cutout cookies with royal icing, and homemade salt dough Christmas ornaments.
This site contains affiliate links. As an Amazon associate, I earn from qualifying purchases. This means that I may make a small commission if you purchase a product using those links. This in no way affects my opinion of those products and services. All opinions expressed on this site are my own.
Why You’ll Love This Recipe
Fun Family Project. My kids (ages 8 and 10) LOVE decorating cookies every Christmas. Last year, I let them use piping bags, and they enjoyed it so much more than just using icing spatulas as they had done in past years. Today’s tutorial shows some simple techniques you can use with just a few piping tips that are easy enough for kids to learn, too.
Buttercream instead of Royal Icing. If decorating cookies with royal icing seems intimidating, then using buttercream is a great place to start with cookie decorating. It’s easy to correct mistakes by just scraping off the frosting and starting again. They might not look as polished and professional, or as sleek and smooth as royal icing decorated cookies, but their homemade appearance is part of their charm.
High Altitude Tested. I develop all the recipes on my site for Denver’s altitude of 5,280 feet. If you’re at a lower or higher elevation, please see my FAQs for guidance on adjusting recipes for your altitude.

See the recipe card at the end of the post for the full ingredients list and instructions.
Tools and Ingredients
- Assorted Christmas Cookie Cutters. In the next section, I’ve linked to most of the cookie cutters I used for today’s tutorial.
- 12-Inch Disposable Piping Bags + Couplers.
- Piping Tips. You’ll need a small round tip (2, 3 or 4, a small star tip (17 or 18), a medium star tip (22), a leaf tip (352), and a large star tip (1M).
- Cookies. You’ll need to make this recipe for Vanilla Cutout Cookies. These cookies hold their shape perfectly, without spreading.
- Vanilla Buttercream. My recipe for Vanilla Buttercream works beautifully for spreading and piping onto cakes, cupcakes, and cookies.
- Gel Food Coloring. Use whatever you like to color your buttercream. I typically use artificially colored gel food coloring, although I would like to move towards more natural food coloring.
- Assorted Sprinkles and Sugar. I used white, red, green, and black sanding sugar, as well as various sprinkles or small sugar pearls for adding a few details to several of the cookies.
Cookie Cutters
Here are the sources for most of the cookie cutters I used today. Some I’ve owned for too long, and am not sure where you can get an exact match.
- present
- candy
- wreath
- hot chocolate cups
- reindeer
- star
- snowman
- tree (1st style)
- tree 2nd style)
- gingerbread house
- bow
- gingerbread people

Instructions
Bake the Cookies
- Make the vanilla cookie dough. Roll out the dough, cut the cookies, and bake the cookies, as instructed in this recipe post.
- Cool the cookies completely before frosting and decorating. The cookies are fragile, especially with more intricate designs (like the long legs on the reindeer cookies), so handle with care.
- Cookies can be baked in advance and frozen in an airtight container for up to 3-6 months, until you’re ready to decorate them.
Make the Buttercream
- Make three batches of vanilla buttercream.
- Divide the buttercream into bowls, and tint each into various shades of white, red, green, and brown. You can use cocoa powder (for brown), artificial gel food coloring, or natural food coloring. Color tends to deepen the longer the buttercream sits.
Decorating the Cookies
- Follow the video tutorial to see how I decorated each cookie. I only used a few different piping tips, and very simple techniques.
- After applying the buttercream, decorate with sparkling sugar and sprinkles to really dress up the cookies.
Be sure to read all of my BAKING FAQs where I discuss ingredients, substitutions and common baking questions, so that you can be successful in your own baking!
Frequently Asked Questions
Cookies can be baked in advance and frozen in an airtight container for up to 3-6 months, until you’re ready to decorate them.
Store the frosted cookies in a single layer in airtight containers for up to one week, or in the freezer for up to one month.
No, you cannot stack the cookies once they’re frosted, or you’ll ruin the buttercream.

You Might Also Like


Please check out my Amazon Shop for a curated collection of some of my favorite cake pans from trusted brands, baking tools, ingredients, pretty things and fashion finds. I recommend products that I buy and use every day!
Did you love today’s recipe? Please rate the recipe and let me know in the comments what you thought! Also, be sure to follow Curly Girl Kitchen on Instagram, and tag me when you try one of my recipes so I can see all your delicious creations!

Buttercream Decorated Christmas Cookies
All recipes on Curly Girl Kitchen are developed for high altitude at 5,280 feet. See FAQs for adjusting to higher or lower elevations.

Equipment
- Assorted Christmas Cookie Cutters
- 12-Inch Disposable Piping Bags + Couplers
- Piping Tips, (#3 or 4, #17 or 18, #22, #352, and 1M)
Ingredients
- 1 recipe Vanilla Cutout Cookies
- 3x recipe Vanilla Buttercream
- gel food coloring
- assorted sprinkles, sugar pearls, and sanding sugar
Instructions
Bake the Cookies
- Make the vanilla cookie dough. Roll out the dough, cut the cookies, and bake the cookies, as instructed in this recipe post.
- Cool the cookies completely before frosting and decorating. The cookies are fragile, especially with more intricate designs (like the long legs on the reindeer cookies), so handle with care.
- Cookies can be baked in advance and frozen in an airtight container for up to 3-6 months, until you're ready to decorate them.
Make the Buttercream
- Make three batches of vanilla buttercream.
- Divide the buttercream into bowls, and tint each into various shades of white, red, green, and brown. You can use cocoa powder (for brown), artificial gel food coloring, or natural food coloring. Color tends to deepen the longer the buttercream sits.
Decorating the Cookies
- Follow the video tutorial to see how I decorated each cookie. I only used a few different piping tips, and very simple techniques.
- After applying the buttercream, decorate with sparkling sugar and sprinkles to really dress up the cookies.
Stars
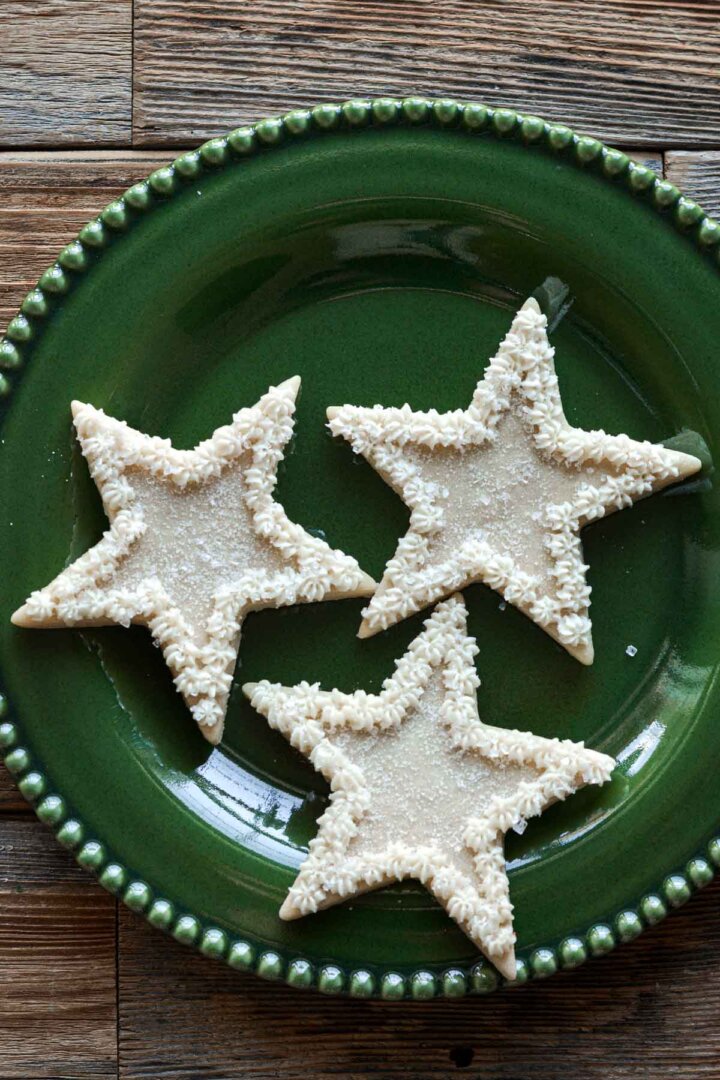
- Use tip 17 or 18 to pipe a simple border of "stars" around the edge of the cookie.
Candy Canes
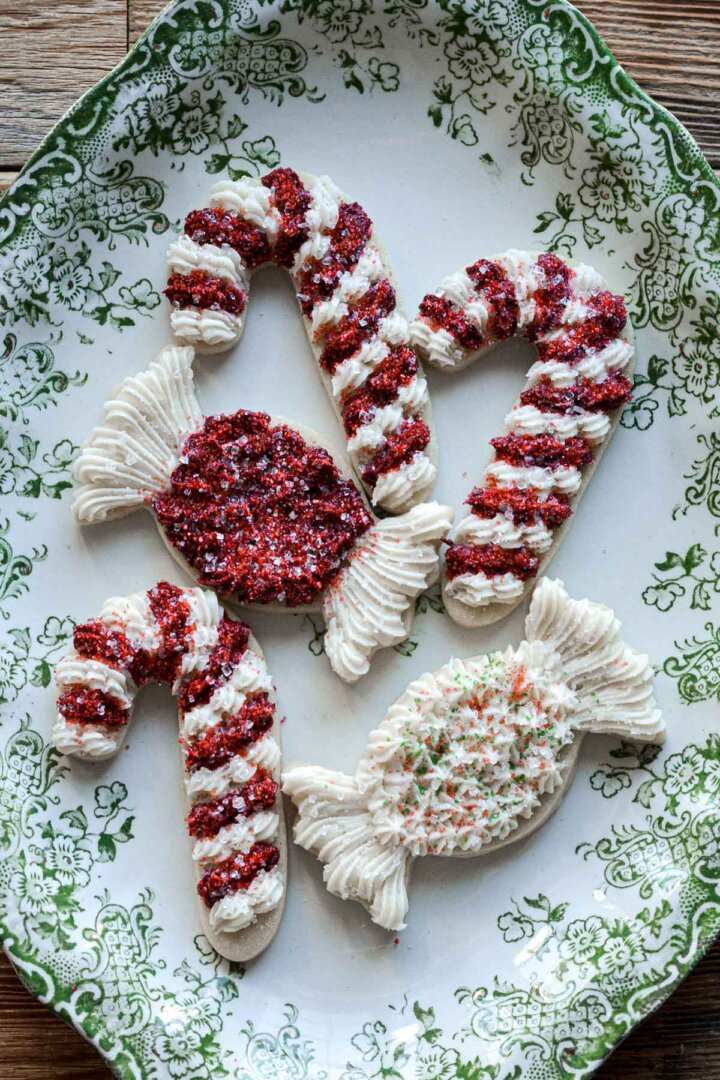
- Use tip 17 or 18 to pipe "shells" in alternating rows of red and white.
Wrapped Candies
- Use tip 17 or 18 to pipe long "shells" on the two ends of the cookie.
- Then fill in the center with "stars".
Trees
- Use tip 17 or 18 to pipe small rosettes or stars all over the cookie.
- Use tip 1M to pipe large branches onto the cookie, starting at the bottom, and working your way to the top.
- Use tip 22 to pipe medium branches onto the cookie, starting at the bottom and working your way to the top.
- Use a small offset icing spatula to spread textured icing onto the cookie.
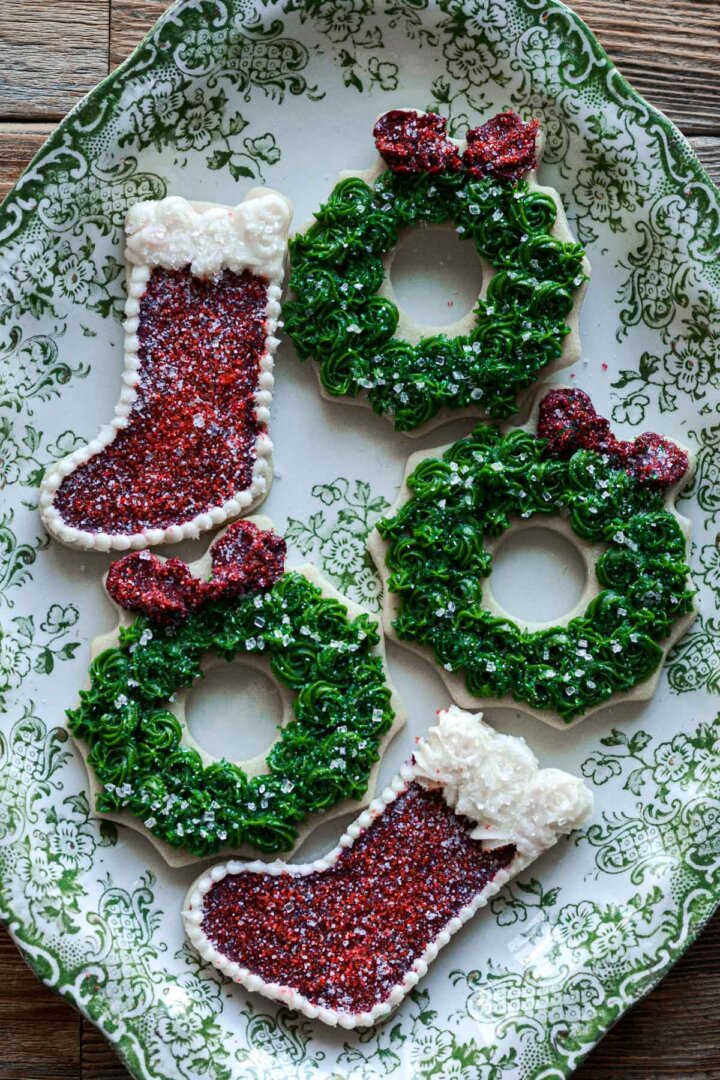
Wreath
- Use tip 17 or 18 to pipe small rosettes and stars onto the cookie.
- Finish by piping a red bow at the top.
Stocking
- Spread buttercream onto the stocking part of the cookie.
- Use a small round tip (2 or 3) to pipe fluffy swirls at the top, or 17 or 18 to pipe stars. Use the same tip to pipe a small "bead border" around the stocking.
Present
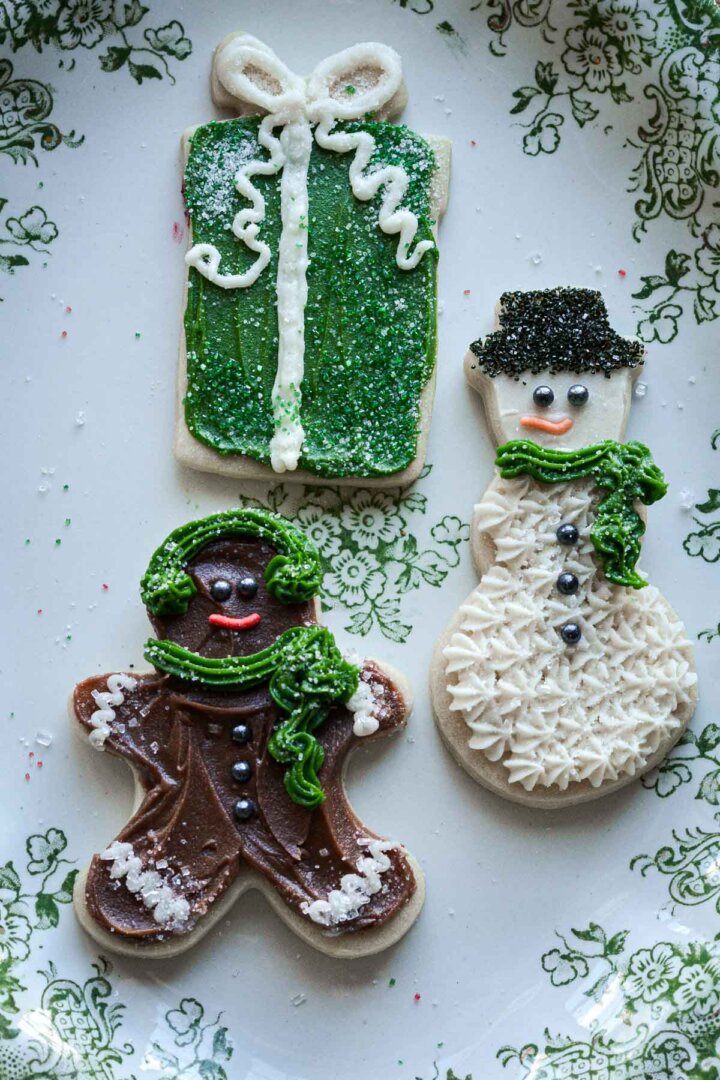
- Spread buttercream over the cookie.
- Use a small round tip (2 or 3) to pipe ribbons.
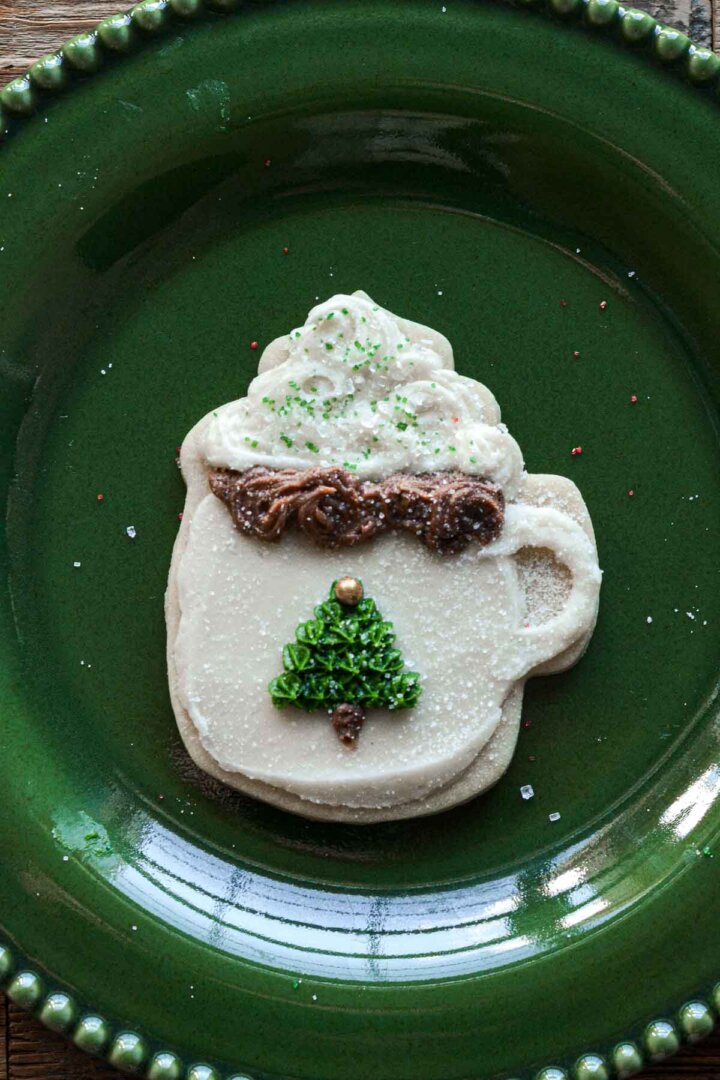
Hot Chocolate Cup
- Spread buttercream onto the cup, and use a small round tip (2 or 3) to pipe the handle.
- Use a small round tip to pipe the hot chocolate and the whipped cream on top.
- Finish by piping a Christmas tree onto the cup with tip 17 or 18.
Snowman
- Spread buttercream over the face and hat, then sprinkle black sanding sugar over the hat.
- Use tip 17 or 18 to pipe stars onto the body.
- Add sprinkles for the eyes, buttons and nose.
- Use tip 17 or 18 to pipe a scarf.
Reindeer
- Use tip 17 or 18 to pipe stars all over the body and antlers.
- Use tip 352 to pipe a leafy wreath on the reindeer's neck.
- Add sprinkles for the holly berries, eye and nose.
Gingerbread House
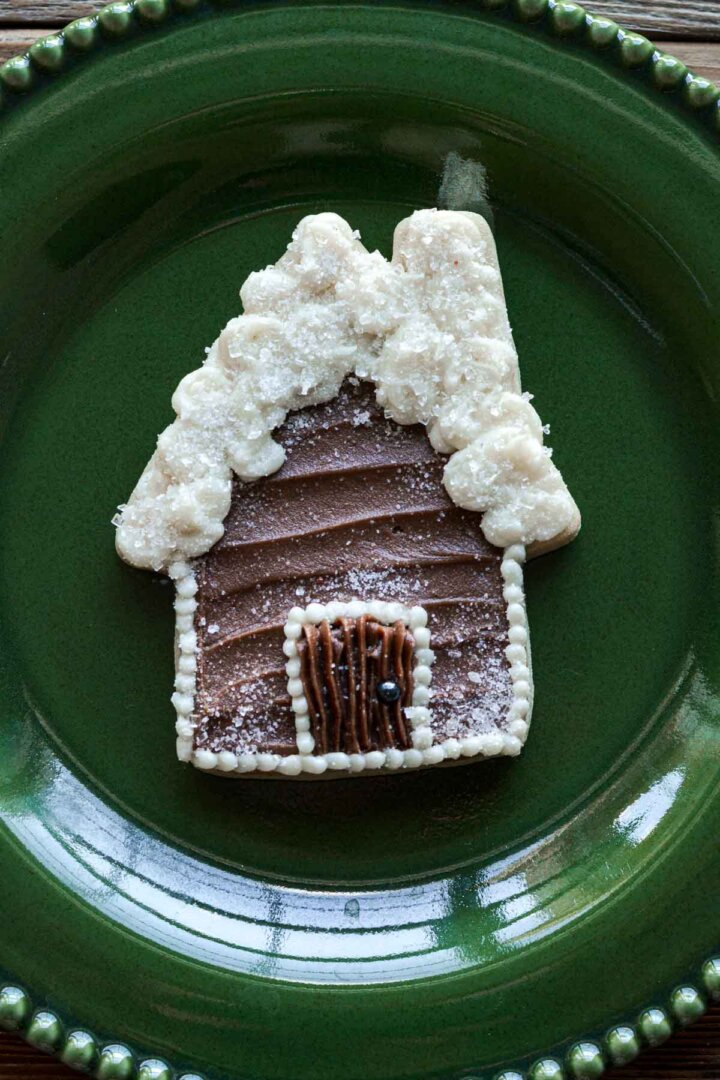
- Use a small offset spatula to spread icing over the cookie.
- Use tip 17 or 18 to pipe a door.
- Use tip 2 or 3 to pipe a snowy roof and a small bead border.
Gingerbread People
- Use a small offset spatula to cover the cookie with icing.
- Add sprinkles for the eyes and buttons.
- Use tip 2 or 3 to pipe squiggles on the hands and feet.
- Use tip 17 or 18 to pipe a scarf and earmuffs.
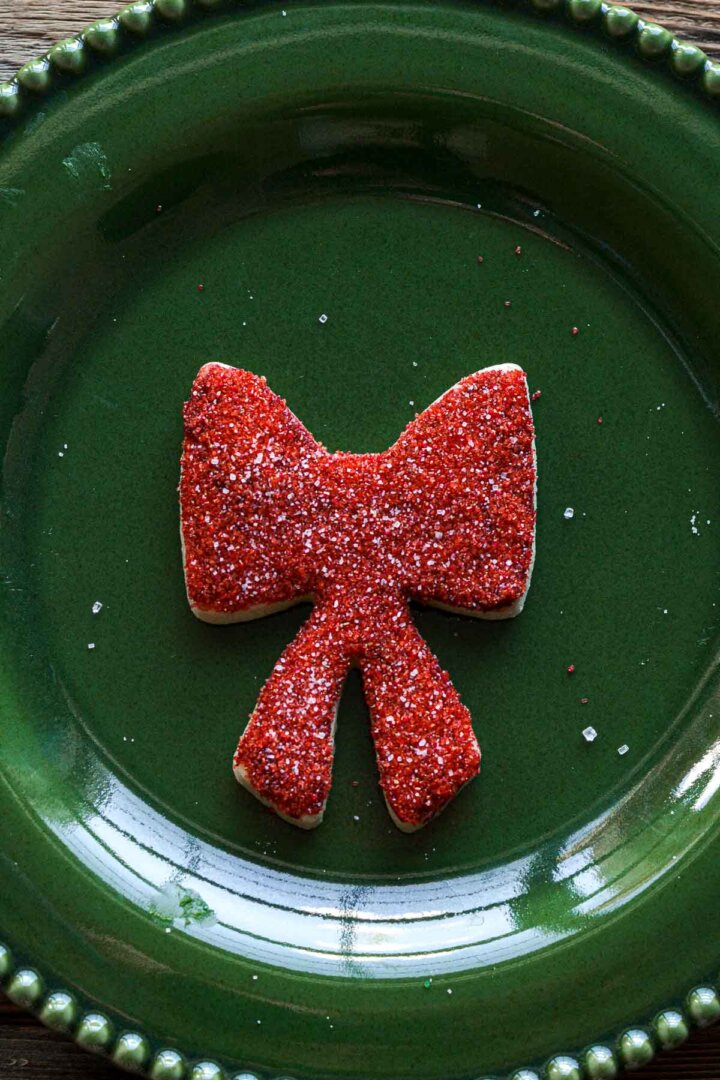
Bow
- Use an offset icing spatula to cover the cookie with buttercream, then sprinkle with sparkling sugar. (not shown in the video)
Video
Notes
 https://curlygirlkitchen.com/

Leave a Reply