
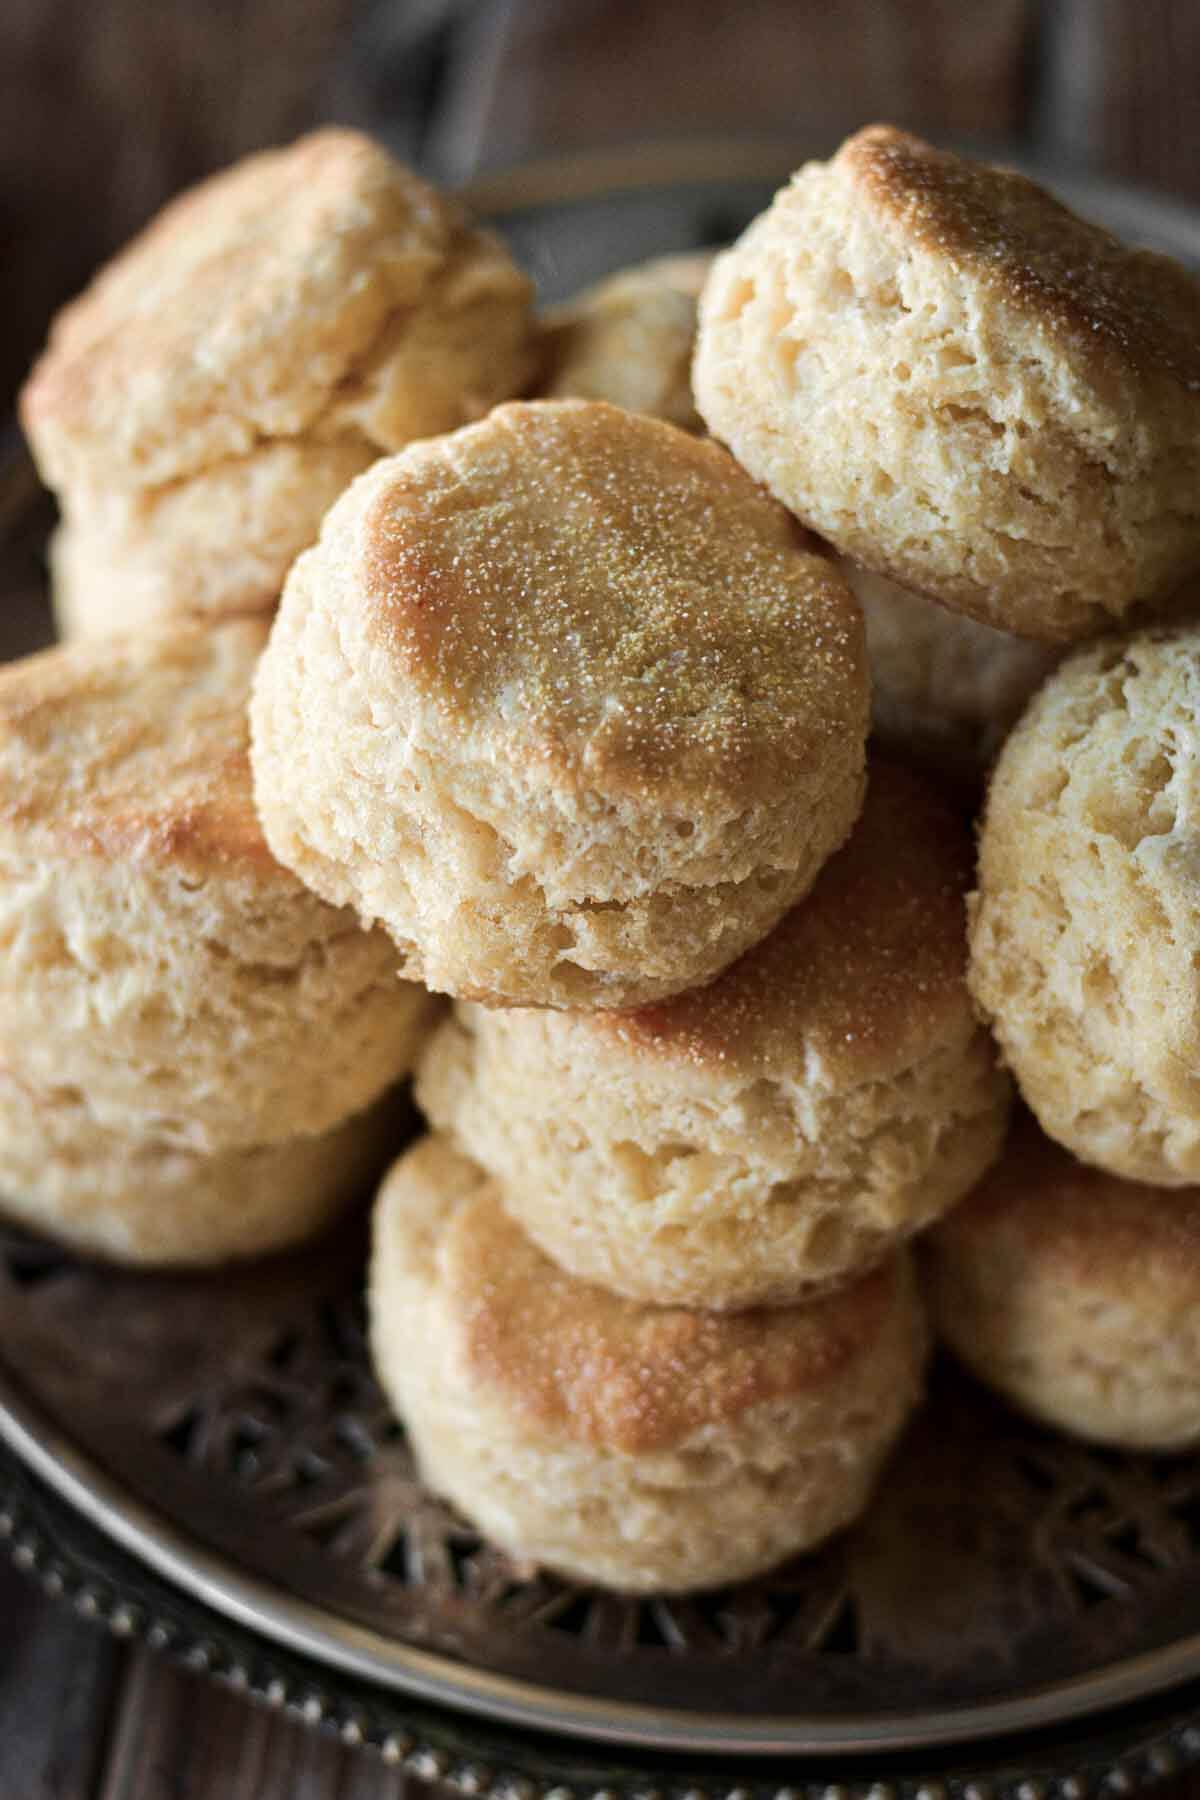
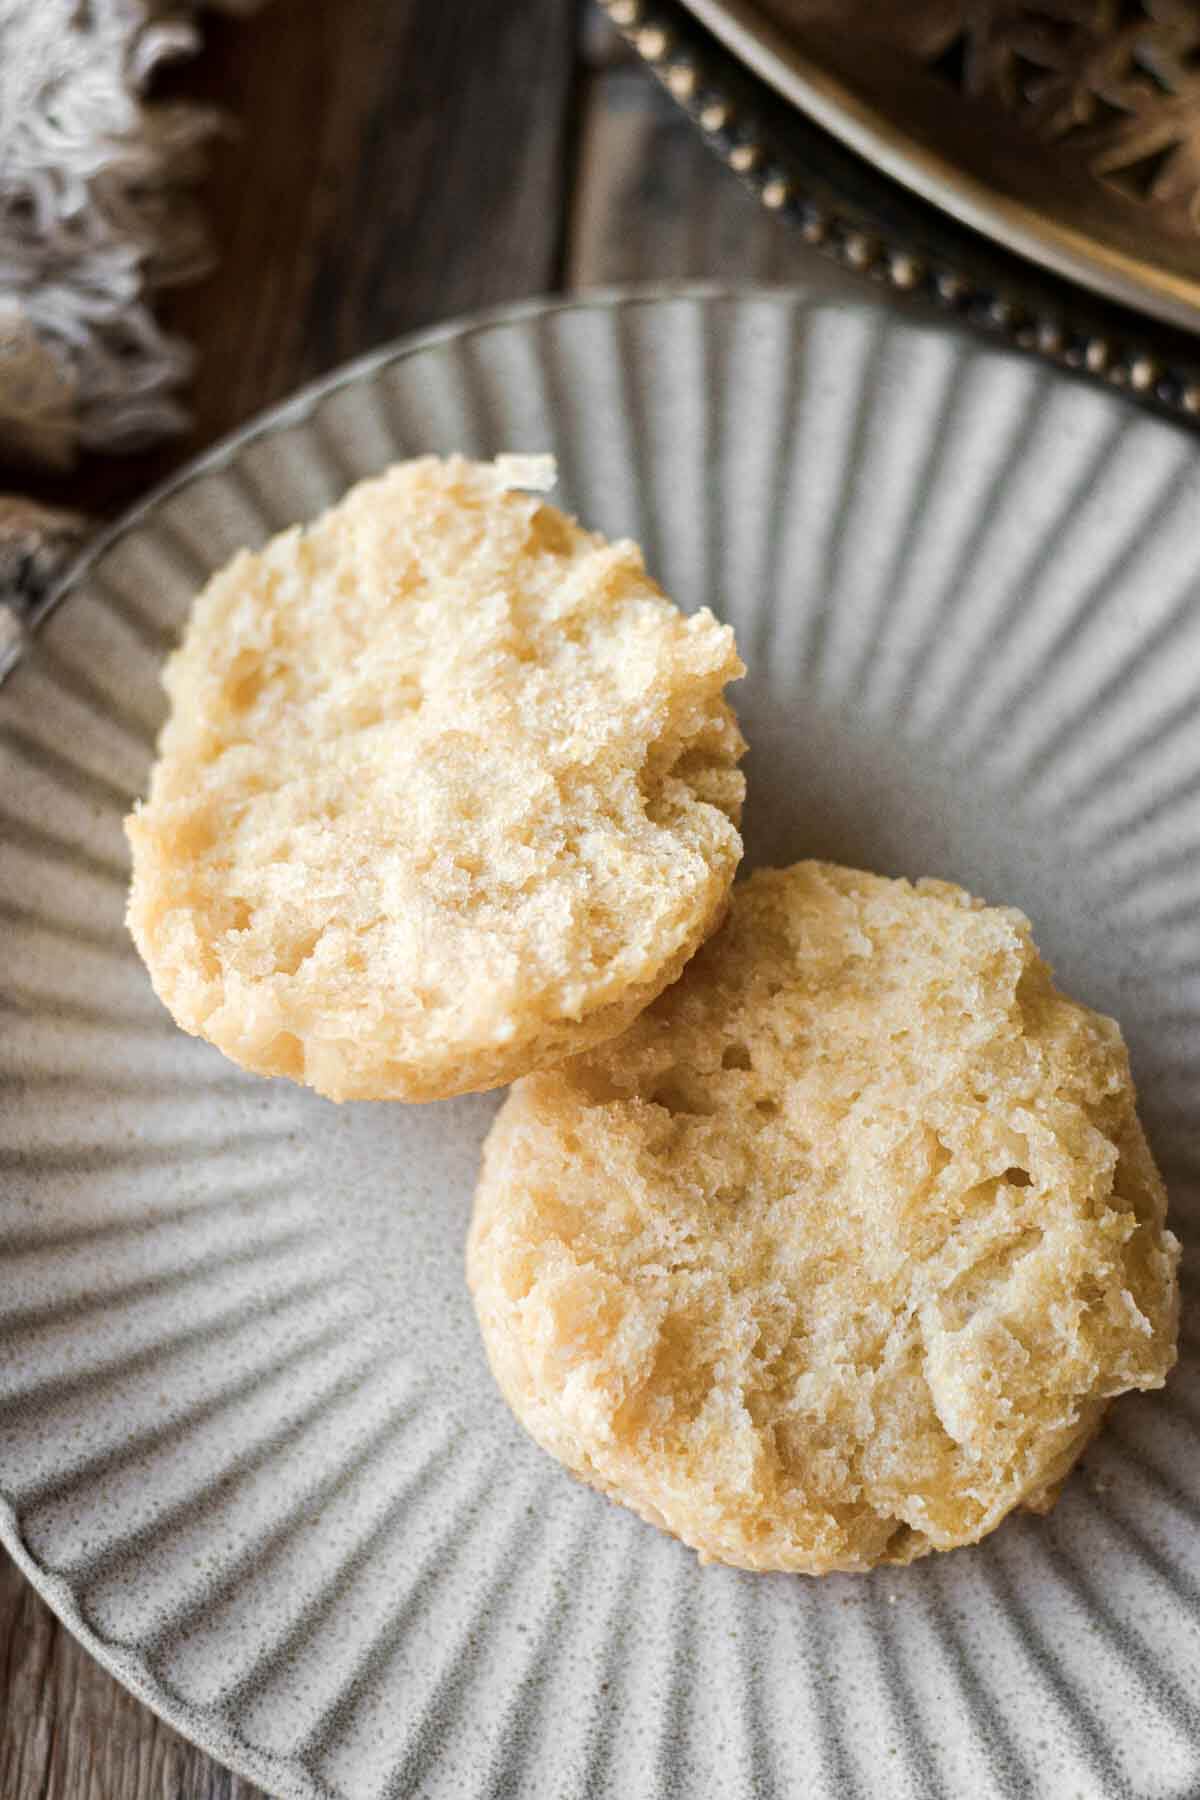
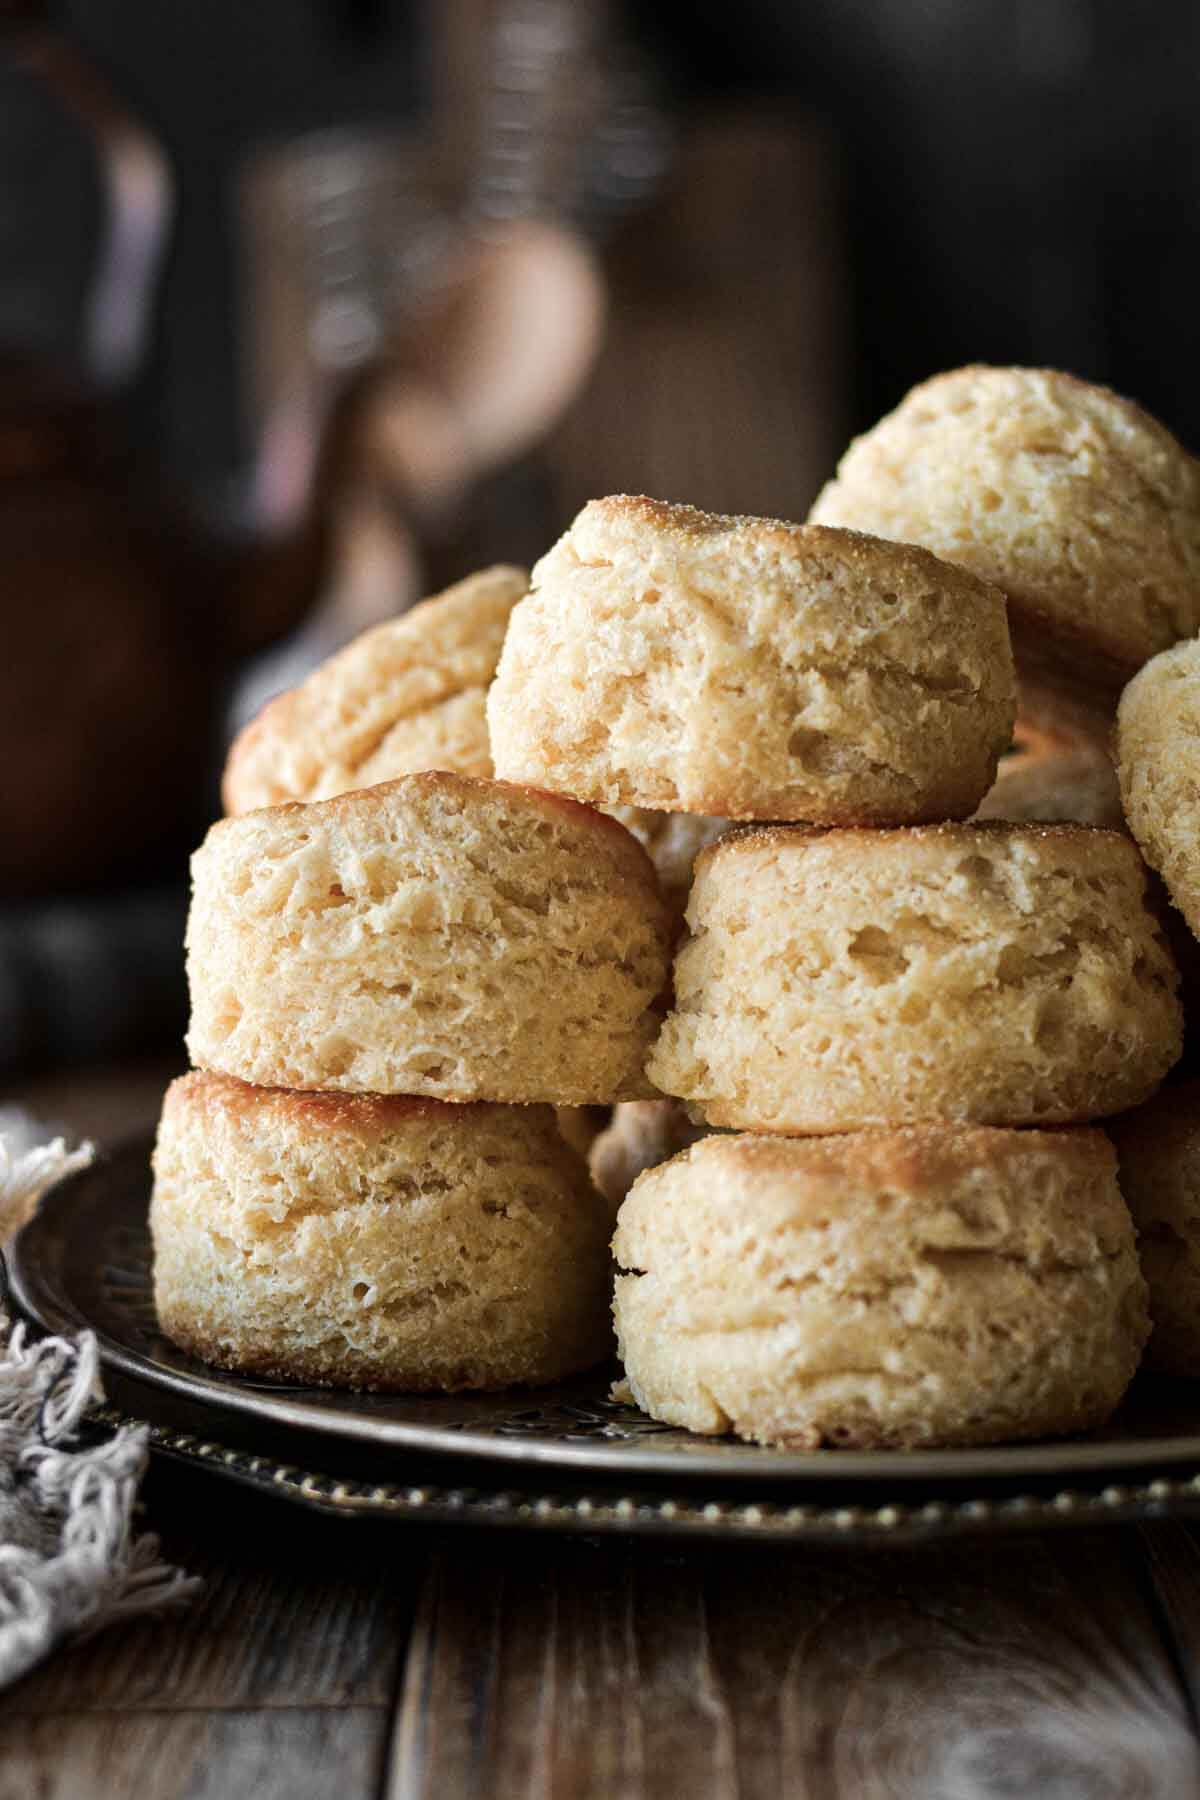
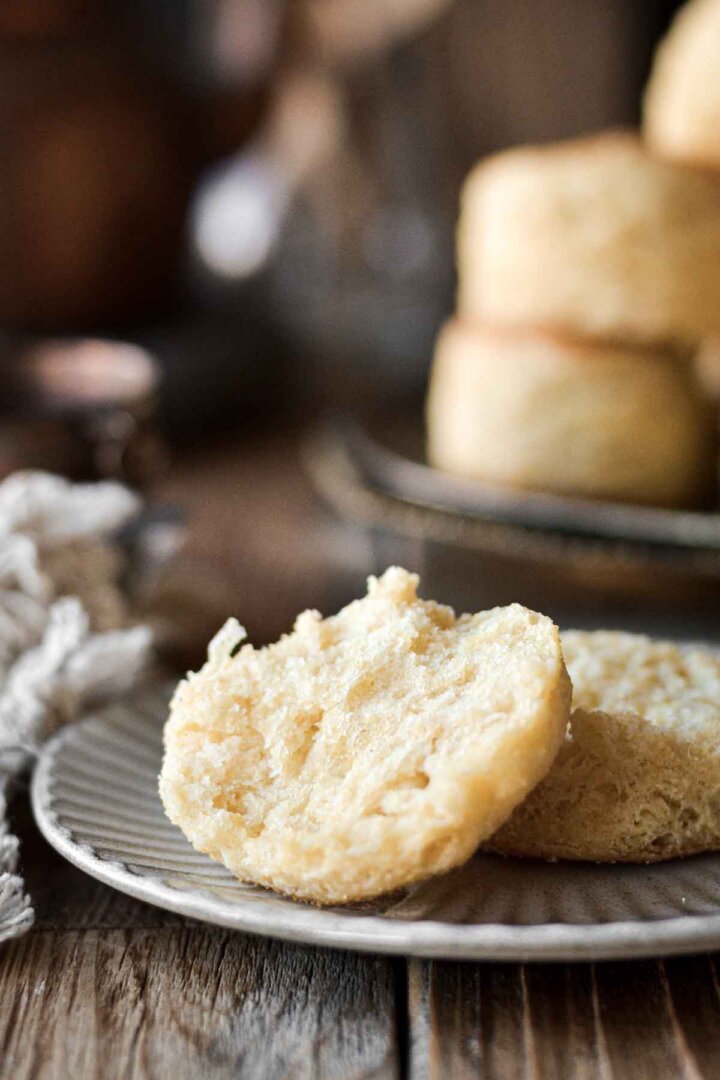
These high altitude tested maple cornbread biscuits combine the flavor of cornbread with the texture of fluffy biscuits. Starting with my standard recipe for baking powder biscuits, I added a bit of crunch with the unexpected addition of a little cornmeal and a hint of sweetness from pure maple syrup.
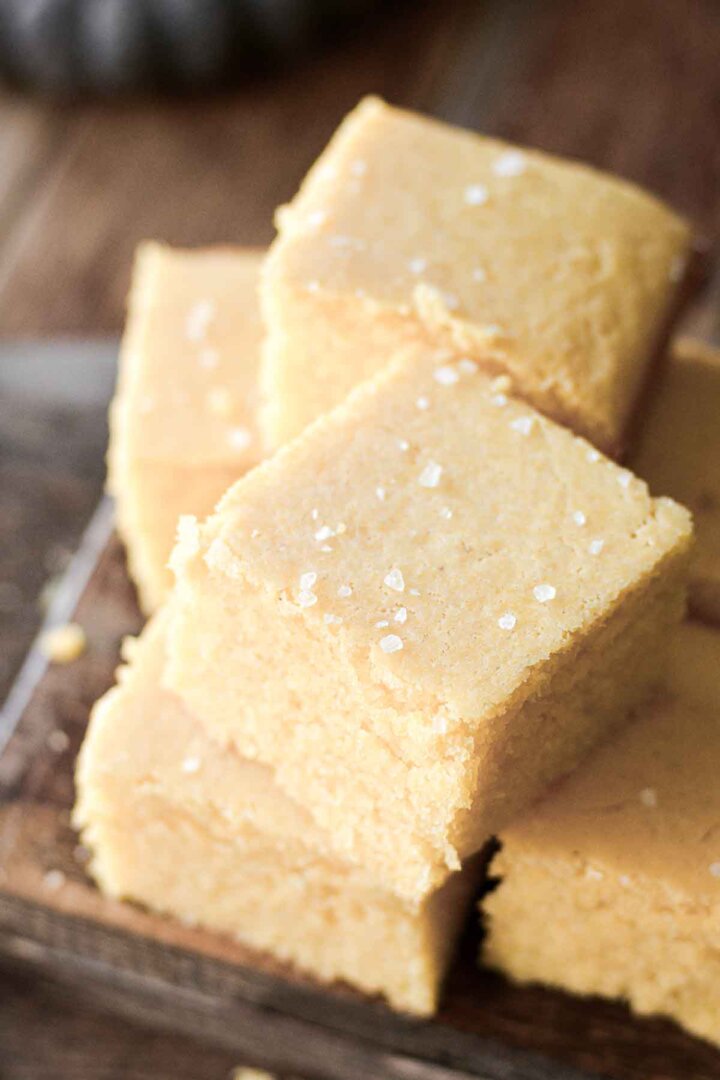
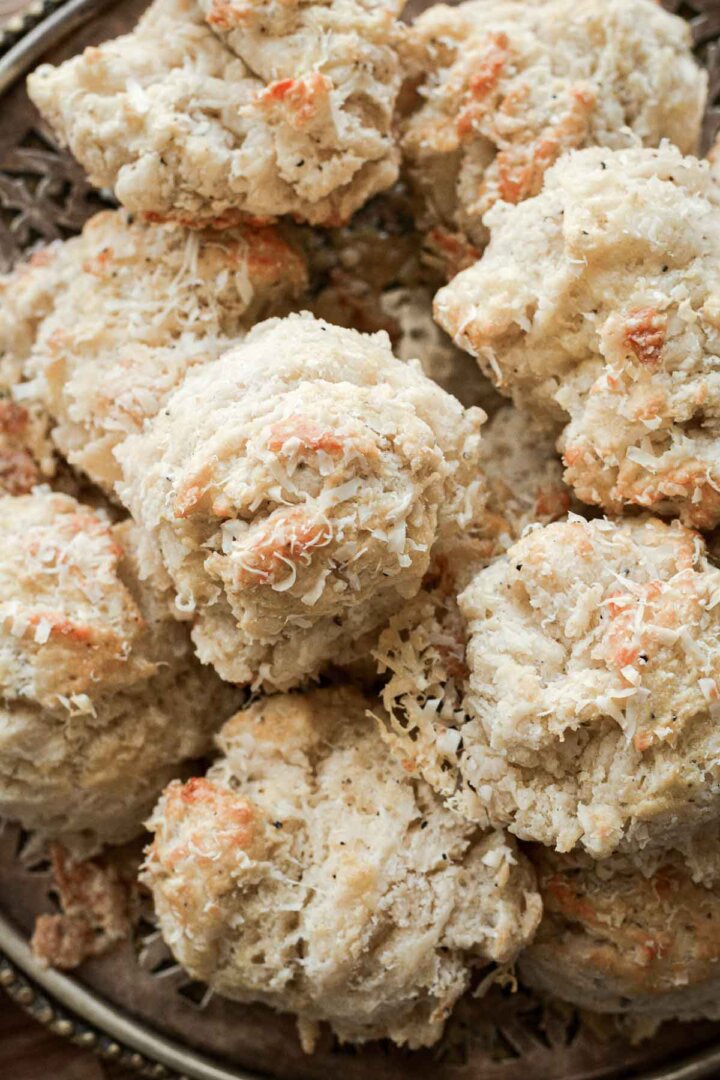
You might also love these high altitude recipes for classic cornbread, cheesy cornbread casserole, and blackberry cornbread cake.
This site contains affiliate links. As an Amazon associate, I earn from qualifying purchases. This means that I may make a small commission if you purchase a product using those links. This in no way affects my opinion of those products and services. All opinions expressed on this site are my own.
Why You’ll Love This Recipe
Soft, Fluffy, and Flaky. Today’s recipe for maple cornbread biscuits is based on my original recipe for baking powder biscuits. The corn meal adds a hearty crunch to the biscuits that’s just wonderful, as well as, of course, the taste of sweet cornbread.
Easy to Make. You can make the dough by hand, easily and quickly.
A Holiday Favorite. My family loved these so much, they requested them for Thanksgiving dinner, instead of the usual homemade rolls.
High Altitude Tested. I develop all the recipes on my site for Denver’s altitude of 5,280 feet. If you’re at a lower or higher elevation, please see my FAQs for guidance on adjusting recipes for your altitude.
See the recipe card at the end of the post for the full ingredients list and instructions.
Ingredients
- All Purpose Flour
- Yellow Corn Meal
- Corn Starch
- Baking Powder
- Salt
- Butter
- Milk
- Pure Maple Syrup
Instructions
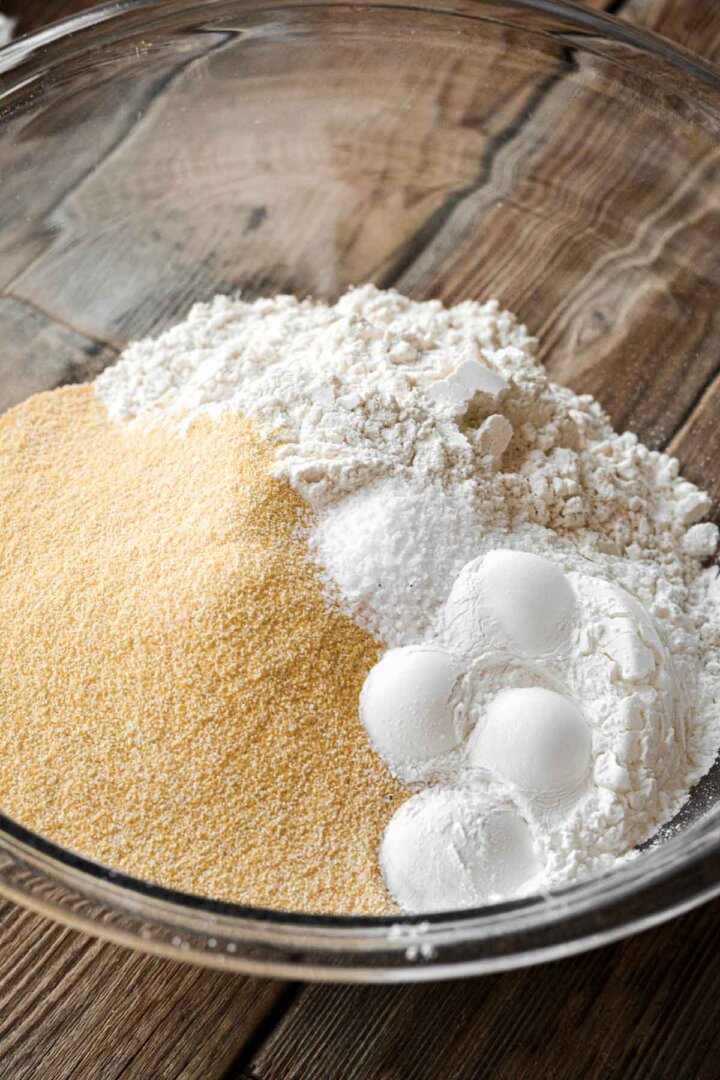
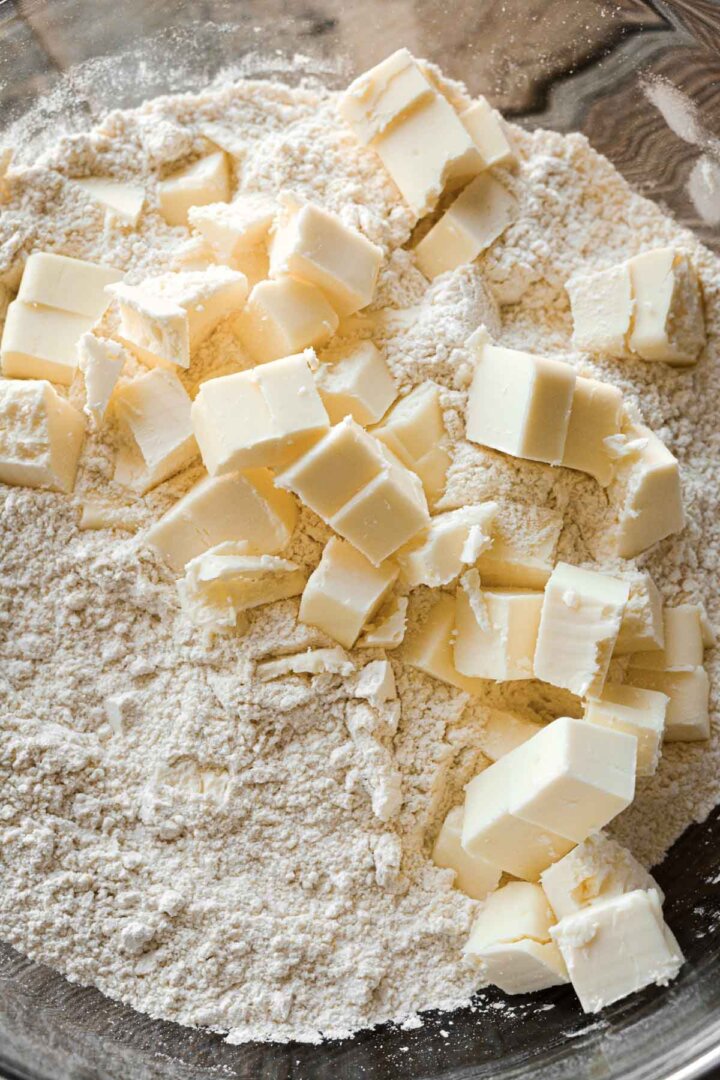
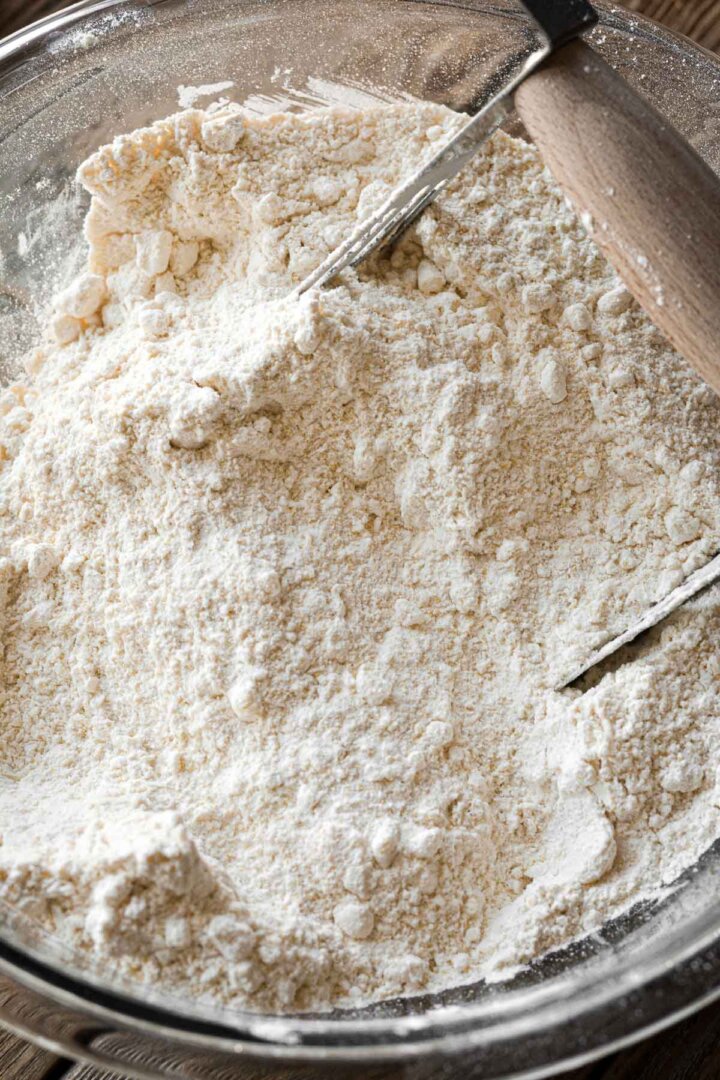
- In a bowl, combine the flour, corn meal, corn starch, baking powder and salt. Use a pastry cutter to cut in the butter until crumbly.
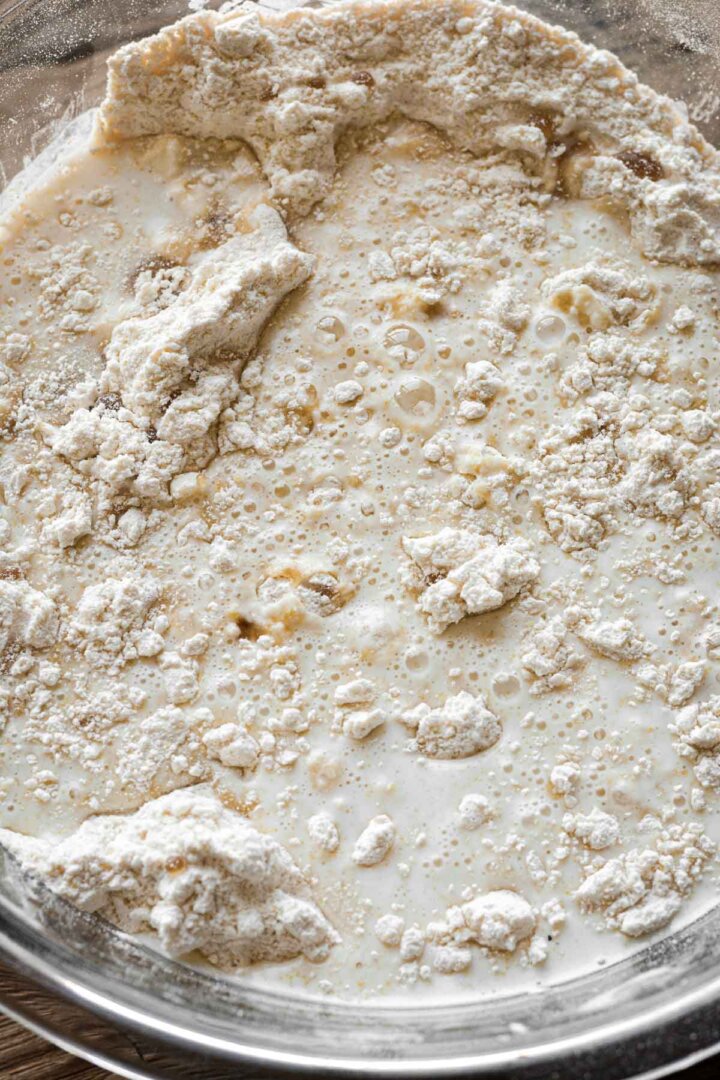
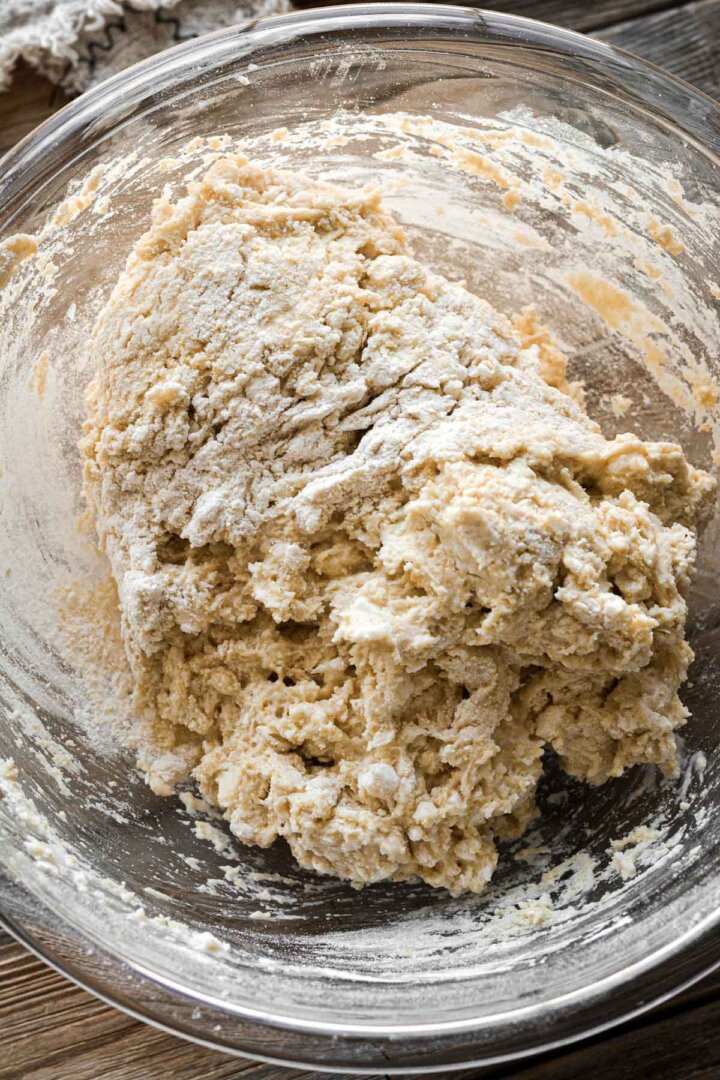
- Stir in the milk and maple syrup just until moistened. Use your hands to gather the mixture up into a craggy dough, but don’t overwork the dough. There will be some moist bits, and some dry bits, and that’s exactly how it should be. If it seems too dry, add a little more milk, a tablespoon at a time. You don’t want the dough too wet, though; it should be just moist enough to barely hold together.
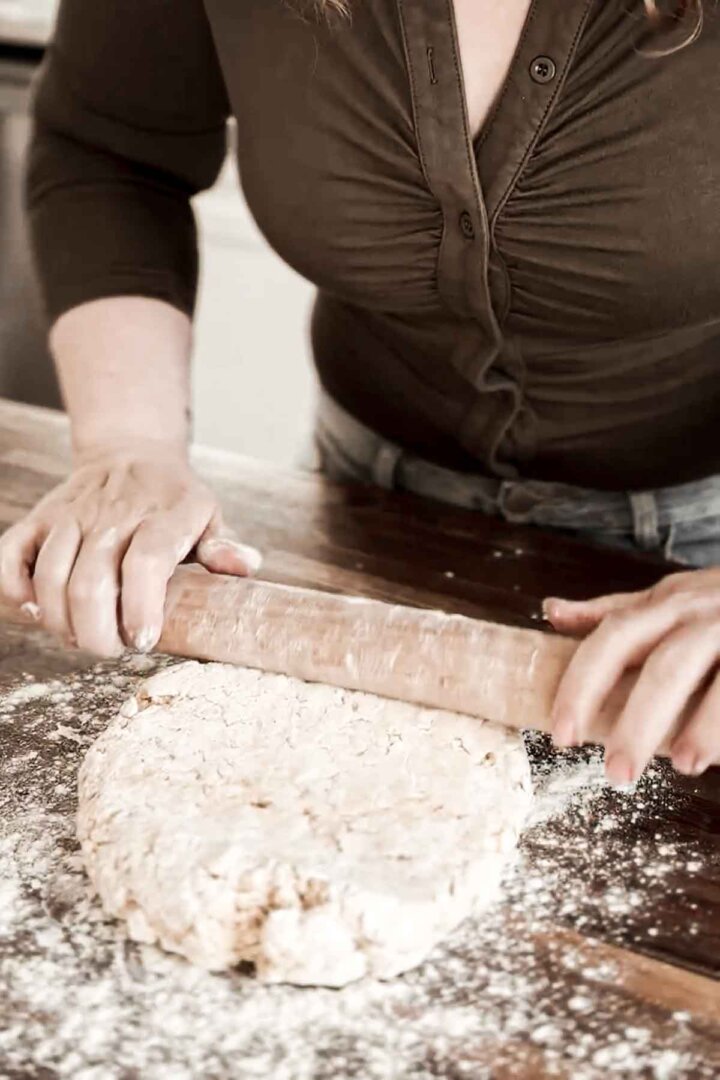
- On a lightly floured surface, gently roll the dough out to 1 inch thick, using a little more flour as needed to keep the dough from sticking.
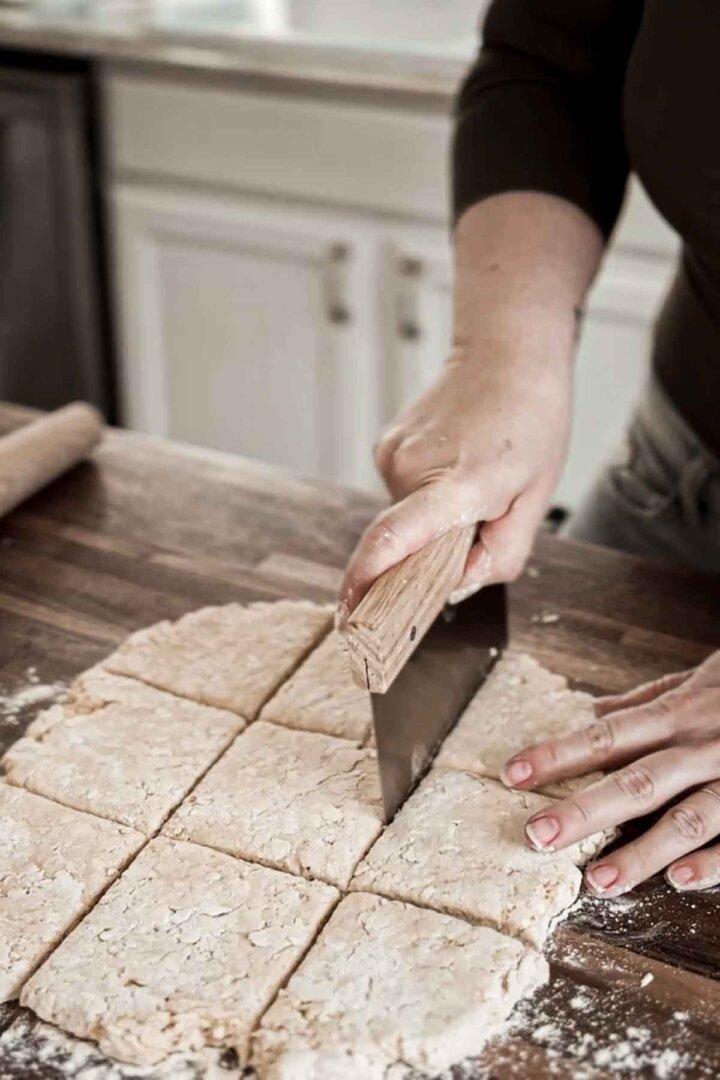
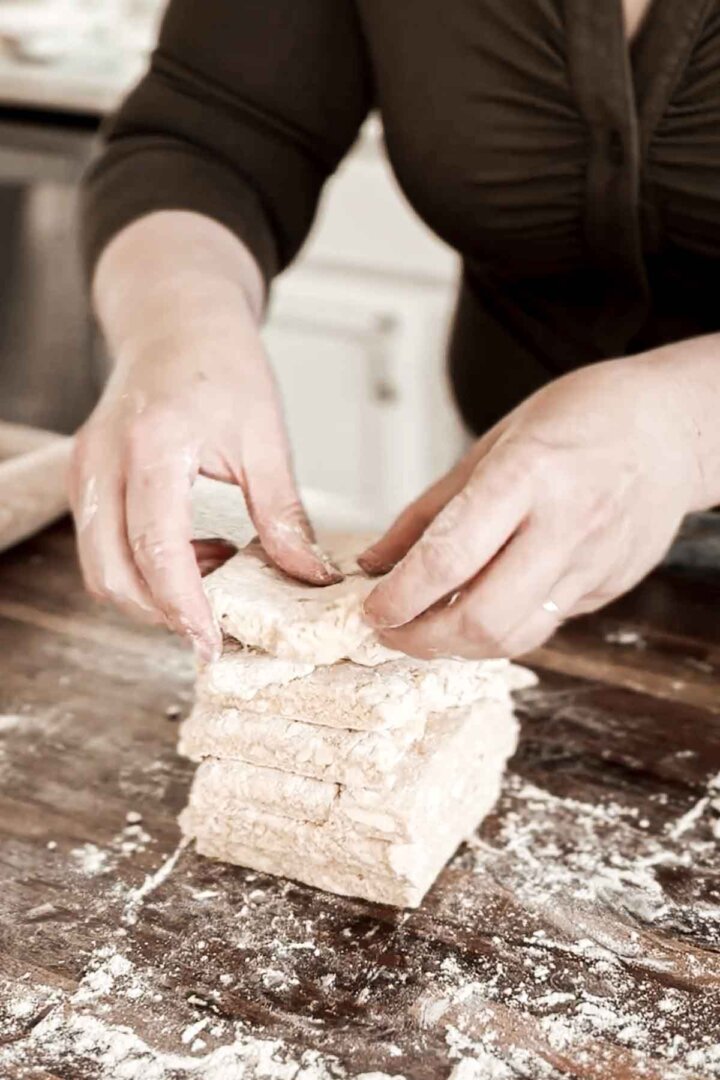
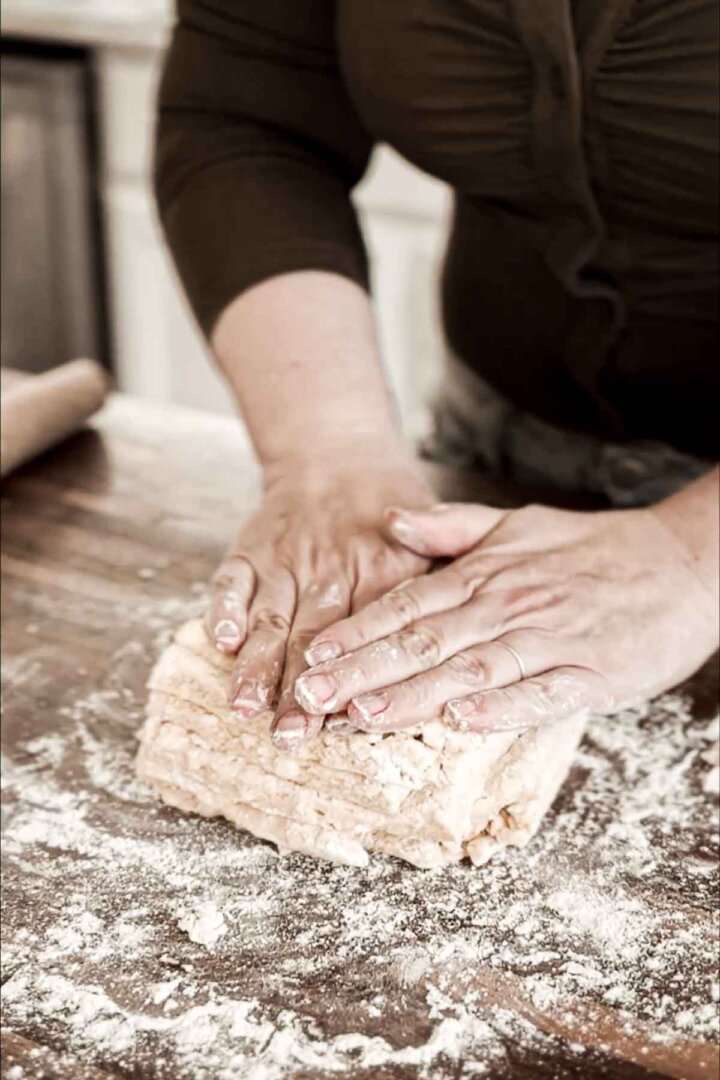
- Cut the dough into nine squares with a bench scraper, stack the squares, and roll the dough out again to about 1 inch thick.
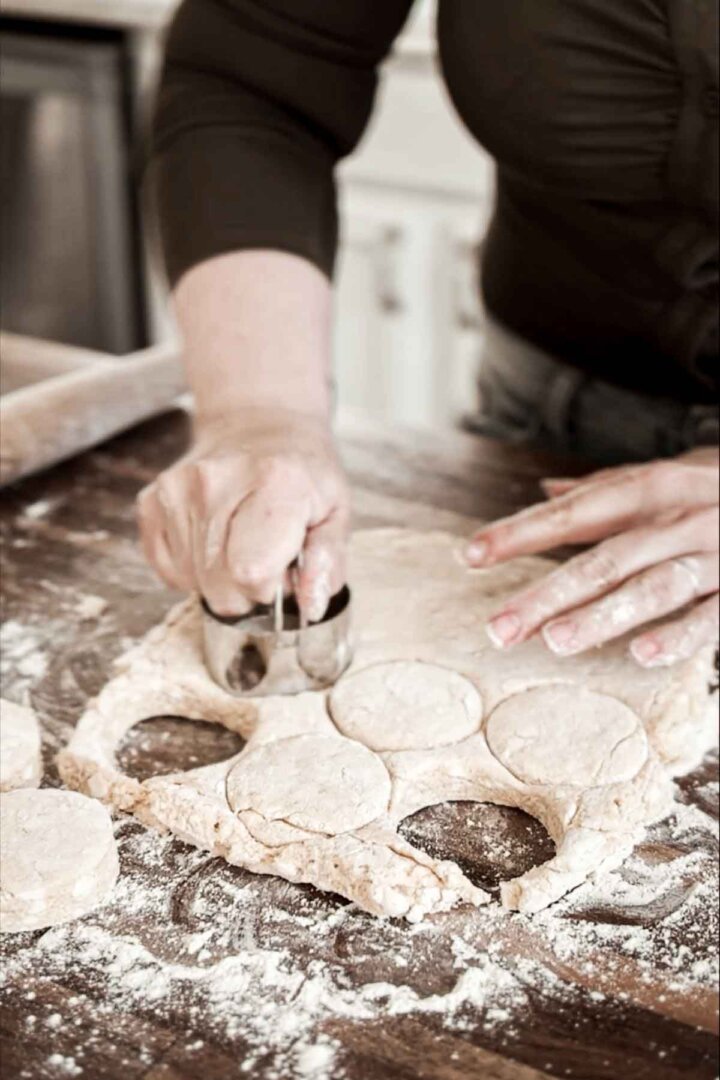
- Cut into rounds with a 2 1/2 inch biscuit cutter, trying to cut as many biscuits as you can the first time. Do not twist the cutter, just cut straight down and lift it straight back up. Gather up the scraps, press them together and cut those as well. You should be able to cut around 12-15 biscuits, depending on the size of your biscuit cutter and thickness of your dough.
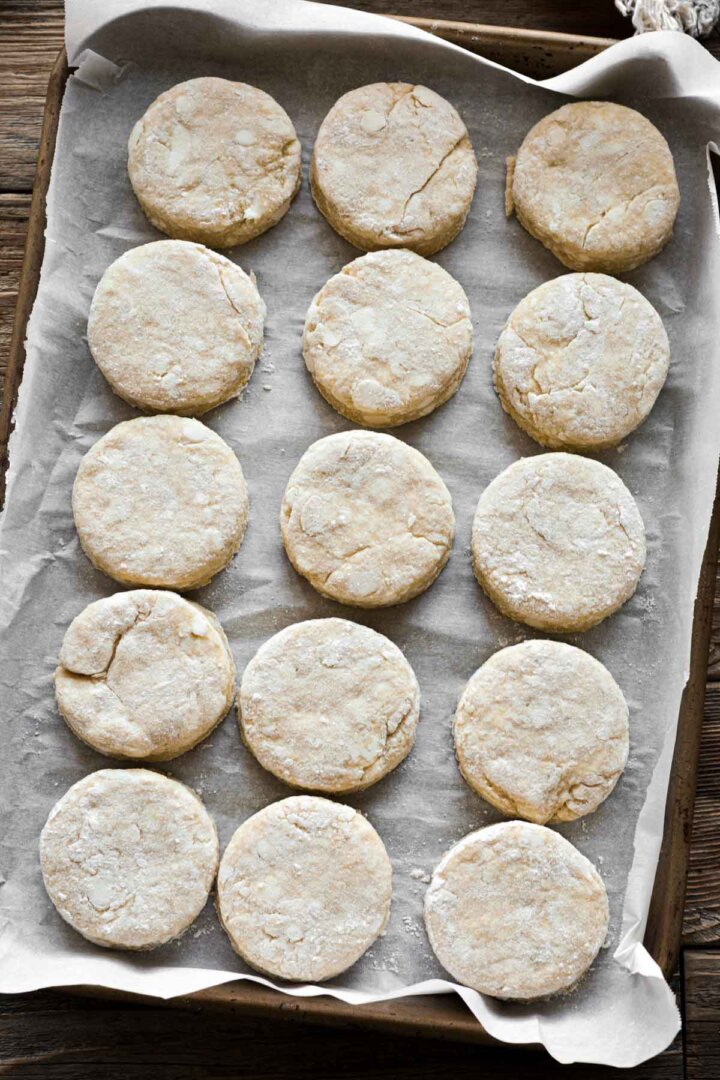
- Line a baking sheet with parchment paper, and place the biscuits very close together, about 1/2 inch apart, or even barely touching. Placing them close together helps them to rise taller. Freeze the cut biscuits for 30 minutes.
- While the biscuits are freezing, preheat the oven to 450 F and position a rack in the center of the oven.
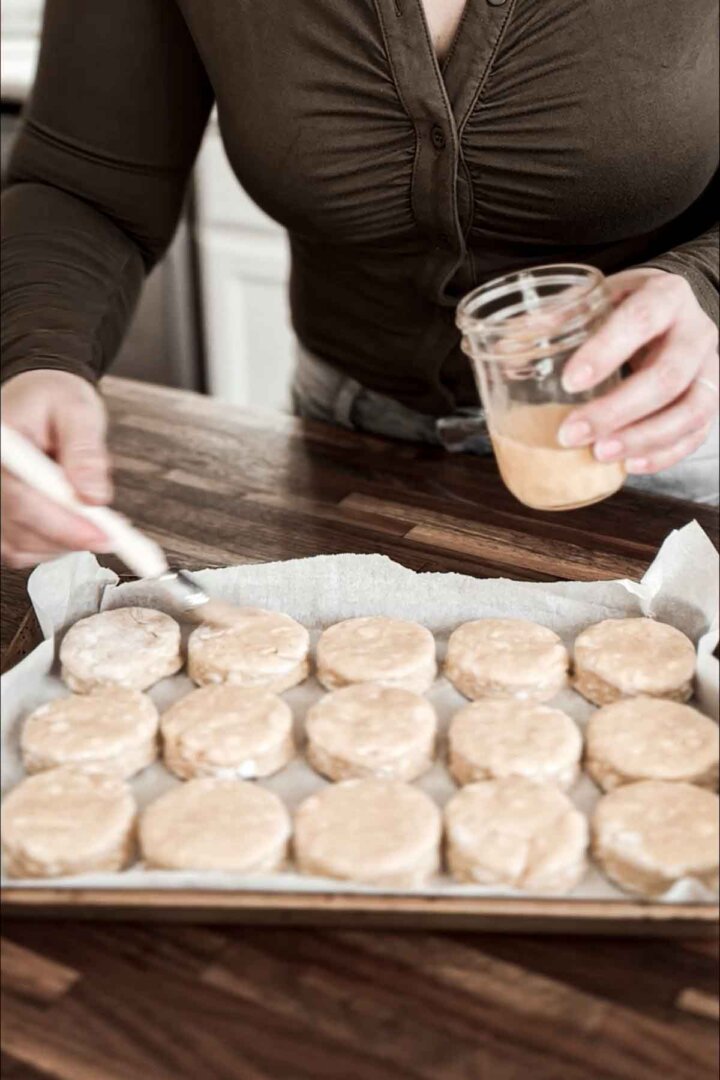
- In a small bowl, beat the egg and water together with a fork to make an egg wash, then use a pastry brush to lightly brush the beaten egg over the tops of the biscuits.
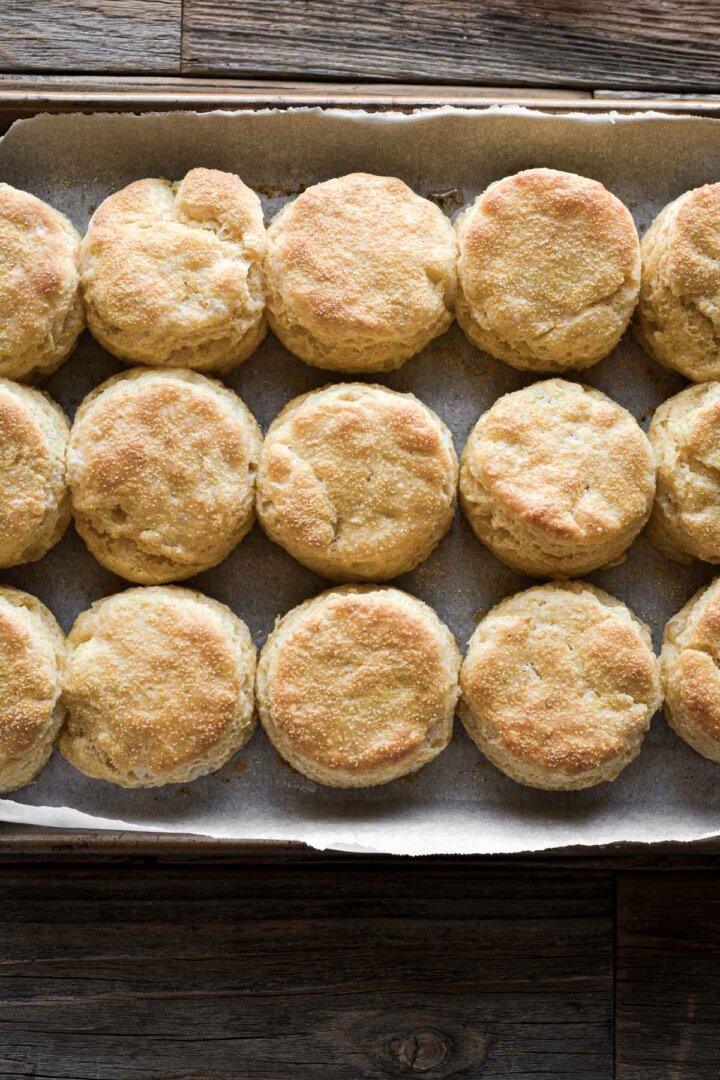
- Bake the biscuits until risen, fluffy and golden brown on top, about 15 minutes.
- Cool biscuits for 5 minutes, then serve hot with softened butter, jam or honey.
Be sure to read all of my BAKING FAQs where I discuss ingredients, substitutions and common baking questions, so that you can be successful in your own baking!
Frequently Asked Questions
Biscuits are best served fresh, on the morning they’re made. But leftovers are still great, and the best way to reheat them is to lightly toast them in a convection oven until warm, or to microwave them briefly at 50% power.
Unbaked biscuits can be frozen for up to 3-6 months. You can bake them straight from the freezer, and just add about 4-5 minutes to the baking time.
You Might Also Like


Please check out my Amazon Shop for a curated collection of some of my favorite cake pans from trusted brands, baking tools, ingredients, pretty things and fashion finds. I recommend products that I buy and use every day!
Did you love today’s recipe? Please rate the recipe and let me know in the comments what you thought! Also, be sure to follow Curly Girl Kitchen on Instagram, and tag me when you try one of my recipes so I can see all your delicious creations!
Maple Cornbread Biscuits
All recipes on Curly Girl Kitchen are developed for high altitude at 5,280 feet. See FAQs for adjusting to higher or lower elevations.

Equipment
- Rolling Pin, Bench Scraper & 2 1/2 inch Biscuit Cutter
Ingredients
- 2 ¼ cups all-purpose flour, fluffed, spooned and leveled (plus extra for rolling the biscuits)
- ½ cup yellow cornmeal
- ¼ cup corn starch
- 4 tsp baking powder
- 1 ¼ tsp coarse Kosher salt (if using table salt, use half the amount)
- 10 tbsp very cold, unsalted butter, cut into cubes
- 1 cup very cold whole milk
- 3 tbsp pure maple syrup
- 1 large egg
- 2 tbsp water
Instructions
- In a bowl, combine the flour, corn meal, corn starch, baking powder and salt. Use a pastry cutter to cut in the butter until crumbly.
- Stir in the milk and maple syrup just until moistened. Use your hands to gather the mixture up into a craggy dough, but don’t overwork the dough. There will be some moist bits, and some dry bits, and that's exactly how it should be. If it seems too dry, add a little more milk, a tablespoon at a time. You don't want the dough too wet, though; it should be just moist enough to barely hold together.
- On a lightly floured surface, gently roll the dough out to 1 inch thick, using a little more flour as needed to keep the dough from sticking.
- Cut the dough into nine squares with a bench scraper, stack the squares, and roll the dough out again to about 1 inch thick.
- Cut into rounds with a 2 1/2 inch biscuit cutter, trying to cut as many biscuits as you can the first time. Do not twist the cutter, just cut straight down and lift it straight back up. Gather up the scraps, press them together and cut those as well. You should be able to cut around 12-15 biscuits, depending on the size of your biscuit cutter and thickness of your dough.
- Line a baking sheet with parchment paper, and place the biscuits very close together, about 1/2 inch apart, or even barely touching. Placing them close together helps them to rise taller. Freeze the cut biscuits for 30 minutes.
- While the biscuits are freezing, preheat the oven to 450 F and position a rack in the center of the oven.
- In a small bowl, beat the egg and water together with a fork to make an egg wash, then use a pastry brush to lightly brush the beaten egg over the tops of the biscuits.
- Bake the biscuits until risen, fluffy and golden brown on top, about 15 minutes.
- Cool biscuits for 5 minutes, then serve hot with softened butter, jam or honey.
Video
Notes
- Biscuits are best served fresh, on the morning they’re made. But leftovers are still great, and the best way to reheat them is to lightly toast them in a convection oven until warm, or to microwave them briefly at 50% power.
- Unbaked biscuits can be frozen for up to 3-6 months. You can bake them straight from the freezer, and just add about 4-5 minutes to the baking time.
 https://curlygirlkitchen.com/

Leave a Reply