
It wouldn’t be cherry season without a slice of warm-from-the-oven homemade cherry pie! This is simply the best recipe for cherry crumb pie with a flaky buttery crust, juicy cherry filling and brown sugar crumble topping. And if cherries aren’t in season, you can make your pie with frozen cherries, too.
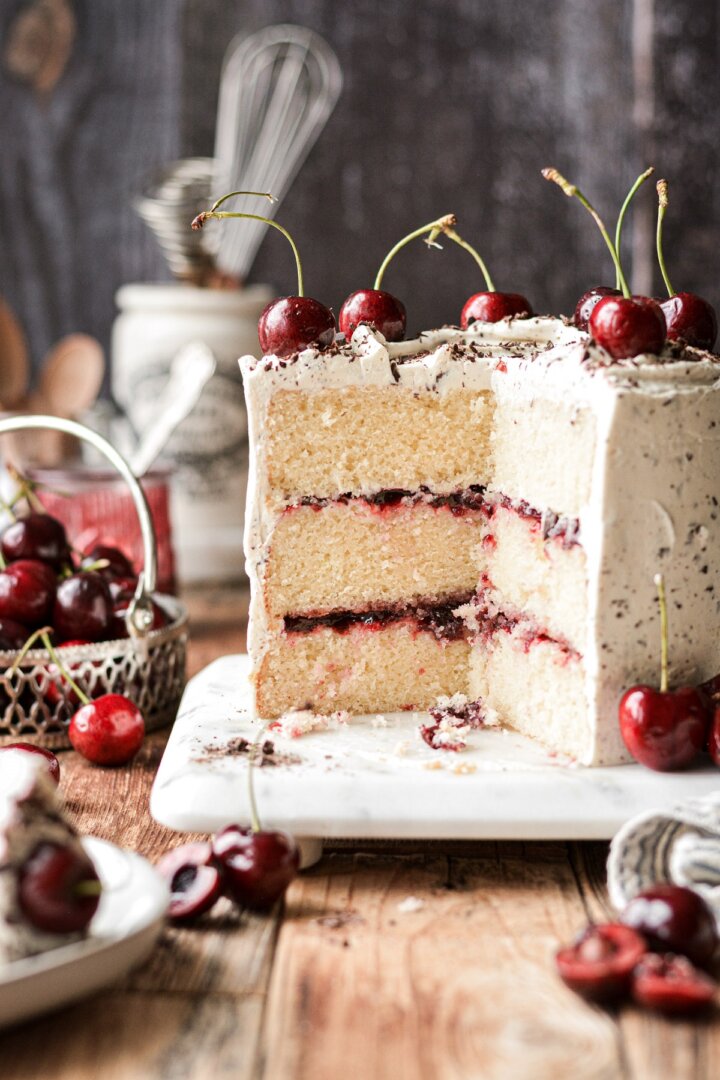
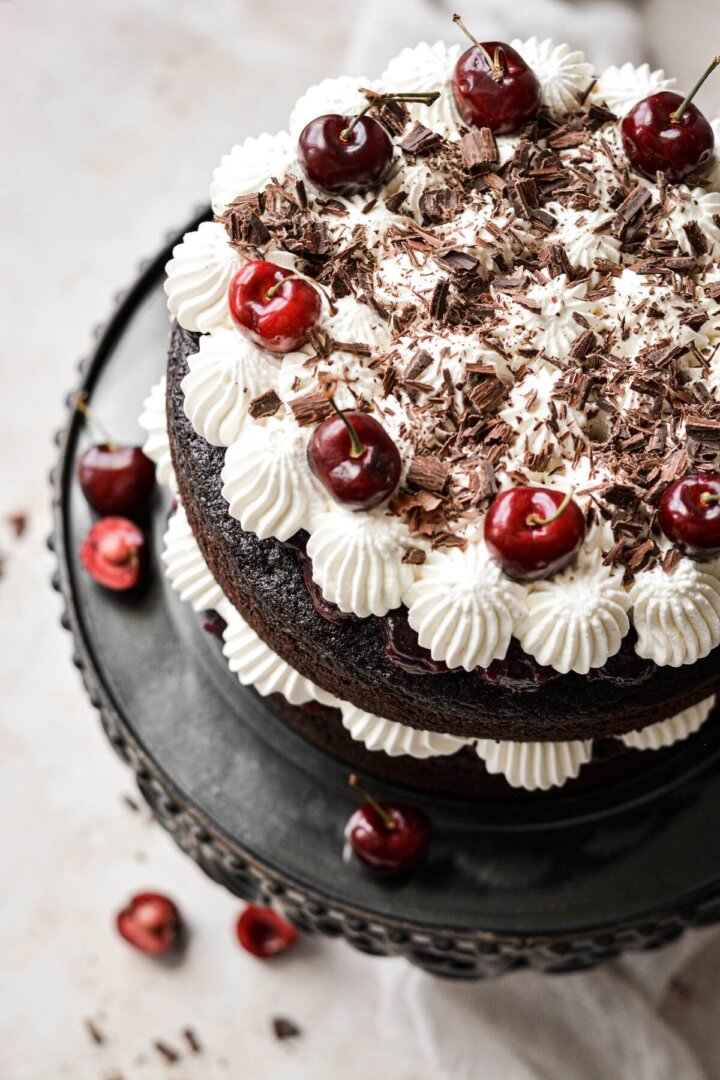
You might also love these homemade cherry pop tarts, Linzer cookies with bourbon cherry jam, and chocolate cherry cake.

This site contains affiliate links. As an Amazon associate, I earn from qualifying purchases. This means that I may make a small commission if you purchase a product using those links. This in no way affects my opinion of those products and services. All opinions expressed on this site are my own.
Why You’ll Love This Pie
All the Best Textures. You’ll love the combination of the soft, sweet juicy cherries with the flaky, all-butter pie crust. And while crumb topping won’t win any beauty contests, it’s my favorite topping on a fruit pie!
Fresh and Seasonal. I love to bake with seasonal fruit, so I bake a cherry crumb pie every summer. Those bags of beautiful red cherries are just irresistible!
High Altitude Tested. I develop all the recipes on my site for Denver’s altitude of 5,280 feet. If you’re at a lower or higher elevation, please see my FAQs for guidance on adjusting recipes for your altitude. Today’s recipe will work at any altitude, though.

See the recipe card at the end of the post for the full ingredients list and instructions.
Ingredients
Crust
For my pie dough, I always make an all-butter pie dough without shortening. All purpose flour and butter are the main ingredients. A little apple cider vinegar tenderizes the dough for a tender, flaky crust. Sugar helps to promote browning, a pinch of salt adds flavor, and milk binds everything together.
Filling
Start with cherries! Either fresh or frozen will do. Granulated sugar sweetens the filling and adds moisture. Corn starch is my preferred pie thickener, and it always thickens the filling beautifully. A pinch of salt balances the sweetness. Lemon juice adds acidity to balance the sweetness, and a touch of vanilla and butter adds flavor and richness.
Topping
The topping is a simple mix of all-purpose flour, brown sugar, salt and cloves, with melted butter to bind everything together.

Instructions
Make the Pie Crust.
- Make 1/2 recipe Pie Dough for a single pie crust. Or, you can make the full pie dough recipe, and freeze half the dough for another pie.
- Wrap the dough in plastic wrap and refrigerate until needed. You can refrigerate the dough up to 1 week in advance, or freeze it for up to 3-6 months.
Make the Cherry Filling.
- If using frozen, pitted cherries, I recommend using a bag of mixed cherries that contains both sweet and tart cherries. If using fresh cherries, you’ll need to pit them first, then weigh out two pounds.
- In a large stock pot, toss the cherries with the sugar, corn starch and salt. Stir in the lemon juice.
- Over medium heat, bring the cherries to a simmer, stirring frequently. Once the liquid starts to boil and thicken, stir constantly and cook for 1 minute. Remove from the heat, and stir in the vanilla and butter. If using fresh cherries, you may need to add a tablespoon of water to get the cherries simmering.
- Set aside to cool to room temperature, or make up to 3 days in advance and refrigerate until needed. Let refrigerated pie filling warm up to room temperature for an hour before filling and baking your pie.


Topping
- In a bowl, combine the flour, brown sugar, salt and cloves. Drizzle with the melted butter and stir until moistened and crumbly.
- You can use the topping immediately, or keep covered in the refrigerator, up to 3 days in advance.

Assembly and Baking.
- Preheat the oven to 375 F, and position a rack in the lower third of the oven. Line a baking sheet with parchment paper, and set a metal pie pie or tart pan on the baking sheet. Baker’s Note: A metal pan will conduct heat much better than a ceramic pie pan, and I strongly urge you to use a metal pan to ensure the bottom crust is baked through and not doughy.
- On a floured surface, roll out the pie dough into a circle large enough to fit into the pie pan with an inch or two hanging over the edge. Fold the edge under and crimp it between your fingers.
- Spread the room-temperature cherry filling into dough, and sprinkle with the crumb topping.
- Bake your pie for about 50-60 minutes, until the filling is thickened with slow, thick bubbles rising to the surface. If needed, cover the edge of the crust with a pie crust shield to keep it from over-browning.
- Set the pie on a cooling rack and cool for at least 4 hours before cutting and serving.


Be sure to read all of my BAKING FAQs where I discuss ingredients, substitutions and common baking questions, so that you can be successful in your own baking!
Frequently Asked Questions
You can use either fresh or frozen, whichever is in season and most convenient. The cherries at the grocery store are usually sweet cherries, and of course, you’ll need to pit them before weighing them. Frozen cherries are already pitted, and you can get bags with a mix of sweet and tart cherries, which are great for pies.
I pre-cook the cherry pie filling to ensure that it thickens properly. Part of the thickening occurs while cooking the filling on the stove, and then it will finish thickening in the oven, so your pie will be perfectly set, not watery or soupy.
You can see how I do a lattice crust on this peach lattice pie.
You should watch for slow, thick bubbles in the filling that are just starting to spill over the edge of the pan. A browned top does not mean the pie is done. Keep baking it until you see those bubbles, and lay a piece of foil over the top if the crumb topping is getting too brown.
Fruit pie is really best eaten the first day it’s baked. If you can’t finish it the first day, though, you can keep your pie at room temperature for up to 24 hours. After that, cover it loosely and keep it refrigerated for up to 3 days.
A metal pie pan will conduct heat much better than a ceramic pie pan, and I strongly urge you to use a metal pan to ensure the bottom crust is baked through and not doughy. For photography purposes, I also frequently use my metal tart pan with a removable bottom to bake fruit pies. Being able to remove the sides of the pan makes it easy to cut a neat slice of pie. Along with the type of pan, it’s equally important to bake your pie in the lower third of the oven, so the bottom of the pie is closer to the heating element. This allows the crust to bake through, without over-browning the top of the pie.

You Might Also Like


Please check out my Amazon Shop for a curated collection of some of my favorite cake pans from trusted brands, baking tools, ingredients, pretty things and fashion finds. I recommend products that I buy and use every day!
Did you love today’s recipe? Please rate the recipe and let me know in the comments what you thought! Also, be sure to follow Curly Girl Kitchen on Instagram, and tag me when you try one of my recipes so I can see all your delicious creations!

Cherry Crumb Pie
All recipes on Curly Girl Kitchen are developed for high altitude at 5,280 feet. See FAQs for adjusting to higher or lower elevations.

Equipment
Ingredients
Crust
- ½ recipe Pie Dough (single pie crust)
Filling
- 2 lbs pitted cherries
- ¾ cup granulated sugar
- ¼ cup corn starch
- ¼ tsp coarse Kosher salt (if using table salt, use half the amount)
- 2 tbsp lemon juice
- 1 tsp vanilla extract
- 2 tbsp unsalted butter
Topping
- 1 cup all-purpose flour, spooned and leveled
- ⅓ cup light brown sugar, lightly packed
- ½ tsp coarse Kosher salt
- ⅛ tsp ground cloves
- 4 tbsp unsalted butter, melted
Instructions
Crust
- Make 1/2 recipe Pie Dough for a single pie crust. Or, you can make the full pie dough recipe, and freeze half the dough for another pie.
- Wrap the dough in plastic wrap and refrigerate until needed. You can refrigerate the dough up to 1 week in advance, or freeze it for up to 3-6 months.
Filling
- If using frozen, pitted cherries, I recommend using a bag of mixed cherries that contains both sweet and tart cherries. If using fresh cherries, you'll need to pit them first, then weigh out two pounds.
- In a large stock pot, toss the cherries with the sugar, corn starch and salt. Stir in the lemon juice.
- Over medium heat, bring the cherries to a simmer, stirring frequently. Once the liquid starts to boil and thicken, stir constantly and cook for 1 minute. Remove from the heat, and stir in the vanilla and butter.Baker's Note: If using fresh cherries, you may need to add a tablespoon of water to get the cherries simmering.
- Set aside to cool to room temperature, or make up to 3 days in advance and refrigerate until needed. Let refrigerated pie filling warm up to room temperature for an hour before filling and baking your pie.
Topping
- In a bowl, combine the flour, brown sugar, salt and cloves. Drizzle with the melted butter and stir until moistened and crumbly.
- You can use the topping immediately, or keep covered in the refrigerator, up to 3 days in advance.
Assembly and Bake
- Preheat the oven to 375 F, and position a rack in the lower third of the oven. Line a baking sheet with parchment paper, and set a metal pie pie or tart pan on the baking sheet. Baker's Note: A metal pan will conduct heat much better than a ceramic pie pan, and I strongly urge you to use a metal pan to ensure the bottom crust is baked through and not doughy.
- On a floured surface, roll out the pie dough into a circle large enough to fit into the pie pan with an inch or two hanging over the edge. Fold the edge under and crimp it between your fingers.
- Spread the room-temperature cherry filling into dough, and sprinkle with the crumb topping.
- Bake your pie for about 50-60 minutes, until the filling is thickened with slow, thick bubbles rising to the surface. If needed, cover the edge of the crust with a pie crust shield to keep it from over-browning.
- Set the pie on a cooling rack and cool for at least 4 hours before cutting and serving.
Notes
- Fruit pie is best eaten the first day it’s baked.
- You can keep your pie at room temperature for up to 24 hours. After that, cover it loosely and keep it refrigerated for up to 3 days.
- For a cherry rhubarb pie, you can replace 1/4 – 1/2 of the cherries with chopped rhubarb, either fresh or frozen. Make the filling as instructed, with no other changes needed.
 https://curlygirlkitchen.com/
Made the pie for a friend’s birthday as cake isn’t her favorite. The cloves in the crumb tasted wonderful and really added an extra punch to the flavor. This was my first time blind baking a crust and it turned out perfectly. My only problem is kepping the crust edges from browning too much (I did cover). So frustrating. I also needed to bake the pie longer (live about an hour north of Denver) than suggested, but I usually do have to bake longer than any recipe recommendations. Will definitely make again.