
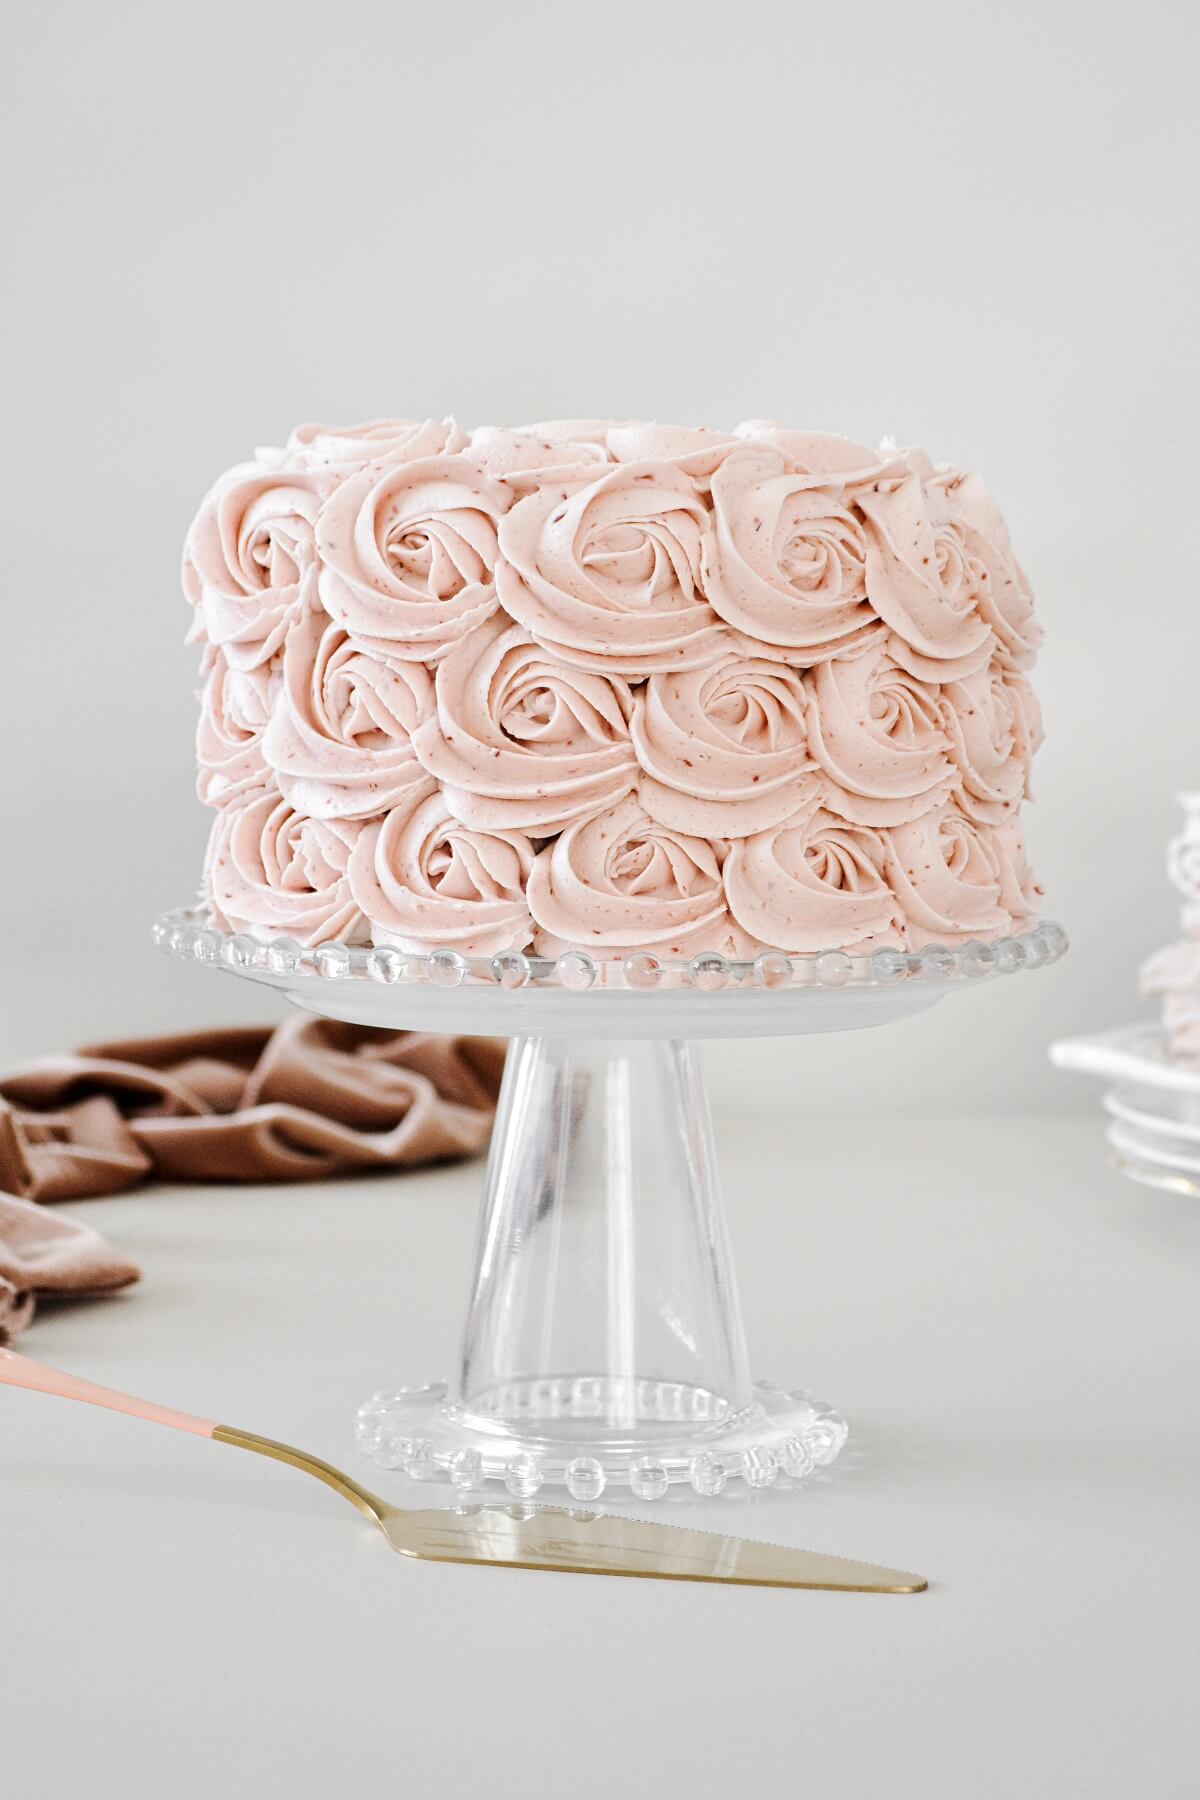
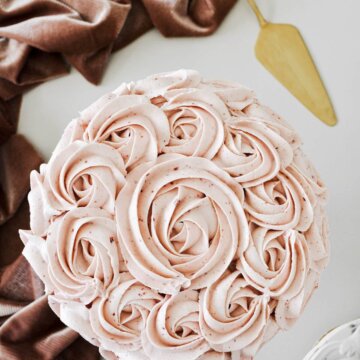
It’s been too long since I decorated a cake all over with buttercream rosettes, and I thought that this high altitude cherry vanilla cake with the loveliest shade of pale pink cherry buttercream would be just the cake to highlight this beautiful (and actually very easy) decorating technique. Starting with the most popular post on my blog, my classic high altitude vanilla cake recipe, I paired the cake with cherry buttercream, flavored and colored with sweet cherry preserves. Aren’t the flecks of cherries in the buttercream so pretty?
And although I used cherry jam, you could use absolutely any flavor of jam or fruit preserves that you like. Peach or apricot? Delicious. Strawberry, blueberry, or even orange marmalade would all be wonderful, too. To keep the buttercream nice and smooth, I pureed the jam with a small food processor first, before whipping it into the buttercream. The result is a creamy, fluffy, beautifully tinted buttercream with lovely flecks of fruit all throughout.
What I love about this buttercream rosette design is how perfect it is for so many occasions. Mother’s Day, bridal showers, baby showers, birthday parties and even weddings (wouldn’t this be stunning in a tiered cake?)… Anyone who loves flowers will love this cake. Cake decorating trends come and go, but this is one that I think will be in style for years to come.
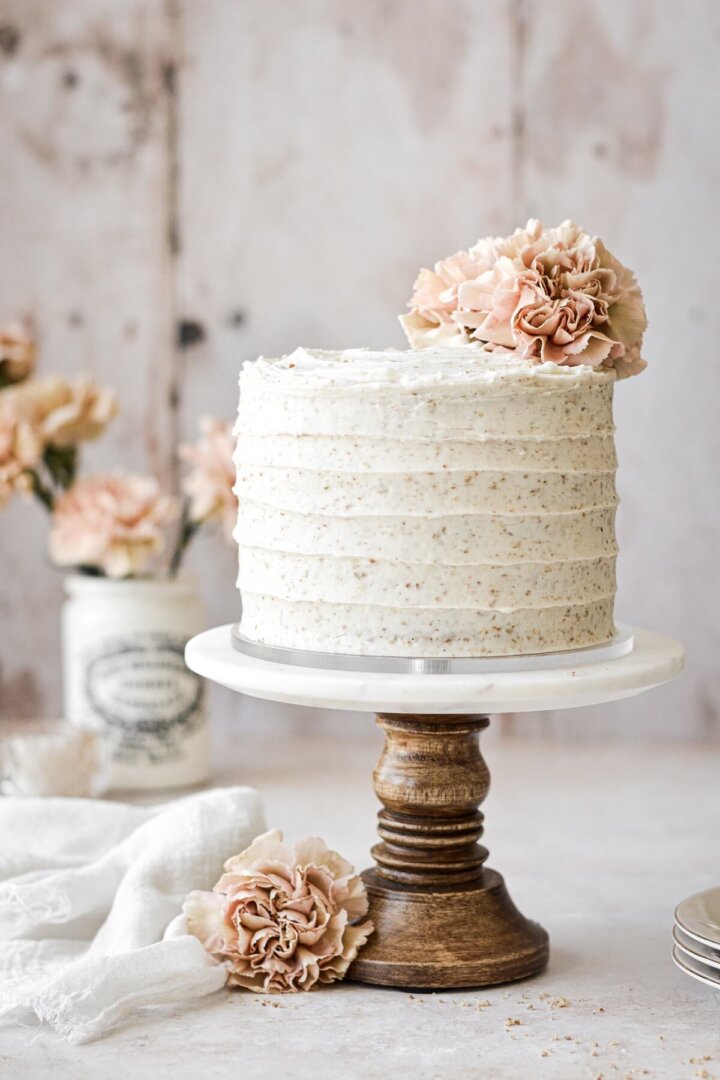
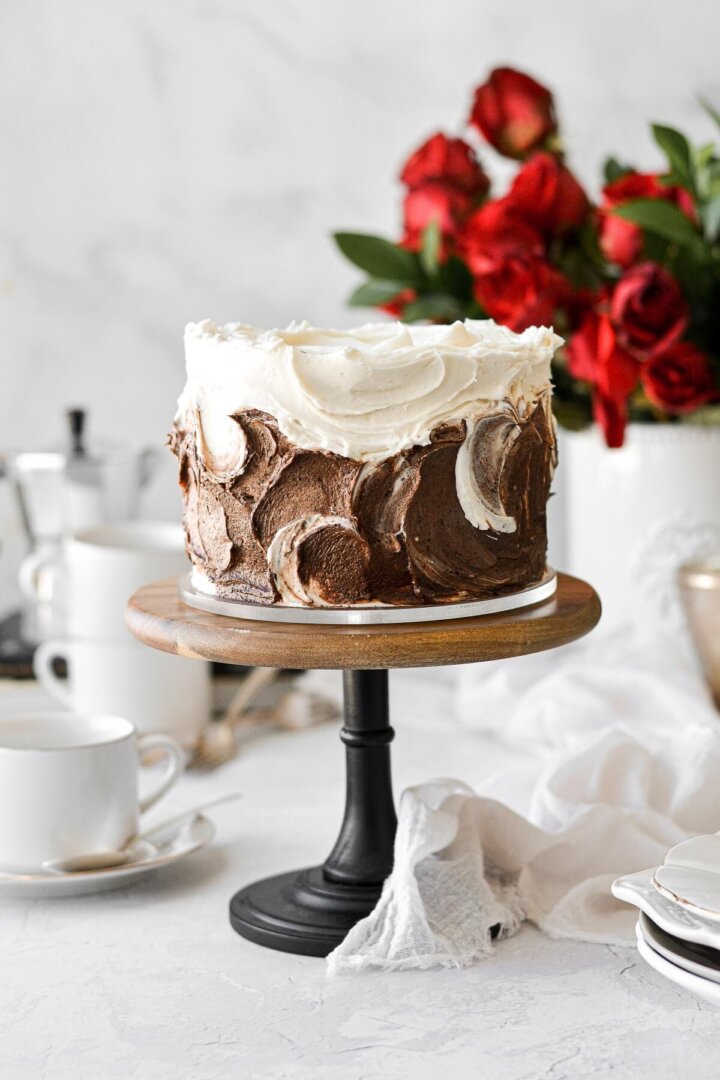
Looking for more cake decorating ideas? You’ll love this Neapolitan cake with striped buttercream, my buttercream flowers cake, and hummingbird cake with painted floral buttercream.
This site contains affiliate links. As an Amazon associate, I earn from qualifying purchases. This means that I may make a small commission if you purchase a product using those links. This in no way affects my opinion of those products and services. All opinions expressed on this site are my own.
Ingredients
Vanilla Cake
- Granulated Sugar. Adds sweetness and moisture.
- Vanilla Bean + Vanilla Extract. To really infuse the cake with vanilla flavor, rub vanilla bean seeds into the granulated sugar first, and then add the vanilla extract to the liquid ingredients.
- Cake Flour. Adds structure, and keeps the cake soft, light and fluffy.
- Baking Powder. Leavens the cake so it rises.
- Coarse Kosher Salt. Balances the sweetness.
- Eggs + Egg Whites. Add structure and protein, while the extra egg whites keep the cake light, white and fluffy.
- Buttermilk. The fat and acidity in buttermilk is excellent for cakes, for beautiful flavor and a tender cake crumb.
- Unsalted Butter + Vegetable Oil. A combination of melted butter and vegetable oil keeps the cake moist, soft and flavorful.
Cherry Buttercream
- Unsalted Butter. Adds fat, buttery flavor, and a fluffy texture when whipped with the powdered sugar.
- Cherry Jam. The concentrated consistency of the cherry jam adds cherry flavor and a pretty pink color, without the excess moisture you’d get from just adding fresh cherries.
- Powdered Sugar. Sweetens and thickens the buttercream.
- Meringue Powder. Provides stability and improves the texture of buttercream.
- Coarse Kosher Salt. Balances the sweetness.
- Vanilla Extract. Flavor.
- Milk. Only use if needed, to thin the buttercream for desired consistency.
Instructions
Prep the Pans and Rub the Vanilla Bean Seeds into the Sugar.
- Preheat the oven to 350 F and spray the bottoms of three 8-inch cake pans with non-stick spray.
- In a large bowl, measure out the sugar. Scrape the seeds from the vanilla bean pod and use your fingers to rub the seeds into the sugar until very fragrant and the seeds are evenly dispersed throughout the sugar.
Sift the Dry Ingredients.
- Set a fine mesh sifter over the bowl of sugar, and sift in the cake flour, baking powder and salt. Use a whisk to combine the dry ingredients well. Make sure you use the “spoon and sweep” method to measure your flour.
Whisk in the Liquid Ingredients.
- In another large bowl, whisk together the eggs, egg whites, buttermilk, melted butter, oil and vanilla extract until smooth.
- Add the dry ingredients to the wet, and whisk until combined and smooth, about 10-15 seconds. Divide the batter between the cake pans. Tap a few times against the counter to pop any large air bubbles.
TIP: Make sure your cold dairy ingredients are at room temperature for best results when baking cakes.
Bake the Cake.
- Bake the cakes for about 21-25 minutes, or until a cake tester or a toothpick comes out clean, and the tops spring back when lightly touched.
- Set the pans on a wire rack, cover them loosely with a clean kitchen towel, and cool completely before frosting. When ready to frost and assemble the cake, remove the cakes from the pans.
Whip the Buttercream.
- In the bowl of your stand mixer fitted with the whisk attachment, beat the butter for 1 minute until smooth. Add the pureed cherry jam and mix until smooth.
- With the mixer running on low, add the powdered sugar by spoonfuls, the meringue powder and the salt, mixing until thick and combined.
- Add the vanilla and the milk; increase speed to medium and whip for 4-5 minutes, scraping the bowl down several times, until light and fluffy.
TIP: The buttercream recipe makes enough for the piped buttercream rosettes design. For a simpler frosting, reduce the butter to 2 cups and the powdered sugar to 4 cups.
Decorating a Cake with Buttercream Rosettes
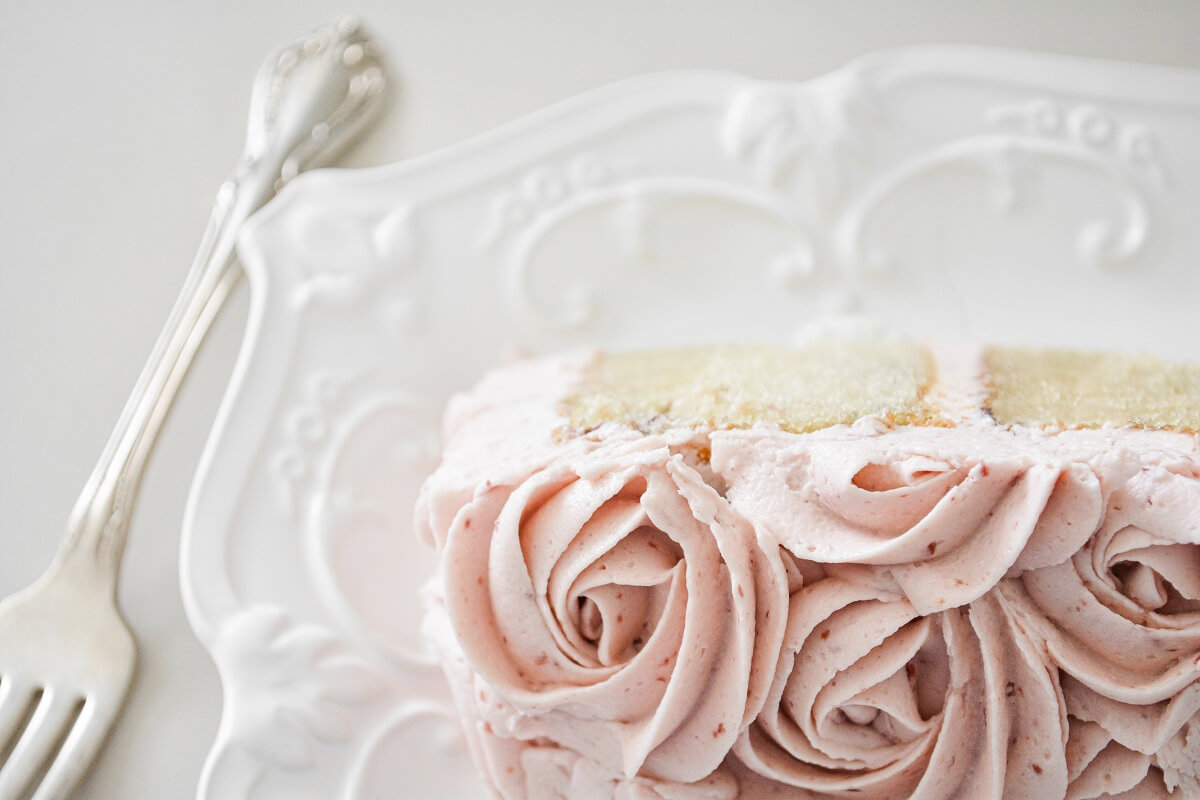
- Remove the cooled cakes from the pans. Place one cake on a cake board or cake pedestal. Spread with a layer of buttercream. Add the second cake layer, more buttercream, and then the third cake layer.
- Frost the cake all over with a thin crumb coat of buttercream, and refrigerate for one hour. You cannot skip the step of crumb-coating and chilling the cake – it ensures the piped rosettes stick to the crumb coat and don’t fall off the sides of an unfrosted cake. Cover the bowl of remaining buttercream with plastic wrap so it doesn’t crust over.
- Fit a piping bag with tip 1M and fill with buttercream.
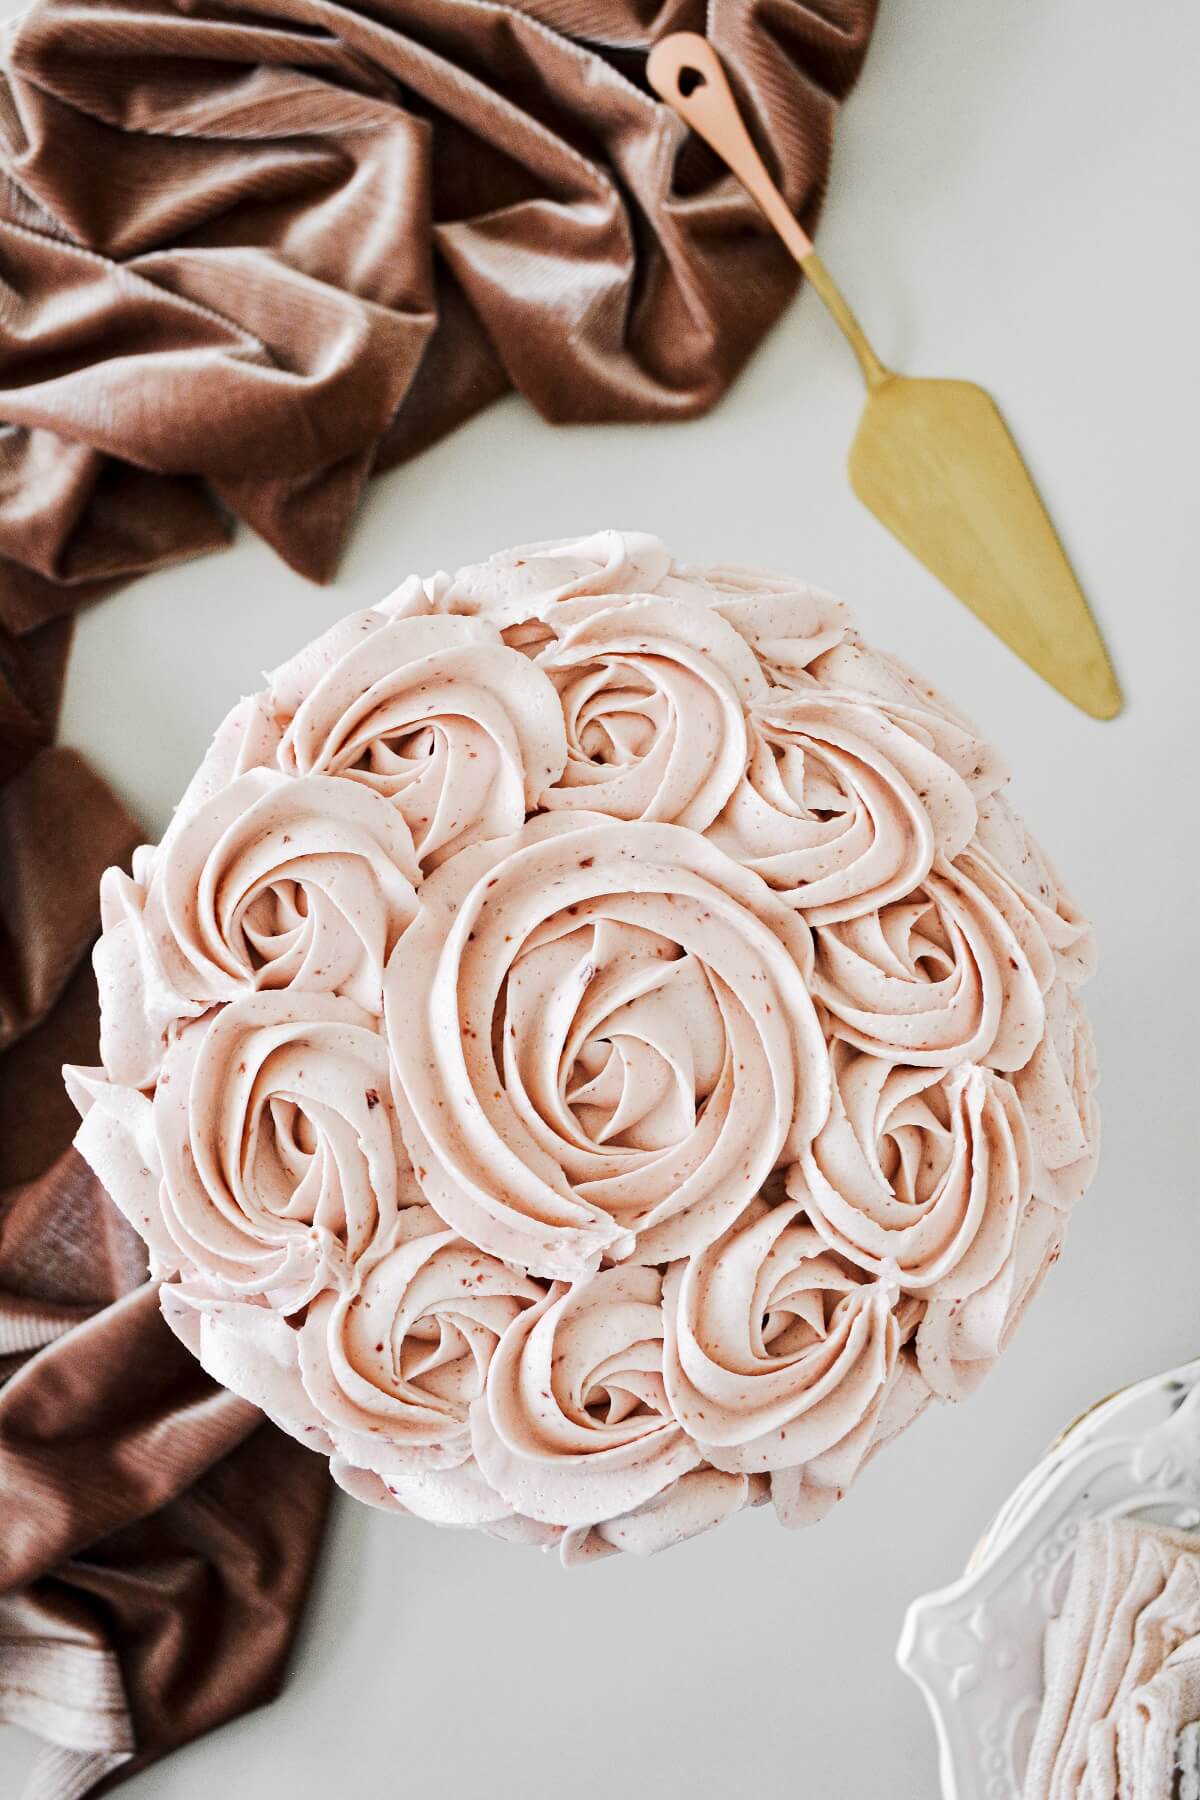
- Starting at the bottom of the cake, pipe a horizontal row of rosettes all the way around the bottom edge of the cake. Pipe a second row of rosettes, positioning them as shown in the photos above so that the vertical rows are angled, and not straight up and down, or you’ll end up with gaps between the rosettes. Continue piping rosettes in horizontal rows, then finish the top of the cake as pictured. The last rosette you pipe will be the one in the very center of the top of the cake.
Be sure to read all of my BAKING FAQs where I discuss ingredients, substitutions and common questions with cake making, so that you can be successful in your own baking! I also suggest reading these comprehensive posts on making Perfect American Buttercream, How to Stack, Fill, Crumb Coat and Frost Layer Cakes and How to Use Piping Bags.
FAQs for Cherry Vanilla Cake
What tip did you use to pipe the buttercream rosettes?
Tip 1M is a large open star tip that’s perfect for piping buttercream rosettes.
Will other flavors of jam work in this recipe?
Absolutely, you can use any flavor of jam or preserves that you like. Be sure to puree the jam in a small food processor, so the chunks of fruit don’t clog your piping tip.
Can I add fresh cherries to the cake batter?
This doesn’t actually turn out very well, as the fresh cherries will discolor the cake batter and it won’t look very appealing. For more of the cherry flavor, try spreading more jam or even cherry pie filling between the layers of cake.
Is this a high altitude vanilla cake recipe?
Yes, this is a high altitude vanilla cake recipe. If you’re at sea level, you may need to make a few slight modifications, such as reducing the flour by 2-4 tablespoons, and increasing the baking powder from 3 tsp to 4 tsp. I live in Denver, which has an altitude of 5,280 feet, so if you live significantly higher than that (more than 1,000 feet higher), you might need to make a few minor adjustments, such as increasing the flour a bit more, and decreasing the baking powder a little. Please read this post on guidelines for adjusting cake recipes for various altitudes.
What can I substitute for the buttermilk?
While I prefer whole buttermilk, I’ll also use lowfat buttermilk if it’s the only thing available at my grocery store. The next best thing is to make your own sour milk by stirring together 1 1/2 tbsp white distilled vinegar with 1 1/2 cups whole milk. Let sit for 15 minutes to curdle before mixing your cake batter.
Can I cut this recipe in half for a 6-inch cake instead?
Yes, you can easily halve this vanilla cake recipe, and bake the batter in three 6-inch pans.
You Might Also Like


Please check out my Amazon Shop for a curated collection of some of my favorite cake pans from trusted brands, baking tools, ingredients, pretty things and fashion finds. I recommend products that I buy and use every day!
Did you love today’s recipe? Please rate the recipe and let me know in the comments what you thought! Also, be sure to follow Curly Girl Kitchen on Instagram, and tag me when you try one of my recipes so I can see all your delicious creations!
High Altitude Cherry Vanilla Rosette Cake
All recipes on Curly Girl Kitchen are developed for high altitude at 5,280 feet. See FAQs for adjusting to higher or lower elevations.

Equipment
- Stand Mixer with Whisk Attachment
- Piping Bag + Tip 1M
Ingredients
Vanilla Cake
- 1 ½ cups granulated sugar
- ½ vanilla bean, seeds scraped
- 3 ¼ cups cake flour, spooned and leveled, then sifted
- 3 tsp baking powder
- 1 tsp coarse Kosher salt (if using table salt, use half the amount)
- 2 large eggs
- 2 egg whites
- 1 ½ cups whole buttermilk room temperature
- ½ cup unsalted butter, melted
- ½ cup vegetable oil
- 2 tsp vanilla extract
Cherry Buttercream
- 2 ½ cups unsalted butter, softened to room temperature
- ¾ cup cherry jam or preserves, pureed until smooth
- 5 cups powdered sugar
- 1 tbsp meringue powder, optional
- ¼ tsp coarse Kosher salt (if using table salt, use half the amount)
- 2 ½ tsp vanilla extract
- 1-2 tbsp milk or cream, if needed
Instructions
Cake
- Preheat the oven to 350F and spray the bottoms of three 8-inch cake pans with non-stick spray.
- In a large bowl, measure out the sugar. Scrape the seeds from the vanilla bean pod and use your fingers to rub the seeds into the sugar until very fragrant and the seeds are evenly dispersed throughout the sugar.
- Set a fine mesh sifter over the bowl of sugar, and sift in the cake flour, baking powder and salt. Use a whisk to combine the dry ingredients well.
- In another large bowl, whisk together the eggs, egg whites, buttermilk, melted butter, oil and vanilla extract until smooth.
- Add the dry ingredients to the wet, and whisk until combined and smooth, about 10-15 seconds. Divide the batter between the cake pans. Tap a few times against the counter to pop any large air bubbles.
- Bake the cakes for about 21-25 minutes, or until a cake tester or a toothpick comes out clean, and the tops spring back when lightly touched.
- Set the pans on a wire rack, cover them loosely with a clean kitchen towel, and cool completely before frosting. When ready to frost and assemble the cake, remove the cakes from the pans.
Buttercream
- In the bowl of your stand mixer fitted with the whisk attachment, beat the butter for 1 minute until smooth. Add the pureed cherry jam and mix until smooth.
- With the mixer running on low, add the powdered sugar by spoonfuls, the meringue powder and the salt, mixing until thick and combined.
- Add the vanilla and the milk; increase speed to medium and whip for 4-5 minutes, scraping the bowl down several times, until light and fluffy.
Assembly and Decorating
- Remove the cooled cakes from the pans. Place one cake on a cake board or cake pedestal. Spread with a layer of buttercream. Add the second cake layer, more buttercream, and then the third cake layer.
- Frost the cake all over with a thin crumb coat of buttercream, and refrigerate for one hour. You cannot skip the step of crumb-coating and chilling the cake – it ensures the piped rosettes stick to the crumb coat and don’t fall off the sides of an unfrosted cake.Cover the bowl of remaining buttercream with plastic wrap so it doesn’t crust over.
- Fit a piping bag with tip 1M and fill with buttercream.Starting at the bottom of the cake, pipe a horizontal row of rosettes all the way around the bottom edge of the cake. Pipe a second row of rosettes, positioning them as shown in the photos above so that the vertical rows are angled, and not straight up and down, or you’ll end up with gaps between the rosettes. Continue piping rosettes in horizontal rows, then finish the top of the cake as pictured. The last rosette you pipe will be the one in the very center of the top of the cake.
Notes
 https://curlygirlkitchen.com/
Leave a Reply