
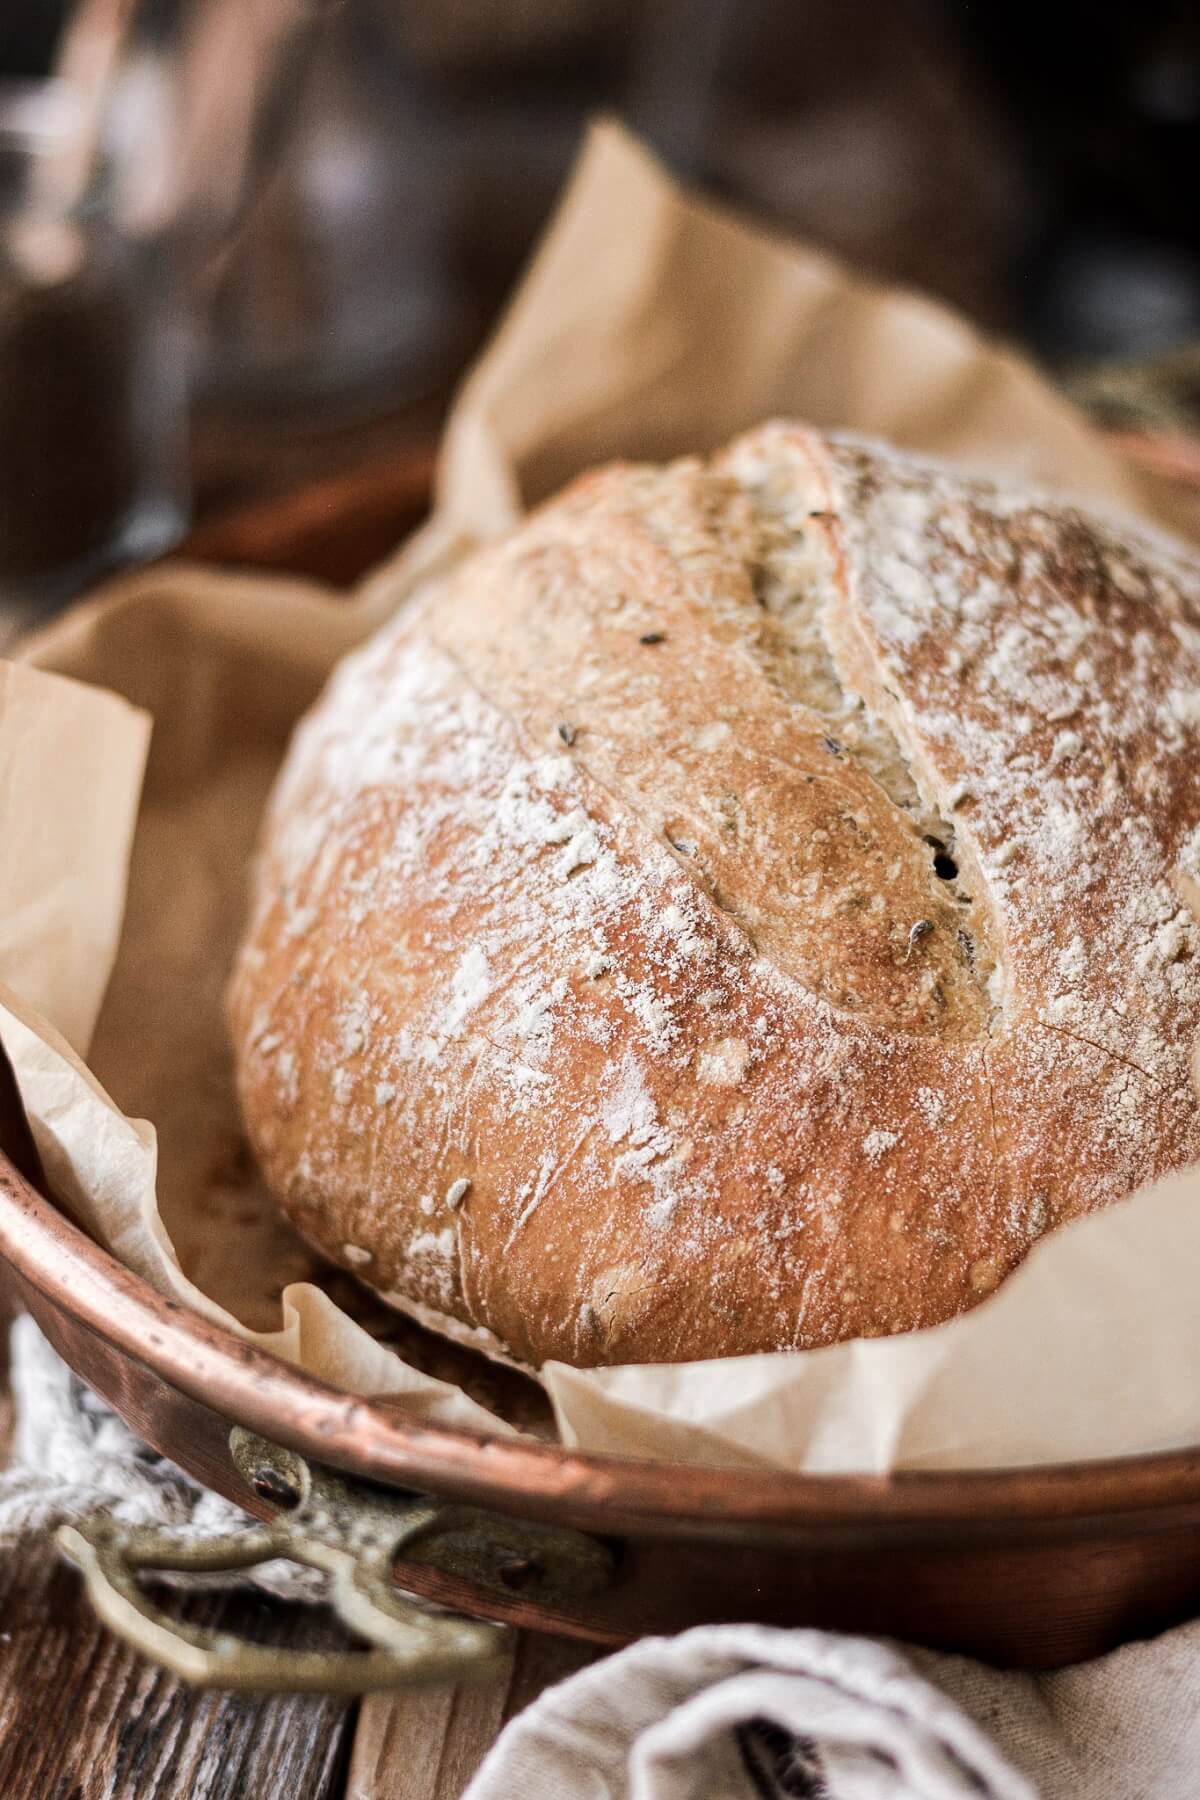
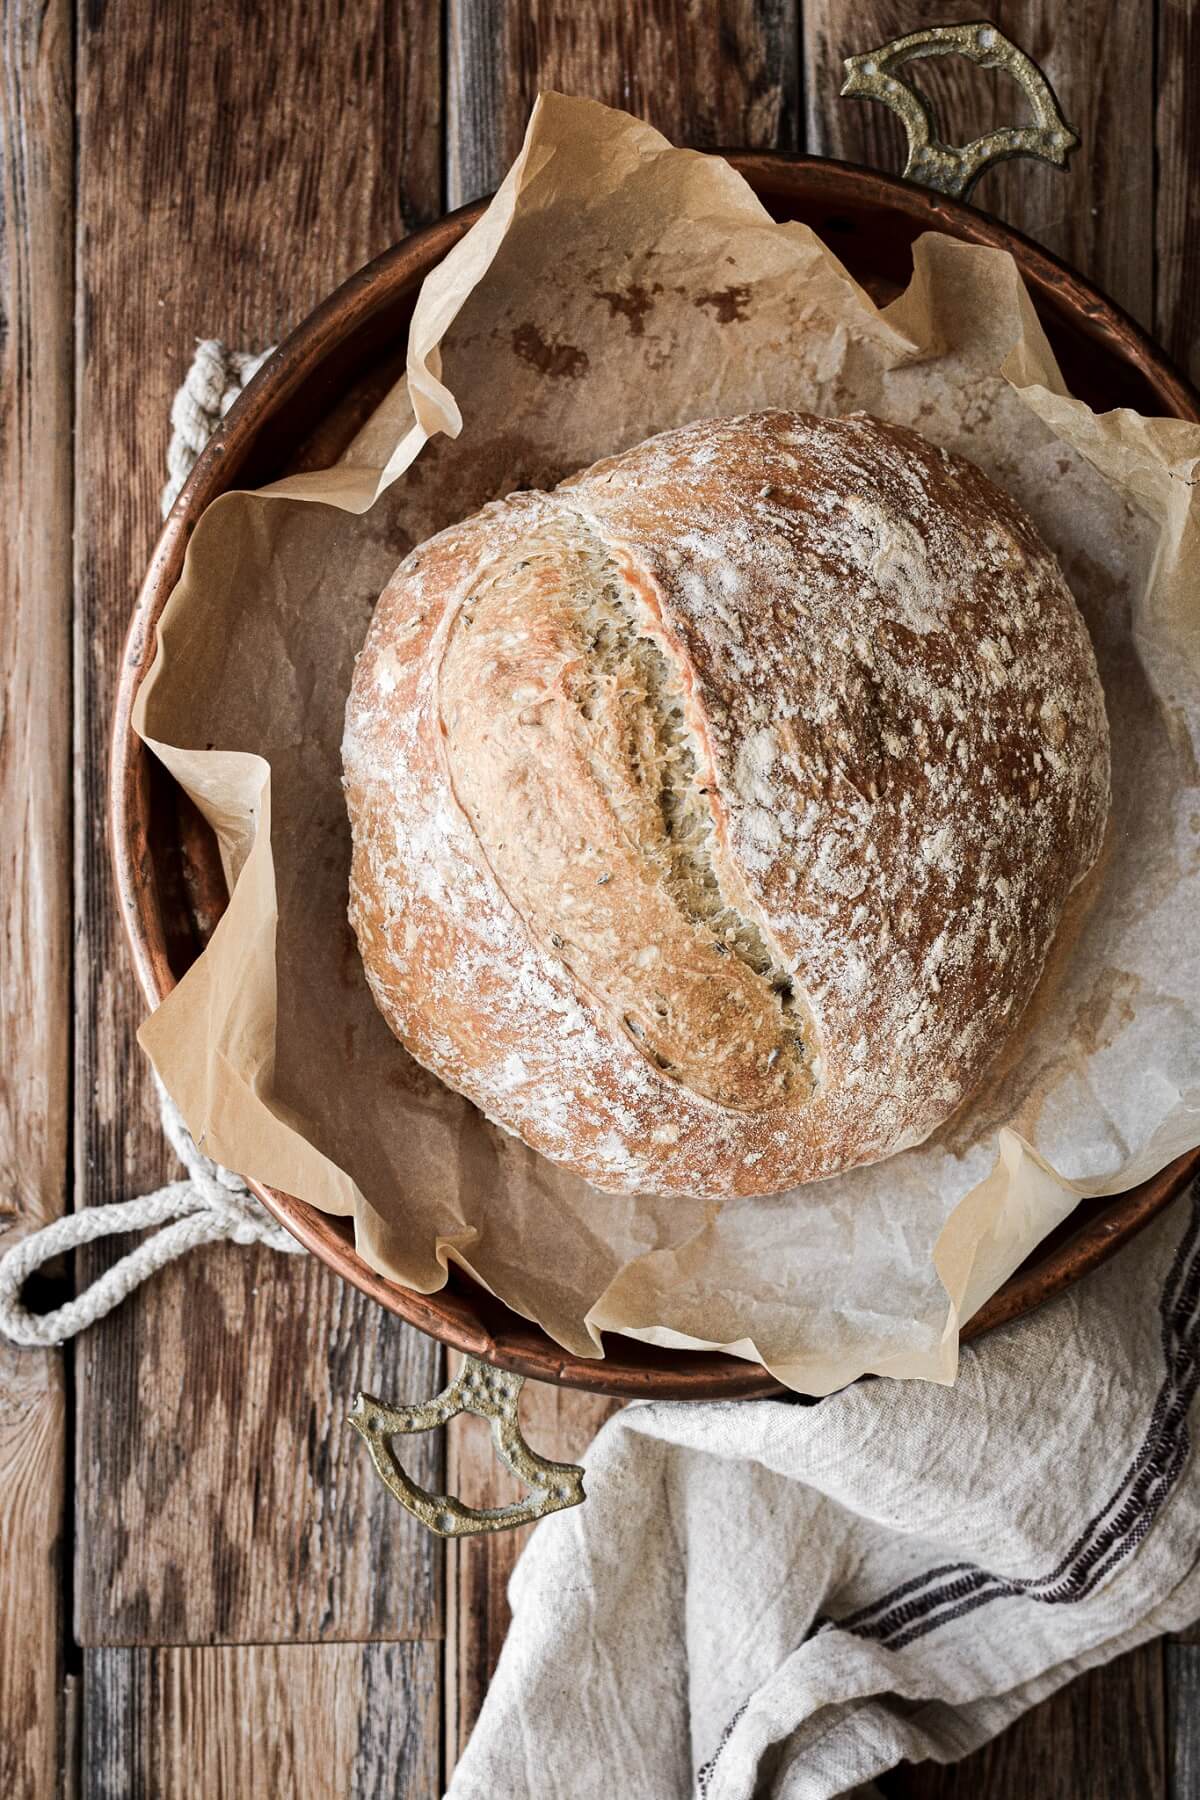
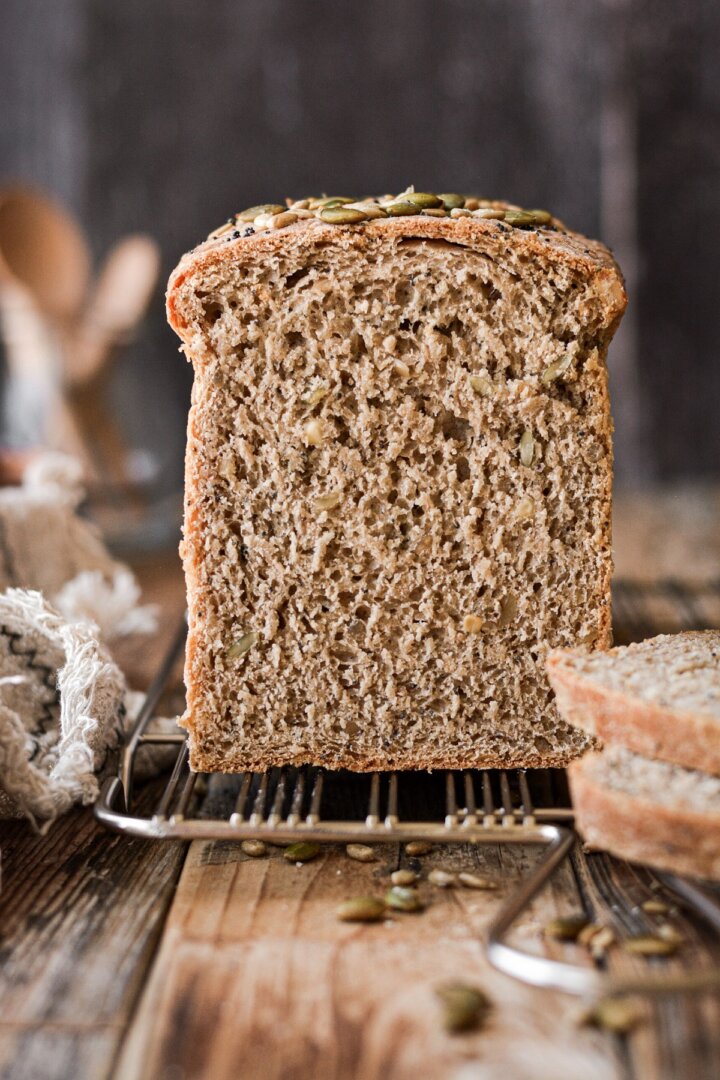
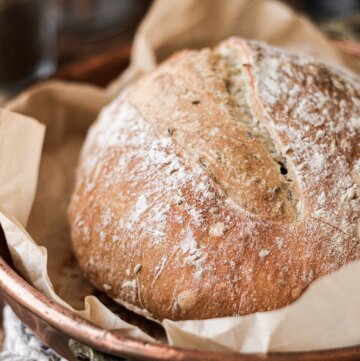
The easiest recipe for high altitude no knead bread. This rustic, artisan style bread has a chewy texture with a deliciously crusty exterior, and can be customized with any variety of herbs and spices. I added caraway seeds to mine, making this the simplest rye bread recipe you’ll ever try. It’s fantastic toasted and buttered, served alongside hot soup or stew, or made into a grilled cheese sandwich. Today’s post also includes a variation for a pretty pumpkin shaped loaf of bread.
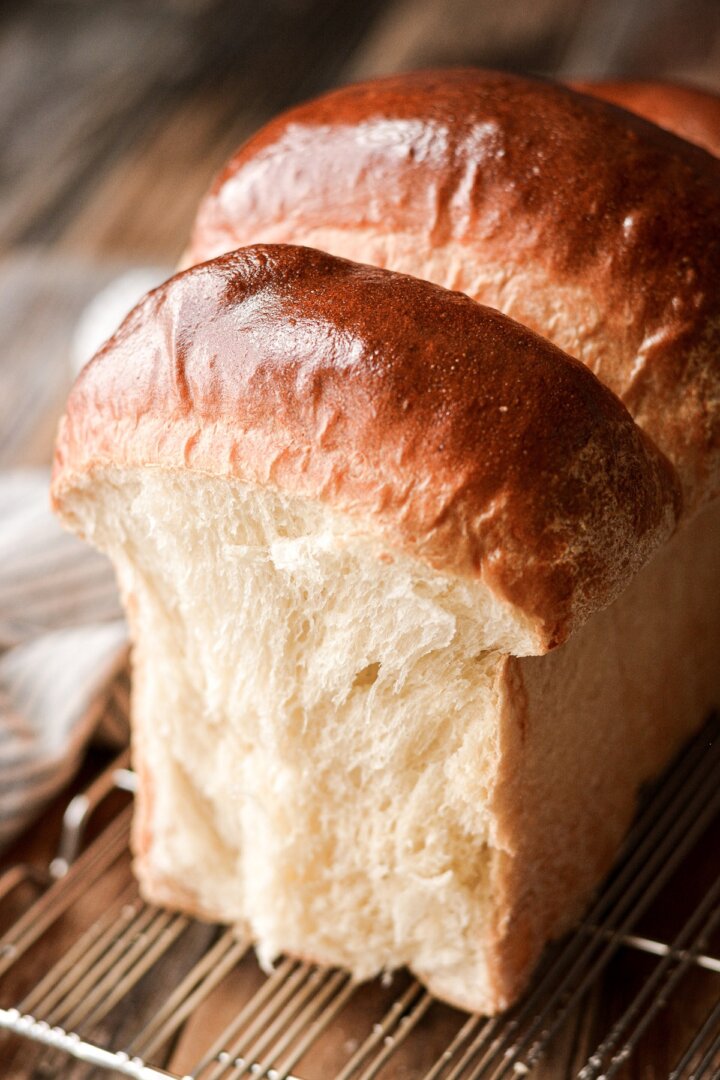
You might also love these high altitude bread recipes for honey whole wheat sandwich bread, homemade bagels, and soft and fluffy milk bread.
This site contains affiliate links. As an Amazon associate, I earn from qualifying purchases. This means that I may make a small commission if you purchase a product using those links. This in no way affects my opinion of those products and services. All opinions expressed on this site are my own.
What is No Knead Bread?
No knead bread is a very rustic bread loaf or boule made from four basic ingredients: just flour, yeast, salt and water. From there, you can add all kinds of herbs and spices to flavor your bread, or just keep it simple.
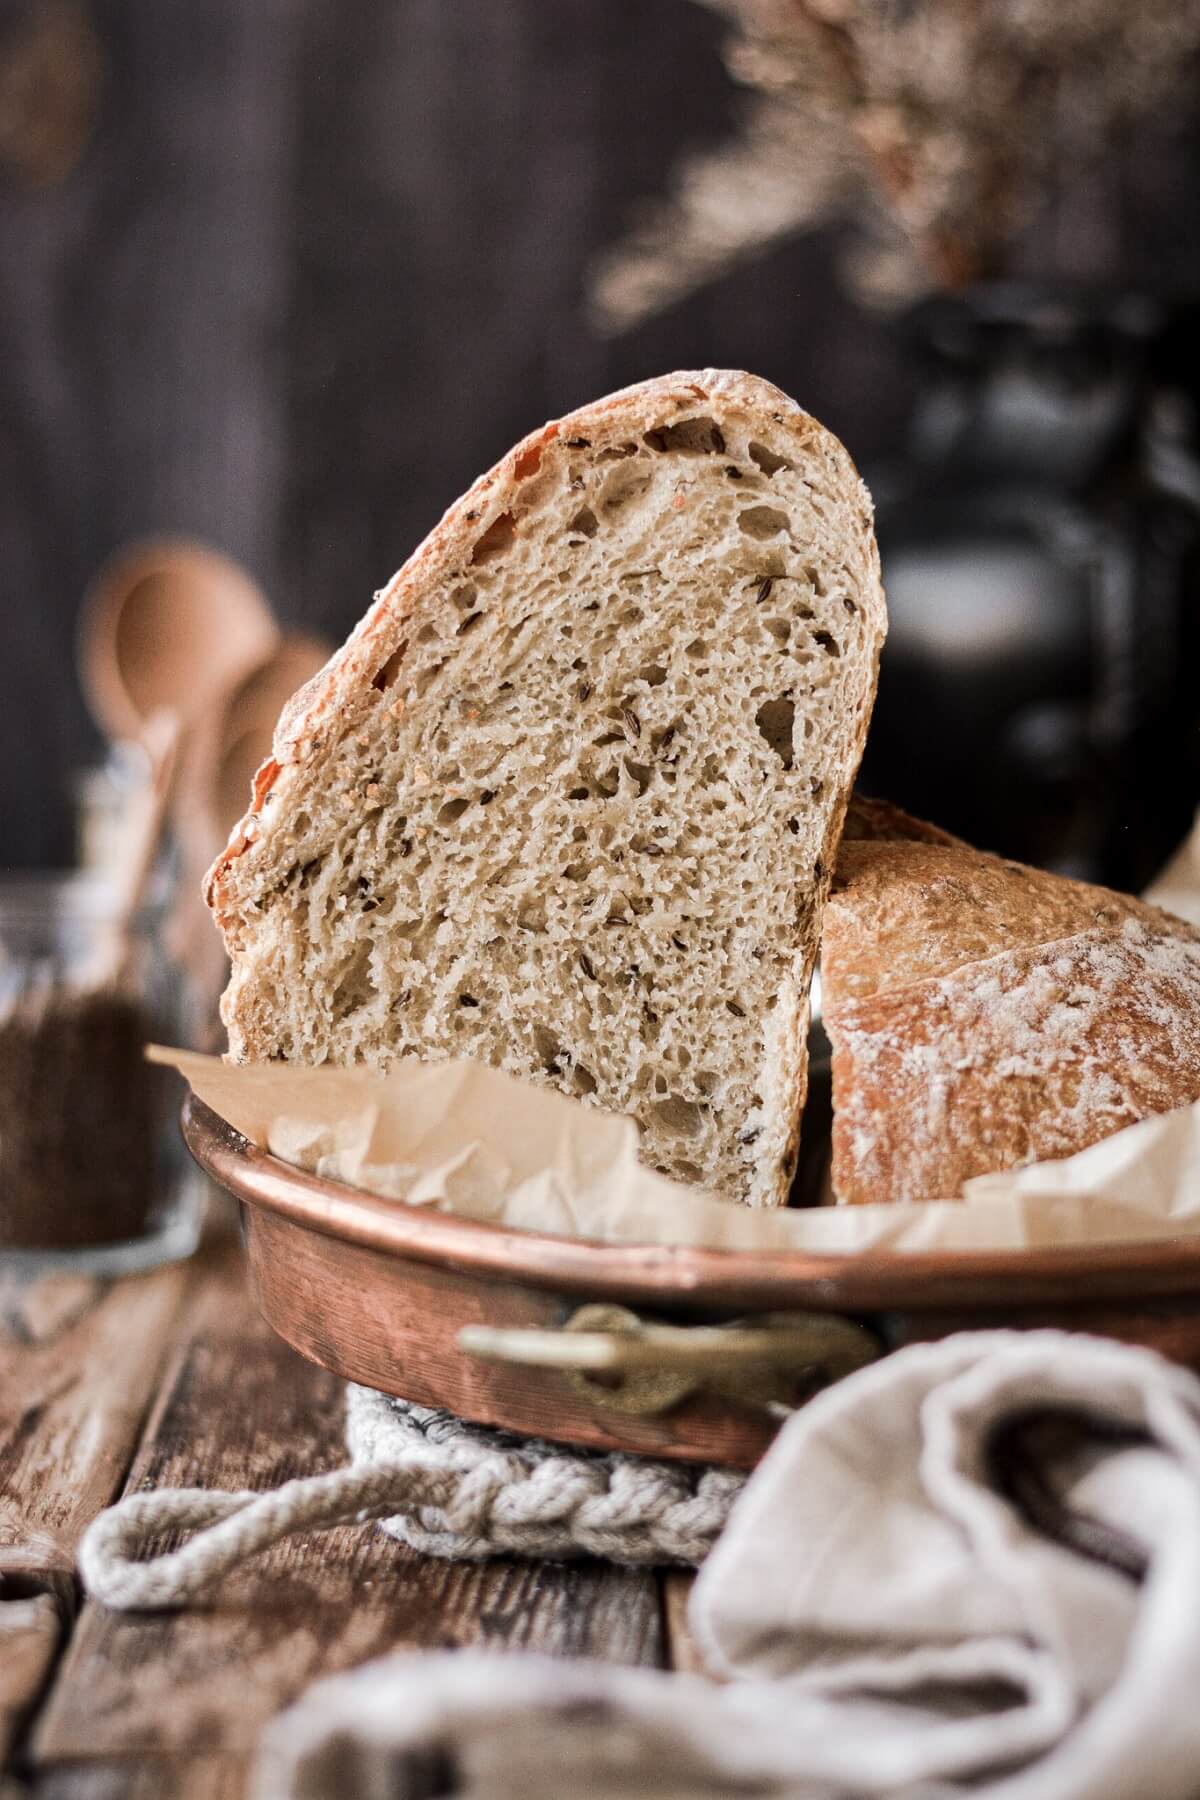
The way this recipe works is you simply mix together the ingredients in a bowl with a spoon, then leave the dough to rest, anywhere from 12-24 hours and up to a full week. The long resting time allows the dough to ferment, which gives it a tangy flavor, similar to sourdough bread. So if you’ve wanted to try baking sourdough, but are intimidated by the whole process of keeping and feeding the sourdough starter, you’ll love starting with this easy rustic bread recipe.
After the fermentation period, the dough is baked in a cast iron skillet at a very high temperature, giving it a thick and chewy crust.
Why You’ll Love This Recipe
So Simple to Make. When it comes to bread baking, it really doesn’t get easier than today’s recipe. You don’t need to knead the dough, and you don’t need any special equipment, either. Simply mix, rest and then bake the dough.
Only Four Ingredients. Flour, water, salt and yeast is all you need, plus any optional herbs or spices to flavor the bread.
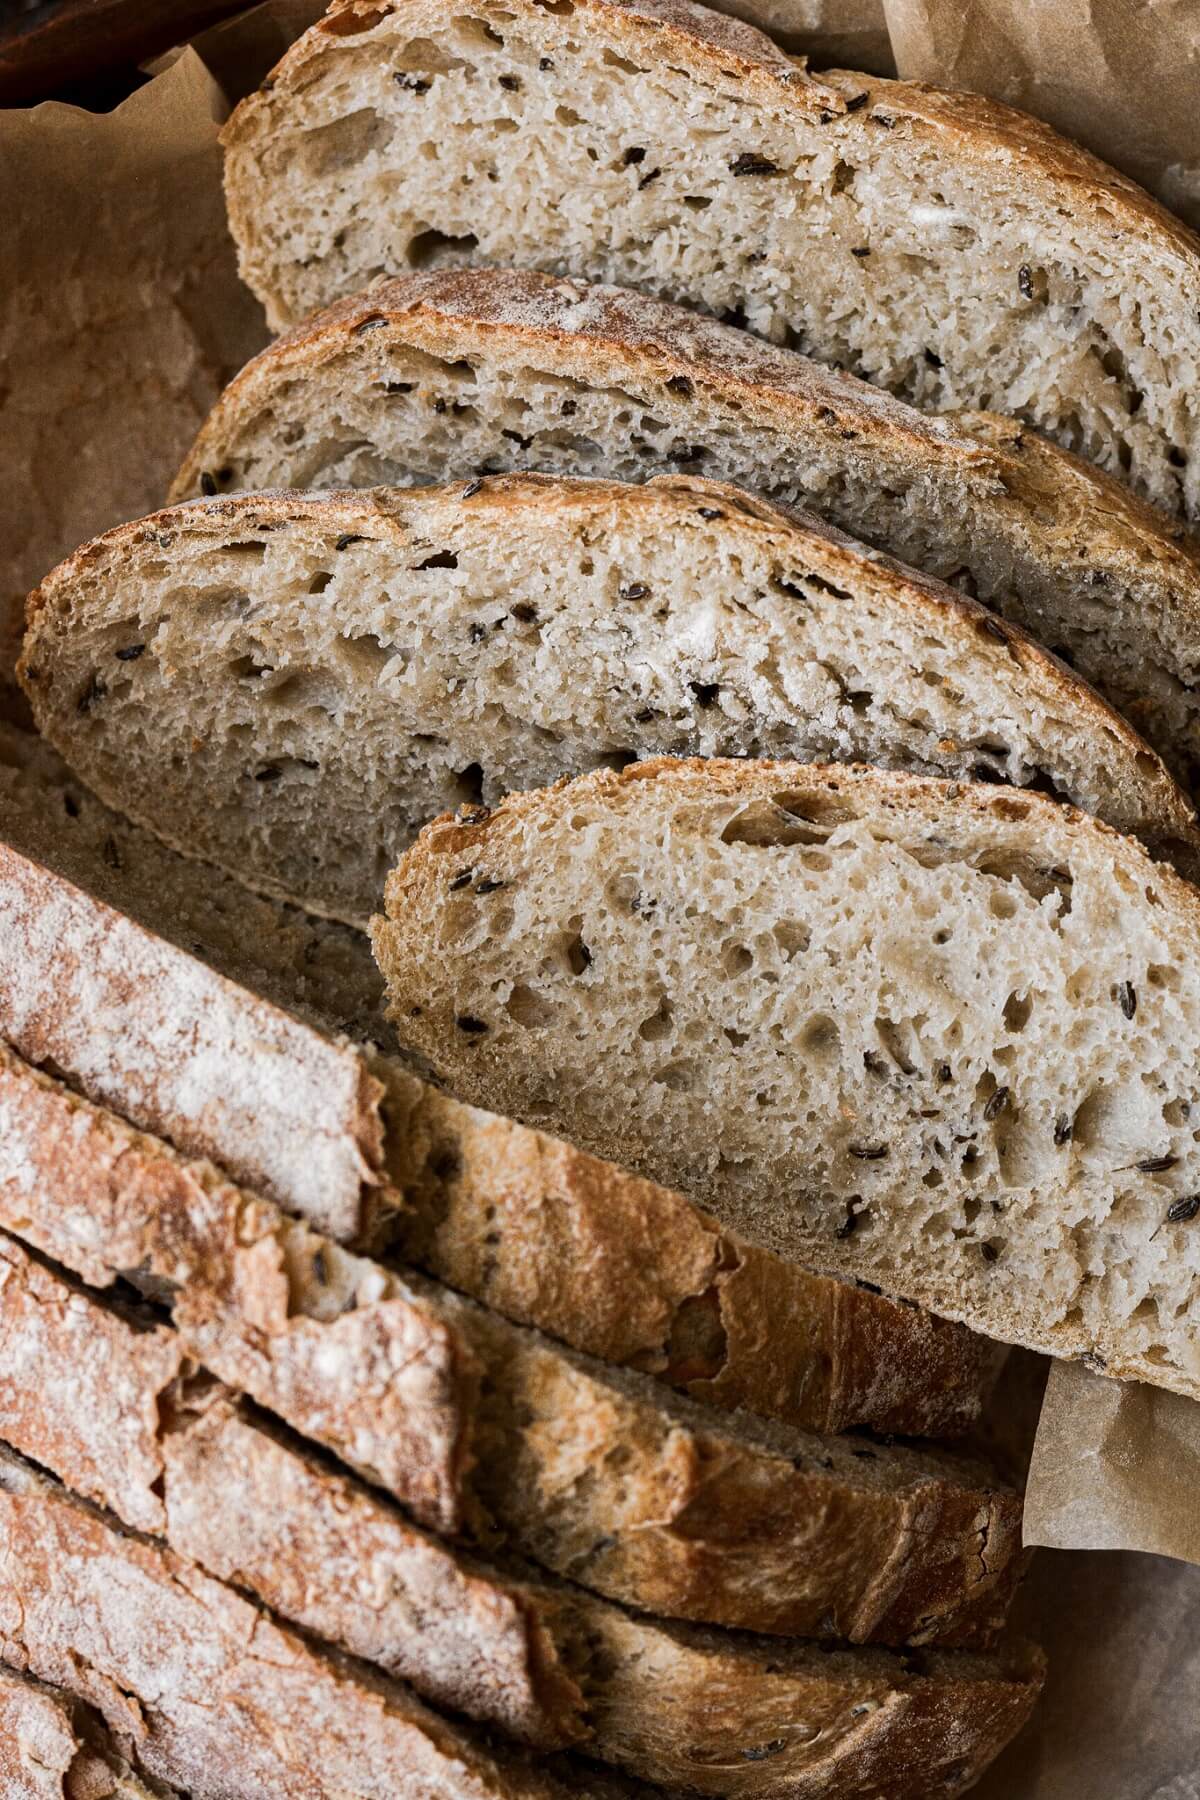
Tastes Like Rye Bread. Caraway seeds are used in rye bread, and I just love their flavor in today’s recipe. Since my bread doesn’t contain any rye flour, it’s not technically rye bread, but you could call it caraway bread instead.
High Altitude Tested. I develop all the recipes on my site for Denver’s altitude of 5,280 feet. If you’re at a lower or higher elevation, please see my FAQs for guidance on adjusting recipes for your altitude.
See the recipe card at the end of the post for the full ingredients list and instructions.
Ingredients
- Flour. While I usually use bread flour in yeast dough recipes, all purpose flour will give you an airier texture inside the bread, that’s still just as chewy as bread made with bread flour.
- Yeast. You can use either instant/rapid-rise or active dry yeast. This is what makes the bread rise.
- Salt. Flavor.
- Water. Be sure your water is between 110-115 degrees Fahrenheit when you stir it into the dough, so that it properly activates the yeast.
- Caraway Seeds. A delicious addition to the bread that will give it a classic rye flavor.
Instructions
Making the Dough
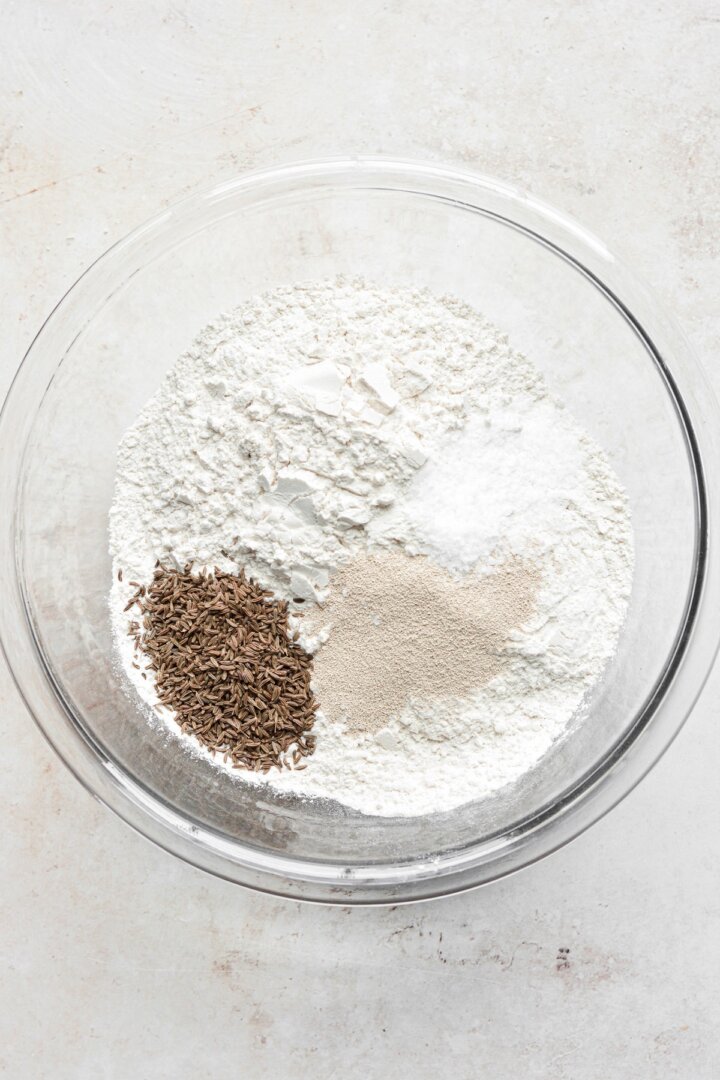
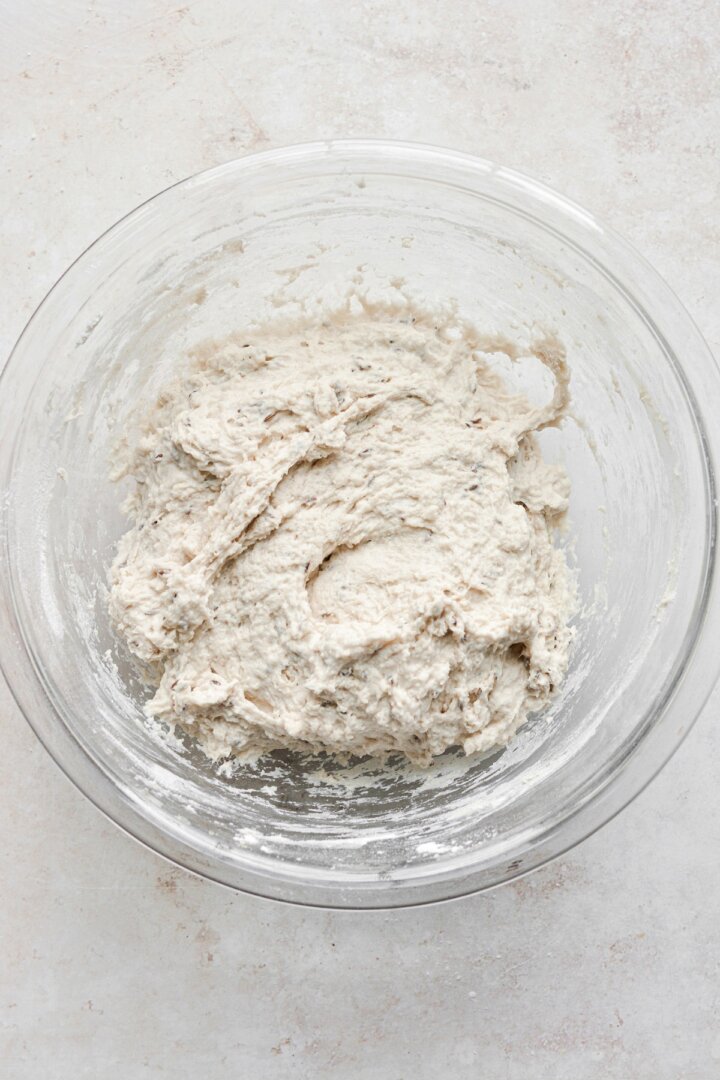
- In a large bowl, combine the flour, yeast, salt and caraway seeds (or other herbs/spices of your choice). Add the water, and stir into a sticky, shaggy dough.


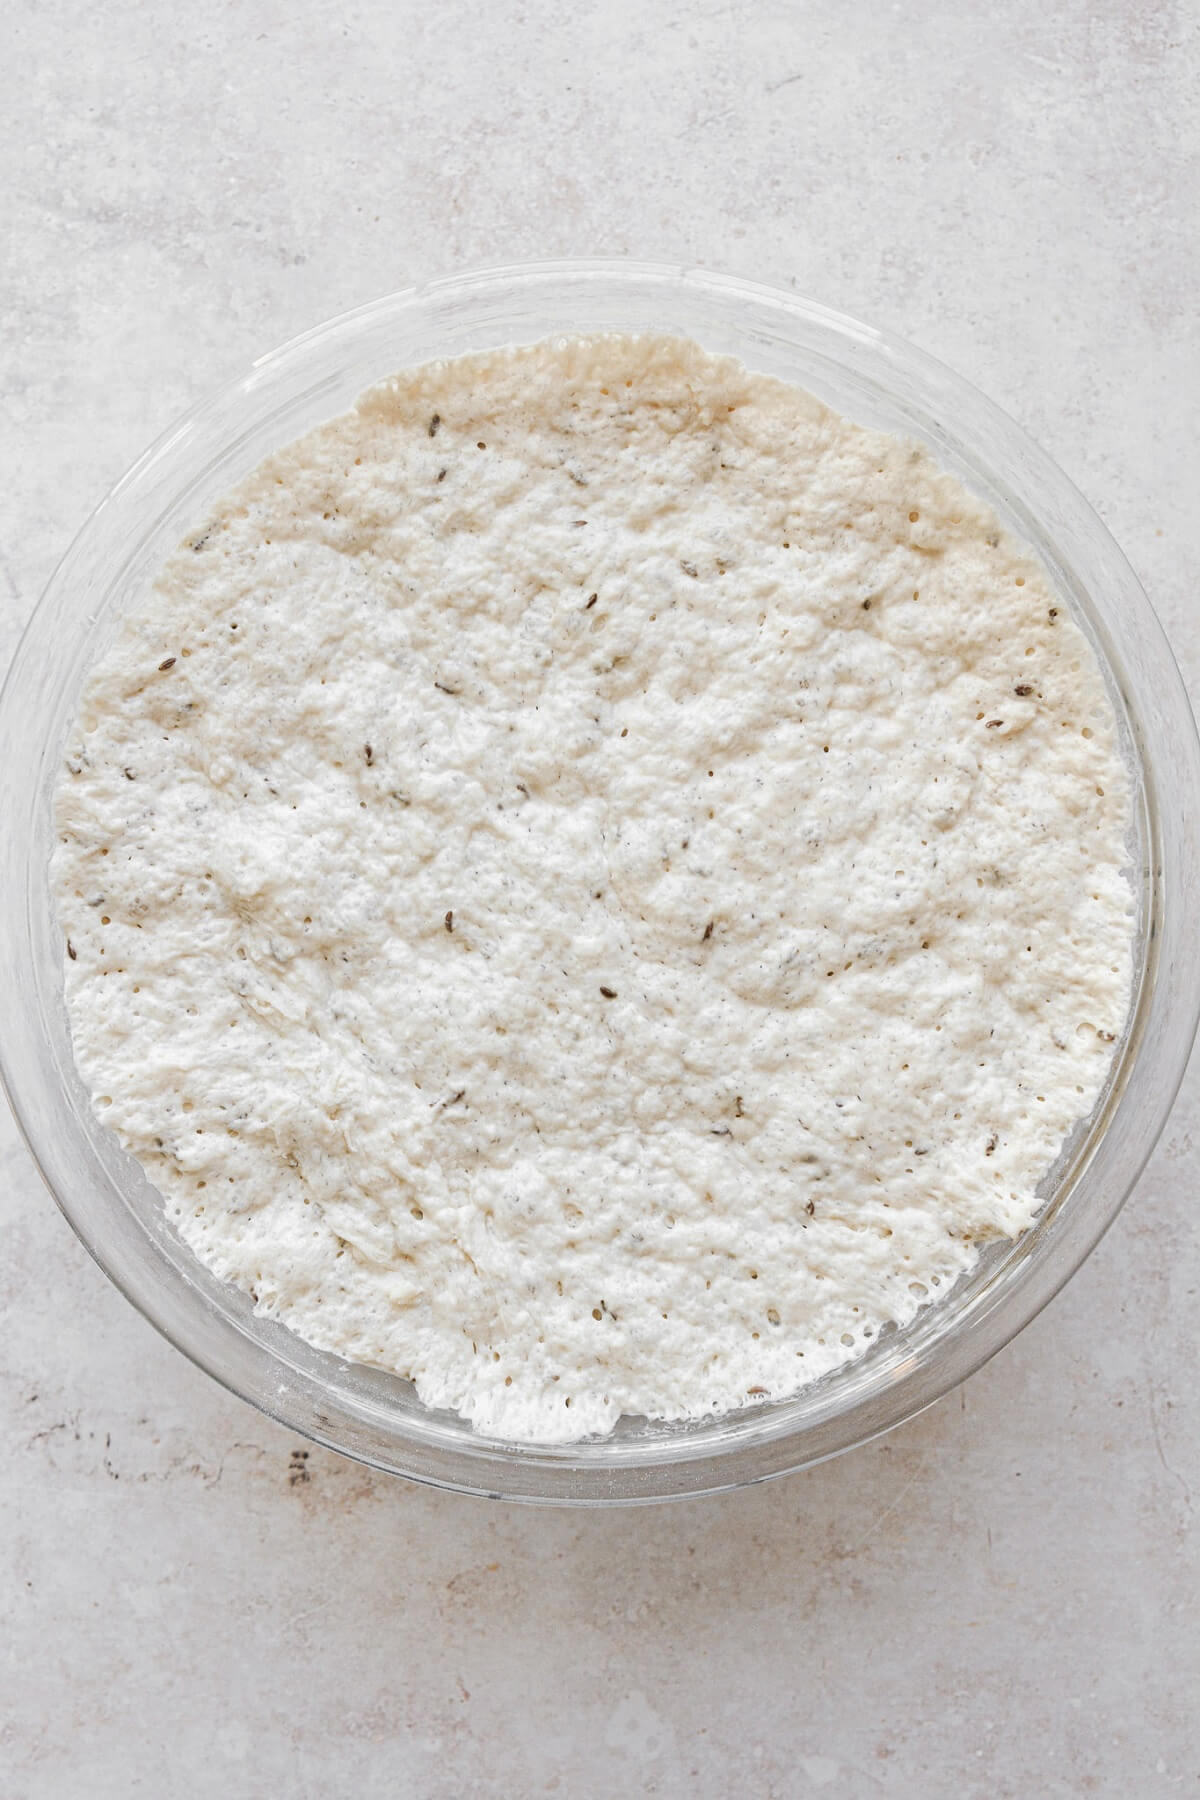
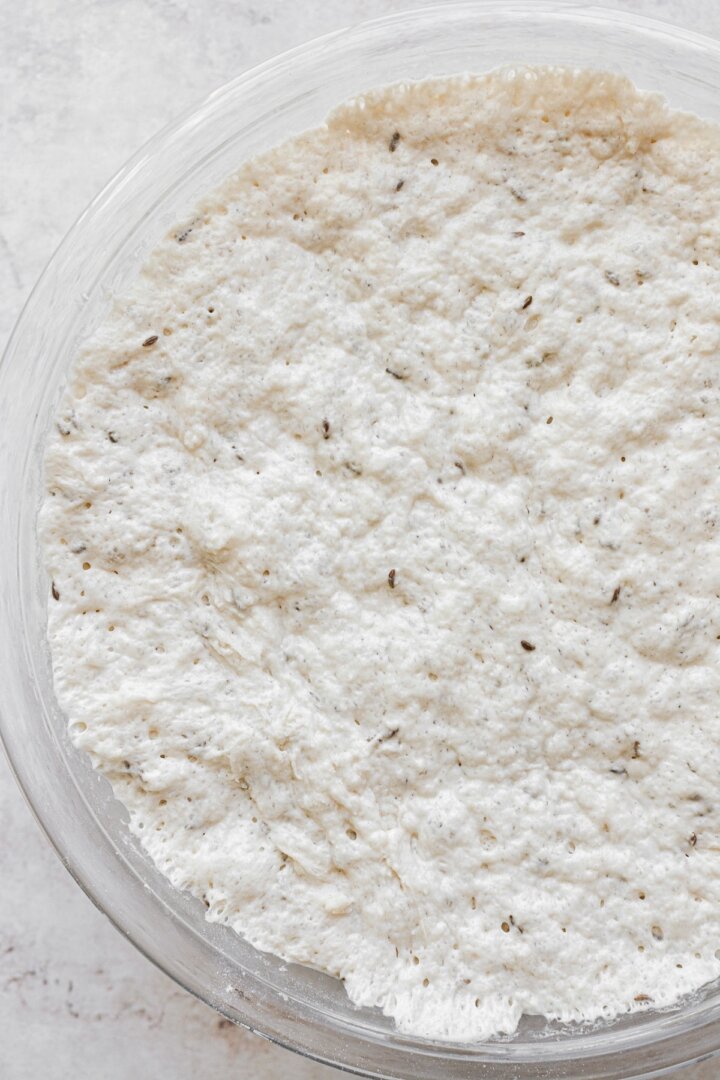
- Cover the bowl tightly with plastic wrap. Let the dough rest, undisturbed, at room temperature for at least 12 hours, or overnight. The dough will rise and bubble up in the bowl, and may fall again.
- Baker’s Note: You can even let the dough rest for up to one week, in the refrigerator. The longer the dough rests, the more of a tangy flavor it will develop, similar to sourdough bread.
- When you’re ready to bake your bread, place a piece of parchment paper on a baking sheet and generously sprinkle the paper with flour.
- Use a rubber spatula to scrape the bowl down and deflate the dough, then scrape it out of the bowl onto the floured parchment paper.
- Fold the dough over on itself 3-4 times, then shape it into a rustic ball, smooth side facing up.
- Lightly flour the top of the dough, then cover with a kitchen towel. Let the dough rest at room temperature for 45 minutes.
- Baker’s Note: If the dough is cold from the refrigerator, it may need to rest and warm up for several hours, prior to baking.


Baking the Bread
- While the dough is resting, position a rack in the center of the oven and another rack in the lower third of the oven. Place a cast iron skillet on the center rack. Preheat the oven to 450 F, letting the cast iron skillet heat up for at least 30 minutes.
- Place a metal pan, like a baking sheet or roasting pan, on the lower rack. Boil 2 cups of water to have ready on standby.
- Using oven mitts, remove the skillet from the oven – the skillet will be very hot!! Grab onto the parchment paper to lift the dough, and set the paper and dough onto the skillet. Use a sharp paring knife or bread lame to slash the dough across the top, about 1/2 inch deep.
- Pour the boiling water into the metal pan on the lower rack – this creates a burst of steam, which will contribute to the bread’s crusty exterior. Immediately place the cast iron skillet on the center rack, and close the oven.
- Bake the bread for about 40-45 minutes, until an instant read digital thermometer inserted into the bread reads 195 F. The bread will be a deep golden brown, with a crisp, crusty exterior.
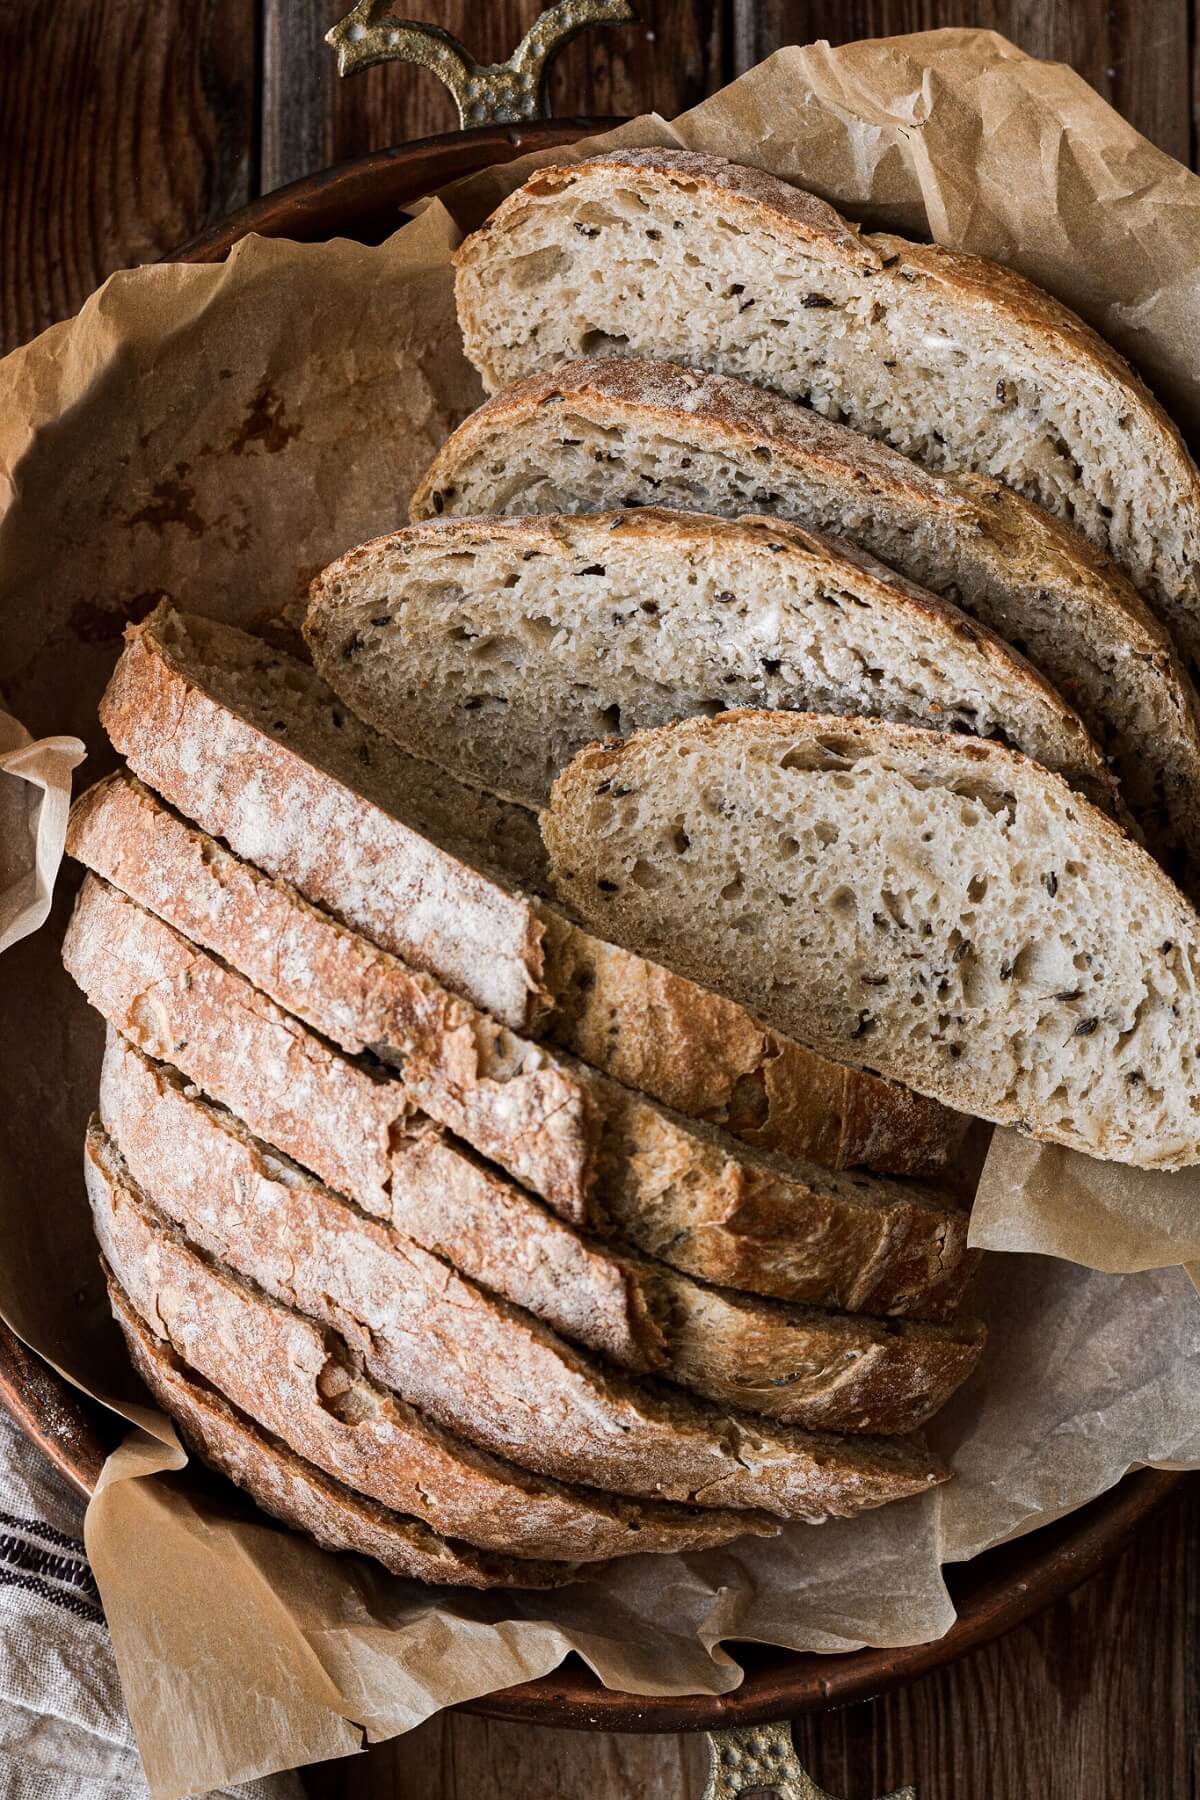
- Set the bread on a cooling rack, and let cool for several hours. Slice the bread with a sharp serrated bread knife, using a sawing motion to get through the exterior crust (since the bread is so crusty, an electric knife would make the job easier). Cool the bread completely before storing it in an airtight container or freezer bag.

Recipe Variations
These are just a few suggestions for different ways you could flavor your no knead bread, but the possibilities are endless! If you use dried herbs instead of fresh, you should use less, since dried herbs are much stronger.
- Garlic and Thyme. Add minced garlic (1-2 tablespoons) and chopped fresh thyme (2 tablespoons).
- Rosemary and Parmesan. Add chopped fresh rosemary (2 tablespoons) and freshly grated Parmesan cheese (1/4 cup).
- Tomato and Basil. Add chopped sun dried tomatoes (1/4 cup), chopped fresh basil (2 tablespoons) and grated mozzarella cheese (1/4 cup).
- Pepper and Paprika. Add freshly cracked black pepper (1/2 – 1 teaspoon), crushed red pepper flakes (1/2 teaspoon), and ground paprika (1/2 teaspoon).
- Italian. Add dried Italian seasoning (1 1/2 teaspoons) and freshly grated Parmesan cheese (1/4 cup).
Pumpkin Shaped Bread for Thanksgiving
You can use today’s recipe to make a pretty loaf of rustic pumpkin shaped bread, perfect for your Thanksgiving table.
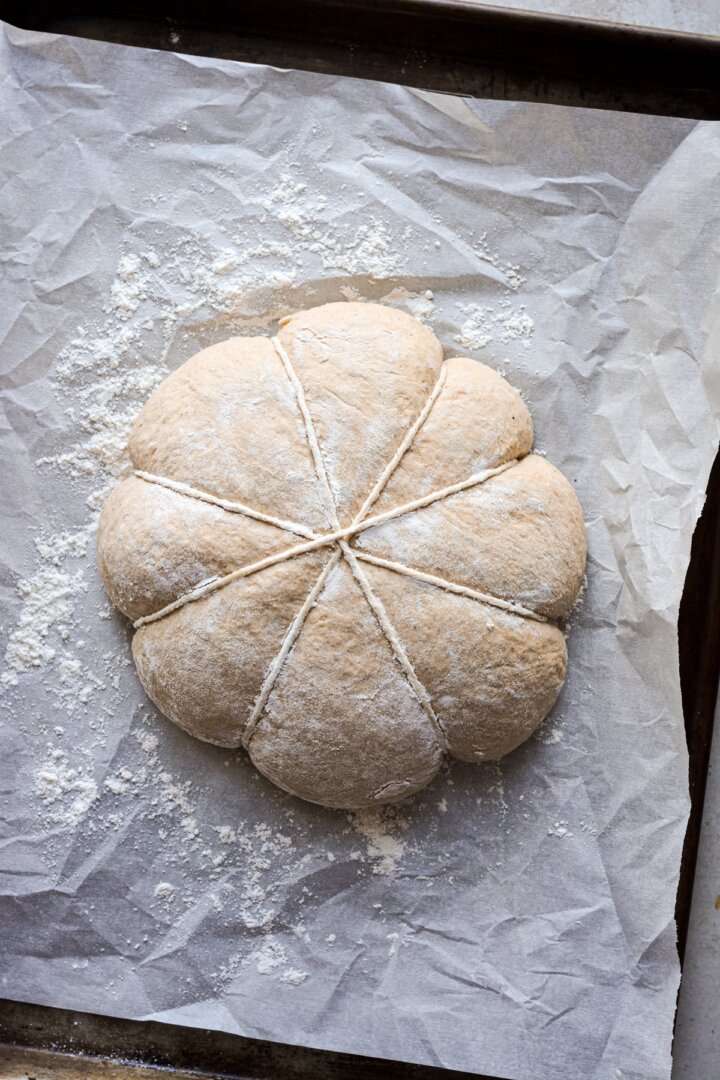
- Cut 4 strands of baker’s twine, measuring about 26 inches each. Soak the twine in water for several minutes, squeeze out the excess water, then rub the twine with a little oil, or spray with non-stick spray.
- When you’re ready to bake your bread, lay the twine down onto your floured parchment paper, shape the dough into a ball, and place the dough on top of the twine. Tie the twine loosely across the dough, so that it divides the dough into 8 sections. As the bread rests, it will puff up against the twine, giving it the appearance of a pumpkin.
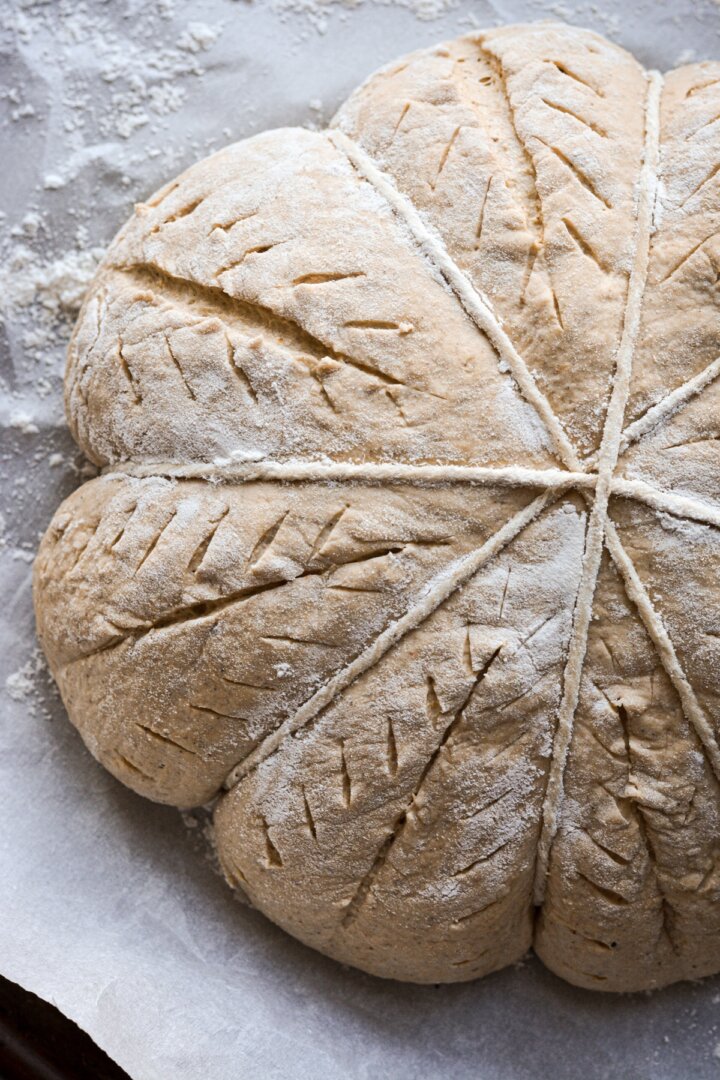
- Before baking, slash the dough along each section (my slashing technique needs some work, but it doesn’t have to look perfect). Bake as instructed.


- When the bread is cool enough to touch, cut the twine and pull it off. If the bread baked around the twine, you can just pull it through the bread to remove it.
- When the bread is cool, use a sharp knife to poke a hole in the center, and insert a few cinnamon sticks to make the stem. A few dried leaves add a pretty touch, too, just remove them before cutting the bread.


Be sure to read all of my BAKING FAQs where I discuss ingredients, substitutions and common baking questions, so that you can be successful in your own baking!
Frequently Asked Questions
How long does no knead bread stay fresh?
Your bread will stay fresh at room temperature for up to 3 days, or in the freezer for several months. Cool completely before storing in an airtight bag, or the steam from the warm bread will soften the crust.
What if I don’t have a cast iron skillet?
Instead of a cast iron skillet, you can bake your bread in another heavy pan, such as a Dutch oven, or even on a pizza stone.
Does this make a good sandwich bread?
Yes, this bread works wonderfully for sandwiches.

You Might Also Like
Please check out my Amazon Shop for a curated collection of some of my favorite cake pans from trusted brands, baking tools, ingredients, pretty things and fashion finds. I recommend products that I buy and use every day!
Did you love today’s recipe? Please rate the recipe and let me know in the comments what you thought! Also, be sure to follow Curly Girl Kitchen on Instagram, and tag me when you try one of my recipes so I can see all your delicious creations!
High Altitude No Knead Bread (Rustic Artisan Boule)
All recipes on Curly Girl Kitchen are developed for high altitude at 5,280 feet. See FAQs for adjusting to higher or lower elevations.

Equipment
- Cast Iron Skillet 10 or 12 inches
Ingredients
- 3 ½ cups all-purpose flour or bread flour fluffed, spooned and leveled
- 1 packet (2 1/4 tsp) instant/rapid rise yeast or active dry yeast
- 1 ½ tsp coarse Kosher salt (if using table salt, use half the amount)
- 1 ½ tbsp caraway seeds (optional)
- 1 ½ cups hot water, between 110-115 degrees Fahrenheit
Instructions
Making the Dough
- In a large bowl, combine the flour, yeast, salt and caraway seeds (or other herbs/spices of your choice). Add the water, and stir into a sticky, shaggy dough.
- Cover the bowl tightly with plastic wrap. Let the dough rest, undisturbed, at room temperature for at least 12 hours, or overnight. The dough will rise and bubble up in the bowl, and may fall again.Baker's Note: You can even let the dough rest for up to one week, in the refrigerator. The longer the dough rests, the more of a tangy flavor it will develop, similar to sourdough bread.
- When you're ready to bake your bread, place a piece of parchment paper on a baking sheet and generously sprinkle the paper with flour. Use a rubber spatula to scrape the bowl down and deflate the dough, then scrape it out of the bowl onto the floured parchment paper. Fold the dough over on itself 3-4 times, then shape it into a rustic ball, smooth side facing up. Lightly flour the top of the dough, then cover with a kitchen towel. Let the dough rest at room temperature for 45 minutes. Baker's Note: If the dough is cold from the refrigerator, it may need to rest and warm up for several hours, prior to baking.
Baking the Bread
- While the dough is resting, position a rack in the center of the oven and another rack in the lower third of the oven. Place a cast iron skillet on the center rack. Preheat the oven to 450 F, letting the cast iron skillet heat up for at least 30 minutes.
- Place a metal pan, like a baking sheet or roasting pan, on the lower rack. Do not use a glass pan. Boil 2 cups of water to have ready on standby.
- Using oven mitts, remove the skillet from the oven – the skillet will be very hot!! Grab onto the parchment paper to lift the dough, and set the paper and dough onto the skillet. Use a sharp paring knife or bread lame to slash the dough across the top, about 1/2 inch deep.
- Pour the boiling water into the metal pan on the lower rack – this creates a burst of steam, which will contribute to the bread's crusty exterior. Immediately place the cast iron skillet on the center rack, and close the oven.
- Bake the bread for about 40-45 minutes, until an instant read digital thermometer inserted into the bread reads 195 F. The bread will be a deep golden brown, with a crisp, crusty exterior.
- Set the bread on a cooling rack, and let cool for several hours. Slice the bread with a sharp serrated bread knife, using a sawing motion to get through the exterior crust (since the bread is so crusty, an electric knife would make the job easier). Don't be tempted to cut the bread while it's hot from the oven, or you will ruin the texture, making it gummy. Be sure to cool the bread completely before storing it in an airtight container or freezer bag.
Video
 https://curlygirlkitchen.com/
I live in Eastern Tennessee. I made this bread today, with a twist. I started with 2 TBSP molasses and added the hot water to equal a total of 1.5 cups liquid. I also added 1.5 TBSP caraway seed. Followed the rest of the instructions as printed. I did bake it in a cast iron Dutch oven with a lid; baked at 450 degrees for 30 minutes, removed the lid and browned for maybe 7 minutes. It was already browned before I removed the lid, so may not have had to bake extra. It has a beautiful crust and flavor!