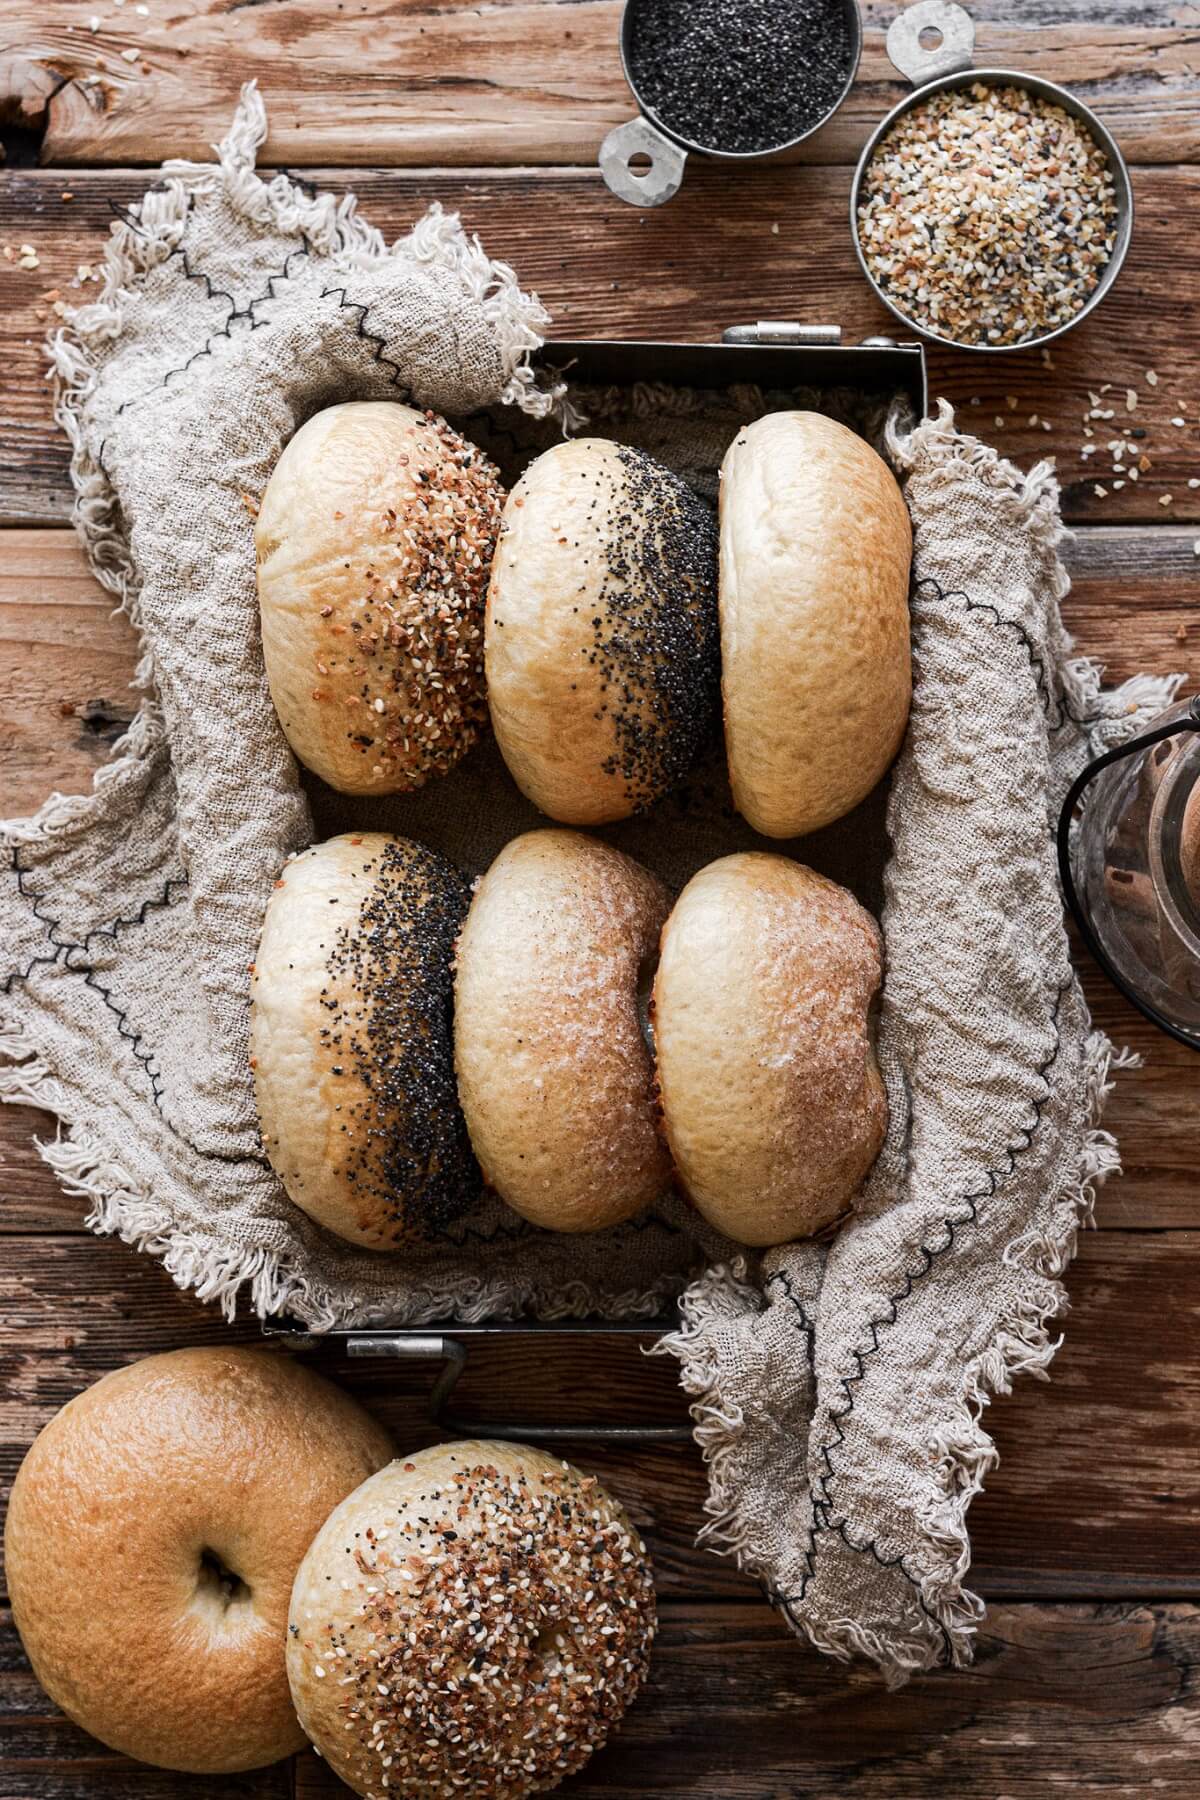
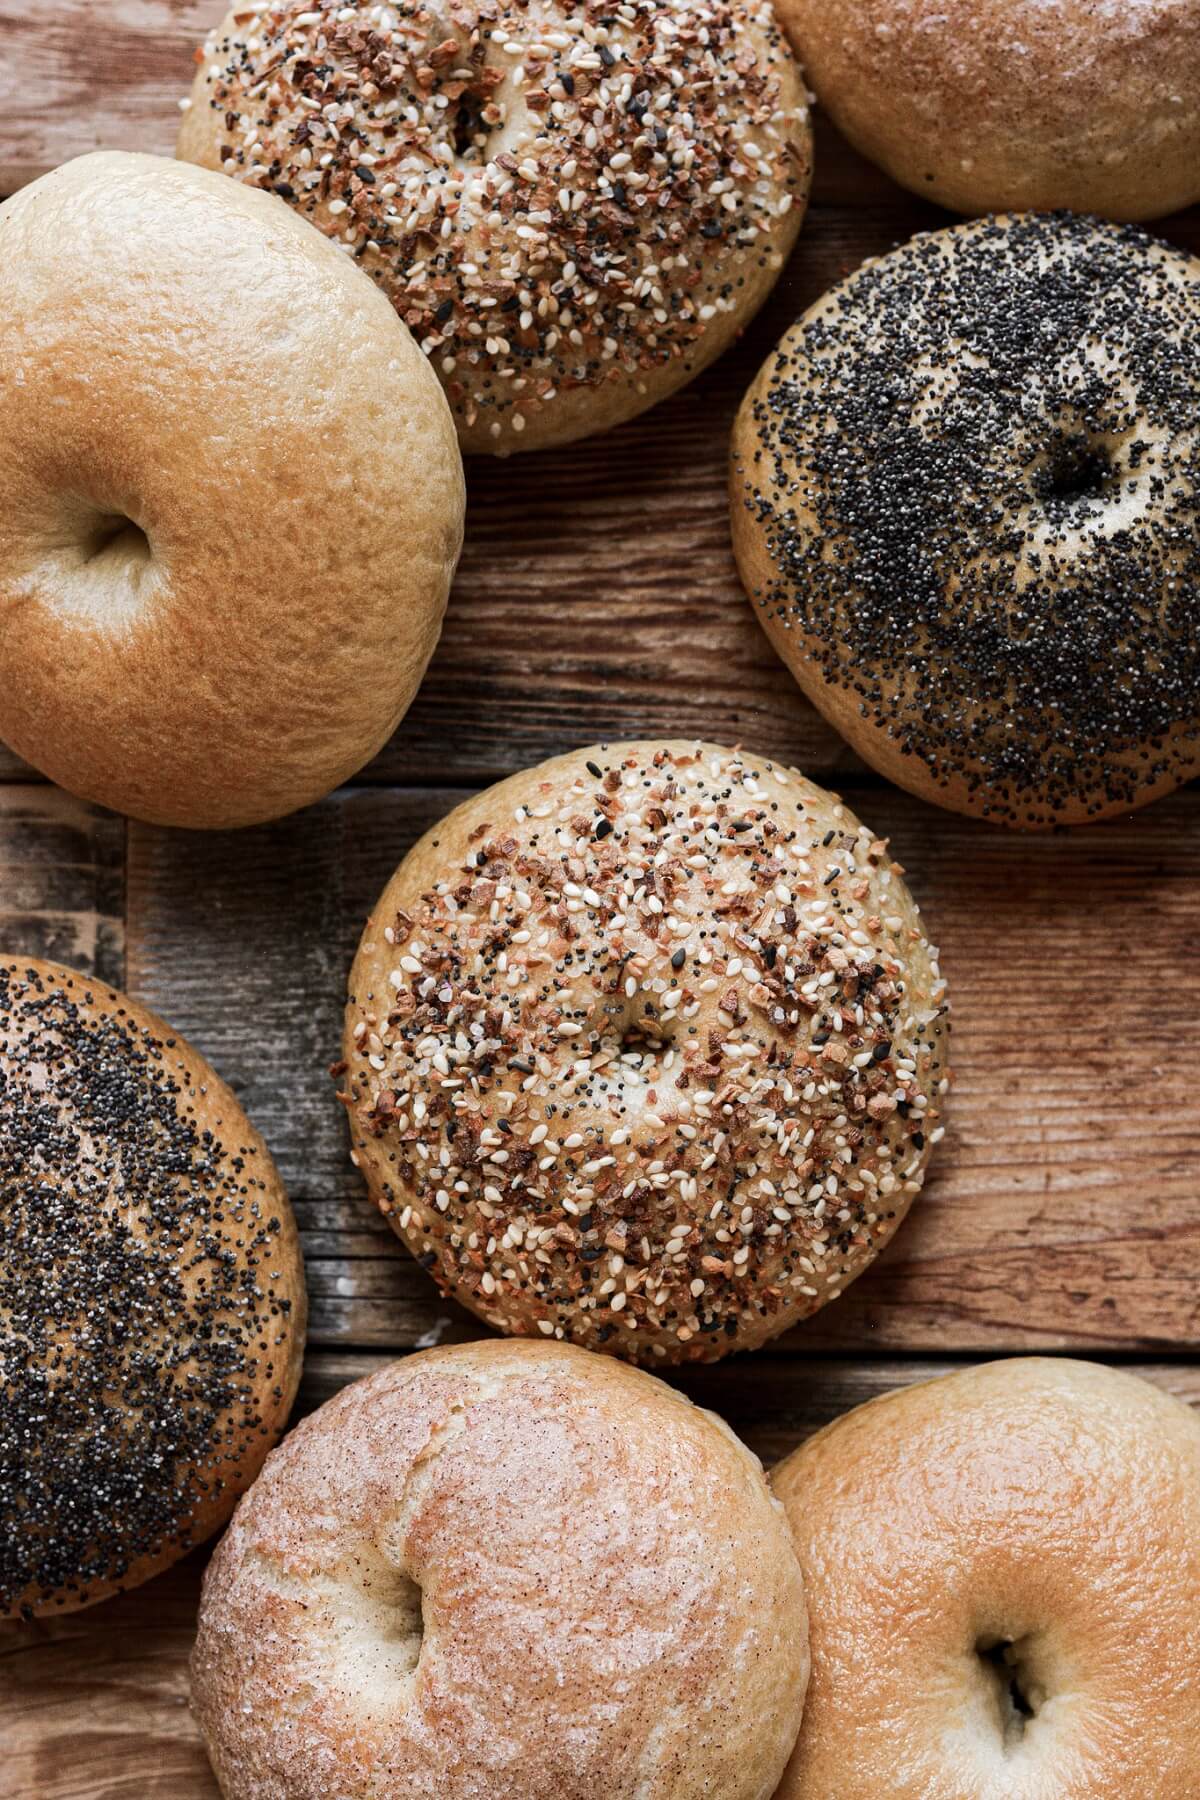
High altitude tested, chewy homemade bagels, with a variety of toppings. These yummy bagels are perfect for toasting and spreading with cream cheese, butter or jam, or for making into savory breakfast sandwiches.
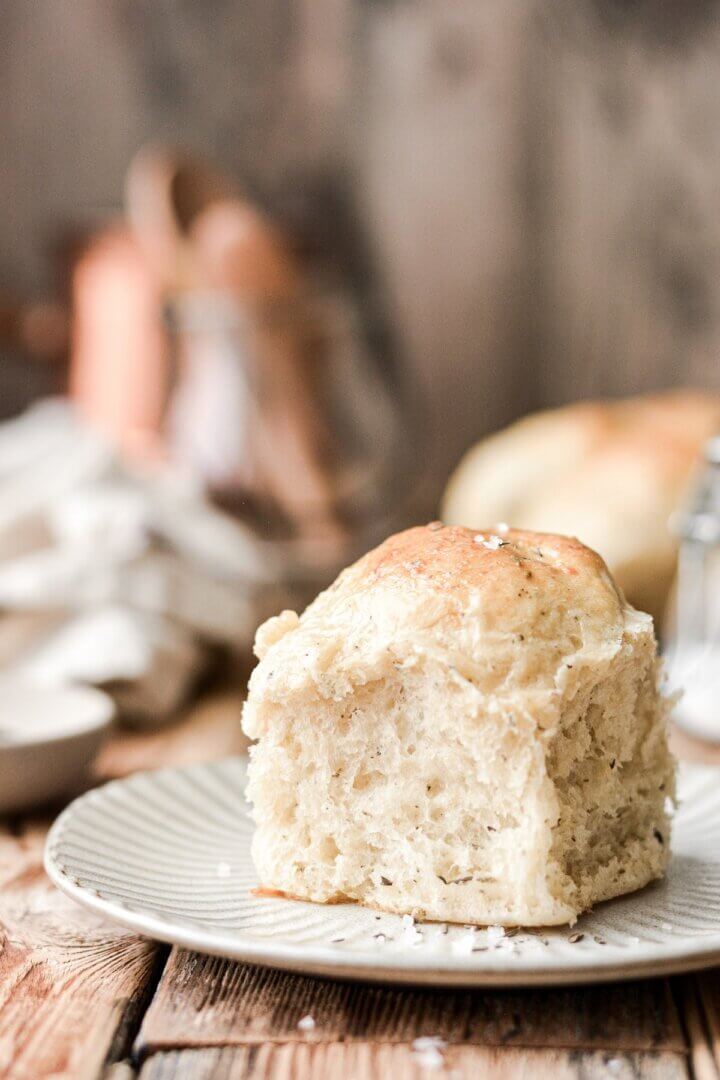
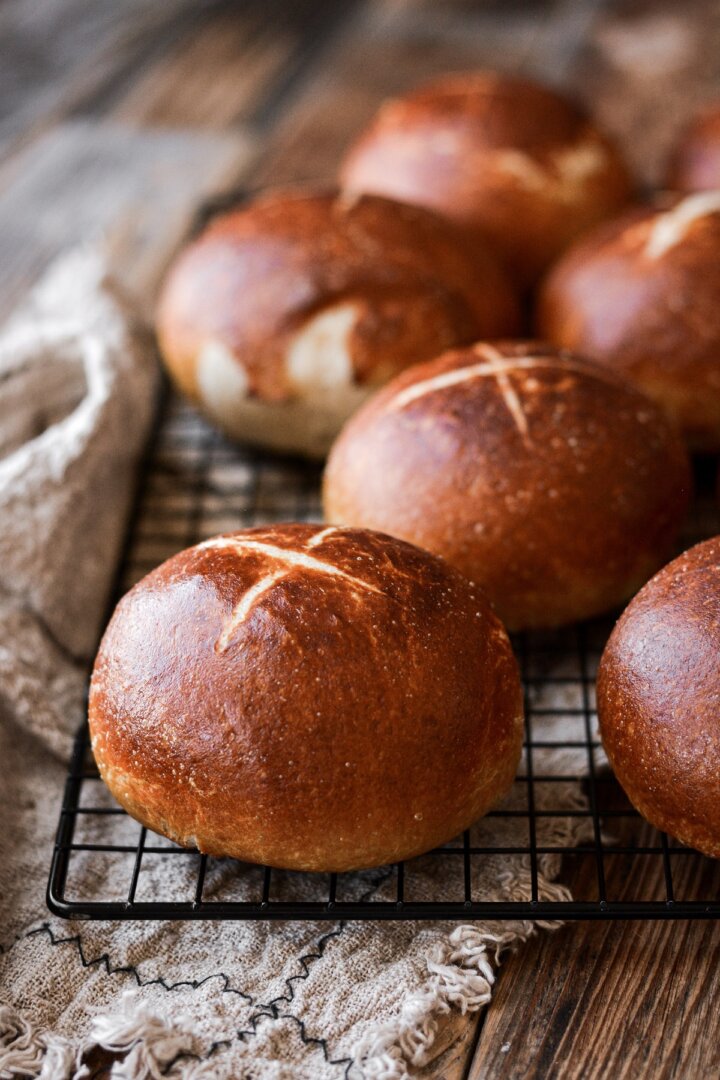
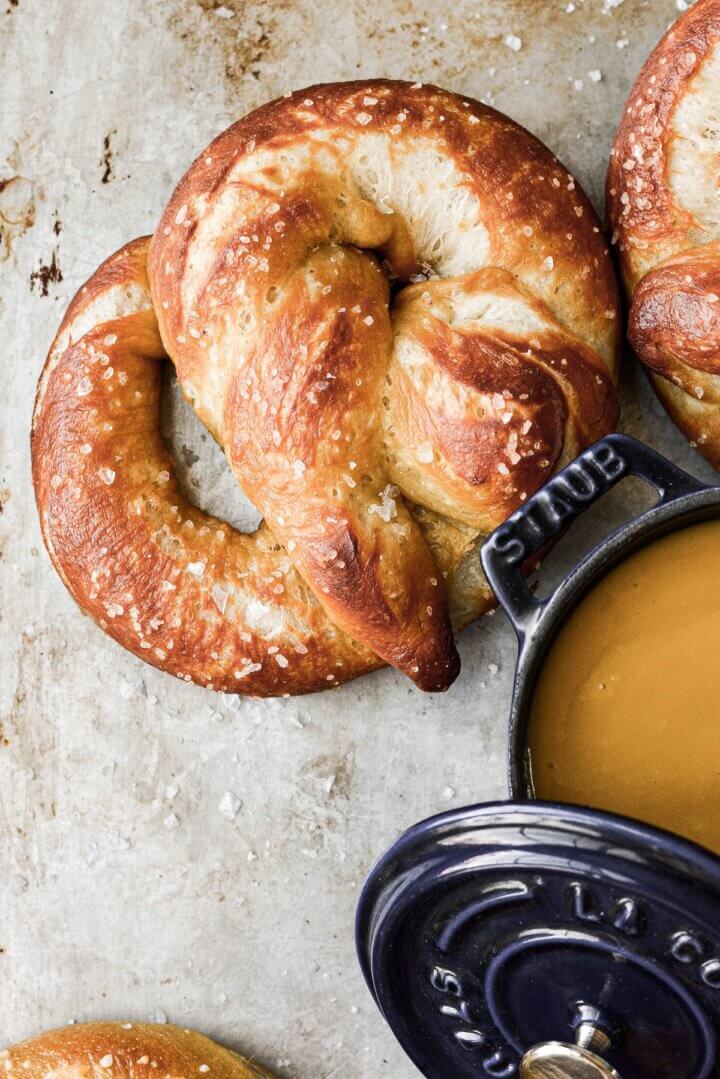
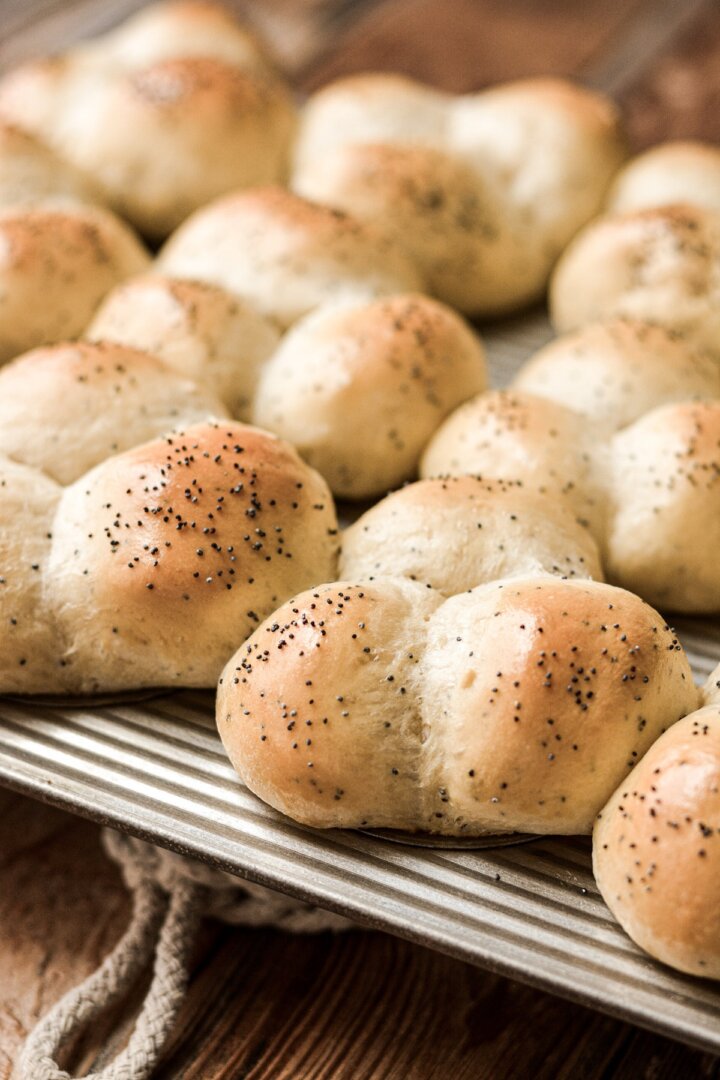
You might also love these high altitude recipes for baked chocolate espresso donuts, homemade soft pretzel rolls, and honey poppy seed dinner rolls.

This site contains affiliate links. As an Amazon associate, I earn from qualifying purchases. This means that I may make a small commission if you purchase a product using those links. This in no way affects my opinion of those products and services. All opinions expressed on this site are my own.
Why You’ll Love This Recipe
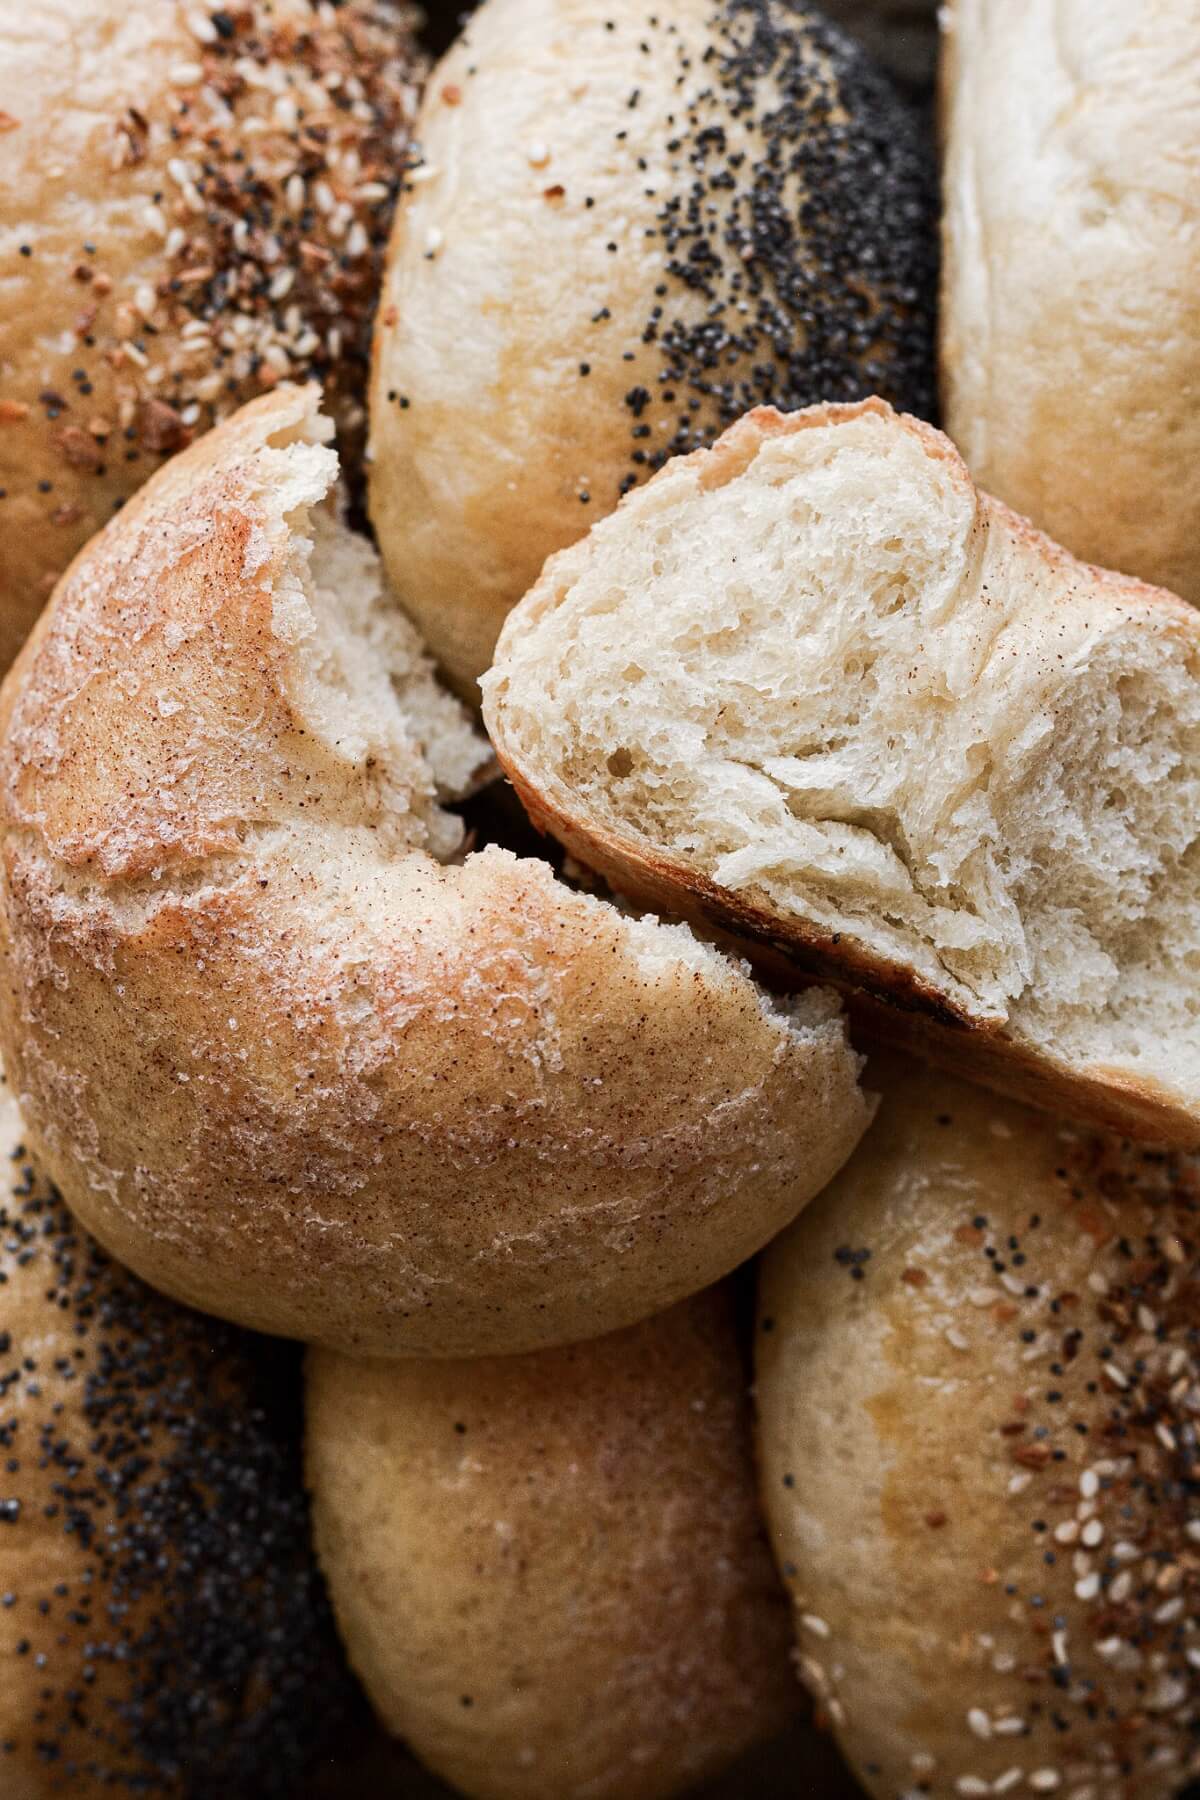
Fresh and Chewy for Days. There’s nothing like a soft, freshly baked bagel with its iconic chewy texture beneath a crisp exterior crust. But honestly, these are just as great days after baking. Just split and toast leftover bagels and enjoy them with your favorite fillings.
Simple Ingredients. You only need five basic ingredients (six if you count water) to make bagels!
Low Fat. Unlike the enriched brioche dough we use for milk bread and cinnamon rolls, bagel dough is very low in fat, since there’s no fat or dairy products in the dough. That means no butter, eggs, milk or oil in the dough.
Limitless Sandwich Options. Some of my favorite ways to eat toasted homemade bagels are plain with butter, or a combination of cream cheese and homemade strawberry rhubarb jam. For a savory option, I like to sandwich them with avocado, sliced cucumbers, tomatoes and red onion, or serve them open faced topped with bacon or ham and a runny egg.
Completely Customizable. There’s nothing you can’t do to make a bagel perfectly suit your tastes. In today’s post, I’ve listed over a dozen different ways you can season homemade bagels with toppings or mix-ins. All you need is one good base recipe, and then you can make these bagels your own way.
High Altitude Tested. I develop all the recipes on my site for Denver’s altitude of 5,280 feet. If you’re at a lower or higher elevation, please see my FAQs for guidance on adjusting recipes for your altitude. With yeast bread and yeast rolls recipes, altitude will mainly affect the rising or proofing time for the dough. You’ll find that the higher the elevation, the faster the dough rises, so you’ll need to watch the dough to make sure it doesn’t over-proof. And if you live in a much more humid climate than Colorado, you may need to add a little more flour or less water to your bagel dough.
See the recipe card at the end of the post for the full ingredients list and instructions.
Ingredients
- Flour. Use a high protein bread flour, not all-purpose flour, for the best, chewiest texture in your bagels.
- Yeast. While I usually use instant or rapid rise yeast for my bread, you can also use active dry yeast. Both work equally well, but the active dry yeast needs to be activated first, before adding it to the dough.
- Salt. Flavor. Bread and bagels are bland without salt, so don’t skimp on the salt.
- Honey. Adds a touch of sweetness and helps to feed the yeast. You can also use granulated sugar, or another sweetener of your choice.
- Water. You’ll need water for the bagel dough, as well as for boiling the shaped bagels, before they bake.
- Egg. While there’s no egg in the dough, I use a lightly beaten egg to brush over the bagels before baking them. This helps them to brown, and gives the toppings something to stick to.
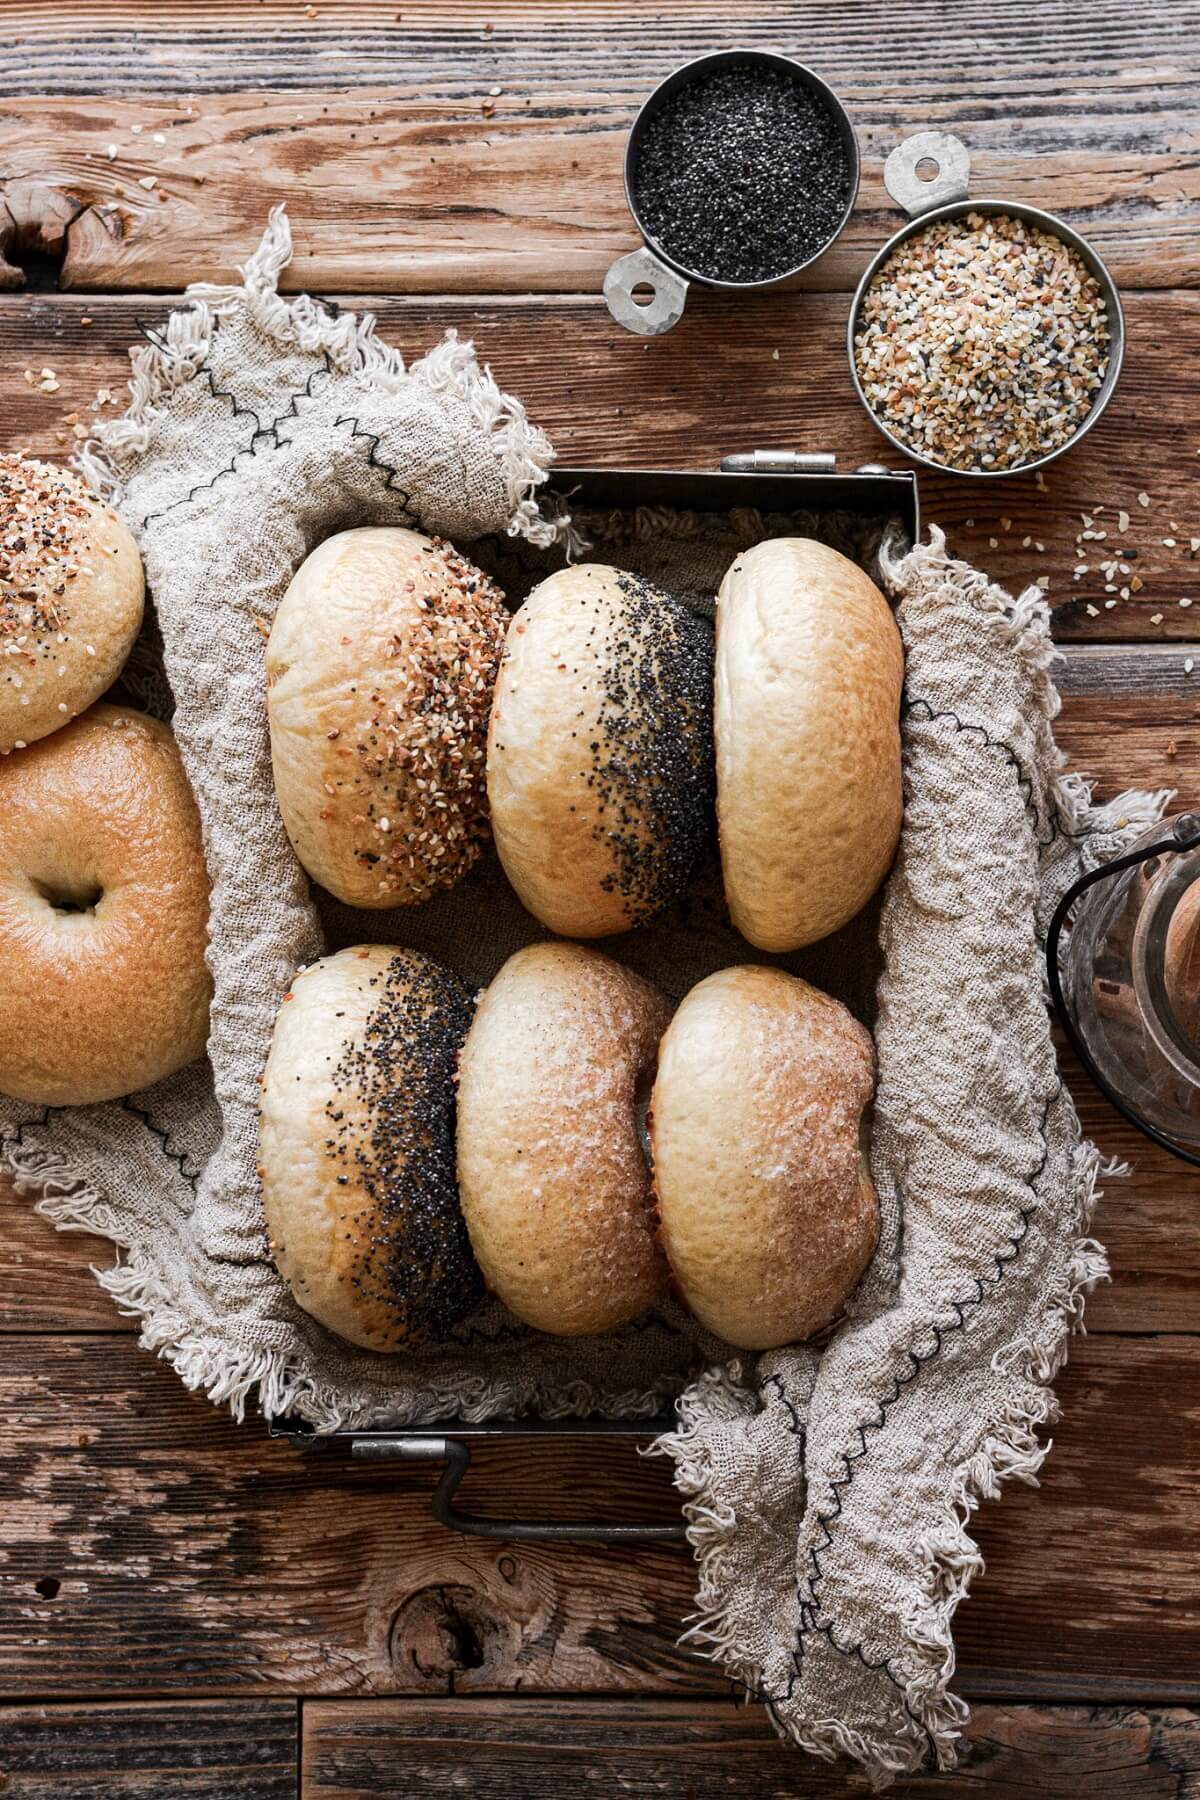
Bagel Topping Ideas
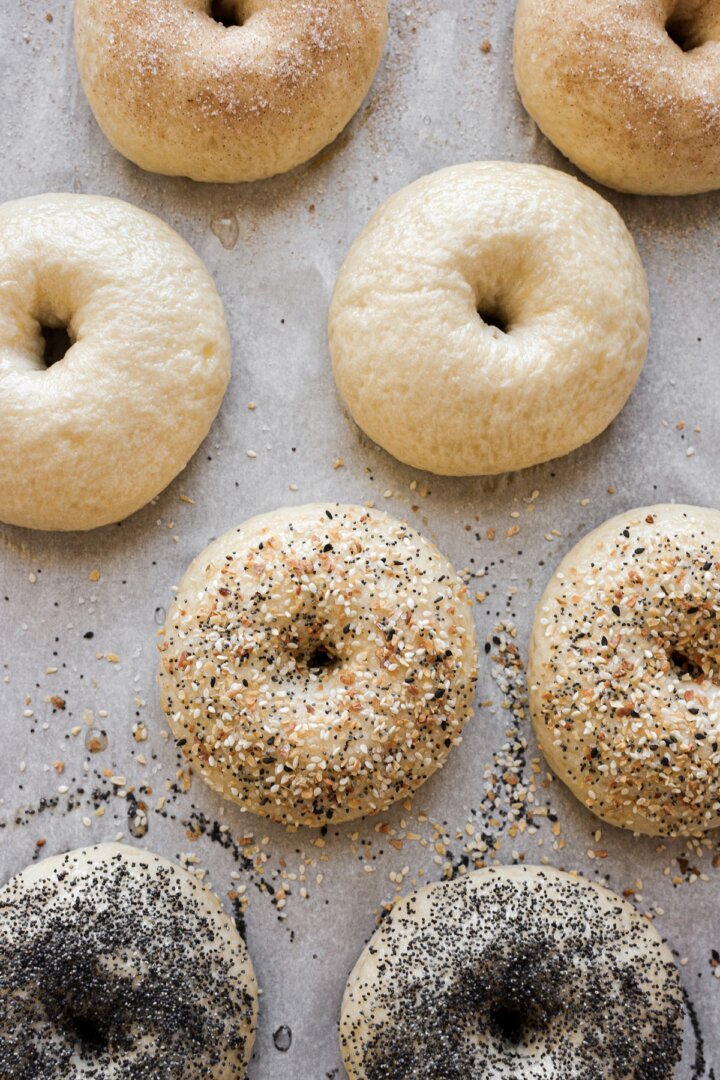
- everything bagel seasoning
- poppy seeds
- sesame seeds
- caraway seeds
- minced onion and garlic
- egg wash (plain)
- grated cheddar cheese and sliced jalapenos
- grated asiago or parmesan cheese
- cinnamon sugar
- pumpkin seeds
- sunflower seeds
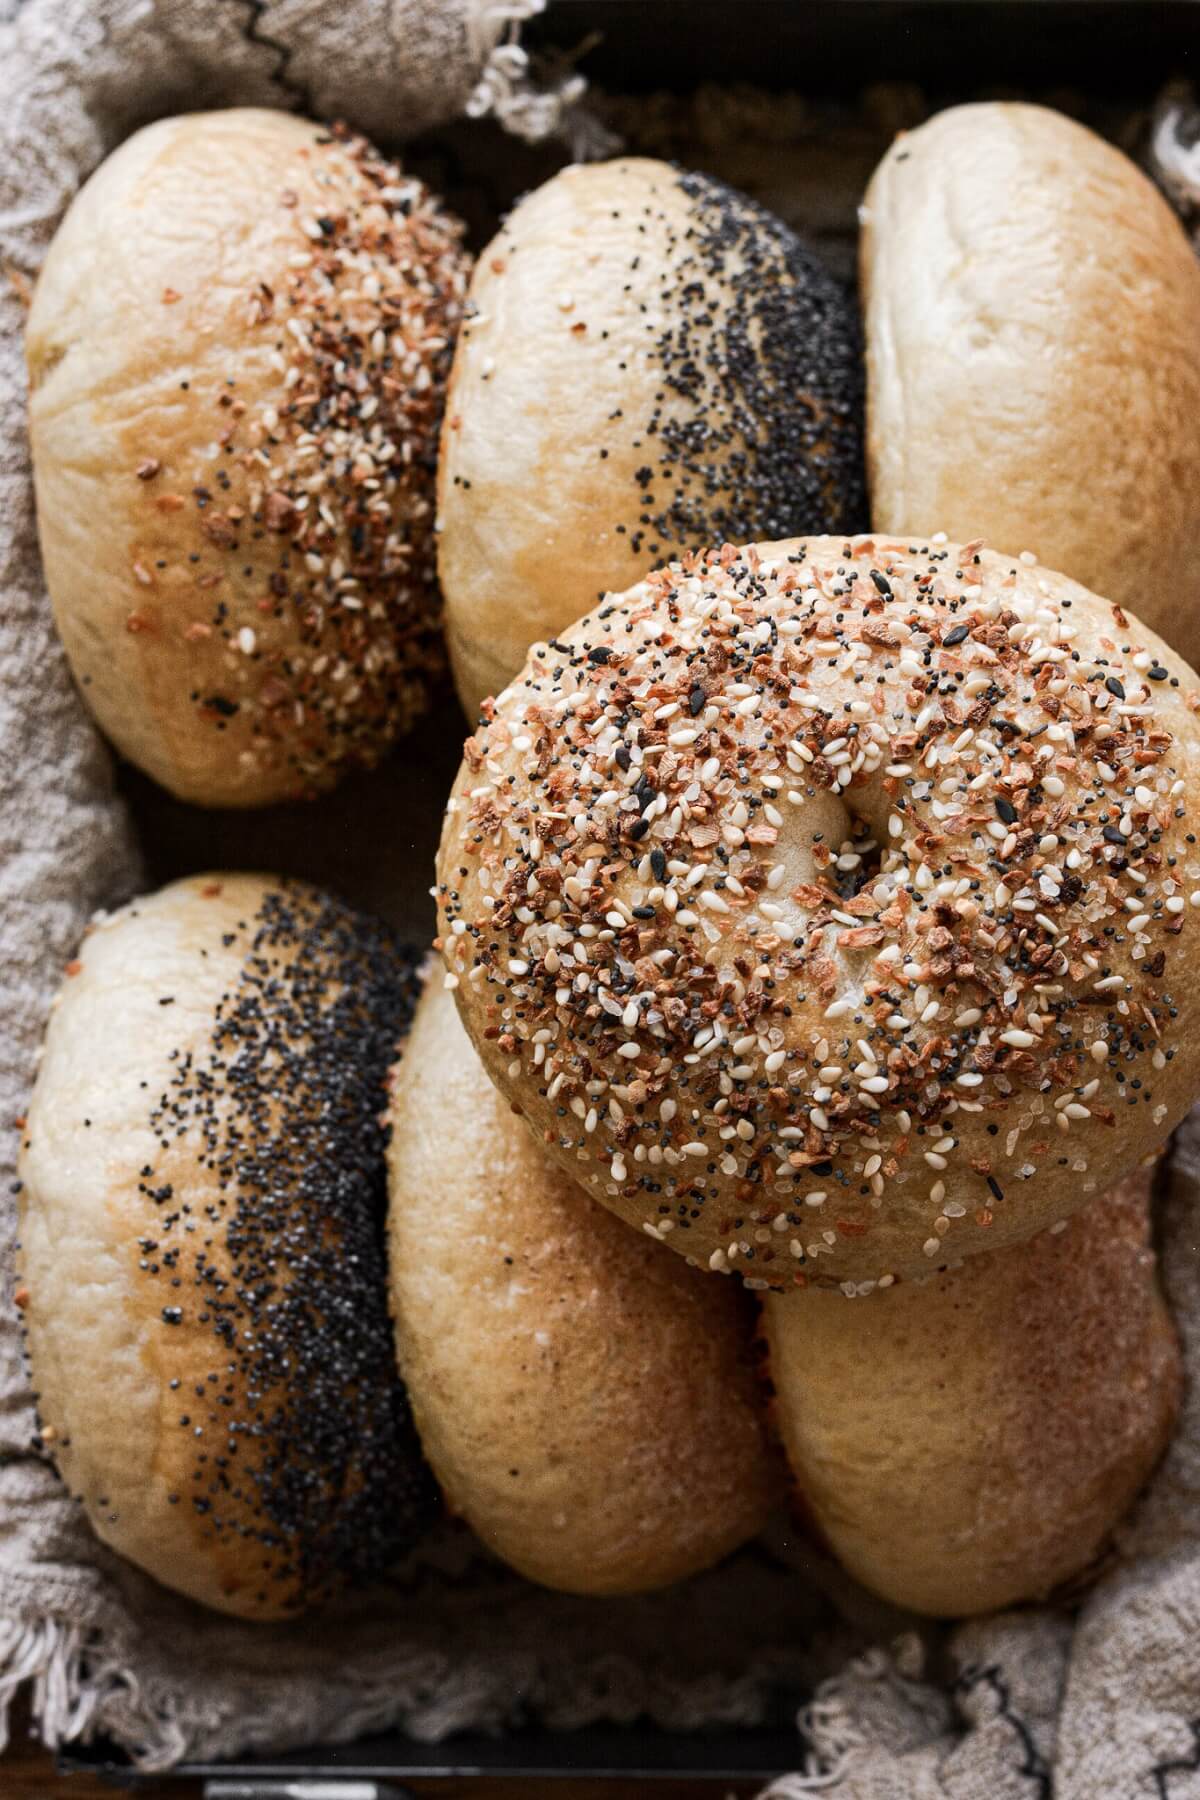
Instructions
Make the Dough
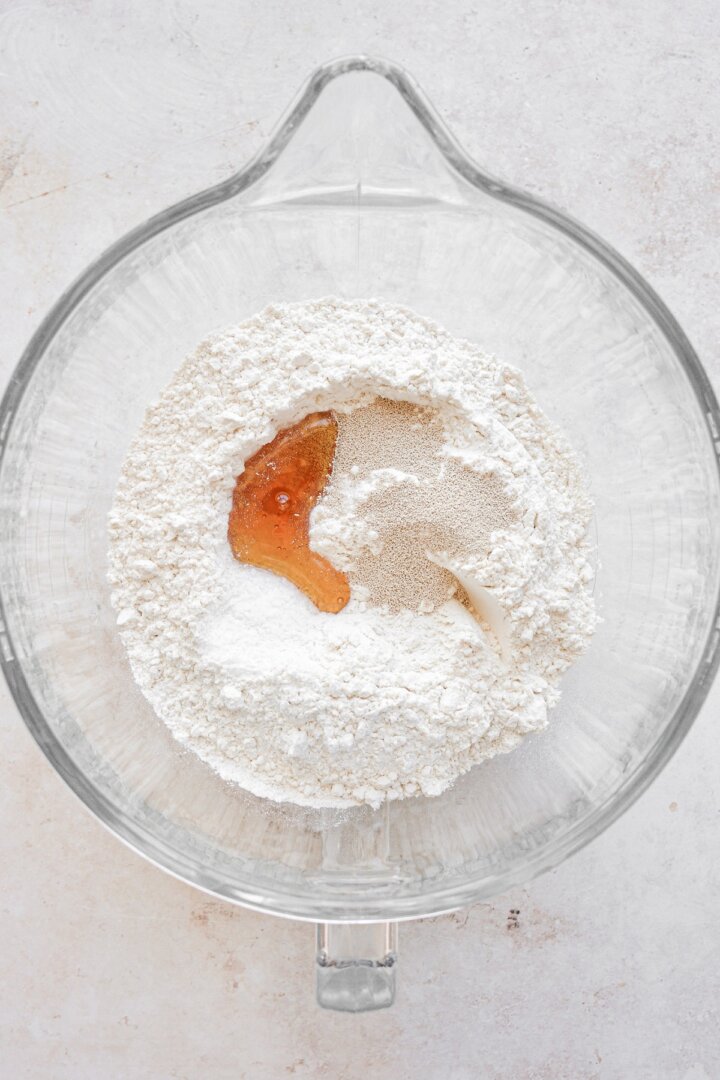
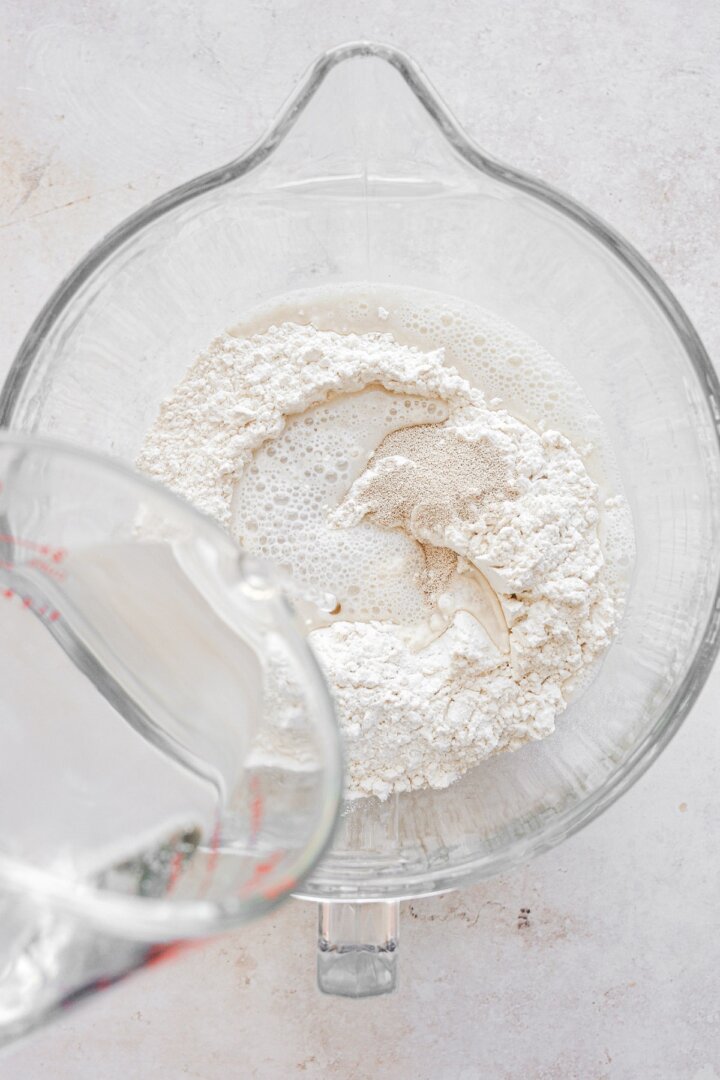
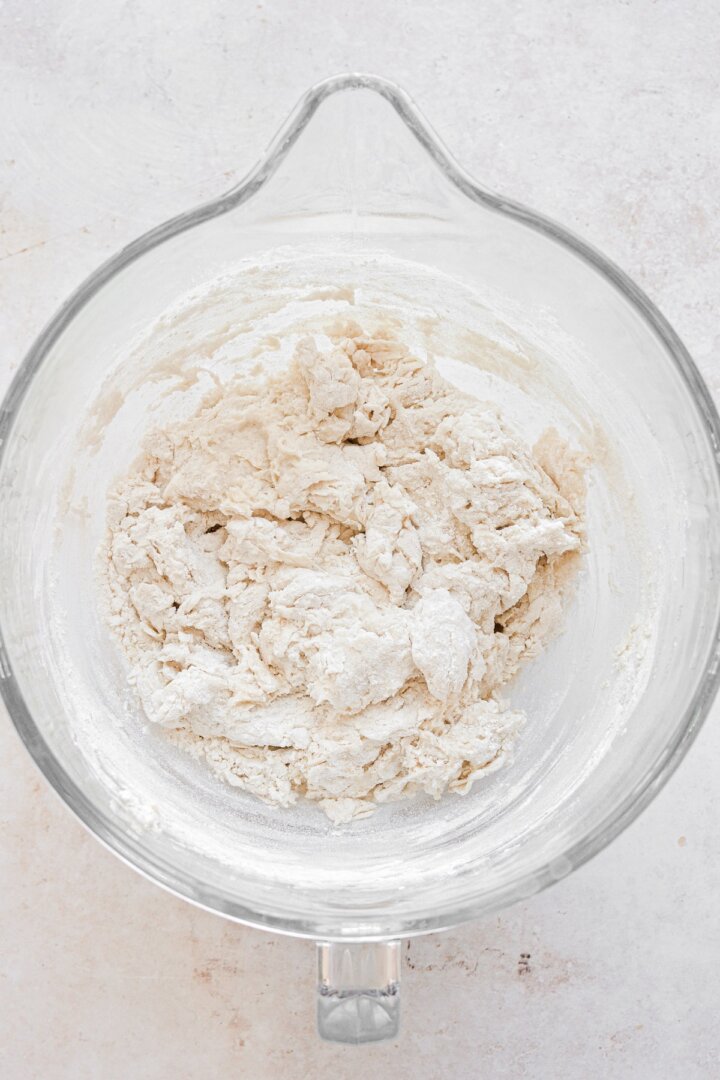
- In the bowl of your stand mixer, combine the flour, yeast and salt. Add the honey/sugar and the 1 1/2 cups hot water. Use a spoon to stir everything together into a rough, shaggy dough.
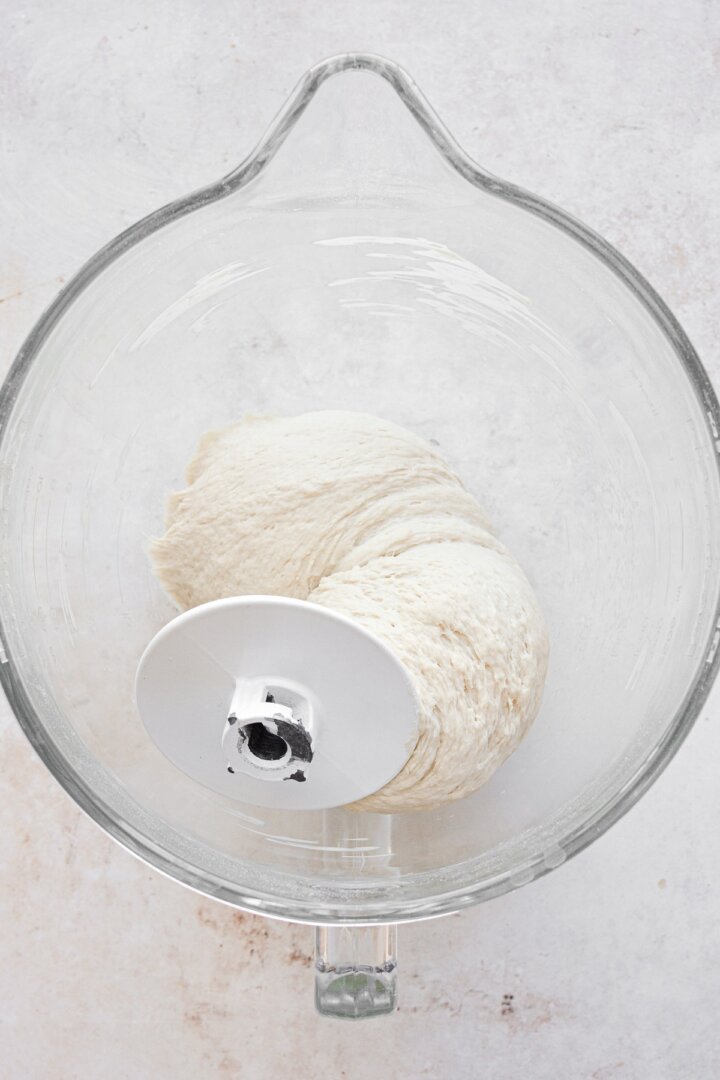
- Use the dough hook to knead the dough on medium low speed for 10 minutes. The dough should be smooth, wrap around the dough hook and slap against the sides of the bowl, but may stick a little at the bottom of the bowl.
Baker’s Note: You may need slightly more/less flour or water, depending on the humidity or dryness of your climate. If the dough seems too wet, add a little more flour, several tablespoons at a time. If the dough is too stiff, dry or crumbly, add more hot water, 1 tablespoon at a time.
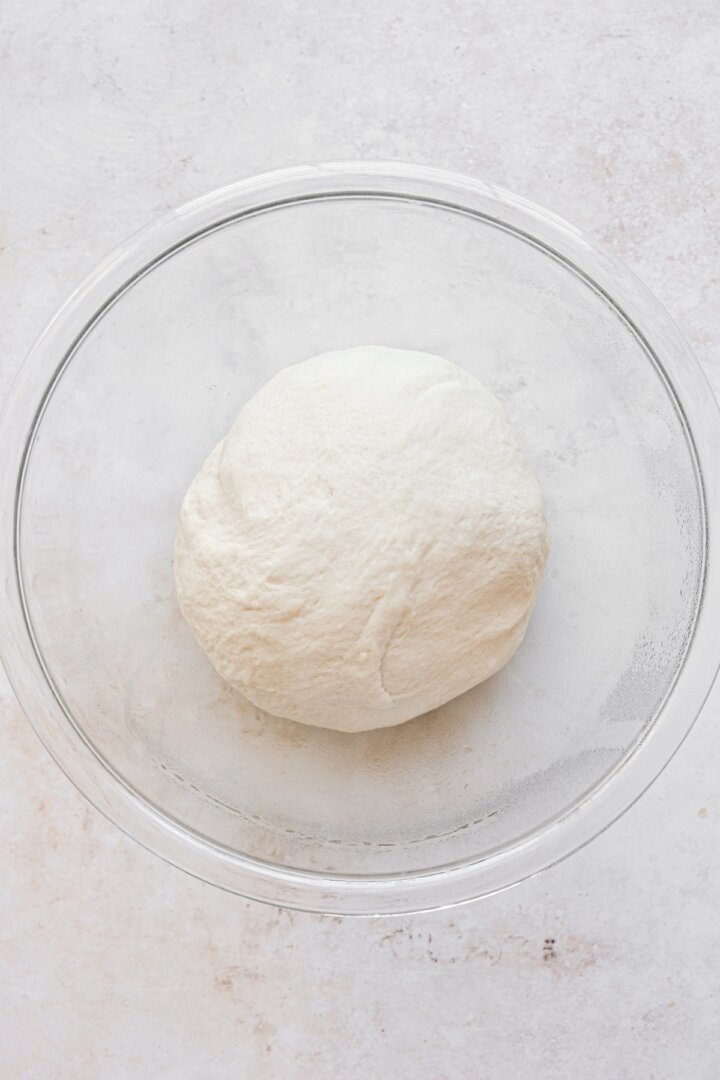
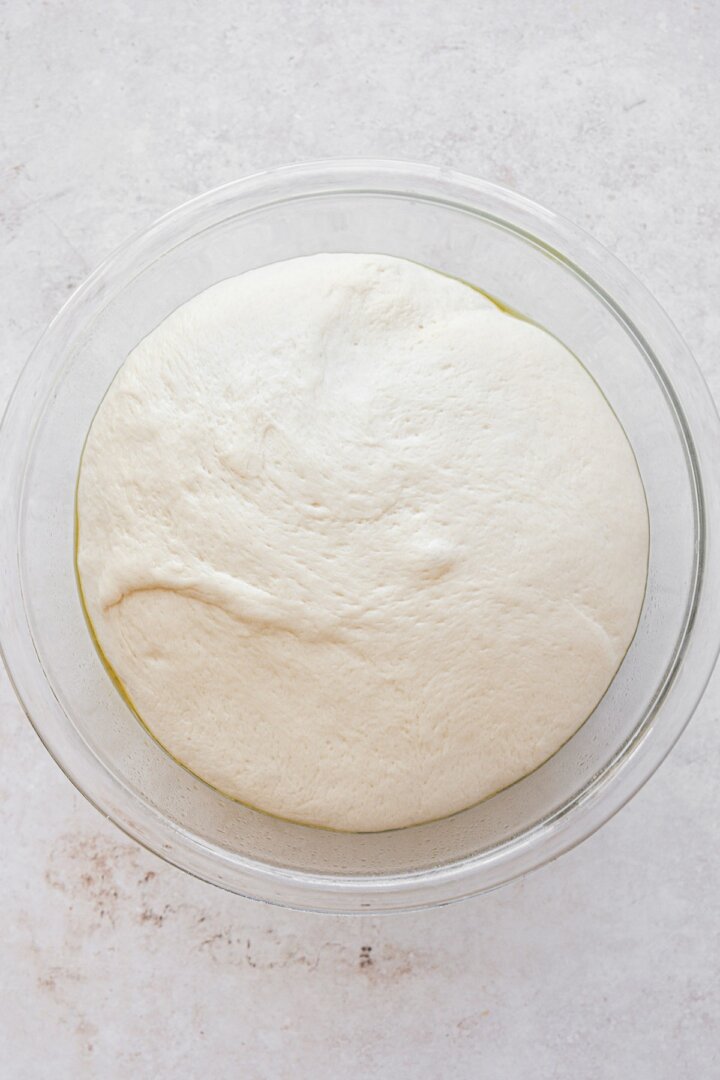
- Gather the dough into a ball, and place into a large, lightly oiled bowl. Cover the bowl tightly with plastic wrap, and place in a warm place to rise until doubled. This may take about 45-90 minutes, depending on the temperature of your kitchen, and the brand/freshness of yeast. My dough was ready after 45 minutes.
Baker’s Note: If your oven has a “bread proof” setting, use that and let the dough rise inside the oven.
Shape the Bagels
- Line a baking sheet with parchment paper.
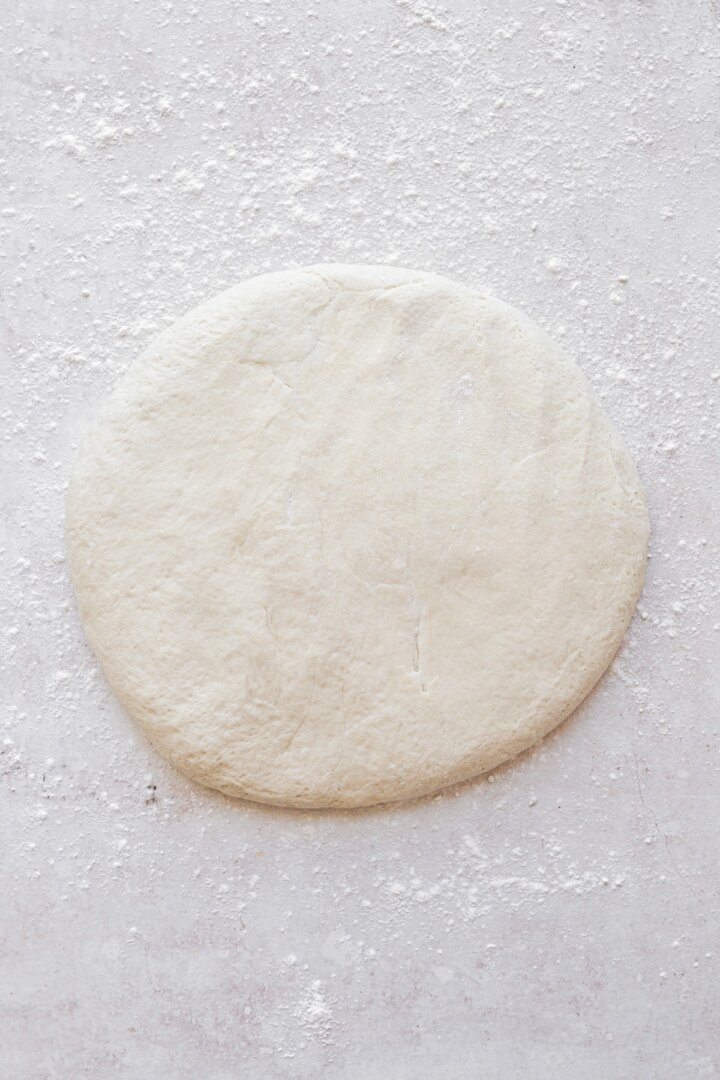
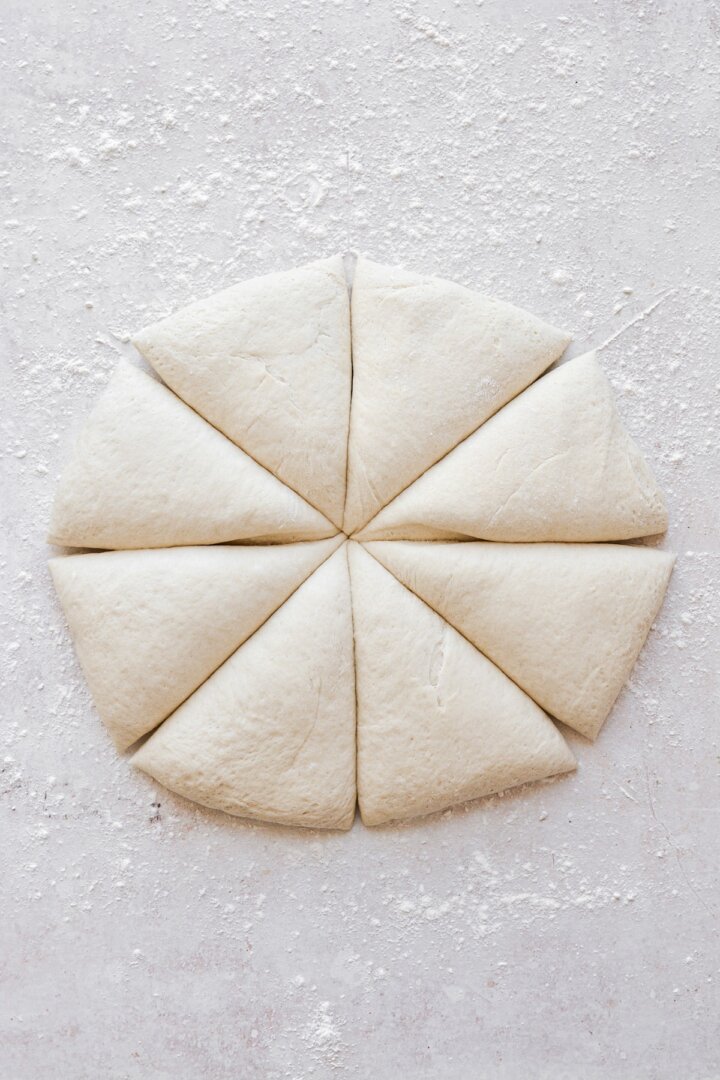
- Turn the dough out onto a lightly floured surface, lightly flour the top of the dough, and gently press the air out of the dough. Use a bench scraper to cut the dough into 8 equal portions for large bagels. (For smaller bagels, you can cut the dough into 10-12 portions.)
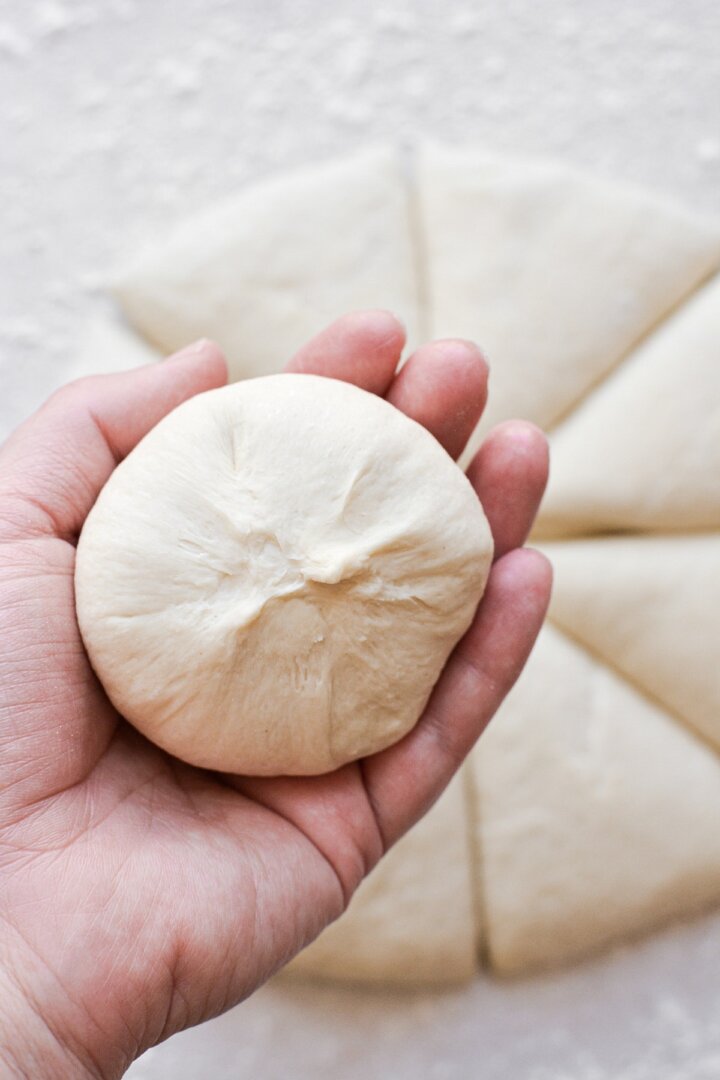
- Shape each portion of dough into a smooth, round bun. Do this by cupping the dough in one hand and using your other hand to pinch the dough together so that it’s pinched on the bottom, and smooth and taut on top.
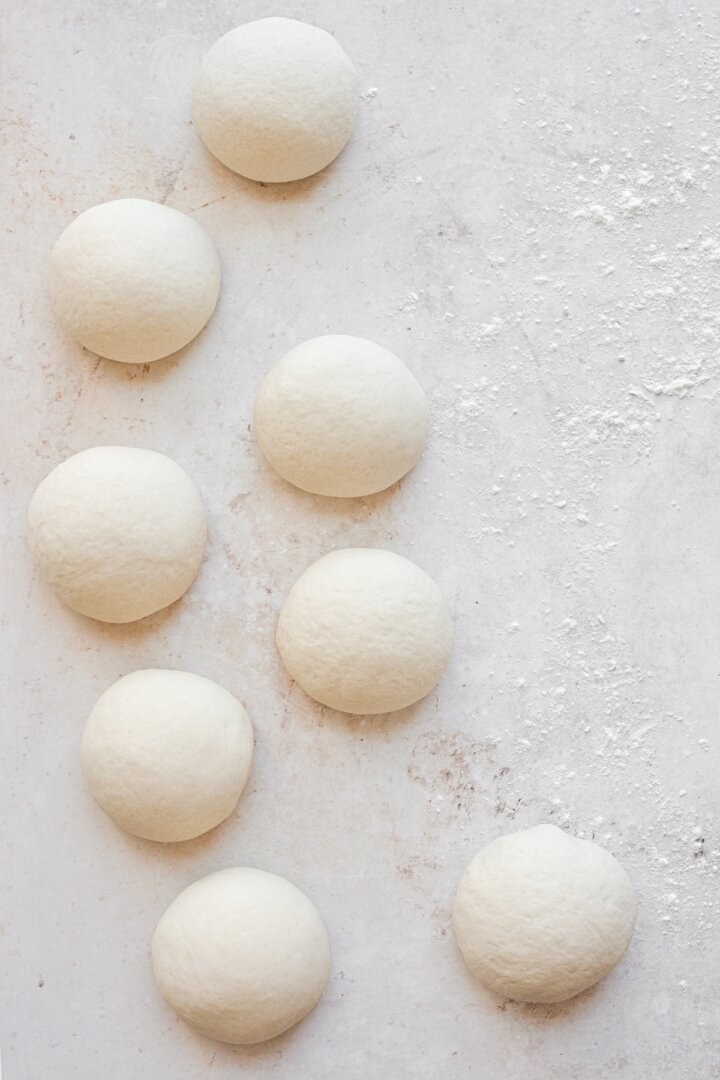
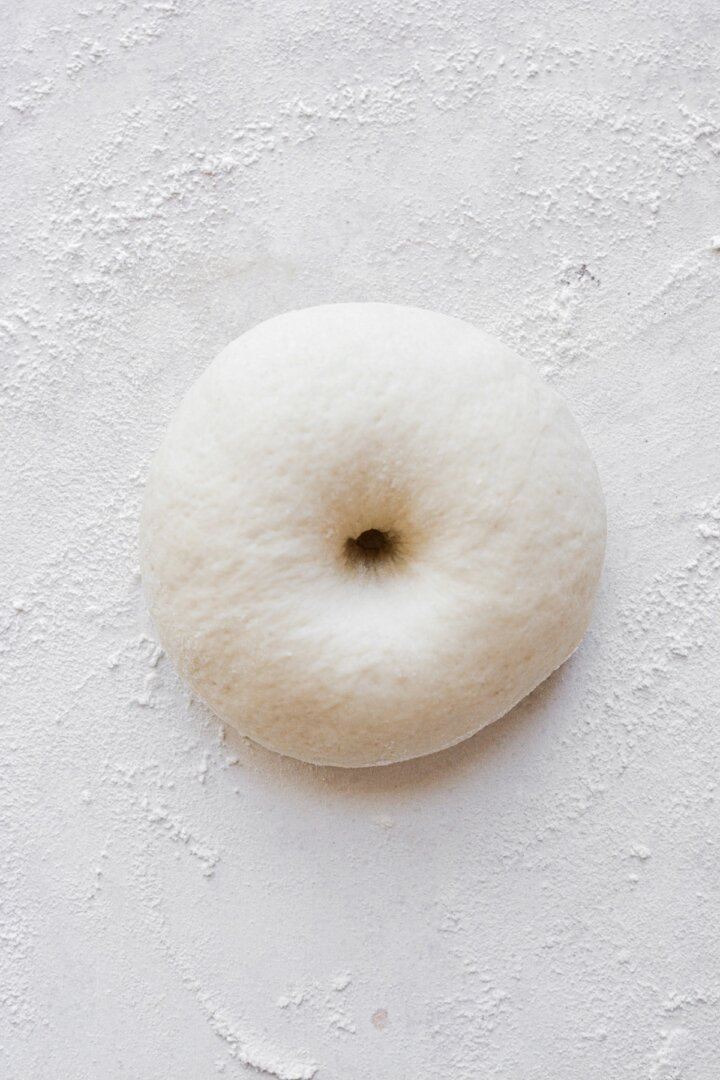
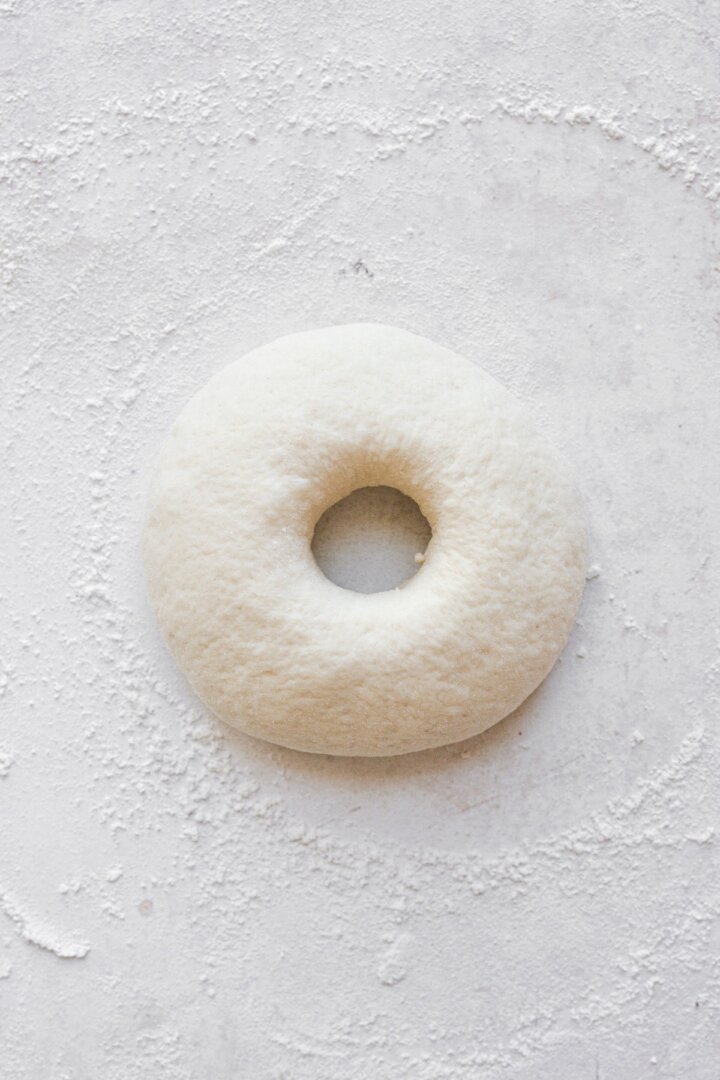
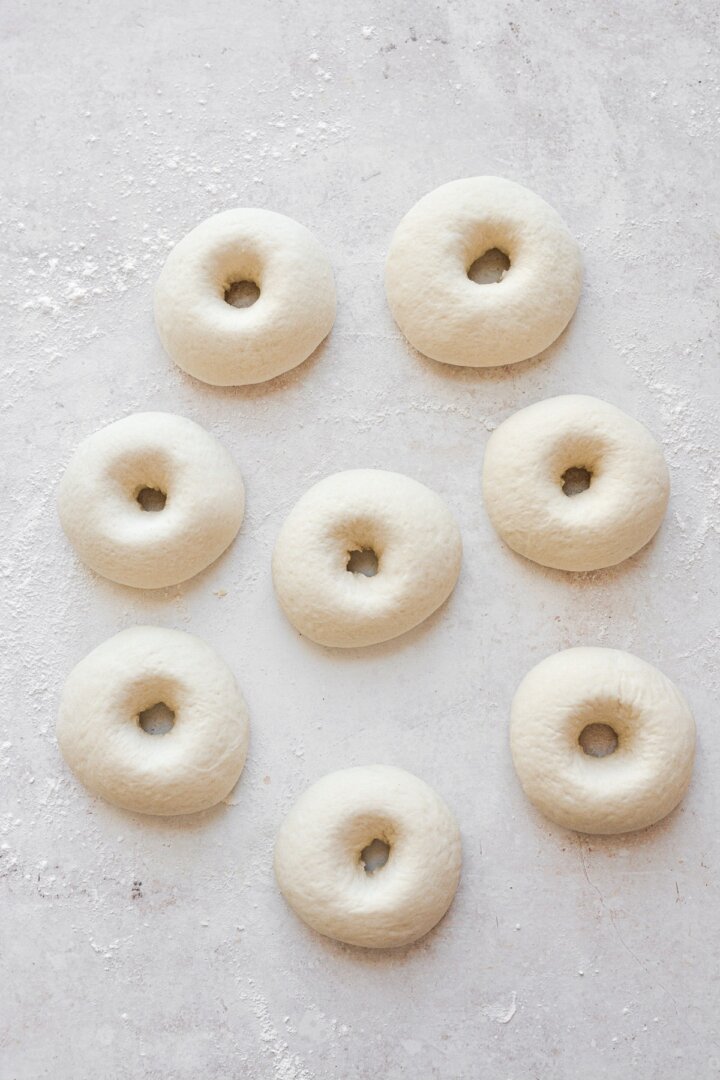
- Dip a finger in flour, and poke a hole in the center of the buns. Then use your hands to gently stretch the bagels and widen the hole in the center to about 1 – 1 1/2 inches in diameter. You’ll need to make the hole larger than you think it should be, since it will close up as the bagels bake.
- Place the bagels on the baking sheet, spaced 3 inches apart, and let them rest for 20 minutes.
Boil the Bagels
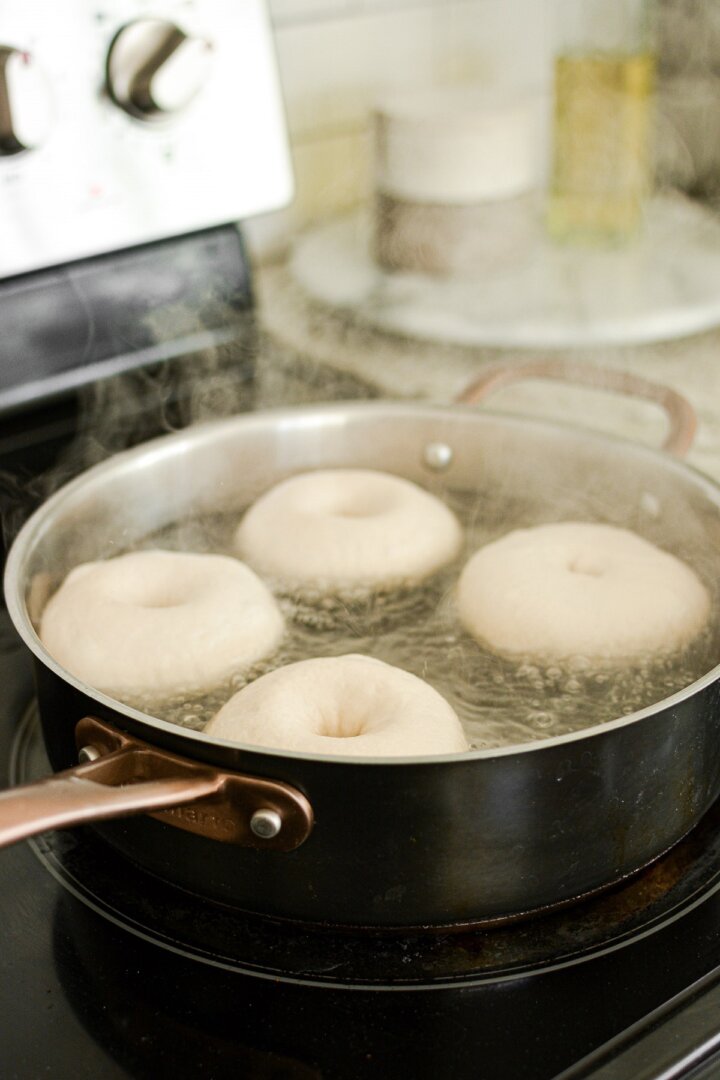
- Fill a large saucepan (10-12 inches in diameter) half full of water, and bring to a boil. Once the water boils, reduce the heat to a steady simmer.
- Working with batches of 3-4 bagels at a time, gently lower the bagels into the simmering water. Boil the bagels for at least 30 seconds, and up to 2 minutes, flipping them halfway through.
Baker’s Note: The longer you boil the bagels, the more dense and chewy their texture will be. For a lighter, less chewy texture, boil for 30-60 seconds. For extra chewy, New York style bagels, boil for 2 minutes.
- Use a slotted spoon or a kitchen spider to remove the bagels from the water, and place them back onto the baking sheet. They will have a sort of gelatinous appearance and feel after boiling.
Add Toppings and Bake
- Preheat the oven to 425 F, and position a rack in the center of the oven.
- In a small bowl, lightly beat the egg and 1 tablespoon water. Use a pastry brush to brush the beaten egg over the bagels.
- Generously sprinkle the bagels with your desired toppings.
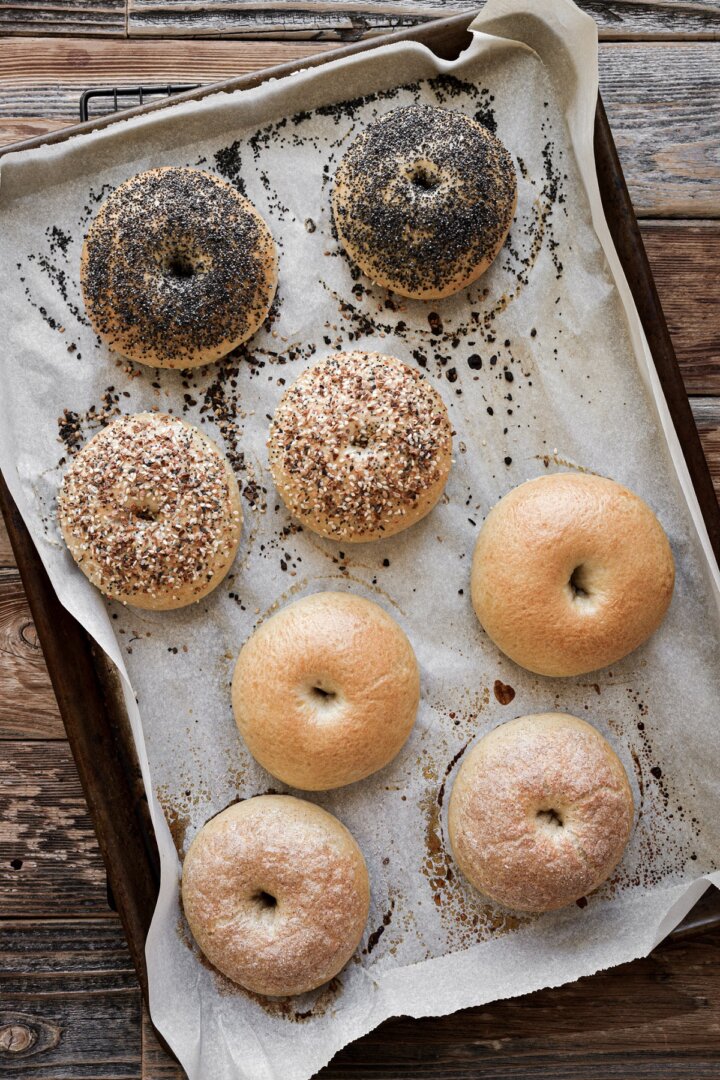
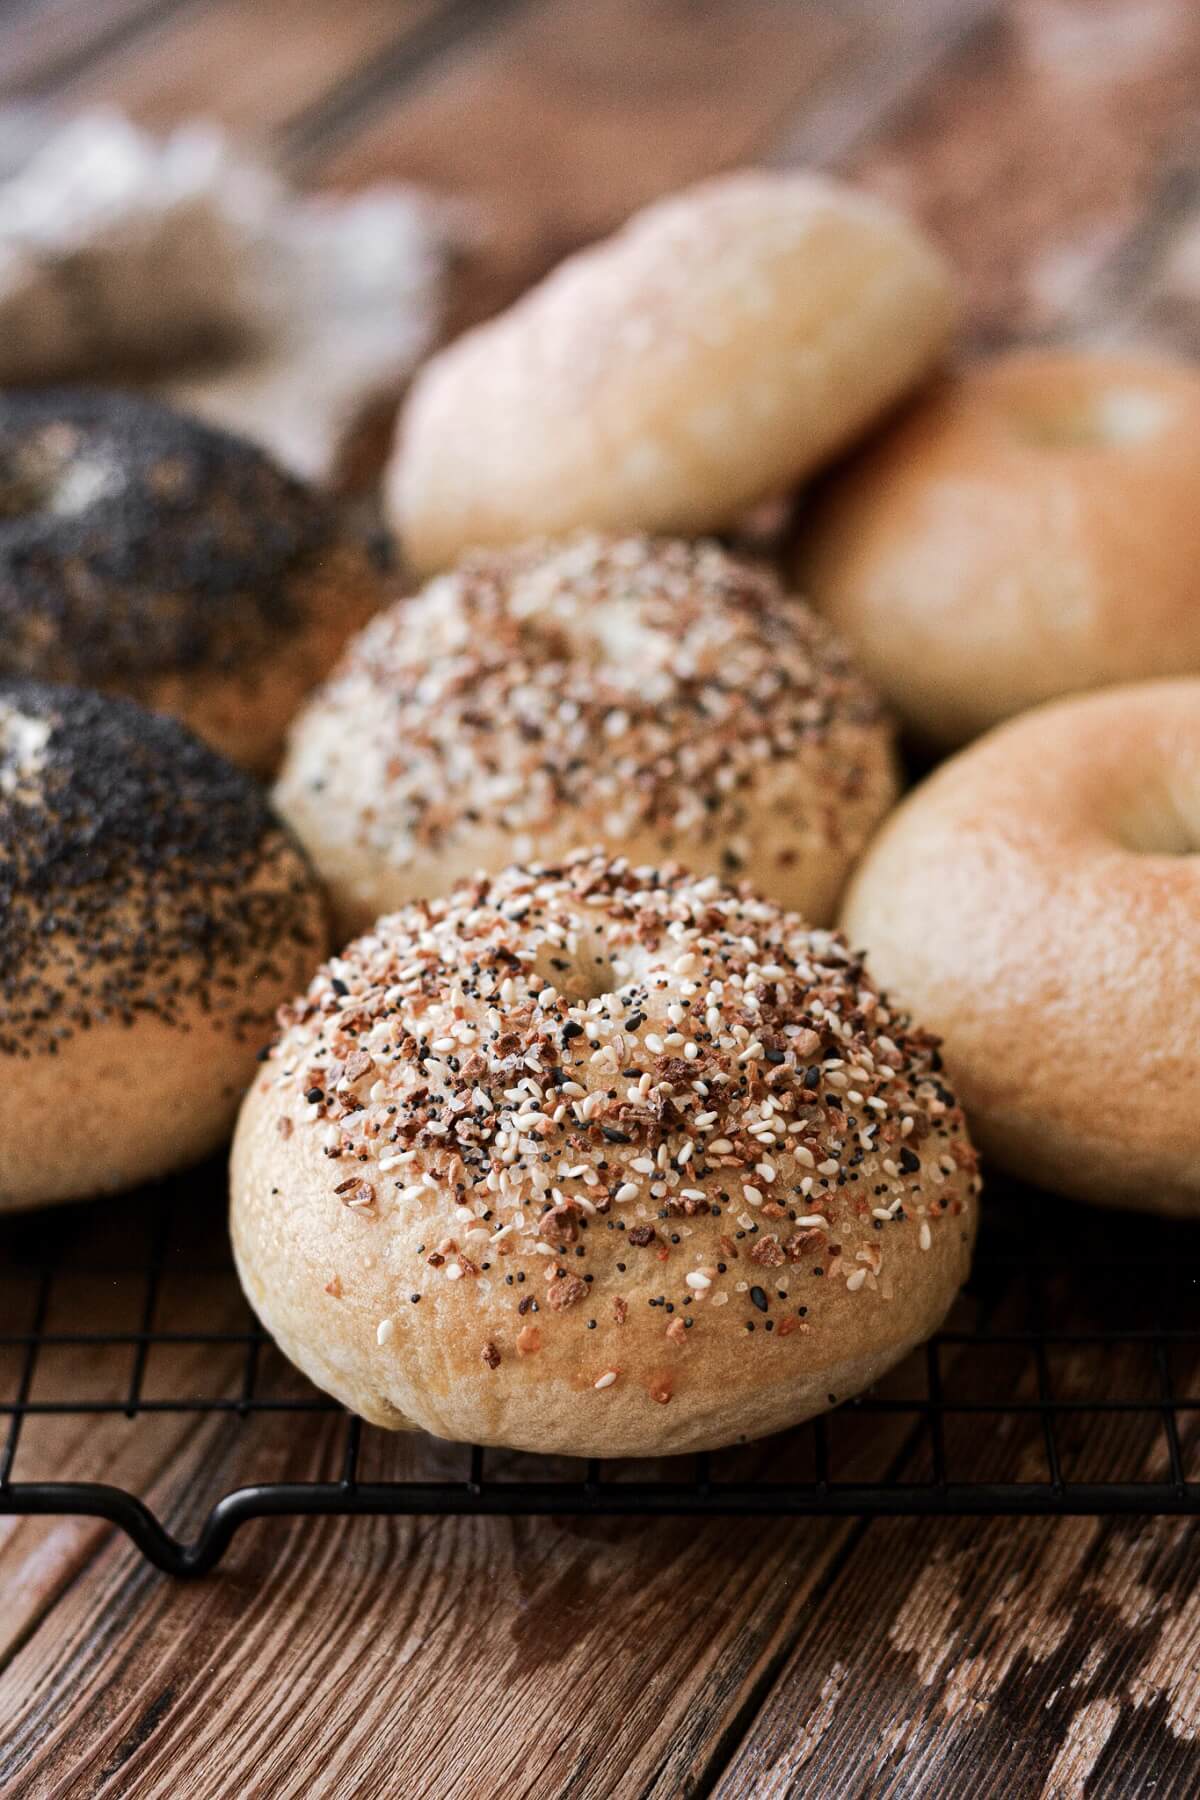
- Bake the bagels for about 25 minutes, until golden brown. Cool on the baking sheet for several minutes, then transfer to a cooling rack.
- When the bagels are cool enough to handle, split them with a sharp serrated knife. Toast the bagels and assemble with your favorite fillings.
Recipe Variations
Besides using various toppings, you can try adding mix-ins to the dough to customize the flavor of your bagels.
- Blueberry Bagels. To make blueberry bagels, simply add about 1 cup fresh blueberries to the dough, after you’ve finished kneading the dough and before you let it rise. You might also add 1/4 – 1/2 teaspoon ground cardamom, cinnamon or allspice to the dough, to complement the flavor of the blueberries. (Frozen blueberries may add too much extra moisture to the dough.)
- Cinnamon Raisin Bagels. Add 1 teaspoon ground cinnamon and 1/2 – 3/4 cup raisins to the dough. You can also try replacing the honey or sugar with molasses, for a deeper flavor. Other chopped dried fruit can be used instead of raisins, such as dried apricots, cherries or apples.
- Whole Wheat Bagels. Replace up to 1/3 – 1/2 of the bread flour with whole wheat flour. You may need to add a couple tablespoons more water to the dough, since wheat flour tends to absorb more liquid.
Be sure to read all of my BAKING FAQs where I discuss ingredients, substitutions and common baking questions, so that you can be successful in your own baking!
Frequently Asked Questions
What should I do if I’m using active dry yeast instead of instant or rapid rise yeast?
With instant yeast, you can just add it right into the dough without activating it first, but active dry yeast should be activated first. To do this, simply sprinkle the yeast into your hot water with a pinch of sugar. Let stand for 5-10 minutes until bubbly, then add it to your flour mixture and proceed with mixing and kneading the dough.
Can I knead the dough by hand if I don’t have a stand mixer?
You can certainly knead this dough by hand. Reserve about 1/2 cup of flour and add it gradually as you knead the dough on your kitchen counter. You’ll need to knead the dough by hand for about 15-20 minutes.
Why do bagels need to be boiled before they’re baked?
Boiling bagels before baking them may seem peculiar, but it serves an important purpose. The reason we boil bagels (and pretzels!) is to set the outside crust. The boiling water causes the starch on the dough to gel, creating a barrier between the exterior and interior of the dough. This barrier prevents the bagels from puffing up in the oven as much as other yeast breads do, keeping them more dense and chewy. The longer you boil your bagels, the chewier they will be. So if you skip the step of boiling your bagels, you won’t be making bagels at all, just bagel-shaped bread rolls.
Interestingly, the minerals in your tap water can also affect the texture of your homemade bagels. New York bagels, for example, have a reputation for being some of the best bagels there are, which could be due to the soft New York City tap water they’re boiled in.
How should I store leftover homemade bagels?
Store leftover bagels in an airtight container or freezer bag at room temperature for up to 3 days, or in the freezer for up to 3-6 months. Leftover bagels are best split and toasted.
You Might Also Like
Please check out my Amazon Shop for a curated collection of some of my favorite cake pans from trusted brands, baking tools, ingredients, pretty things and fashion finds. I recommend products that I buy and use every day!
Did you love today’s recipe? Please rate the recipe and let me know in the comments what you thought! Also, be sure to follow Curly Girl Kitchen on Instagram, and tag me when you try one of my recipes so I can see all your delicious creations!
High Altitude Homemade Bagels
All recipes on Curly Girl Kitchen are developed for high altitude at 5,280 feet. See FAQs for adjusting to higher or lower elevations.
Equipment
- Stand Mixer with Dough Hook
- Baking Sheet + Parchment Paper
- Large Saucepan
Ingredients
- 4 cups bread flour, fluffed, spooned and leveled
- 1 packet (2 1/4 tsp) instant/rapid-rise yeast
- 1 ½ tsp coarse Kosher salt (if using table salt, use half the amount
- 1 ½ tbsp honey or granulated sugar
- 1 ½ cups hot water, between 110-115 degrees Fahrenheit
- water, for boiling
- 1 large egg, for egg wash
- various bagel toppings
Instructions
Make the Dough
- In the bowl of your stand mixer, combine the flour, yeast and salt. Add the honey/sugar and the 1 1/2 cups hot water. Use a spoon to stir everything together into a rough, shaggy dough.
- Use the dough hook to knead the dough on medium low speed for 10 minutes. The dough should be smooth, wrap around the dough hook and slap against the sides of the bowl, but may stick a little at the bottom of the bowl.Baker's Note: You may need slightly more/less flour or water, depending on the humidity or dryness of your climate. If the dough seems too wet, add a little more flour, several tablespoons at a time. If the dough is too stiff, dry or crumbly, add more hot water, 1 tablespoon at a time.
- Gather the dough into a ball, and place into a large, lightly oiled bowl. Cover the bowl tightly with plastic wrap, and place in a warm place to rise until doubled. This may take about 45-90 minutes, depending on the temperature of your kitchen, and the brand/freshness of yeast. My dough was ready after 45 minutes.Baker's Note: If your oven has a "bread proof" setting, use that and let the dough rise inside the oven.
Shape the Bagels
- Line a baking sheet with parchment paper.
- Turn the dough out onto a lightly floured surface, lightly flour the top of the dough, and gently press the air out of the dough. Use a bench scraper to cut the dough into 8 equal portions for large bagels. (For smaller bagels, you can cut the dough into 10-12 portions.)
- Shape each portion of dough into a smooth, round bun. Do this by cupping the dough in one hand and using your other hand to pinch the dough together so that it's pinched on the bottom, and smooth and taut on top.
- Dip a finger in flour, and poke a hole in the center of the buns. Then use your hands to gently stretch the bagels and widen the hole in the center to about 1 – 1 1/2 inches in diameter. You'll need to make the hole larger than you think it should be, since it will close up as the bagels bake.
- Place the bagels on the baking sheet, spaced 3 inches apart, and let them rest for 20 minutes.
Boil the Bagels
- Fill a large saucepan (10-12 inches in diameter) half full of water, and bring to a boil. Once the water boils, reduce the heat to a steady simmer.
- Working with batches of 3-4 bagels at a time, gently lower the bagels into the simmering water. Boil the bagels for at least 30 seconds, and up to 2 minutes, flipping them halfway through.Baker's Note: The longer you boil the bagels, the more dense and chewy their texture will be. For a lighter, less chewy texture, boil for 30-60 seconds. For extra chewy, New York style bagels, boil for 2 minutes.
- Use a slotted spoon or a kitchen spider to remove the bagels from the water, and place them back onto the baking sheet. They will have a sort of gelatinous appearance and feel after boiling.
Add Toppings and Bake
- Preheat the oven to 425 F, and position a rack in the center of the oven.
- In a small bowl, lightly beat the egg and 1 tablespoon water. Use a pastry brush to brush the beaten egg over the bagels.
- Generously sprinkle the bagels with your desired toppings.
- Bake the bagels for about 25 minutes, until golden brown. Cool on the baking sheet for several minutes, then transfer to a cooling rack.
- When the bagels are cool enough to handle, split them with a sharp serrated knife. Toast the bagels and assemble with your favorite fillings.

These were sooooo good! I did a 50/50 mix of bread flour and KA high gluten flour plus added 1 tbsp of nondiastatic powder to the mix. I also highly recommend putting the topping on both sides of the bagel!
I’m so glad you loved them! And that’s a great idea about adding topping to both sides, so each half of the split bagel has toppings. 🙂
Can I use all Purpose flour?
Yes, that will work. Bread flour has more protein, so it makes bread a little chewier, but ap flour will still work just fine.
Looking to make blueberry bagels and slightly confused by your instructions: Blueberry Bagels. To make blueberry bagels, simply add about 1 cup fresh blueberries to the dough, after you’ve finished kneading the dough and before you let it rise.
Do I hand mix the berries in or use the bread hook on my mixer? You mentioned after kneading but before you rise…but how do I incorporate them in the dough?
I’d suggest gently working them in by hand, or with a spatula.
Ok thank you. I’ll see what happens!
Best bagels I’ve ever had! My daughter and I make these practically every weekend. Thank you for taking the guesswork out of high altitude baking!
Just pulled them out of the oven. Big thumbs up!!! Followed the recipe, but exchanged 1/2 of the white bread flour with white whole wheat. Sprinkled with flaky salt and sesame seeds. I’m at about 6229 elevation and did not need to alter any of the ingredient amounts. Will definitely make again, and again, and again!
I’m under 5000 ft in elevation (barely, i’m at 4,931.) Do you think I’d be able to follow this recipe without any alterations? TY!!
Definitely!
These turned out beautifully! My family loves them.
I’m at 3000 ft and have been trying various bagel recipes. Followed the recipe as written. The taste and texture are excellent (the best so far) but they flattened out during/after baking. The dough doubled in size and they looked puffy when boiled. Any thoughts about I could do differently?
My only thought if they flattened after baking is if they were actually under-baked, and the raw dough inside collapsed once out of the oven, or if it’s possible you measured too little flour or too much water, making the dough too slack to hold its shape. Other than that, I’m not sure what could have caused that.
Have you ever tried this recipe with gluten free flour (eg, the 1:1 type)? Wondering if it would work.
Made these at 7,200’. I boiled each side for 1 min and it gave the perfect crunchy crust and chewy inside. They came out perfectly!