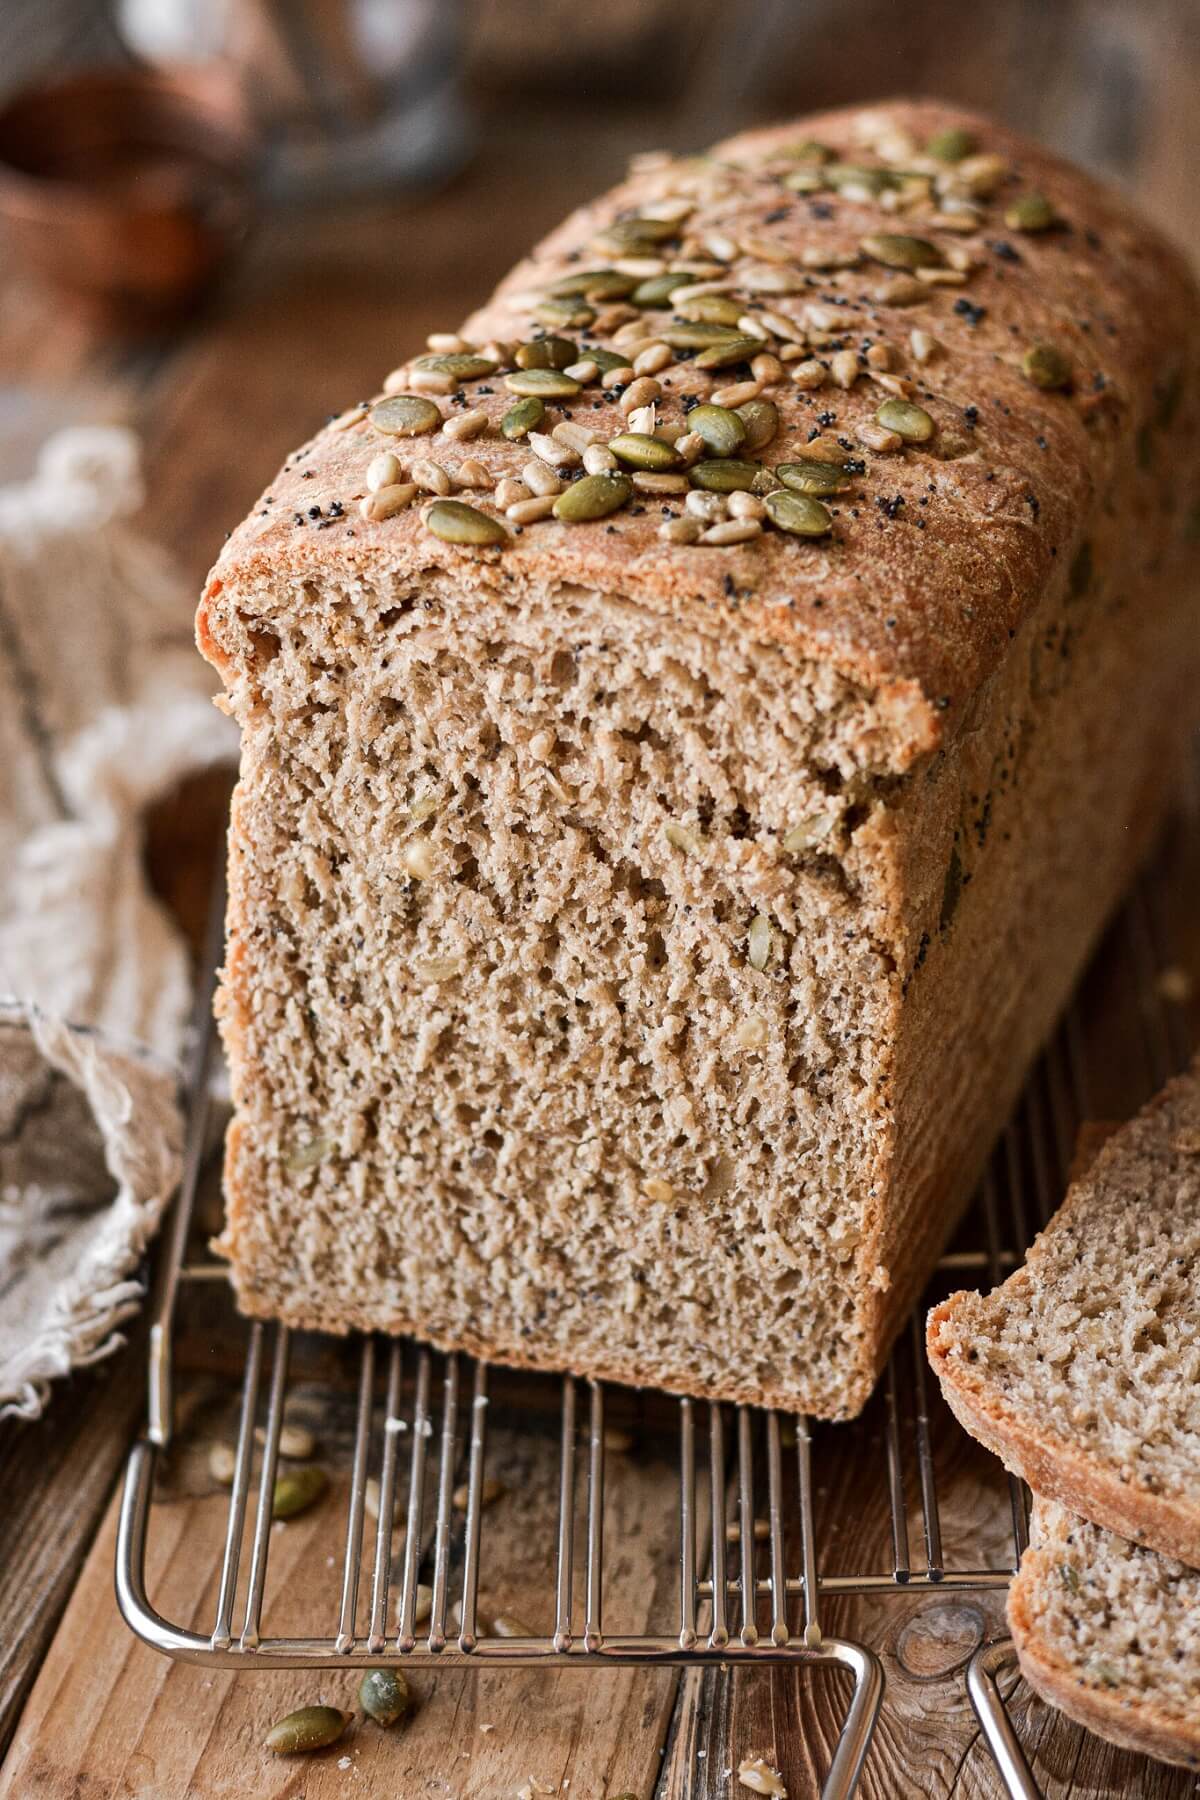
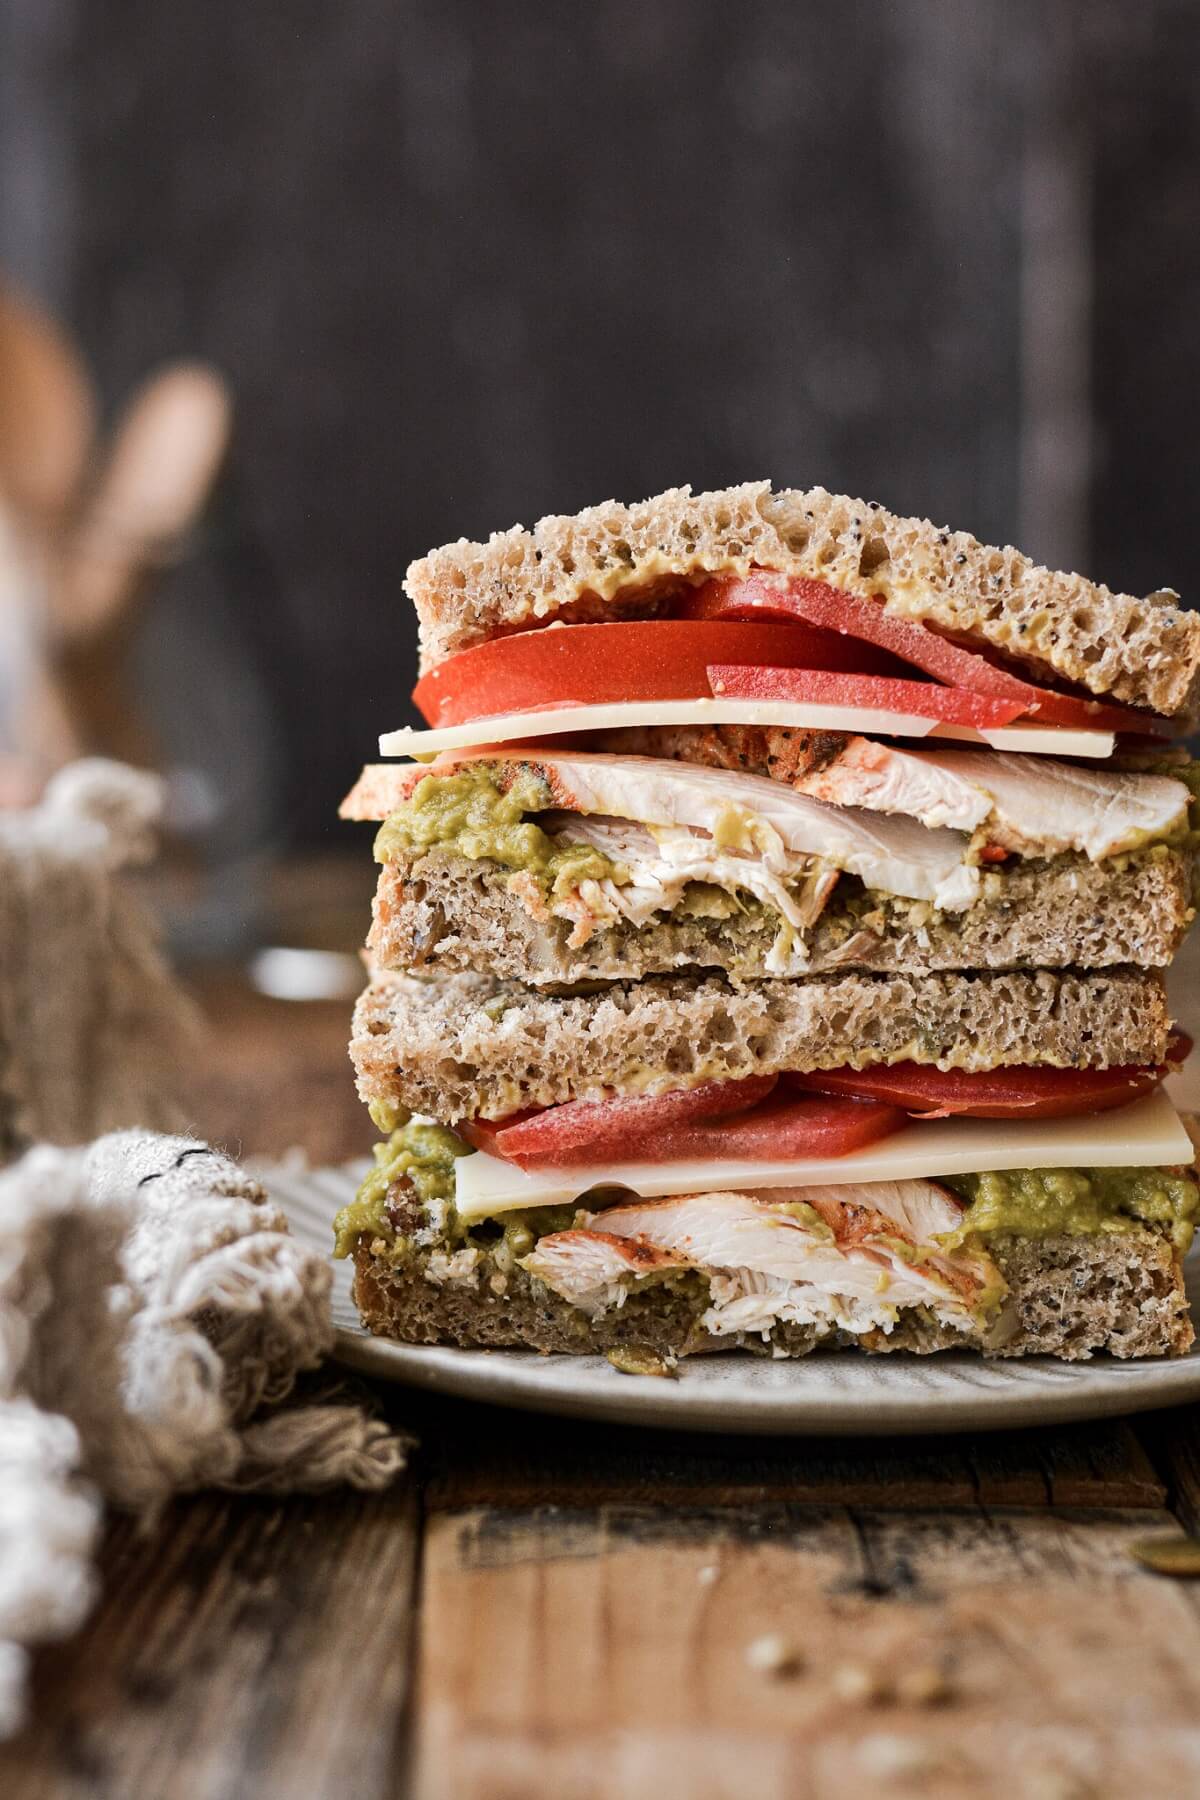
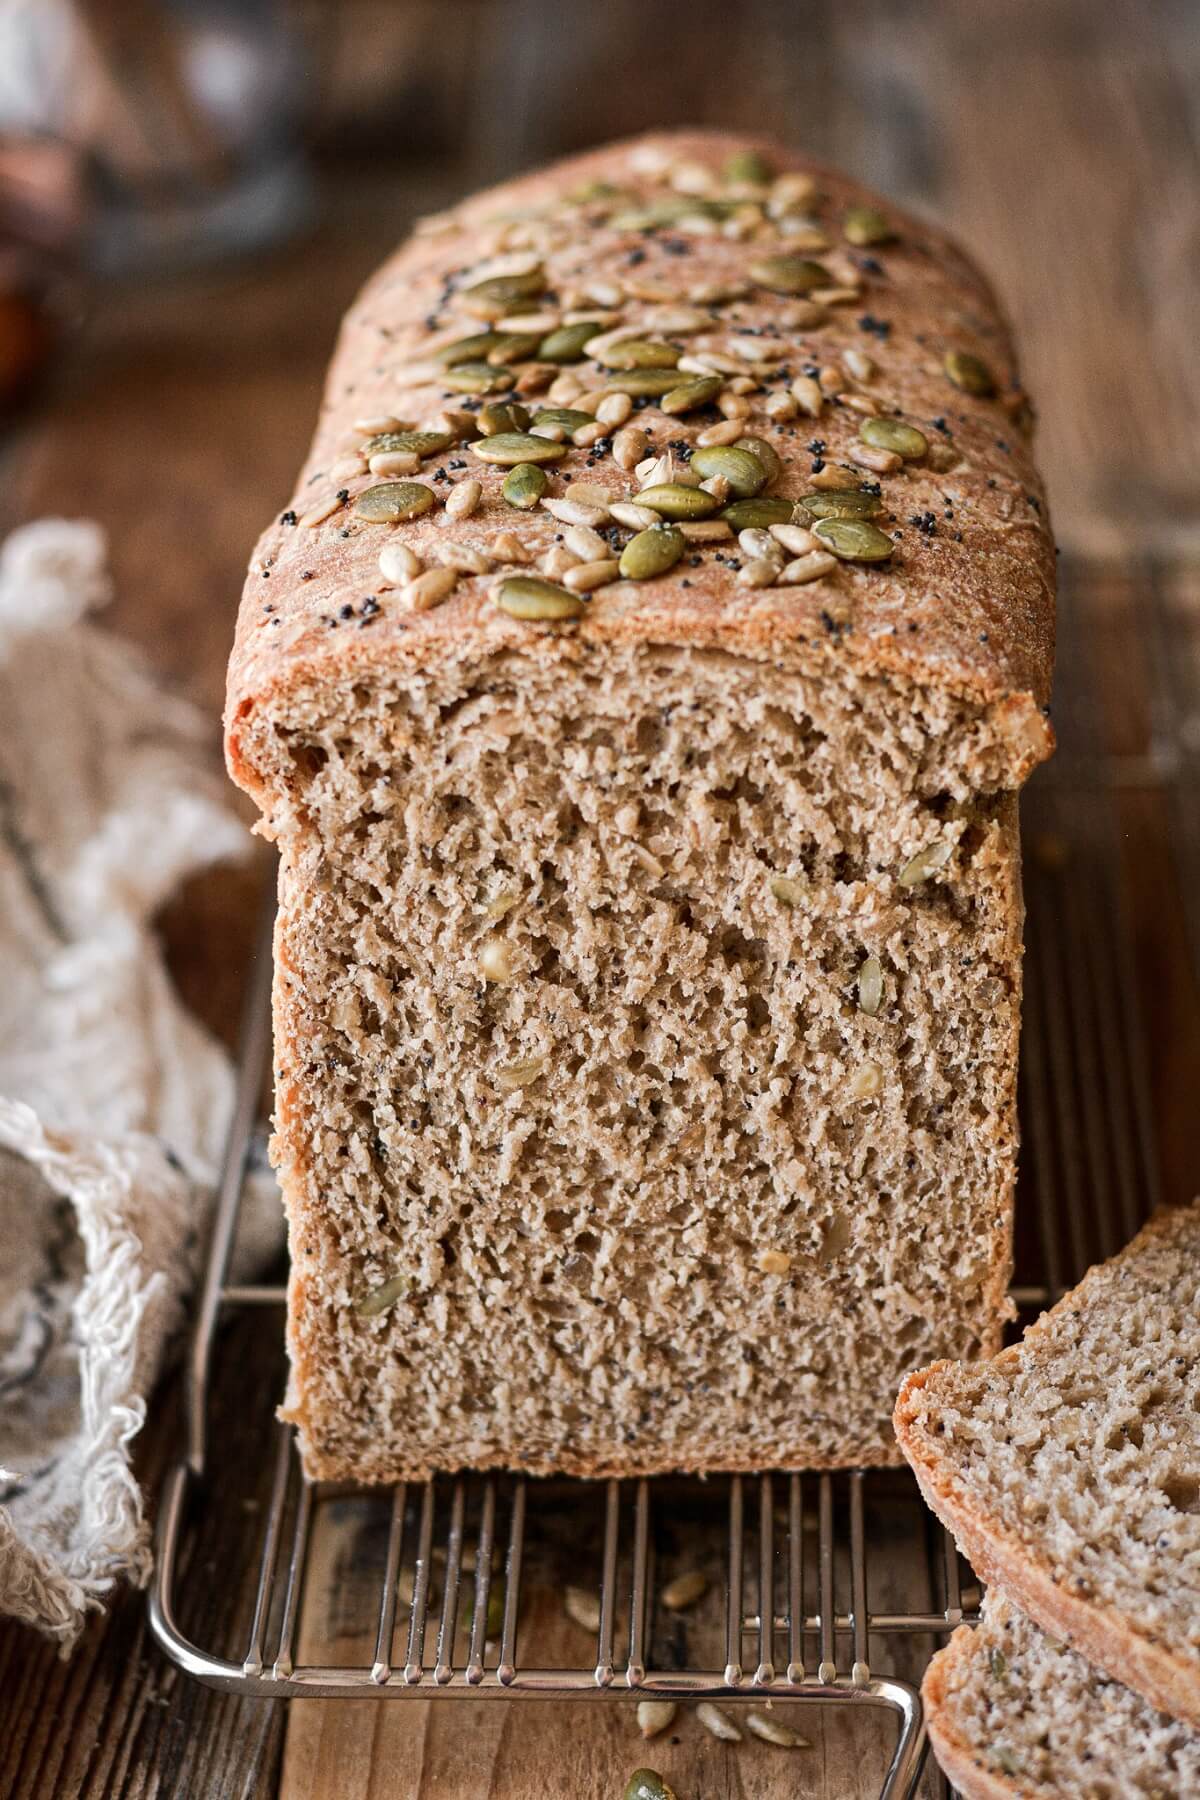
A high altitude tested recipe for whole wheat sandwich bread, lightly sweetened with honey. This honey wheat bread is studded with pumpkin seeds, sunflower seeds, poppy seeds and walnuts, for a hearty, nutty, wholesome loaf that’s wonderful for sandwiches and toast.
You might also love these high altitude recipes for soft and fluffy milk bread, easy white sandwich bread, and homemade brioche buns for hamburgers and hot dogs.
This site contains affiliate links. As an Amazon associate, I earn from qualifying purchases. This means that I may make a small commission if you purchase a product using those links. This in no way affects my opinion of those products and services. All opinions expressed on this site are my own.
Why You’ll Love This Recipe
Easy to Make. Even if you’ve never worked with yeast before, you can easily make this whole wheat honey sandwich bread. Just be sure to read all of my tips and FAQs, and scroll through the whole post for the step-by-step process.
Hearty and Flavorful. I love the flavor and texture of homemade wheat bread, so much more than a basic honey wheat loaf from the grocery store. I made my whole wheat bread with seeds and nuts, which gives it so much more depth and flavor. You can use any combination of seeds and nuts that you like in your whole wheat sandwich bread, or even make it without. The crust of the bread is soft, making it perfect for sandwiches.
High Altitude Tested. I develop all the recipes on my site for Denver’s altitude of 5,280 feet. If you’re at a lower or higher elevation, please see my FAQs for guidance on adjusting recipes for your altitude. That said, most of my yeast dough recipes for rolls, buns and bread can be made at any altitude without adjusting the ingredients. The main difference will simply be on how long it takes your dough to rise, since dough tends to rise faster at higher elevations.
See the recipe card at the end of the post for the full ingredients list and instructions.
Tools and Equipment
- Stand Mixer with Dough Hook. A stand mixer is very helpful for kneading bread dough with little effort. If you do knead the dough by hand, try not to add too much extra flour.
- Bread Loaf Pan. The “small” USA Pullman pan works wonderfully for this recipe.
Loaf Pan Tips: For today’s recipe, I used the small USA Pullman pan, which measures 9x4x4 inches, making a tall loaf of bread. The large USA Pullman pan measures 13x4x4 inches, and will also work for this recipe. I’ve also used the standard 1-lb USA bread loaf pan for sandwich bread, which measures 8.5×4.5×2.75 inches. Since the sides are not as high as the pullman pans, the loaf should puff over the top of the pan more as it proofs, before the bread is baked.
Ingredients
- Milk + Water. Adds moisture to the bread while the fat in the milk adds flavor and richness.
- Honey. Adds a touch of sweetness and helps to “feed” the yeast.
- Butter. You’ll be using a small amount of butter in the bread dough, and the rest to brush over the top of the bread for flavor.
- Yeast. The yeast is the leavening agent which makes the bread rise so that it has a light, fluffy texture. I highly recommend Platinum Superior Baking Yeast.
- Flour. Use equal parts bread flour and whole wheat flour, to give the bread dough structure and strength, a chewy texture, and hearty wheat flavor.
- Salt. Adds flavor.
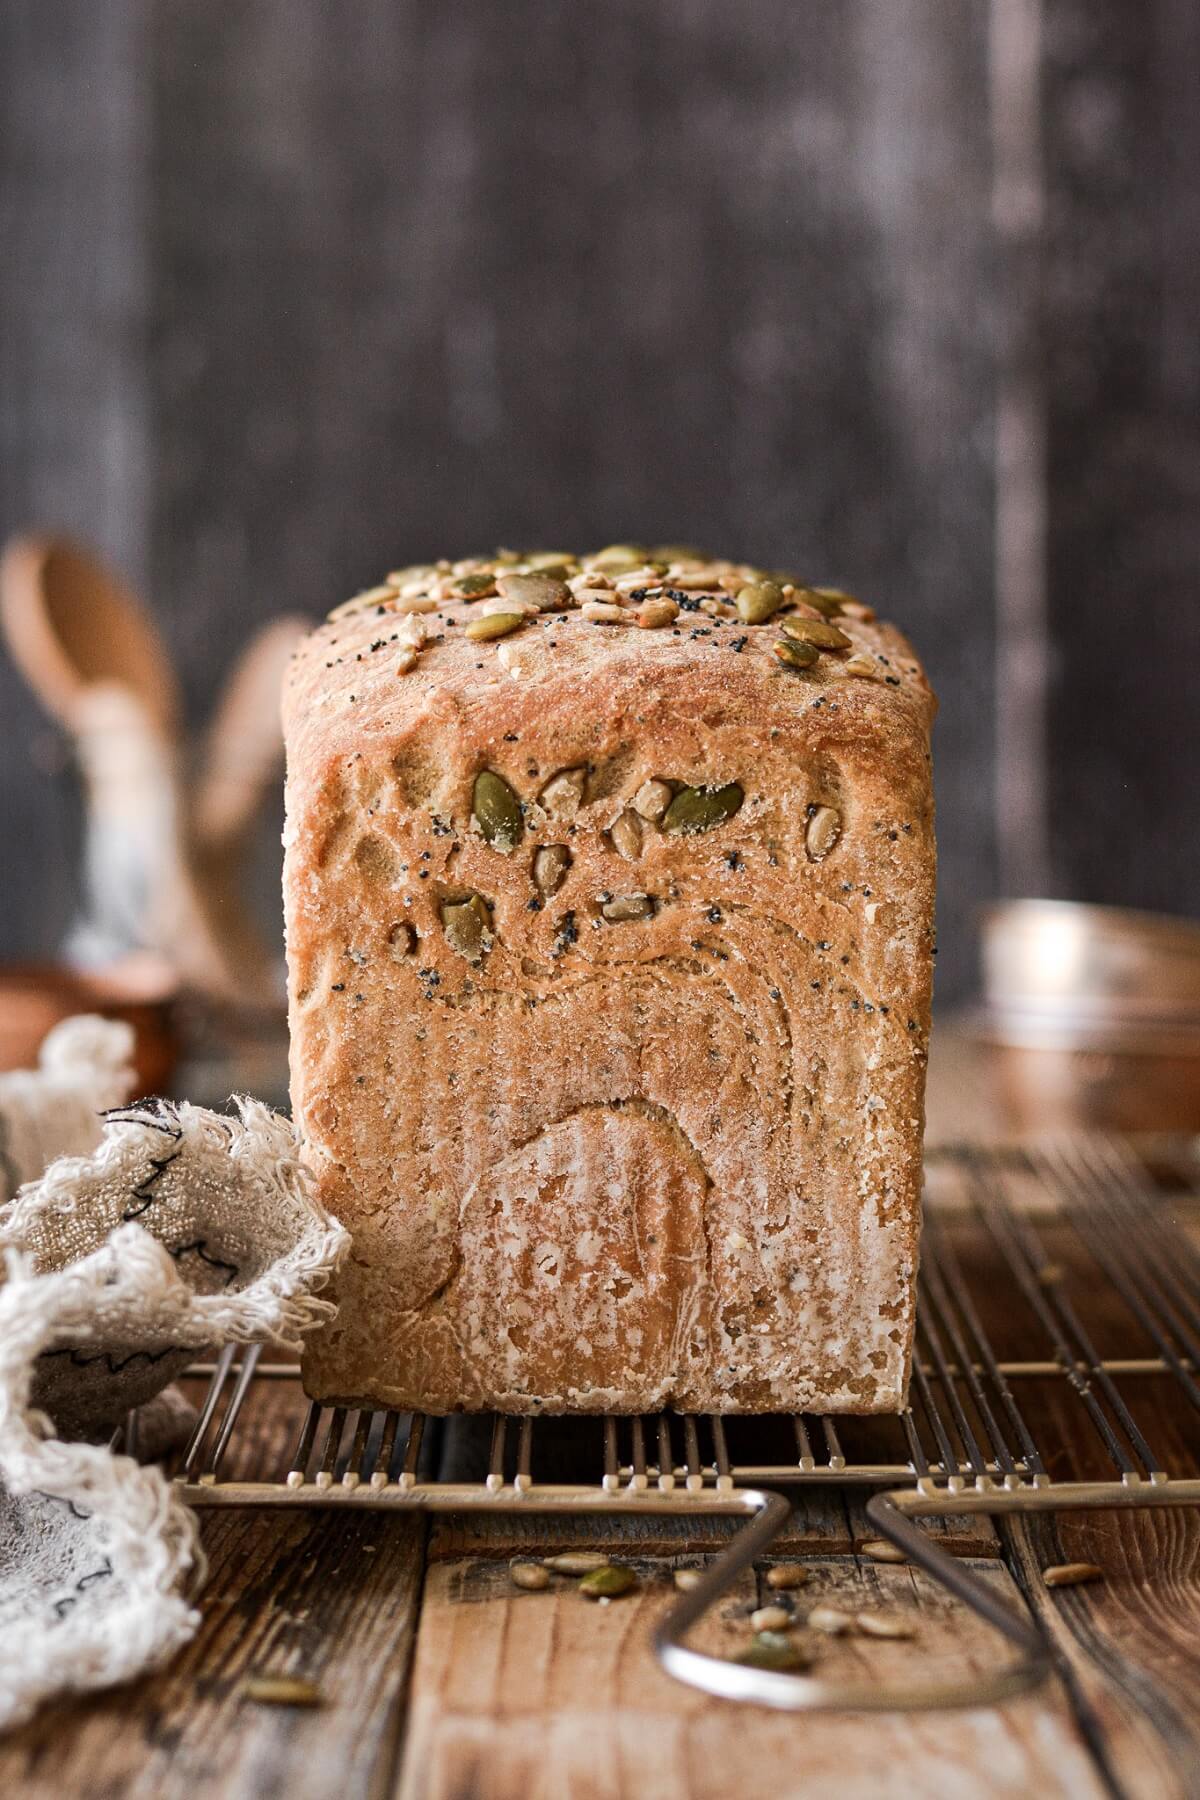
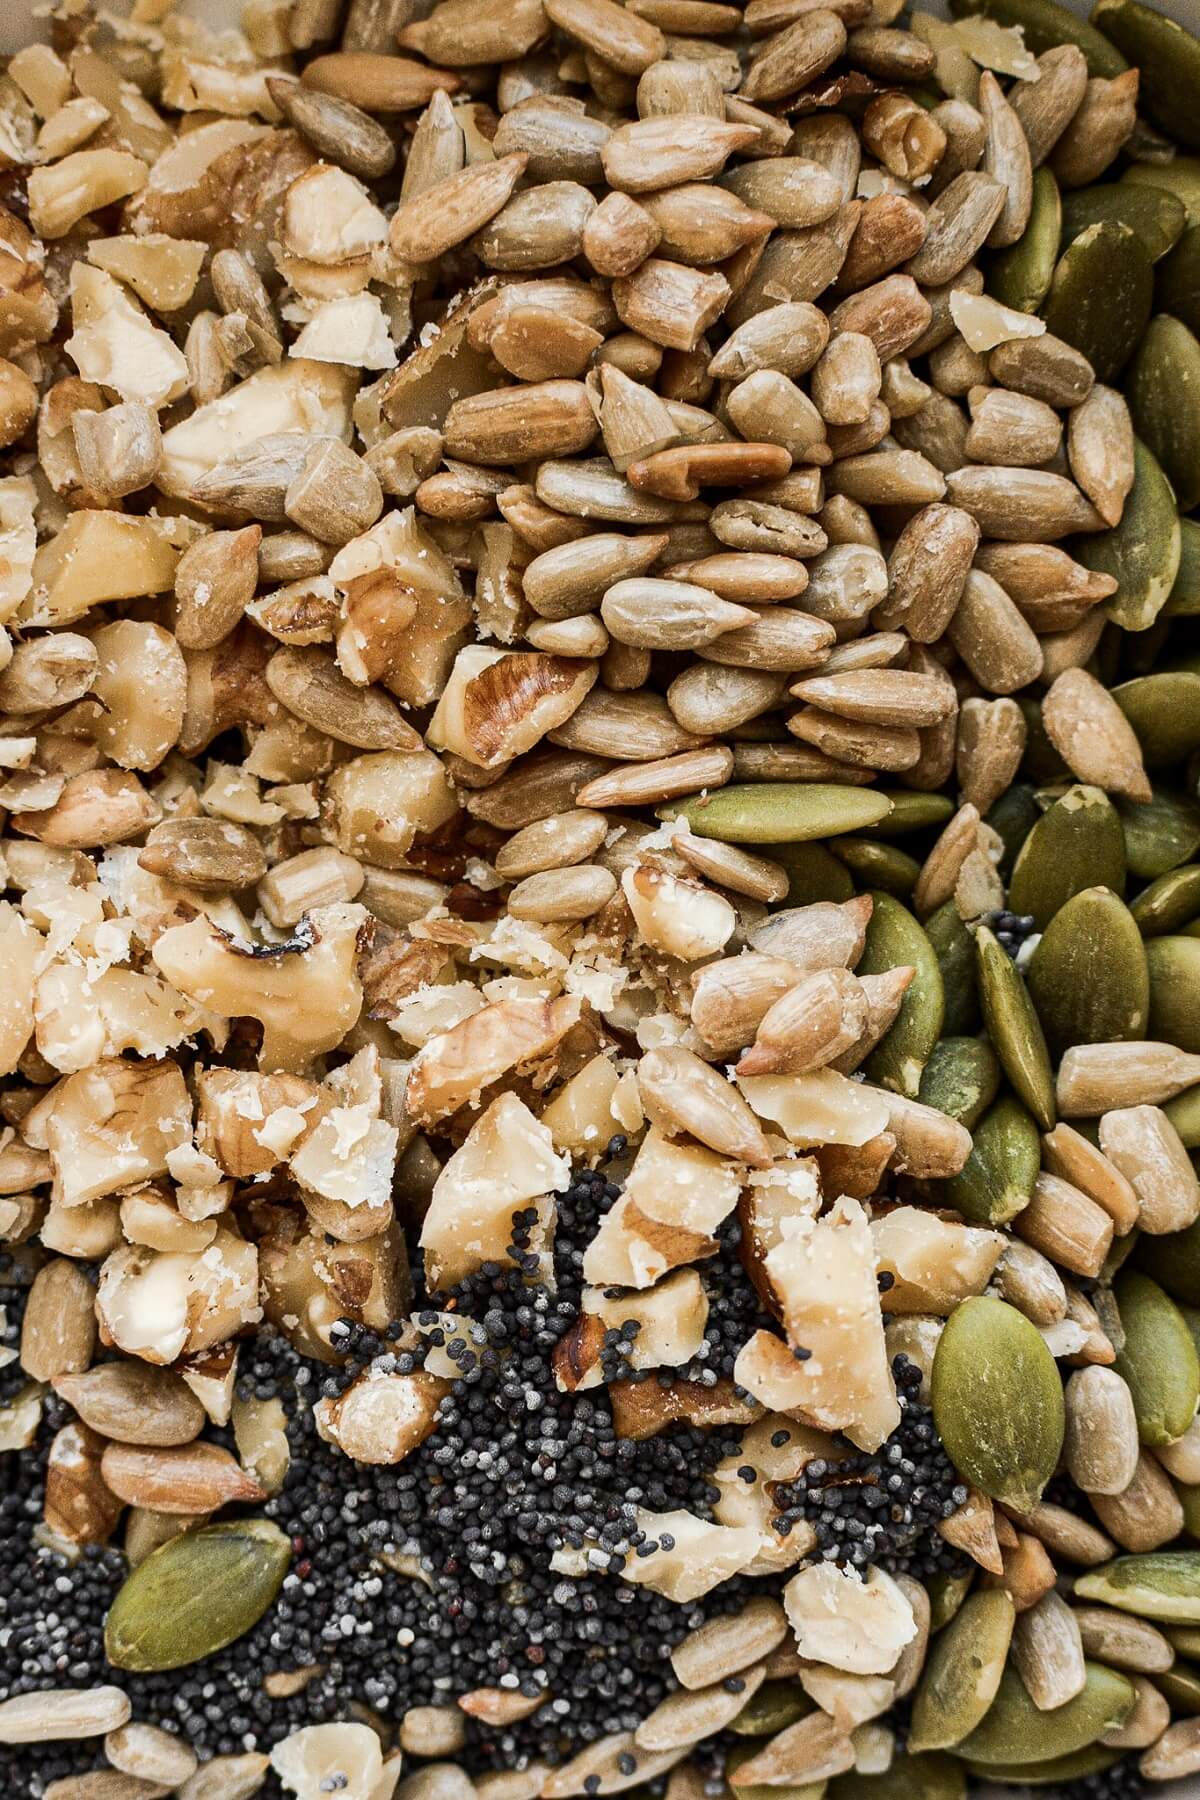
- Seeds and Nuts. I used a combination of unsalted pumpkin seeds, sunflower seeds, poppy seeds and walnuts. If your seeds are salted, you may want to slightly reduce the salt in the bread dough. I also sprinkled some of the seeds on top of the bread before baking. While they look beautiful and their toasty crunch is delicious, they don’t stick well, and do tend to fall off when you slice the bread.
Instructions
Activate the yeast.
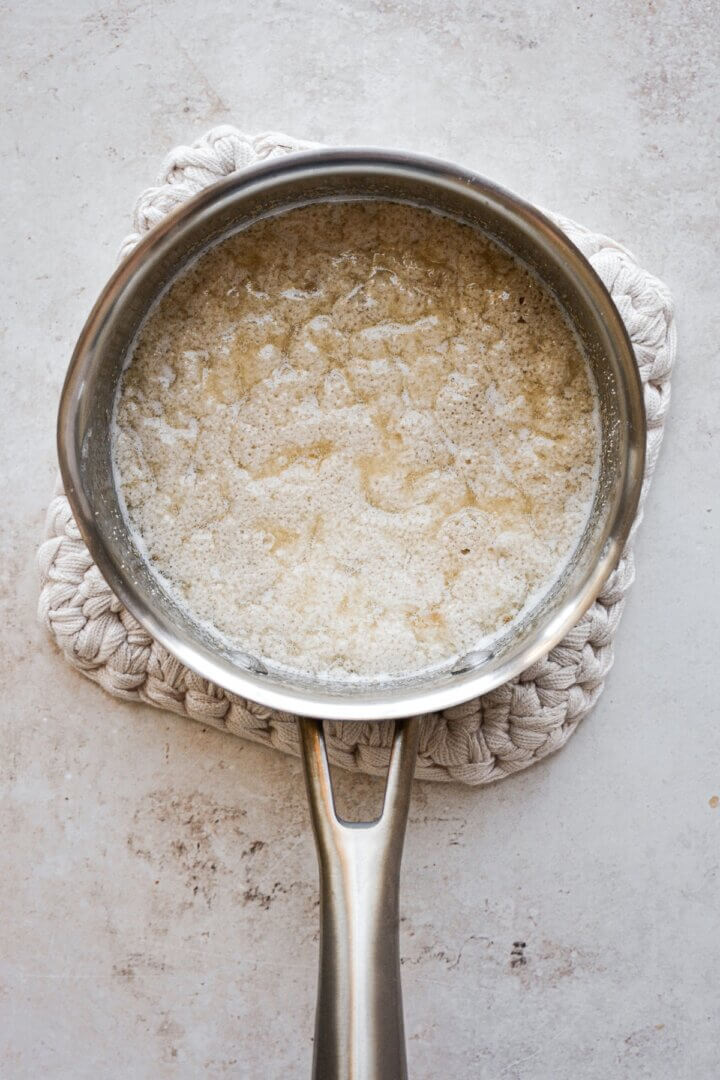
- In a saucepan, combine the milk, water, honey and 1 tablespoon of butter. Heat the mixture over medium heat to between 110-115 degrees Fahrenheit. If the temperature is hotter or colder, the yeast won’t be properly activated.
- Remove the saucepan from the heat. Sprinkle the yeast over the milk mixture and stir it in. Let it stand for about 5 minutes, until it becomes foamy and bubbly.

Mix and knead the dough.
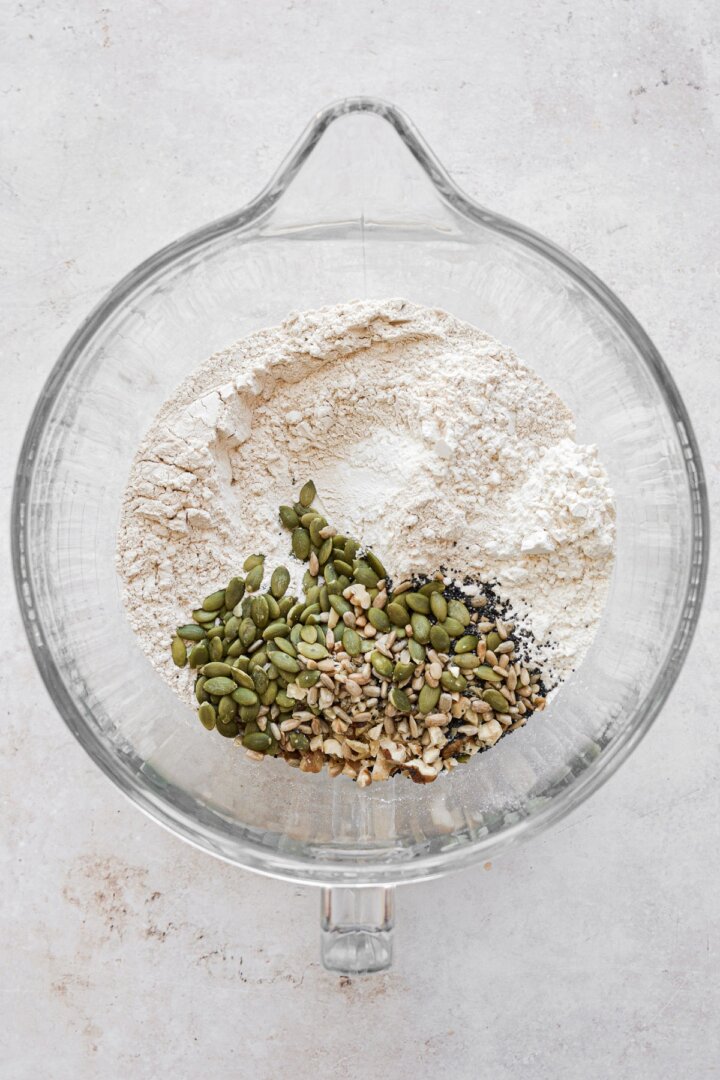
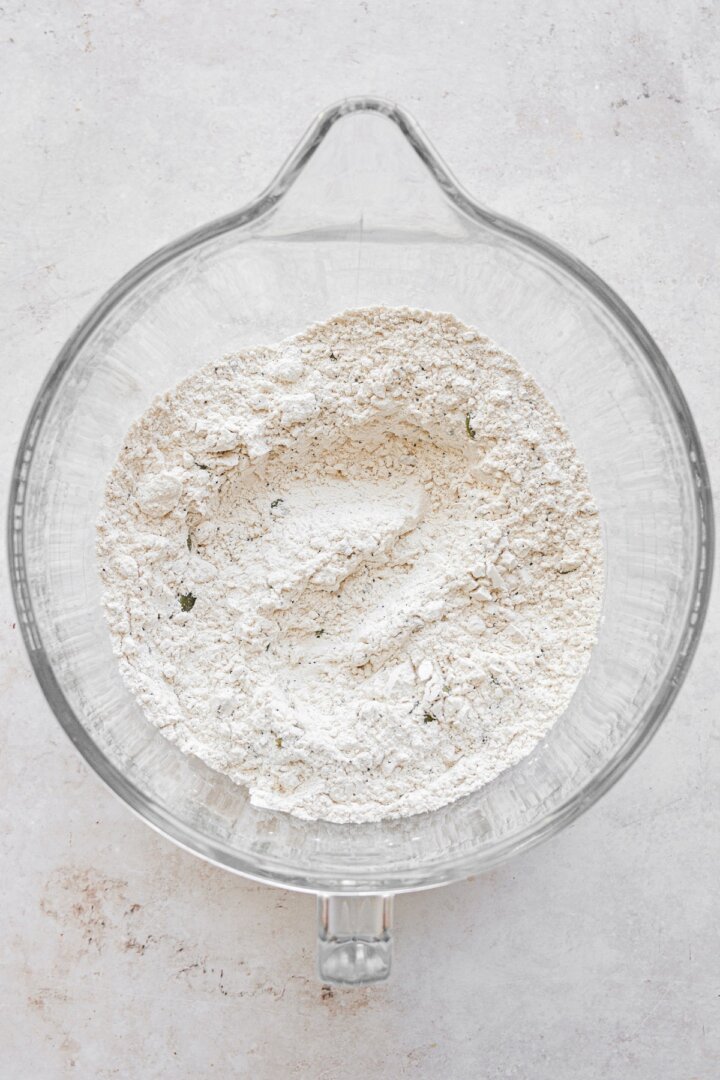
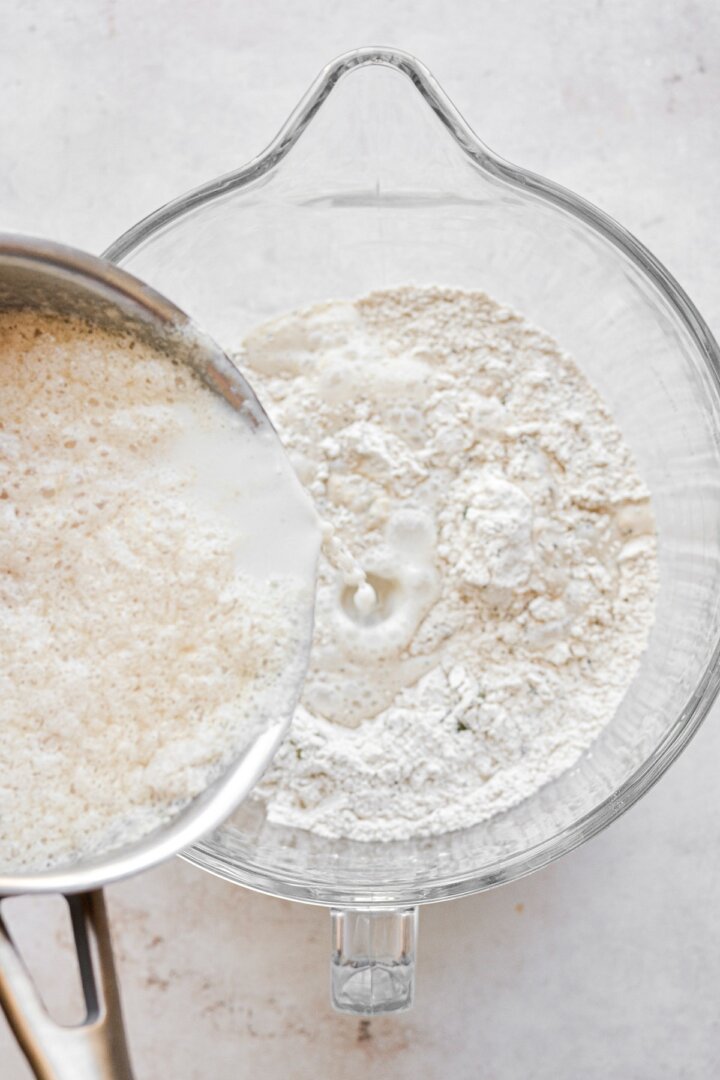
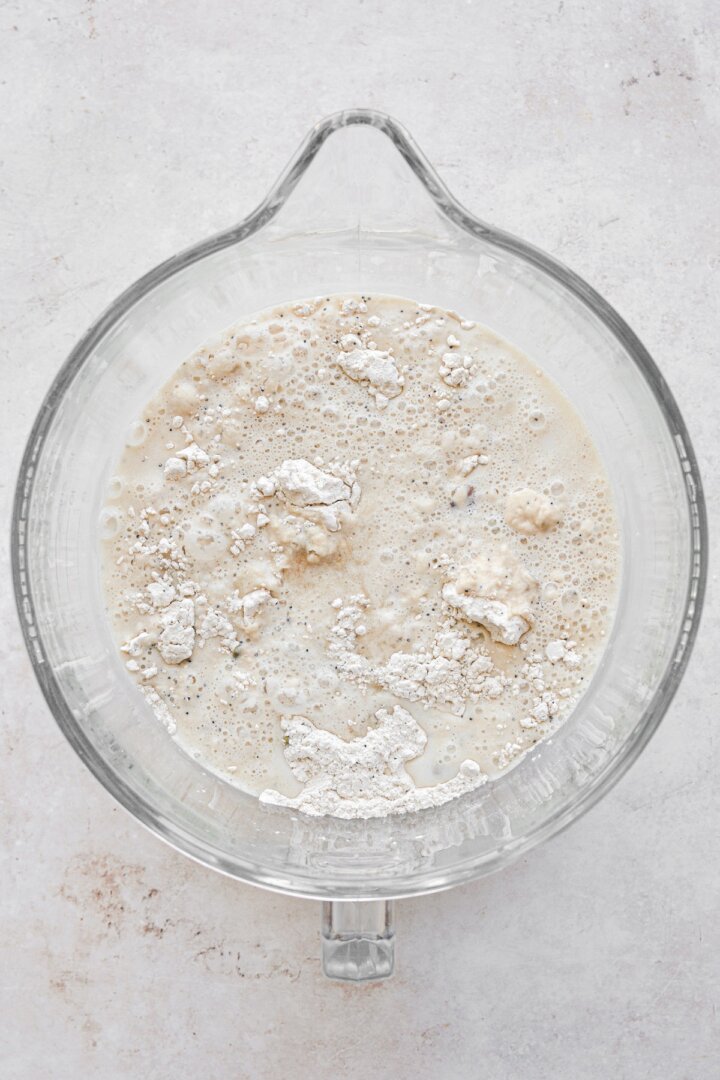
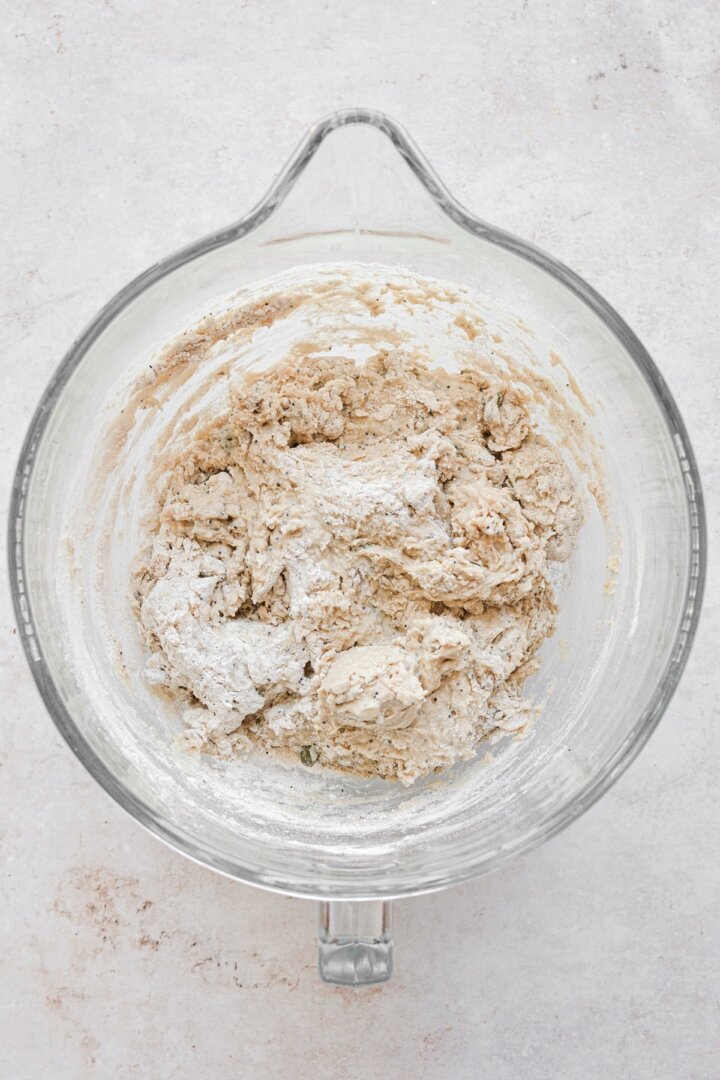
- Meanwhile, combine 2 cups bread flour and 2 cups wheat flour with the salt, seeds and walnuts in the bowl of your stand mixer. Add the milk/yeast mixture and stir together to form a soft, sticky dough.
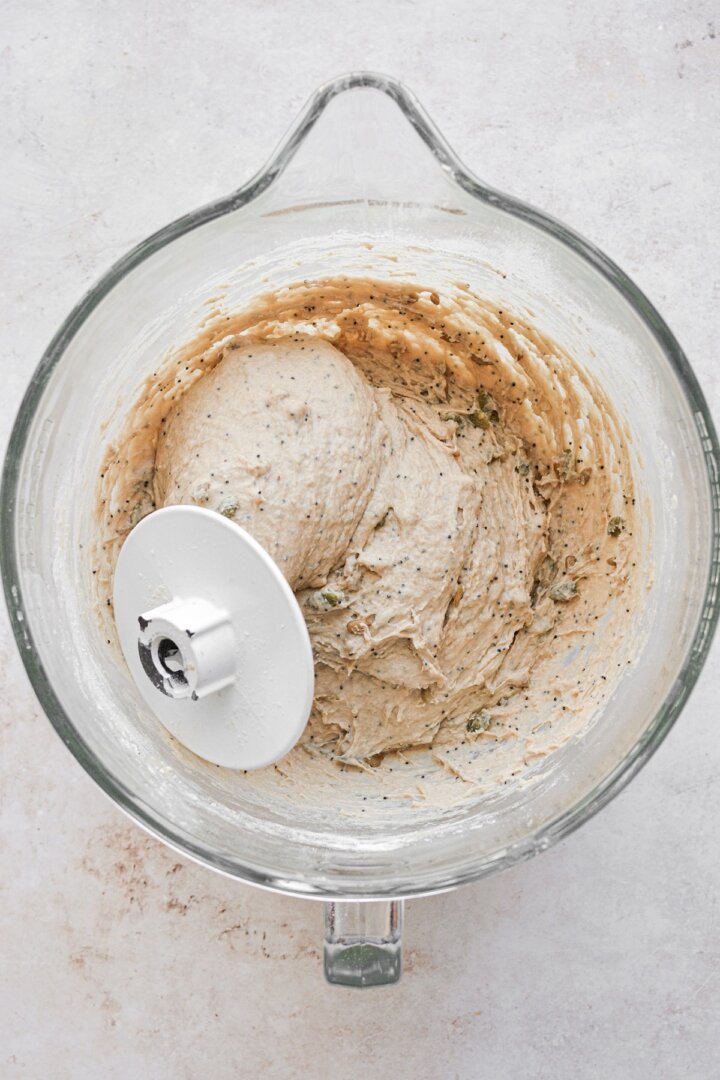
- Attach the bowl to your stand mixer fitted with the dough hook. Knead the dough for 10-15 minutes, gradually adding in the remaining 1/4 cup wheat flour, if needed. The dough will smooth out, and should wrap around the dough hook, but may still stick to the bottom of the bowl. Even if the dough seems pretty sticky, you don’t need to add more flour than stated in the recipe, or your bread will end up too dense.
Let the dough rise.
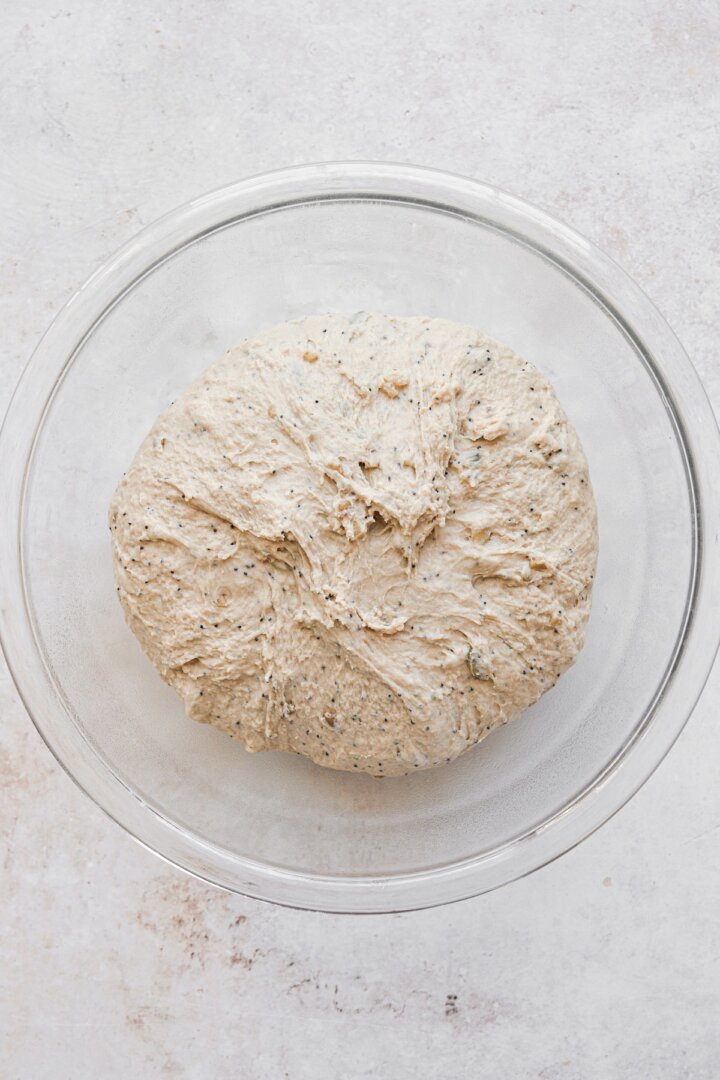
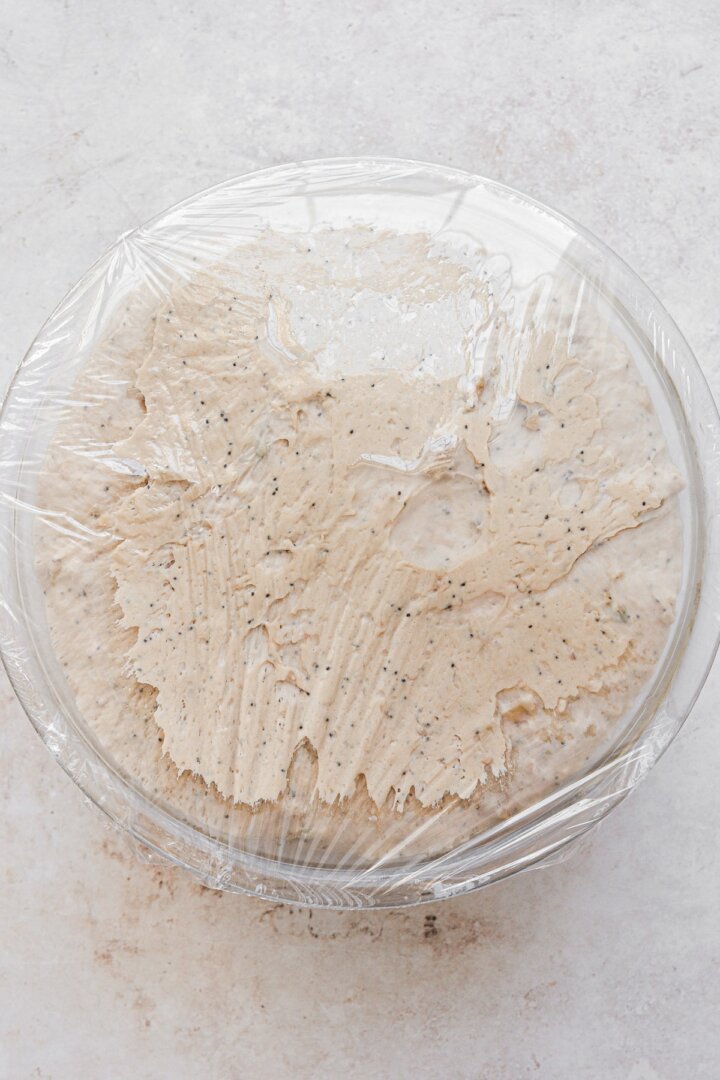
- Lightly grease a large bowl and place the dough in the bowl. Cover the bowl tightly with plastic wrap. Set in a warm place to rise until doubled in size, being careful not to let the dough over-proof and get too big. It should take about 30-45 minutes.
- If your oven has a “bread proof” setting, use this. Otherwise, preheat the oven on to the lowest setting, then turn it off before you set the dough inside to proof.
- Meanwhile, melt the remaining 2 tablespoons of butter in a small saucepan, and keep it on the back of the stove.
- Prepare a bread loaf pan by brushing the bottom and sides lightly with some of the melted butter, then dusting with flour.
Shape and rest the dough.
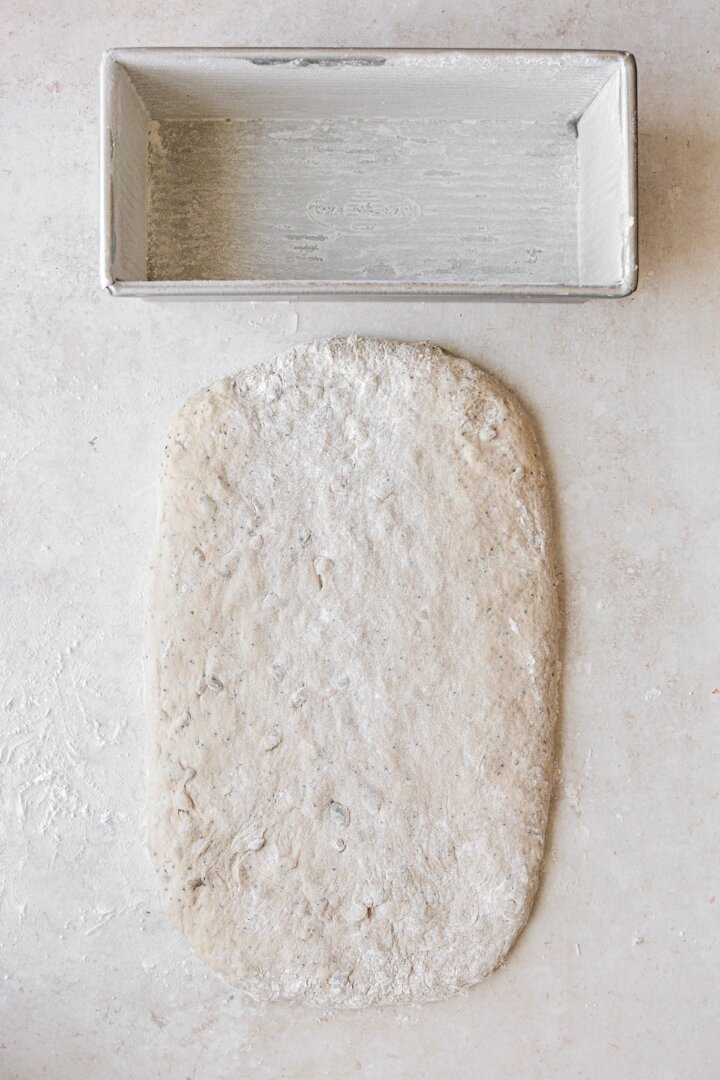
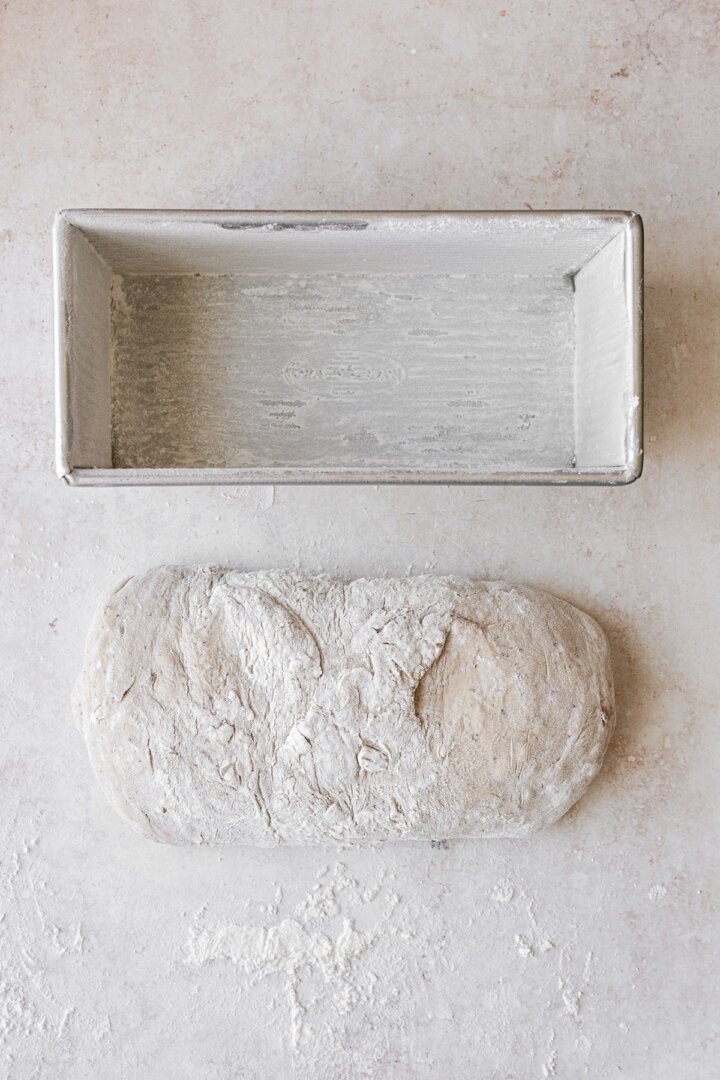
- When the dough has doubled in size, lightly flour a clean work surface. Use a rolling pin to roll out the dough into a rectangle about 1/2 inch thick, with a width that’s equivalent to the length of your loaf pan. Roll up the dough into a log, and place it in the prepared loaf pan, with the seam of the dough facing down against the bottom of the pan, and the ends tucked down.
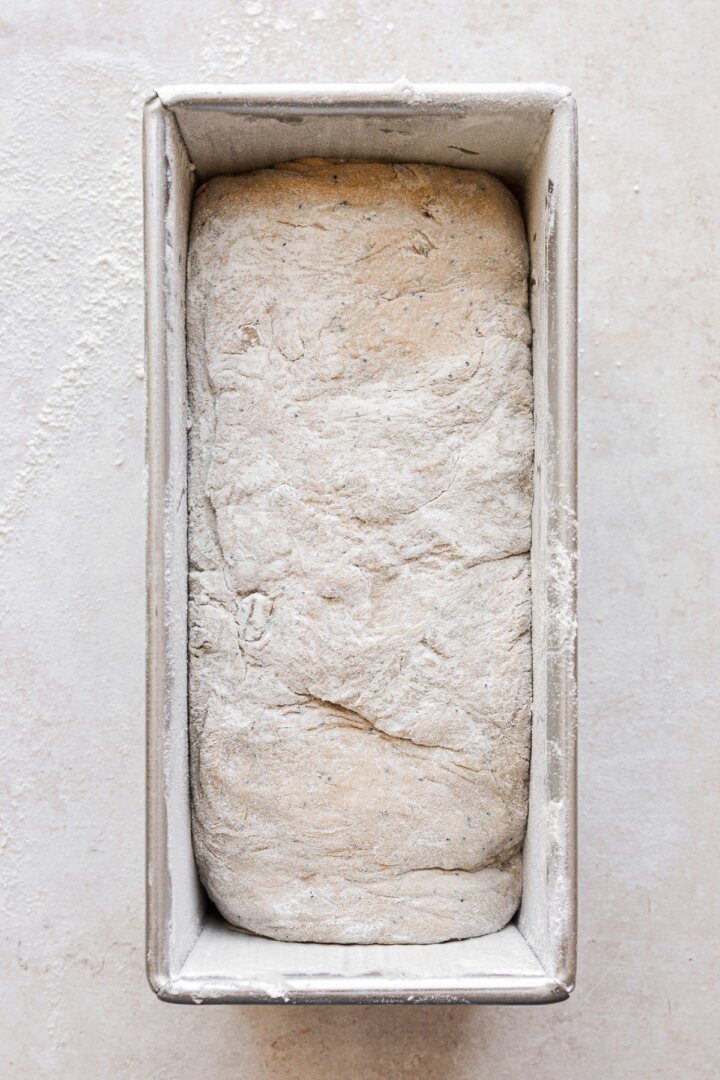
- Brush the top of the dough with some of the melted butter. If you like, sprinkle the top of the dough with a handful of seeds. Set the pan in a warm place to rest for about 20-30 minutes while the oven preheats. The dough should be starting to puff up above the top of the pan.
- If you’re using a standard bread loaf pan with short sides (instead of the high sided pullman pan), let the dough puff an inch or two above the top of the pan.
- Baker’s Note: This whole wheat bread doesn’t have as much “oven spring” as my white sandwich bread. That means it won’t rise a great deal higher once it’s placed in the oven. So be sure you don’t under-proof it before baking, or it can end up dense.
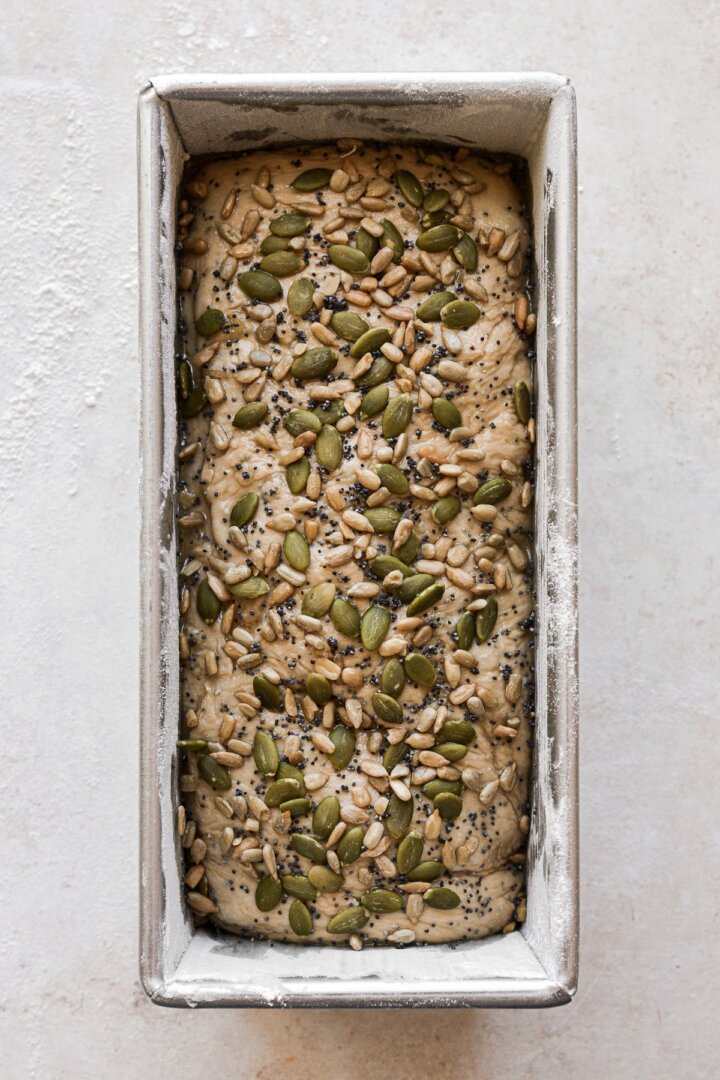
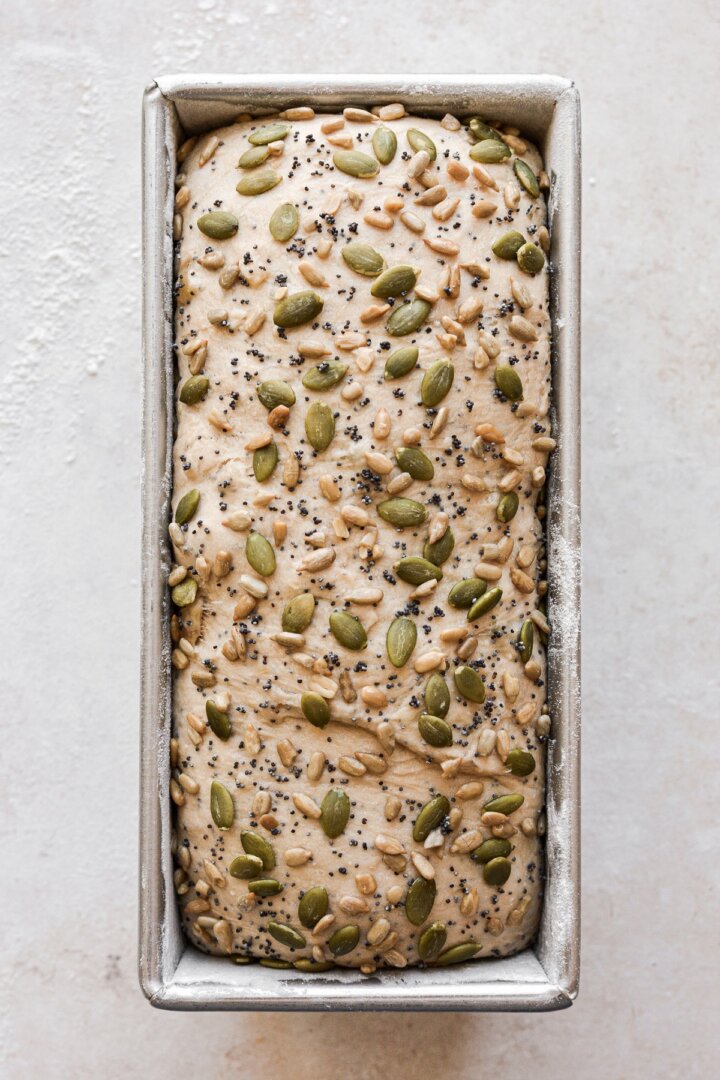
Bake the bread.
- While the dough is resting, preheat the oven to 350 F, and position a rack in the center of the oven. Bake the bread for about 40-55 minutes, until the top is a deep golden brown, and an instant read digital thermometer inserted into the center reaches 195 degrees Fahrenheit.
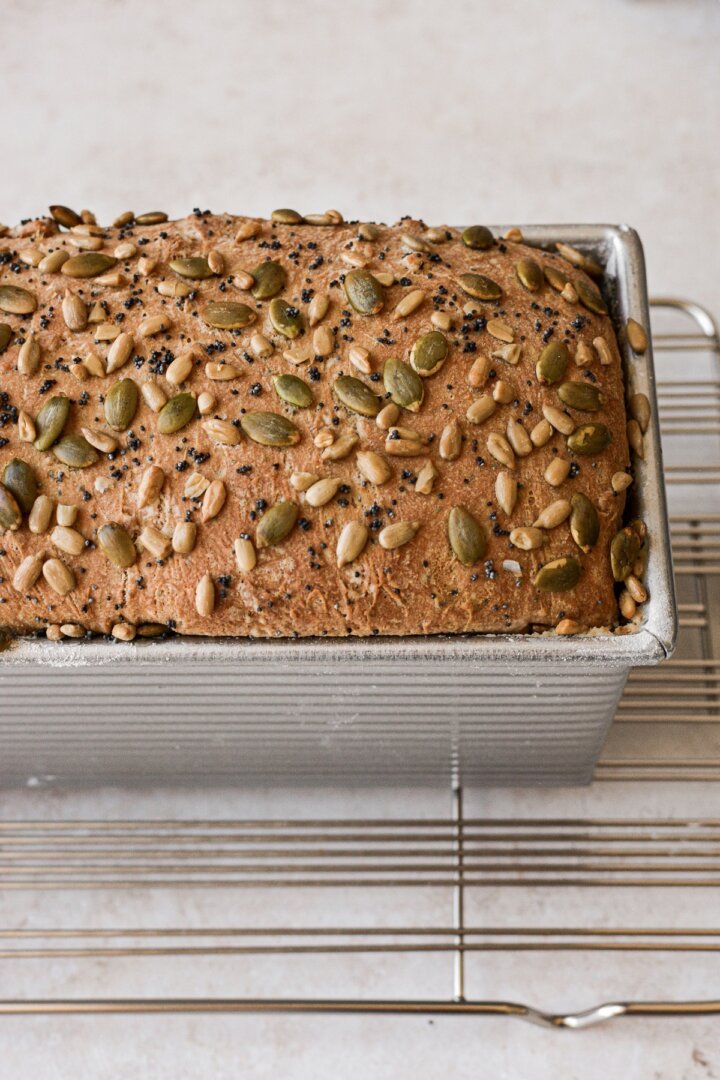
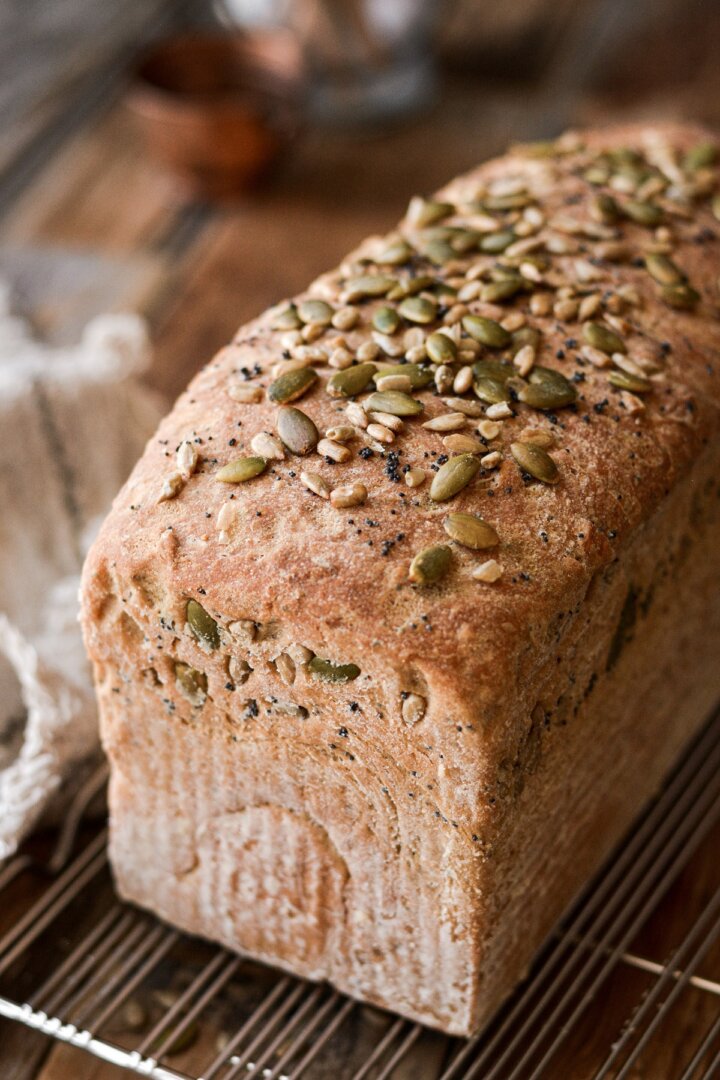
- Remove the bread from the pan (it should lift right out if you prepped the pan with butter and flour), and set on a wire cooling rack.
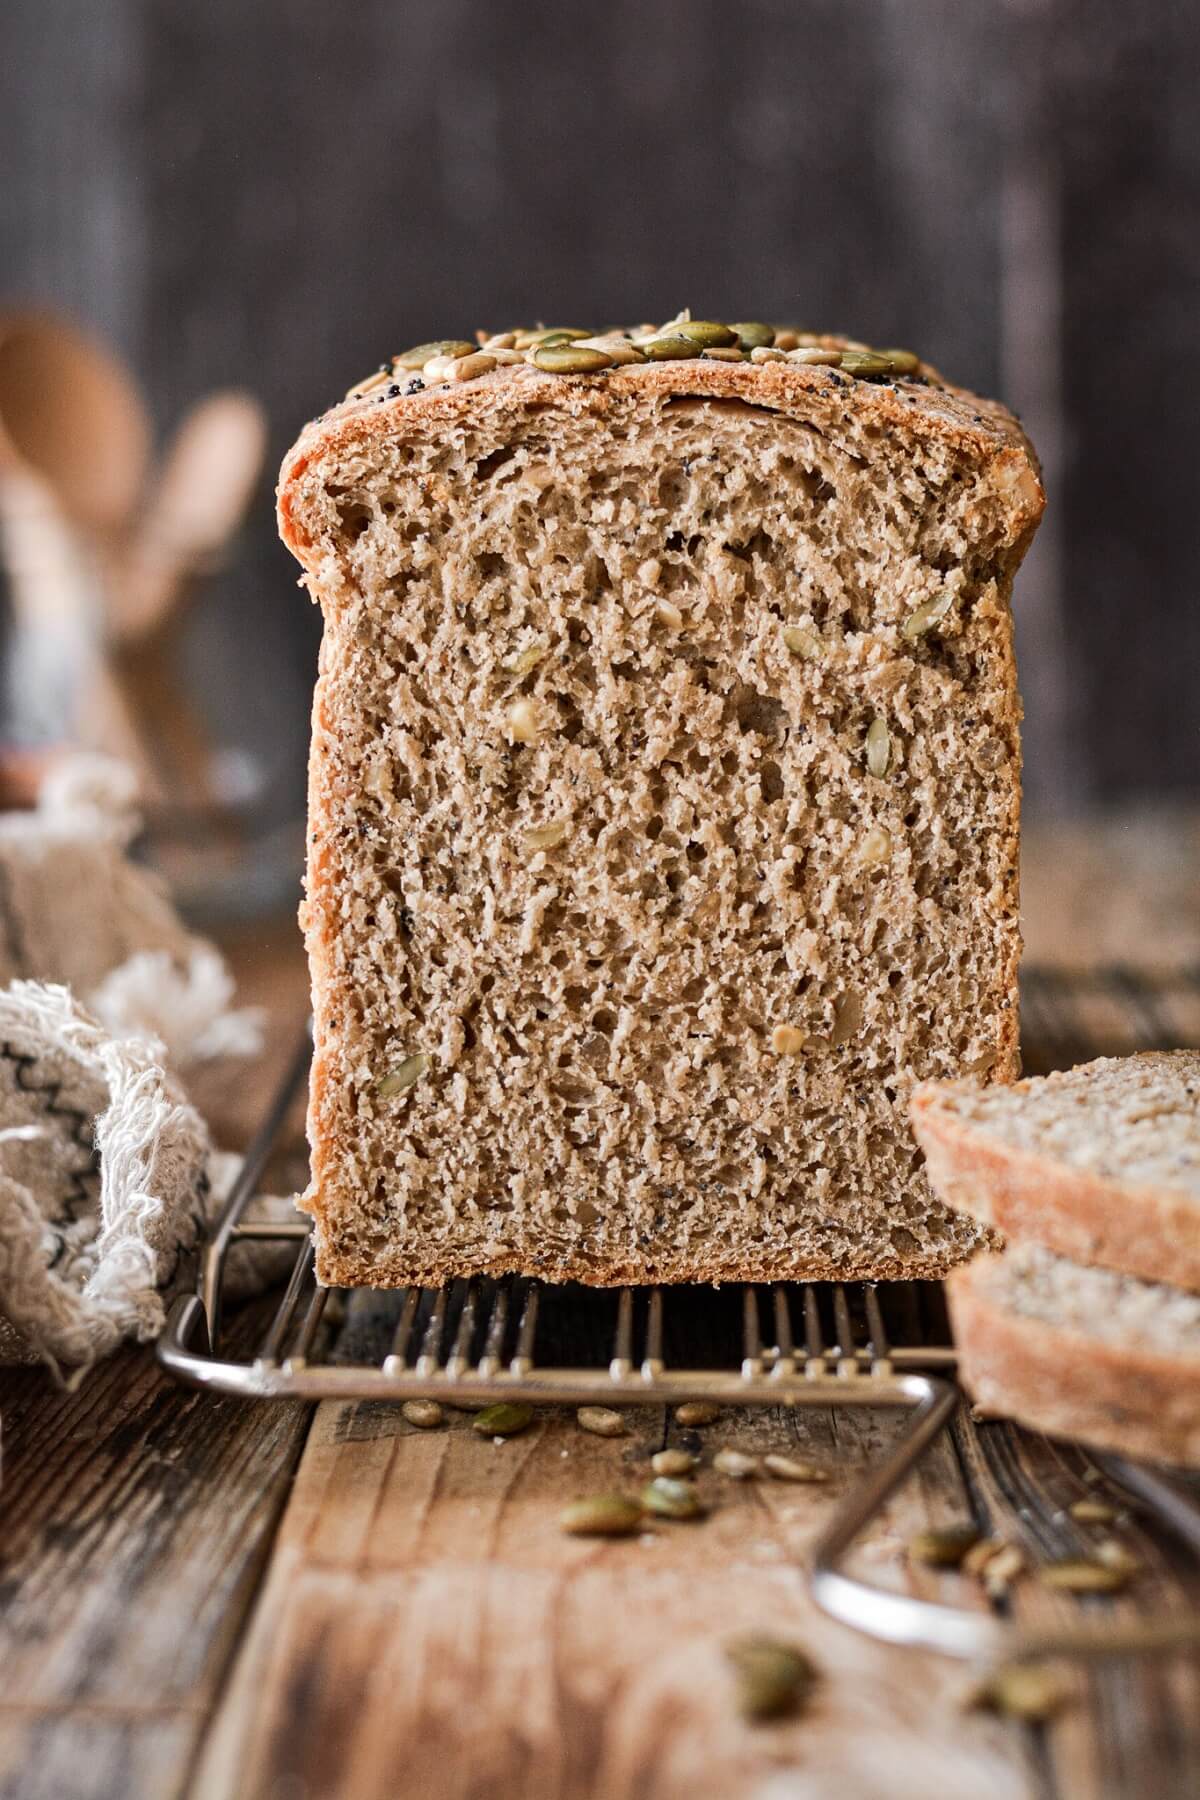
- Cool for about 1-2 hours before slicing with a sharp serrated bread knife.
Be sure to read all of my BAKING FAQs where I discuss ingredients, substitutions and common baking questions, so that you can be successful in your own baking!
Frequently Asked Questions
Can I replace the honey with other sweeteners?
Besides honey, you can use plain granulated sugar, or any other sweetener you like, such as pure maple syrup, agave syrup, brown rice syrup, golden syrup or light molasses.
Will this recipe work without the nuts and seeds?
Yes, you can make whole wheat sandwich bread with seeds and nuts or without. You can use a variety of nuts and seeds, although I wouldn’t recommend using chia seeds. Chia seeds absorb moisture and swell up with a gelatinous texture, which would change the texture of the bread.
How should I store the leftover bread?
Store the bread in an airtight container or plastic bag at room temperature for up to 3-4 days. The bread should stay soft for several days, but is also great toasted if it starts to get stale.
Can this bread be frozen?
Yes, you can freeze the bread for up to 3-6 months.
You Might Also Like

Please check out my Amazon Shop for a curated collection of some of my favorite cake pans from trusted brands, baking tools, ingredients, pretty things and fashion finds. I recommend products that I buy and use every day!
Did you love today’s recipe? Please rate the recipe and let me know in the comments what you thought! Also, be sure to follow Curly Girl Kitchen on Instagram, and tag me when you try one of my recipes so I can see all your delicious creations!
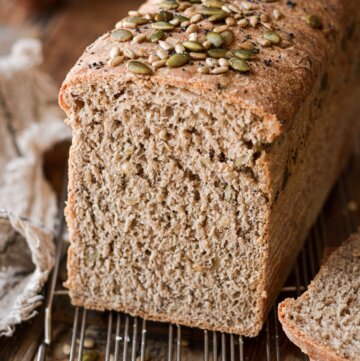
High Altitude Honey Whole Wheat Sandwich Bread
All recipes on Curly Girl Kitchen are developed for high altitude at 5,280 feet. See FAQs for adjusting to higher or lower elevations.
Equipment
- Stand Mixer with Dough Hook
- Bread Loaf Pan (the "small" USA Pullman pan works wonderfully for this recipe)
Ingredients
- 1 cup whole milk
- ¾ cup water
- 3 tbsp honey
- 3 tbsp unsalted butter, divided
- 1 packet instant or active dry yeast, preferably Platinum Superior Baking Yeast
- 2 cups bread flour, fluffed, spooned and leveled (plus extra for rolling the dough)
- 2 – 2 ¼ cups whole wheat flour, fluffed, spooned and leveled
- 1 ½ tsp coarse Kosher salt (if using table salt, use half the amount)
- 2 tbsp unsalted pumpkin seeds
- 2 tbsp unsalted sunflower seeds
- 1 tbsp poppy seeds
- ¼ cup unsalted walnuts, finely chopped
Instructions
Activate the yeast.
- In a saucepan, combine the milk, water, honey and 1 tablespoon of butter. Heat the mixture over medium heat to between 110-115 degrees Fahrenheit.If the temperature is hotter or colder, the yeast won't be properly activated.
- Remove the saucepan from the heat. Sprinkle the yeast over the milk mixture and stir it in. Let it stand for about 5 minutes, until it becomes foamy and bubbly.
Mix and knead the dough.
- Meanwhile, combine 2 cups bread flour and 2 cups wheat flour with the salt, seeds and walnuts in the bowl of your stand mixer. Add the milk/yeast mixture and stir together to form a soft, sticky dough.
- Attach the bowl to your stand mixer fitted with the dough hook. Knead the dough for 10-15 minutes, gradually adding in the remaining 1/4 cup wheat flour, if needed. The dough will smooth out, and should wrap around the dough hook, but may still stick to the bottom of the bowl.Even if the dough seems pretty sticky, you don't need to add more flour than stated in the recipe, or your bread will end up too dense.
Let the dough rise.
- Lightly grease a large bowl and place the dough in the bowl. Cover the bowl tightly with plastic wrap. Set in a warm place to rise until doubled in size, being careful not to let the dough over-proof and get too big. It should take about 30-45 minutes.If your oven has a "bread proof" setting, use this. Otherwise, preheat the oven on to the lowest setting, then turn it off before you set the dough inside to proof.
- Meanwhile, melt the remaining 2 tablespoons of butter in a small saucepan, and keep it on the back of the stove.
- Prepare a bread loaf pan by brushing the bottom and sides lightly with some of the melted butter, then dusting with flour. Loaf Pan Tips: For today's recipe, I used the small USA Pullman pan, which measures 9x4x4 inches, making a tall loaf of bread. The large USA Pullman pan measures 13x4x4 inches, and will also work for this recipe. I've also used the standard 1-lb USA bread loaf pan, which measures 8.5×4.5×2.75 inches, for sandwich bread. Since the sides are not as high as the pullman pans, the loaf should puff over the top of the pan more as it proofs, before the bread is baked.
Shape and rest the dough.
- When the dough has doubled in size, lightly flour a clean work surface. Use a rolling pin to roll out the dough into a rectangle about 1/2 inch thick, with a width that's equivalent to the length of your loaf pan. Roll up the dough into a log, and place it in the prepared loaf pan, with the seam of the dough facing down against the bottom of the pan, and the ends tucked down.
- Brush the top of the dough with some of the melted butter. If you like, sprinkle the top of the dough with a handful of seeds. Set the pan in a warm place to rest for about 20-30 minutes while the oven preheats. The dough should be starting to puff up above the top of the pan. If you're using a standard bread loaf pan with short sides (instead of the high sided pullman pan), let the dough puff an inch or two above the top of the pan.Baker's Note: This whole wheat bread doesn't have as much "oven spring" as my white sandwich bread. That means it won't rise a great deal higher once it's placed in the oven. So be sure you don't under-proof it before baking, or it can end up dense.
Bake the bread.
- While the dough is resting, preheat the oven to 350 F, and position a rack in the center of the oven. Bake the bread for about 40-55 minutes, until the top is a deep golden brown, and an instant read digital thermometer inserted into the center reaches 195 degrees Fahrenheit.
- Remove the bread from the pan (it should lift right out if you prepped the pan with butter and flour), and set on a wire cooling rack.
- Cool for about 1-2 hours before slicing with a sharp serrated bread knife.

Hi,
I just tried this recipe for white bread. It is very very tastey. Since I don’t have bread flour right now, I used so flour. The loaf was just a little dense. I had to bake it much longer up here at 8500 feet. But I think this will be my new bread recipe…. I need bread flour for sure.
Karen, I’m so glad you loved the white bread version of this! When bread seems dense and takes longer to bake, that usually means it has a little too much moisture, or the dough wasn’t proofed for long enough in the pan before baking. You might try a touch more flour or less water and see if that helps.
There’s a recipe on You tube I want to try : The Casual Bread Baker, episode entitled “ let’s bake Bulgur whole wheat bread” . I asked the author about high altitude, but she does not know exactly what to tell me since she’s at 1000 ft. I have good results with a high altitude white bread recipe that I have and I haven’t done too much with whole wheat bread and adding the bulgur etc. Would it be safe to use your measurements for the yeast and liquid etc? I’m at about the same altitude that you are.
I would like to add oats to this bread how do I adjust the flours?
Perfect and so pretty! Loaf looks and tastes great. Did not add the seeds so just bread. Great for sandwiches and toast. Very easy to make. This is my quick go to recipe when I am in a hurry.
Delicious! I added the seeds to the top. I won’t next time. They just fall off. Thanks for the great recipe!
OMG! This was so easy and delicious! My family ate it in just a couple of days. I can’t wait to make it again and change up the add-ins. Thank you SO much for posting this.
Have a question before I start baking this lovely loaf. I was just gifted a “small” USA Pullman (1lb) pan, which I see is the size you used and recommend. I’ve never used one before and mine is still in the wrapper. I can’t find any info on if it needs be seasoned before using and the internet suggestions aren’t for this specific pan, some saying it isn’t necessary. Since you use them, do you have any brand specific instructions? I am clueless. Thanks!!
I didn’t season my pan, I just washed it in warm soapy water first. With this brand, they recommend against extended soaking of their pans, and they also advise against using non-stick sprays, which can ruin the coating on the pan. Butter and flour is best for easy release of bread.
This is a great recipe and I have made it 4 times now. We live at 6800 ft. Instead of the nuts on top( which just fell off I add them right into my dough towards end of kneading. I use dough hook and standing mixer for 15 mins. I use hemps hearts and chia seeds. First proof is 1.5 hrs. Then I split this into two loaf pans for second proof. Otherwise one loaf pan makes this huge loaf that won’t fit in your toaster. Second proof is 30-45 mins. Otherwise this is my go to WW Bread recipe. I freeze second loaf till I need to use it.
I’m not sure what went wrong. I followed your recipe and it seemed to be working at each step. On the rise in the pan, it rose very high very fast and it was 1 1/2 inch over the pullman pan and then I baked it and it had an extreme oven spring. By the time it was done baking, it was 3 inches over the top. When I was making the recipe, I thought it was too much bread for one pan. My usual white bread recipe has 5 1/2 cups of flour for 2 loaves. This recipe has 4 1/4 cup of flour for 1 loaf. The bread looks good, its very tender but its too tall for a toaster etc. I was experimenting with new flour – Hungarian High Altitude All Purpose and Hungarian Whole Wheat. I think I will try it again but I will use my very long pullman. Do you have any idea why it rose so much more than what your recipe indicated?
Dough can rise at different speeds depending on factors like different altitudes, as well as the temperature of the environment – the higher the altitude and the warmer the environment, the faster it will rise. I don’t use a traditional toaster since I toast things on a rack in a convection oven, but if you like a shorter loaf, then you can divide the dough between two smaller pans, or use the longer pullman pan.