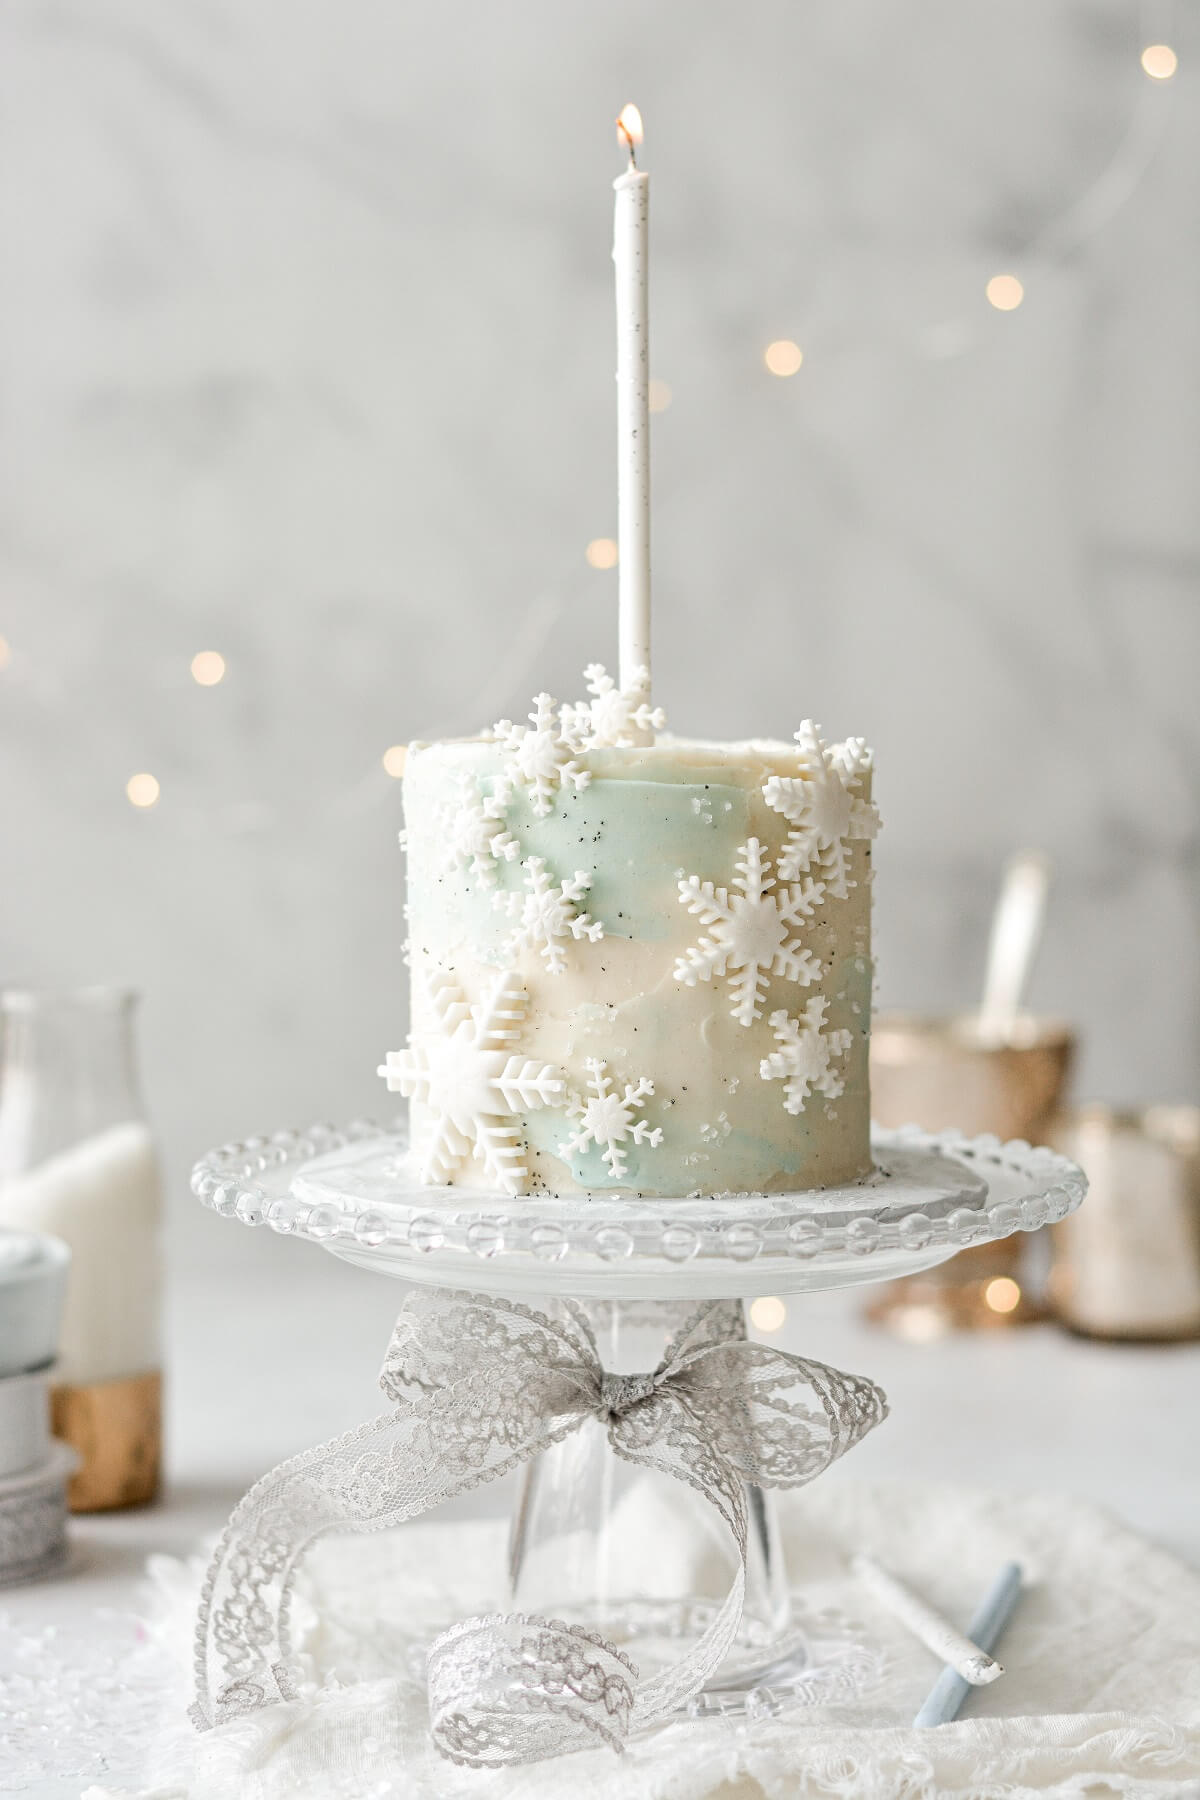
In today’s post, I won’t be sharing a recipe, just some Christmas cake inspiration. For a winter wonderland birthday party, I made this beautiful snowflake first birthday cake. With watercolor buttercream in shades of winter white and ice blue, sparkling sugar, and delicate snowflake cutouts, it makes a gorgeous cake for any holiday celebration.
If you love this cake, don’t miss this gingerbread sheet cake with powdered sugar snowflakes and this champagne snowflake cake.
This site contains affiliate links. As an Amazon associate, I earn from qualifying purchases. This means that I may make a small commission if you purchase a product using those links. This in no way affects my opinion of those products and services. All opinions expressed on this site are my own.
How big is this snowflake cake?
This is a petite little 4-inch cake. But the design would be stunning on a 6 or 8 inch layer cake.
How do you frost a cake with watercolor buttercream?
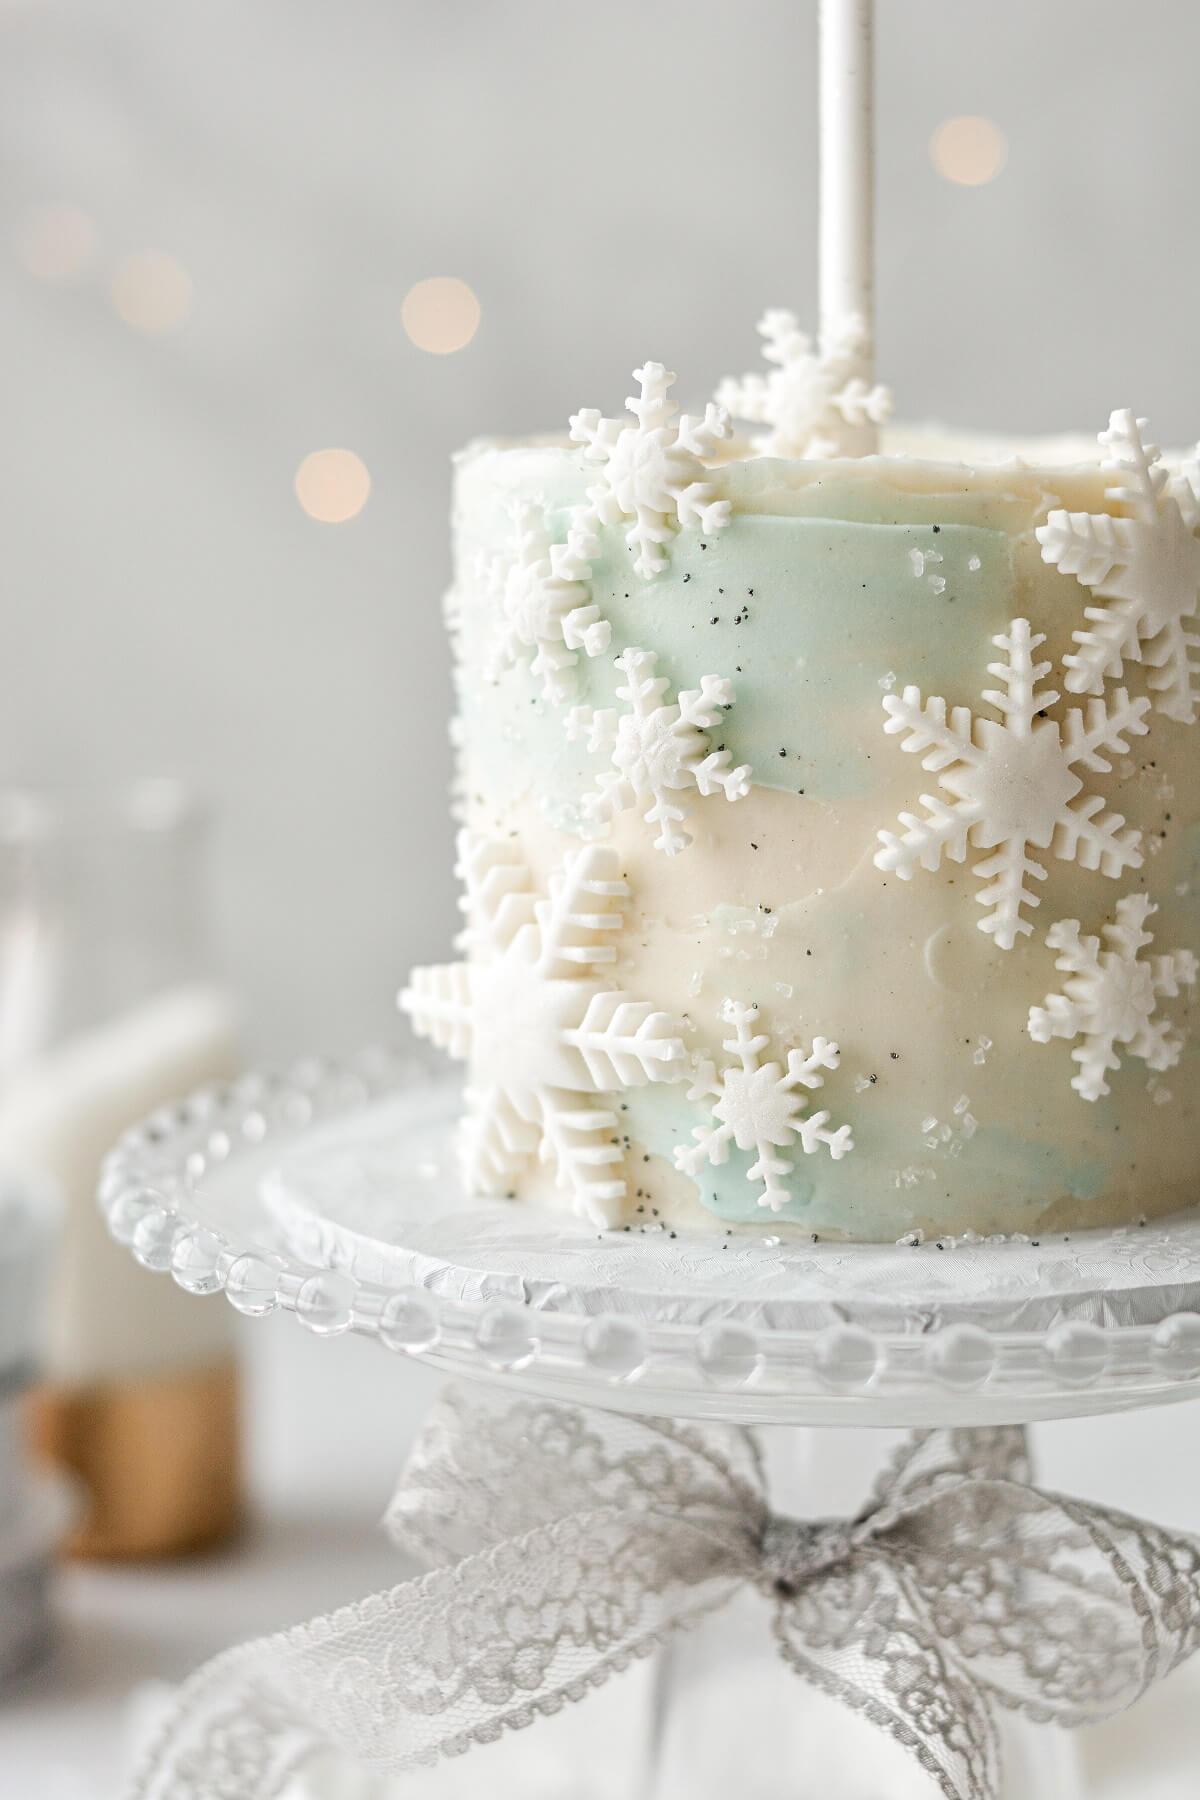
It’s really quite simple. I filled and frosted the whole cake with white buttercream. Then I tinted a small amount of buttercream (no more than 2-3 tablespoons of buttercream) with royal blue gel food coloring to get the light, icy greenish-blue hue pictured here. For more of a true blue, add a touch of violet to neutralize the yellow tones in the butter and eliminate the green in the blue.
Randomly dab a bit of the blue here and there on the cake, then use an icing spatula or bench scraper to smooth the blue around the cake for a streaky, watercolor effect.
What are the sugar crystals on the cake?
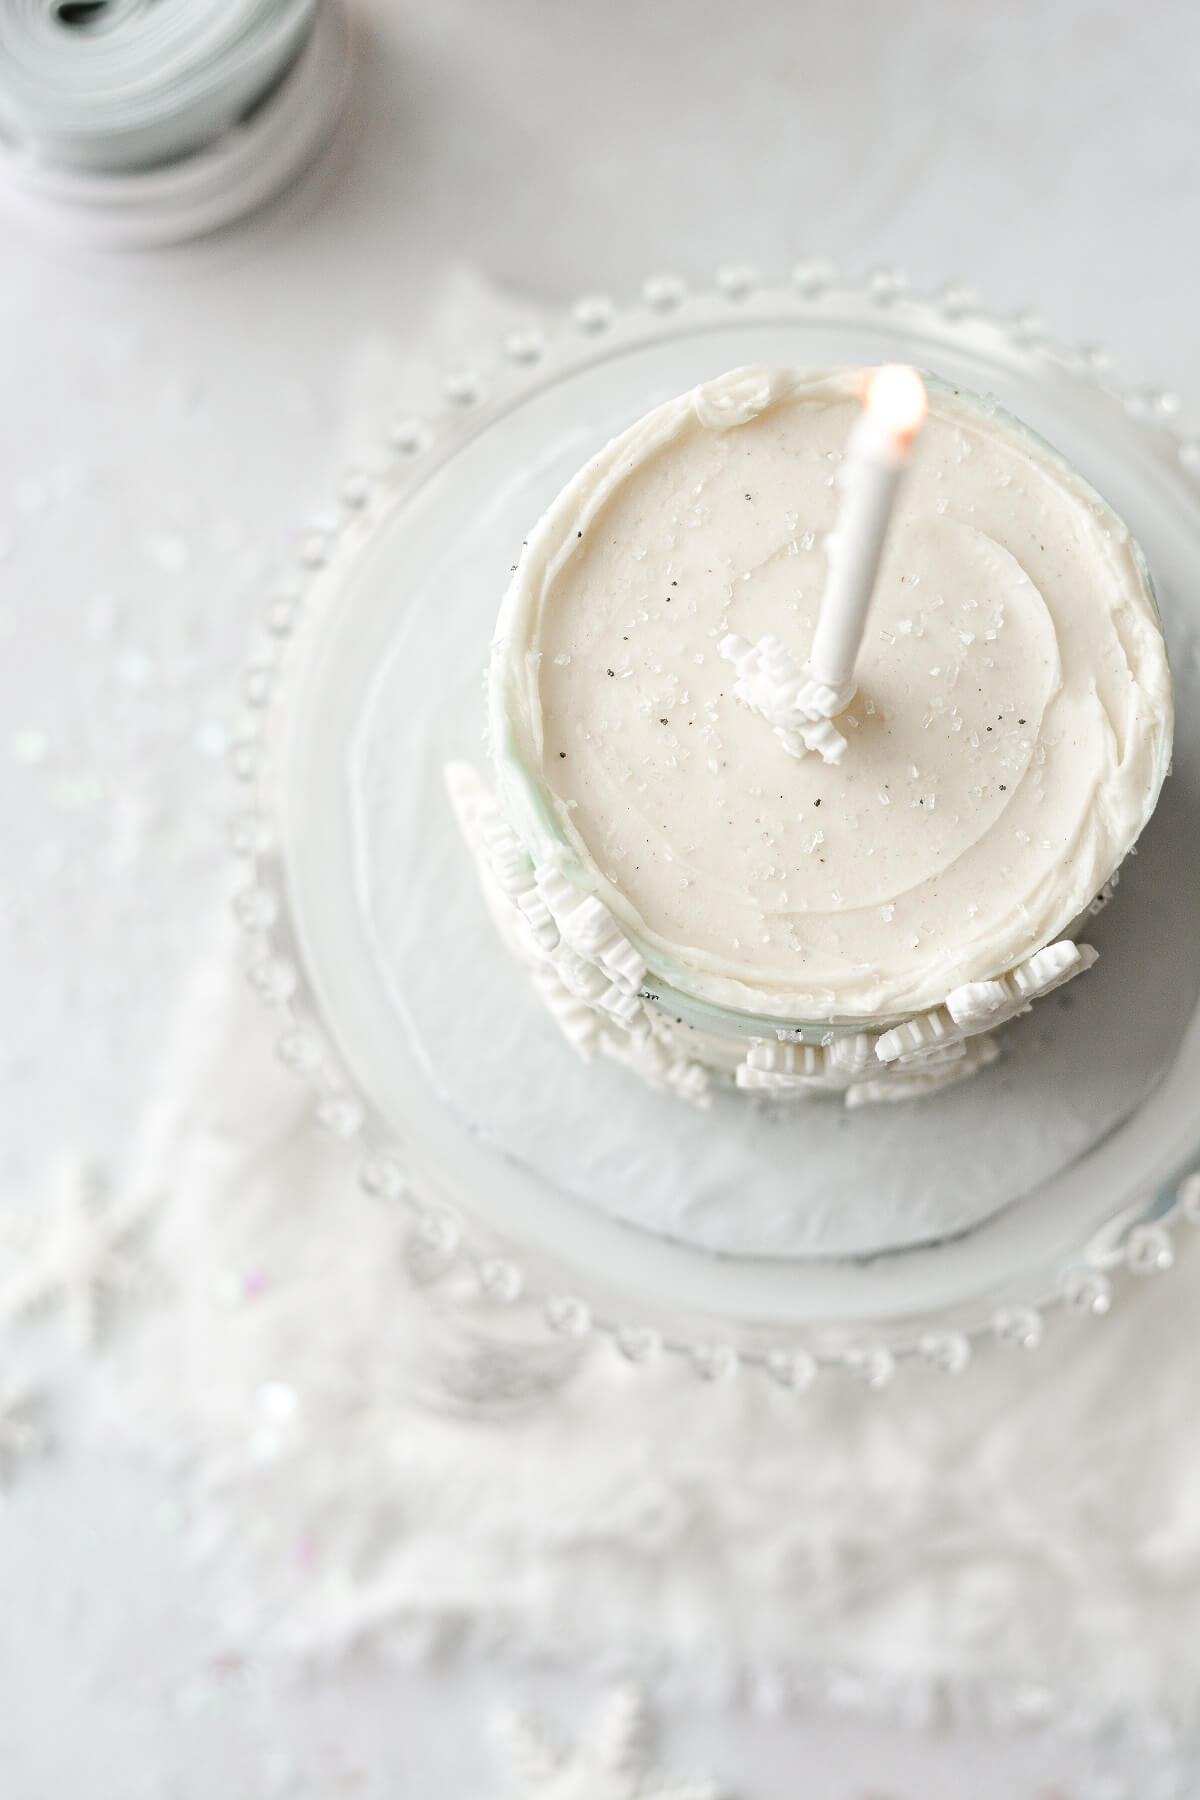
Before the buttercream crusted over, I scattered coarse white sparkling sugar over the cake, to give it a gorgeous sparkly look.
The darker crystals are silver sanding sugar crystals, just a few for a little contrast.
How do you make the snowflake cutouts for a snowflake cake?
You’ll need a few ingredients and tools to make the snowflake cutouts:
- White Fondant
- Snowflake Plunger Cutters
- Rolling Pin
- White or Silver Edible Luster Dust
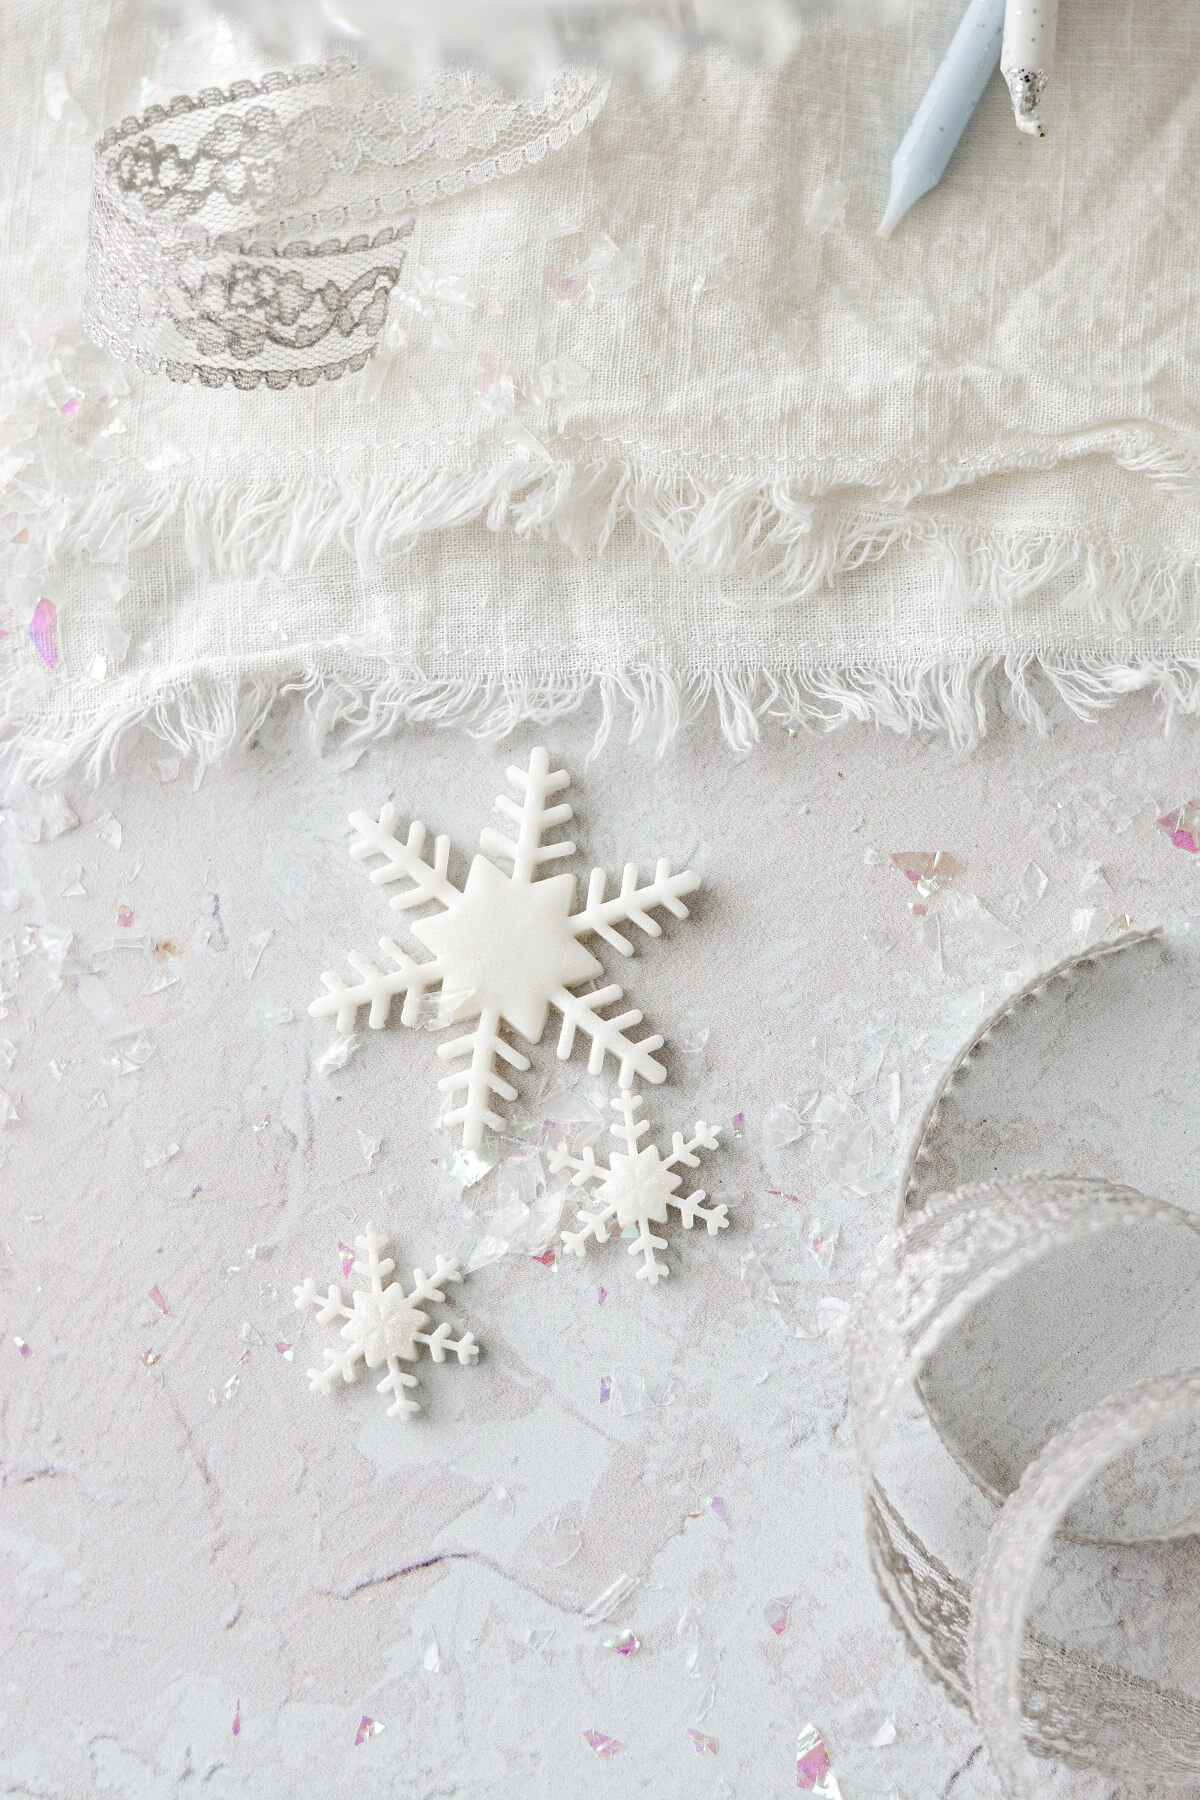
If you have stellar piping skills, you could try piping delicate snowflakes all over the cake with buttercream. But fondant snowflakes are easy to cut, versatile for cake and cupcake decorating, and looked just gorgeous on this snowflake first birthday cake.
Roll out the fondant.
You don’t need a lot of fondant – just a small package like this will do. It helps if you have a silicone rolling mat, but if not, just roll the fondant out on a piece of parchment paper or wax paper.
Lightly coat a ball of fondant with powdered sugar or corn starch (to keep it from sticking), and use a small rolling pin to roll out the fondant to about 1/8 inch thick.
Cut the snowflakes.
To cut such intricate and detailed snowflakes, you’ll need to use plunger snowflake cutters. These have a spring-loaded plunger which pushes the fondant out of the cutter for a perfectly cut snowflake.
Let dry.
Place the snowflakes on something flat (like a cutting board or baking sheet) lined with parchment paper. Store the snowflakes in a single layer in a cool, dry place, and let them dry and harden for 1-2 days.
Be sure to handle the snowflakes gently; the thin, delicate points break off easily.
Brush with luster dust.
Lastly, use a small craft brush to lightly brush the dried snowflakes with white or silver edible luster dust or shimmer powder.
Decorate your snowflake cake.
Arrange the finished snowflakes on your cake. If the buttercream has already crusted over, just dab a small amount of buttercream on the back of the snowflakes to adhere them to the cake.
You Might Also Like
Please check out my Amazon Shop for a curated collection of some of my favorite cake pans from trusted brands, baking tools, ingredients, pretty things and fashion finds. I recommend products that I buy and use every day!

Leave a Reply