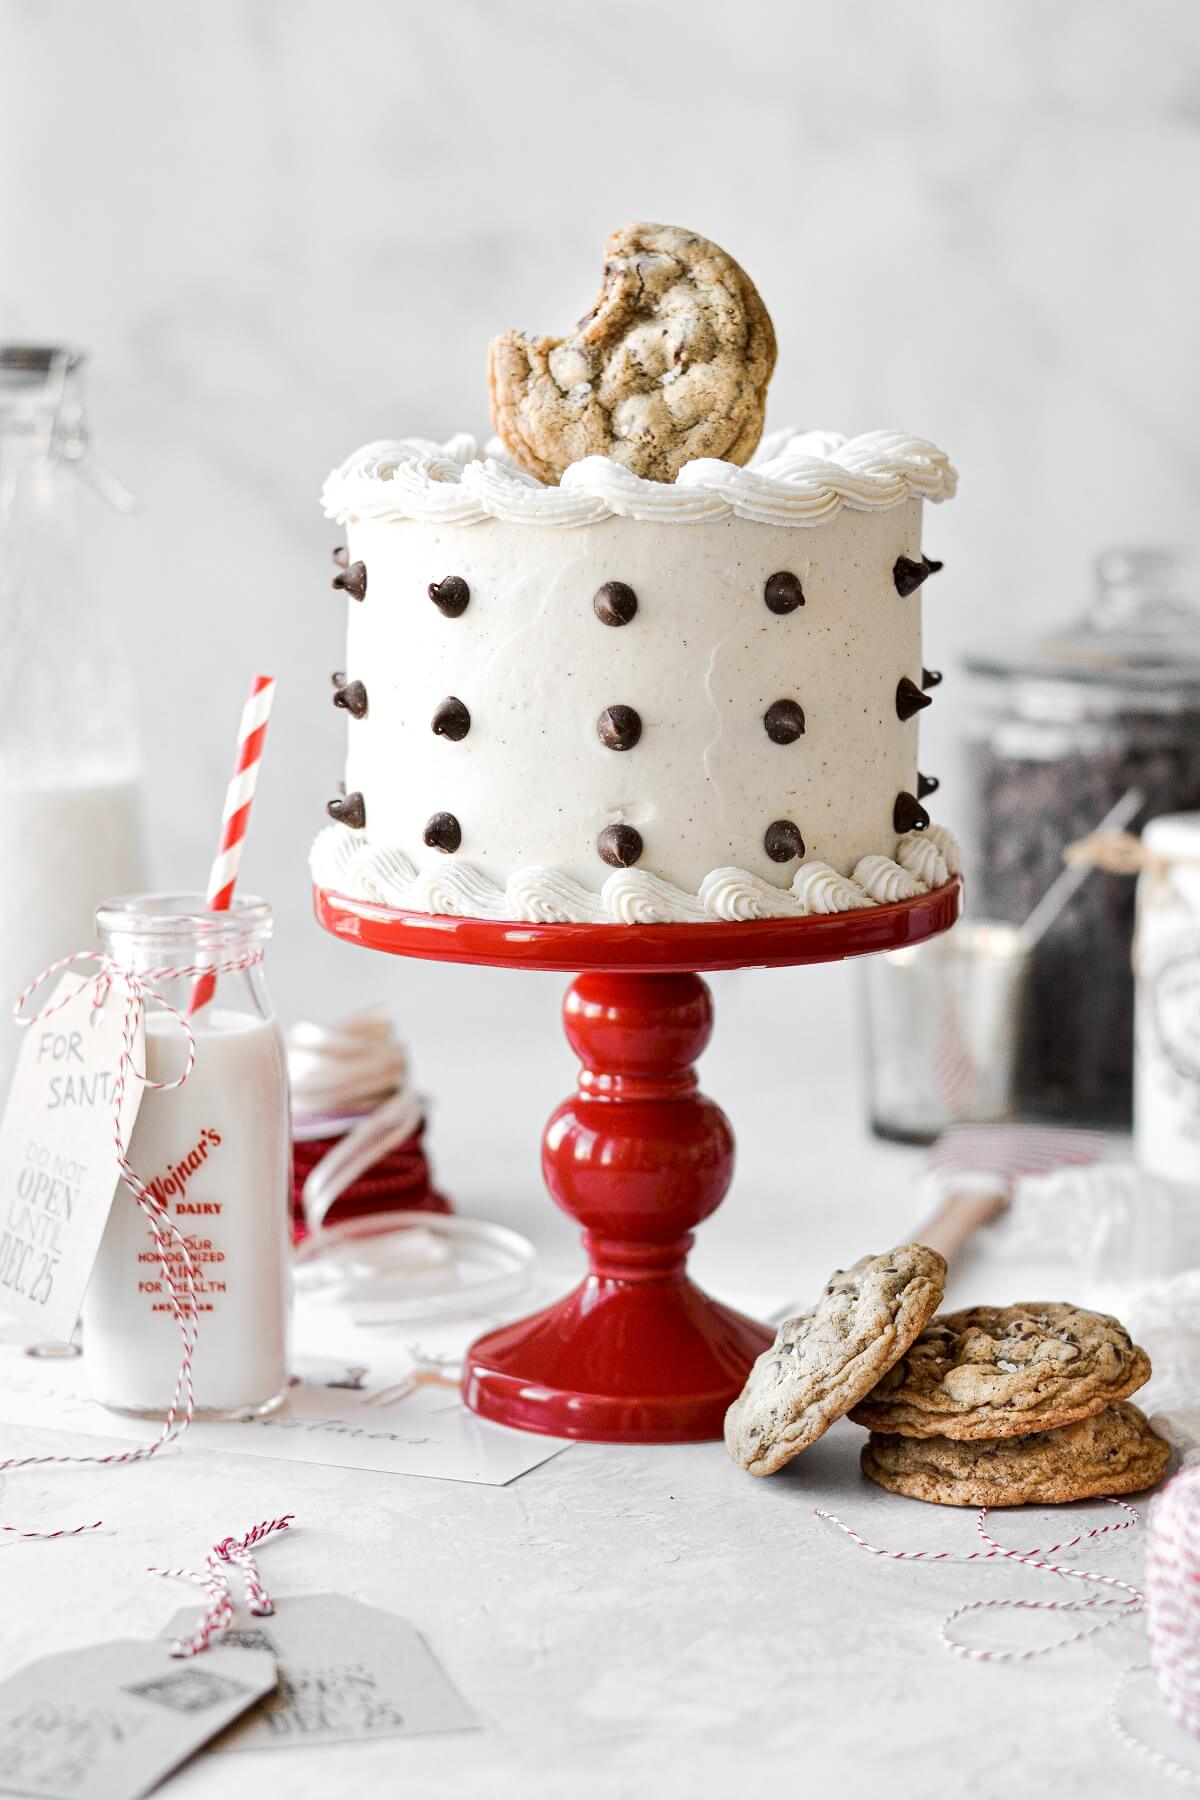
There’s no holiday that I love as much as Christmas! And Christmas cakes are one of my absolute favorite things to bake and decorate. For my first Christmas cake of this year’s holiday season, I’m sharing this Milk and Cookies Cake for Santa. Because if Santa and his reindeer like milk and cookies, then I’m guessing they’d love a high altitude chocolate chip cake that tastes like a big chocolate chip cookie!
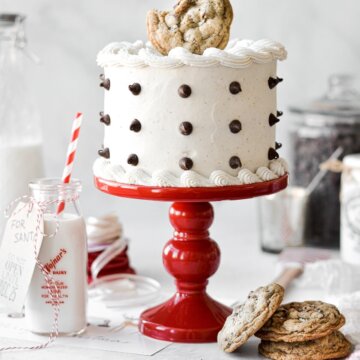
This cake is moist and a little dense, made with rich and creamy coconut milk and dark brown sugar, full of chocolate chips, and frosted with sweet vanilla bean buttercream. Chocolate chip polka dots and a cookie make perfectly fun and whimsical decorations.
Looking for more high altitude Christmas cake recipes? Don’t miss this cute little snowman cake, hot chocolate cake with homemade marshmallows, and a chocolate peppermint North Pole cake.
This site contains affiliate links. As an Amazon associate, I earn from qualifying purchases. This means that I may make a small commission if you purchase a product using those links. This in no way affects my opinion of those products and services. All opinions expressed on this site are my own.
Why You’ll Love This Cake
Such a Good Texture. This milk and cookies cake is more dense than fluffy, rather like a pound cake, since it’s made with cream cheese and butter in the batter. If a chocolate chip cookie and a cake had a baby, it would be this chocolate chip cake!
Easy to Decorate. There are so many fun ways to decorate this cake with cookies and chocolate chips. No decorating skills required!
High Altitude Tested. I develop all the recipes on my site for Denver’s altitude of 5,280 feet. If you’re at a lower or higher elevation, please see my FAQs for guidance on adjusting recipes for your altitude.

See the recipe card at the end of the post for the full ingredients list and instructions.
Ingredients
- Cream Cheese + Unsalted Butter. A combination of cream cheese and butter adds flavor and richness, and contributes to the dense, pound-cake like texture of the cake.
- Granulated Sugar + Dark Brown Sugar. Most chocolate chip cookie recipes use a combination of granulated sugar and brown sugar for nuanced flavor, and it’s delicious in this milk and cookies cake.
- Vanilla Extract. Use a good-quality vanilla extract for the best flavor.
- Eggs. Eggs provide structure and richness to the batter.
- Flour. I’ve used both cake flour and all-purpose flour in this recipe with great results. Cake flour will result in a lighter cake crumb.
- Baking Powder + Baking Soda. Leavens the batter, making the cake rise.
- Salt. Balances the sweetness.
- Canned Coconut Milk. I love the rich and creamy quality of canned, unsweetened coconut milk in baking. It gives the cake a beautiful texture, but doesn’t impart a coconut flavor.
- Mini Chocolate Chips. The mini chocolate chips are light enough to stay suspended in the batter, so that they don’t sink to the bottom of the cakes.
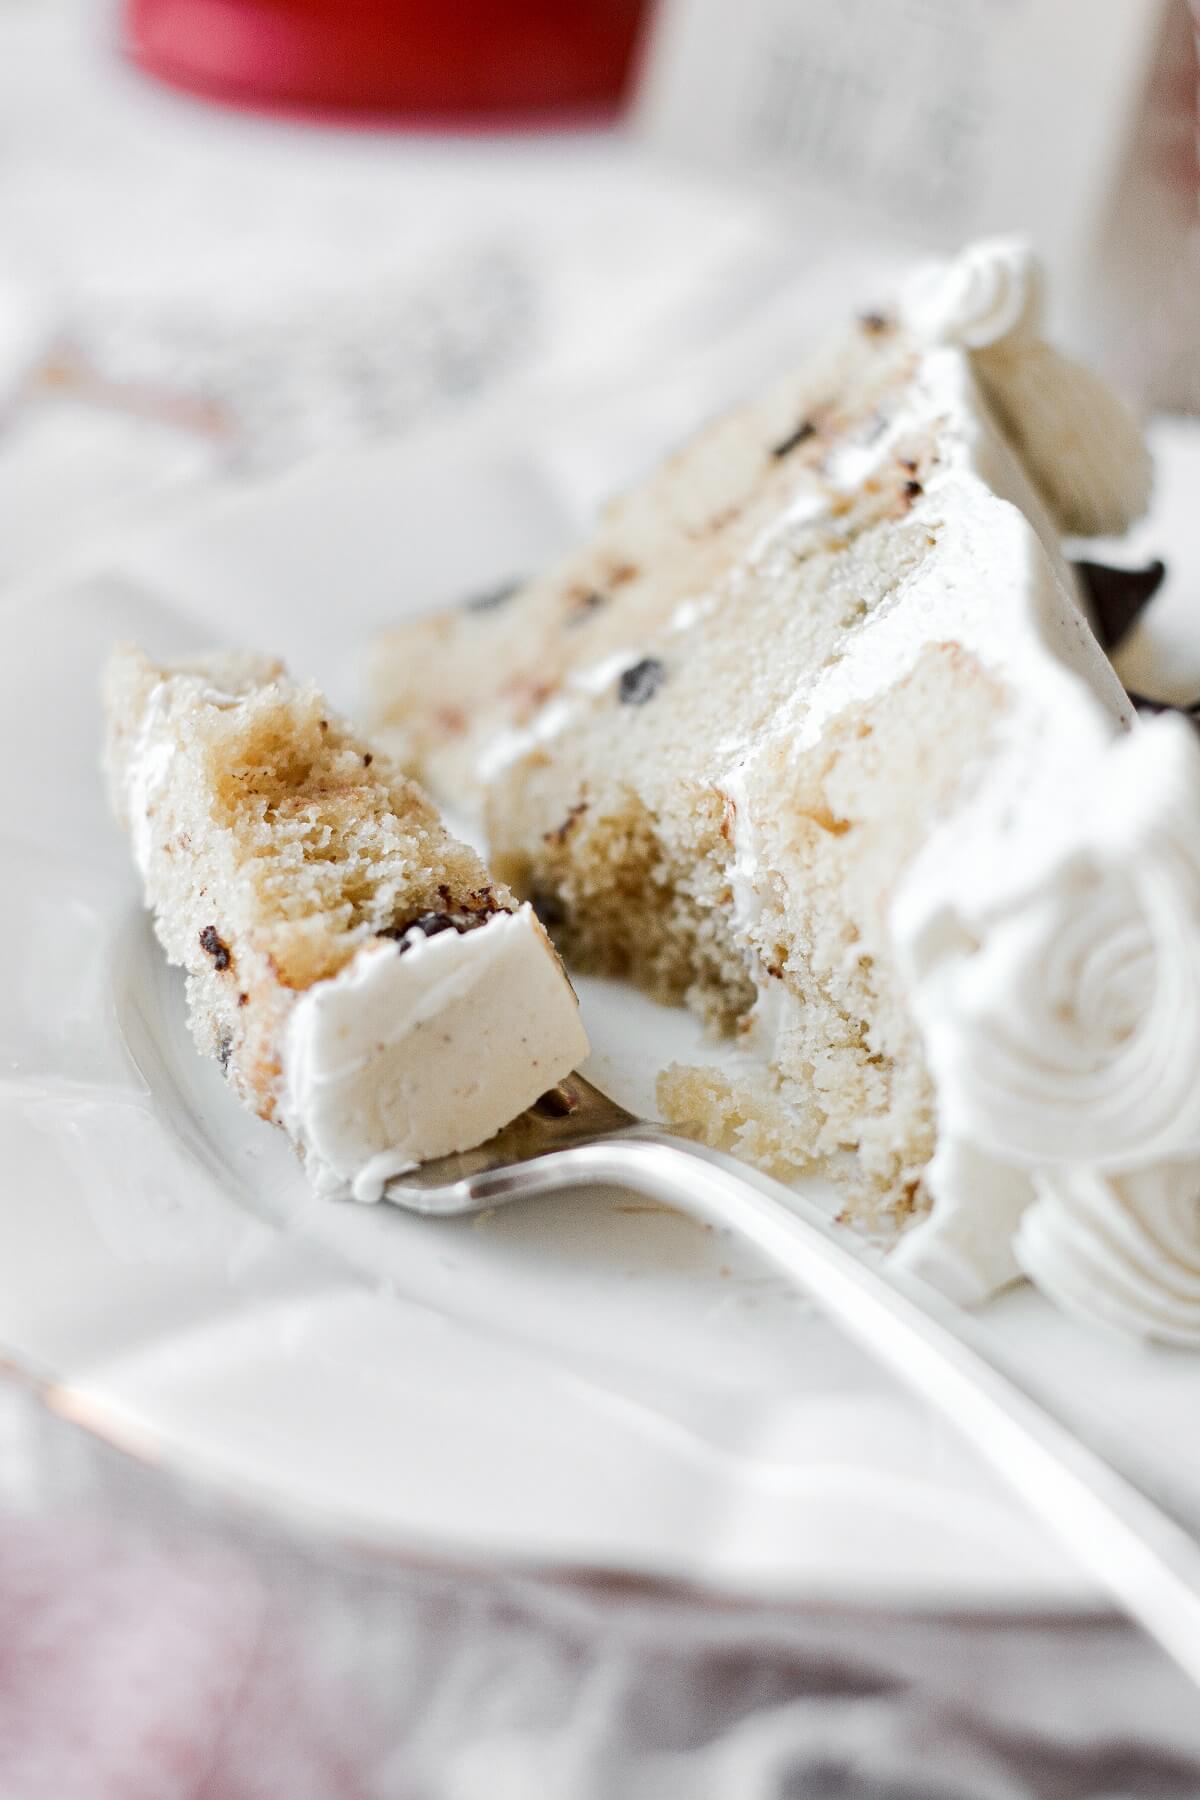
You’ll be using the standard creaming method to make this chocolate chip cake, which involves first beating the sugars with the cream cheese and butter, then adding the eggs, dry ingredients and liquid ingredients.
Instructions
Cream the Sugar and Cream Cheese Mixture.
- Preheat the oven to 350 F, and spray the bottoms of three 8-inch cake pans with non-stick spray.
- In the bowl of your stand mixer fitted with the paddle attachment, beat the cream cheese, butter, granulated sugar and brown sugar for 5 minutes on medium speed, scraping the bowl occasionally.
Add the Eggs and Vanilla.
- Add the vanilla bean paste, and beat in the eggs one at a time, beating well after each. Scrape the bowl down and beat until well combined.
Alternate the Dry Ingredients with the Coconut Milk.
- In a separate bowl, sift together the flour, salt, baking powder and baking soda.
- With the mixer on low, add the dry ingredients in three additions, alternating with the coconut milk, starting and ending with the flour. Mix just until combined, but a few floury streaks remain.
- Add the chocolate chips, and fold in with a spatula, scraping the sides of the bowl to mix in any remaining flour.
Bake and Cool.
- Divide the batter evenly between the pans. Bake on the center oven rack for approximately 25 minutes, until a cake tester comes out clean.
- Set the pans on a cooling rack, cover loosely with a clean kitchen towel, and cool completely before frosting.

Decorating a cake is the most fun part! I frosted my milk and cookies cake with fluffy vanilla bean buttercream that’s not too sweet, and pairs wonderfully with the chocolate chip cake.
Frosting and Decorating
Make the Buttercream.
- If you haven’t read my comprehensive post on How to Make Perfect American Buttercream, I would encourage you to read it first! It answers so many questions to common problems in making buttercream.
- In the bowl of your stand mixer fitted with the whisk attachment, beat the butter and shortening for 1 minute on medium speed until smooth.
- With the mixer on low, add the powdered sugar by spoonfuls, meringue powder, vanilla and salt, mixing to combine. Whip on medium speed for 4-5 minutes, adding the milk if needed for desired consistency, scraping the bowl occasionally, until very light and fluffy.
Decorate.
- Stack, fill and frost the cooled cakes with the buttercream.
- Before the buttercream crusts over, decorate with chocolate chips. Usually, when I make chocolate chip “polkadots” on a cake, I press them into the frosting with the point facing in, so only the round bottom side of the chocolate chip faces out. In today’s cake, I kept them points out. Either way looks so cute!
- For the piping around the top and bottom of the cake, I used Wilton tip #32.
- Top with a chocolate chip cookie, and of course, serve with a big glass of milk!
Be sure to read all of my BAKING FAQs where I discuss ingredients, substitutions and common questions with cake making, so that you can be successful in your own baking! I also suggest reading these comprehensive posts on making Perfect American Buttercream, How to Stack, Fill, Crumb Coat and Frost Layer Cakes and How to Use Piping Bags.

You Might Also Like
Please check out my Amazon Shop for a curated collection of some of my favorite cake pans from trusted brands, baking tools, ingredients, pretty things and fashion finds. I recommend products that I buy and use every day!
Did you love today’s recipe? Please rate the recipe and let me know in the comments what you thought! Also, be sure to follow Curly Girl Kitchen on Instagram, and tag me when you try one of my recipes so I can see all your delicious creations!
High Altitude Chocolate Chip Cake
All recipes on Curly Girl Kitchen are developed for high altitude at 5,280 feet. See FAQs for adjusting to higher or lower elevations.
Equipment
- Stand Mixer
Ingredients
Cake
- 8 oz cream cheese, softened to room temperature
- 2 oz unsalted butter (1/4 cup or 4 tbsp), softened to room temperature
- 1 ¼ cups granulated sugar
- 1 cup dark brown sugar, lightly packed
- 2 tsp vanilla extract
- 4 large eggs
- 3 cups cake flour or all-purpose flour, spooned and leveled
- 1 tsp coarse Kosher salt (if using table salt, use half the amount)
- 1 tsp baking powder
- ⅛ tsp baking soda
- 1 ⅓ cups unsweetened, full-fat canned coconut milk (not quite a full can)
- 1 cup mini chocolate chips
Buttercream
- 1 cup unsalted butter, softened to room temperature
- 1 cup vegetable shortening
- 4 cups powdered sugar
- 1 tbsp meringue powder (optional)
- 2 tsp vanilla bean paste or vanilla extract
- ¼ tsp coarse Kosher salt (if using table salt, use half the amount)
- 2-4 tbsp milk or cream, if needed for desired consistency
- chocolate chips, for decorating
Instructions
Cake
- Preheat the oven to 350 F, and spray the bottoms of three 8-inch cake pans with non-stick spray.
- In the bowl of your stand mixer fitted with the paddle attachment, beat the cream cheese, butter, granulated sugar and brown sugar for 5 minutes on medium speed, scraping the bowl occasionally.
- Add the vanilla bean paste, and beat in the eggs one at a time, beating well after each. Scrape the bowl down and beat until well combined.
- In a separate bowl, sift together the flour, salt, baking powder and baking soda. With the mixer on low, add the dry ingredients in three additions, alternating with the coconut milk, starting and ending with the flour. Mix just until combined, but a few floury streaks remain.
- Add the chocolate chips, and fold in with a spatula, scraping the sides of the bowl to mix in any remaining flour.
- Divide the batter evenly between the pans. Bake on the center oven rack for approximately 25 minutes, until a cake tester comes out clean.
- Set the pans on a cooling rack, cover loosely with a clean kitchen towel, and cool completely before frosting.
Buttercream
- In the bowl of your stand mixer fitted with the whisk attachment, beat the butter and shortening for 1 minute on medium speed until smooth.
- With the mixer on low, add the powdered sugar by spoonfuls, meringue powder, vanilla and salt, mixing to combine. Whip on medium speed for 4-5 minutes, adding the milk if needed for desired consistency, scraping the bowl occasionally, until very light and fluffy.
- Stack, fill and frost the cooled cakes with the buttercream.
- Before the buttercream crusts over, decorate with chocolate chips.
Notes
- Leftover cake should be stored in an airtight container or cake carrier at room temperature for up to 3 days.
- The cake can be baked in advance, the layers individually wrapped in plastic wrap, and frozen for 3-6 months. Let the cake thaw at room temperature overnight before frosting.
- The shortening in the buttercream helps with the bright white color, but you can use all butter, as well. An all-butter buttercream will be ivory in color.
- The coconut milk adds a rich, creamy flavor to the cake, but you can’t taste the coconut. If you like, you can replace it with half ‘n’ half, which has a similar creaminess.

Leave a Reply