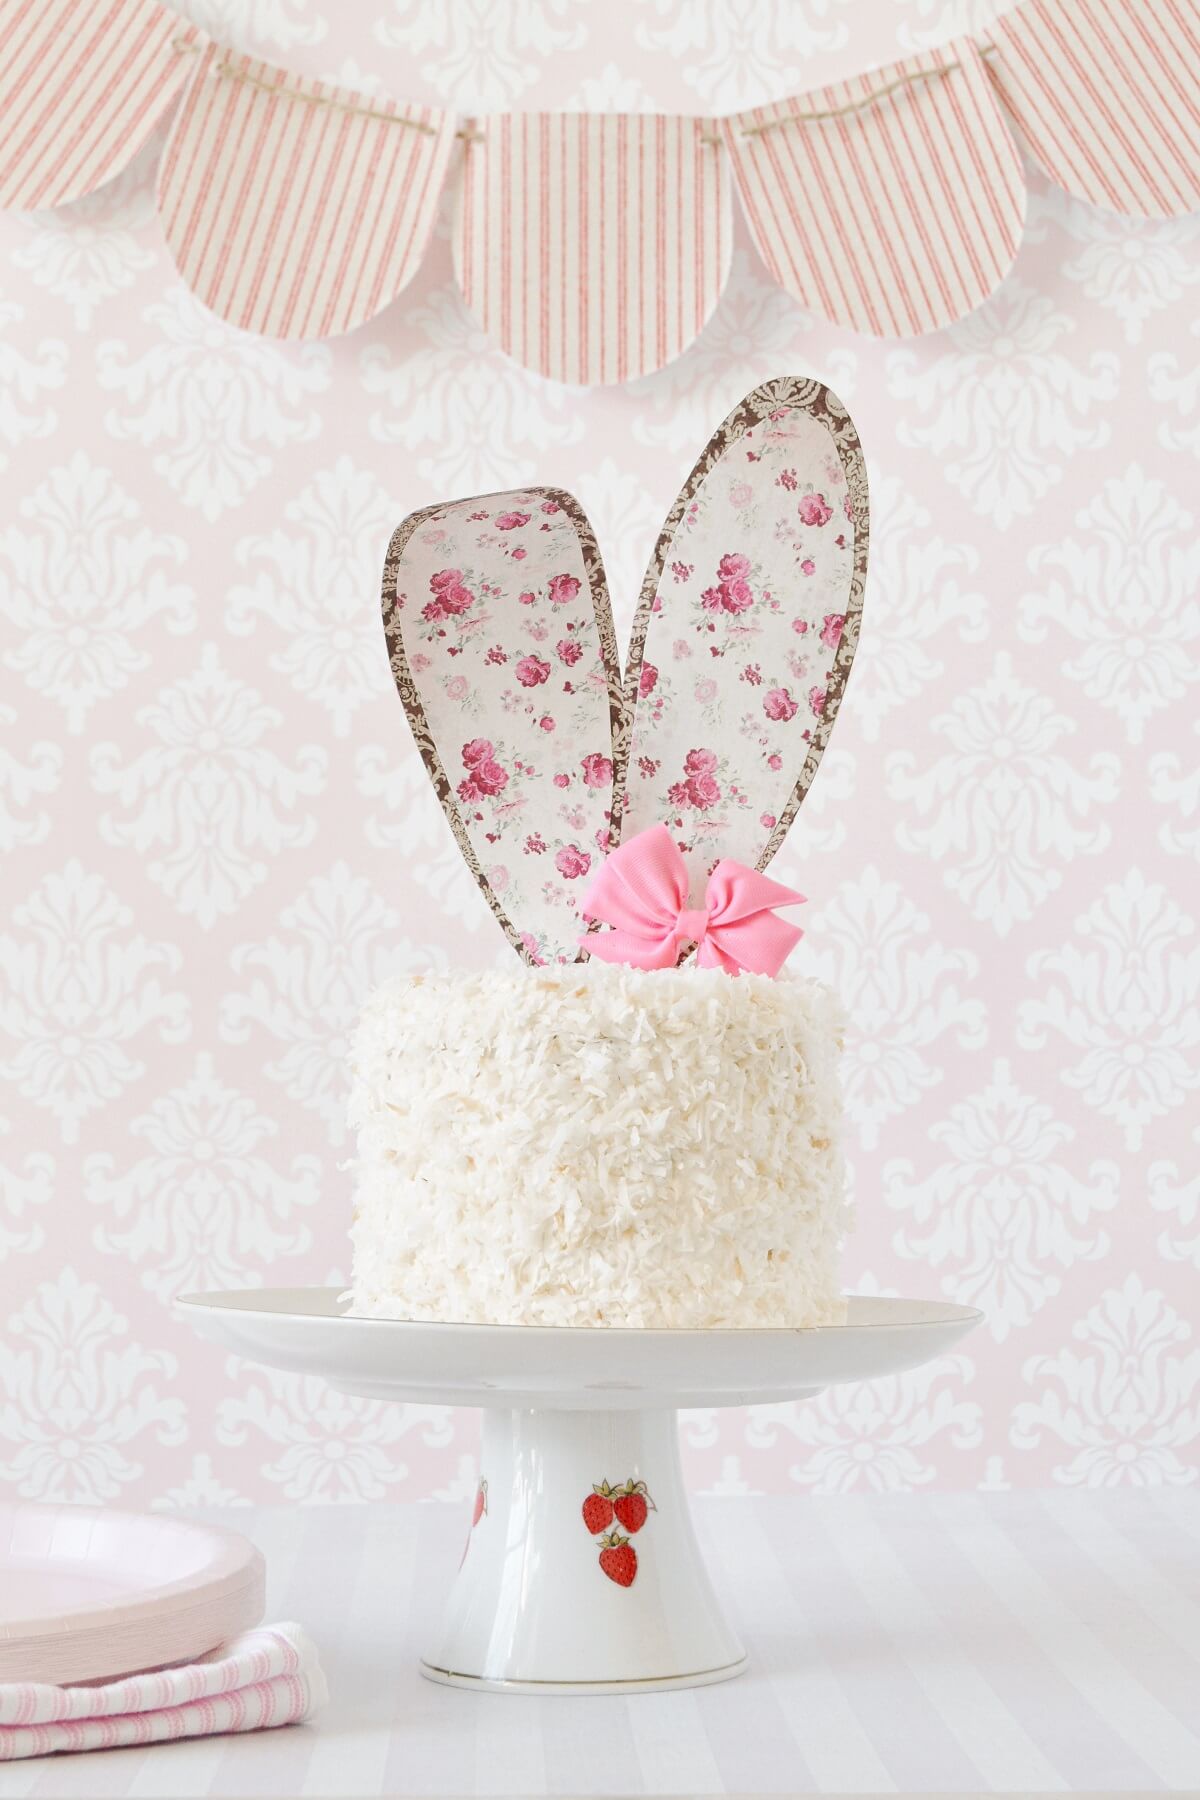
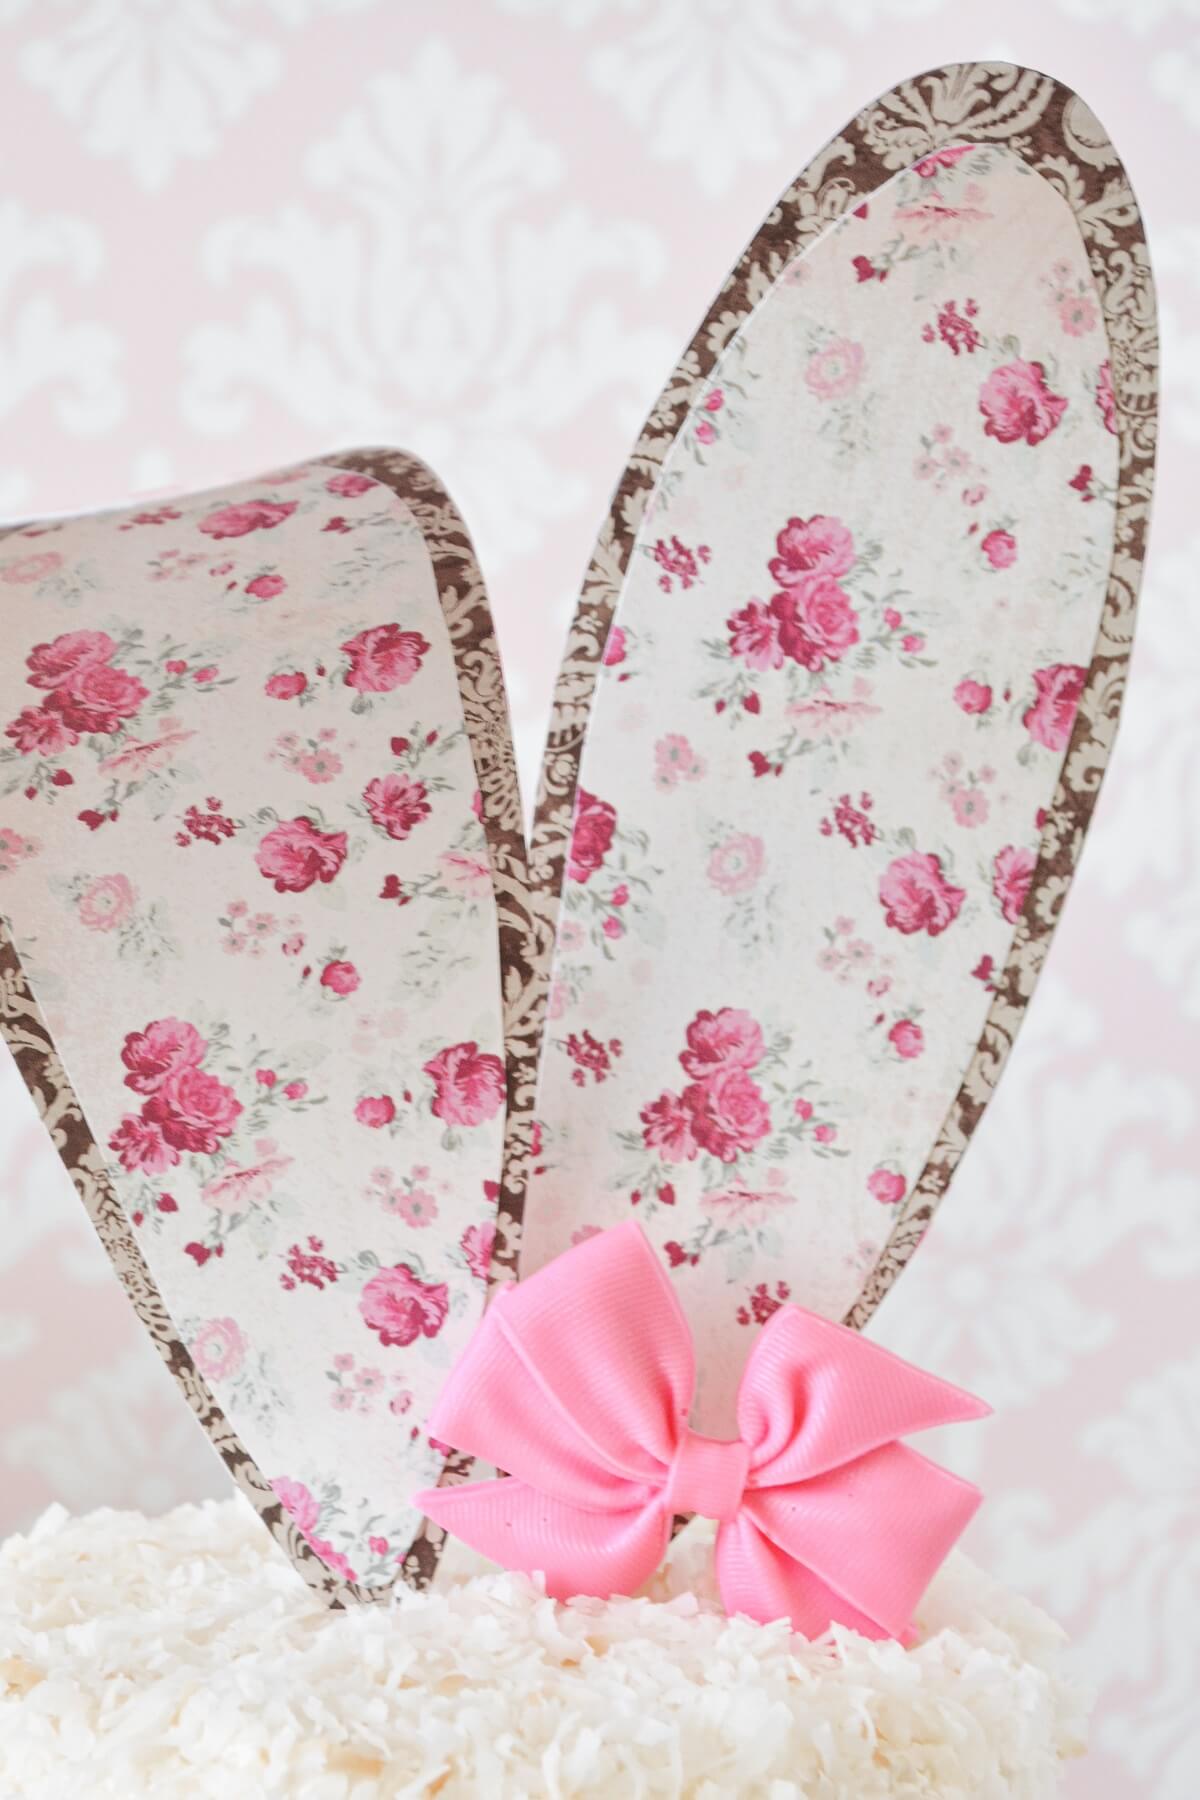
Easter is such a fun time for cake making and egg decorating. I just love all the pastels, florals and spring colors this time of year. For our Easter cake, I made this adorable Easter bunny coconut cake, topped with floral paper bunny ears, and a pink candy melts bow. This cute bunny cake is so easy to make, starting with a delicious from scratch coconut cake. Then just add some pretty bunny ears cut from patterned card stock, and a sweet little bow.
This site contains affiliate links. As an Amazon associate, I earn from qualifying purchases. This means that I may make a small commission if you purchase a product using those links. This in no way affects my opinion of those products and services. All opinions expressed on this site are my own.
Coconut Cake
Easter is the perfect time to make your favorite recipes for coconut cake and carrot cake. And what is more dreamy than coconut cake? It’s light and white and fluffy as a cloud, frosted with sweet buttercream and covered in coconut flakes. It’s simple to decorate, yet it looks so incredibly beautiful and elegant.
A great, from scratch coconut cake should contain as much coconut as possible, and not just be a plain white or vanilla cake with a little coconut sprinkled on the frosting. In my high altitude coconut cake recipe, I use coconut milk in the cake and coconut cream in the buttercream. And of course, I cover the whole cake in crunchy coconut flakes. The cake is so soft, moist, tender and rich, and perfectly flavored with coconut.
Bunny Ears and Bow
To decorate my Easter bunny coconut cake, I made the cutest little bunny ear toppers out of several layers of patterned card stock, mod-podge and popsicle sticks. All you need to do is just cut the ears free-hand, and glue them together with popsicle sticks in between to insert into the cake. Against one ear is a sweet little candy bow, made from pink candy coating poured into a this pinwheel bow silicone mold.
Be sure to read all of my BAKING FAQs where I discuss ingredients, substitutions and common baking questions, so that you can be successful in your own baking!
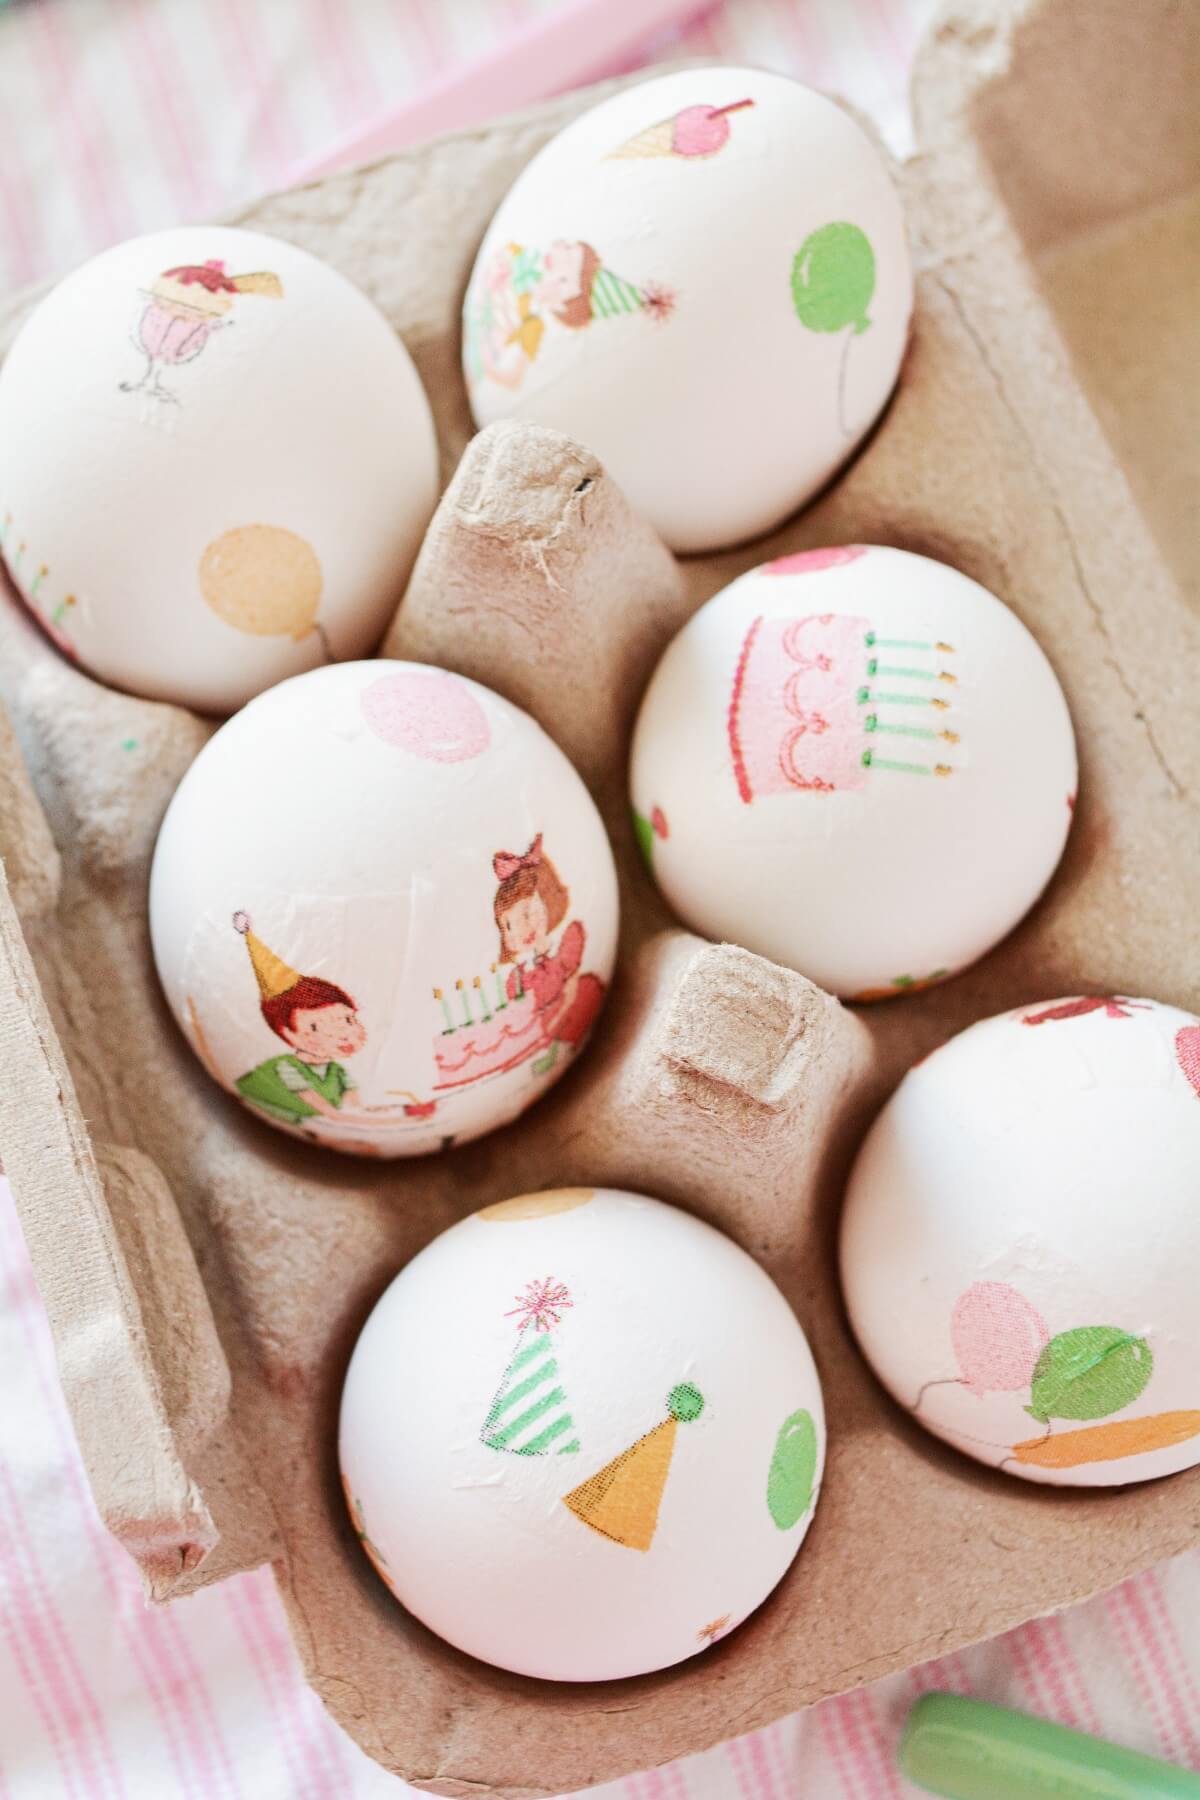
How to Make Decoupaged Easter Eggs
Every year, I try to do something a little different for the egg decorating. I’ve tried natural dyes from vegetables and spices, as well as hand-painted eggs, which I really enjoyed doing. This year, I tried decoupage, which was so easy and fun, not to mention, extremely pretty.
Supplies
- Paper Napkins. Choose paper napkins with a pretty pattern to decorate your eggs.
- Mod Podge. You can use Mod Podge as a glue, as well as a sealer or top coat to finish craft projects.
- Hard Boiled Eggs. You can use either brown or white eggs, depending on the look you’re going for.
Instructions
- Separate the layers of the napkin so that you’re just using the top layer with the pattern – it will be very thin on its own.
- Cut out portions of the design, like individual flowers or other shapes.
- Brush a little Mod Podge onto the egg, press the paper napkin over the glue, and then brush more mod-podge over the paper.
- It will dry in a few minutes, and you’ll have a beautifully decorated Easter egg.
You Might Also Like
Please check out my Amazon Shop for a curated collection of some of my favorite cake pans from trusted brands, baking tools, ingredients, pretty things and fashion finds. I recommend products that I buy and use every day!
Did you love today’s recipe? Please rate the recipe and let me know in the comments what you thought! Also, be sure to follow Curly Girl Kitchen on Instagram, and tag me when you try one of my recipes so I can see all your delicious creations!
High Altitude Coconut Cake
All recipes on Curly Girl Kitchen are developed for high altitude at 5,280 feet. See FAQs for adjusting to higher or lower elevations.
Equipment
- Stand Mixer with Paddle Attachment
Ingredients
Cake
- 1 cup unsalted butter, softened to room temperature
- 2 cups granulated sugar
- 6 egg whites, room temperature
- 3 ¼ cups cake flour, spooned and leveled, then sifted
- 3 ½ tsp baking powder
- 1 tsp coarse Kosher salt (if using table salt, use half the amount)
- ¾ cup full fat buttermilk, room temperature
- 1 can (14 oz) full fat, unsweetened coconut milk (such as Thai Kitchen)
- 1 tsp vanilla bean paste (or 2 tsp vanilla extract)
- 2 tsp coconut extract
Buttercream
- 1 can (14 oz) full fat, unsweetened coconut milk, OR coconut cream (chilled 1 day in advance, to separate the water from the cream)
- 2 cups unsalted butter, softened to room temperature
- 4 cups powdered sugar
- 1 tbsp meringue powder
- ¼ tsp coarse Kosher salt (if using table salt, use half the amount)
- 1 tsp vanilla bean paste or vanilla extract
- 1 – 1 ½ tsp coconut extract
- 1 bag (10 oz) natural, unsweetened coconut flakes
Instructions
Cake
- Preheat the oven to 350 F, and line the bottoms of three 8-inch cake pans with circles of parchment paper, then spray the paper lightly with non-stick spray. Position a rack in the center of the oven.
- In the bowl of your stand mixer fitted with the paddle attachment, beat the butter and sugar on medium speed for 10 minutes, scraping the bowl occasionally, until very light and fluffy and lightened in color.
- Beat in the egg whites, one at a time, beating each for 10 seconds before adding the next. Scrape the bowl down and beat for 10 more seconds.
- In a separate bowl, sift together the flour, baking powder and salt.
- In a separate bowl, whisk together the buttermilk, coconut milk, vanilla bean/extract and coconut extract.
- With the mixer on low, add the flour mixture in three additions, alternating with the liquid ingredients, starting and ending with the flour. Use a spatula to scrape the bowl well and incorporate any stray bits of flour.
- Divide the batter between the pans. Bake on the center oven rack for about 25-30 minutes, until a cake tester or toothpick comes out clean.
- Set the pans on a wire rack, cover loosely with a clean kitchen towel, and cool completely before frosting.
Buttercream
- To make the coconut cream used in the buttercream, place a can of full-fat unsweetened coconut milk (do NOT shake the can) in the refrigerator for 6-8 hours, or overnight – the cream and the water will separate, allowing you to drain the water and just use the cream.Take the chilled can, turn it upside down, and remove the bottom of the can. Drain off the coconut water, saving it for another recipe if you like. The can should be about 1/2 – 2/3 full of solid coconut cream. Let the can sit out at room temperature for several hours to let the cream soften up again, before adding to your buttercream. Whatever cream you don’t use, you can save for another recipe, or use it in a vegan coconut whipped cream.If you use coconut cream instead of coconut milk, follow the same process noted above to separate the cream from the water. There will be less water to drain from the can of coconut cream.
- In the bowl of your stand mixer fitted with the whisk attachment, beat the butter for 1 minute until smooth. Beat in 4 tablespoons of the coconut cream.
- With the mixer on low, add the powdered sugar, meringue powder and salt and mix until combined.
- Add the vanilla and coconut extracts, increase the speed to medium high and whip for 4-5 minutes, scraping the bowl occasionally, until very light and fluffy. Add more coconut cream, a tablespoon at a time, if needed to reach the right consistency for spreading.
- Remove the cooled cakes from the pans. Set one cake, bottom side up, on a cake board or cake pedestal, and peel off the parchment paper.
- Frost, fill and stack all three layers of cake, then frost the cake with a thin crumb coat of buttercream. Chill the cake in the refrigerator for 30 minutes.
- Finish frosting the cake with a final layer of buttercream, and smooth it out, but there's no need to make it perfect.
- Set the cake over a clean baking sheet to catch the coconut, then press handfuls of coconut up the sides of the cake and over the top, too, if you like, until completely covered. You can scoop up any coconut that falls and put it back in the bag.Note: If decorating the top of the cake with swirls of buttercream, don't press any coconut on top of the cake. Fit a piping bag with tip 1M, fill with leftover buttercream, and pipe swirls on top.
Notes
- As noted in the recipe above, it’s important for the egg whites, buttermilk and butter to be at room temperature.
- Cake flour is best in this cake. It makes a much lighter cake than all-purpose flour does. Be sure to sift the cake flour after measuring.
- Natural, unsweetened coconut is preferable to sweetened, shredded coconut.
- The cakes are sticky to the touch when removed from the pans. You must line the baking pans with parchment paper for easy release.
- Leftover cake should be stored in an airtight container or cake carrier at room temperature, for up to 3 days.

Absolutely perfect! Happy Easter Heather!
Happy Easter..it is..as always..so darn pretty and cute and inventive..
Crazy about those napkins and ears:)
This was perfection. However, a couple of things to consider. Firstly, this cake took over 3 hours to make, not the time it said it would take. So be ready. Next, the buttercream instructions say to add the salt but there was no salt in the ingredients list. I added 1/2 teaspoon, I later read or google that a 1/4 teaspoon would suffice. Tasted amazing with the half spoon. Next, buy coconut cream for the buttercream. The cream was not separated from my coconut milk, even though it was kept in the fridge all night, so I had to make own. Which wasn’t fun and more time consuming. Otherwise, this cake was absolutely fantastic! Lots of work but work it.