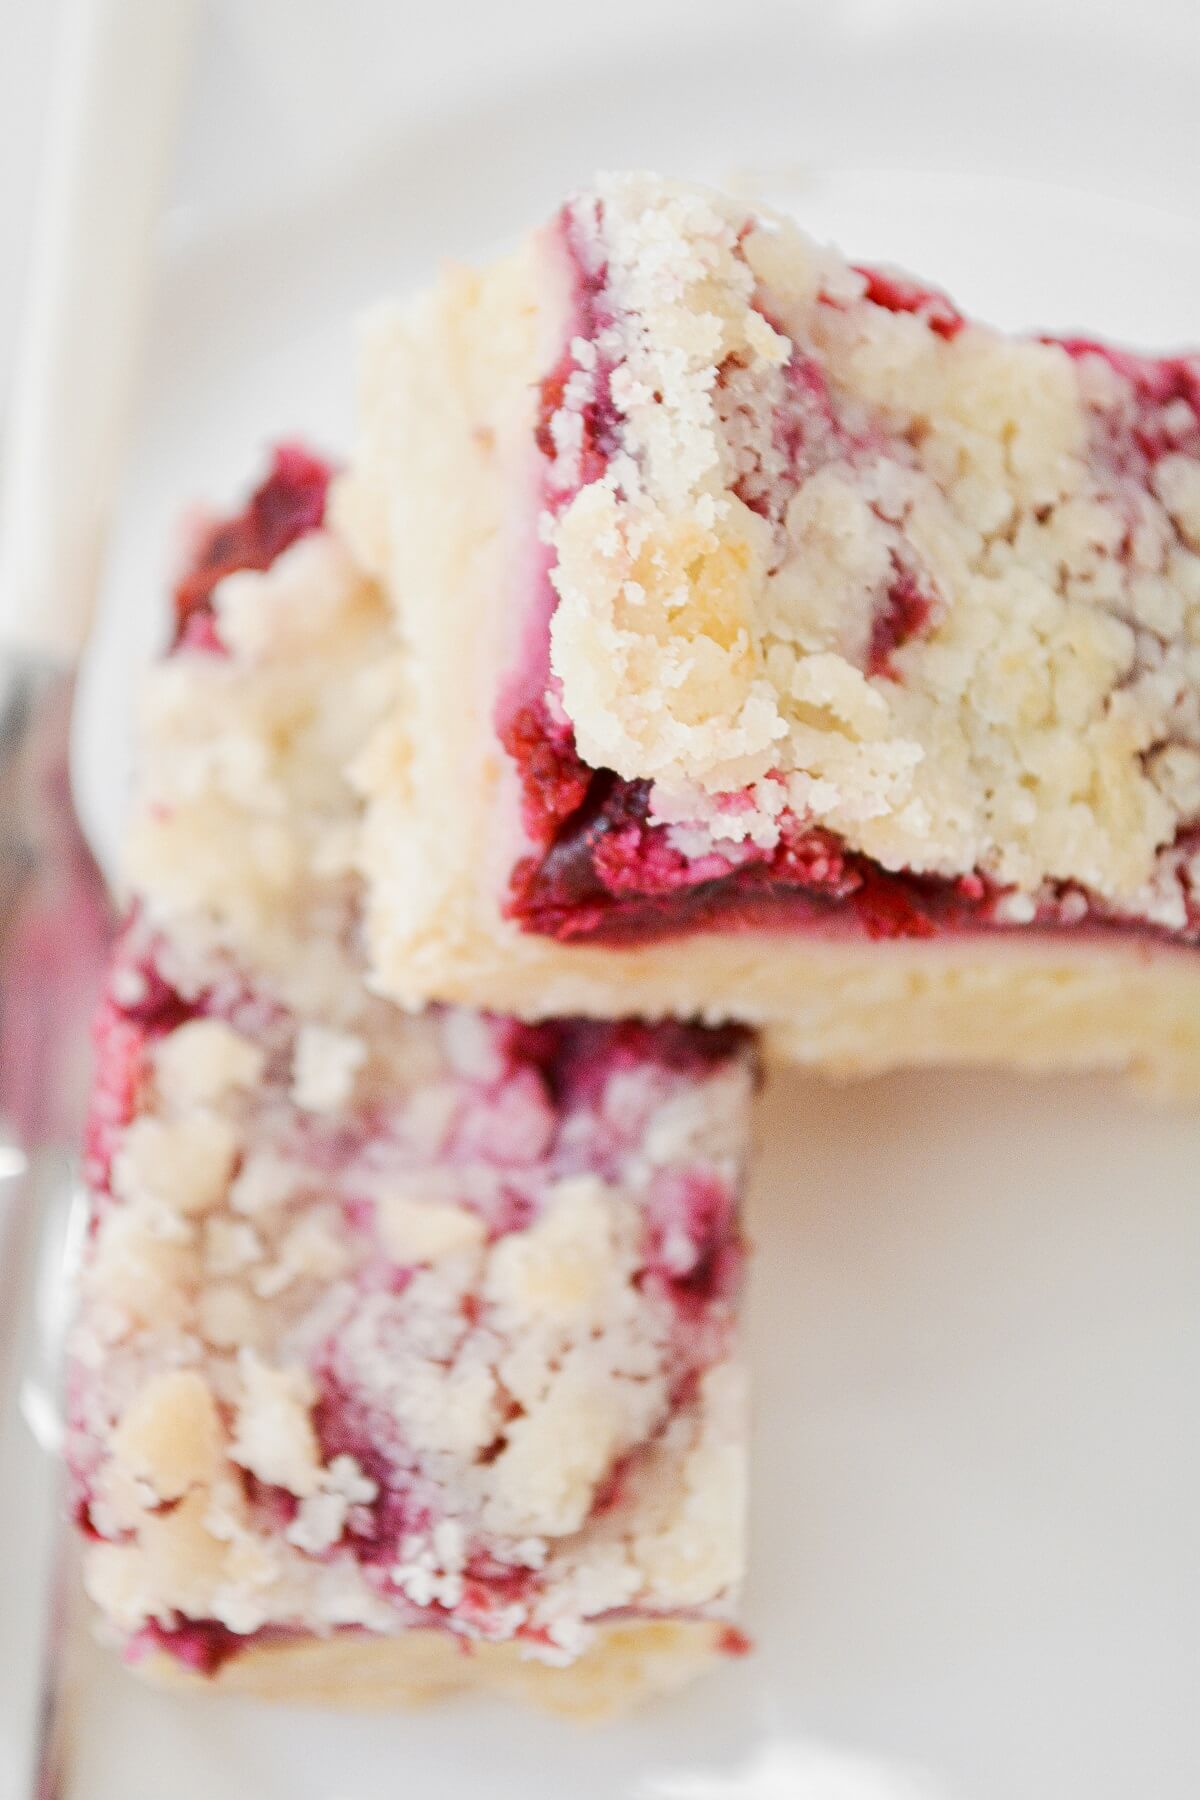
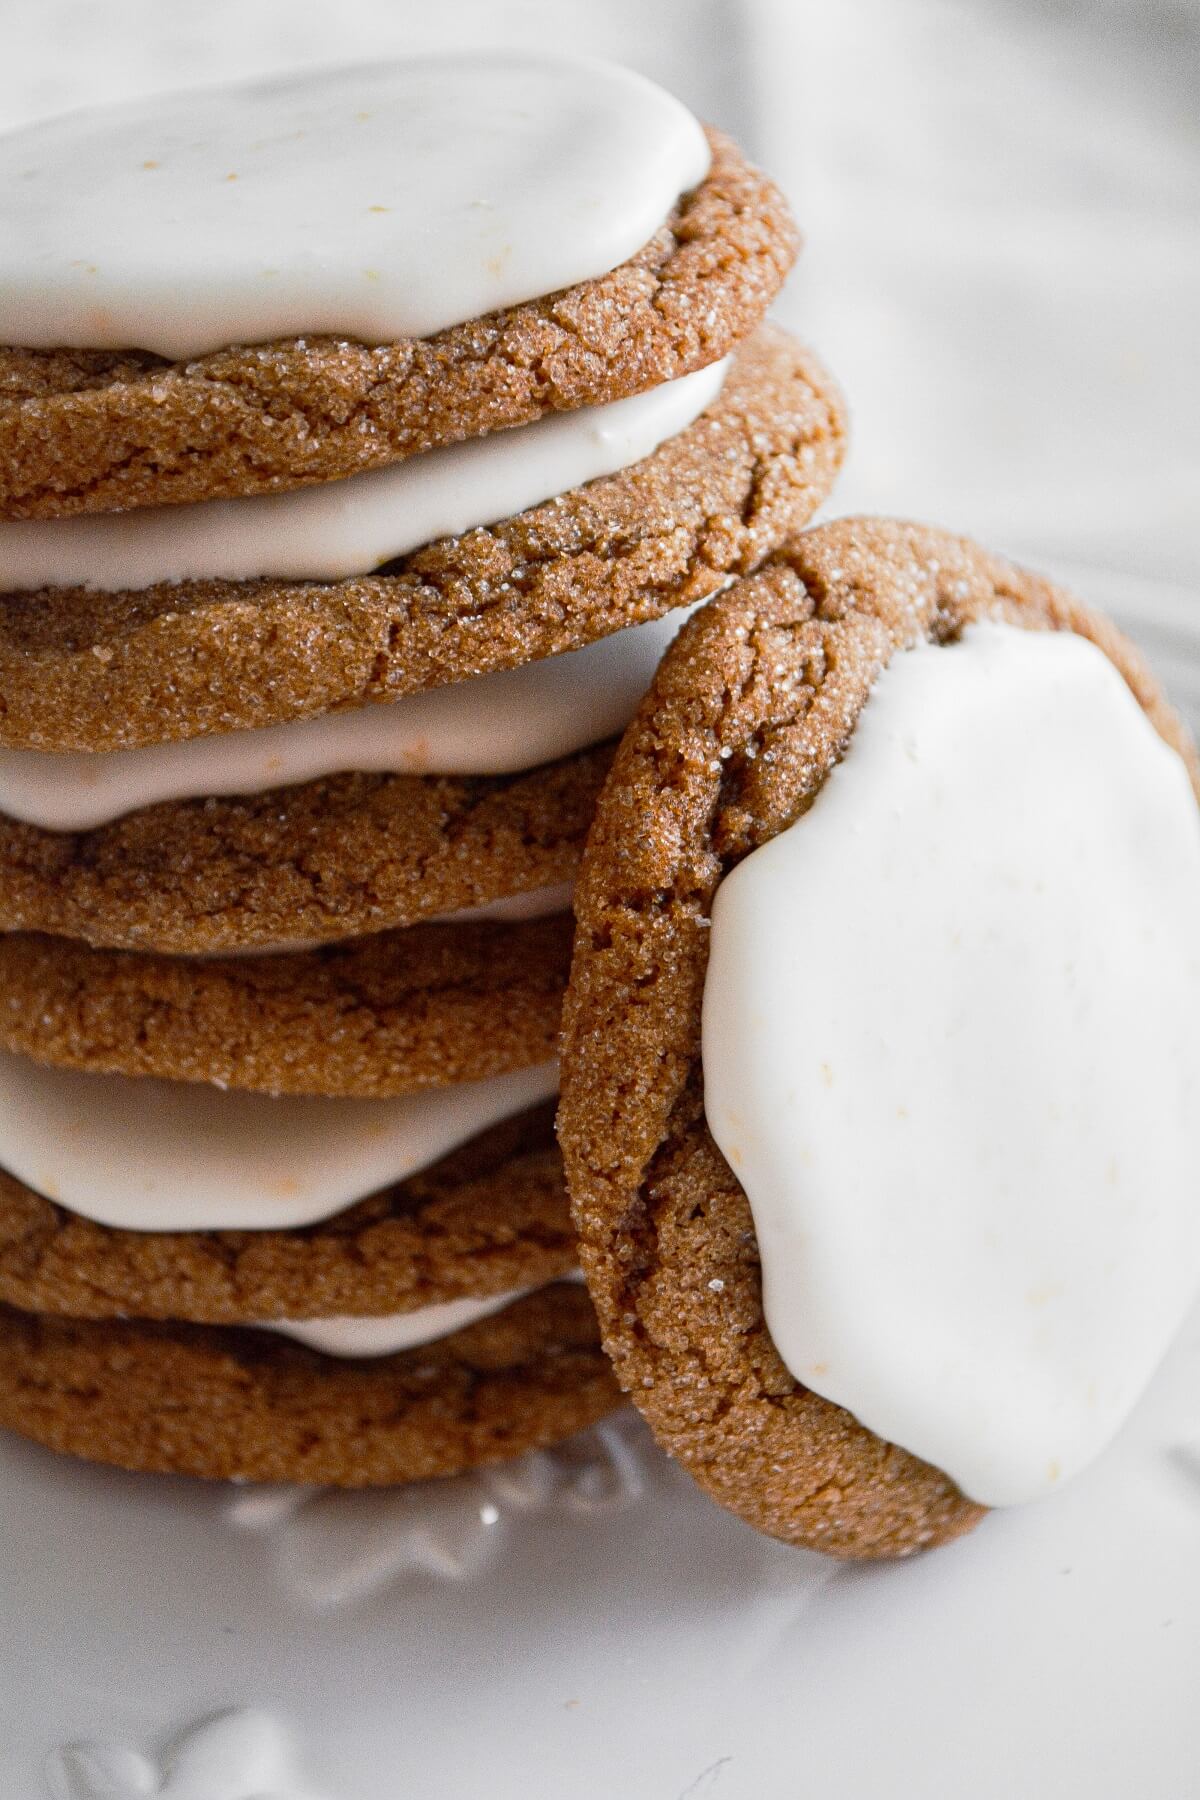
A collection of festive and delicious Christmas recipes, including Red Velvet Cupcakes, Ginger Molasses Cookies with Lemon Icing, Eggnog Coffeecake and Cranberry Crumb Bars. As a bonus, I’ve included instructions for making beautiful handmade photo Christmas ornaments, so be sure to scroll through the post so you don’t miss anything!
Looking for more Christmas recipes? You’ll love these baked gingerbread doughnuts, North Pole chocolate peppermint cake, 12 Days of Christmas Cookies for a cookie box.


This site contains affiliate links. As an Amazon associate, I earn from qualifying purchases. This means that I may make a small commission if you purchase a product using those links. This in no way affects my opinion of those products and services. All opinions expressed on this site are my own.
Christmas Cookies and Cupcakes
After all the excitement and anticipation for Christmas to come, the baking, the shopping, the gift wrapping, and the decorating, it feels like it’s over far too quickly, and I always wish it would last just a little longer. We had a wonderful month of December, and my heart is full.
We started the holiday by hosting a party for a small group of friends and their kids, and I really made far too many treats for the party, but I couldn’t help myself. There were sugar cookies, which I decorated with royal icing, molded peppermint bark candy, soft and chewy salted caramels, and red velvet cupcakes topped with cream cheese buttercream and decorated with soft peppermints and buttercream wreaths. The cupcakes were just so pretty to look at, especially finished off with the little royal icing red bows I found at Michaels.
We also had a crock pot of spiced mulled red wine, and a cute little hot chocolate bar with homemade hot chocolate mix, marshmallows, and lots of candy canes. I used a beautiful vintage plaid thermos to hold the hot water for the hot chocolate bar, and it just needed to be refilled a few times. To keep the kids busy, I covered our dining room table with brown craft paper, and scattered it with mini candy canes, reindeer antlers, crayons and free Christmas printables for them to color on. They absolutely loved it!
More Christmas Celebrations
The following week, my parents were able to drive here from South Carolina to visit for a few days before Christmas. Again I busied myself with more baking, as well as decorating the guest room with pretty plaid blankets and pillows, a Charlie Brown Christmas tree of branches hung with vintage ornaments, and a little polkadot box of treats for their drive home.
We ate far too much, but I so love baking for other people when I know how much they enjoy the food. We had lemon pound cake, soft and spicy ginger molasses cookies with tart lemon icing, cranberry almond cream cheese crumb bars, chocolate cream pie (always a favorite), sausage biscuits, and eggnog streusel coffee cake.

Christmas Day
For Christmas Eve breakfast, I made homemade eclairs filled with rich custard and topped with chocolate ganache, and then for Christmas Day, we had overnight baked French toast, which was really fantastic, and so easy that I was free to enjoy the morning with my husband and son, rather than spend it in the kitchen laboring over homemade cinnamon rolls like I usually do. I really can’t say enough good things about the overnight French toast, just that you have to try it. We had a wonderfully relaxing Christmas of enjoying breakfast, opening presents, and watching movies in our pajamas all day, before having prime rib for dinner.
How to Make Homemade Photo Christmas Ornaments
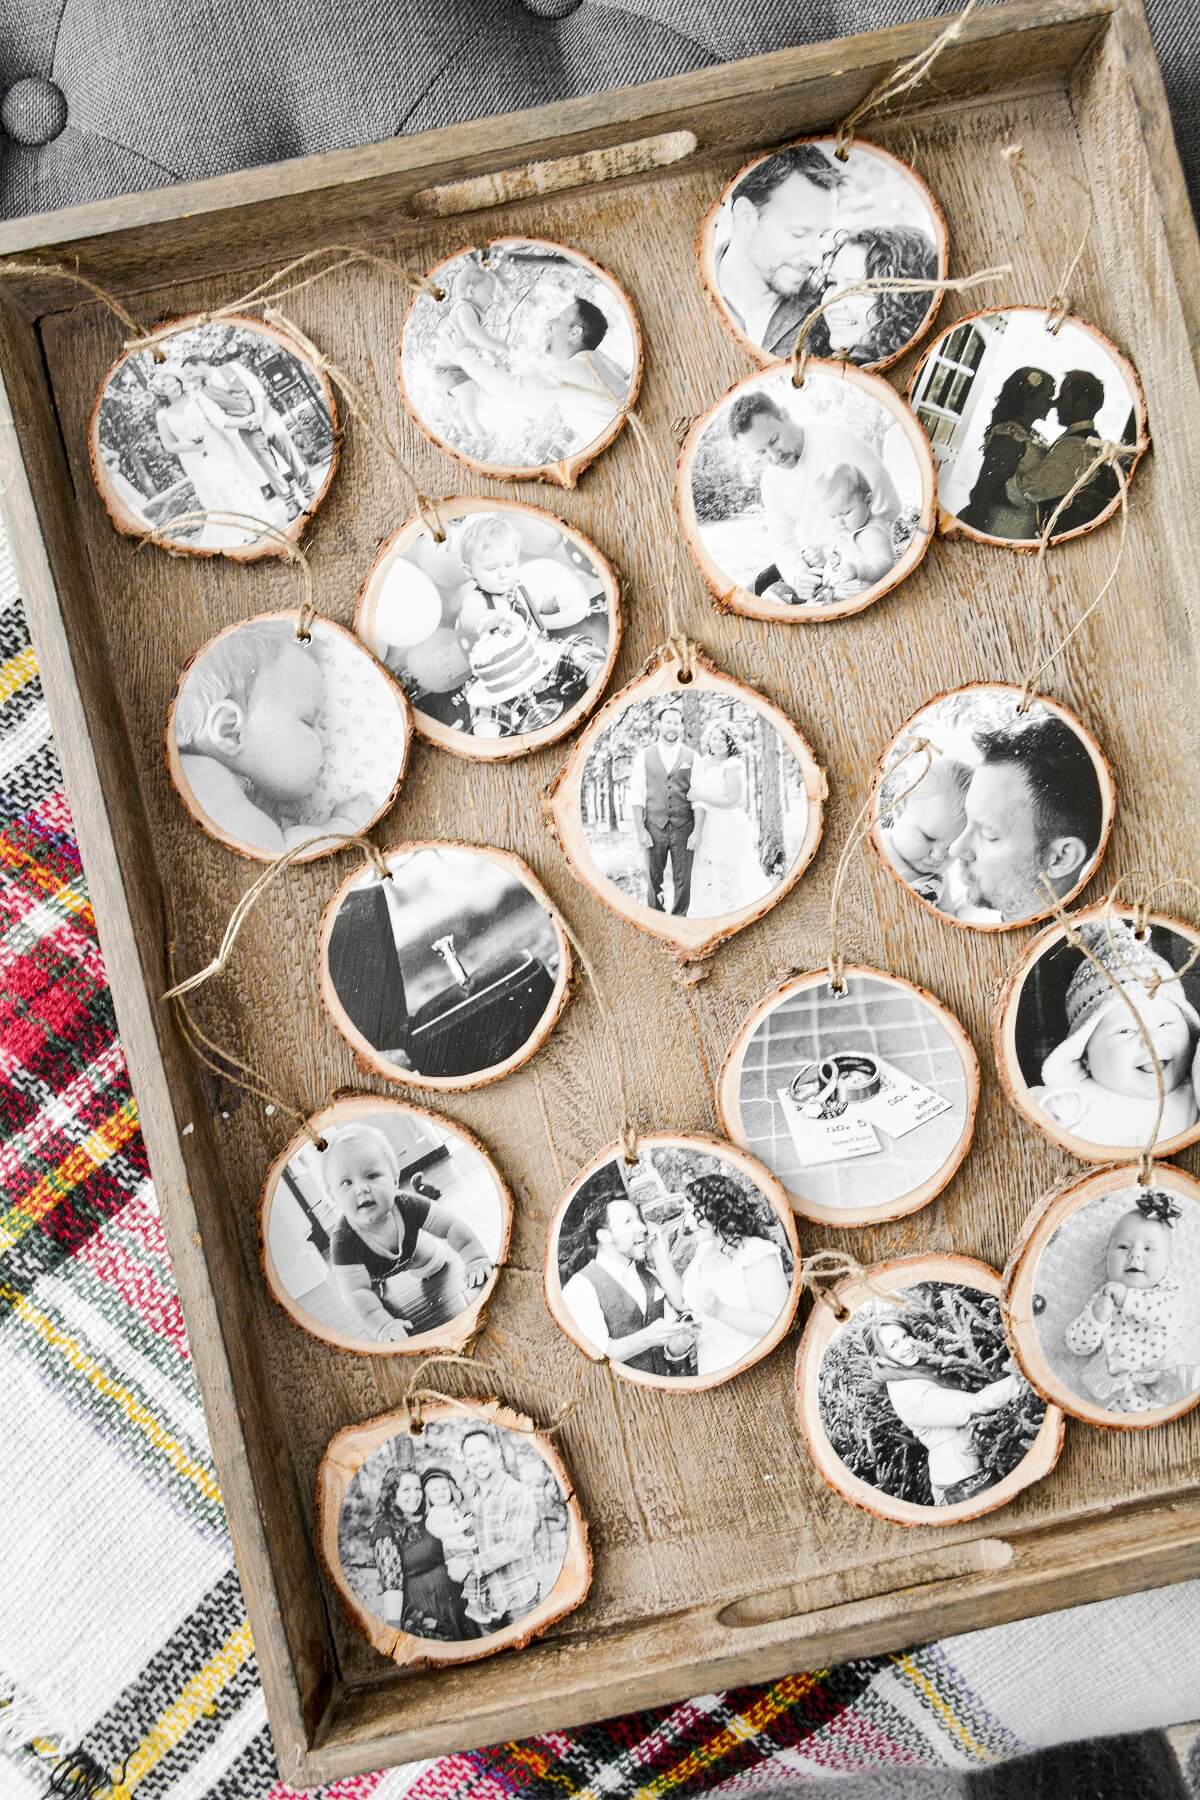
The photo ornaments are a special project that I worked on before Christmas, and I just love how they turned out. We have so many special memories hanging on our tree now.
Supplies.
- Thin Wood Slices
- Photos
- Scissors
- Mod Podge and a Small Brush
- Power Drill
- Twine
Instructions.
- Cut (or buy) thin slices of wood, about 1/4 inch thick. We cut our own from last year’s Christmas tree trunk. This kit has pre-drilled wood slices, as well as the twine needed for this project.
- Choose your photos. These ornaments are somewhat small, with the wood pieces only being 4 inches or so in diameter, so you’ll need photos that have a small subject that’s fairly far away from the camera. If the subject fills the whole frame of the photo, that photo won’t work for these ornaments.
- Print small (3×5) copies of your photos. Black and white looks best.
- Trim your photos around your subject, so that you have a circle slightly smaller than your wood slices.
- Use Mod Podge to glue the photos onto the wood, and then brush over the tops of the photos with Mod Podge, as well. Let dry completely.
- You can even make these ornaments double sided, if you like, with a different photo on each side. Or, just write on the back of the wood the event and date.
- Lastly, drill small holes in the wood, then loop twine through the holes, so you can hang them on your tree.
Please check out my Amazon Shop for a curated collection of some of my favorite cake pans from trusted brands, baking tools, ingredients, pretty things and fashion finds. I recommend products that I buy and use every day!
Recipe Links





Happy New Year Heather..and family:) BEAUTIFUL pics.. content and quality..oh he is growing up so fast!That advent calendar:) And all the decor..the tables..just wow mommy.
The ornaments look so fun! What a great gift idea for family or friends!
Thanks for sharing! Do they keep long?
The photo ornaments? They should last forever!
Love the ornaments…what type of Mod Podge do you use….glossy, matte? Thank you!
Mine has a matte finish.
Thank you very much!