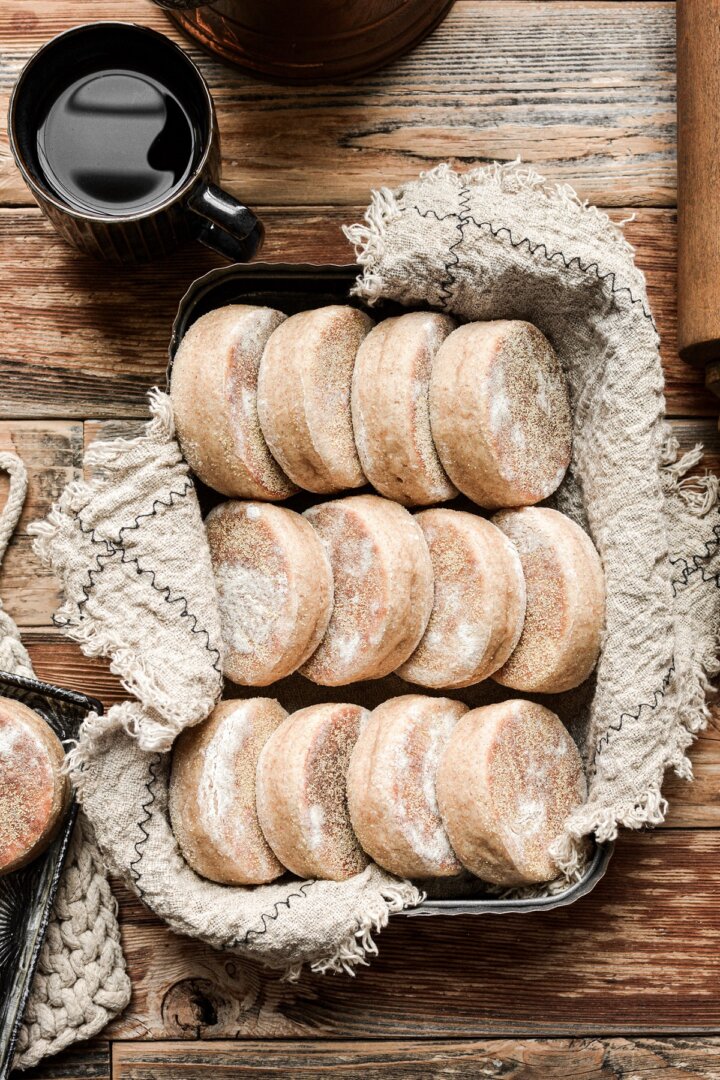
An easy, 5-ingredient recipe for high altitude tested homemade pita bread. Fill these pita pockets with anything you like, from sandwich fixings, to hummus and falafel, to pizza toppings!
You might also love these recipes for homemade roasted garlic naan bread, soft flour tortillas, and crispy pan pizza dough.

This site contains affiliate links. As an Amazon associate, I earn from qualifying purchases. This means that I may make a small commission if you purchase a product using those links. This in no way affects my opinion of those products and services. All opinions expressed on this site are my own.
What is Pita Bread?
Pita is a classic type of soft and fluffy flat bread popular in Middle Eastern and Mediterranean cuisine. It’s also called Arabic bread or pocket bread. To make pita bread, you only need a few simple ingredients for a basic yeast dough. Then the dough is shaped into balls, rolled into thin circles and baked in an extremely hot oven where it puffs up to form a pocket inside the bread.
You can fill the pocket with anything you like, use it to soak up broth or soup, or use the flatbread to make mini pizzas. My boys’ favorite thing is to make pizza pockets, filled with pizza sauce, pepperoni, cheese and black olives.
Why You’ll Love This Recipe
Just Five Ingredients. The dough comes together quickly, with just a few ingredients and only two of minutes kneading the dough by hand.
Easy to Make. While you do have to wait for a bit for the dough to rise and rest, there’s very little hands on time and no special skills required for making pita bread.
High Altitude Tested. I develop all the recipes on my site for Denver’s altitude of 5,280 feet. If you’re at a lower or higher elevation, please see my FAQs for guidance on adjusting recipes for your altitude.

See the recipe card at the end of the post for the full ingredients list and instructions.
Ingredients
- Flour. You can use either all purpose flour or bread flour for today’s recipe.
- Salt. Gives the bread flavor.
- Yeast. Use instant or rapid rise yeast, which gives the bread lift and releases gas as it bakes, helping it to puff up in the oven.
- Olive Oil. Adds moisture to the dough, as well as a little flavor.
- Water.

Instructions
Make the Dough
- In a bowl, combine the flour, salt and yeast. Add the olive oil and water, and stir into a shaggy dough.
- Dump the dough out onto a clean work surface, and knead by hand for 2 minutes.
- Place the dough into a lightly greased bowl, cover tightly with plastic wrap, and set in a warm place to rise until doubled, about 60-90 minutes.


Shape the Dough
- Turn the risen dough out onto a lightly floured surface, and divide it into 6 equal portions.
- Shape each portion into a ball, cover the dough balls with a towel, and set aside to rest for 30 minutes.
- On a lightly floured surface, gently roll out the dough balls, using more flour on top of the dough as needed, so they don’t stick. Roll each ball out thinly, to about 6 inches in diameter.
- Set the circles of dough on separate squares of parchment paper. Cover with a towel, and let rest for 15 minutes.


Bake the Bread
- Position a rack in the center of the oven, and place a cast iron skillet on the rack. Preheat the oven and the skillet to 550 F.
- Bake one pita at a time, by setting the dough and paper onto the hot skillet. Bake for about 2 1/2 – 3 minutes, until puffed.
- Use tongs to remove the pita and paper from the skillet. Place the baked pita into a container lined with a clean kitchen towel. Wrap the towel over the bread, so the bread can steam a little and stay moist.
- Continue baking the rest of the pita bread.
- The pita bread will deflate as it cools, but when you split open one end with a knife, there will still be a pocket inside which you can fill with your desired fillings.

Be sure to read all of my BAKING FAQs where I discuss ingredients, substitutions and common baking questions, so that you can be successful in your own baking!
Frequently Asked Questions
Store leftover pita bread in an airtight container at room temperature for up to 3 days, or in the freezer for up to 3-6 months.
Yes, you can use either bread flour or all purpose flour in today’s recipe.
If your pita didn’t puff up, it could be that your oven temperature is too low, the pan wasn’t hot enough, the yeast was expired or wasn’t properly activated, or the dough is too dry, stiff or overworked. You have to have a very, very hot oven, as well as a hot surface for the pita to sit on. This hot environment creates a burst of steam in the dough, which is what gives pita its interior pocket and dramatic puffed appearance.
You can use a pizza stone instead of a cast iron skillet, but check the manufacturer’s instructions for safe pre-heating of pizza stones. You may also try a pre-heated baking sheet, but this won’t get as hot as a cast iron skillet, and your pita may not puff as much.
While this may work, I haven’t tested this method with today’s recipe, and the pita may not puff up as much.
My pita remained very pale, in spite of the high baking temperature. If you want more color in your bread, you can try adding a teaspoon or two of sugar, which will caramelize in the oven and contribute to browning.

You Might Also Like


Please check out my Amazon Shop for a curated collection of some of my favorite cake pans from trusted brands, baking tools, ingredients, pretty things and fashion finds. I recommend products that I buy and use every day!
Did you love today’s recipe? Please rate the recipe and let me know in the comments what you thought! Also, be sure to follow Curly Girl Kitchen on Instagram, and tag me when you try one of my recipes so I can see all your delicious creations!

High Altitude Homemade Pita Bread
All recipes on Curly Girl Kitchen are developed for high altitude at 5,280 feet. See FAQs for adjusting to higher or lower elevations.
Equipment
- Cast Iron Skillet
Ingredients
- 2 cups all-purpose flour
- 1 tsp coarse Kosher salt (if using table salt, use half the amount)
- ¾ tsp instant or rapid rise yeast
- 1 tbsp olive oil
- ¾ cup warm water, between 110-115 F
Instructions
Make the Dough
- In a bowl, combine the flour, salt and yeast. Add the olive oil and water, and stir into a shaggy dough.
- Dump the dough out onto a clean work surface, and knead by hand for 2 minutes.
- Place the dough into a lightly greased bowl, cover tightly with plastic wrap, and set in a warm place to rise until doubled, about 60-90 minutes.
Shape the Dough
- Turn the risen dough out onto a lightly floured surface, and divide it into 6 equal portions.
- Shape each portion into a ball, cover the dough balls with a towel, and set aside to rest for 30 minutes.
- On a lightly floured surface, gently roll out the dough balls, using more flour on top of the dough as needed, so they don't stick. Roll each ball out thinly, to about 6 inches in diameter.
- Set the circles of dough on separate squares of parchment paper. Cover with a towel, and let rest for 15 minutes.
Bake the Bread
- Position a rack in the center of the oven, and place a cast iron skillet on the rack. Preheat the oven and the skillet to 550 F.
- Bake one pita at a time, by setting the dough and paper onto the hot skillet. Bake for about 2 1/2 – 3 minutes, until puffed.
- Use tongs to remove the pita and paper from the skillet. Place the baked pita into a container lined with a clean kitchen towel. Wrap the towel over the bread, so the bread can steam a little and stay moist.
- Continue baking the rest of the pita bread.
- The pita bread will deflate as it cools, but when you split open one end with a knife, there will still be a pocket inside which you can fill with your desired fillings.

Hi — our oven doesn’t get hot enough and I want to make some pitas. I have a basket style air fryer that *does*. Could I bake these in the air fryer? Thanks.
I really couldn’t say if that would work or not. If you try it, please let me know how it goes!
So easy, delicious, and puffs better at 7600′ than anywhere else I’ve made it! A keeper recipe.