
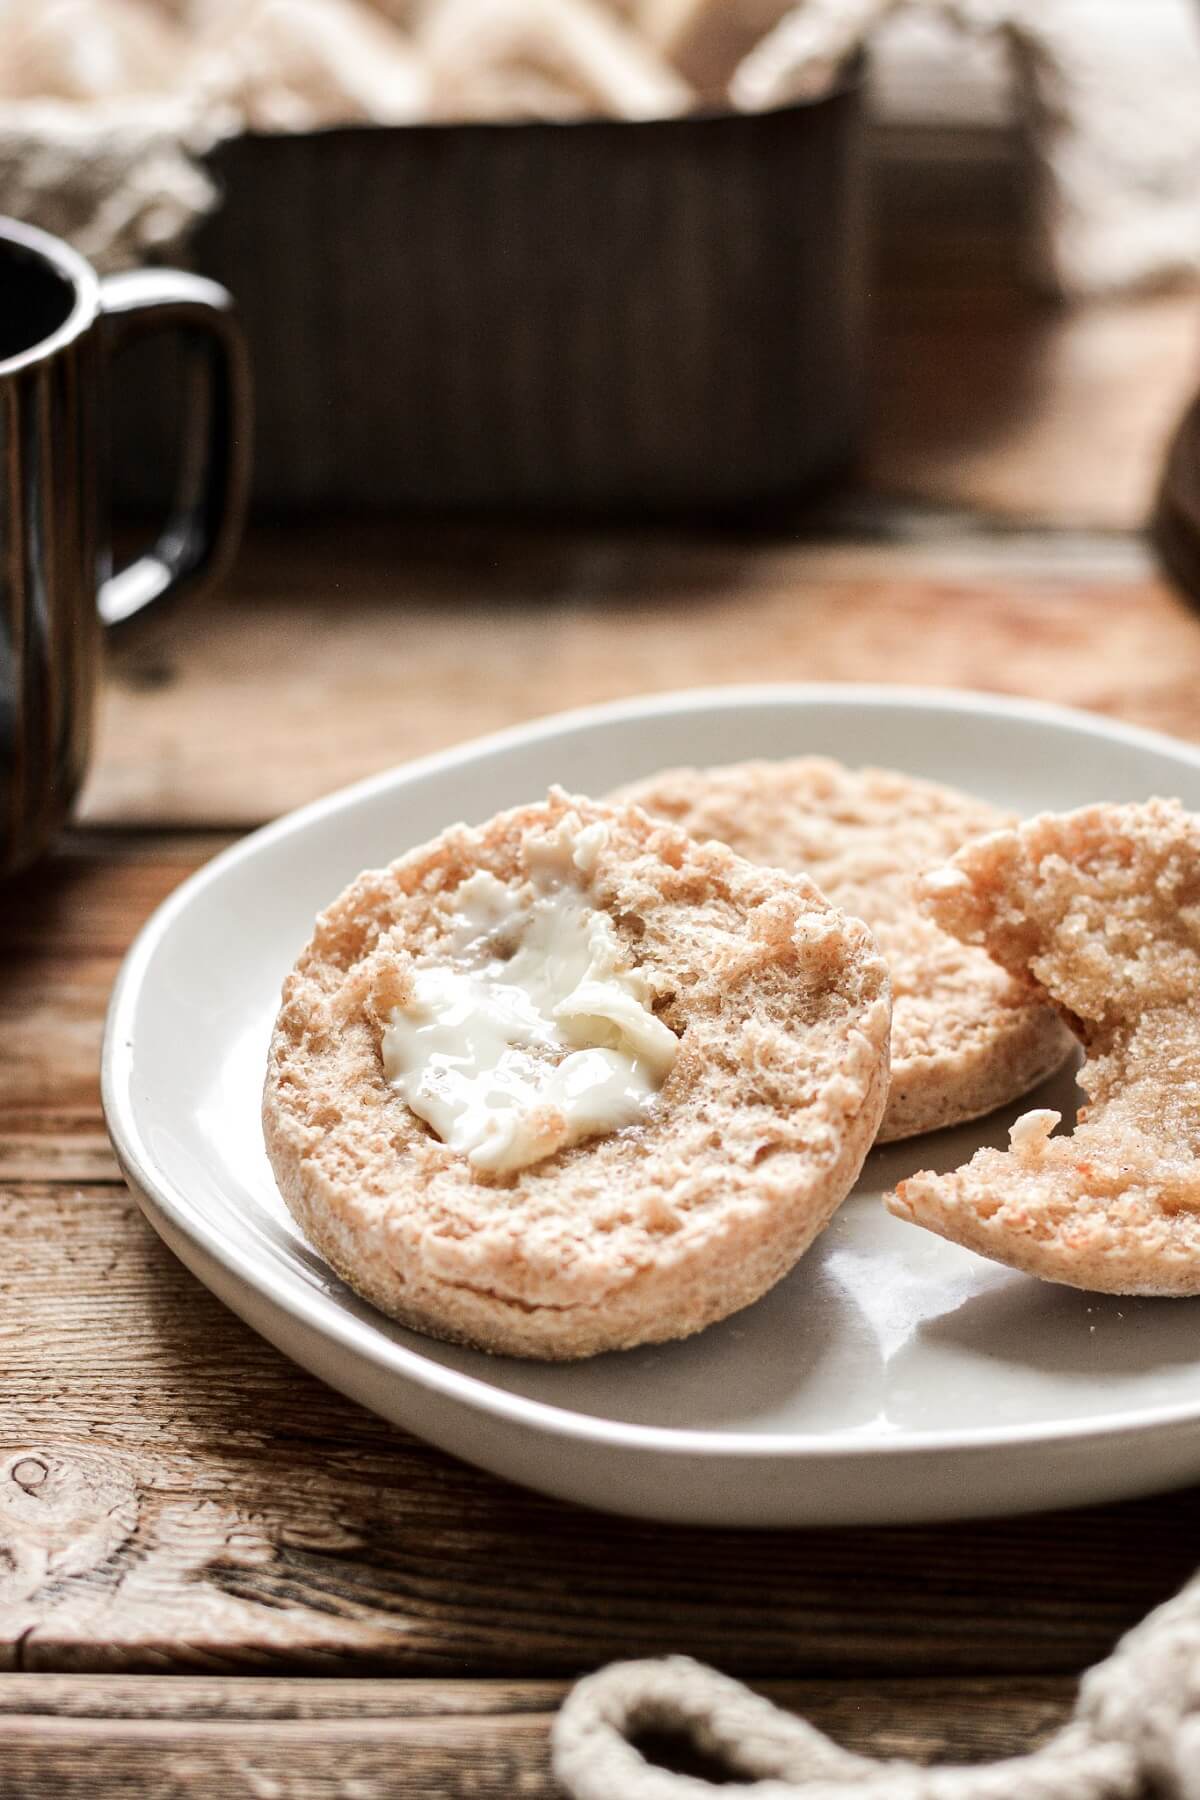
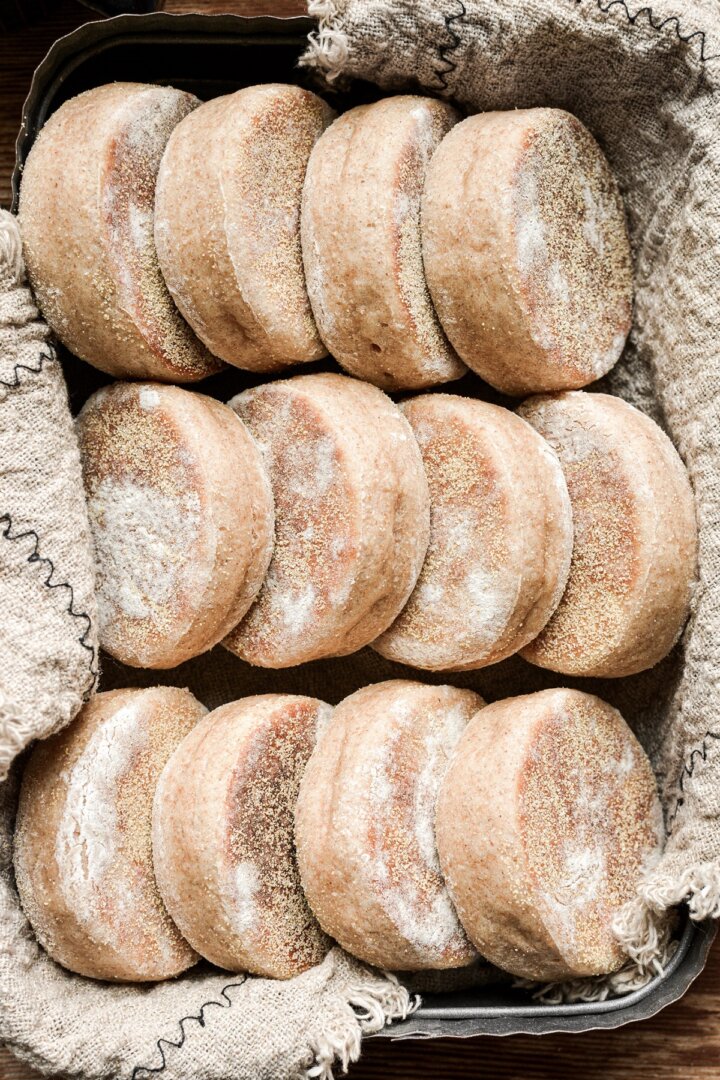
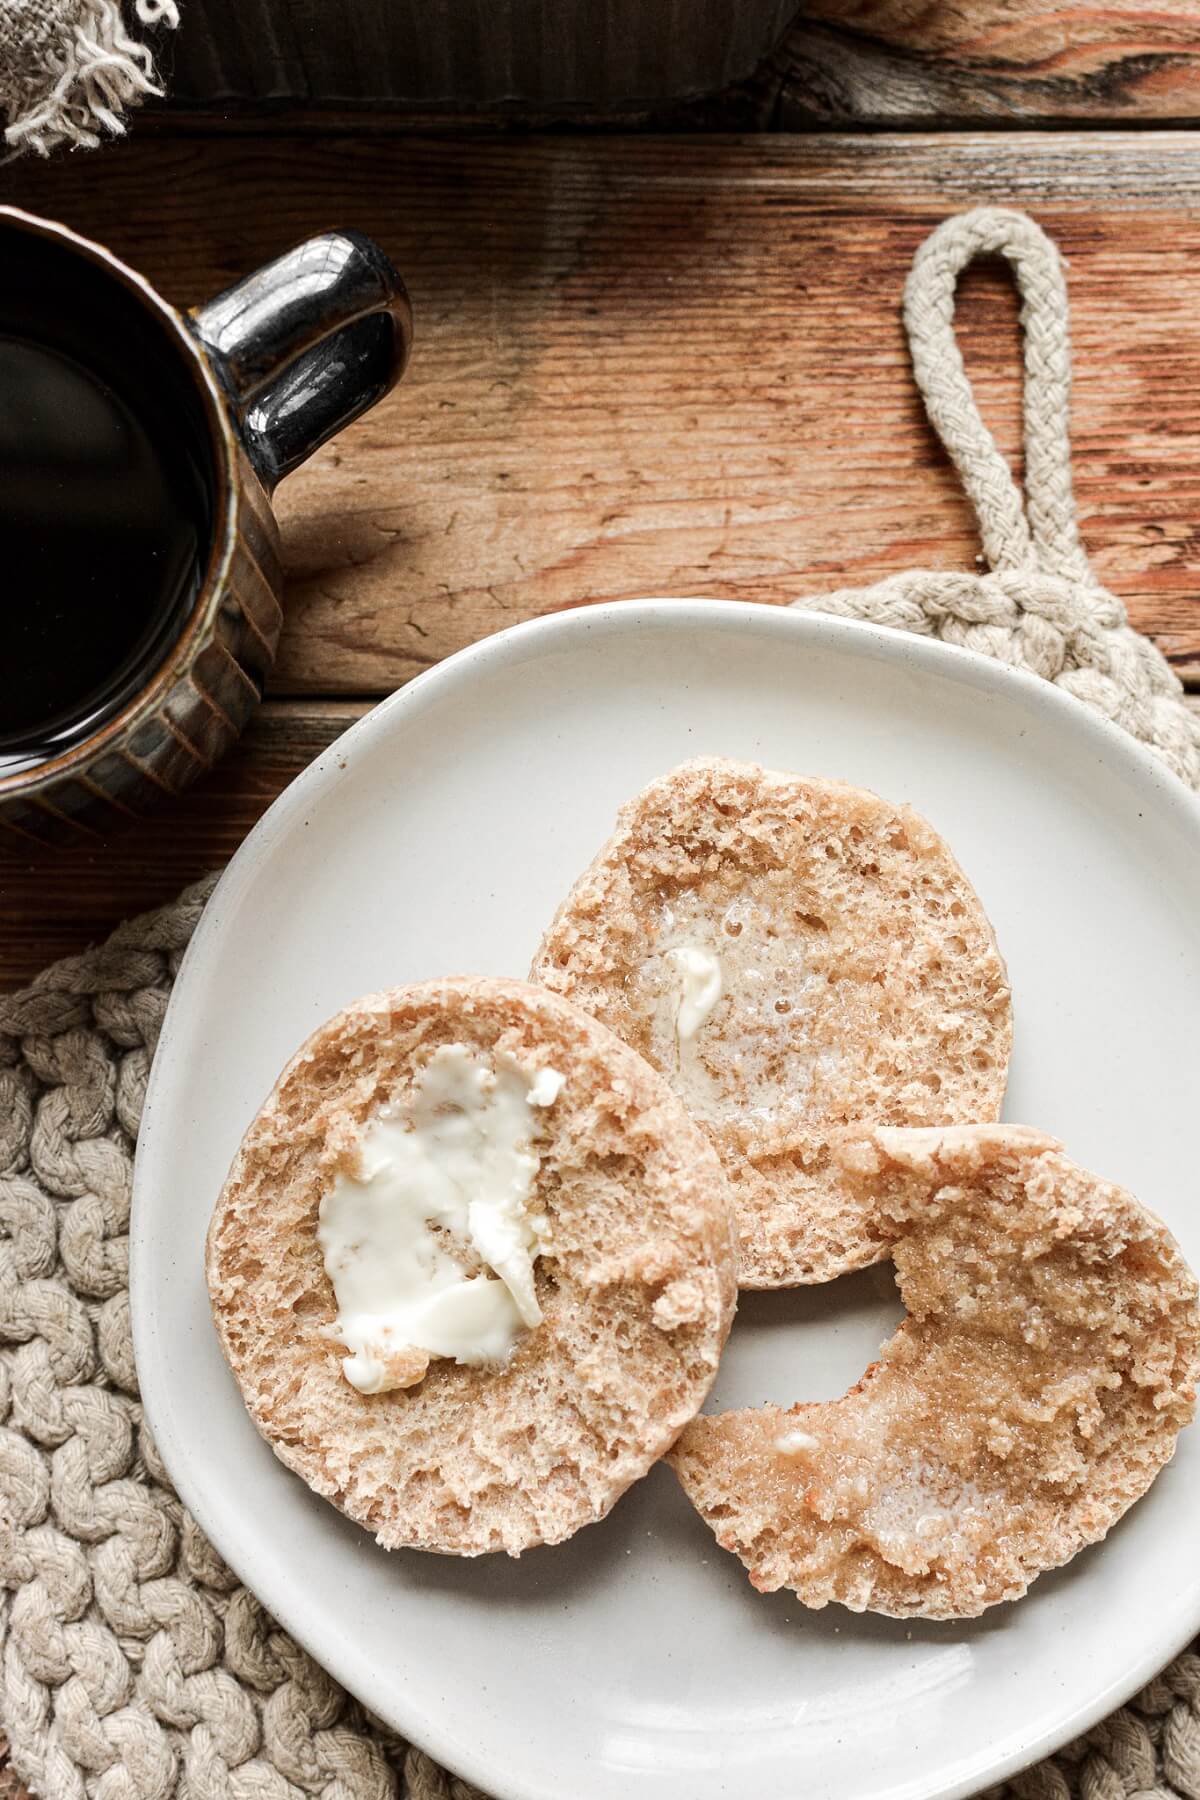
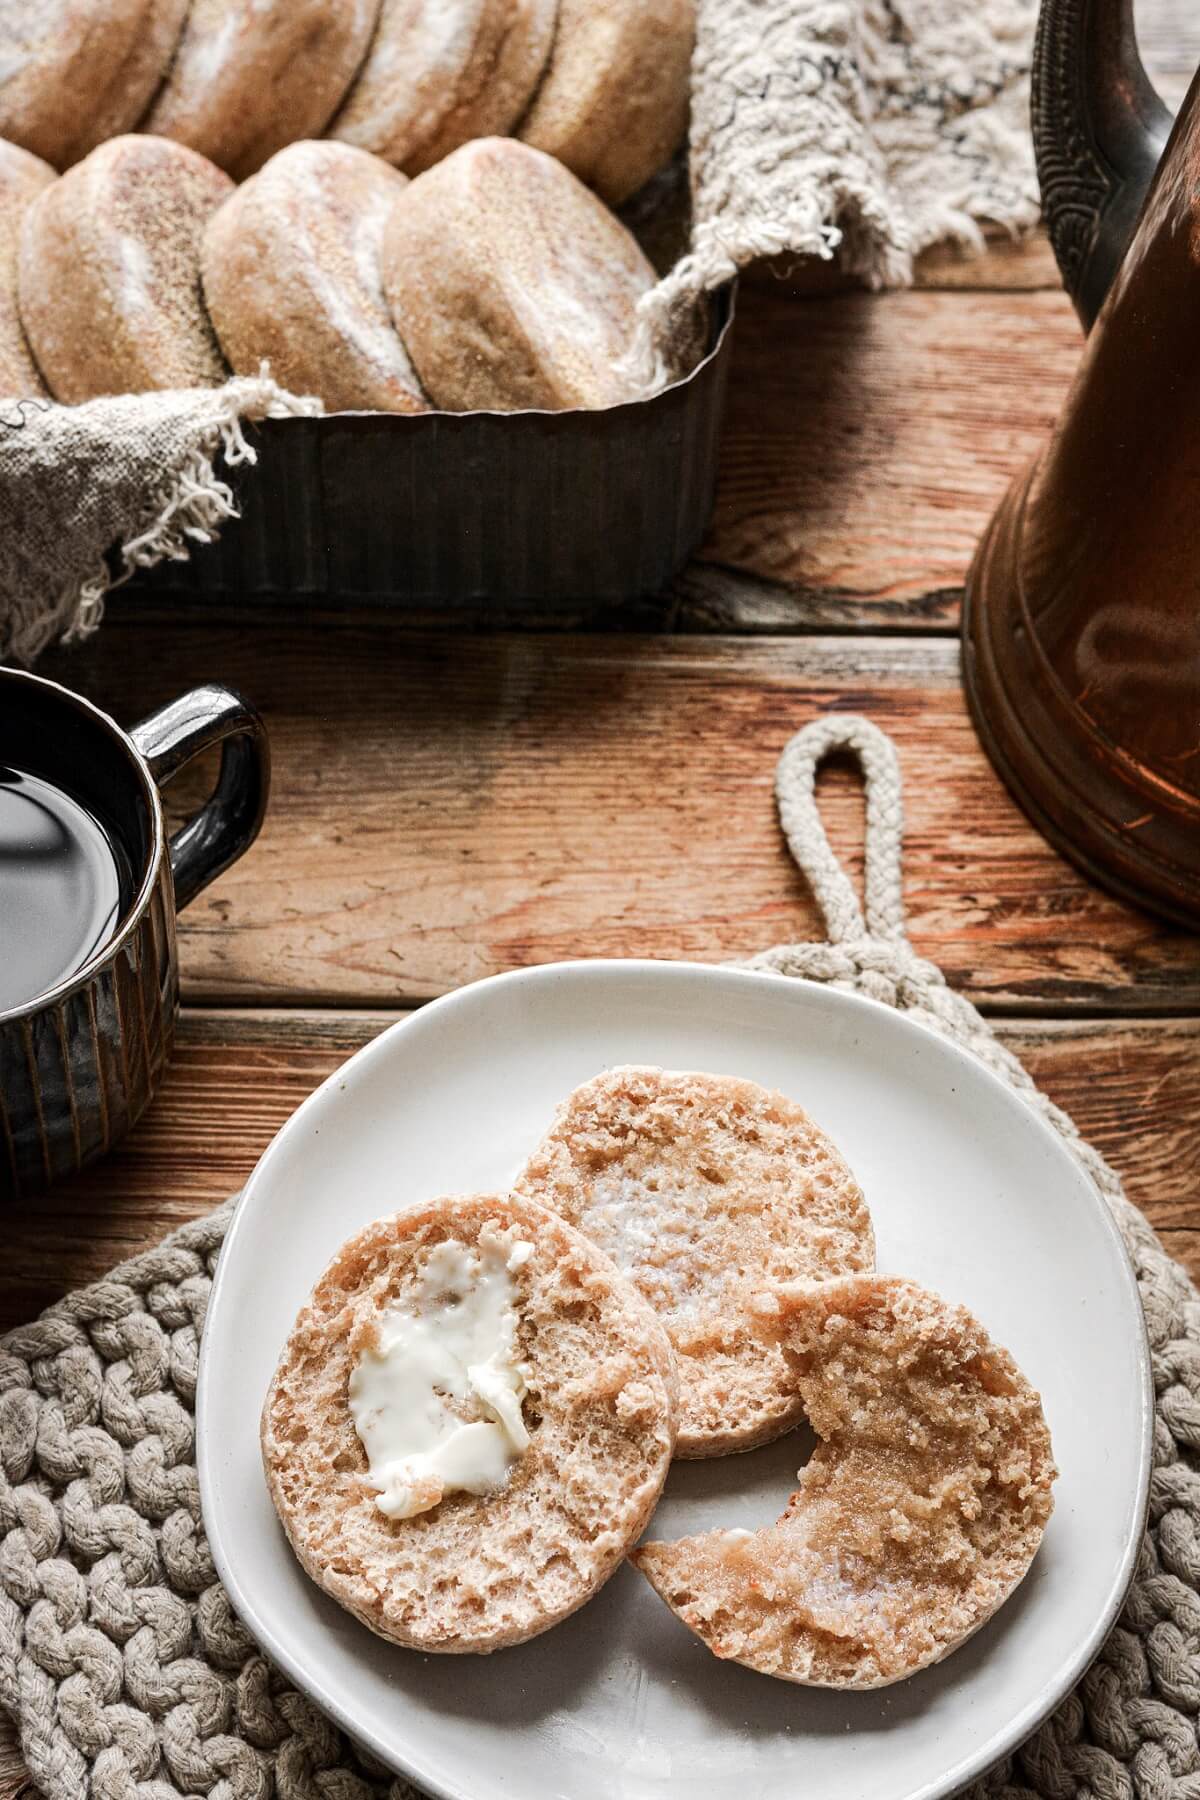
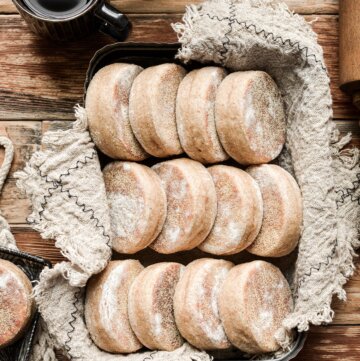
These delicious, high altitude tested English muffins are made with honey, whole wheat flour and a touch of cinnamon for a wholesome, slightly sweet flavor. They’re seared on a hot griddle, giving them a crispy exterior with fluffy nooks and crannies inside for soaking up butter and jam. This no knead bread recipe makes a fun weekend baking project that the whole family can help with.
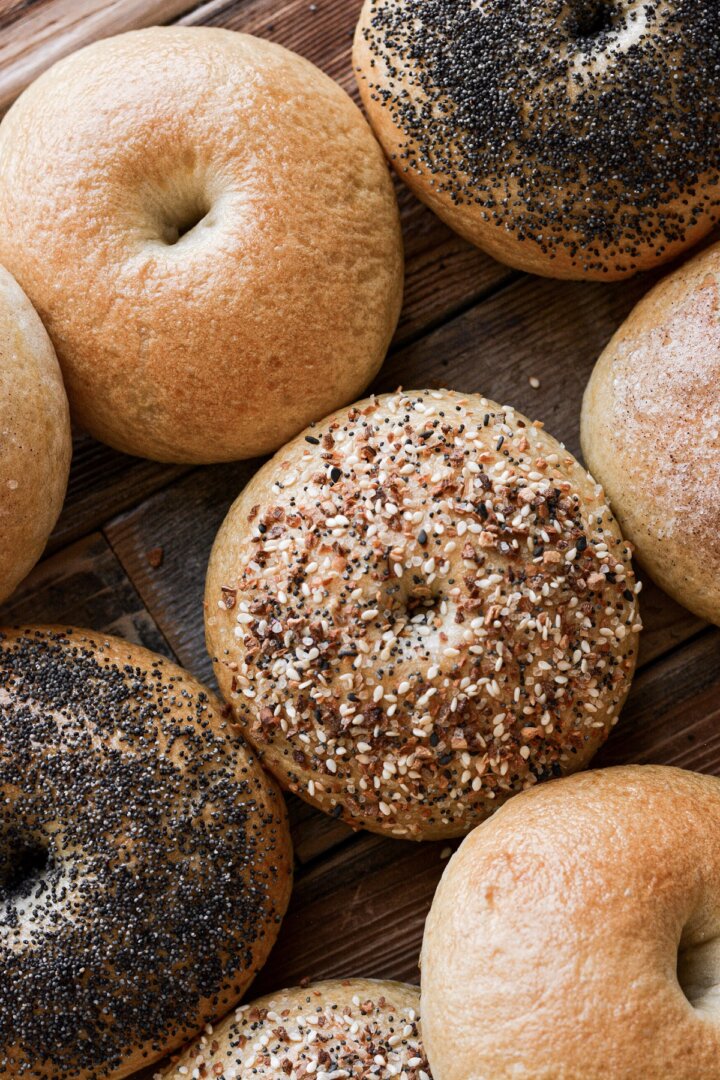
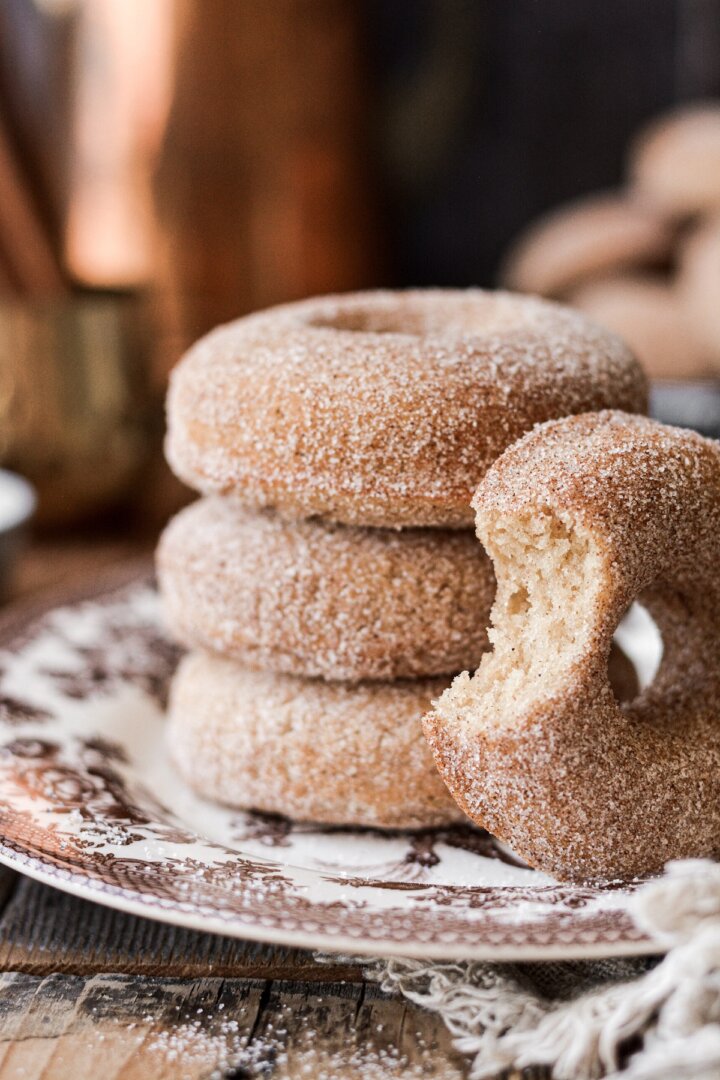
You might also love these high altitude recipes for baked whole wheat cinnamon sugar donuts, morning glory muffins, and homemade bagels.

This site contains affiliate links. As an Amazon associate, I earn from qualifying purchases. This means that I may make a small commission if you purchase a product using those links. This in no way affects my opinion of those products and services. All opinions expressed on this site are my own.
Why You’ll Love This Recipe
Better than Storebought. Every time I make homemade bread, I always think how much tastier and fresher it is than what is available at the grocery store. There’s just nothing like the aroma of these homemade English muffins as they’re cooking. And you’ll love that they’re made with real, wholesome ingredients and no preservatives.
No Knead Recipe. You don’t need a mixer to make the dough, and you won’t have to spend time kneading the dough either, since this is a simple, no knead recipe.
High Altitude Tested. I develop all the recipes on my site for Denver’s altitude of 5,280 feet. If you’re at a lower or higher elevation, please see my FAQs for guidance on adjusting recipes for your altitude.
See the recipe card at the end of the post for the full ingredients list and instructions.
Tools and Equipment
- Large Baking Sheet + Parchment Paper.
- Nonstick Electric Griddle (or a large skillet). Today’s recipe for English muffins is a bit different from most bread recipes, in that they’re not baked in the oven. Instead, they’re cooked on a griddle, giving them the classic browned crust on both sides. An electric griddle is ideal for cooking your muffins, so that you can easily maintain a consistent temperature.
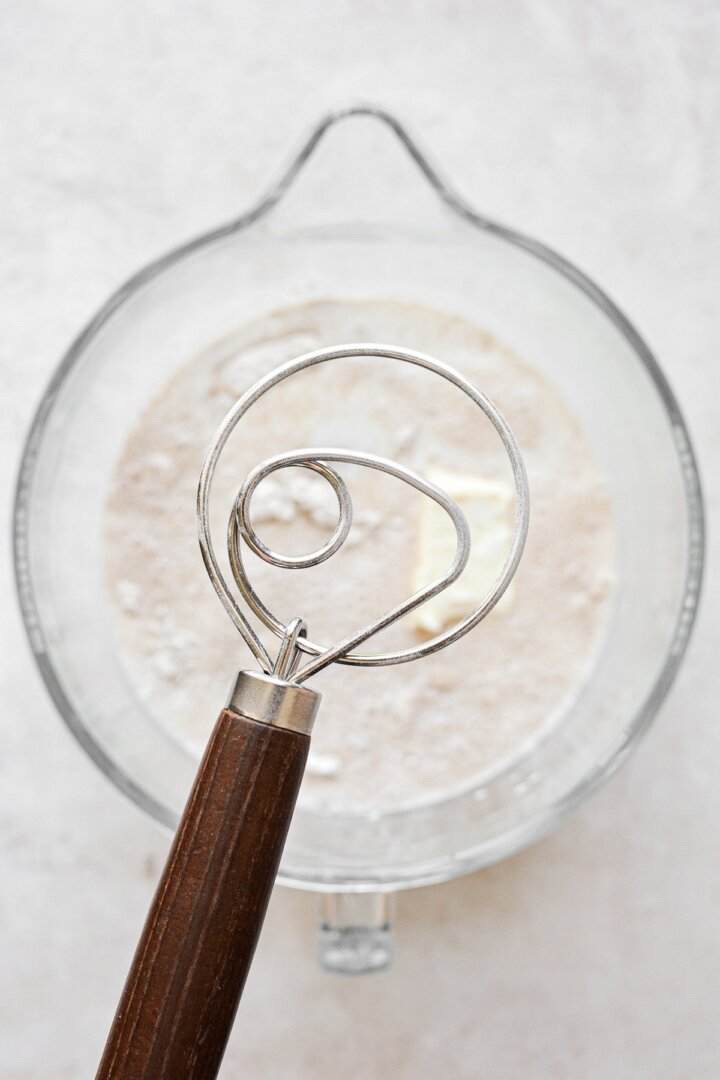
- Rolling Pin, Mixing Bowls, & Danish Dough Whisk or Wooden Spoon. I used a Danish dough whisk for mixing my dough, but you can also just use a spoon. The design of a Danish dough whisk allows it to easily cut through the butter and eggs, and very efficiently mixes a thick, sticky bread dough.
- 3-inch Biscuit Cutter or Round Cutter.
- Digital Instant Read Meat Thermometer. This is a necessary tool when making most bread recipes, and I highly recommend using a thermometer to check the internal temperature of your muffins. It’s the most accurate way to determine when they are fully cooked.
Ingredients
- Flour. I used a combination of bread flour and whole wheat flour for a more wholesome flavor and texture. You can also use all purpose flour for your English muffins.
- Yeast. Either instant (rapid rise) or active dry yeast will work. The yeast is the leavening agent, so the dough puffs up as it rests and cooks.
- Salt. Flavor.
- Cinnamon. The cinnamon is optional, but I like the warmth and flavor it adds to complement the honey.
- Honey. You can use honey, granulated sugar or any other sweetener of your choice.
- Butter. Adds fat and flavor, and contributes to the crisp exterior.
- Egg. Adds moisture and structure.
- Milk. I prefer whole milk for the best flavor. The milk adds moisture to the dough.
- Cornmeal. After cutting your muffins, you’ll be sprinkling the exterior with cornmeal. This gives them their classic look that they’re known for, and also keeps them from sticking to the pan. You can also use semolina flour instead of cornmeal.

Instructions
Make and Rest the Dough
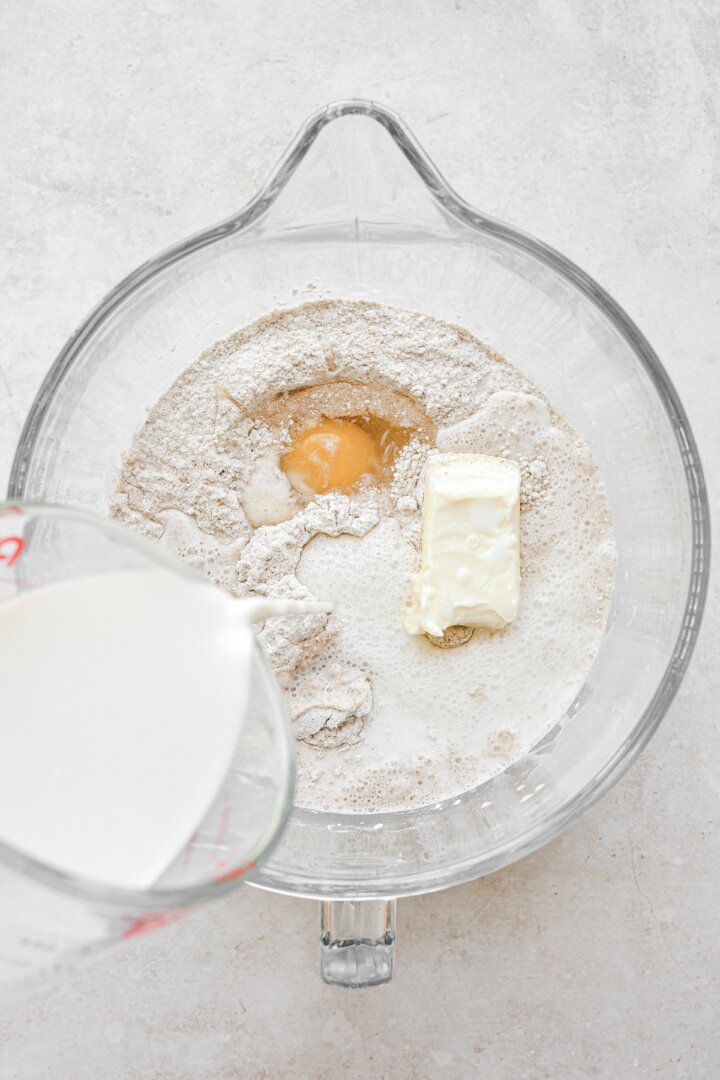
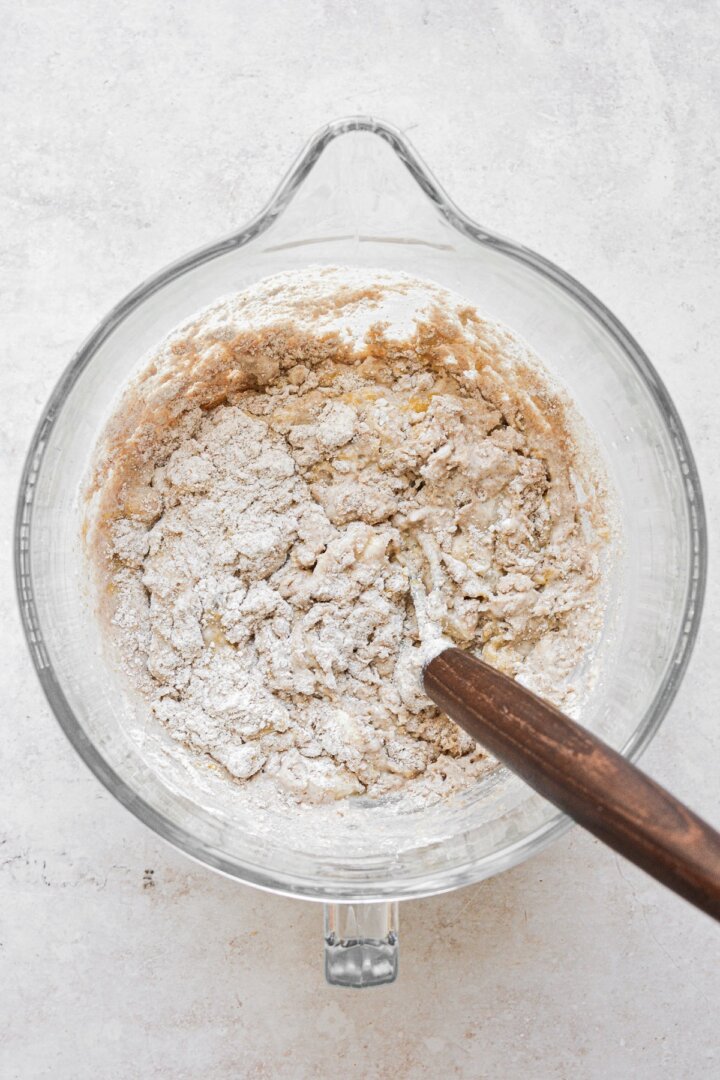
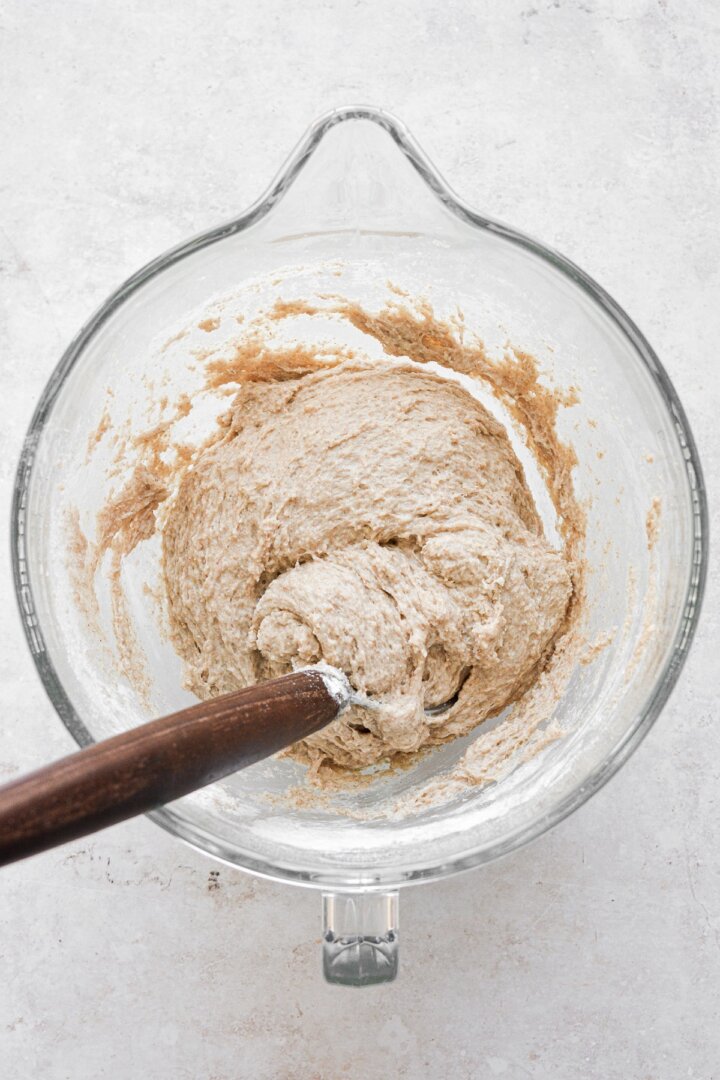
- In a large bowl, whisk together the flours, yeast, salt and cinnamon. Add the honey, butter, egg and milk, and use a Danish dough whisk (or just a spoon) to stir the dough for about 2-3 minutes, until smooth and well combined. The dough will be sticky, and should pull away from the sides of the bowl slightly as you stir it, but it will not form a firm dough ball.
- Baker’s Note: If you’re replacing the whole wheat flour with all purpose flour or bread flour, you may need to use slightly less milk.


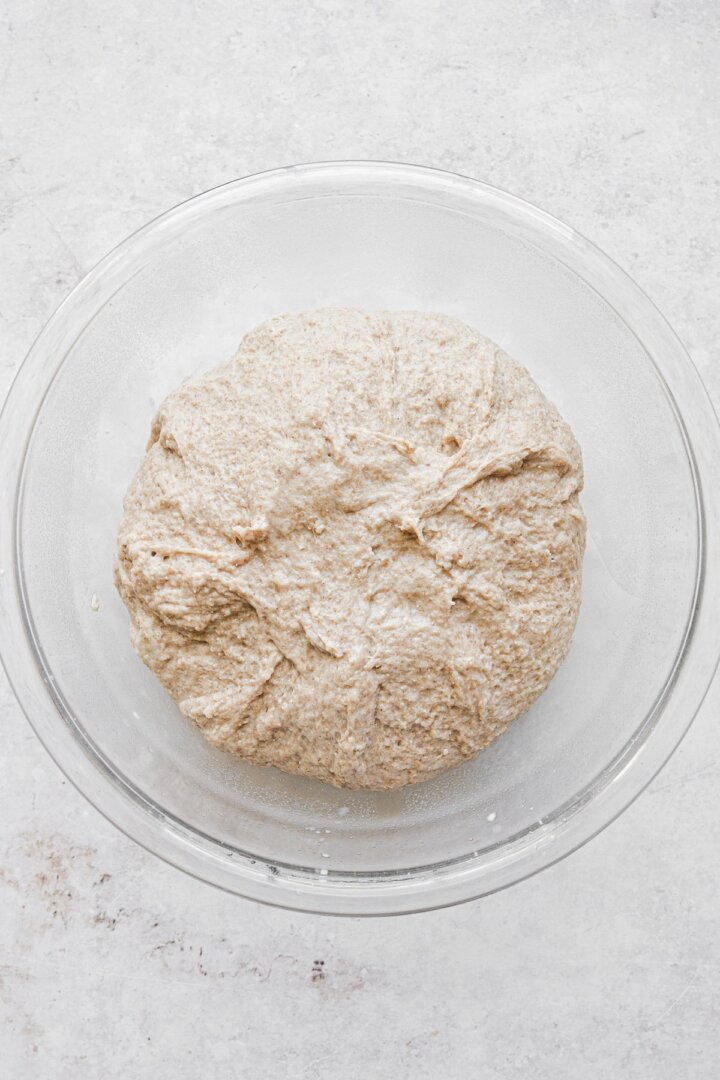
- Scrape the dough into a clean, lightly greased bowl. Cover the bowl tightly with plastic wrap, and refrigerate for at least 8 hours, or overnight. The chill time allows the dough to develop more flavor as it very slowly rises. The cold dough is also very easy to work with the next day.
- Baker’s Note: If you want to eliminate the chill time, simply set the covered bowl in a warm place to rise until doubled, about 45-90 minutes.

Cut the Muffins
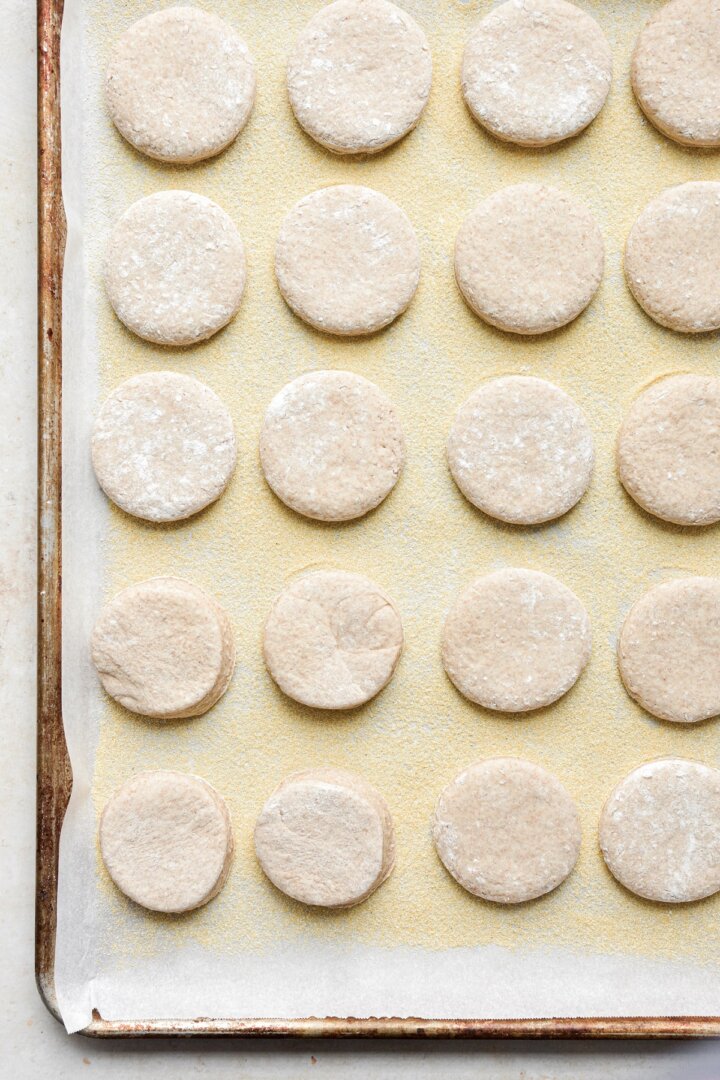
- Line a large baking sheet (or several smaller ones) with parchment paper. Sprinkle half the cornmeal in an even layer over the paper, so that there are no bare patches of paper. Without the cornmeal, the uncooked dough will stick.
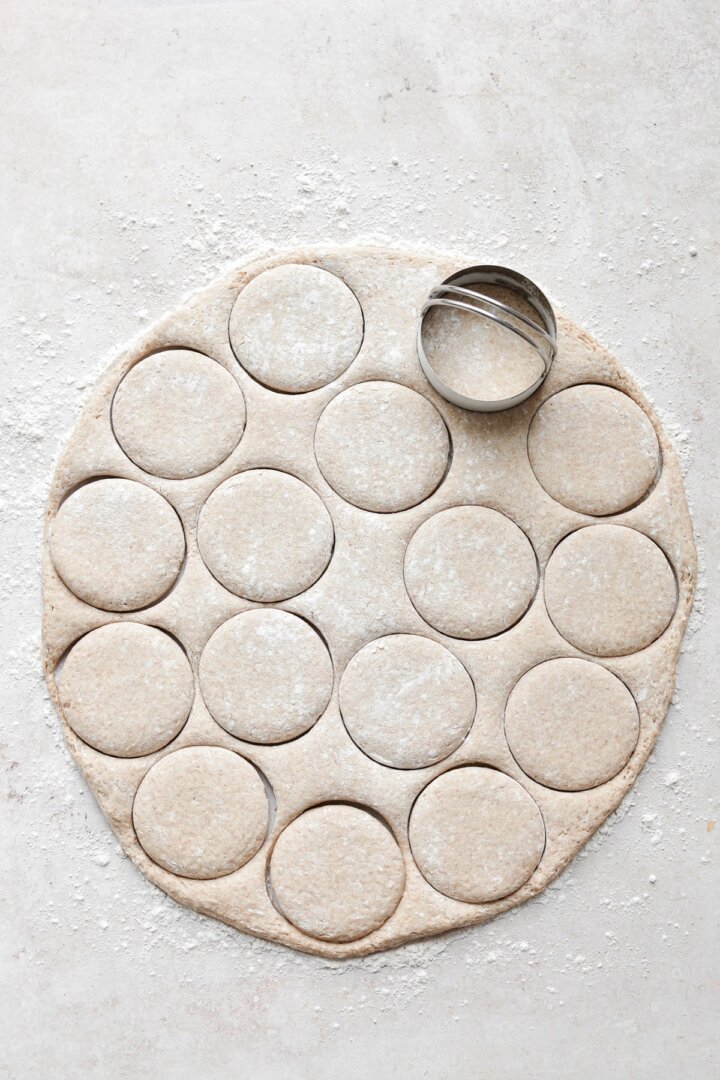
- Turn the cold dough out onto a floured surface. Sprinkle the top of the dough with more flour, and lightly press the air out of the dough. Use a rolling pin to roll the dough out into an even thickness of about 3/4 inch thick.
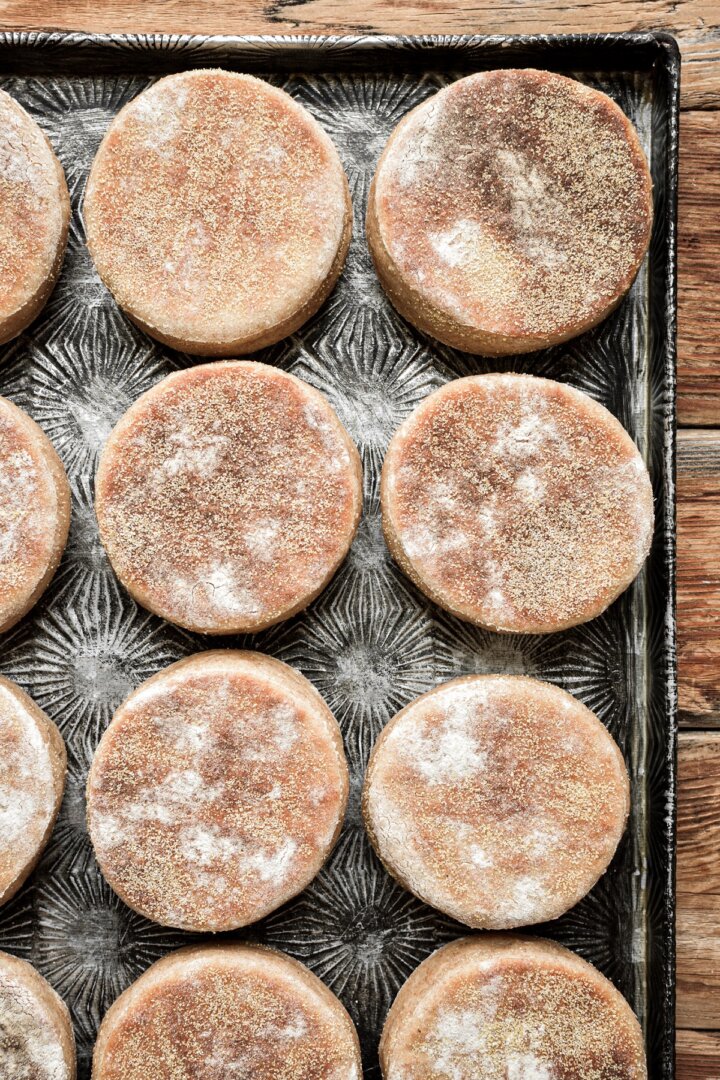
- Use a 3-inch round cutter or biscuit cutter to cut rounds of dough, dipping the cutter in flour in between each cut.

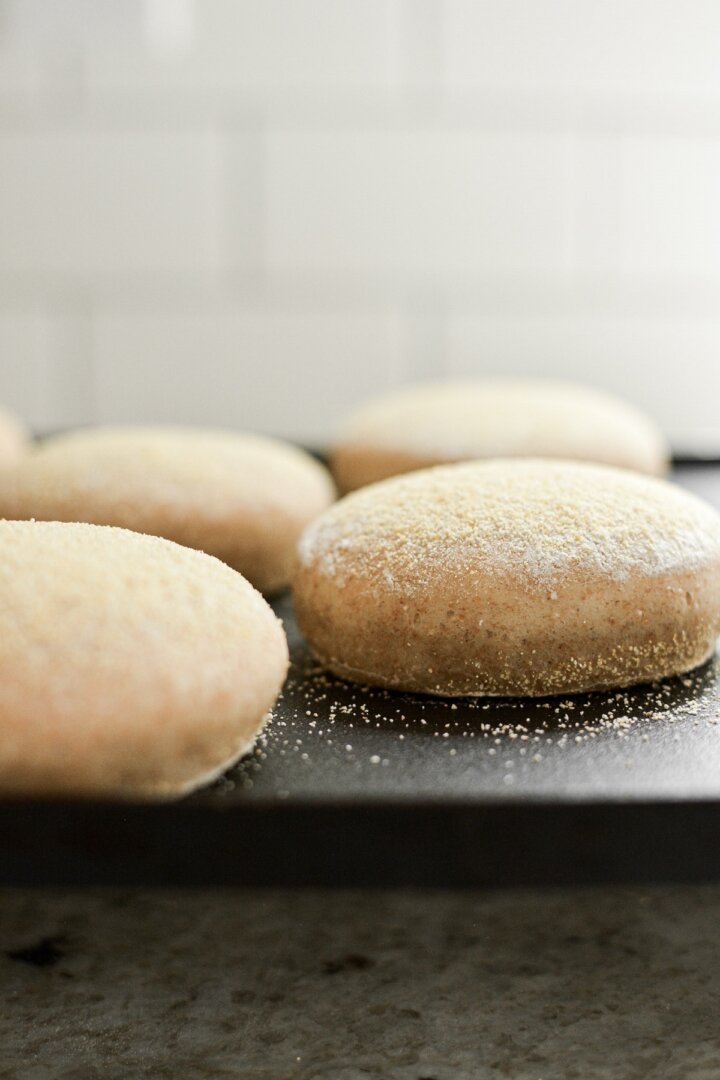
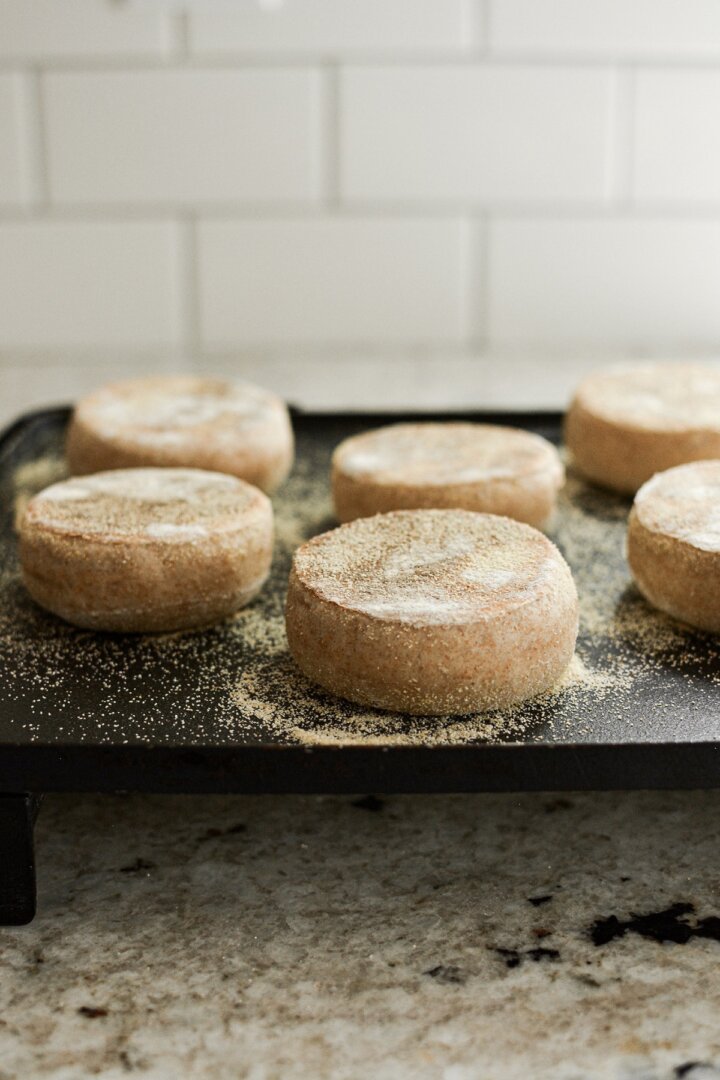
- Place the cut muffins on the baking sheet, right on top of the cornmeal. Baker’s Note: You can gather up the scraps of dough and re-roll them to cut more muffins, but you can only do this once. When the dough is re-rolled, it becomes more dense, and the muffins cut from it can take quite a bit longer to cook, so keep these separate from the first muffins you cut when you cook them in batches.
- Now sprinkle the top of the cut muffins with the rest of the cornmeal. Cover the pan loosely with a clean kitchen towel, and set aside to rest for about 30-45 minutes, just until the muffins start to puff up a little.
- If your dough is cold, I recommend placing the pan in the oven on the bread proofing setting to help it warm up a bit.

Cook the Muffins
- Preheat a non-stick electric griddle to between 325-350 degrees Fahrenheit, or heat a large skillet over medium heat. You’ll be cooking the muffins in batches, as many as can fit on your griddle or skillet, with room to flip them. I was able to cook 8 muffins at a time on my griddle without crowding them, so I cooked them in 3 batches.
- Use a spatula to place your first batch of muffins on your ungreased hot griddle or skillet. As they cook, they’ll start to puff and rise a bit. Cook them on one side for about 7-10 minutes, then flip them over and cook them on the other side for another 7-10 minutes. Keep the temperature moderate so that they turn a deep golden brown on the outside as they cook. You don’t want the heat to be so high that they burn on the outside before they’re fully cooked through the middle. This is why an electric griddle is so convenient for this step, so you can better control the temperature.
Baker’s Note: The cooking times I’ve provided are merely an estimate, based on how long mine took to cook. However, depending on the temperature of your dough, how thick you rolled your dough and how large you cut your muffins will all factor into how long you need to cook them. Rely on the internal temperature (between 195-205 degrees Fahrenheit), not on a given time. The muffins that I cut from the re-rolled scraps took nearly 2x as long to cook through, since the dough was more dense.
- Now, test the muffins for doneness. The only way to know if your muffins are cooked through is to cut them open (which means sacrificing a muffin that may not be cooked yet), or to check the internal temperature. Checking their internal temperature with an instant read digital thermometer is the most accurate and efficient method, so cook your muffins until a thermometer inserted through the side and into the center of the muffins reads between 195-205 degrees Fahrenheit. This will ensure they’re fully cooked and not doughy.
- Continue to cook the rest of the muffins, brushing the excess cornmeal off the griddle in between batches.
Split the Muffins
- Classic English muffins are “fork-split”, not cut with a knife. This method of splitting them gives them their iconic nooks and crannies that they’re known for. Simply take a fork and use it to perforate the muffins, all around the sides, until you can pull them apart into halves.
- The best way to enjoy these muffins is to split and toast them. Slather the toasted muffins with butter, jam or honey, make breakfast sandwiches, or use them for eggs Benedict.
Be sure to read all of my BAKING FAQs where I discuss ingredients, substitutions and common baking questions, so that you can be successful in your own baking!
Frequently Asked Questions
How should I store homemade English muffins?
Store the leftover, cooled muffins in an airtight container or freezer bag at room temperature for up to 3-5 days, or in the freezer for up to 3-6 months. I recommend splitting them first, before freezing them, so they’re easy to toast while they’re frozen.
Can I add raisins to this recipe?
For cinnamon raisin English muffins, just add a handful of raisins to the dough and double or triple the cinnamon.
Do I have to use the whole wheat flour?
You don’t have to. You can use any combination of whole wheat flour, bread flour and all purpose flour. However, whole wheat flour tends to absorb a bit more liquid, so if you leave it out, you may need to use a little less milk.
Can I just bake my muffins instead of cooking them on a griddle?
While you could bake your muffins in the oven, the end result will not be the same as muffins cooked on a griddle or skillet.
You Might Also Like

Please check out my Amazon Shop for a curated collection of some of my favorite cake pans from trusted brands, baking tools, ingredients, pretty things and fashion finds. I recommend products that I buy and use every day!
Did you love today’s recipe? Please rate the recipe and let me know in the comments what you thought! Also, be sure to follow Curly Girl Kitchen on Instagram, and tag me when you try one of my recipes so I can see all your delicious creations!
High Altitude Homemade Whole Wheat English Muffins
All recipes on Curly Girl Kitchen are developed for high altitude at 5,280 feet. See FAQs for adjusting to higher or lower elevations.

Equipment
- Large Baking Sheet + Parchment Paper
- Nonstick Electric Griddle (or a large skillet)
- Rolling Pin, Mixing Bowls, & Danish Dough Whisk or Wooden Spoon
- 3-inch Biscuit Cutter or Round Cutter
Ingredients
- 2 ½ cups bread flour or all purpose flour, fluffed, spooned and leveled (plus extra for rolling out the dough)
- 2 cups whole wheat flour, fluffed, spooned and leveled (or replace with all-purpose flour or bread flour)
- 1 packet (2 1/4 tsp) yeast (active dry or instant/rapid-rise)
- 1 ½ tsp coarse Kosher salt (if using table salt, use half the amount)
- ½ tsp ground cinnamon
- 3 tbsp honey, granulated sugar or other sweetener
- 4 tbsp unsalted, very soft butter
- 1 large egg, room temperature
- 1 ½ -1 ¾ cups warm milk (between 110-115 degrees Fahrenheit)
- ½ cup yellow cornmeal or semolina flour
Instructions
Make and Rest the Dough
- In a large bowl, whisk together the flours, yeast, salt and cinnamon. Add the honey, butter, egg and milk, and use a Danish dough whisk (or just a spoon) to stir the dough for about 2-3 minutes, until smooth and well combined. The dough will be sticky, and should pull away from the sides of the bowl slightly as you stir it, but it will not form a firm dough ball.Baker's Note: If you're replacing the whole wheat flour with all purpose flour or bread flour, you may need to use slightly less milk.
- Scrape the dough into a clean, lightly greased bowl. Cover the bowl tightly with plastic wrap, and refrigerate for at least 8 hours, or overnight. The chill time allows the dough to develop more flavor as it very slowly rises. The cold dough is also very easy to work with the next day.Baker's Note: If you want to eliminate the chill time, simply set the covered bowl in a warm place to rise until doubled, about 45-90 minutes.
Cut the Muffins
- Line a large baking sheet (or several smaller ones) with parchment paper. Sprinkle half the cornmeal in an even layer over the paper, so that there are no bare patches of paper. Without the cornmeal, the uncooked dough will stick.
- Turn the cold dough out onto a floured surface. Sprinkle the top of the dough with more flour, and lightly press the air out of the dough. Use a rolling pin to roll the dough out into an even thickness of about 3/4 inch thick.
- Use a 3-inch round cutter or biscuit cutter to cut rounds of dough, dipping the cutter in flour in between each cut. Place the cut muffins on the baking sheet, right on top of the cornmeal.Baker's Note: You can gather up the scraps of dough and re-roll them to cut more muffins, but you can only do this once. When the dough is re-rolled, it becomes more dense, and the muffins cut from it can take quite a bit longer to cook, so keep these separate from the first muffins you cut when you cook them in batches.
- Now sprinkle the top of the cut muffins with the rest of the cornmeal. Cover the pan loosely with a clean kitchen towel, and set aside to rest for about 30-45 minutes, just until the muffins start to puff up a little.If your dough is cold, I recommend placing the pan in the oven on the bread proofing setting to help it warm up a bit.
Cook the Muffins
- Preheat a non-stick electric griddle to between 325-350 degrees Fahrenheit, or heat a large skillet over medium heat. You'll be cooking the muffins in batches, as many as can fit on your griddle or skillet, with room to flip them. I was able to cook 8 muffins at a time on my griddle without crowding them, so I cooked them in 3 batches.
- Use a spatula to place your first batch of muffins on your ungreased hot griddle or skillet. As they cook, they'll start to puff and rise a bit. Cook them on one side for about 7-10 minutes, then flip them over and cook them on the other side for another 7-10 minutes. Keep the temperature moderate so that they turn a deep golden brown on the outside as they cook. You don't want the heat to be so high that they burn on the outside before they're fully cooked through the middle. This is why an electric griddle is so convenient for this step, so you can better control the temperature.
- Now, test the muffins for doneness. The only way to know if your muffins are cooked through is to cut them open (which means sacrificing a muffin that may not be cooked yet), or to check the internal temperature. Checking their internal temperature with an instant read digital thermometer is the most accurate and efficient method, so cook your muffins until a thermometer inserted through the side and into the center of the muffins reads between 195-205 degrees Fahrenheit. This will ensure they're fully cooked and not doughy.Baker's Note: The cooking times I've provided are merely an estimate, based on how long mine took to cook. However, depending on the temperature of your dough, how thick you rolled your dough and how large you cut your muffins will all factor into how long you need to cook them. Rely on the internal temperature, not on a given time. The muffins that I cut from the re-rolled scraps took nearly 2x as long to cook through, since the dough was more dense.
- Continue to cook the rest of the muffins, brushing the excess cornmeal off the griddle in between batches.
Split the Muffins
- Classic English muffins are "fork-split", not cut with a knife. This method of splitting them gives them their iconic nooks and crannies that they're known for. Simply take a fork and use it to perforate the muffins, all around the sides, until you can pull them apart into halves.
- The best way to enjoy these muffins is to split and toast them. Slather them with butter, jam or honey, make breakfast sandwiches, or use them for eggs Benedict.
Notes
 https://curlygirlkitchen.com/
Cinnamon raisin English muffins on a chilly Sunday morning. I can’t think of a more perfect recipe and a more perfect way to start the day!
I’m so glad you love them!
Hi from Littleton CO! I am a big Test Kitchen fan but I keep making your English Muffins recipe instead of theirs and find it’s a little less messy and makes a nicer texture. Instead of a griddle, I brown the muffins stovetop in butter on both sides and then put them in the oven for finishing. Also I make them bigger, so not so many. Looking forward to trying some of your cakes!
These came out great! I made them with bread & AP flours. I’ve made plain & cranberry cinnamon. They’re scrumptious! I’m so glad to have this recipe. Thank you! I’m going to make a batch of raisin & a batch of cranberry AND make your oatmeal lace cookies today. I use your recipes all the time. They always work well for me. I appreciate your site very much.
I made these while visiting my daughter in Aurora CO and they turned out perfect. I would love to make at home in Southern Utah with a much lower altitude. What would I need to change for the lower altitude?
I’m so glad you loved them! Please see my FAQs for other altitude adjustments: https://curlygirlkitchen.com/baking-faqs/
I’m so anxious to try your English muffins. Have tried other’s with disastrous results.
Love your recipes. Finally someone who knows how to cook at high altitude.
OMGosh these English muffins are perfect. Light, tender, so flavorful. Everything an English muffin should be. Not like the flat, flavorless “things” you buy in the grocery store. And so easy. Thank you!