
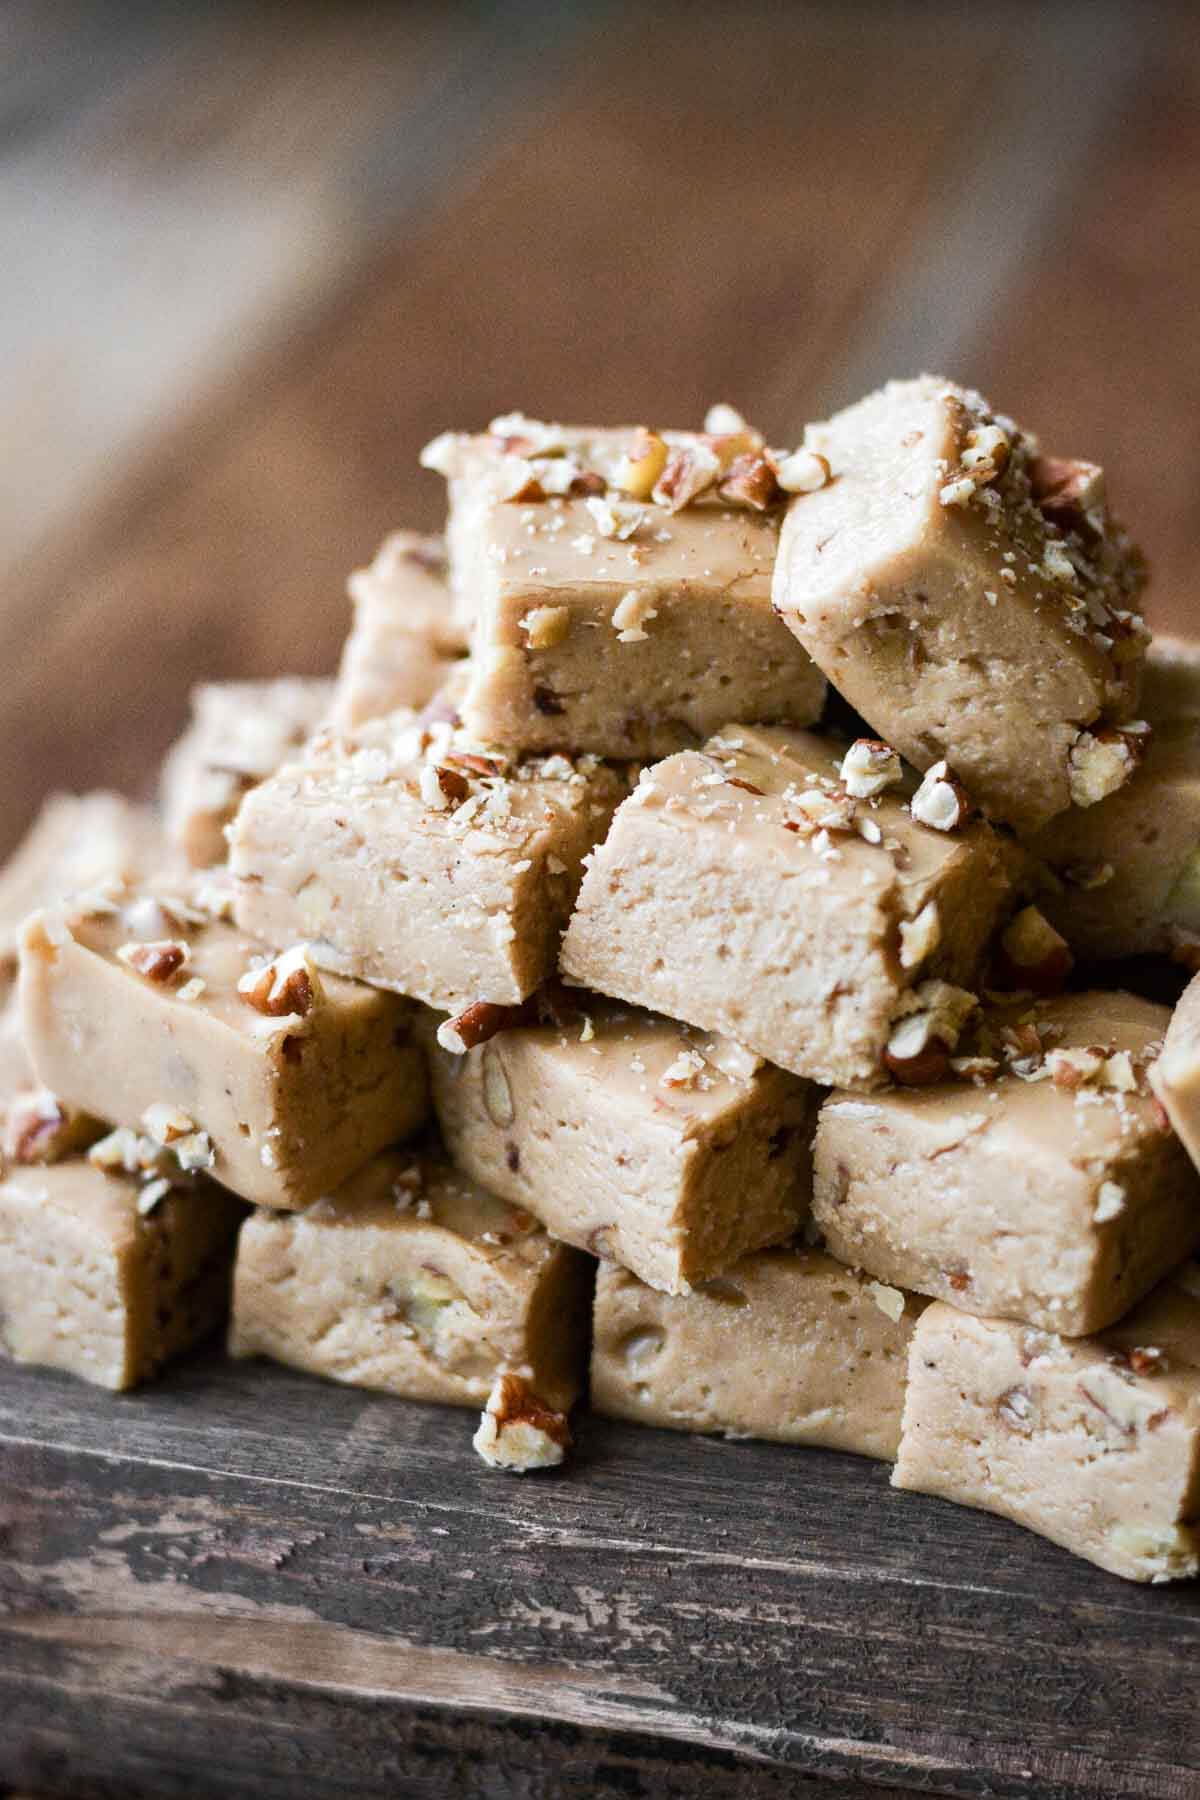
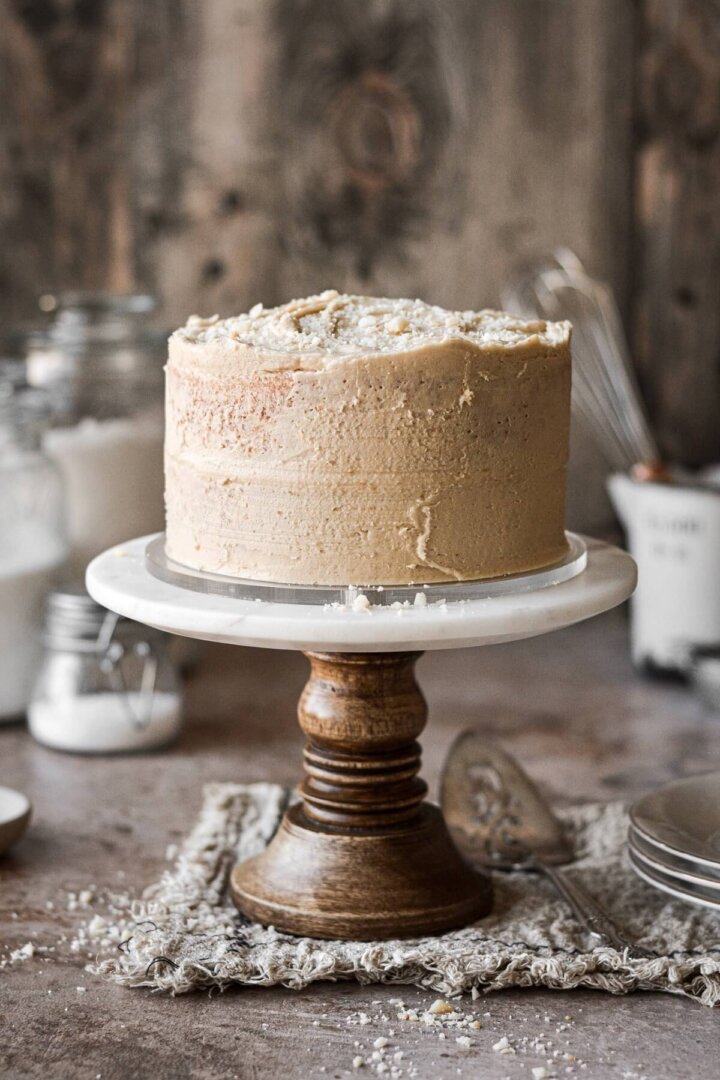
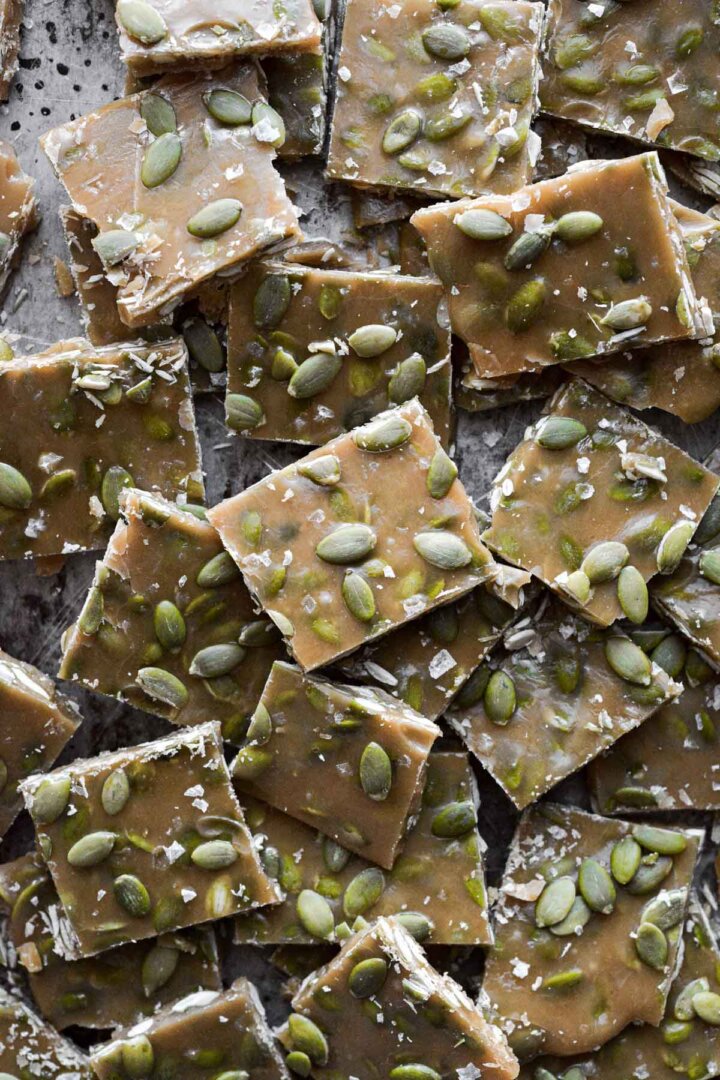
A high altitude tested recipe for real, old-fashioned penuche fudge, made without sweetened condensed milk, marshmallow fluff or corn syrup. This brown sugar fudge is rich, smooth and creamy, with crunchy walnuts, flaky salt and a hint of vanilla bean.

This site contains affiliate links. As an Amazon associate, I earn from qualifying purchases. This means that I may make a small commission if you purchase a product using those links. This in no way affects my opinion of those products and services. All opinions expressed on this site are my own.
Why You’ll Love This Recipe
Creamy Texture. Today’s fudge isn’t too soft or too hard and crumbly, but perfectly smooth, rich and creamy. Penuche fudge is different from chocolate fudge, in that it doesn’t contain any cocoa powder, and is made with brown sugar.
Perfect for the Holidays. Christmas time is for making brown sugar fudge and all the sweet treats, and a batch of old fashioned penuche fudge is a delicious addition to a Christmas cookie box.
High Altitude Tested. I develop all the recipes on my site for Denver’s altitude of 5,280 feet. If you’re at a lower or higher elevation, please see my FAQs for guidance on adjusting recipes for your altitude. Be sure to read the whole post today, for lots of high altitude tips for candy making.
See the recipe card at the end of the post for the full ingredients list and instructions.
Ingredients, Tools and Equipment
- Stock Pot. You’ll need a large stock pot with a 5-6 quart capacity, giving the boiling sugar plenty of room to bubble up without over-flowing.
- Digital Candy Thermometer. This is the digital candy thermometer I use.
- Hand Held Electric Mixer. A mixer will make the job of beating the fudge so much easier than trying to beat it by hand.
- Granulated Sugar + Dark Brown Sugar. The caramelization of the sugars during the cooking process gives this fudge its rich flavor, with hints of maple and caramel.
- Salt. Balances the sweetness.
- Whole Milk. The milk softens the texture of the fudge, while the high fat content gives it a rich flavor and creamy mouth feel.
- Butter.
- Vanilla. You can use vanilla extract, but vanilla bean paste will make this recipe even more special.

High Altitude Tips for Candy Making
Be sure to read through this whole section, for all my best high altitude practices for today’s old fashioned fudge recipe.
Use a Candy Thermometer
This is not a recipe where you want to try to use the cold water method of testing your candy to see if it’s reached the soft ball stage. You’ll need a candy thermometer (preferably digital) for accuracy.
Determine the Candy Making Stages for YOUR Altitude
Stages of candy making are based on the temperature of the boiling sugar (as well as the texture and appearance of the sugar when it’s dropped into cold water). These are the standard temperature ranges for sea level.
- Thread (223 – 235 F). At this stage, the syrup drips from a spoon, forming thin threads in water. This is ideal for a glacé or candied fruit that’s glazed in syrup.
- Soft Ball (234 – 245 F). The syrup easily forms a ball in cold water, but flattens once removed from the water. For fudge and fondant.
- Firm Ball (245 – 250 F). The syrup can be formed into a stable ball, but can be pressed flat. For soft caramels.
- Hard Ball (250 – 266 F). The syrup holds its shape but has a sticky texture. For marshmallows and divinity.
- Soft Crack (270 – 290 F). The syrup will form firm but pliable threads. For nougat and salt-water taffy.
- Hard Crack (300-310 F). The syrup will crack if you try to mold it. For brittles, toffee and lollipops.
- Caramel (320 – 350 F). The syrup will turn golden and is very brittle. For pralines or hard caramelized sugar.
Since water boils at a lower temperature at high altitude, did you know that the same goes for sugar? This means that when making candy at high altitude, your boiling sugar will reach the candy making stages at a lower temperature than if you were at sea level. It’s important to understand this, because if your fudge doesn’t cook long enough (temperature too low), it will be too soft and won’t set. If it cooks for too long (temperature too high), your fudge will be hard, dry and crumbly.
So how do you know what temperature your sugar needs to reach when you’re cooking and baking at high altitude? It’s really quite simple. A general rule of thumb is that for every 1,000 feet of elevation, you should subtract 2 degrees. This would mean that someone living at 5,000 feet elevation should subtract 10 degrees. So for the soft ball stage, instead of letting your sugar boil until it reaches 234 F, you should only let it boil until it reaches 224 F. There’s a more accurate way to determine this for your specific altitude, though. Boil a pot of water with your candy thermometer in the water. When it reaches a full rolling boil, check the temperature. My altitude is just under 5,500 feet, and when I did this test, my water boiled at 201 F, a full 11 degrees lower than the standard boiling point for sea level (212 F). So when I’m making fudge, if the standard soft ball stage is 234 F, then I only want to let my sugar boil until it reaches 223 F (11 degrees lower). Make sense?
Do Not Stir the Fudge when Cooking or Cooling
It’s important not to stir the fudge at any point during the cooking or cooling process. Slow stirring can create big, grainy sugar crystals, leading to a sugary, crystallized texture in your fudge. After initially combining all the ingredients in the pot, leave it the heck alone. Don’t stir it again, not even a little. And to avoid those sugar crystals that are clinging to the sides of the pot messing up your batch of fudge when it is time to stir, just wash them down into the boiling liquid with a damp pastry brush. Again, don’t stir.
Stir Fast After Cooling
When your fudge has cooled down after cooking, now it’s okay to stir it. You need to stir it fast (beat it, actually), since fast stirring forms small sugar crystals for a smooth, creamy texture. You can beat your fudge by hand with a wooden spoon, but you’ll have a very sore arm, and possibly a broken spoon. I like to just get in there with a hand held electric mixer. It’s so much easier, and gets the job done quickly. Beating the fudge incorporates the butter and melted chocolate, smooths out the texture, and helps to thicken the fudge.
Don’t Over-Beat
Understanding how long to beat your fudge is possibly the trickiest part of making homemade old fashioned fudge, in my opinion. You want to beat it just until it loses its high glossy shine and is starting to thicken, but still has a sheen to it. At this point, the fudge should still easily flow off the beaters, but when it’s still, the surface will start to crust over with a matte appearance. This is when you should stop beating. If you continue to beat the fudge until it’s super thick and matte, it will be very difficult to spread into your pan. On the other hand, if you don’t beat it for long enough, it may remain too soft and creamy to cut into squares.
Instructions
Getting Ready
- Before you begin, read all of the high altitude candy making tips in the post above.
- Be sure to use a large, heavy bottomed stock pot (not a short sauce pan), as the fudge will bubble up quite a bit, and can over-flow a saucepan. Use a stock pot with a 5-6 qt capacity.
Cook the Fudge
- In the stock pot, combine the sugar, brown sugar, salt, and milk.
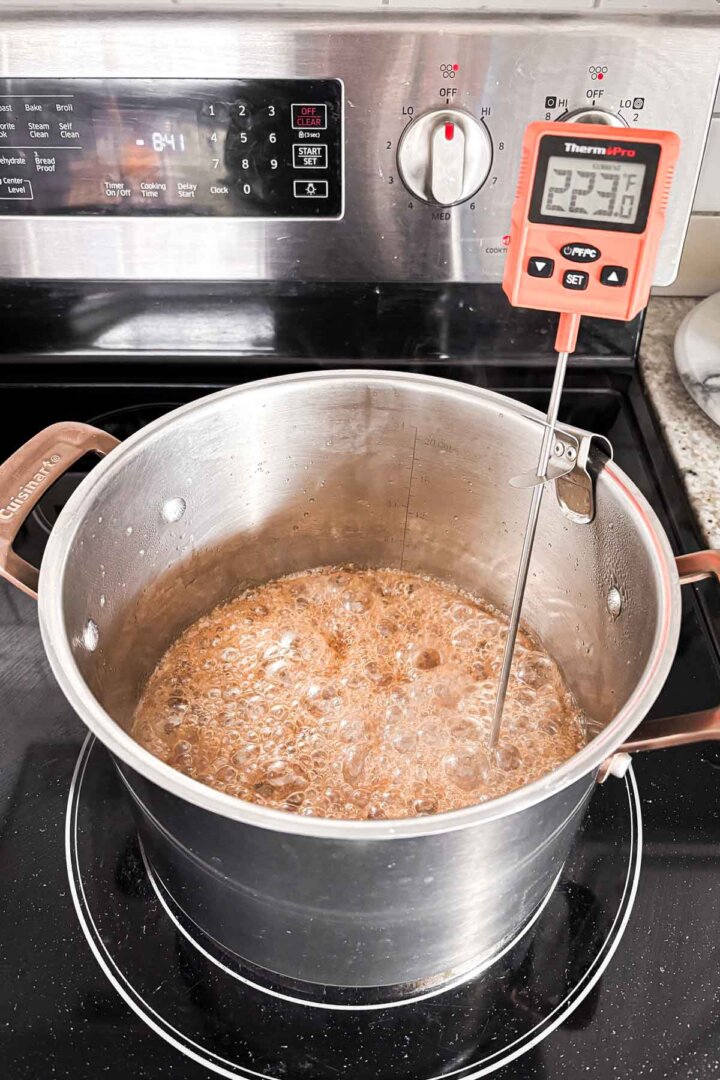
- Set the pot on the stove over medium heat (or just below medium heat), and clip a digital candy thermometer to the side of the pot. The end of the thermometer should reach all the way down into the liquid, but not touch the bottom of the pot.
- As the fudge cooks and begins to boil, you will not stir it. Not even once. Stirring can agitate the sugar and crystallize the fudge. (You will not stir the fudge at all, until you’re instructed to start beating it.)
- As it cooks, it may initially bubble up quite high in the pot and will quickly reach 200 F. Then the bubbling will go down as the temperature more slowly climbs to the soft ball stage for candy. For my altitude, this is 223 F (see high altitude tips above to determine what temperature you’re aiming for, based on your altitude). It may take 20-30 minutes to reach 223 F, but don’t be tempted to turn up the heat on the burner. Slow and steady is best so the fudge doesn’t burn.
- As the fudge boils down, there will be some foamy residue on the sides of the pot. Use a wet pastry brush to wash down the sides of the pot and push the foam down into the bubbling liquid.
- As soon as the temperature reaches 223 F (or the temperature you’ve determined for your altitude), the candy is at the soft ball stage, and you need to immediately remove the pot from the heat.


Cool the Fudge
- Set the pot somewhere that the fudge can cool down, and leave the thermometer on. You will not stir it at this point.
- Cut the butter into chunks, and drop it into the hot liquid, followed by the vanilla. As these melt into the candy, you’ll see a shiny, buttery film on top, but do not stir it in.
- Let the fudge cool, completely undisturbed, until the temperature reaches 110 F.
- While you wait, line an 8×8 inch square pan with wax paper so the bottom and sides of the pan are covered in paper.
Beat the Fudge
- Remove the thermometer from the pot.
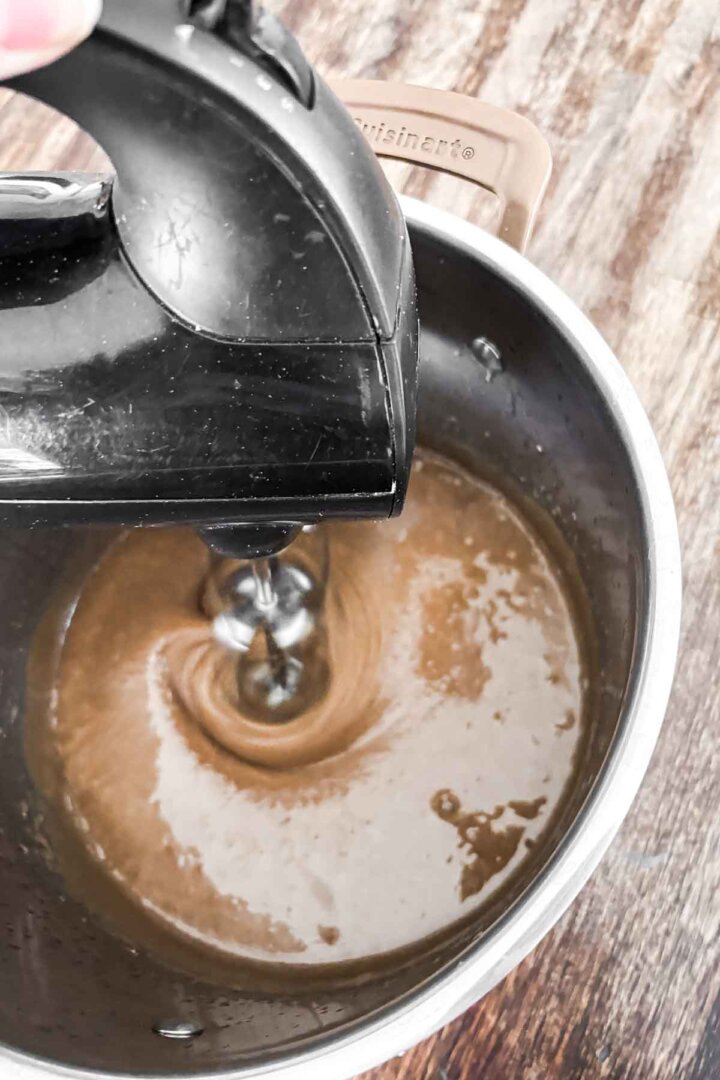
- I recommend beating the fudge with an electric hand mixer, which can do the job easily, right in the pot. You want to beat fudge quickly, to beat down any sugar crystals into tiny particles. This results in smooth, creamy fudge that’s not sugary or grainy.
- With the hand mixer on low or medium low, beat the fudge for about a minute, to incorporate all the melted butter. If you need to, use a spatula to scrape around the bottom corners of the pot to get everything mixed in. At this point, the fudge will still look pretty glossy, and will drip off the beaters.
- Beat the fudge for several more minutes on medium speed. The fudge should lose its high gloss, but should still have a sheen to it. If you lift up the beaters, the fudge should easily flow off the beaters, but you’ll see that the surface of the fudge starts to crust over with a matte appearance. This is when you should stop beating (and if adding chopped nuts, stir them in now). If you continue to beat the fudge until it’s super thick and matte, it will be very difficult to spread into your pan, but if you don’t beat it for long enough, it will be too soft and creamy to cut into squares.
- Use a spatula to scrape the fudge into your prepared wax-paper-lined pan. It should spread out on its own to fill the pan, although you may need to use a small offset icing spatula to nudge it into the corners. The less you disturb the fudge as it fills the pan, the smoother the surface will be.
- Sprinkle the top with finely chopped walnuts and a pinch of flaky finishing salt.


Chill and Cut the Fudge
- Place the pan in the refrigerator to chill and set for several hours, until firm enough to cut.
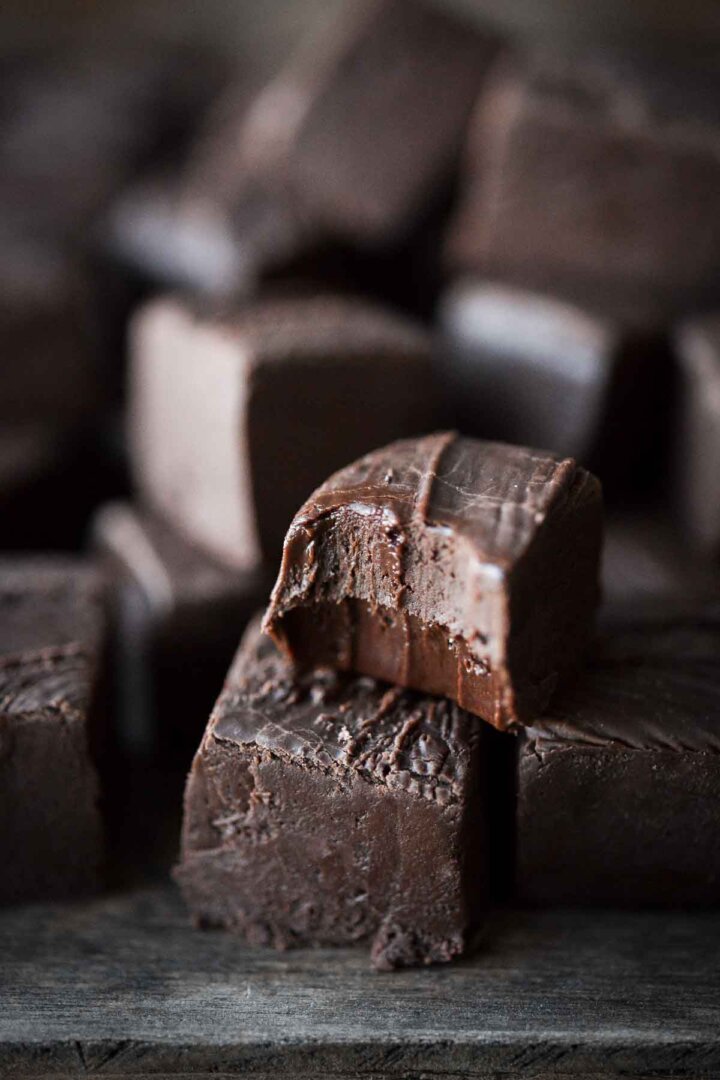
- When the fudge is firm, remove it from the pan by lifting the paper up. Turn the slab of fudge upside down on a cutting board, and peel off the wax paper. Turn the slab back over, and use a sharp chef’s knife to cut it into 1-inch squares.
- The fudge will have have sort of a “crust” on top, but the cut edges will be soft and creamy. By the following day, the fudge will be a bit firmer, and I actually like it best after the cut squares have been chilled for a day. Store the fudge in an airtight container in the refrigerator for up to 1 week, or in the freezer for up to 3-6 months.

Be sure to read all of my BAKING FAQs where I discuss ingredients, substitutions and common baking questions, so that you can be successful in your own baking!
Frequently Asked Questions
Store the fudge in an airtight container in the refrigerator for up to 1 week, or in the freezer for up to 3-6 months.
You Might Also Like

Please check out my Amazon Shop for a curated collection of some of my favorite cake pans from trusted brands, baking tools, ingredients, pretty things and fashion finds. I recommend products that I buy and use every day!
Did you love today’s recipe? Please rate the recipe and let me know in the comments what you thought! Also, be sure to follow Curly Girl Kitchen on Instagram, and tag me when you try one of my recipes so I can see all your delicious creations!

High Altitude Old Fashioned Penuche Fudge
All recipes on Curly Girl Kitchen are developed for high altitude at 5,280 feet. See FAQs for adjusting to higher or lower elevations.

Equipment
- Large Stock Pot (5-6 qt capacity)
- Hand Held Electric Mixer
Ingredients
- 1 ¾ cups granulated sugar
- 1 cup dark brown sugar, lightly packed
- ½ tsp coarse Kosher salt (if using table salt, use half the amount)
- 1 cup whole milk
- 4 tbsp unsalted butter, room temperature
- 2 tsp vanilla bean paste (or vanilla extract)
- ⅔ cup walnuts or pecans, chopped
- ¼ tsp flaky finishing salt, such as Maldon
Instructions
Getting Ready
- Before you begin, read all of the high altitude candy making tips in the post above.
- Be sure to use a large, heavy bottomed stock pot (not a short sauce pan), as the fudge will bubble up quite a bit, and can over-flow a saucepan. Use a stock pot with a 5-6 qt capacity.
Cook the Fudge
- In the stock pot, combine the sugar, brown sugar, salt, and milk.
- Set the pot on the stove over medium heat (or just below medium heat), and clip a digital candy thermometer to the side of the pot. The end of the thermometer should reach all the way down into the liquid, but not touch the bottom of the pot.
- As the fudge cooks and begins to boil, you will not stir it. Not even once. Stirring can agitate the sugar and crystallize the fudge. (You will not stir the fudge at all, until you're instructed to start beating it.)
- As it cooks, it may initially bubble up quite high in the pot and will quickly reach 200 F. Then the bubbling will go down as the temperature more slowly climbs to the soft ball stage for candy. For my altitude, this is 223 F (see high altitude tips above to determine what temperature you're aiming for, based on your altitude). It may take 20-30 minutes to reach 223 F, but don't be tempted to turn up the heat on the burner. Slow and steady is best so the fudge doesn't burn.
- As the fudge boils down, there will be some foamy residue on the sides of the pot. Use a wet pastry brush to wash down the sides of the pot and push the foam down into the bubbling liquid.
- As soon as the temperature reaches 223 F (or the temperature you've determined for your altitude), the candy is at the soft ball stage, and you need to immediately remove the pot from the heat.
Cool the Fudge
- Set the pot somewhere that the fudge can cool down, and leave the thermometer on. You will not stir it at this point.
- Cut the butter into chunks, and drop it into the hot liquid, followed by the vanilla. As these melt into the candy, you'll see a shiny, buttery film on top, but do not stir it in.
- Let the fudge cool, completely undisturbed, until the temperature reaches 110 F.
- While you wait, line an 8×8 inch square pan with wax paper so the bottom and sides of the pan are covered in paper.
Beat the Fudge
- Remove the thermometer from the pot.
- I recommend beating the fudge with an electric hand mixer, which can do the job easily, right in the pot. You want to beat fudge quickly, to beat down any sugar crystals into tiny particles. This results in smooth, creamy fudge that's not sugary or grainy.
- With the hand mixer on low or medium low, beat the fudge for about a minute, to incorporate all the melted butter. If you need to, use a spatula to scrape around the bottom corners of the pot to get everything mixed in. At this point, the fudge will still look pretty glossy, and will drip off the beaters.
- Beat the fudge for several more minutes on medium speed. The fudge should lose its high gloss, but should still have a sheen to it. If you lift up the beaters, the fudge should easily flow off the beaters, but you'll see that the surface of the fudge starts to crust over with a matte appearance. This is when you should stop beating (and if adding chopped nuts, stir them in now). If you continue to beat the fudge until it's super thick and matte, it will be very difficult to spread into your pan, but if you don't beat it for long enough, it will be too soft and creamy to cut into squares.
- Use a spatula to scrape the fudge into your prepared wax-paper-lined pan. It should spread out on its own to fill the pan, although you may need to use a small offset icing spatula to nudge it into the corners. The less you disturb the fudge as it fills the pan, the smoother the surface will be.
- Sprinkle the top with finely chopped walnuts and a pinch of flaky finishing salt.
Chill and Cut the Fudge
- Place the pan in the refrigerator to chill and set for several hours, until firm enough to cut.
- When the fudge is firm, remove it from the pan by lifting the paper up. Turn the slab of fudge upside down on a cutting board, and peel off the wax paper. Turn the slab back over, and use a sharp chef's knife to cut it into 1-inch squares.
- The fudge will have have sort of a "crust" on top, but the cut edges will be soft and creamy. By the following day, the fudge will be a bit firmer, and I actually like it best after the cut squares have been chilled for a day. Store the fudge in an airtight container in the refrigerator for up to 1 week, or in the freezer for up to 3-6 months.
 https://curlygirlkitchen.com/
Why wax paper instead of parchment paper?
Parchment is fine, too.