
An easy, high altitude recipe for soft and chewy chocolate peppermint cookies. The chocolate cookies taste like fudge brownies, decorated with a drizzle of white chocolate and crushed candy canes. The cookie dough comes together without a mixer, and no chill time required!
You might also love these chocolate peppermint cupcakes, brownies with peppermint cream cheese frosting, and pink peppermint candy cane ice cream.

This site contains affiliate links. As an Amazon associate, I earn from qualifying purchases. This means that I may make a small commission if you purchase a product using those links. This in no way affects my opinion of those products and services. All opinions expressed on this site are my own.
Why You’ll Love This Recipe
No Mixer Needed. Most recipes for brownie cookies use a mixer to whip the butter, sugar and melted chocolate. But with today’s recipe, you can simply whisk it up by hand, no mixer required.
No Chill Time. What’s better than getting to enjoy chocolate cookies warm from the oven, without having to wait for the dough to chill first?
High Altitude Tested. I develop all the recipes on my site for Denver’s altitude of 5,280 feet. If you’re at a lower or higher elevation, please see my FAQs for guidance on adjusting recipes for your altitude.
See the recipe card at the end of the post for the full ingredients list and instructions.
Ingredients
- Butter.
- Chocolate or Chocolate Chips. There are melted semi sweet chocolate chips in the cookie dough to give the cookies a rich, fudgy texture. And for the melted white chocolate on top, you’ll need some white chocolate chips.
- Granulated Sugar and Brown Sugar.
- Vanilla Extract.
- Eggs.
- All Purpose Flour.
- Dutch Processed Cocoa Powder.
- Corn Starch.
- Baking Soda.
- Salt.
- Candy Canes or Peppermint Candy.

Instructions
Make the Dough
- In a saucepan, melt the butter and chopped chocolate over medium low heat. Stir it frequently, and remove from the heat as soon as it’s melted. Pour into a mixing bowl.
- Add the granulated sugar, brown sugar, vanilla, egg and egg yolk. Whisk vigorously, as hard as you can, for 2 full minutes, until the mixture has thickened and lightened in color.


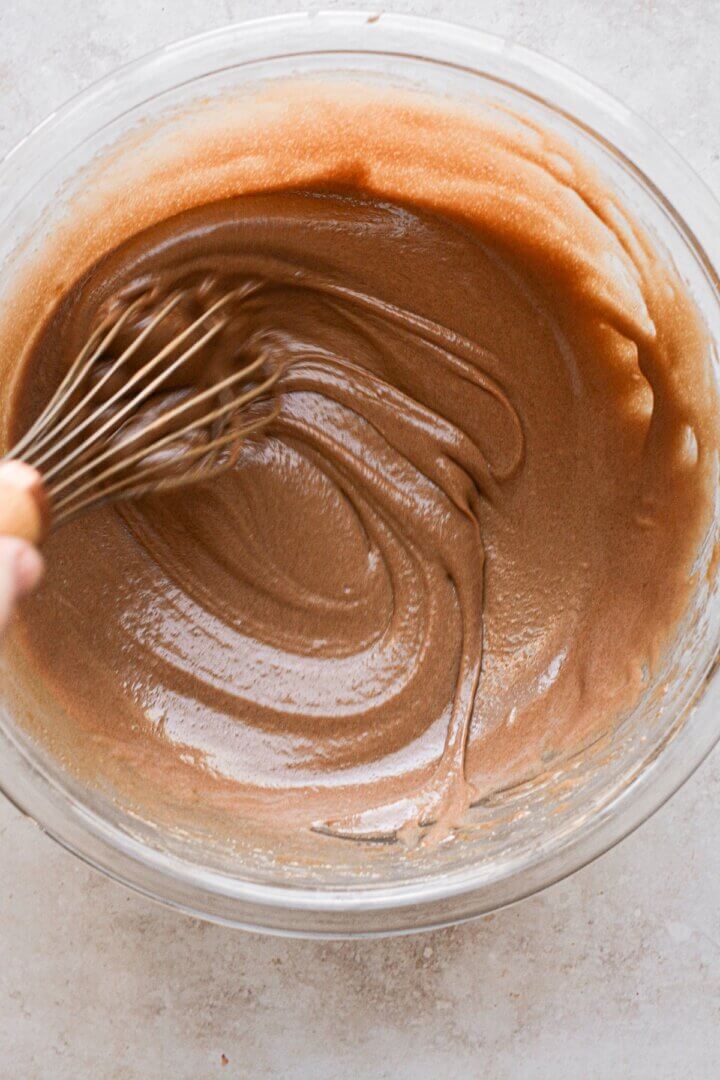
- In a separate bowl, sift together the flour, cocoa powder, corn starch, baking soda and salt, and whisk until evenly distributed. Add the dry ingredients to the wet ingredients and use a spatula to fold everything together into a dough. Let the dough rest and cool for 10 minutes, then fold in the semi sweet chocolate chips.


- Use a large cookie scoop to portion the dough into 18 portions (about 2 1/2 – 3 tablespoons each). Roll each portion of dough into a smooth ball with your hands, and ever so slightly flatten each ball. Cover the dough balls with plastic wrap to keep them moist while you preheat the oven.


Bake the Cookies
- Preheat the oven to 350 F, and position a rack in the center of the oven. Line a baking sheet with parchment paper.
- Bake 6-8 cookies at a time, so they have room to spread out, baking them for exactly 9 minutes. (Let the remaining dough balls sit covered at room temperature.) Take the cookies out of the oven, and immediately use a round cookie cutter (one that’s larger than the circumference of the baked cookies) and “scoot” it around the hot cookies to pull in the edges for perfectly round cookies. Cool the cookies on the baking sheet for 2 minutes, then transfer to a cooling rack to cool completely.
- Bake the remainder of the dough, until you’ve baked all the cookies.


Decorating
- Melt the white chocolate chips until smooth, either with a double boiler, or for several minutes in the microwave on 50% power.
- Use a spoon to drizzle the melted white chocolate over the cookies.
- Before the white chocolate hardens, sprinkle with crushed peppermint candy.


Be sure to read all of my BAKING FAQs where I discuss ingredients, substitutions and common baking questions, so that you can be successful in your own baking!
Frequently Asked Questions
Store the cooled cookies in an airtight container at room temperature for up to 3 days, or in the freezer for up to 3-6 weeks.
You Might Also Like


Please check out my Amazon Shop for a curated collection of some of my favorite cake pans from trusted brands, baking tools, ingredients, pretty things and fashion finds. I recommend products that I buy and use every day!
Did you love today’s recipe? Please rate the recipe and let me know in the comments what you thought! Also, be sure to follow Curly Girl Kitchen on Instagram, and tag me when you try one of my recipes so I can see all your delicious creations!

High Altitude Chocolate Peppermint Cookies
All recipes on Curly Girl Kitchen are developed for high altitude at 5,280 feet. See FAQs for adjusting to higher or lower elevations.

Equipment
- Large Cookie Scoop with Release Lever (2 1/2 – 3 tbsp capacity)
Ingredients
- ¾ cup unsalted butter
- 1 ½ oz good quality semi sweet or dark chocolate, chopped (or 1/4 cup semi sweet chocolate chips)
- 1 cup granulated sugar
- 2 tbsp light brown sugar
- 2 tsp vanilla extract
- 1 large egg
- 1 large egg yolk (save the extra white for another use)
- 2 cups all-purpose flour, fluffed, spooned and leveled
- 6 tbsp unsweetened Dutch processed cocoa powder
- 1 ½ tsp corn starch
- ¾ tsp baking soda
- ¾ tsp coarse Kosher salt (if using table salt, use half the amount)
- ½ cup semi sweet chocolate chips
- ½ cup white chocolate chips
- ½ cup crushed candy canes or peppermint candy
Instructions
Make the Dough
- In a saucepan, melt the butter and chopped chocolate over medium low heat. Stir it frequently, and remove from the heat as soon as it's melted. Pour into a mixing bowl.
- Add the granulated sugar, brown sugar, vanilla, egg and egg yolk. Whisk vigorously, as hard as you can, for 2 full minutes, until the mixture has thickened and lightened in color.
- In a separate bowl, sift together the flour, cocoa powder, corn starch, baking soda and salt, and whisk until evenly distributed. Add the dry ingredients to the wet ingredients and use a spatula to fold everything together into a dough. Let the dough rest and cool for 10 minutes, then fold in the semi sweet chocolate chips.
- Use a large cookie scoop to portion the dough into 18 portions (about 2 1/2 – 3 tablespoons each). Roll each portion of dough into a smooth ball with your hands, and ever so slightly flatten each ball. Cover the dough balls with plastic wrap to keep them moist while you preheat the oven.
Bake the Cookies
- Preheat the oven to 350 F, and position a rack in the center of the oven. Line a baking sheet with parchment paper.
- Bake 6-8 cookies at a time, so they have room to spread out, baking them for exactly 9 minutes. (Let the remaining dough balls sit covered at room temperature.) Take the cookies out of the oven, and immediately use a round cookie cutter (one that's larger than the circumference of the baked cookies) and "scoot" it around the hot cookies to pull in the edges for perfectly round cookies. Cool the cookies on the baking sheet for 2 minutes, then transfer to a cooling rack to cool completely.
- Bake the remainder of the dough, until you've baked all the cookies.
Decorating
- Melt the white chocolate chips until smooth, either with a double boiler, or for several minutes in the microwave on 50% power.
- Use a spoon to drizzle the melted white chocolate over the cookies.
- Before the white chocolate hardens, sprinkle with crushed peppermint candy.
Video
Notes
 https://curlygirlkitchen.com/
Leave a Reply