
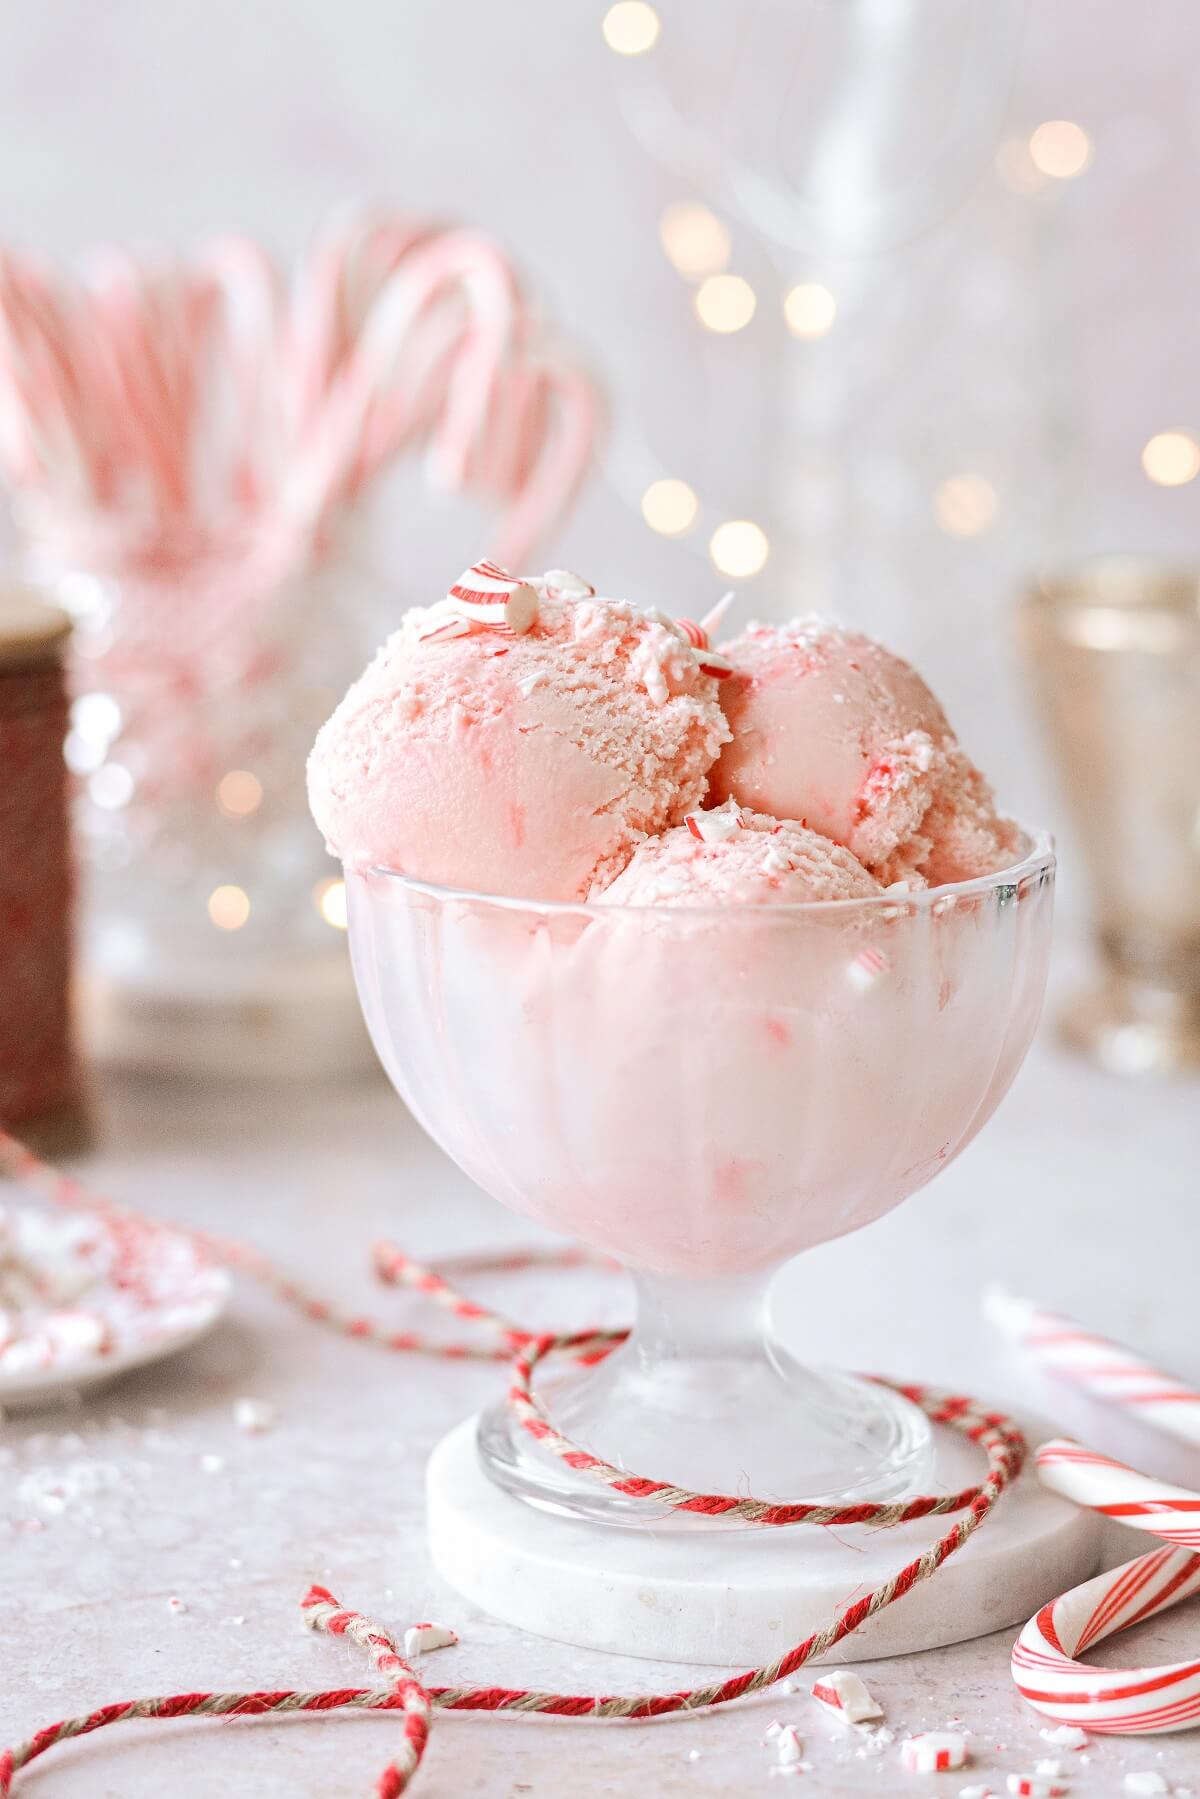
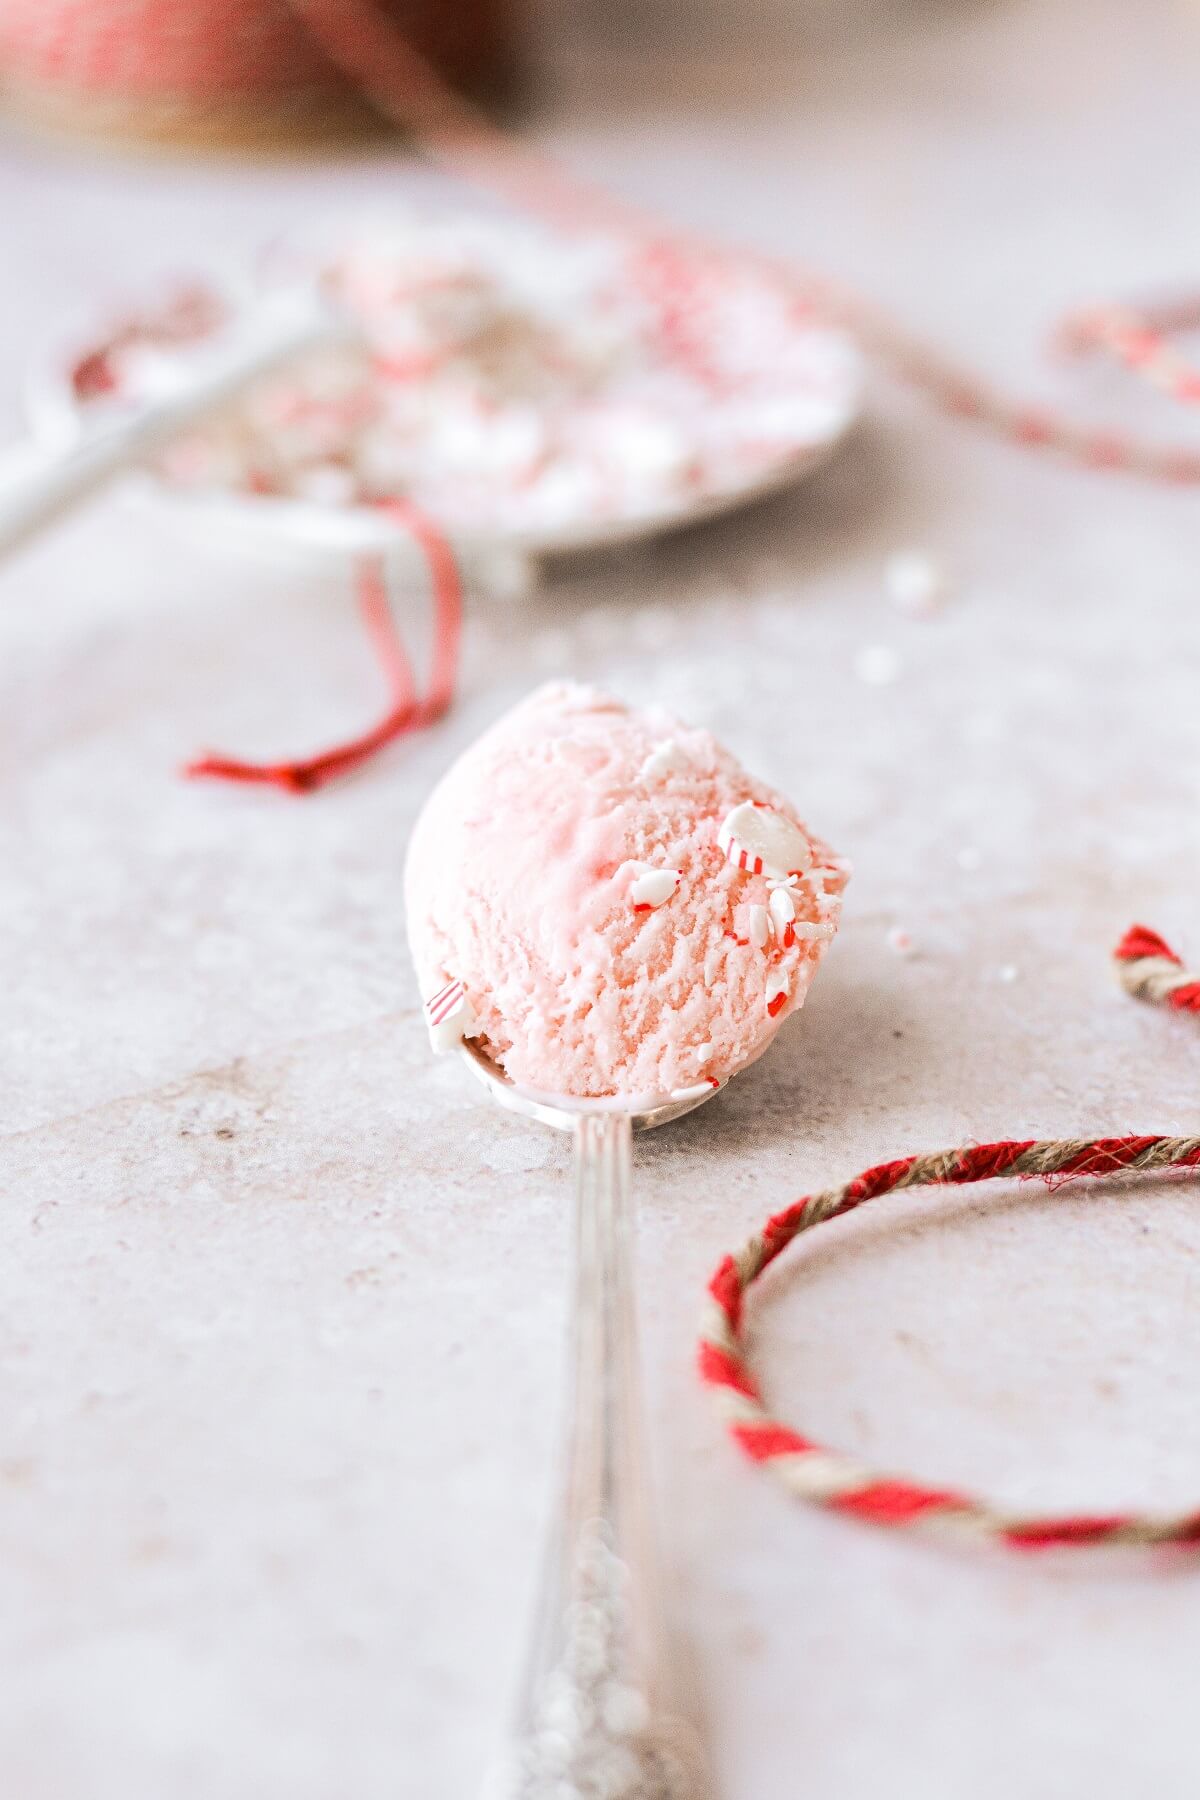
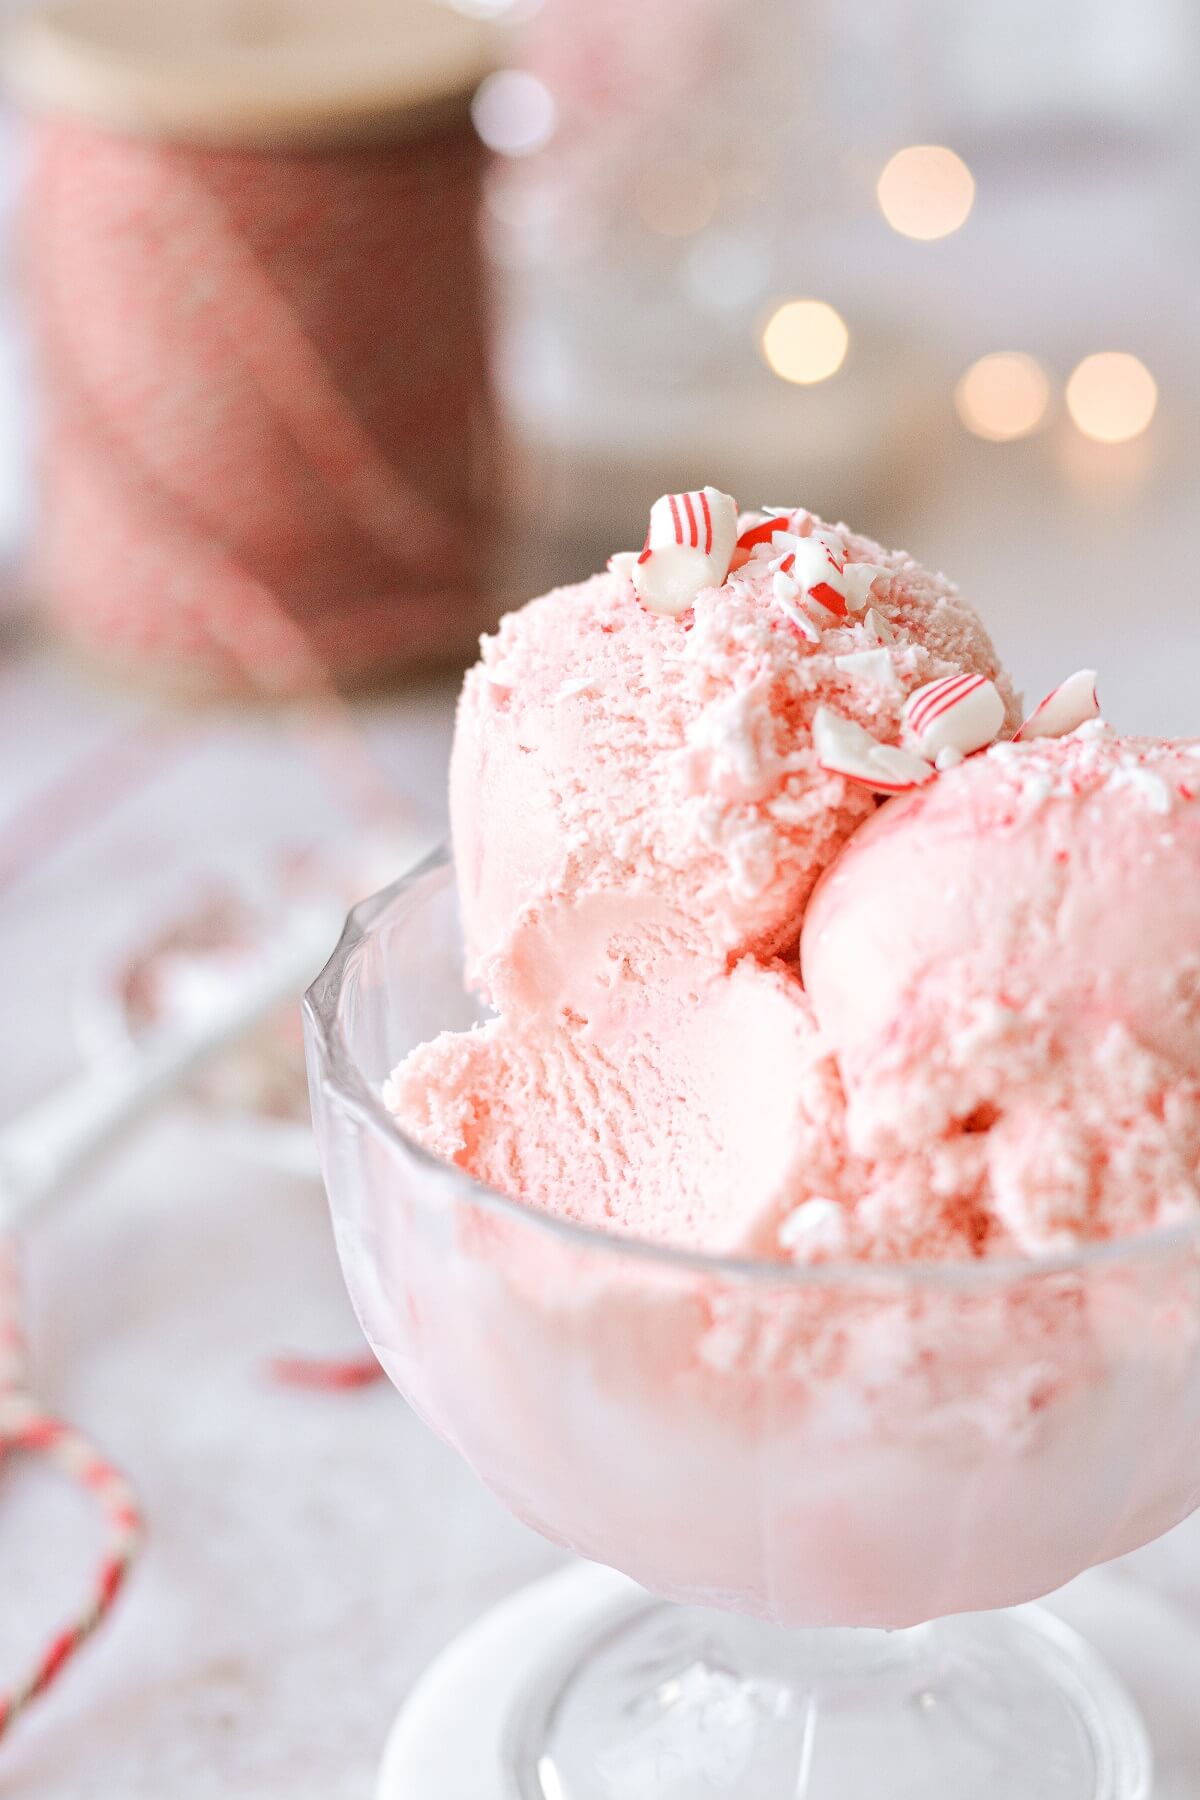
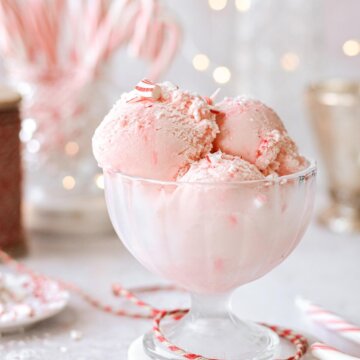
This beautiful pink peppermint ice cream is made from an egg-based frozen custard flavored with crushed candy canes and vanilla, churned into the creamiest ice cream. There’s no peppermint extract in this homemade candy cane ice cream, since all the peppermint flavor (and pink color) comes from the crushed candy canes. Vanilla adds smooth flavor notes, and a splash of peppermint schnapps keeps the ice cream smooth and creamy. This peppermint ice cream recipe uses an ice cream maker, and you’ll love how creamy and pepperminty this pretty ice cream is. A perfect, refreshing treat for Christmas, or any time during the holiday season!
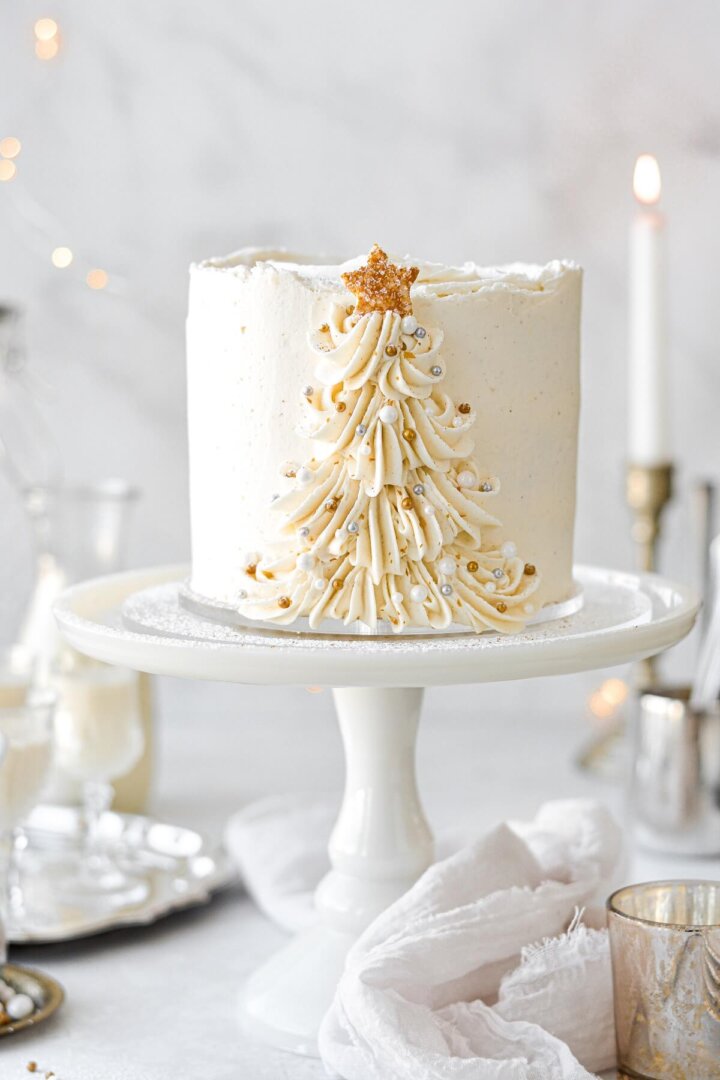
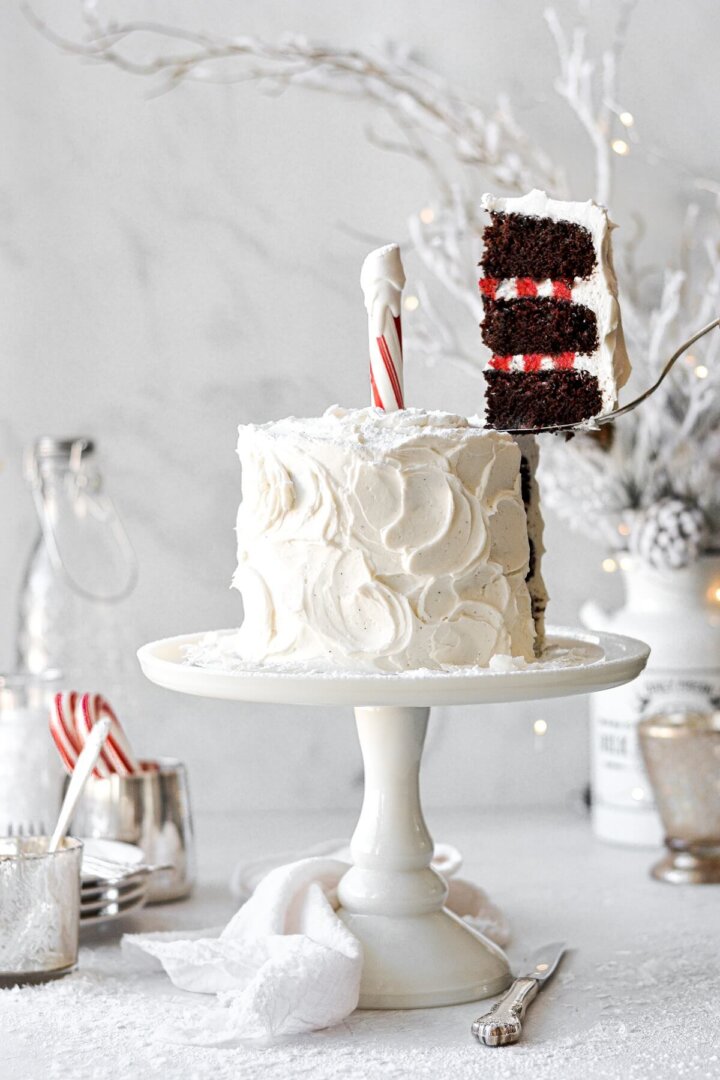
Looking for more Christmas recipes? You’ll love this North Pole cake with peppermint striped buttercream, no churn chocolate peppermint ice cream, and eggnog coffee cake.
This site contains affiliate links. As an Amazon associate, I earn from qualifying purchases. This means that I may make a small commission if you purchase a product using those links. This in no way affects my opinion of those products and services. All opinions expressed on this site are my own.
Why You’ll Love This Recipe
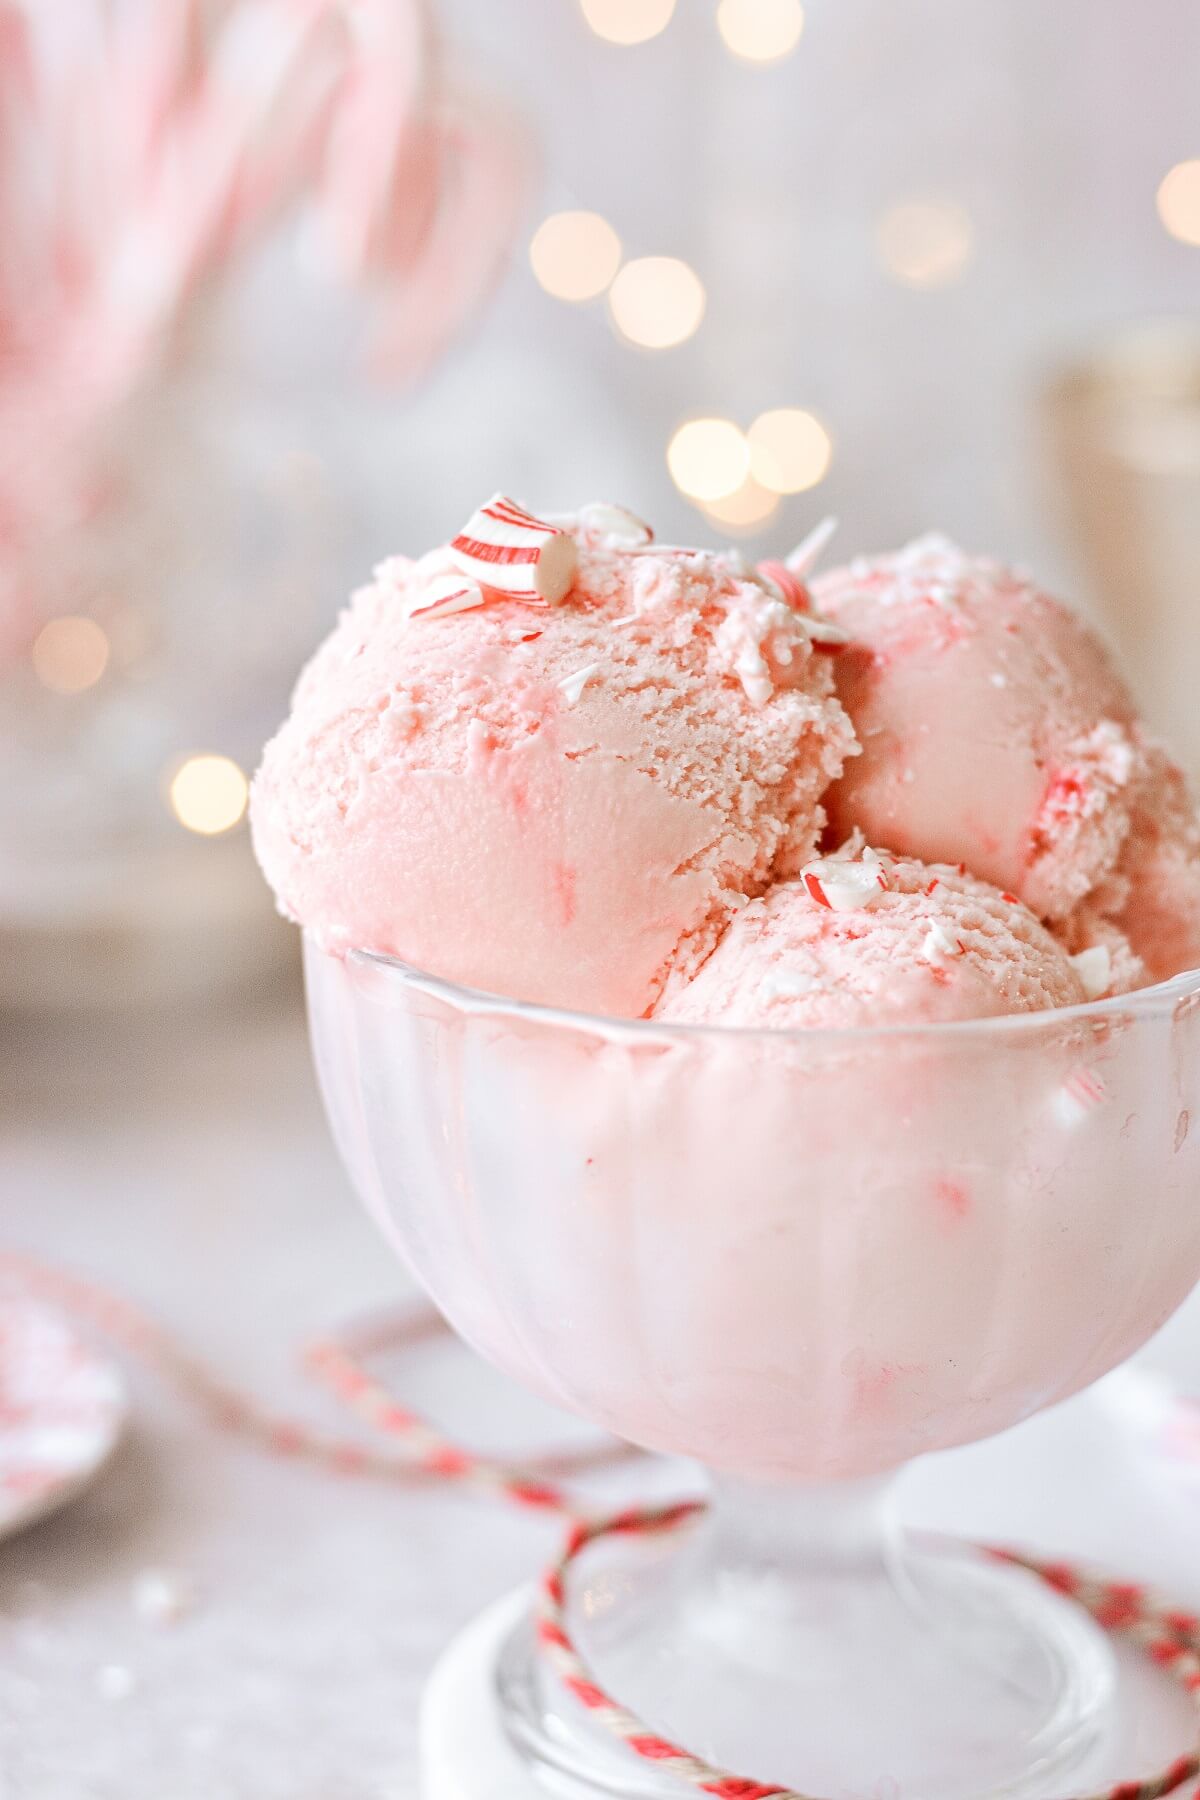
Pretty and Pink. The pink color of this ice cream and the refreshing scent of the peppermint will have everyone begging for a taste.
Full of Natural Peppermint Flavor. I love that I didn’t need to use any peppermint extract, with just crushed candy canes adding all the peppermint flavor the ice cream needs.
Perfect for the Holidays. For a dessert that will feed a crowd, make this ice cream and a pan of fudge brownies. Who wouldn’t love a rich, dark chocolate brownie topped with a scoop of peppermint ice cream?
See the recipe card at the end of the post for the full ingredients list and instructions.
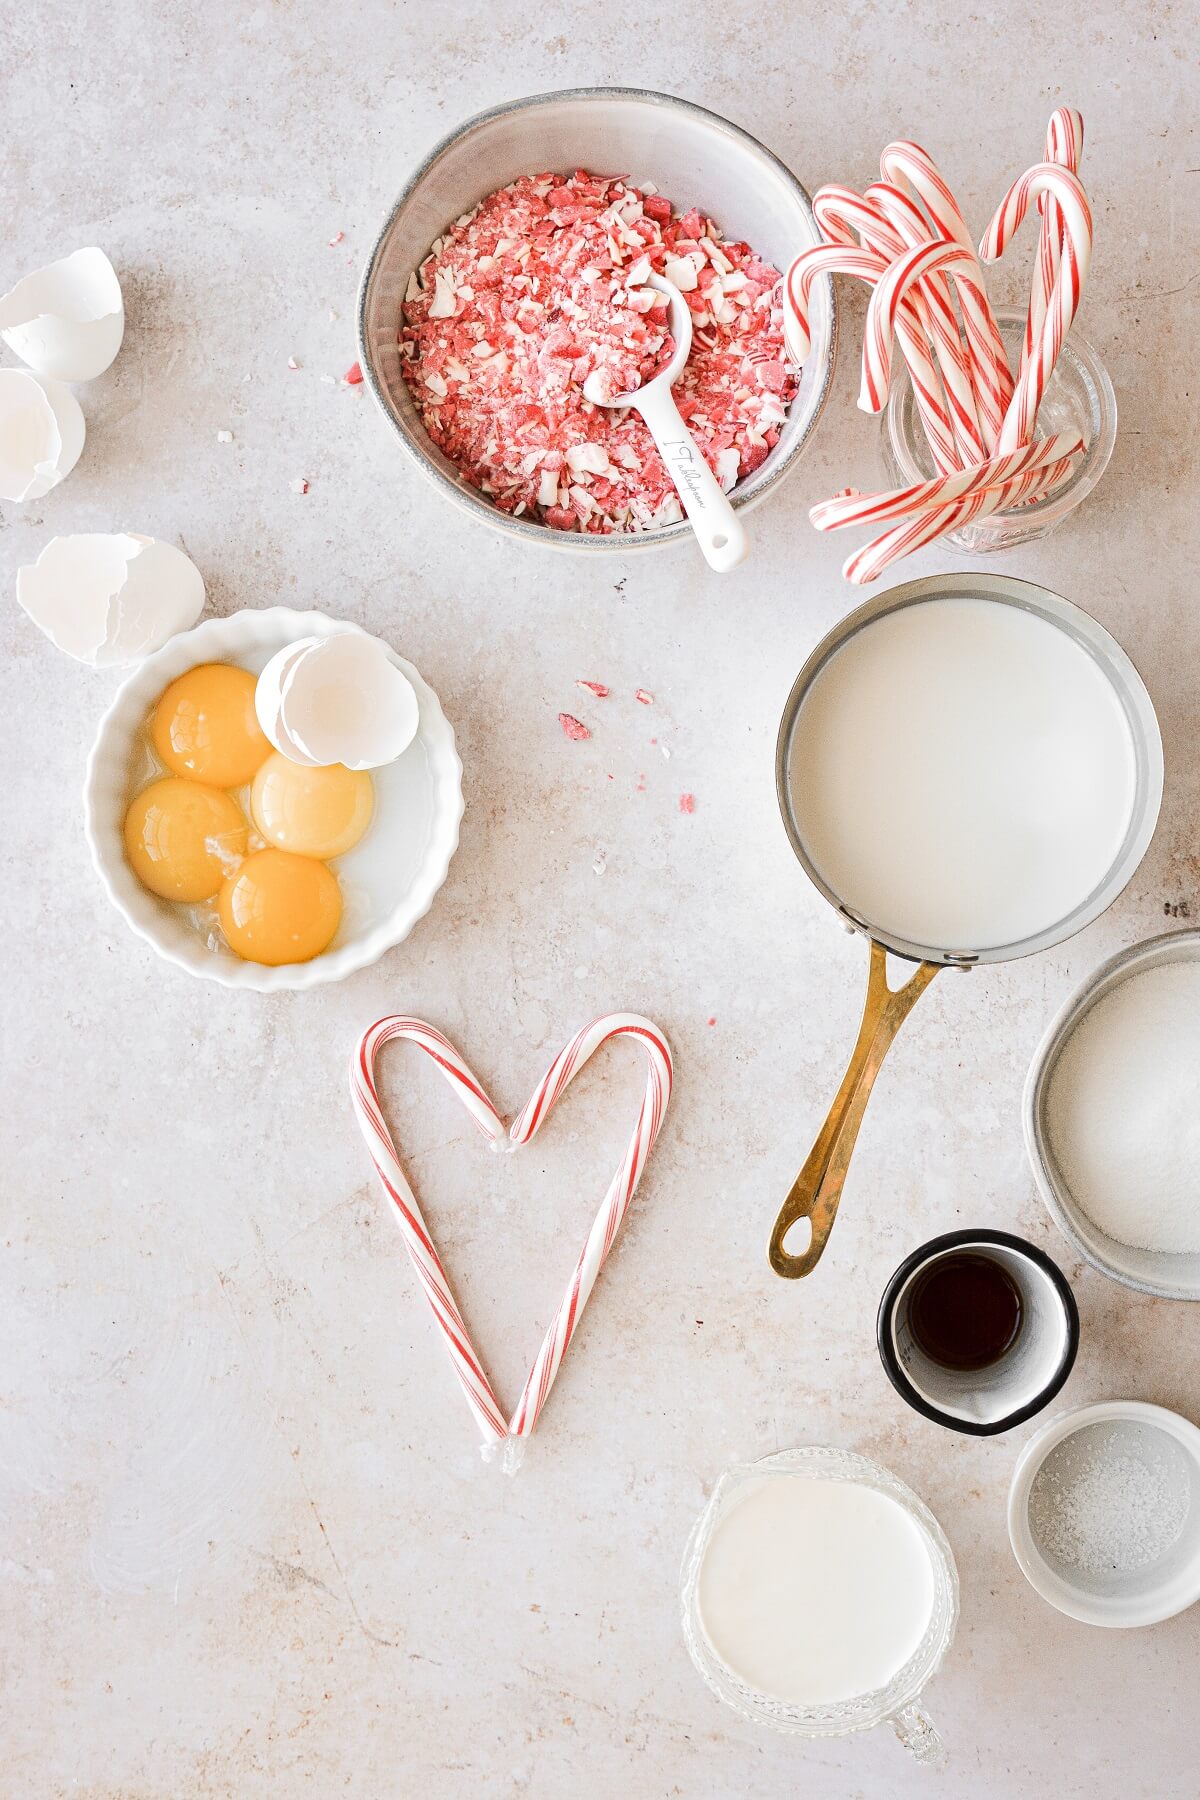
Ingredients
- Cream + Milk. When making ice cream, you need the high fat content of heavy whipping cream and whole milk, for the creamiest, best-tasting ice cream.
- Egg Yolks. Gives the ice cream or frozen custard more body and richness.
- Sugar. Granulated sugar adds sweetness, but also keeps the ice cream smooth and creamy. If there’s too little sugar in the ice cream, it can end up with an icy texture.
- Candy Canes. Crushed candy canes melted into the custard give this peppermint ice cream its peppermint flavor without the need for peppermint extract.
- Salt. Balances the sweetness.
- Vanilla Extract. Flavor.
- Peppermint Schnapps. A little alcohol in homemade ice cream promotes a smooth and creamy texture. You can also use vodka instead of the peppermint schnapps.
Instructions
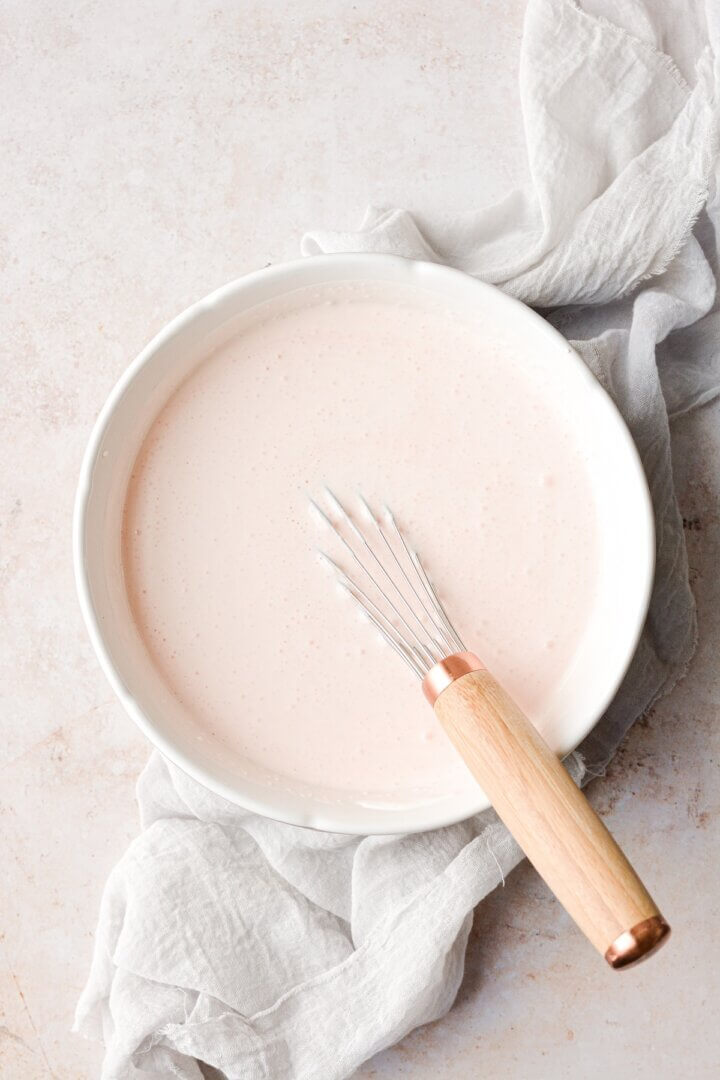
- In a saucepan, whisk together 1 cup of the cream with the milk, egg yolks and sugar. Add 1/2 cup of the crushed candy canes, along with the salt and vanilla.
- Over medium heat, cook the custard while whisking constantly, just until the custard is hot, beginning to gently simmer around the edges, and the candy canes are melted. Do not let the custard boil.
- Remove from the heat and pour through a fine mesh strainer to remove any bits of cooked eggs.
- Cover the custard and refrigerate until well chilled, about 6 hours or overnight.
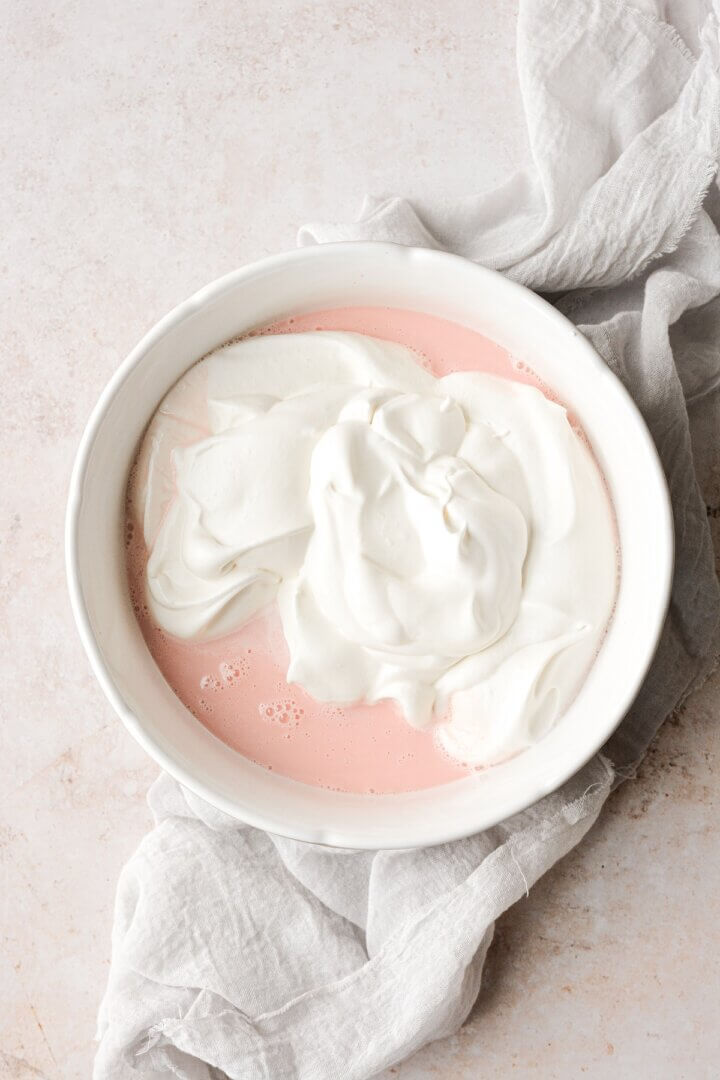
- When you’re ready to churn your ice cream, use an electric mixer to whip the remaining 1 cup of heavy whipping cream until soft peaks form. Whisk the whipped cream into the chilled peppermint custard.
- Churn the custard in your ice cream maker according to the manufacturer’s instructions, until it has a soft-serve consistency. During the last minute of churning, add the peppermint schnapps or vodka.
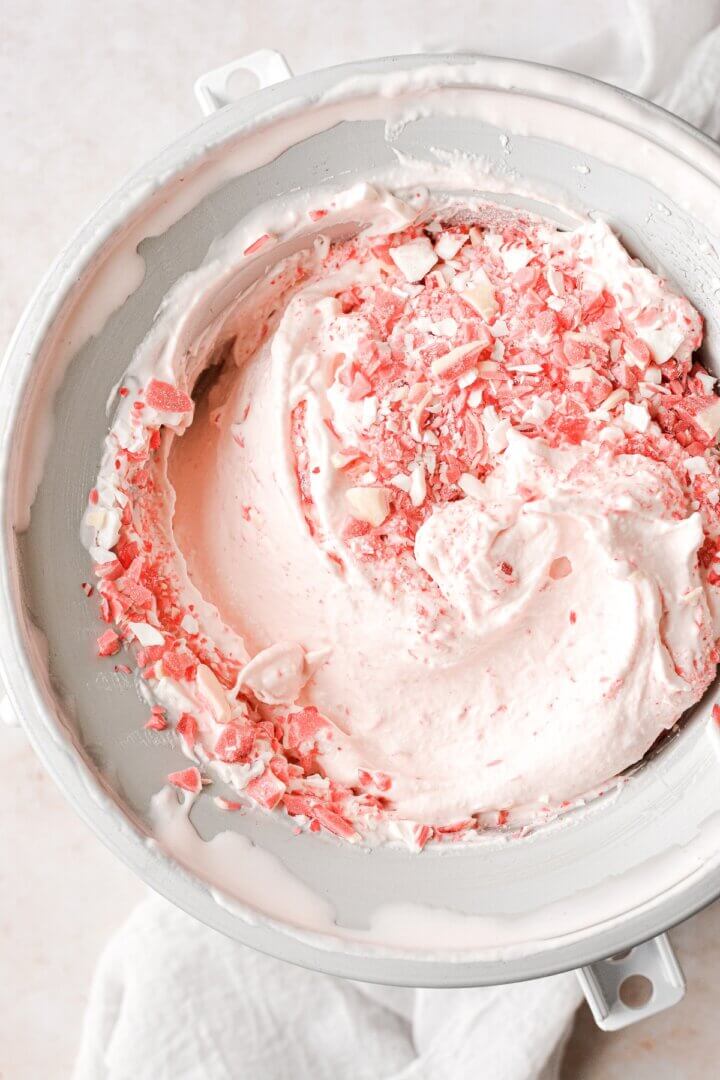
- Fold the remaining 1/2 cup crushed candy canes into the churned ice cream.
- Transfer the ice cream to lidded containers and freeze until firm enough to scoop, at least 8-10 hours, or overnight.
Be sure to read all of my BAKING FAQs where I discuss ingredients, substitutions and common baking questions, so that you can be successful in your own baking!
Frequently Asked Questions
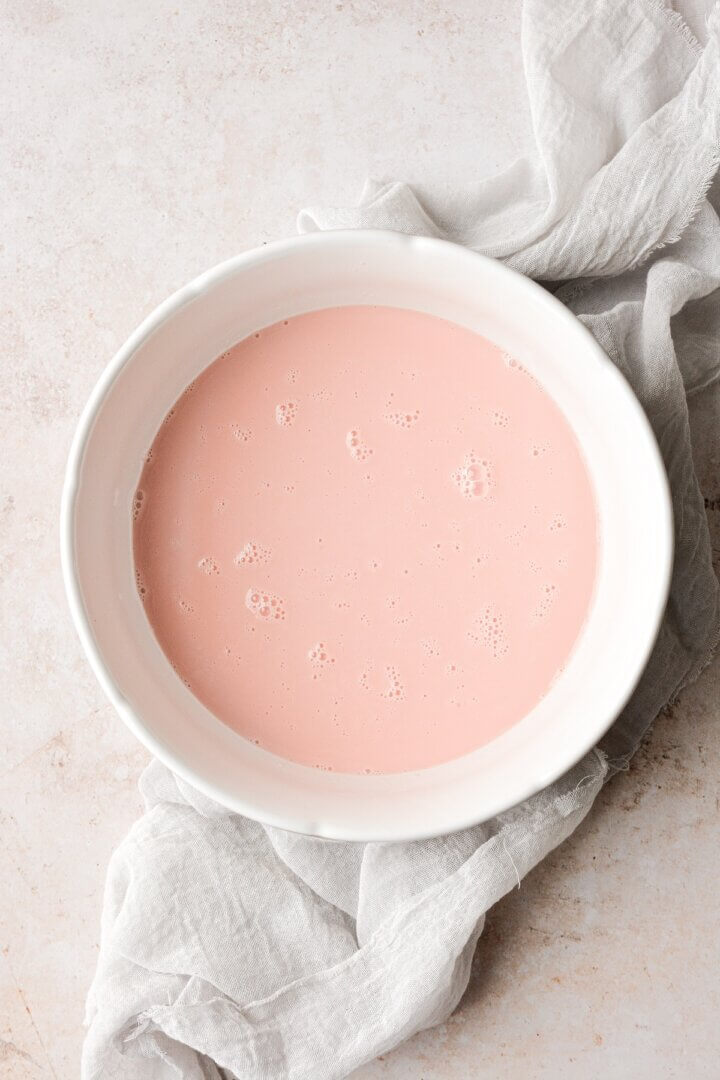
Why isn’t my ice cream pink?
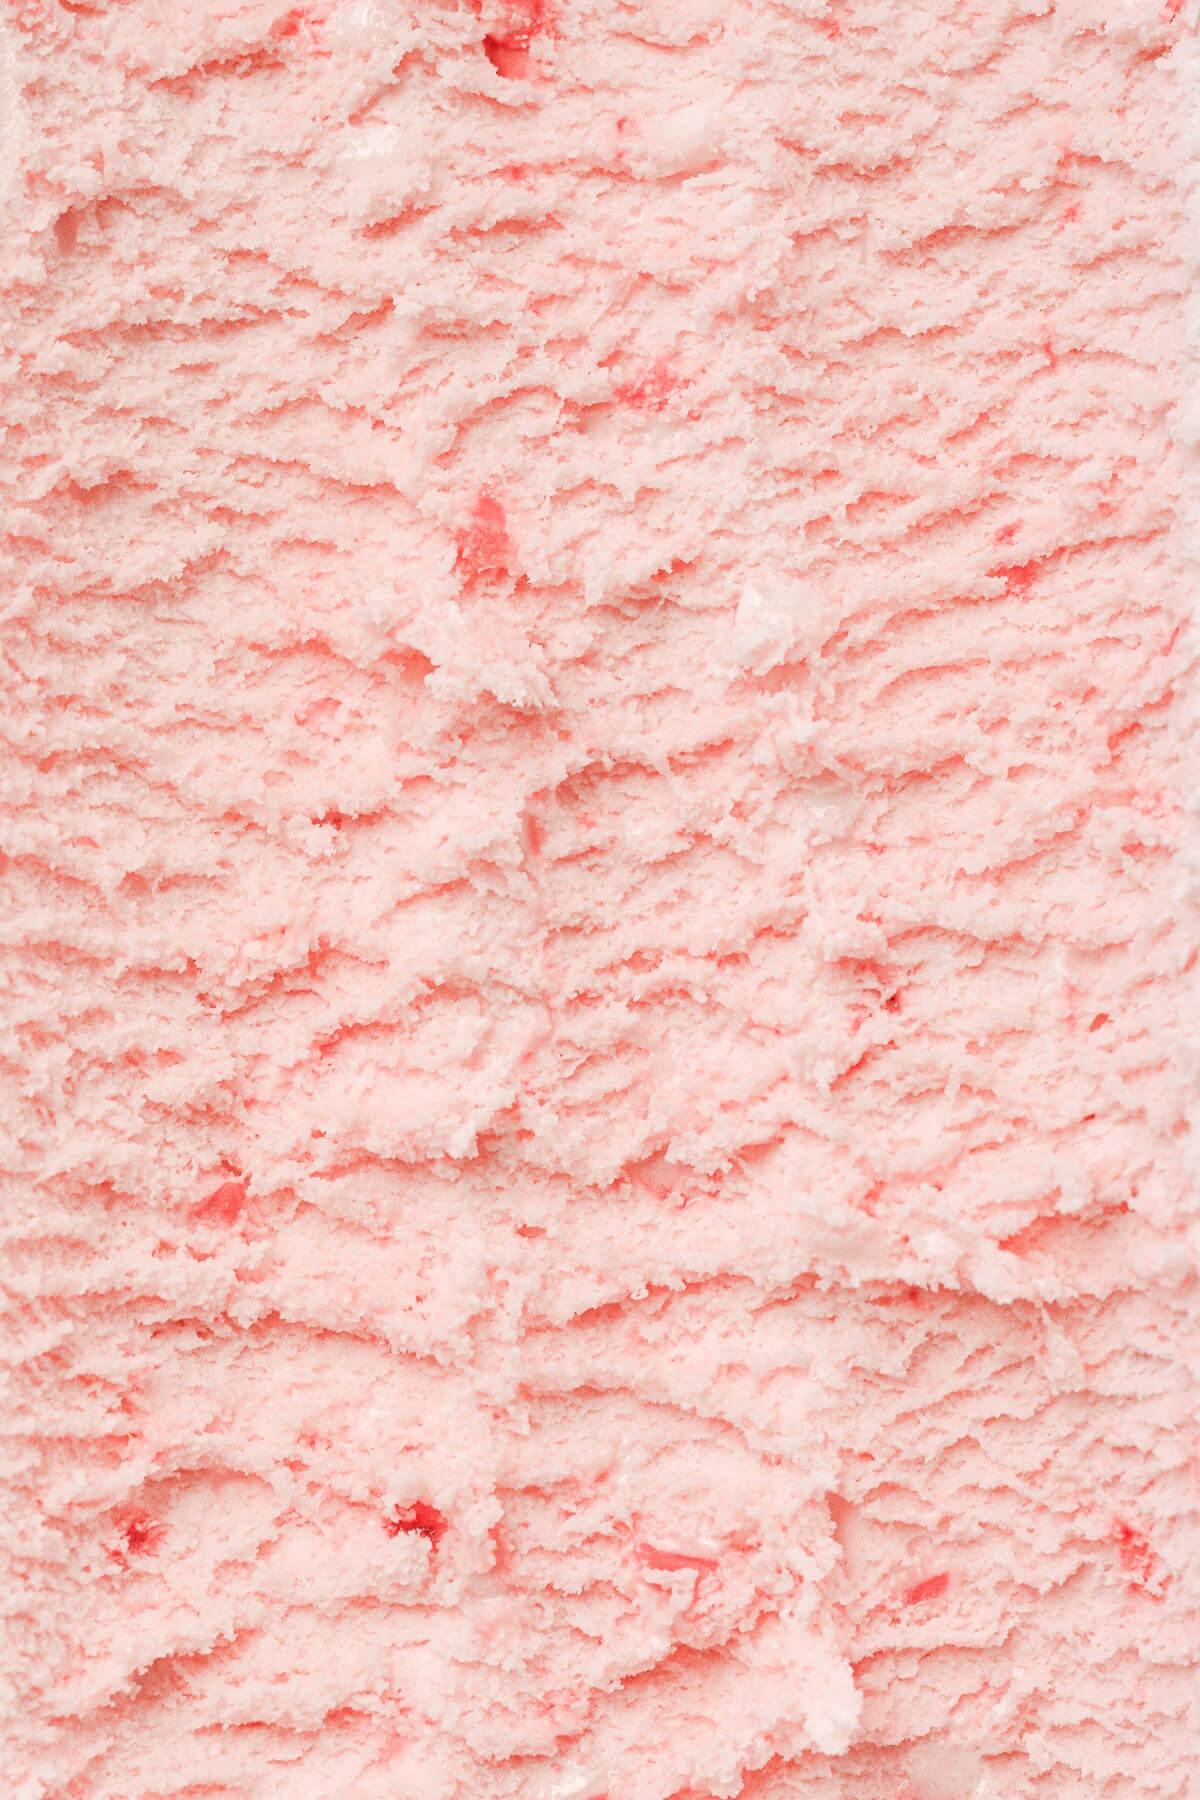
The pink color of your ice cream will depend on how red or white your candy canes are. Generic candy canes are mostly white with a red stripe, so the pink color will be more subtle. I crushed up some bigger, old-fashioned candy canes which turned out to be more red than white, so they colored my ice cream a nice pink color. If it’s not pink enough for your liking, feel free to add a few drops of red food coloring.
How many candy canes do I need to get 1 cup of crushed candy canes?
If you have standard-sized candy canes, you’ll need about 12 candy canes to crush into 1 cup. Of course you’ll need a lot more if they’re mini sized, and you can also use the starlight mints hard peppermint candies.
What kind of candy canes should I use?
You can use any brand, just make sure they have a true “peppermint” flavor, not mint or spearmint or wintergreen (the same rule applies for peppermint extract vs. mint extract).
How much ice cream does this recipe make?
Depending on how much air is churned into your ice cream, you’ll get 1 1/2 – 2 quarts of ice cream. I measured mine at a full 2 quarts after churning.
How long does homemade ice cream stay fresh?
Homemade ice cream is best eaten within about 2 weeks.
Can I make this recipe without the egg yolks?
Egg yolks give ice cream (or frozen custard) richness and body, which is something I really wanted with the freshness of the peppermint. It’s possible you can leave them out and make the recipe as instructed, but note that I haven’t tested this.
You Might Also Like
Please check out my Amazon Shop for a curated collection of some of my favorite cake pans from trusted brands, baking tools, ingredients, pretty things and fashion finds. I recommend products that I buy and use every day!
Did you love today’s recipe? Please rate the recipe and let me know in the comments what you thought! Also, be sure to follow Curly Girl Kitchen on Instagram, and tag me when you try one of my recipes so I can see all your delicious creations!
Pink Peppermint Ice Cream
All recipes on Curly Girl Kitchen are developed for high altitude at 5,280 feet. See FAQs for adjusting to higher or lower elevations.

Equipment
- Ice Cream Maker
- Electric Mixer (Stand or Hand-Held)
Ingredients
- 2 cups cold heavy whipping cream, divided
- 1 ½ cups whole milk
- 4 large egg yolks
- ½ cup granulated sugar
- 1 cup crushed candy canes, divided (about 12 regular-sized candy canes)
- ¼ tsp coarse Kosher salt (if using table salt, use half the amount)
- 2 tsp vanilla extract
- 1 tbsp peppermint schnapps or vodka, optional
Instructions
- In a saucepan, whisk together 1 cup of the cream with the milk, egg yolks and sugar. Add 1/2 cup of the crushed candy canes, along with the salt and vanilla.
- Over medium heat, cook the custard while whisking constantly, just until the custard is hot, beginning to gently simmer around the edges, and the candy canes are melted. Do not let the custard boil.
- Remove from the heat and pour through a fine mesh strainer to remove any bits of cooked eggs.
- Cover the custard and refrigerate until well chilled, about 6 hours or overnight.
- When you're ready to churn your ice cream, use an electric mixer to whip the remaining 1 cup of heavy whipping cream until soft peaks form. Whisk the whipped cream into the chilled peppermint custard.
- Churn the custard in your ice cream maker according to the manufacturer's instructions, until it has a soft-serve consistency. During the last minute of churning, add the peppermint schnapps or vodka.
- Fold the remaining 1/2 cup crushed candy canes into the churned ice cream.
- Transfer the ice cream to lidded containers and freeze until firm enough to scoop, at least 8-10 hours, or overnight.
Notes
- The pink color of your ice cream will depend on how red or white your candy canes are. If it’s not pink enough for your liking, feel free to add a few drops of red food coloring.
- Depending on how much air is churned into your ice cream, you’ll get 1 1/2 – 2 quarts of ice cream. I measured mine at a full 2 quarts after churning.
- Homemade ice cream is best eaten within about 2 weeks.
 https://curlygirlkitchen.com/
Leave a Reply