
This is an easy recipe for basic royal icing, with a simple technique for dipping sugar cookies and cutout cookies, instead of using piping bags. The icing dries firm on top with a beautiful sheen, staying a little soft underneath. (A quick video in today’s recipe card also demonstrates how to ice sugar cookies by dipping them in royal icing.)
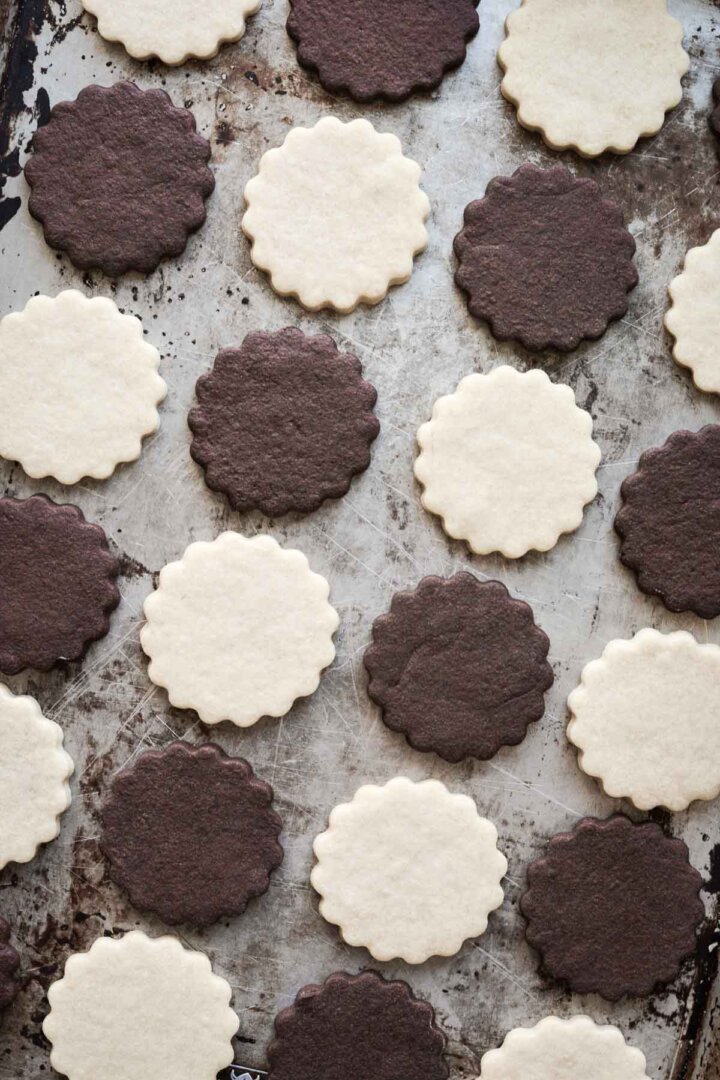
And if you’re in need of a perfect no spread sugar cookie recipe, you’ll love these recipes for vanilla cutout sugar cookies and chocolate cutout sugar cookies.

This site contains affiliate links. As an Amazon associate, I earn from qualifying purchases. This means that I may make a small commission if you purchase a product using those links. This in no way affects my opinion of those products and services. All opinions expressed on this site are my own.
Why You’ll Love This Recipe
Only Four Ingredients. With just four basic ingredients and a simple process, you can easily ice your sugar cookies with a beautiful, smooth finish.
No Decorating Experience Needed. You don’t need to be an experienced cookie decorator to make pretty, decorated sugar cookies. With a simple royal icing recipe, you can easily flood your sugar cookies by dipping them in the icing, for a clean, professional look on your cutout cookies.
No Piping Bags or Equipment. You won’t need piping bags, piping tips, a mixer, or any other special tools or equipment.
Delicious. My easy royal icing recipe tastes as good as it looks, drying to a lovely sheen, while staying soft underneath so that your cookies taste as delicious as they are lovely.

See the recipe card at the end of the post for the full ingredients list and instructions.
Ingredients
- Powdered Sugar. Sweetens and thickens the royal icing, while the fine texture makes a very smooth icing.
- Meringue Powder. Meringue powder is made of pasteurized, dried egg whites, so it takes the place of raw liquid egg whites that are used in traditional royal icing recipes. It creates a stable and sturdy icing that dries quickly on top of cookies. Meringue powder also has a long shelf life, so even if you only use it occasionally, you can store it in your pantry for several years.
- Water. Water thins out your royal icing to various consistencies for piping and flooding. Sometimes I use milk instead of water.
- Vanilla Extract. Use a good-quality vanilla extract for the best flavor in your royal icing. You can also use any other flavor of extract that you like, such as almond or lemon. If you don’t want your icing to be an off-white color (from pure vanilla extract), you’ll need to use only clear extracts.
- Gel Food Coloring. As an option, you can color your royal icing with any color you like. For the cookies pictured in today’s post, I used Americolor Soft Pink to create a lovely blush color.
Instructions
Making the Icing
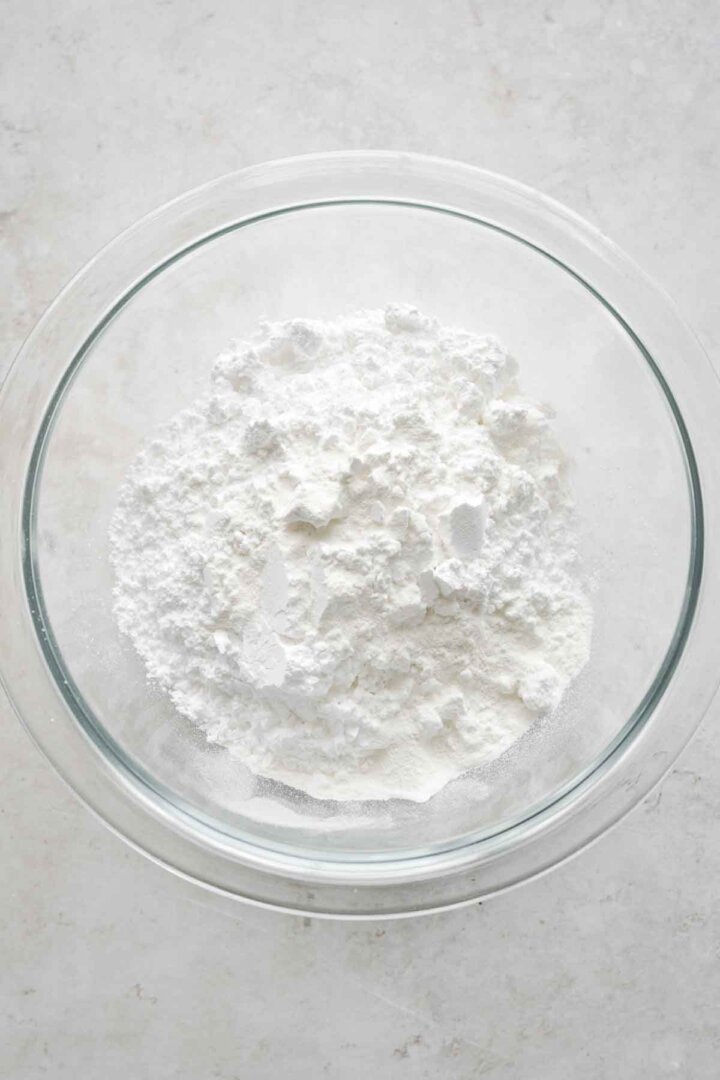
- In a bowl, combine the powdered sugar and meringue powder.
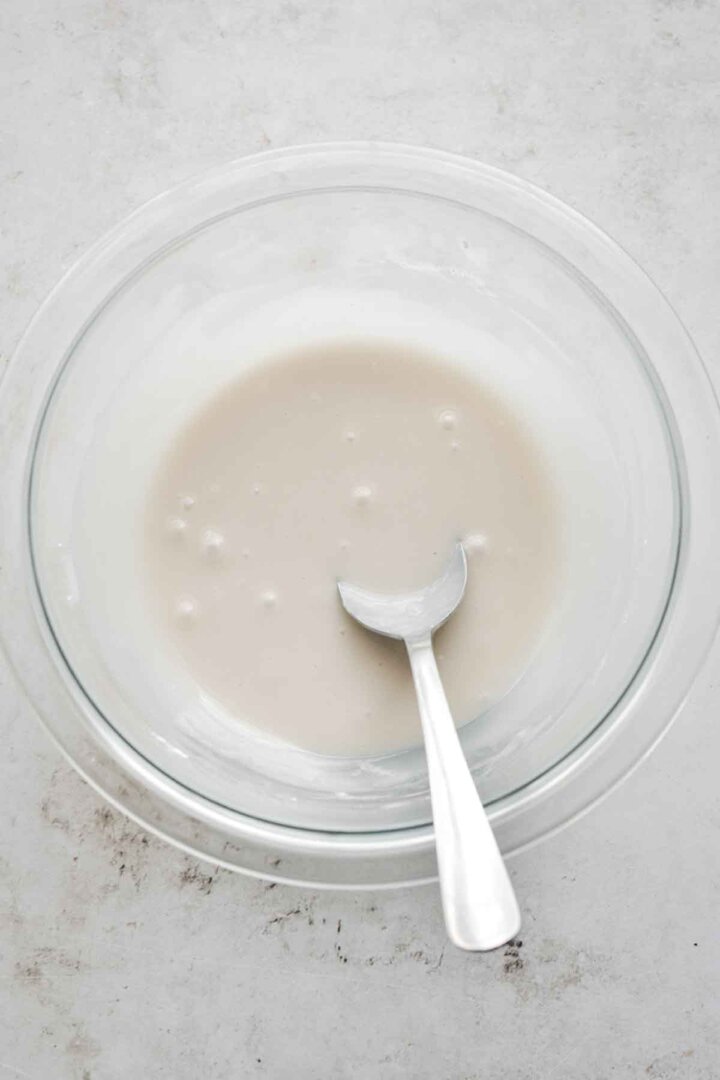
- Add the vanilla (optional) and the milk/water, and stir or whisk until smooth and combined.
- Let the icing drip off the spoon and back into the bowl. If the icing that drips off disappears in the bowl of icing in 5-10 seconds, then it’s the right consistency for dipping your cookies (or “flooding”, if you choose to use a piping bag). If it doesn’t disappear, then the icing is too thick, and you should add more water, 1 teaspoon at a time. If the icing is so thin that the drizzles immediately disappear, then it’s too thin, and you should add more powdered sugar, a couple tablespoons at a time.
- If coloring your icing, add a few drops of gel food coloring and mix it in.
- Use your icing immediately, or scrape it into an airtight, lidded container to store at room temperature for up to 3 days.
Icing the Cookies
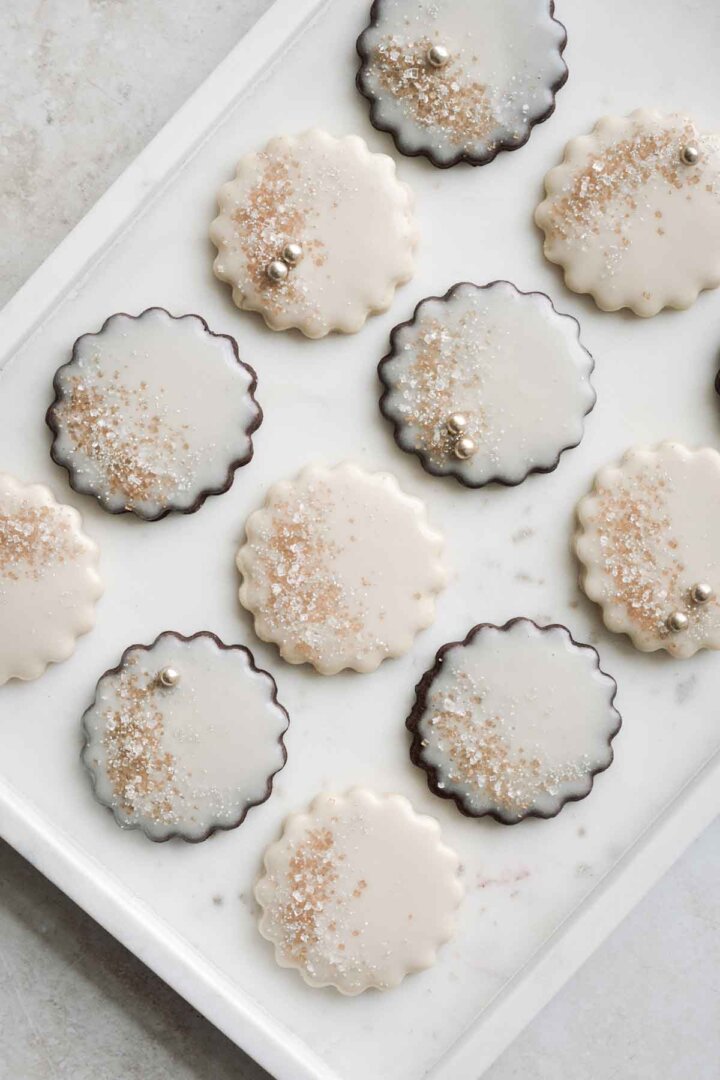
- Dip a cookie into the icing, and gently shake off the excess icing.
- If there are any air bubbles on the surface of the icing, use a sharp tool, such as a cake tester or toothpick to pop the bubbles.
- If you’ll be decorating the tops of your cookies with sprinkles or sparkling sugar, you’ll need to let the icing dry for a few minutes so that the sprinkles don’t sink into the icing. But don’t wait so long that the surface of the icing crusts over and prevents the sprinkles from sticking.
- Let the icing dry at room temperature for several hours, before storing the cookies in a single layer in an airtight container.
Recipe Variations
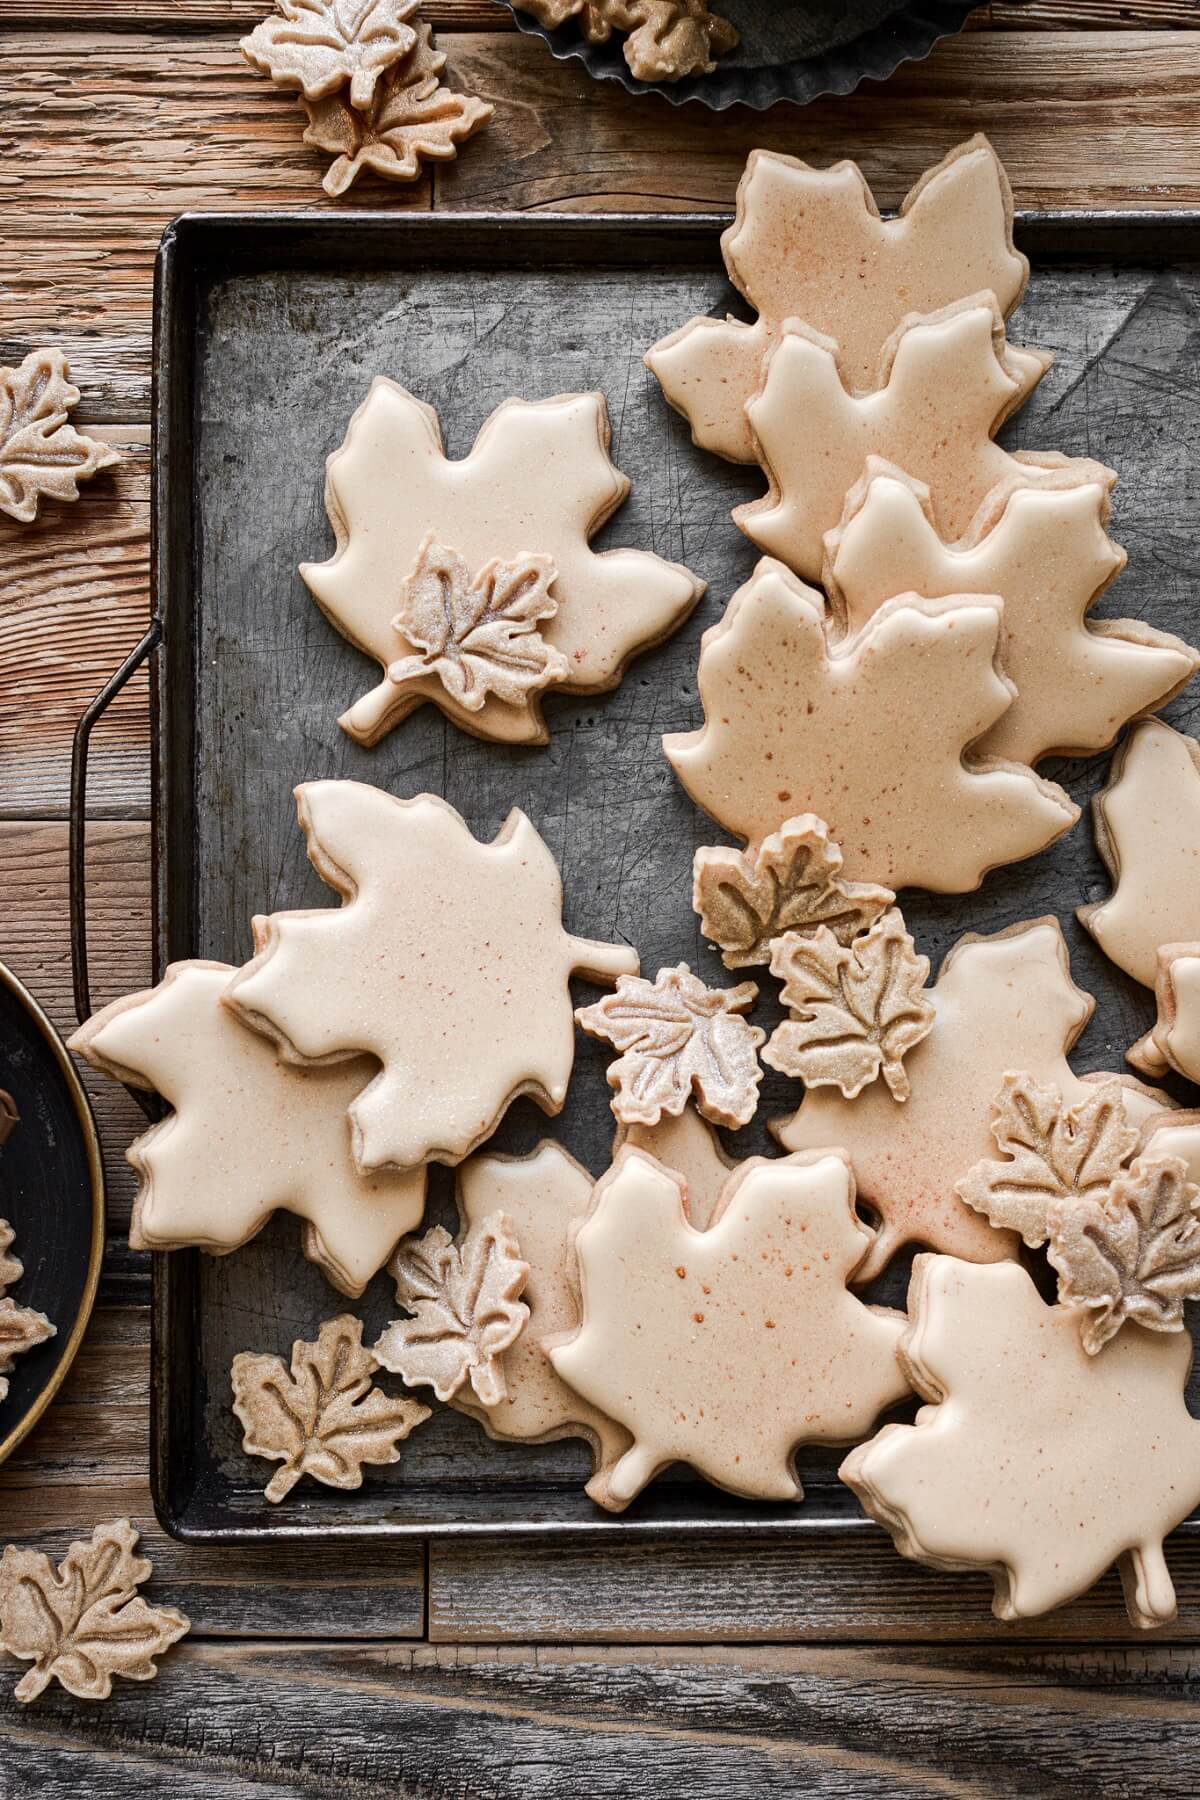
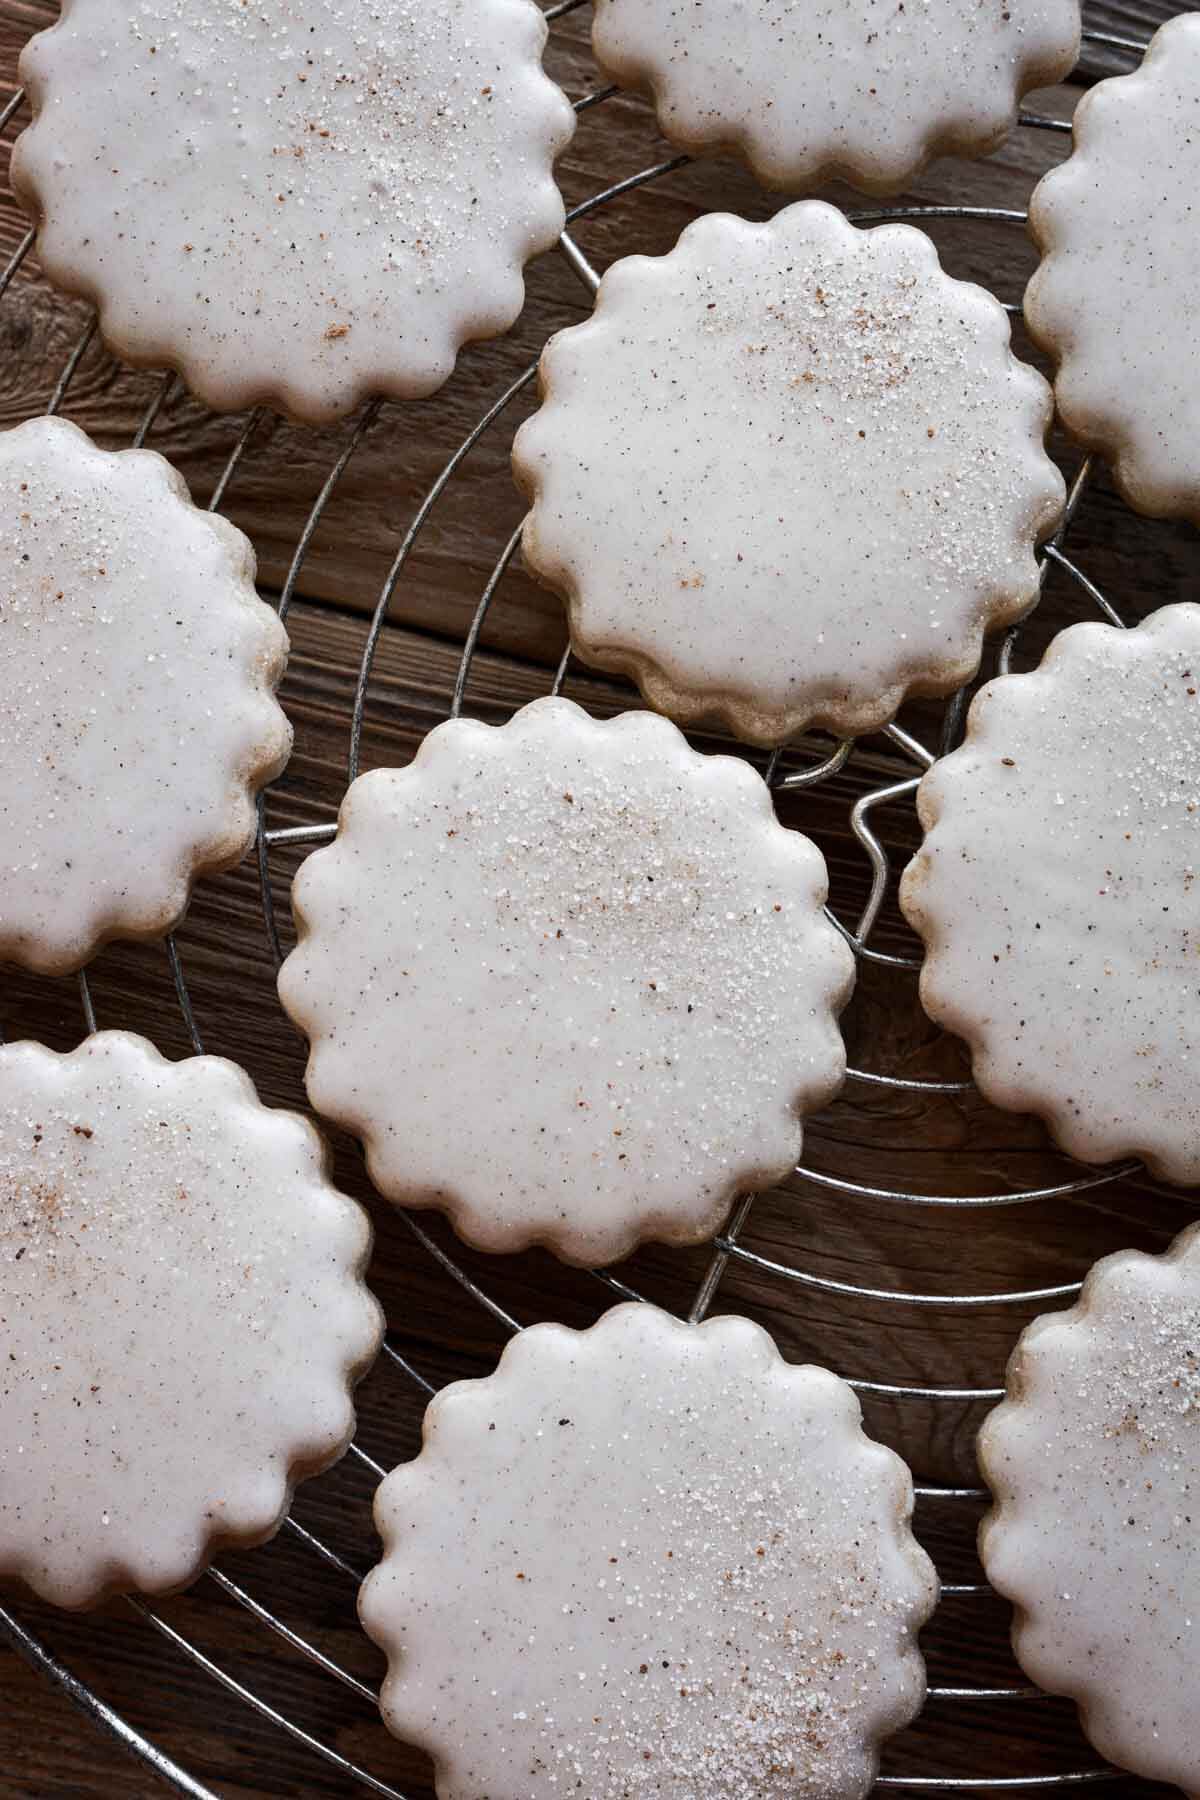
I’ve made so many variations of my royal icing, which you can find in the following recipe posts. Usually I dip the cookies, but I do occasionally make the icing a little thicker and pipe it on for the flooding (which is how I iced the maple leaf cookies).
- Iced Brown Sugar Cutout Cookies
- Iced Chocolate Gingerbread Cookies
- Iced Chai Spice Cookies
- Iced Lemon Linzer Cookies
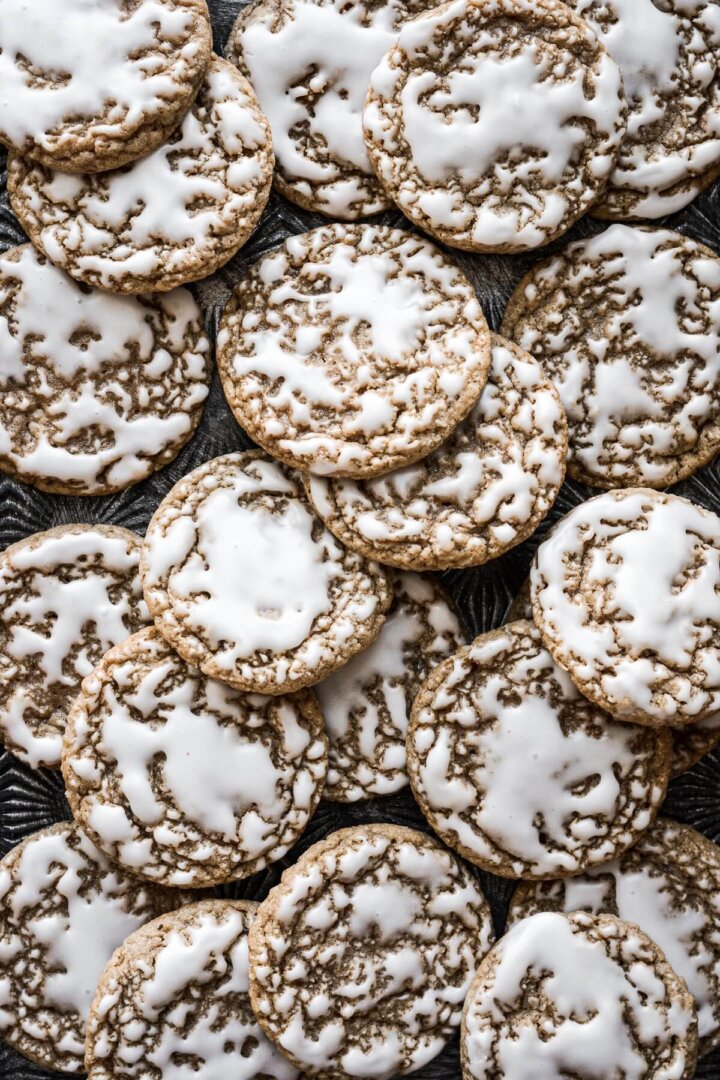
- Old Fashioned Iced Oatmeal Cookies
- Iced Maple Leaf Cookies
- Gold and Green St. Patrick’s Day Cookies
- Grinch Cookies
- Iced Chocolate Caramel Linzer Cookies







Be sure to read all of my BAKING FAQs where I discuss ingredients, substitutions and common baking questions, so that you can be successful in your own baking!
Frequently Asked Questions
You can likely find meringue powder at your local craft stores, such as Michaels and Hobby Lobby. I’ve also found meringue powder on the baking aisle at Walmart as well as at King Soopers. And of course, you can buy pretty much anything on Amazon, including meringue powder.
Meringue powder is made of pasteurized, dried egg whites, and it creates a stable and sturdy icing that dries hard on top of your cookies. There is no substitute for it in this recipe, and without it, the icing will be soft and sticky.
Yes, the icing will set and dry hard on the surface. However it will remain a little soft underneath so it’s very easy and pleasant to bite into.
Cookies need to dry out in the open, uncovered, in a cool, non-humid room, to dry properly. The faster the icing dries, the smoother and prettier it will look, so it’s helpful to use a fan to speed along the drying process.
Over-mixing the icing will add many tiny air bubbles. You should only mix it enough until it’s smooth and combined. You don’t want to whip a lot of air into the icing.
You can make royal icing in advance (with water, not milk), and store it in an airtight container at room temperature for up to 2 weeks. The mixture may separate, and you’ll need to mix it up again until smooth.
Once the icing has fully set and dried, arrange cookies in an airtight container. You can separate each layer of cookies with a piece of parchment paper, although personally, I prefer not to stack them, to avoid any dents or marks in the icing for the cookies on the bottom layer. The cookies should stay fresh for a week or two, but you can also freeze them for 3-6 months. Freezing and thawing the icing may cause color bleed, though.
This can happen. With sprinkles that contain very concentrated amounts of food coloring (vivid reds, blues and greens), the color can and will bleed into the icing, since the icing contains moisture.
Absolutely. When dipping cookies, I tend to make the icing a bit thinner. If I want to outline and flood the cookies using a piping bag, I’ll make it a bit thicker.
No, it’s not nearly thick enough to “glue” together the pieces of a gingerbread house. You can find my gingerbread house with icing recipe here.
You Might Also Like




Please check out my Amazon Shop for a curated collection of some of my favorite cake pans from trusted brands, baking tools, ingredients, pretty things and fashion finds. I recommend products that I buy and use every day!
Did you love today’s recipe? Please rate the recipe and let me know in the comments what you thought! Also, be sure to follow Curly Girl Kitchen on Instagram, and tag me when you try one of my recipes so I can see all your delicious creations!
Easy Royal Icing
All recipes on Curly Girl Kitchen are developed for high altitude at 5,280 feet. See FAQs for adjusting to higher or lower elevations.

Ingredients
- 2 cups powdered sugar, sifted
- 4 tsp meringue powder
- 3 – 3 ½ tbsp water or milk
- 1 tsp vanilla extract (see notes)
Instructions
Making the Icing
- In a bowl, combine the powdered sugar and meringue powder.
- Add the vanilla (optional) and the milk/water, and stir or whisk until smooth and combined.
- Let the icing drip off the spoon and back into the bowl. If the icing that drips off disappears in the bowl of icing in 5-10 seconds, then it's the right consistency for dipping your cookies (or "flooding", if you choose to use a piping bag). If it doesn't disappear, then the icing is too thick, and you should add more water, 1 teaspoon at a time. If the icing is so thin that the drizzles immediately disappear, then it's too thin, and you should add more powdered sugar, a couple tablespoons at a time.
- If coloring your icing, add a few drops of gel food coloring and mix it in.
- Use your icing immediately, or scrape it into an airtight, lidded container to store at room temperature for up to 3 days.
Icing the Cookies
- Dip a cookie into the icing, and gently shake off the excess icing.
- If there are any air bubbles on the surface of the icing, use a sharp tool, such as a cake tester or toothpick to pop the bubbles.
- If you'll be decorating the tops of your cookies with sprinkles or sparkling sugar, you'll need to let the icing dry for a few minutes so that the sprinkles don't sink into the icing. But don't wait so long that the surface of the icing crusts over and prevents the sprinkles from sticking.
- Let the icing dry at room temperature for several hours, before storing the cookies in a single layer in an airtight container.
Video
Notes
- This recipe makes enough icing to ice approximately 2 1/2 dozen cookies that are 2 – 2 1/2 inches in diameter.
- The dark color of vanilla extract will turn the icing an off-white color. If you want a pure white icing, either omit the vanilla, or use only clear extracts to flavor the icing.
 https://curlygirlkitchen.com/
Can I double the recipe, or is it safer to make two batches?
It’s not a problem to double it.