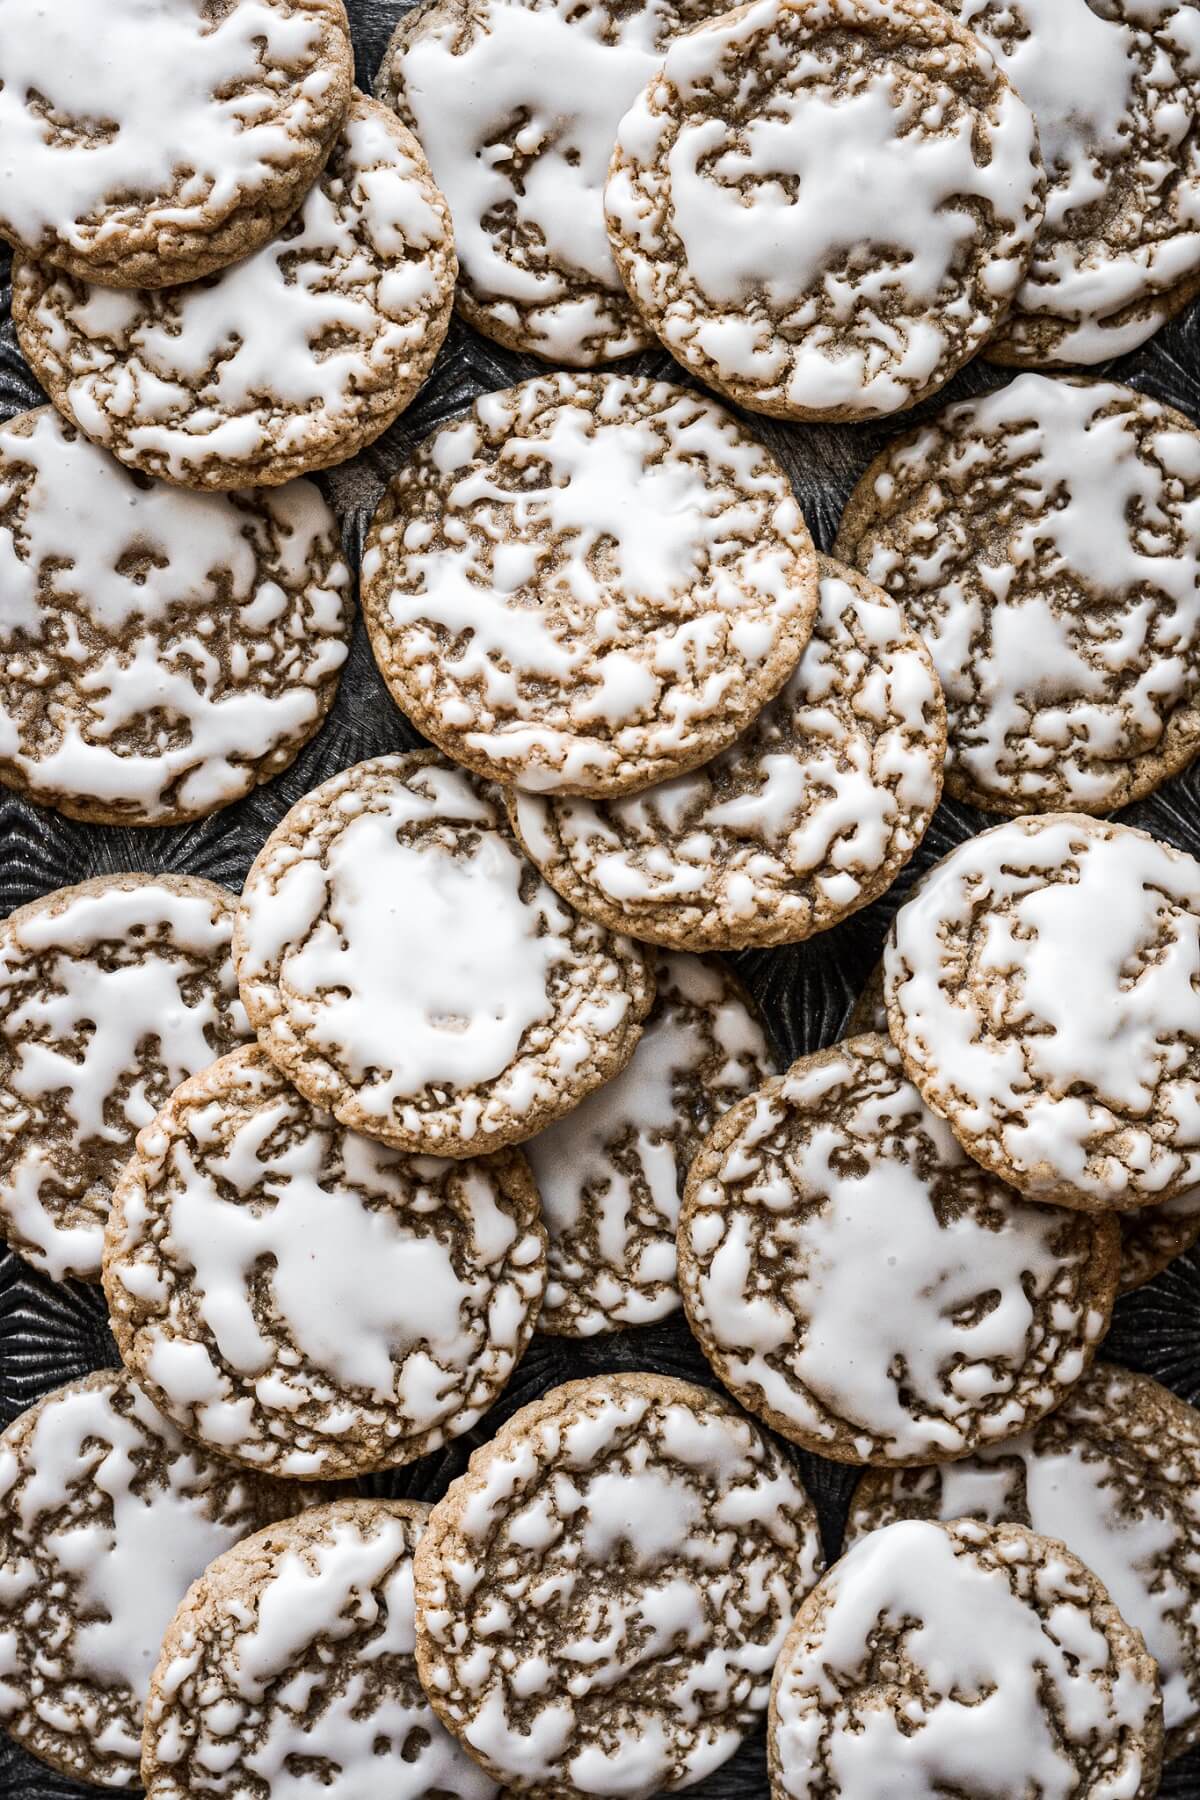
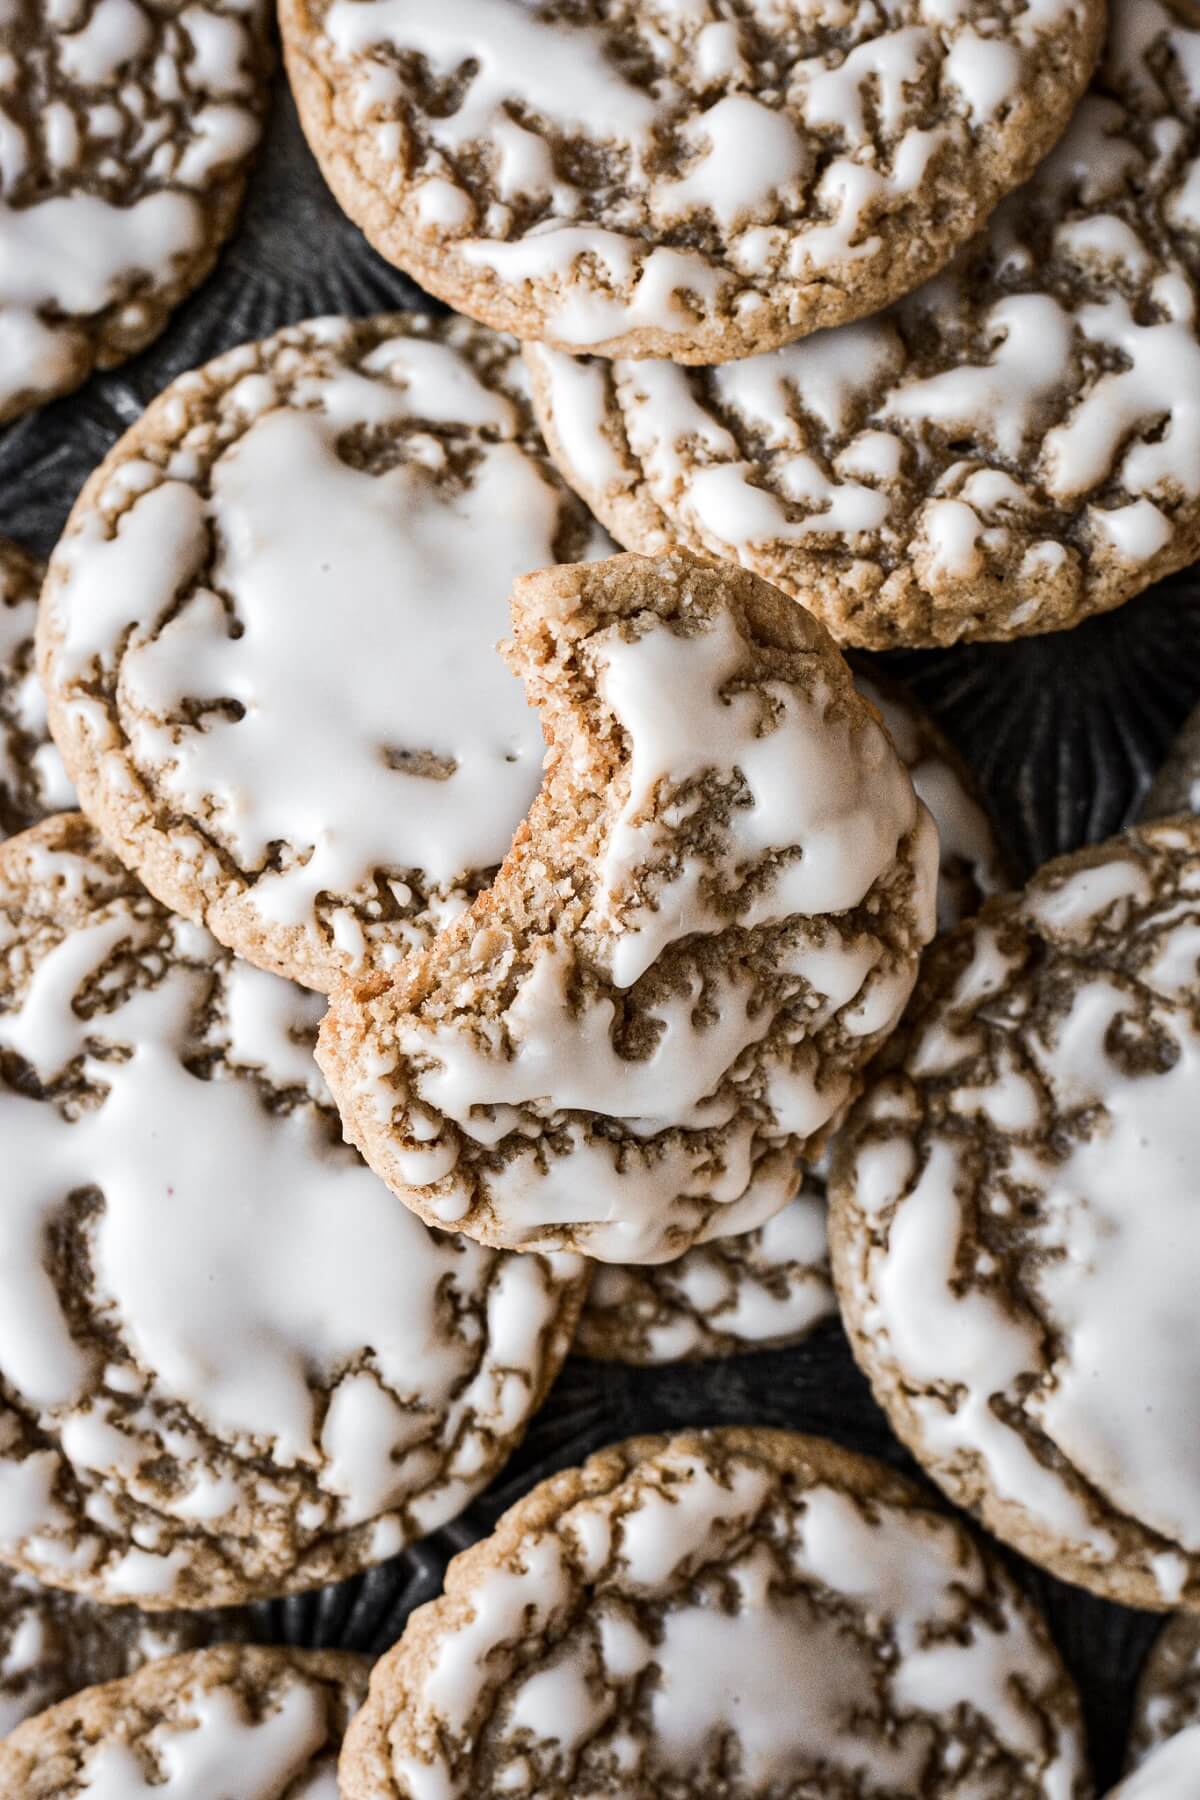
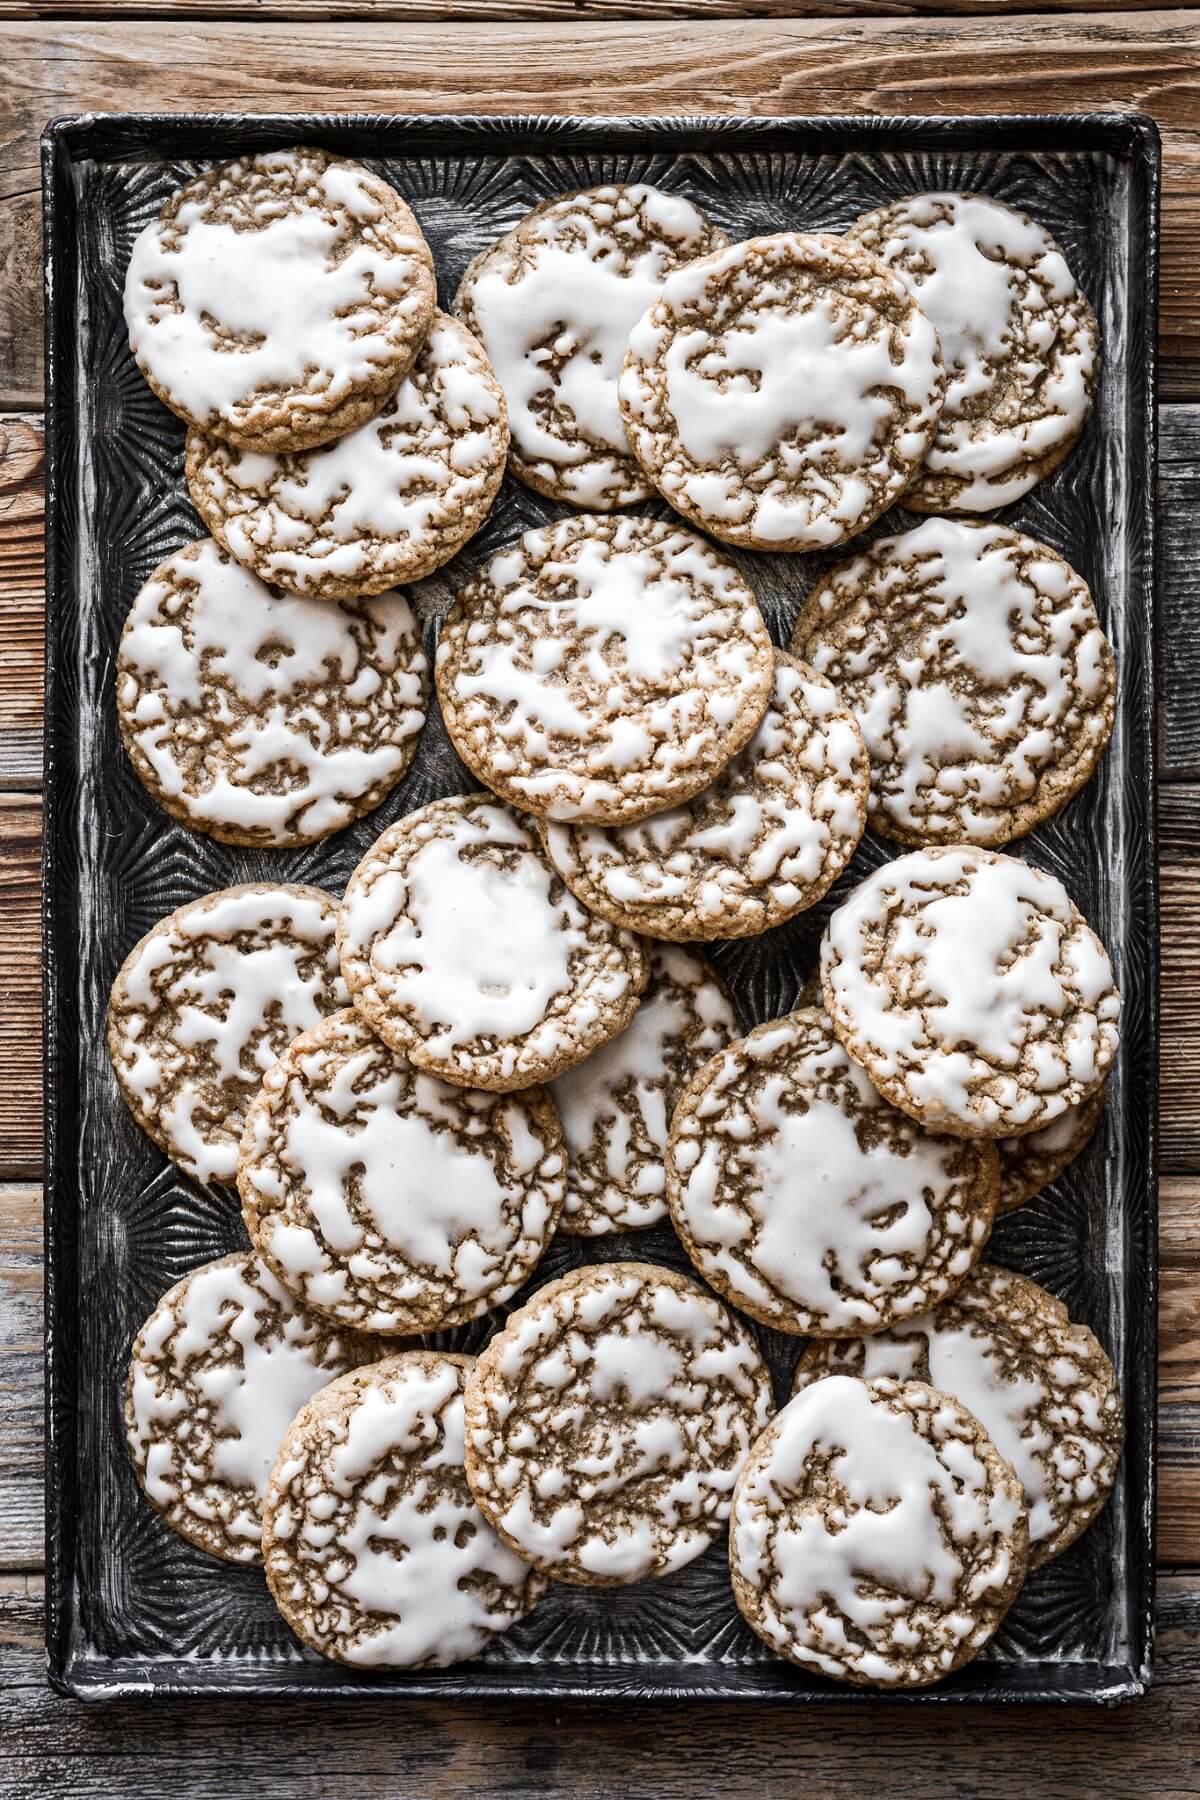
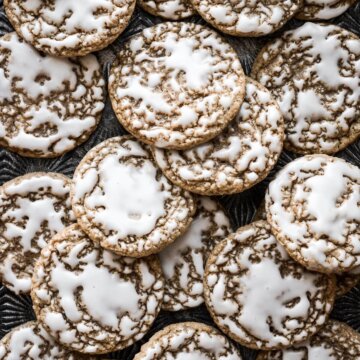
Today I’m sharing an easy high altitude recipe for the most beautiful old fashioned iced oatmeal cookies. The cookies are so soft and chewy, slightly spicy with a hint of molasses, and dipped in sweet vanilla glaze. These are seriously good, and they make a perfect any occasion cookie, as well as a delicious holiday cookie to add to your Christmas baking list.
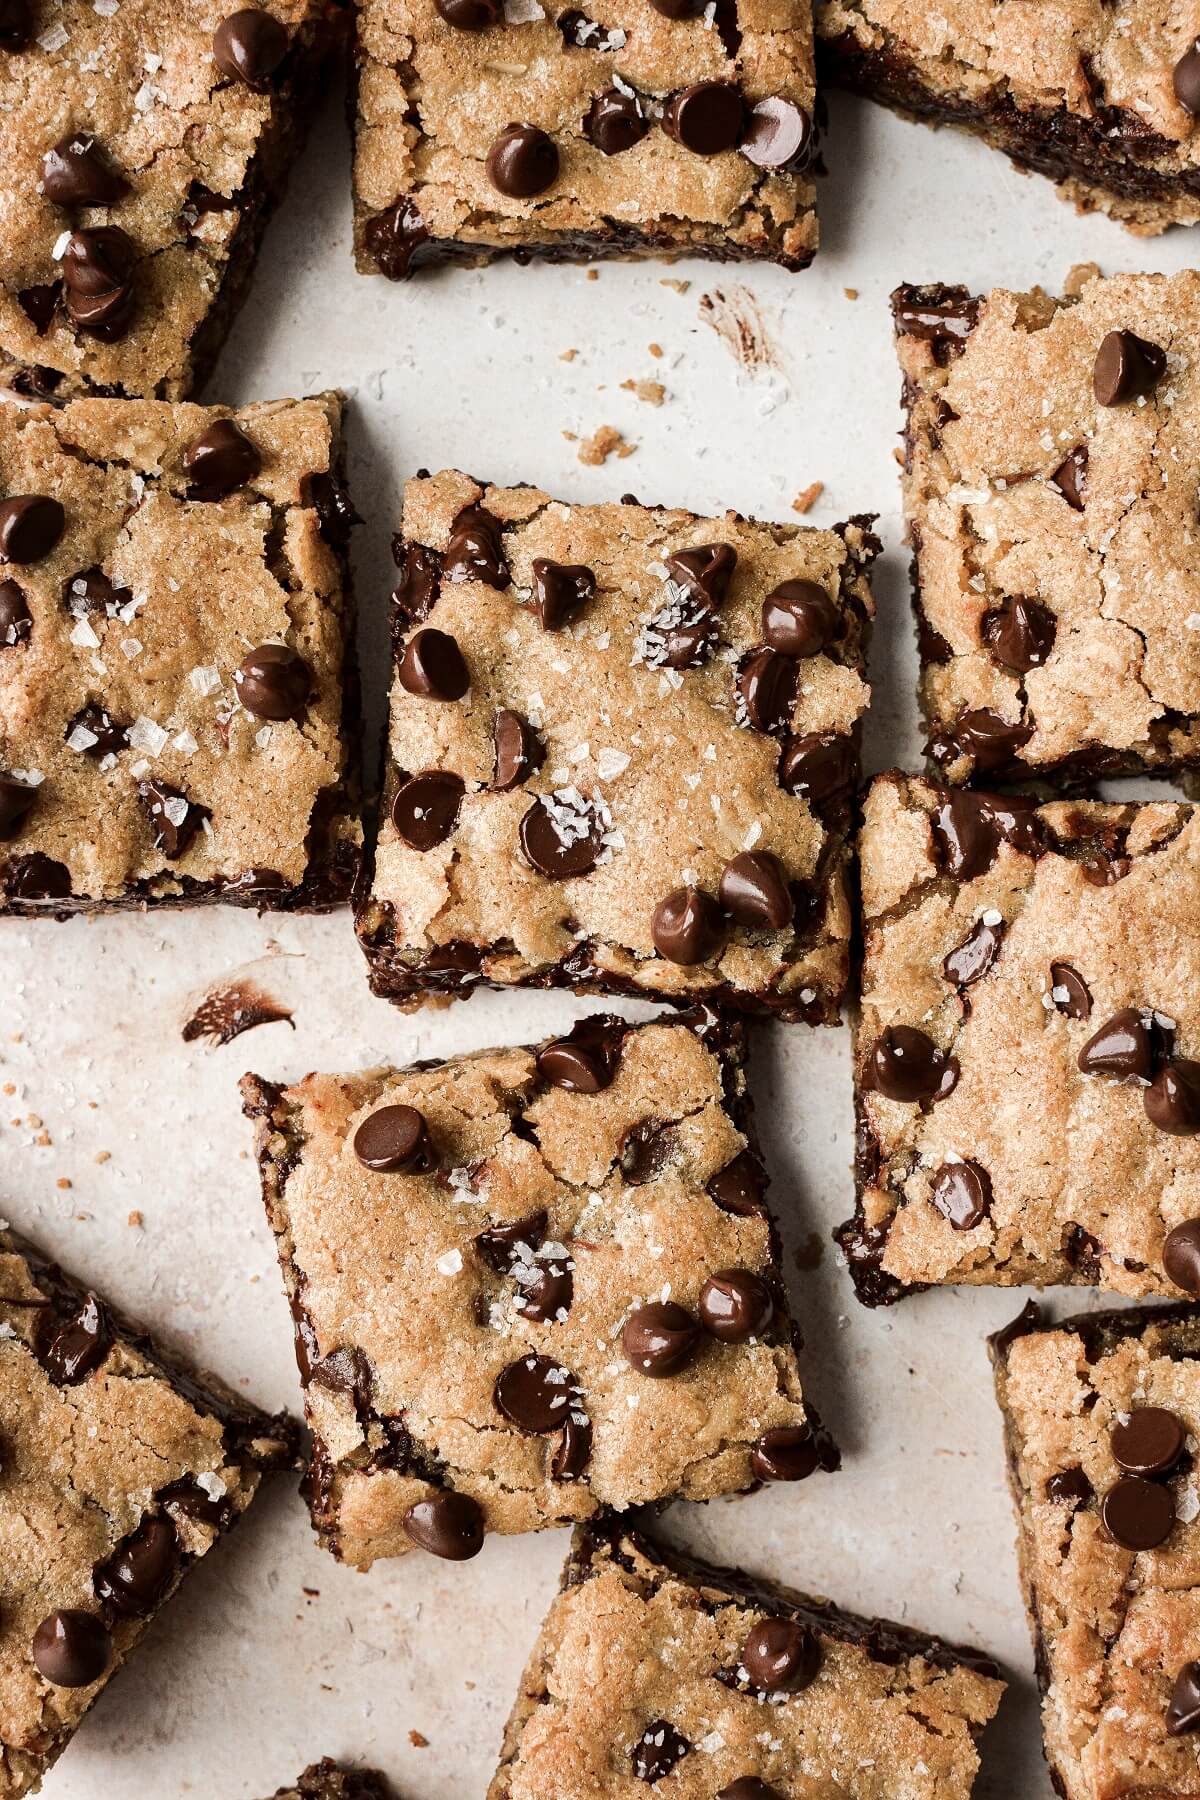
You might also love these high altitude recipes for oatmeal chocolate chip cookie bars, brown butter oatmeal raisin cookies, and oatmeal raisin muffins.
This site contains affiliate links. As an Amazon associate, I earn from qualifying purchases. This means that I may make a small commission if you purchase a product using those links. This in no way affects my opinion of those products and services. All opinions expressed on this site are my own.
Why You’ll Love This Recipe
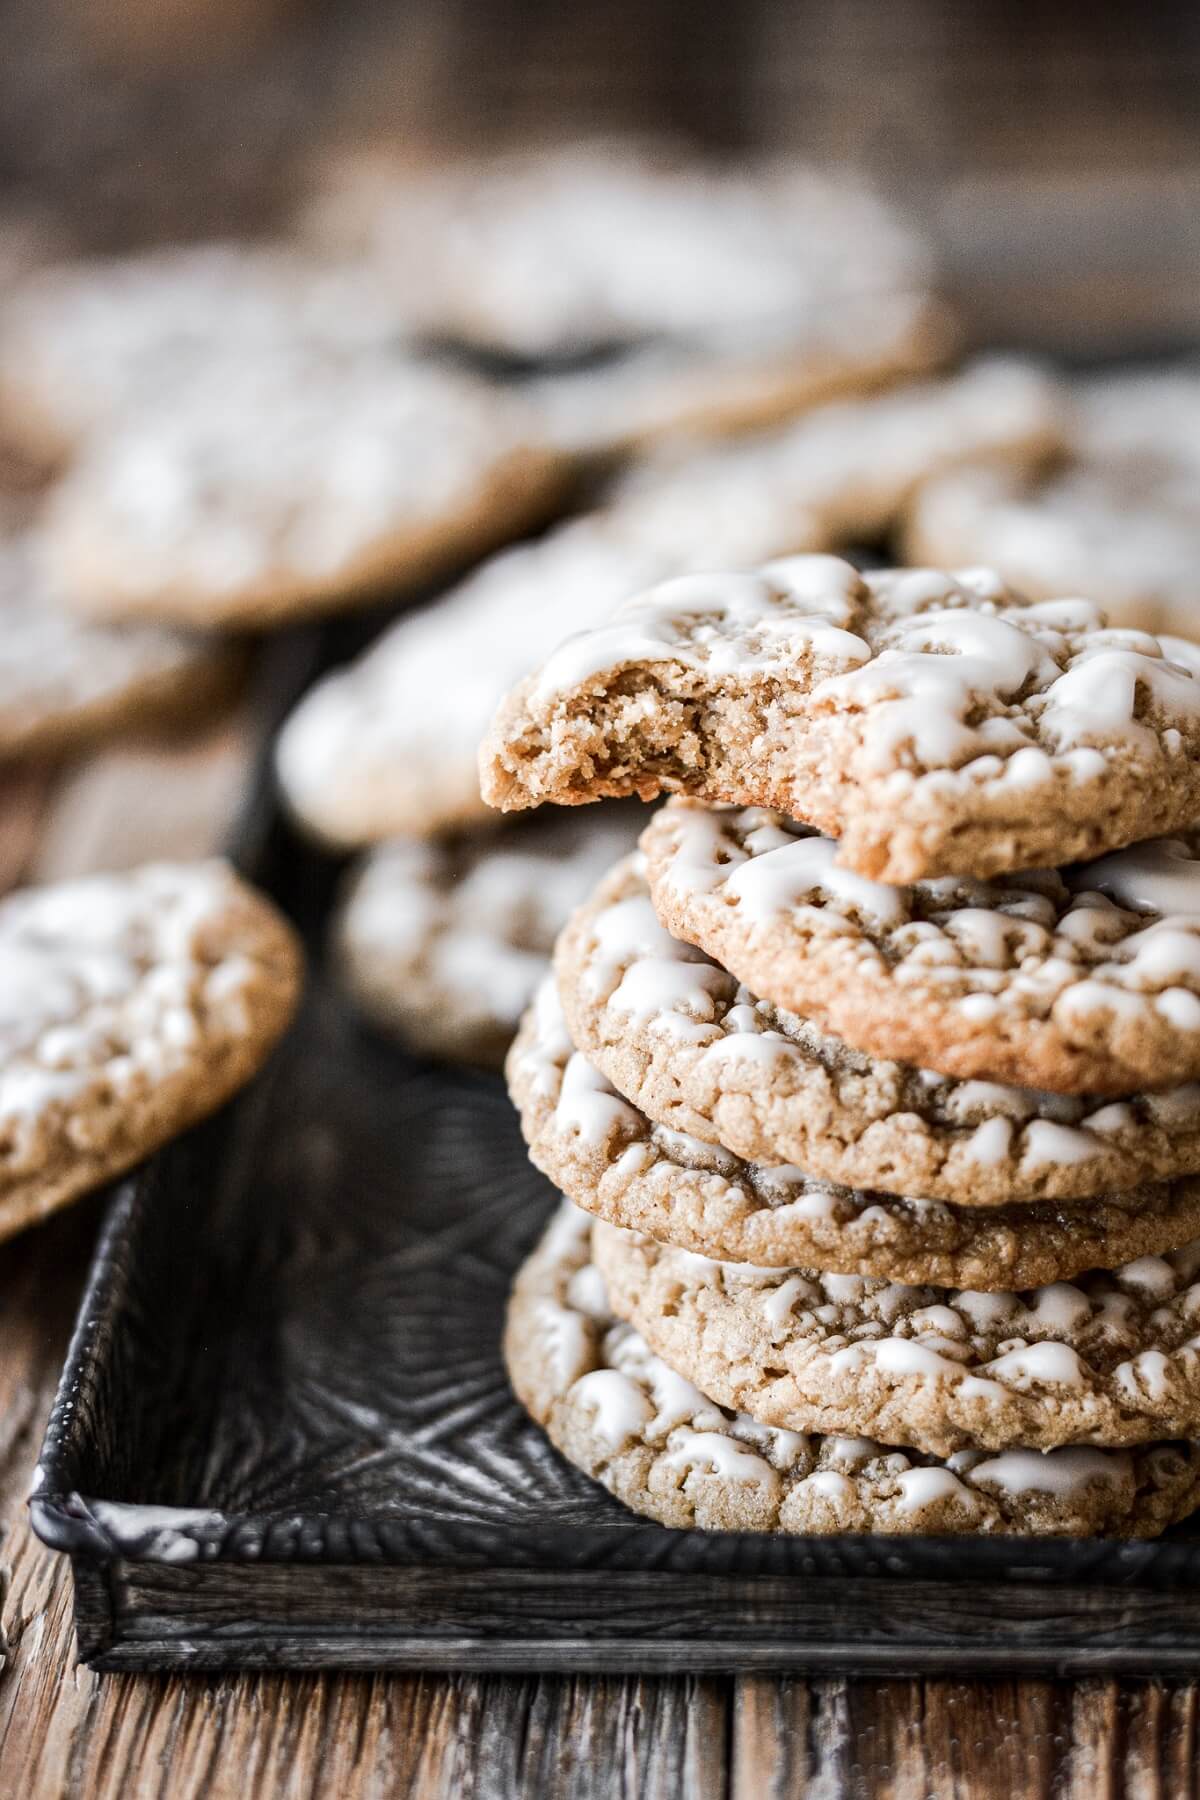
Better than Store Bought. Homemade iced oatmeal cookies are a million times better than a package of store bought cookies. They’re perfectly soft, chewy, rich with brown butter, sweet and a little spicy.
So Much Flavor. For the classic flavor of an iced oatmeal cookie, you need brown sugar, vanilla, cinnamon, nutmeg and a whisper of molasses. The molasses really adds so much more depth to the cookies, keeps them soft for days, and enhances the spices and brown butter for a truly delicious treat. These really might be my favorite oatmeal cookie I’ve ever made!
High Altitude Tested. I develop all the recipes on my site for Denver’s high altitude of 5,280 feet.
No Mixer Needed. You’ll love that you don’t even need to use a mixer for this recipe, just a bowl and whisk.
See the recipe card at the end of the post for the full ingredients list and instructions.
Ingredients
Cookies
- Unsalted Butter. By browning the butter first, which just takes a few minutes, you’ll add a rich, nutty flavor to your oatmeal cookies that really takes them to the next level of deliciousness.
- Sugar. A combination of granulated sugar and light brown sugar adds sweetness and moisture.
- Eggs. Gives the cookies structure so they’re chewy, not crumbly.
- Vanilla Extract. Flavor.
- Molasses. You only need a couple of teaspoons of molasses to add a depth of flavor that makes these taste just like the classic version that so many kids grew up eating. You’ll want “grandma’s old fashioned” molasses, not blackstrap.
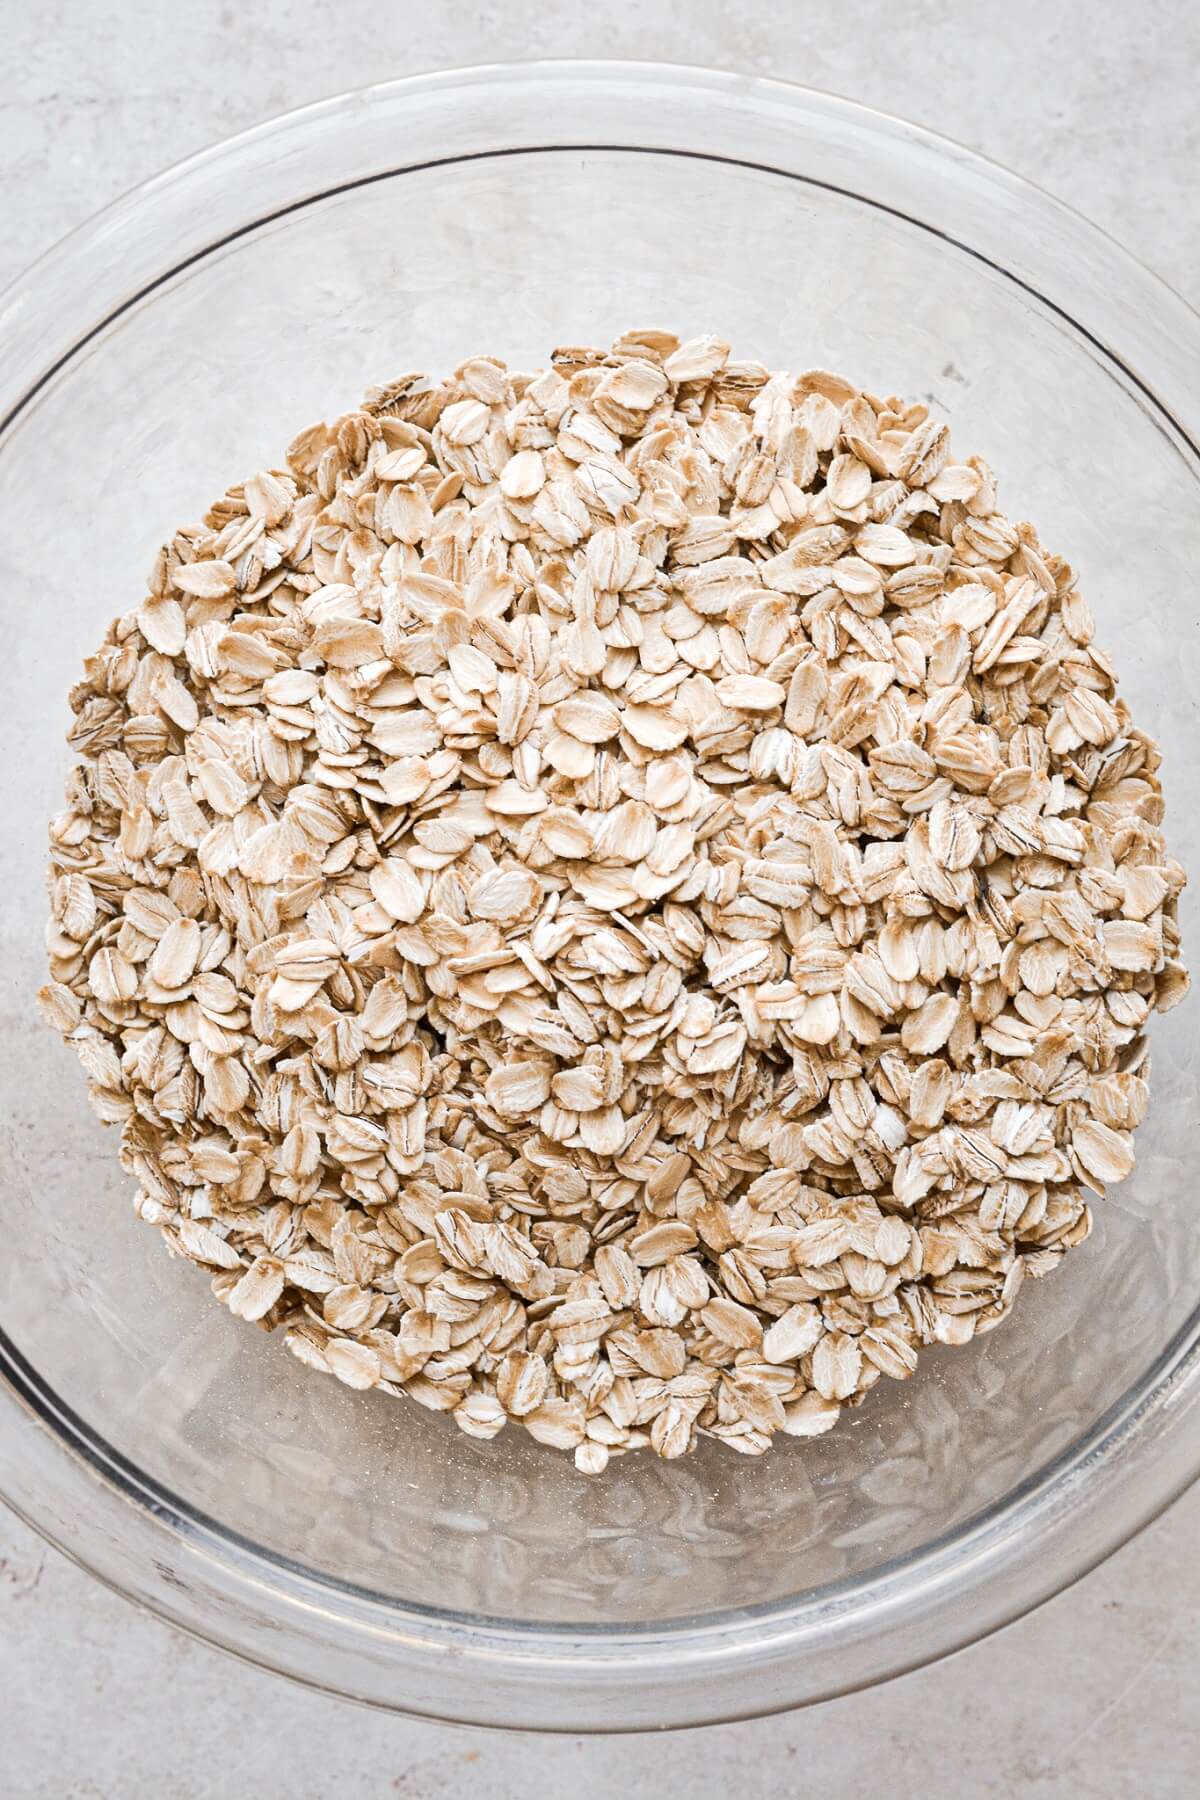
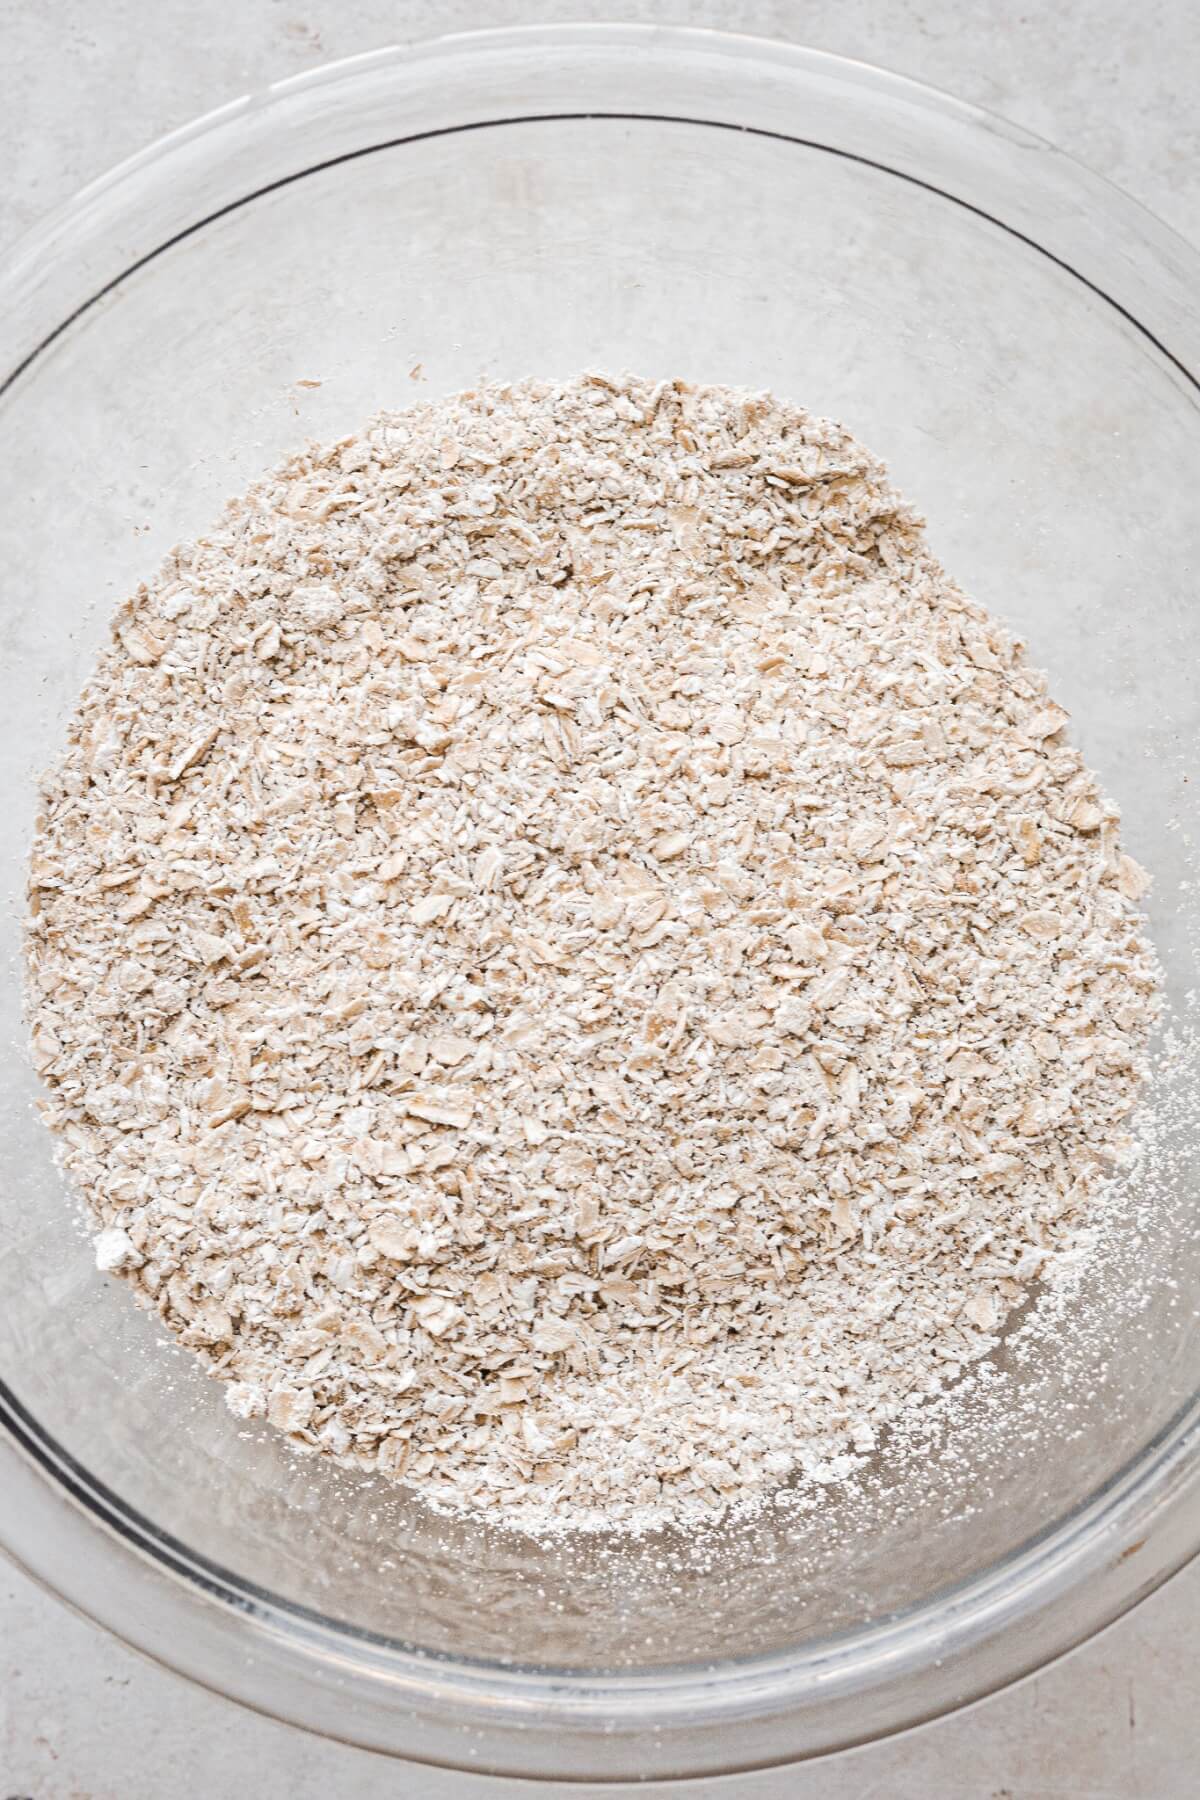
- Oats. I always bake with old-fashioned oats. You’ll need to pulse the oats in your food processor to grind them more finely for the perfect texture in your cookies.
- Flour. All-purpose flour adds structure and strength.
- Salt. Balances the sweetness.
- Baking Soda. Leavening agent.
- Spices. Cinnamon and nutmeg add warmth and coziness to complement the flavor of the molasses.
Icing
- Powdered Sugar. Sweetens and thickens the icing.
- Meringue Powder. This is the key ingredient that helps the icing to set quickly and stay set, rather than remaining soft and sticky. I always keep meringue powder on hand for a variety of uses, from stabilizing buttercream, to making royal icing, to helping glazes set. Besides buying it online, you can also find it on the baking aisle of your local craft stores, like Michaels, Joannes, Hobby Lobby and Walmart.
- Vanilla Extract. Flavor.
- Milk. Thins the icing to the perfect consistency for dipping.
Instructions
Make the cookie dough.
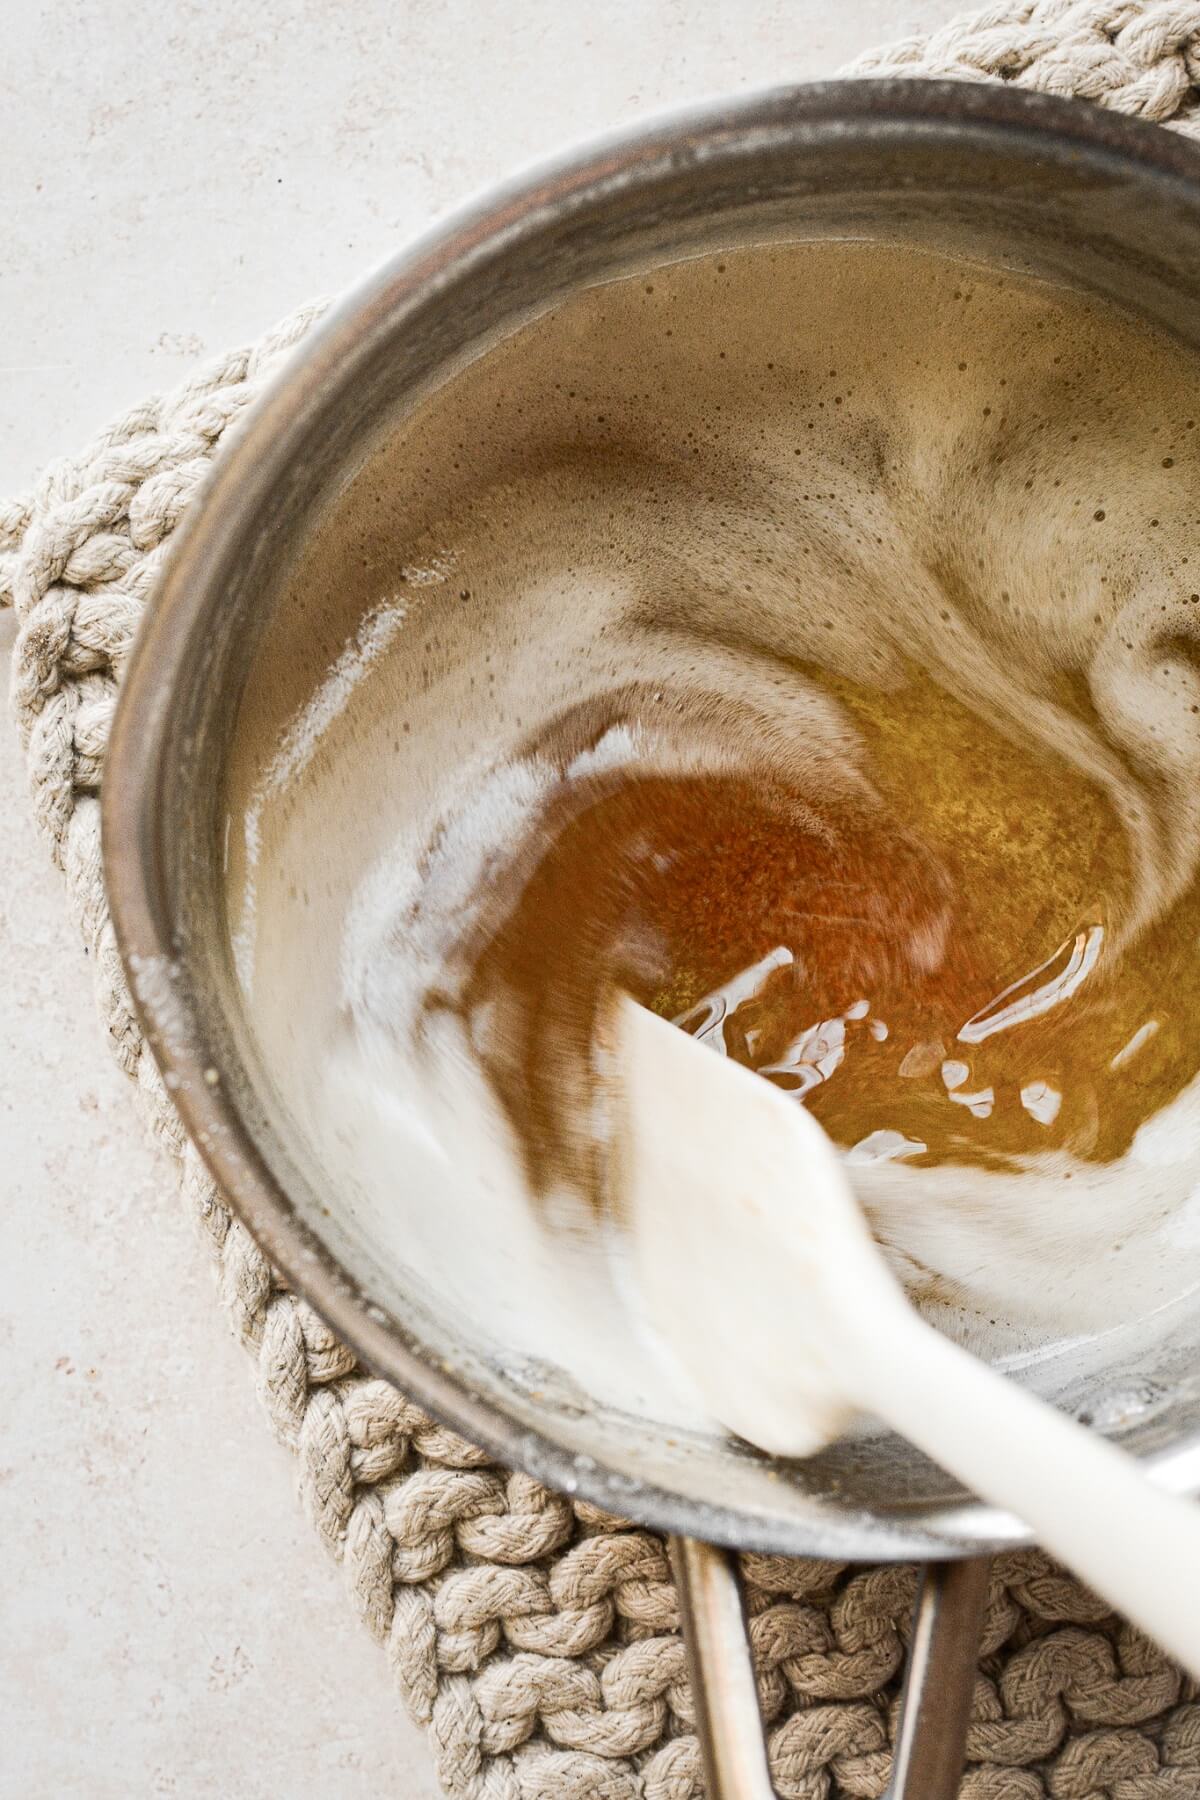
- Melt the butter in a saucepan over medium heat. Continue to cook the butter, swirling the pan occasionally, for about 5-10 minutes, until nutty, light golden brown solids form at the bottom of the pan and the butter is very fragrant.
- Pour the browned butter into a large bowl, and let cool for 30 minutes at room temperature.
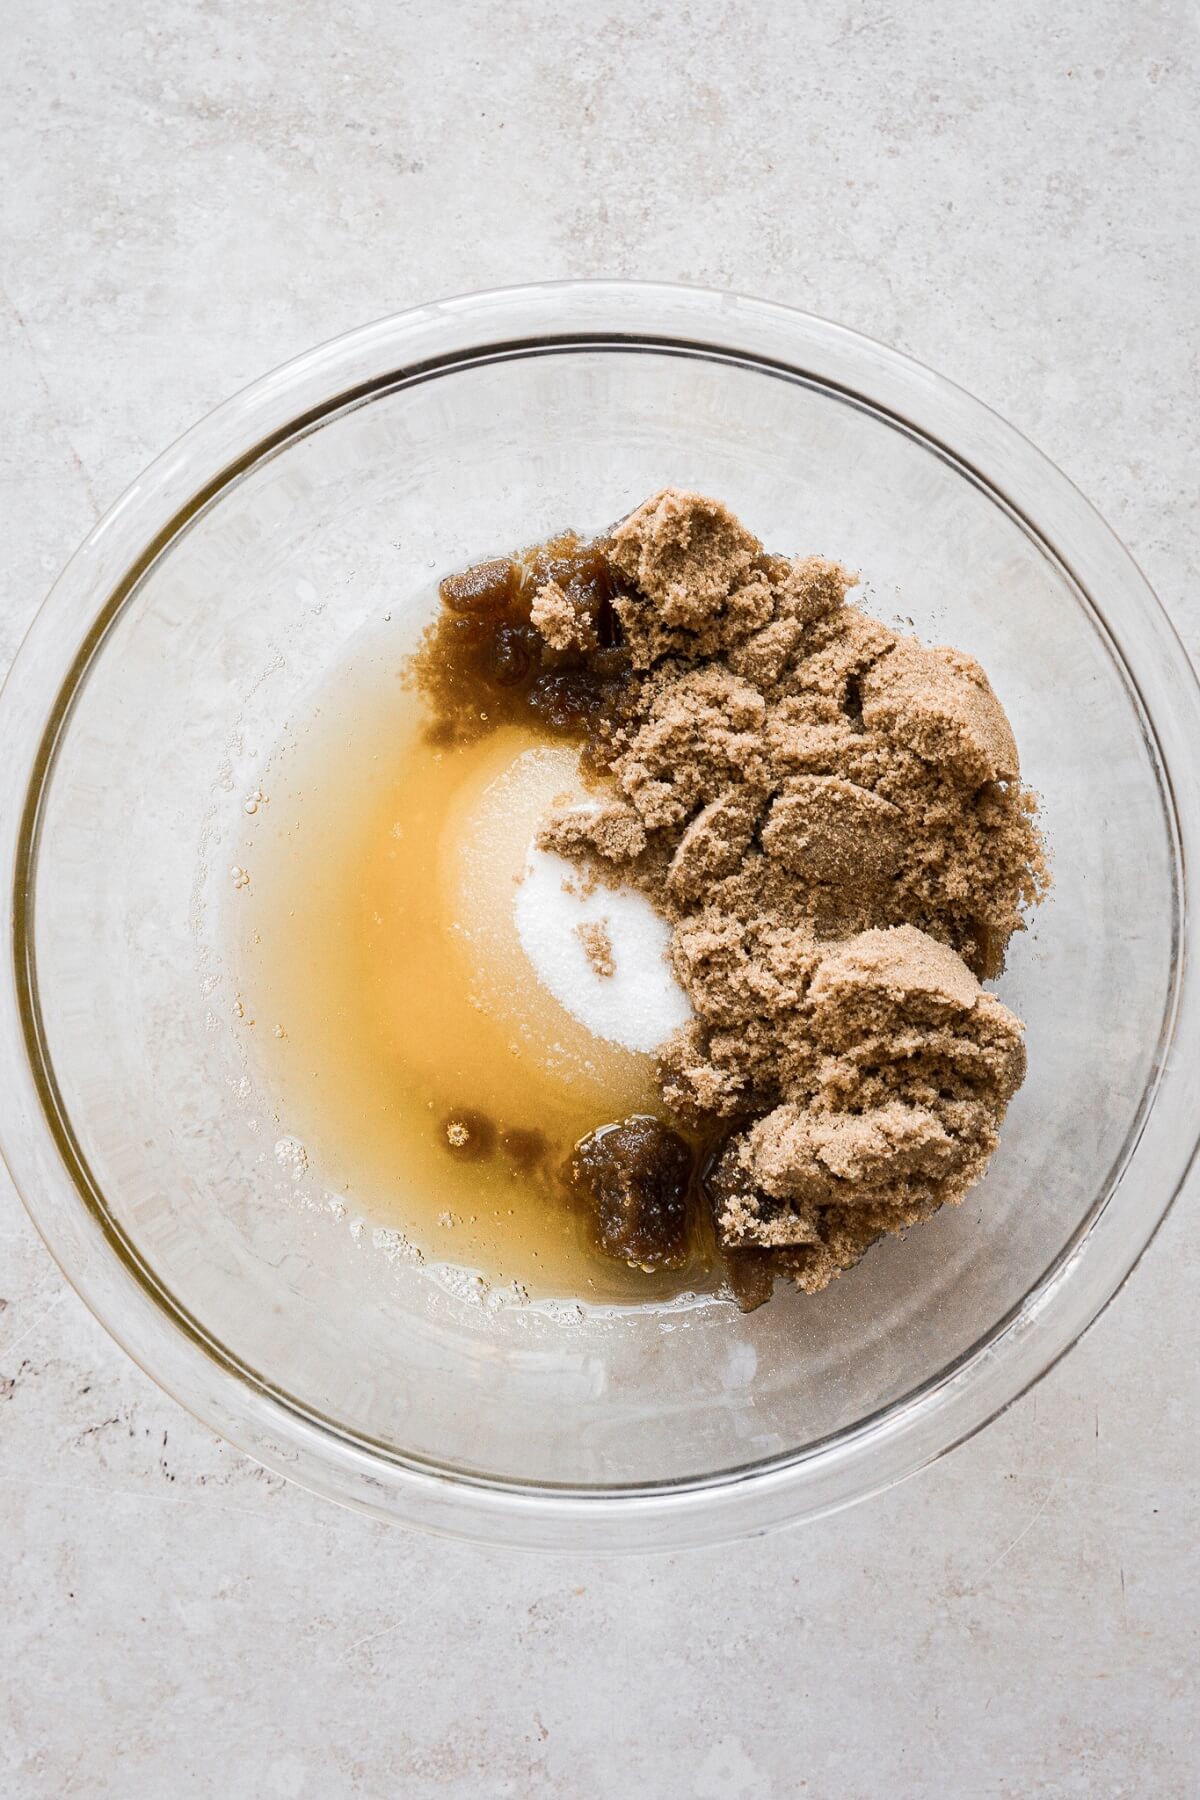
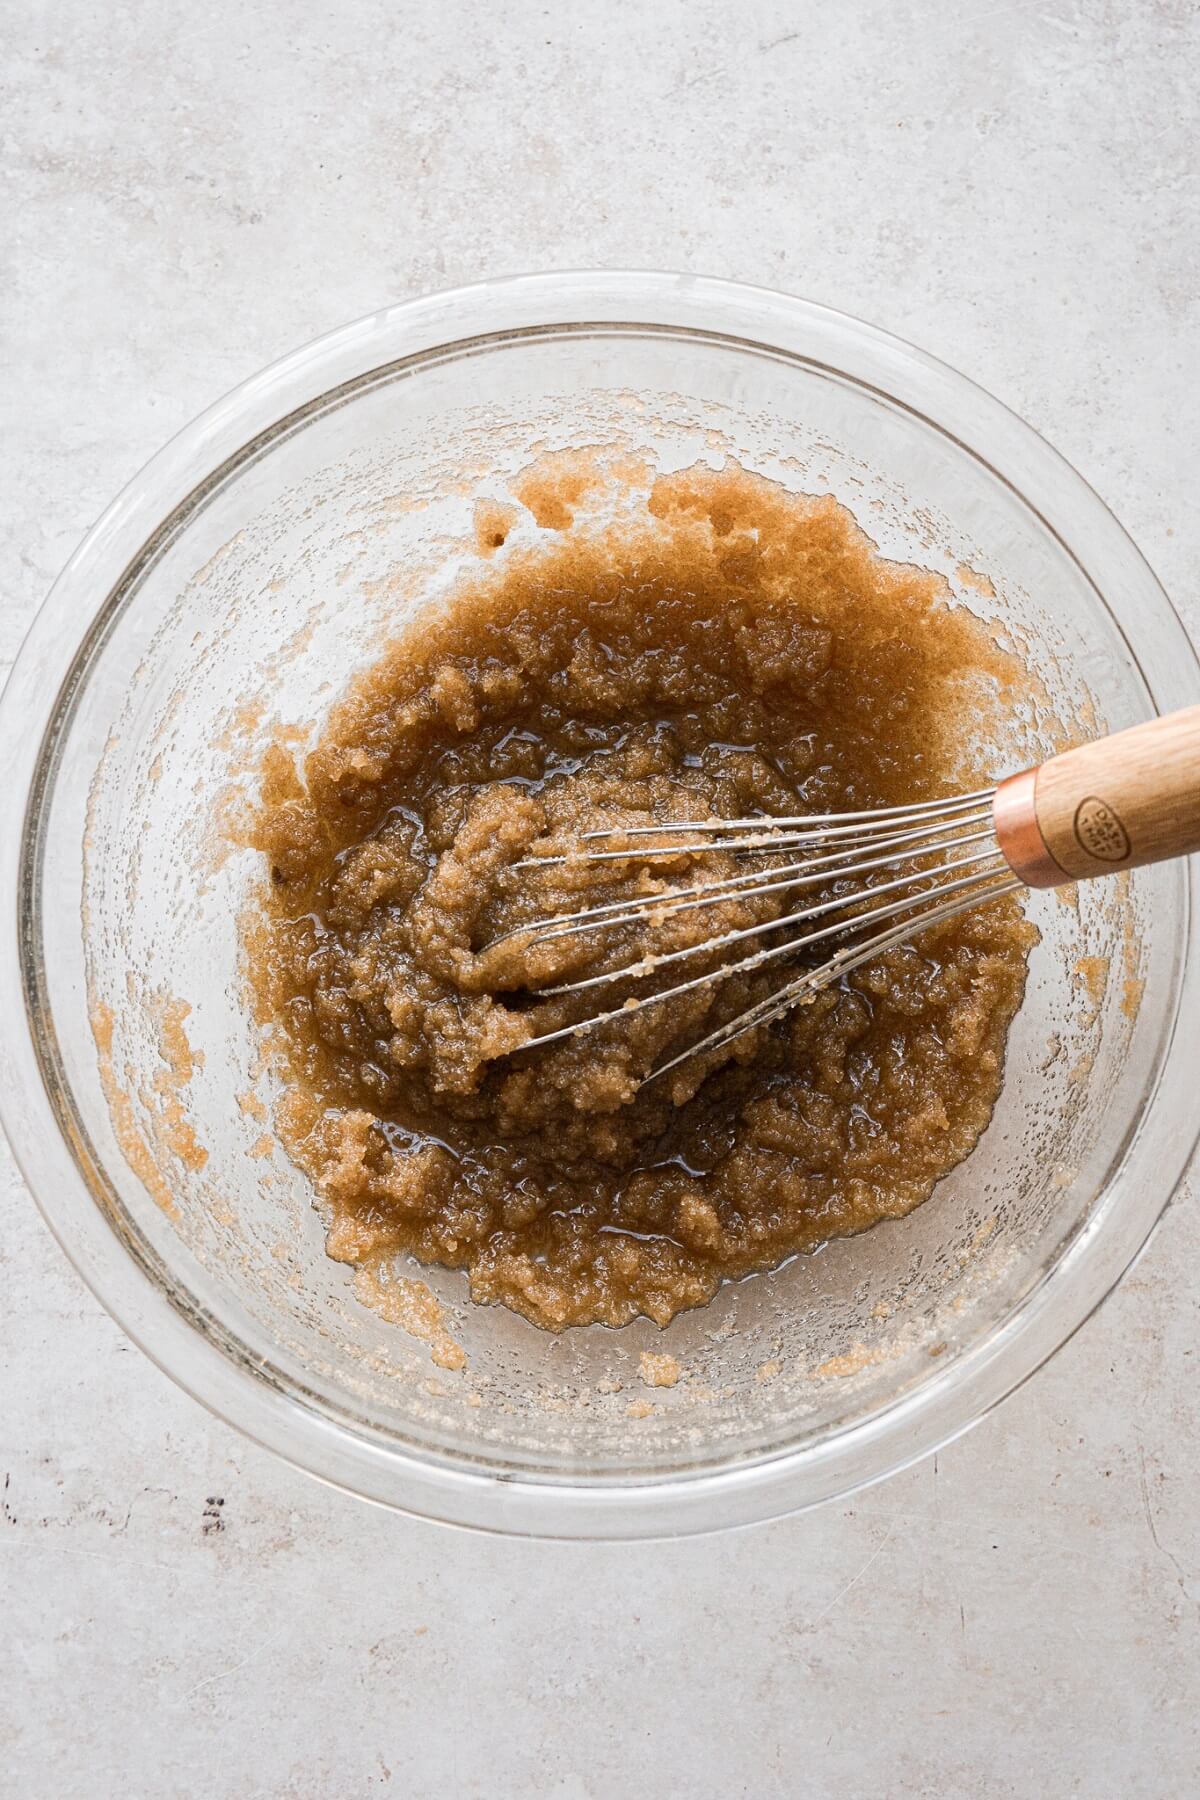
- Add the granulated sugar and the brown sugar to the butter, and whisk vigorously by hand for 1 minute.
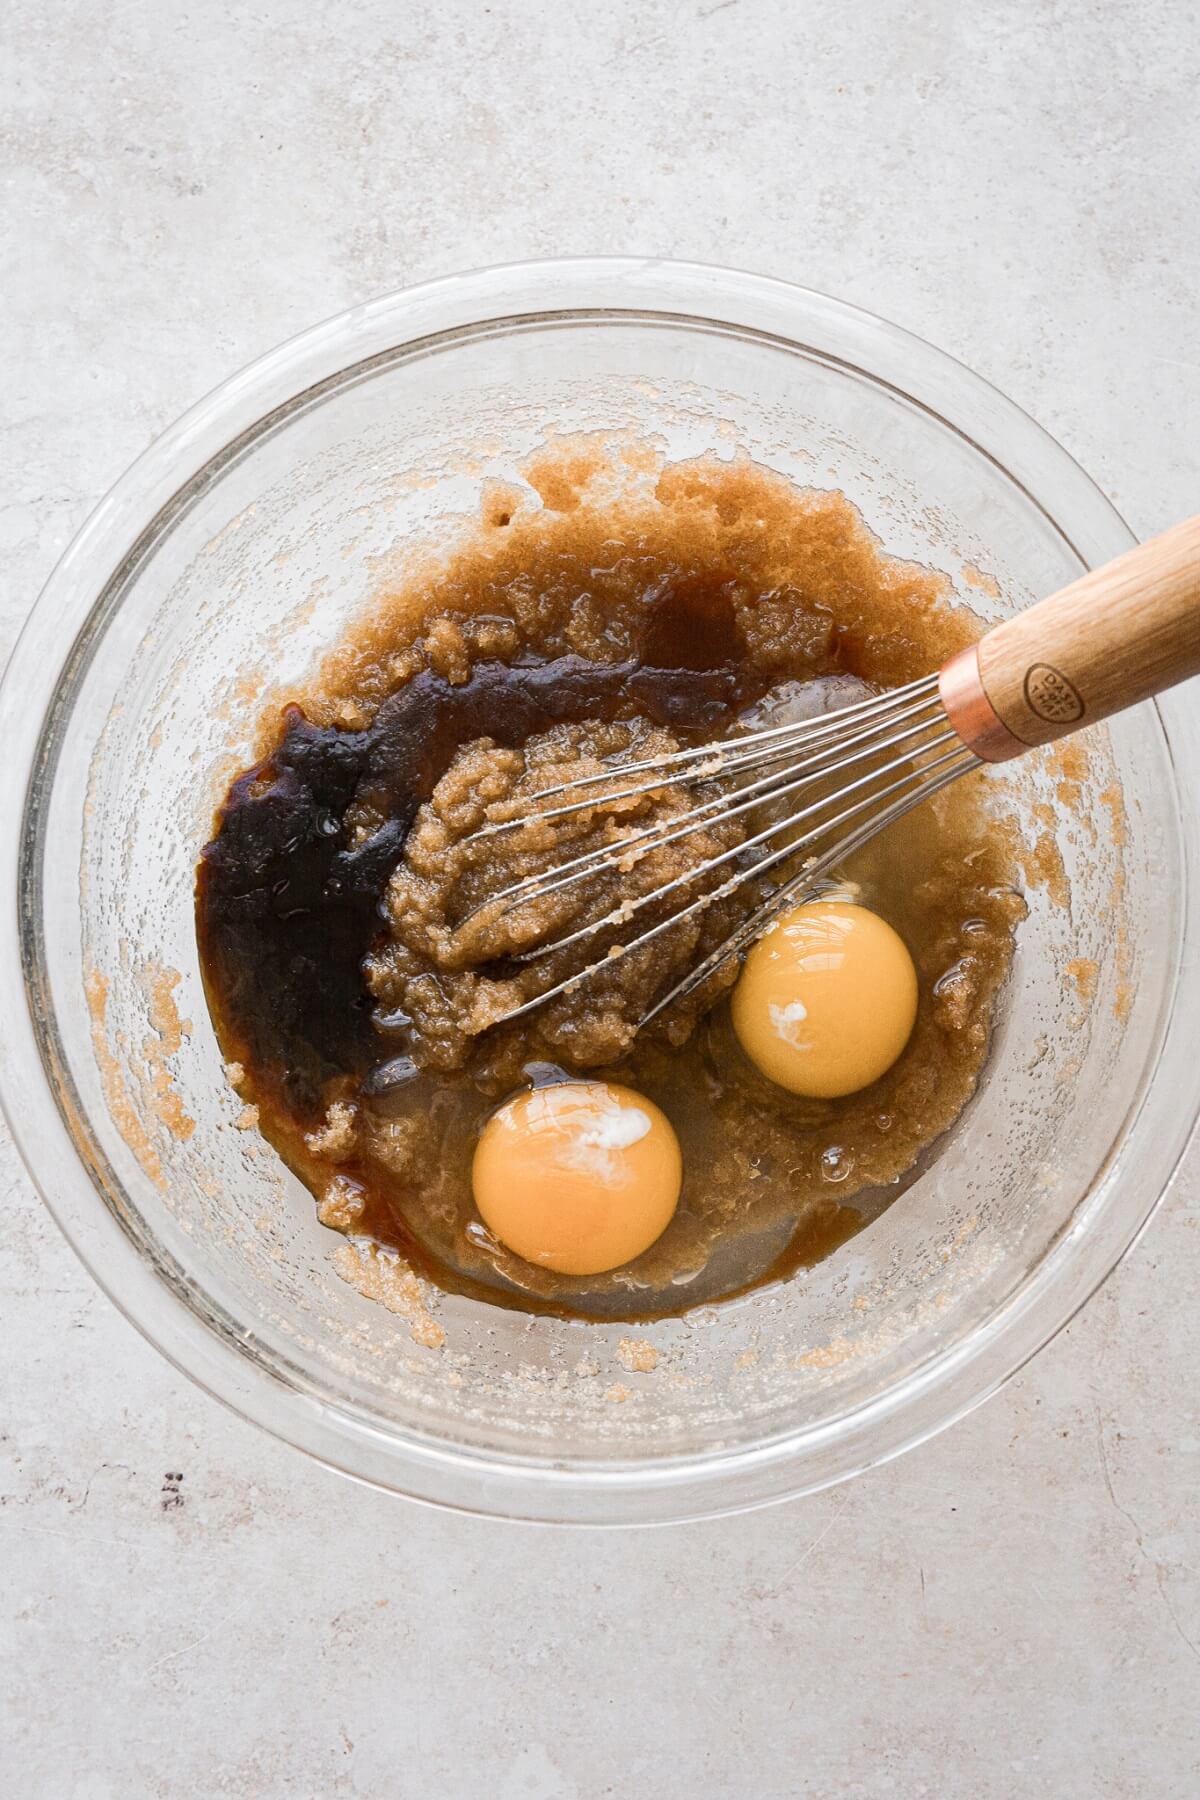
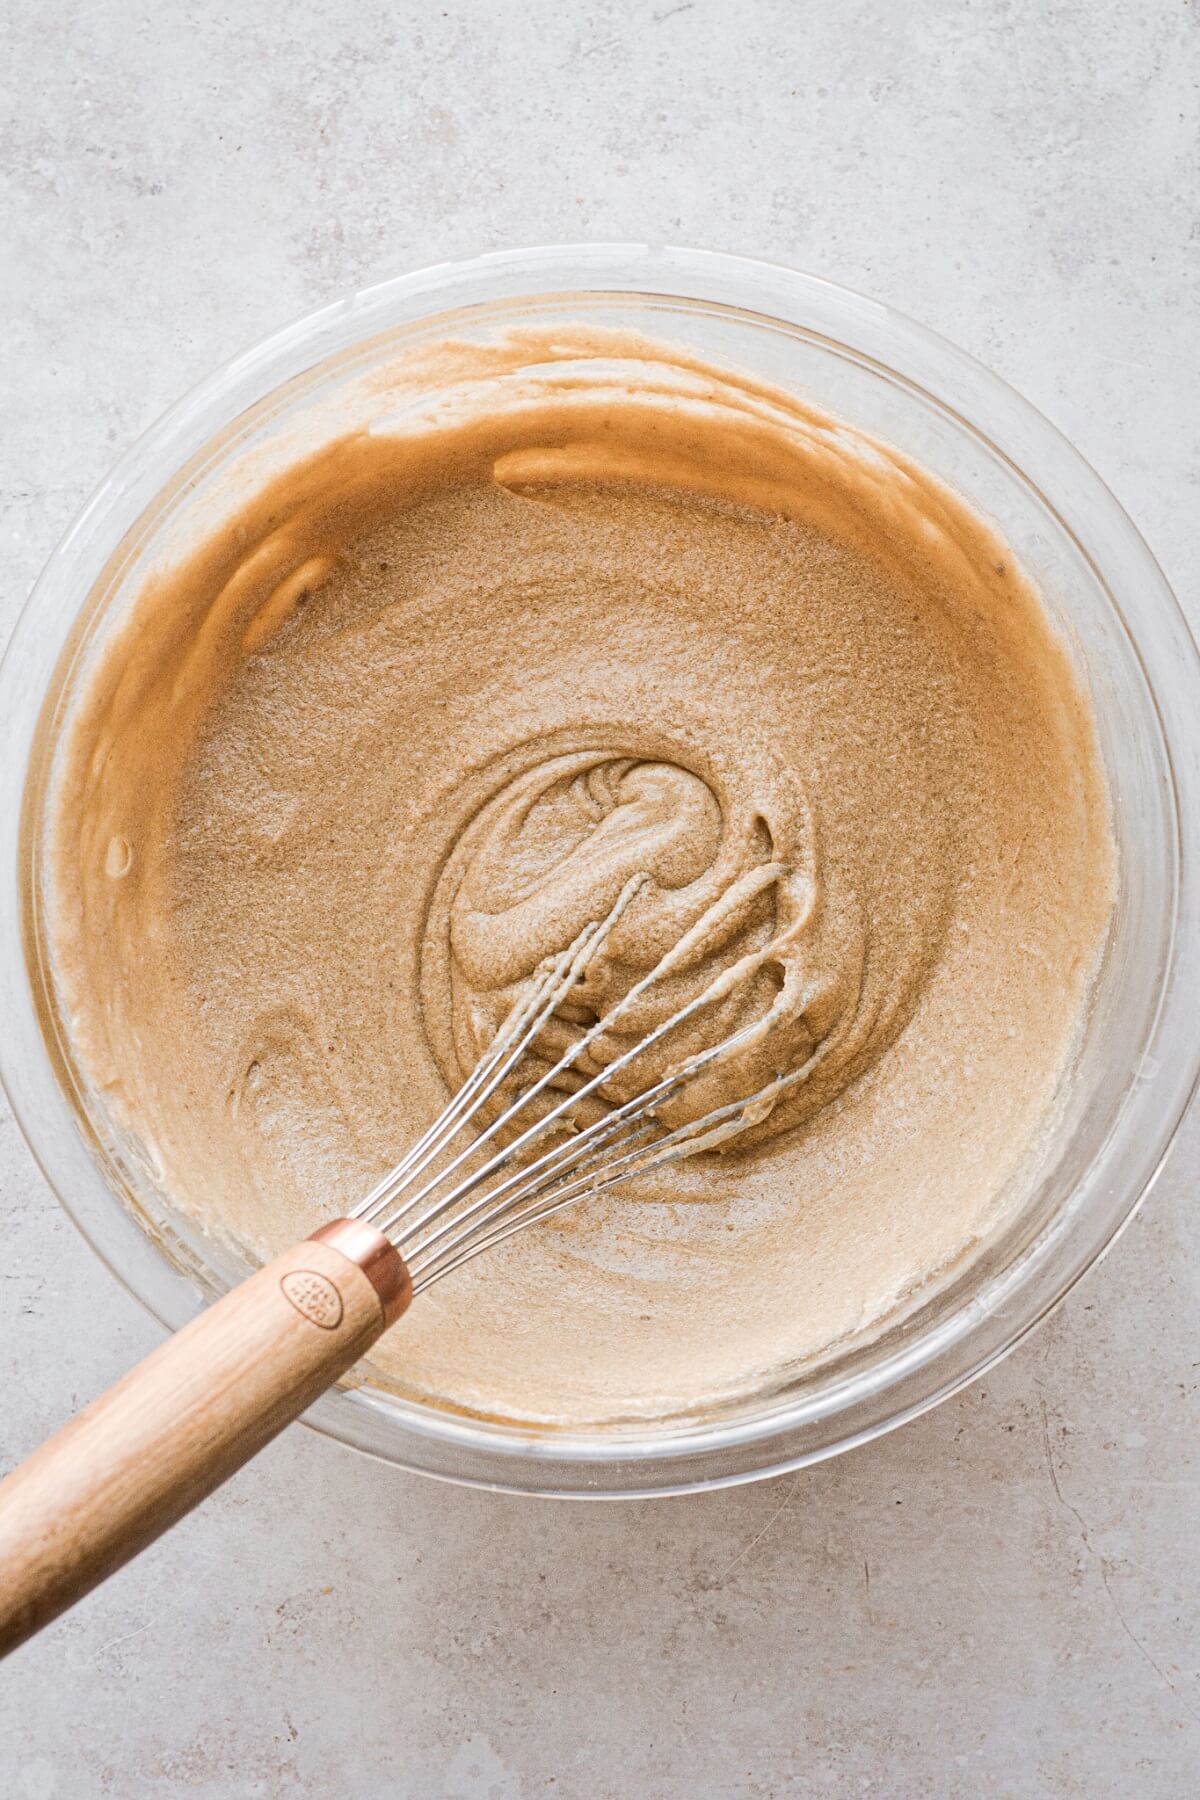
- Add the eggs, vanilla and molasses, and whisk vigorously for 1 minute, until lightened in color.
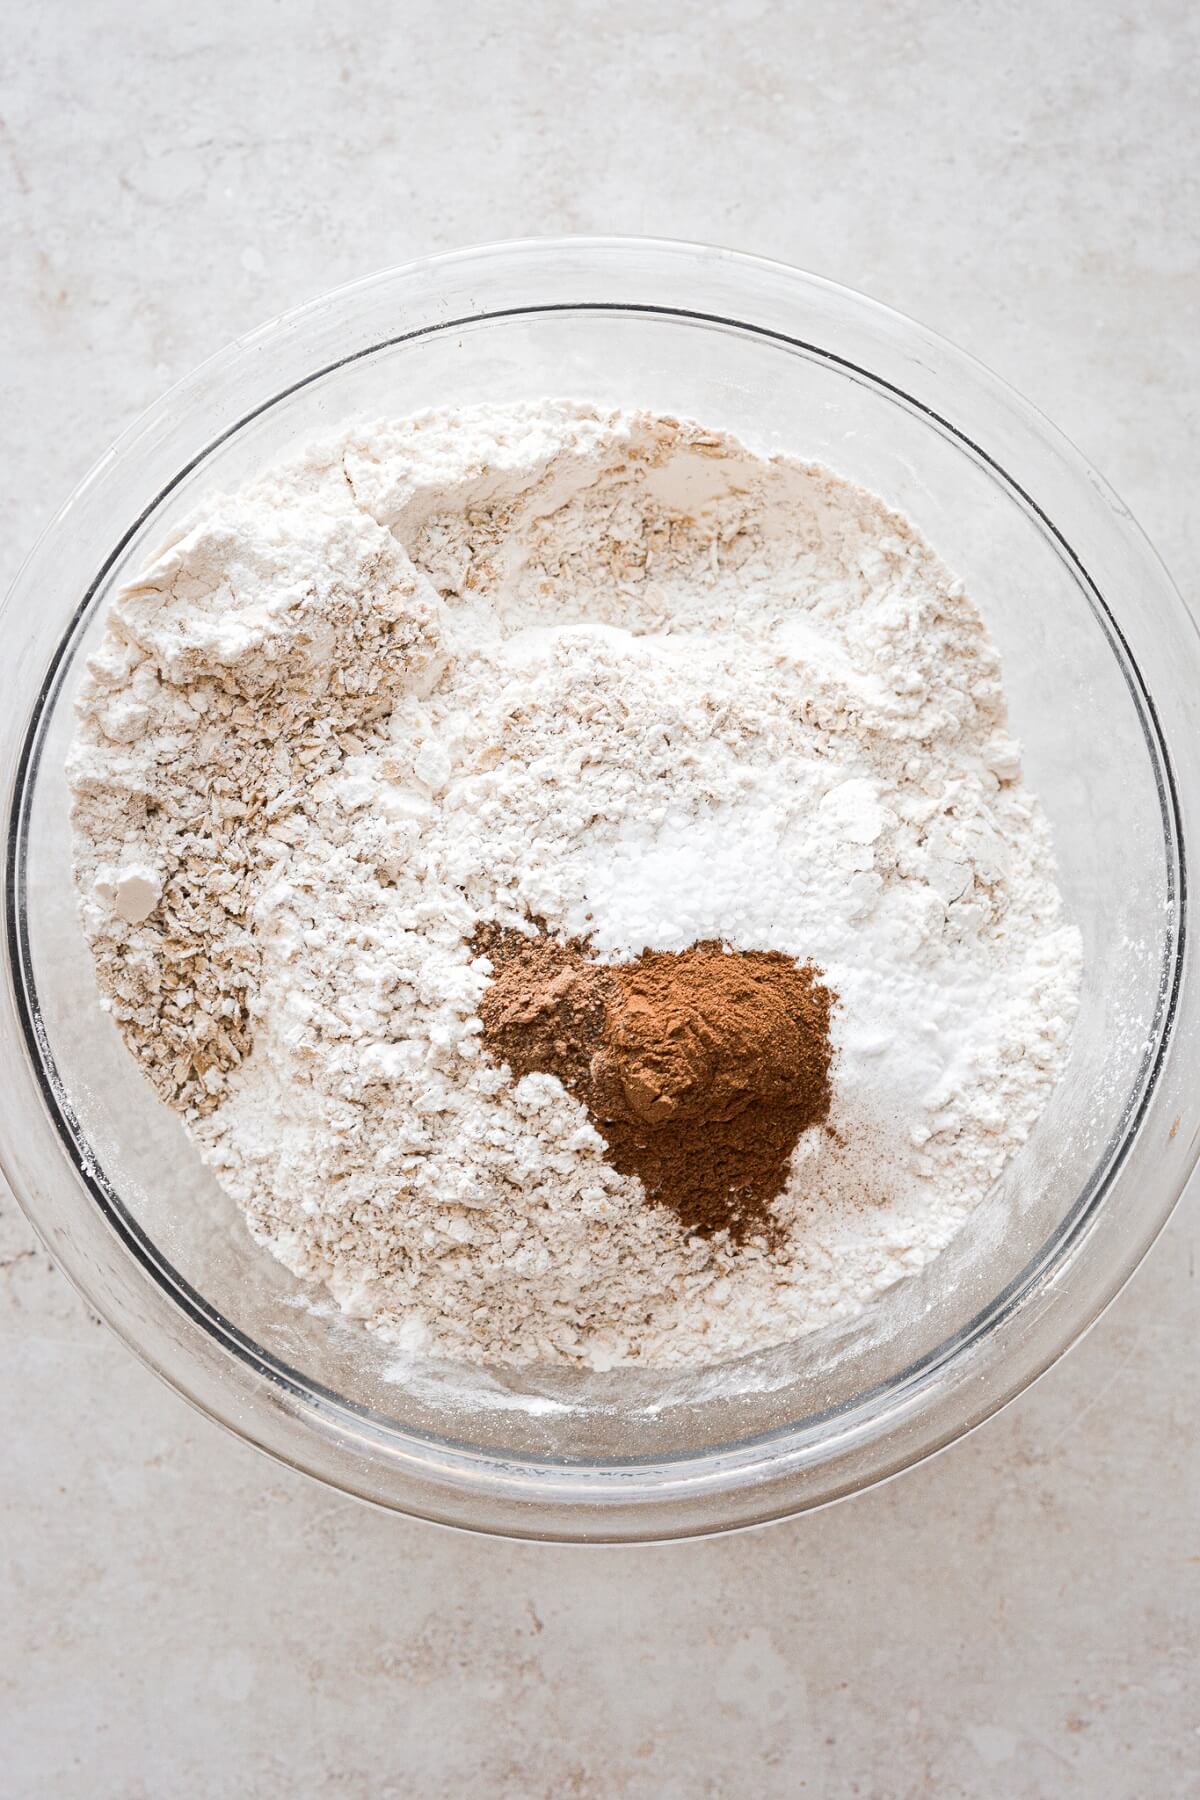
- With a small food processor or Ninja, pulse the oats until they are finely ground. In a bowl, combine the ground oats with the flour, salt, baking soda, cinnamon and nutmeg.
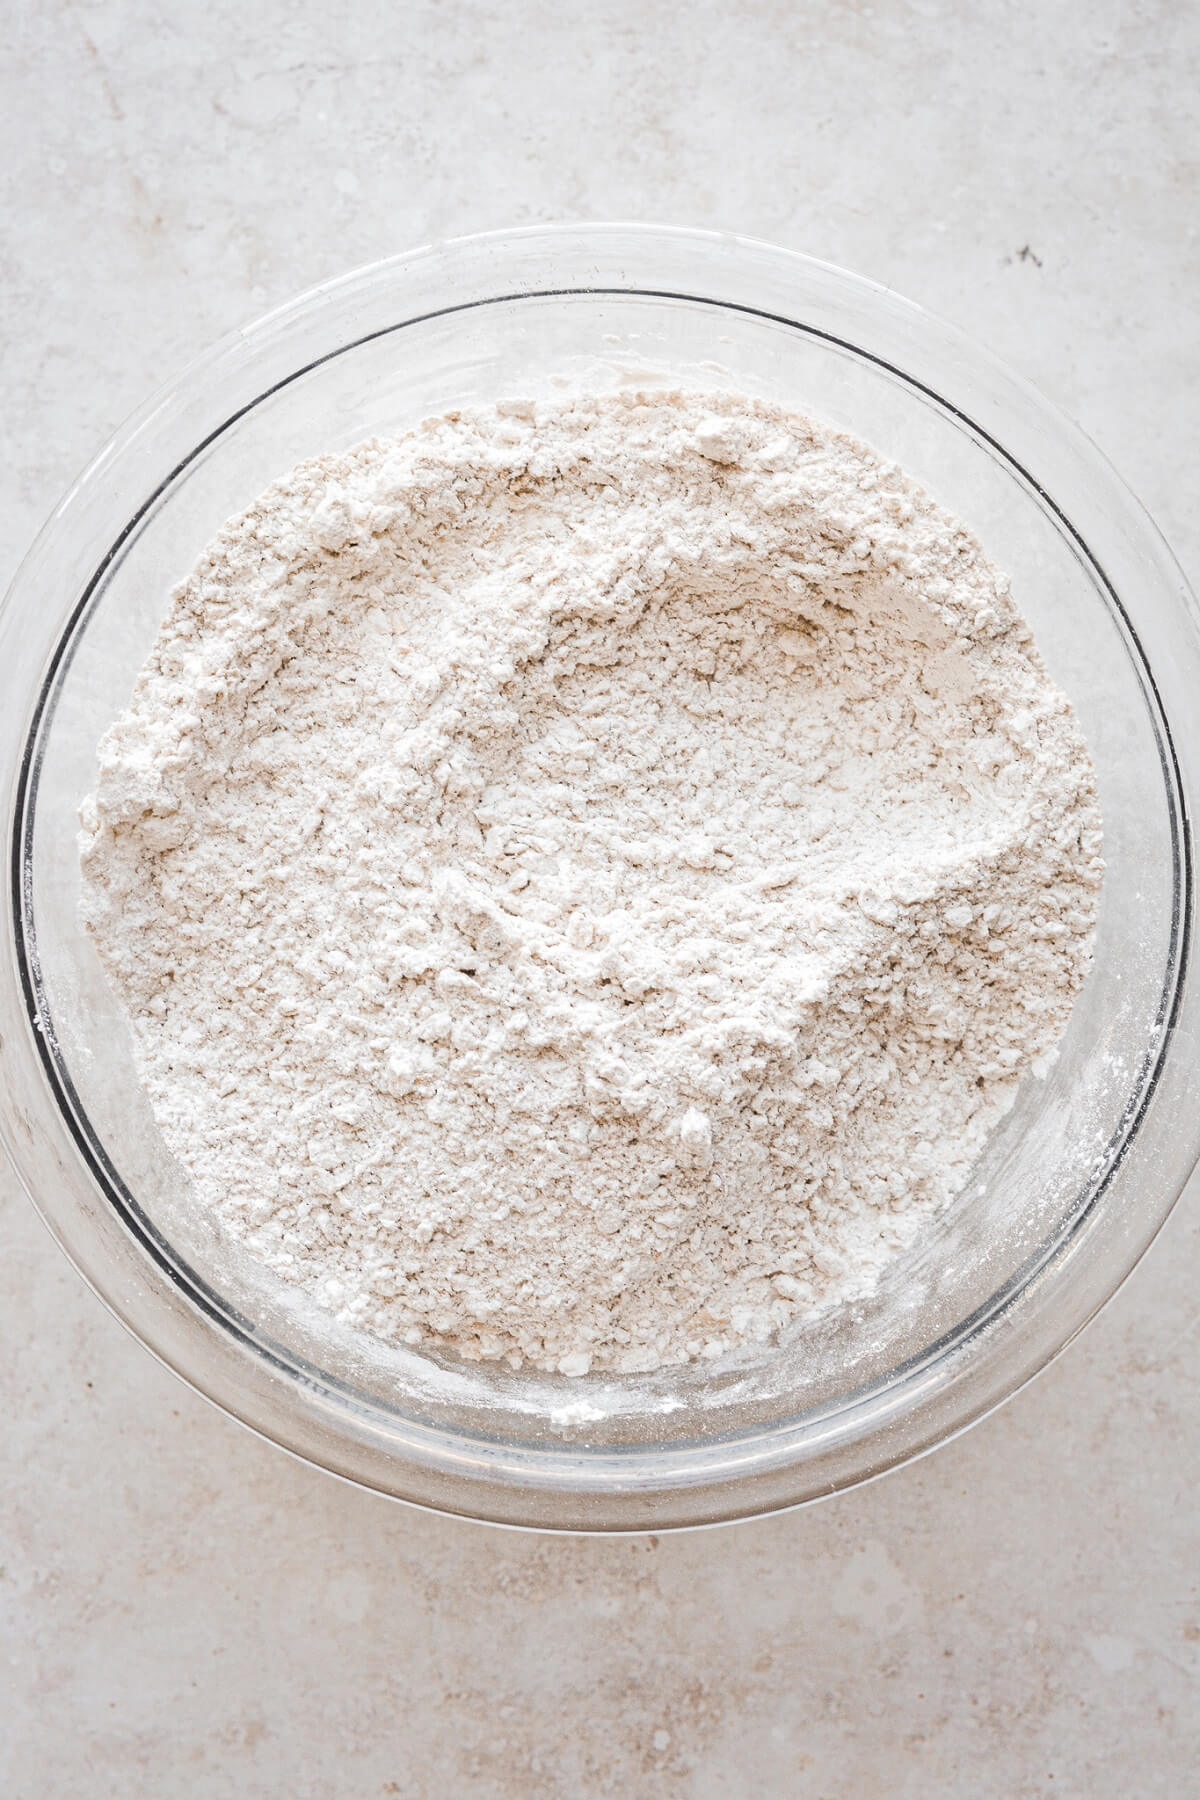
- Add the dry ingredients to the wet ingredients, and stir together into a dough.
- Use a medium-sized cookie scoop with a release lever (about 1 1/2 tablespoons) to scoop the dough into 36 portions, dropping the dough balls onto a baking sheet lined with wax paper or parchment paper. Don’t roll the dough balls smooth with your hands – you want the surface to be a little rough and craggy. Just ever so slightly flatten the tops of the dough balls with your hand.
- Cover the dough with plastic wrap, and refrigerate for 35 minutes.
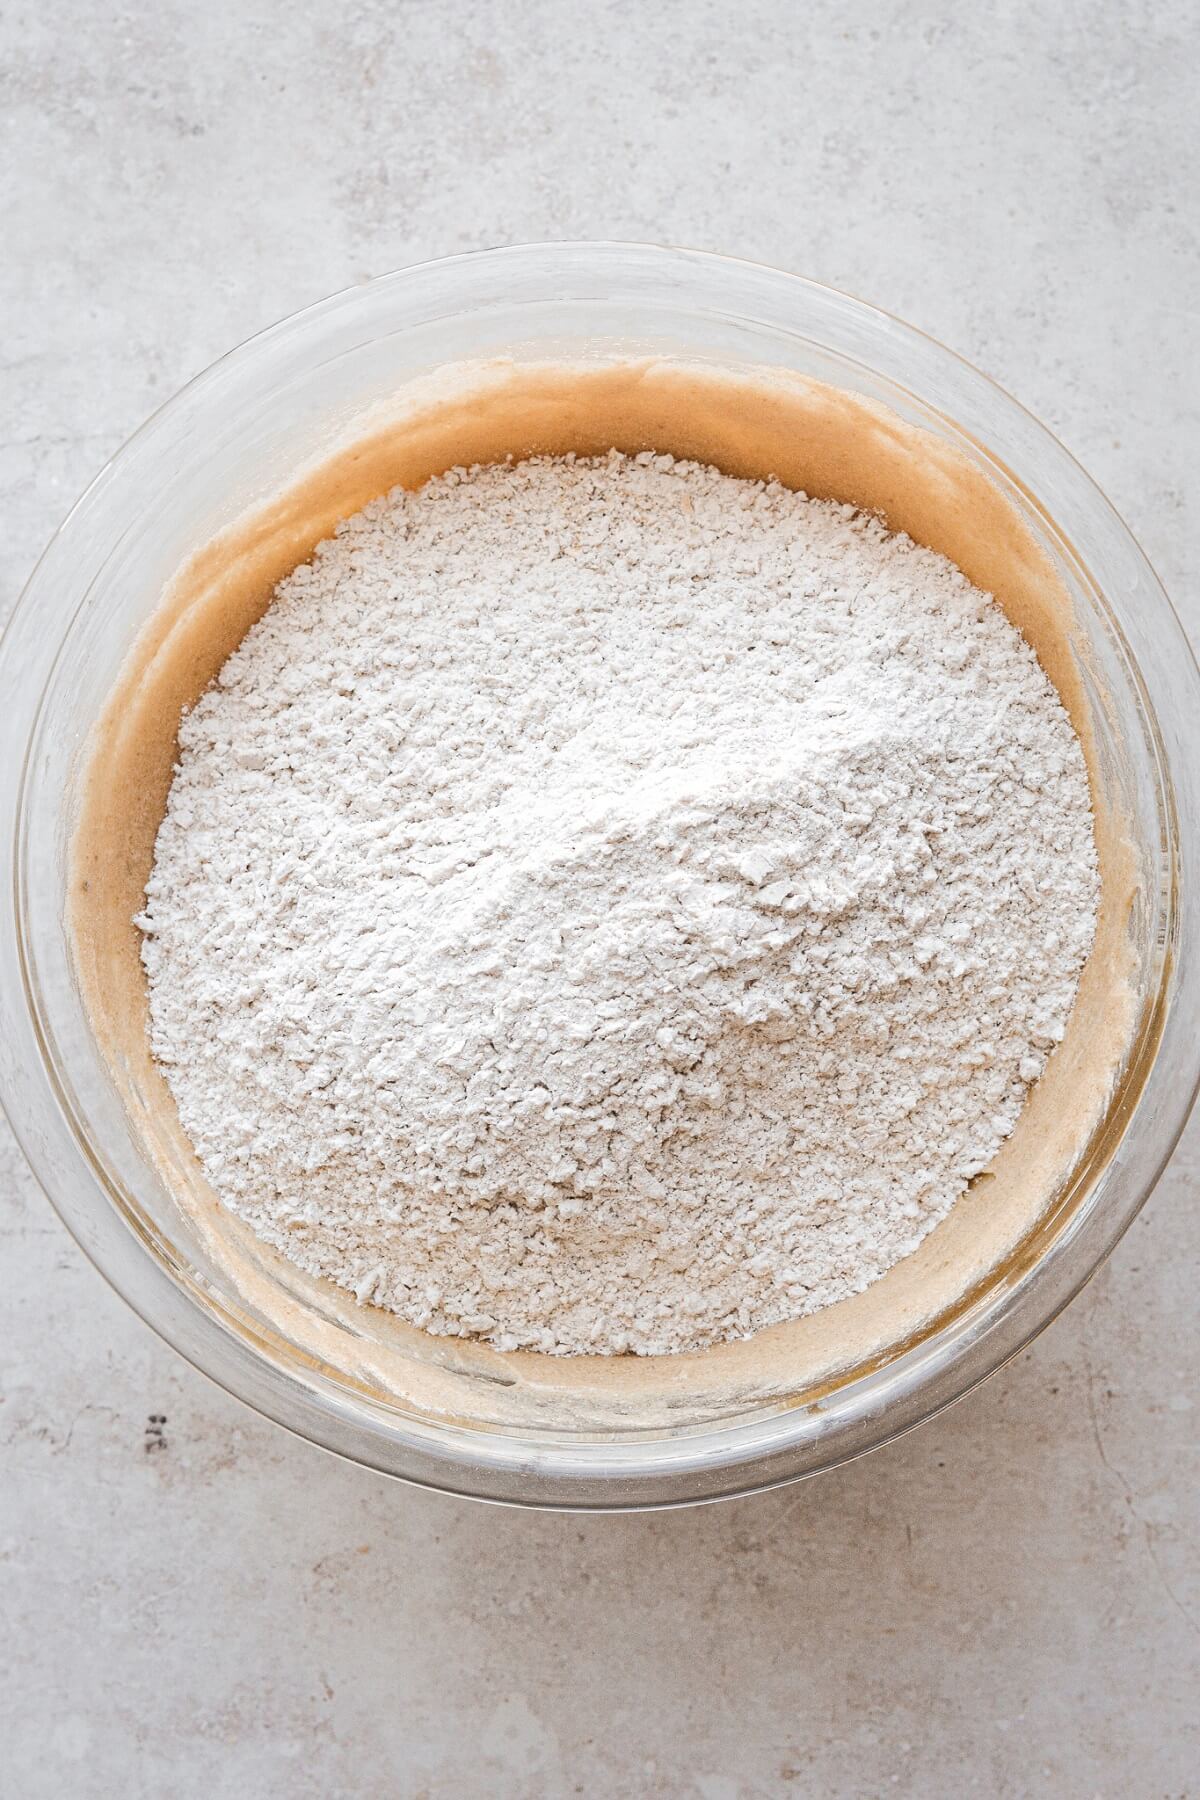
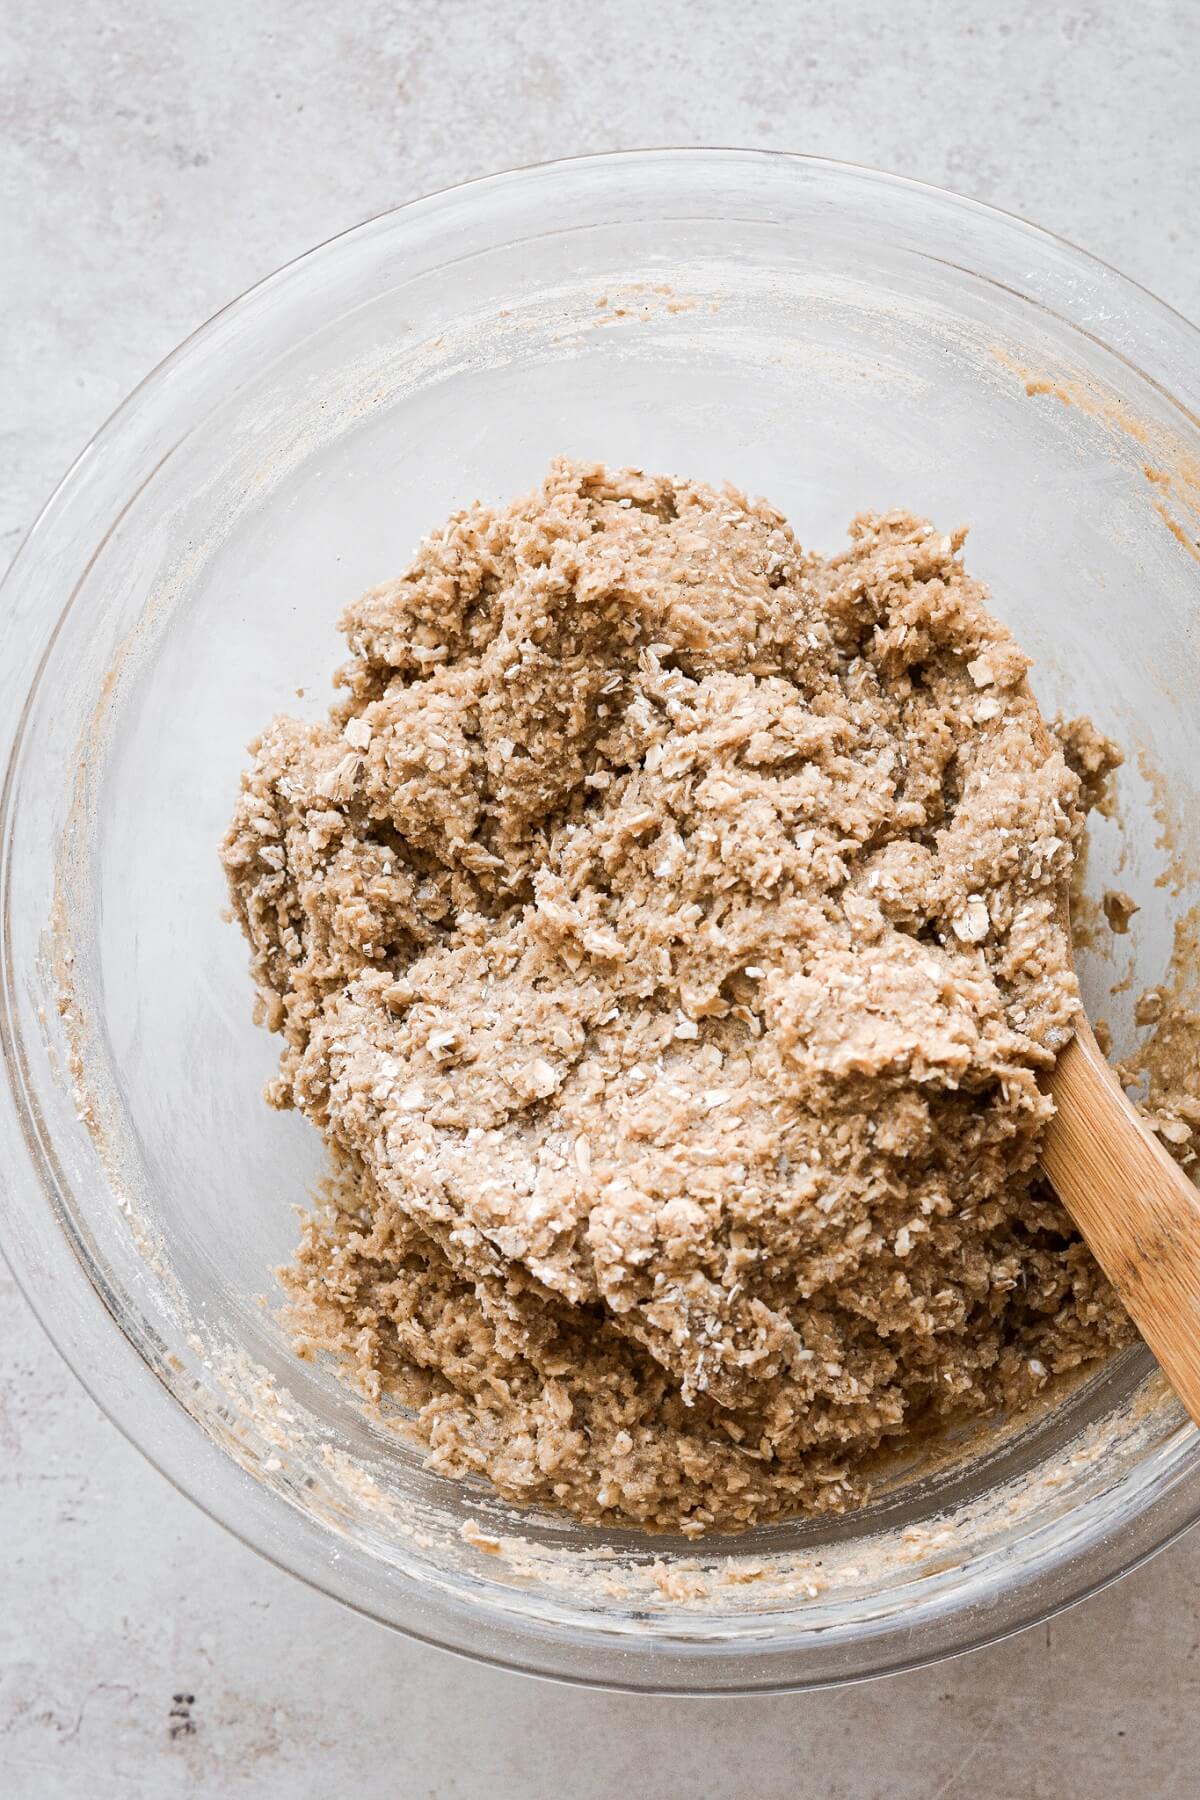
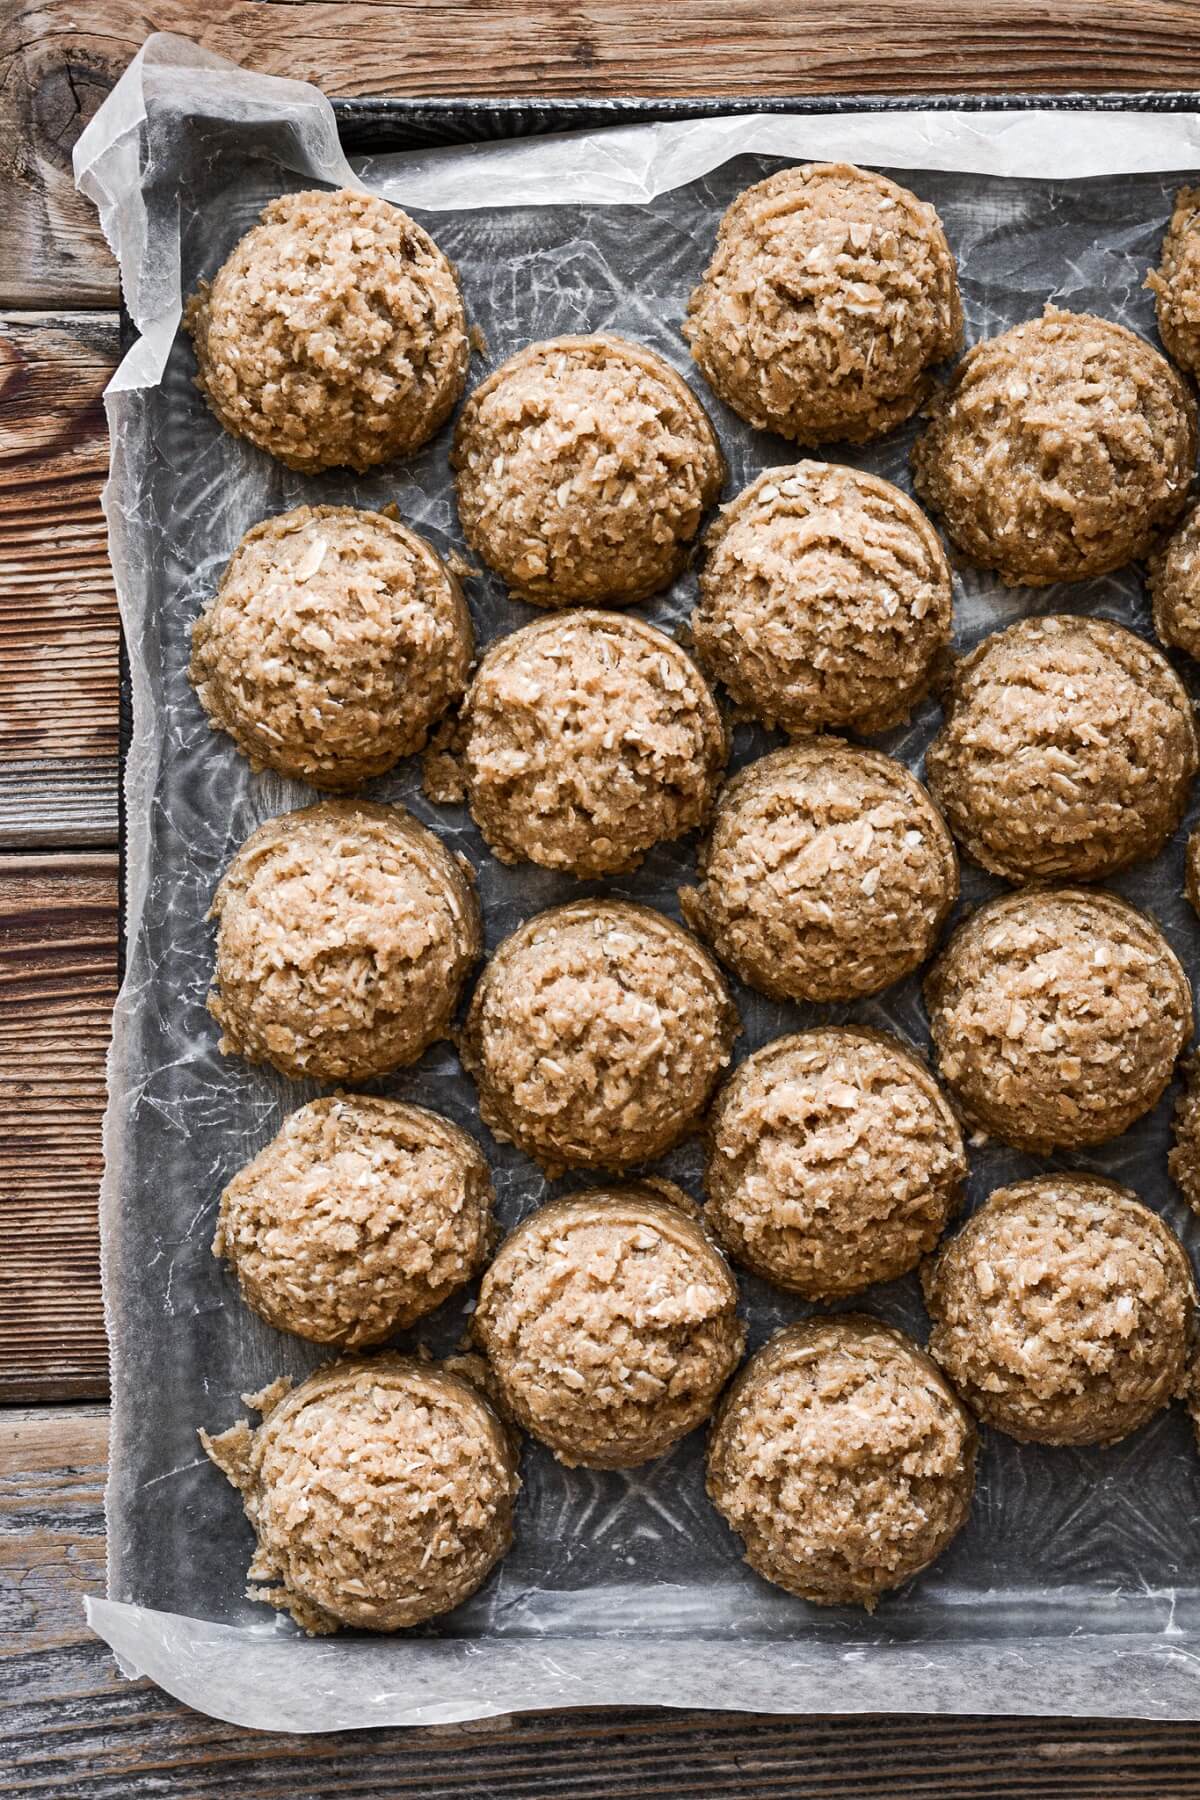
Bake the cookies.
- Preheat the oven to 350 F, and position a rack in the center of the oven. Line a large baking sheet with parchment paper.
- Place the chilled dough balls 3 inches apart on the baking sheet (refrigerating the rest of the dough balls until ready to bake them). Bake the cookies for 9 minutes, just until barely set in the middle.
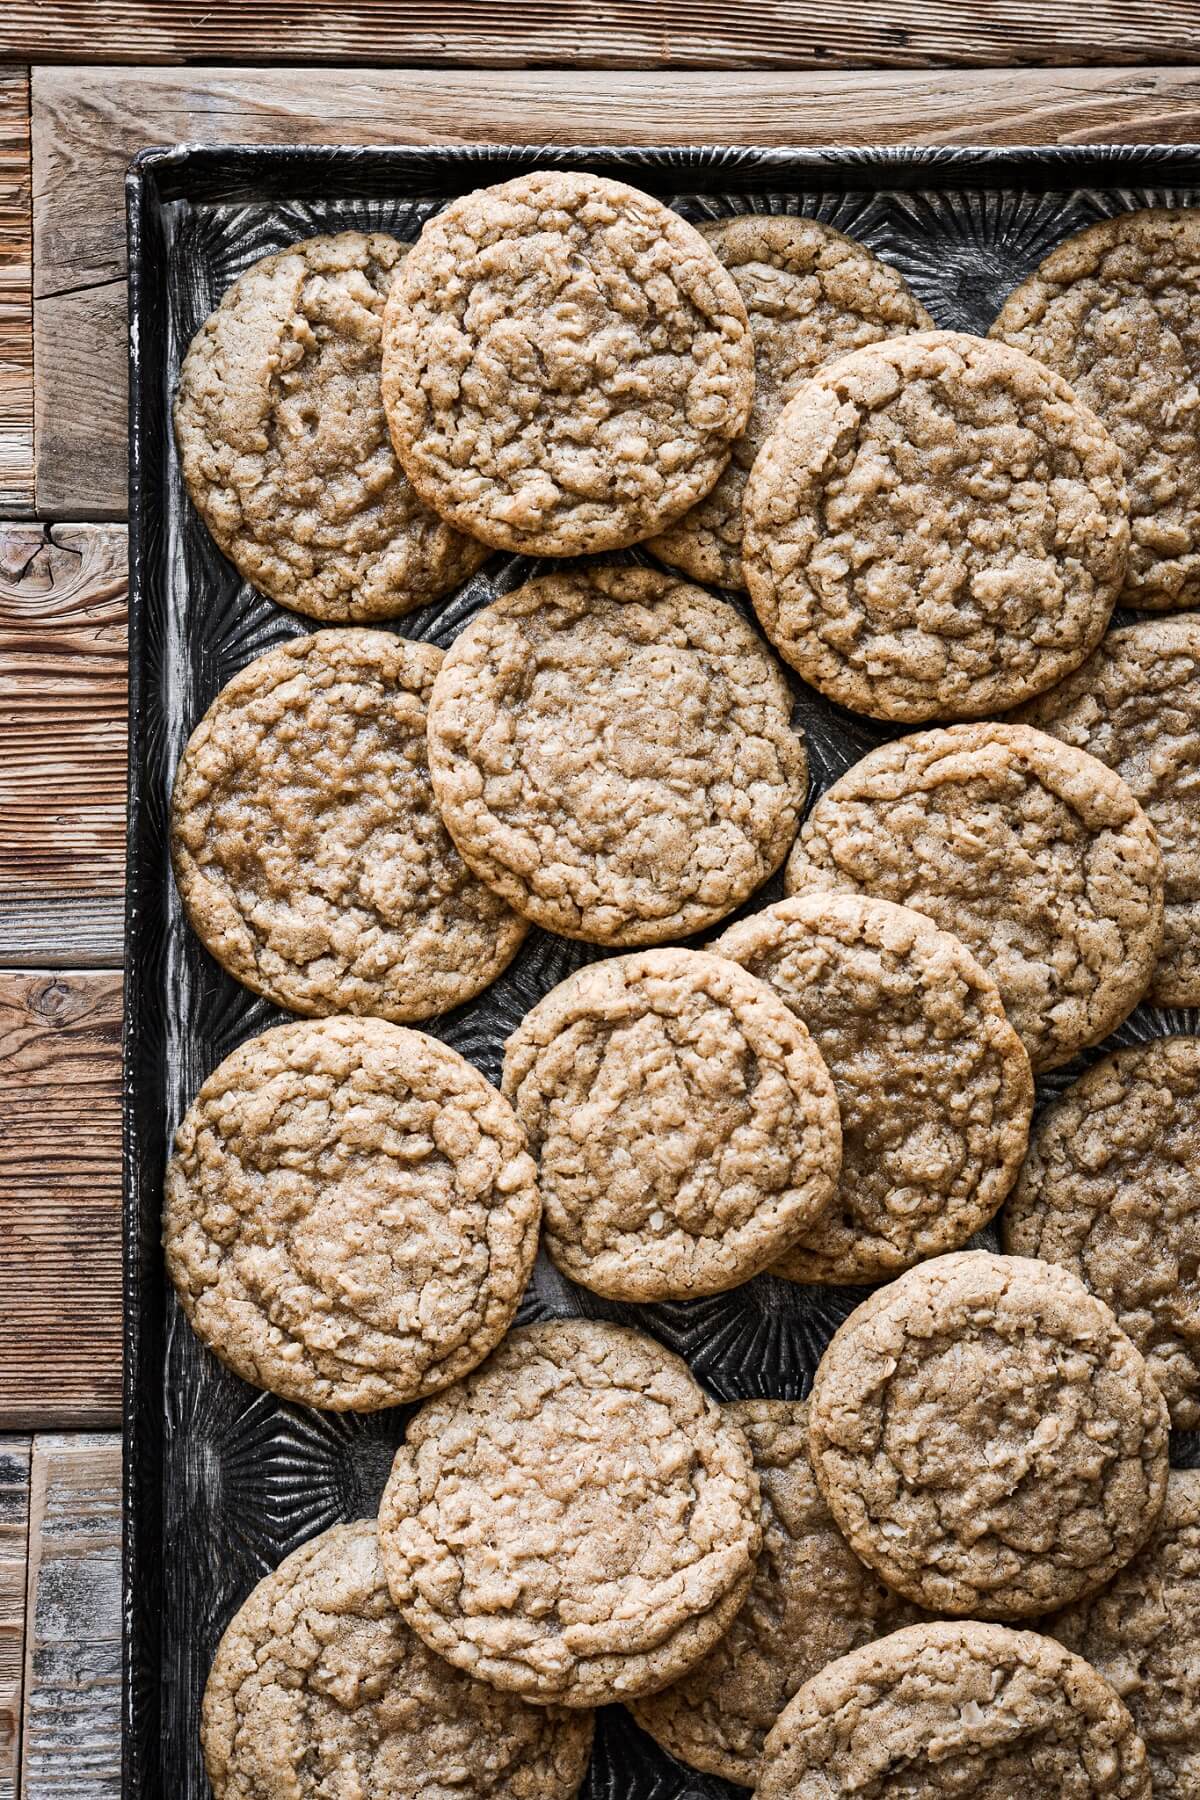
- When you take the pan out of the oven, use a round cookie cutter (one that’s larger than the circumference of the baked cookies), and immediately “scoot” it around the hot cookies. This pulls in any uneven edges to make perfectly round and beautiful cookies.
- Cool the cookies on the baking sheet for 2-3 minutes, then transfer to a cooling rack.
- Continue baking the rest of the cookies, and let them cool completely before icing.
Dip in icing.
- In a shallow bowl, combine the powdered sugar and meringue powder.
- Add the vanilla and milk, and whisk gently until smooth, thick and drizzly.
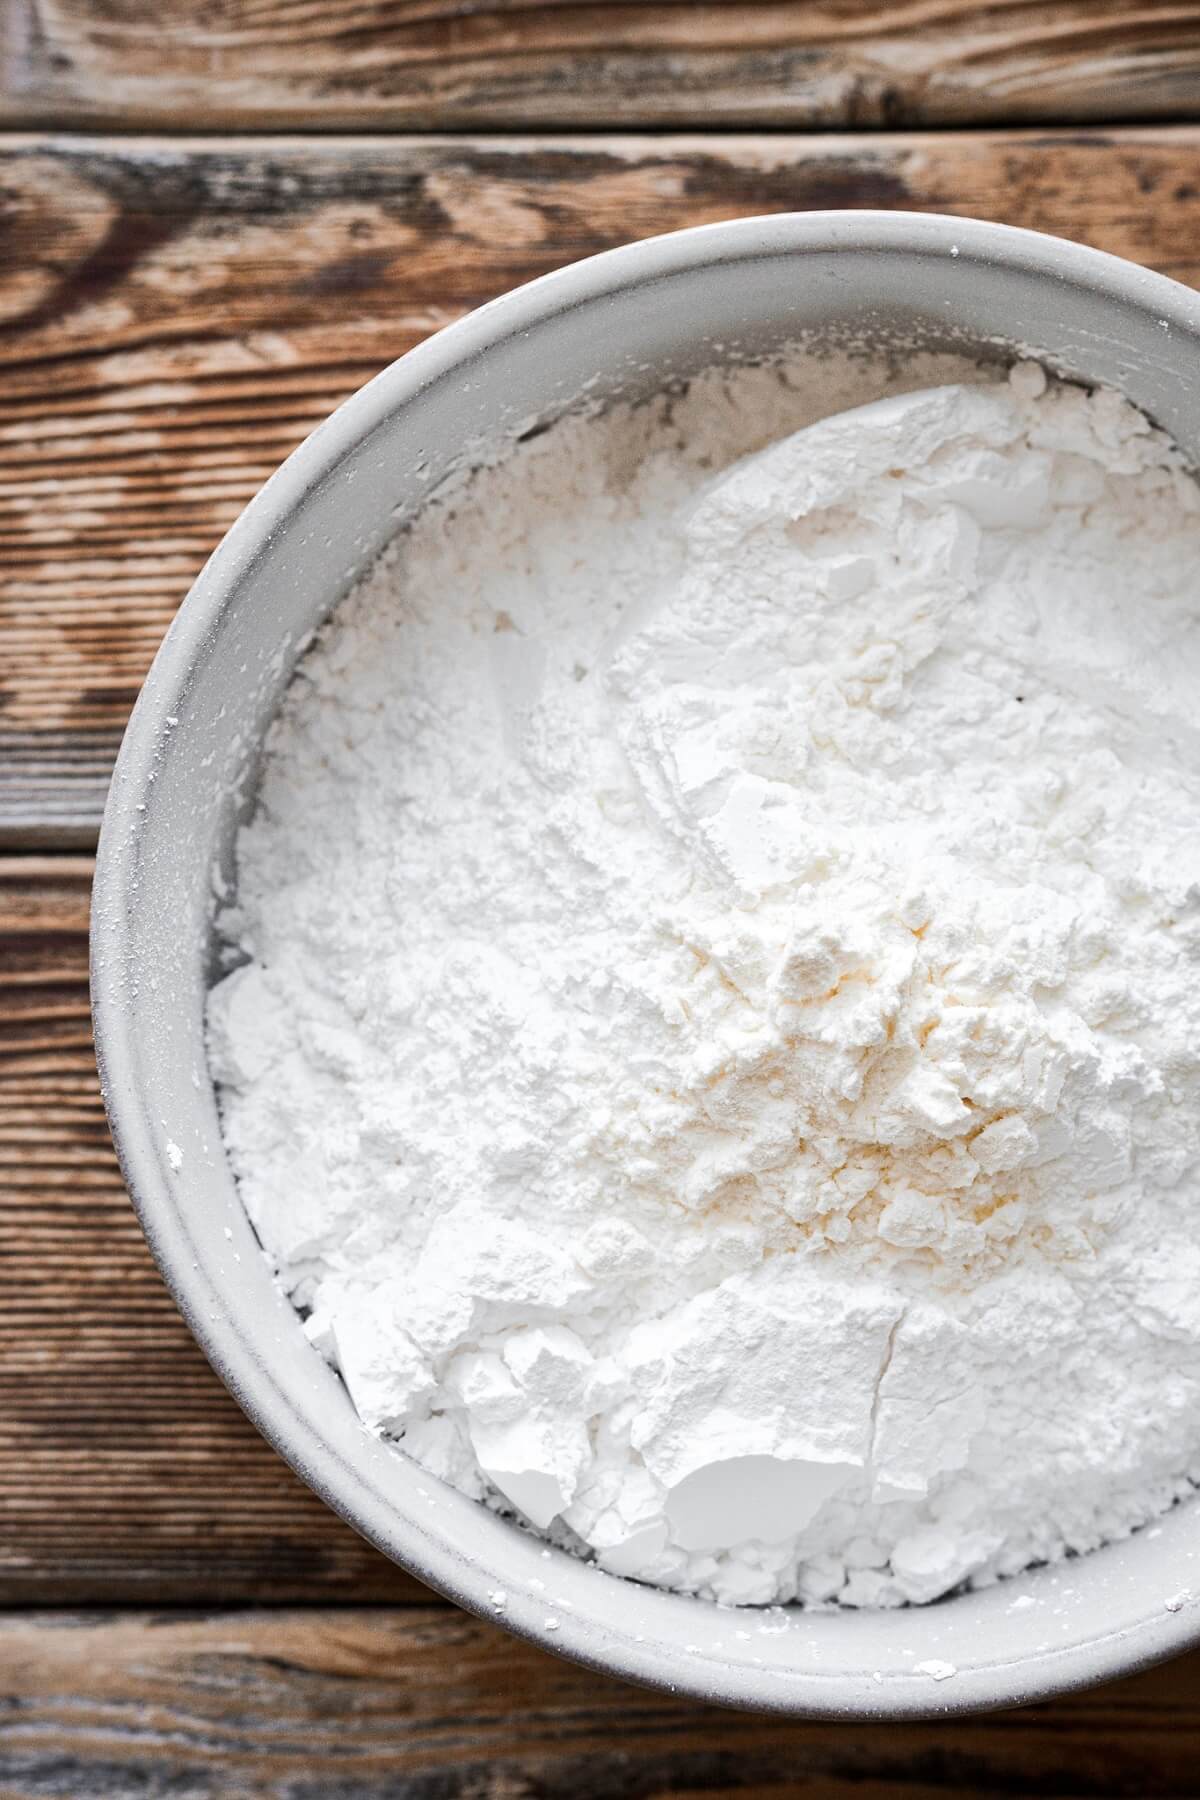
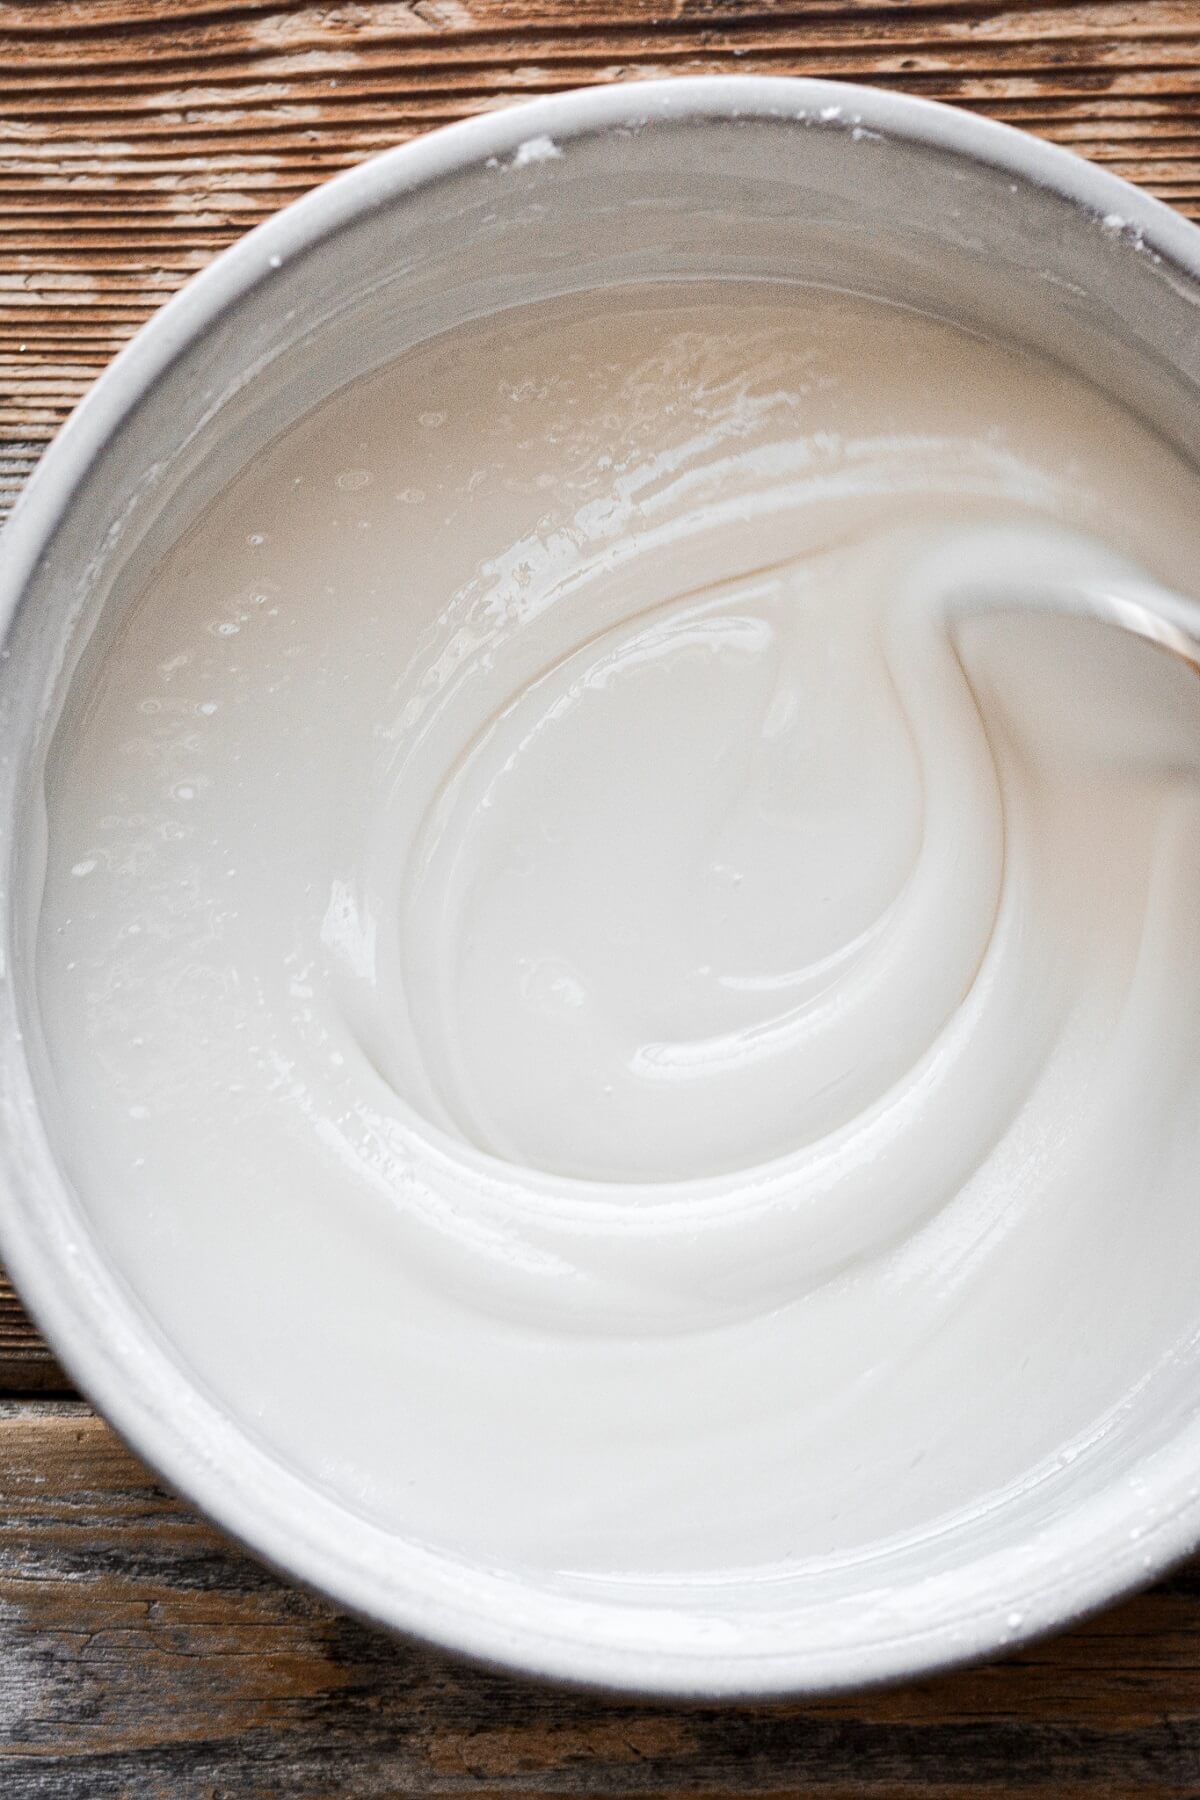
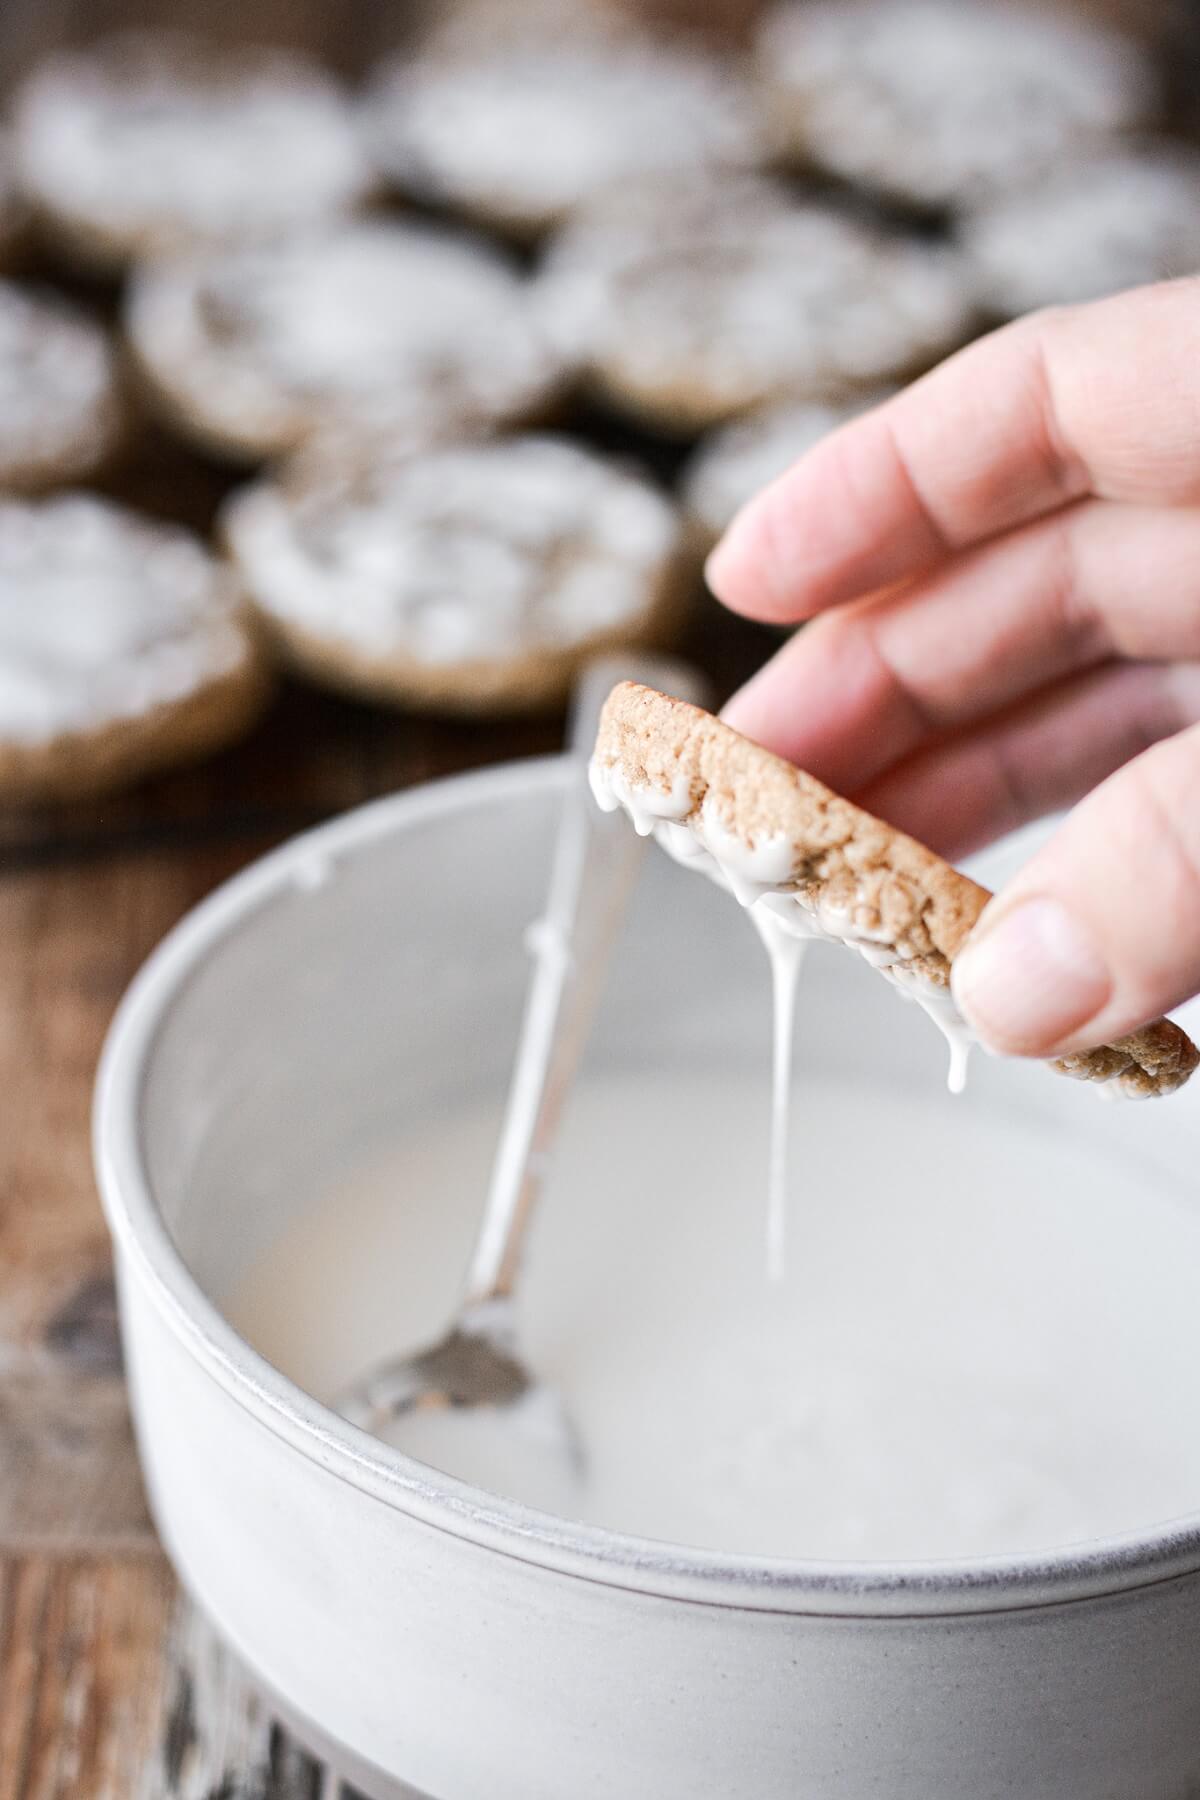
- To dip the cookies, turn a cookie over so that the top is facing down. Holding the cookie by the edges, lightly dip it in the icing, shake off the excess, and set on a baking sheet. Repeat with all the cookies.
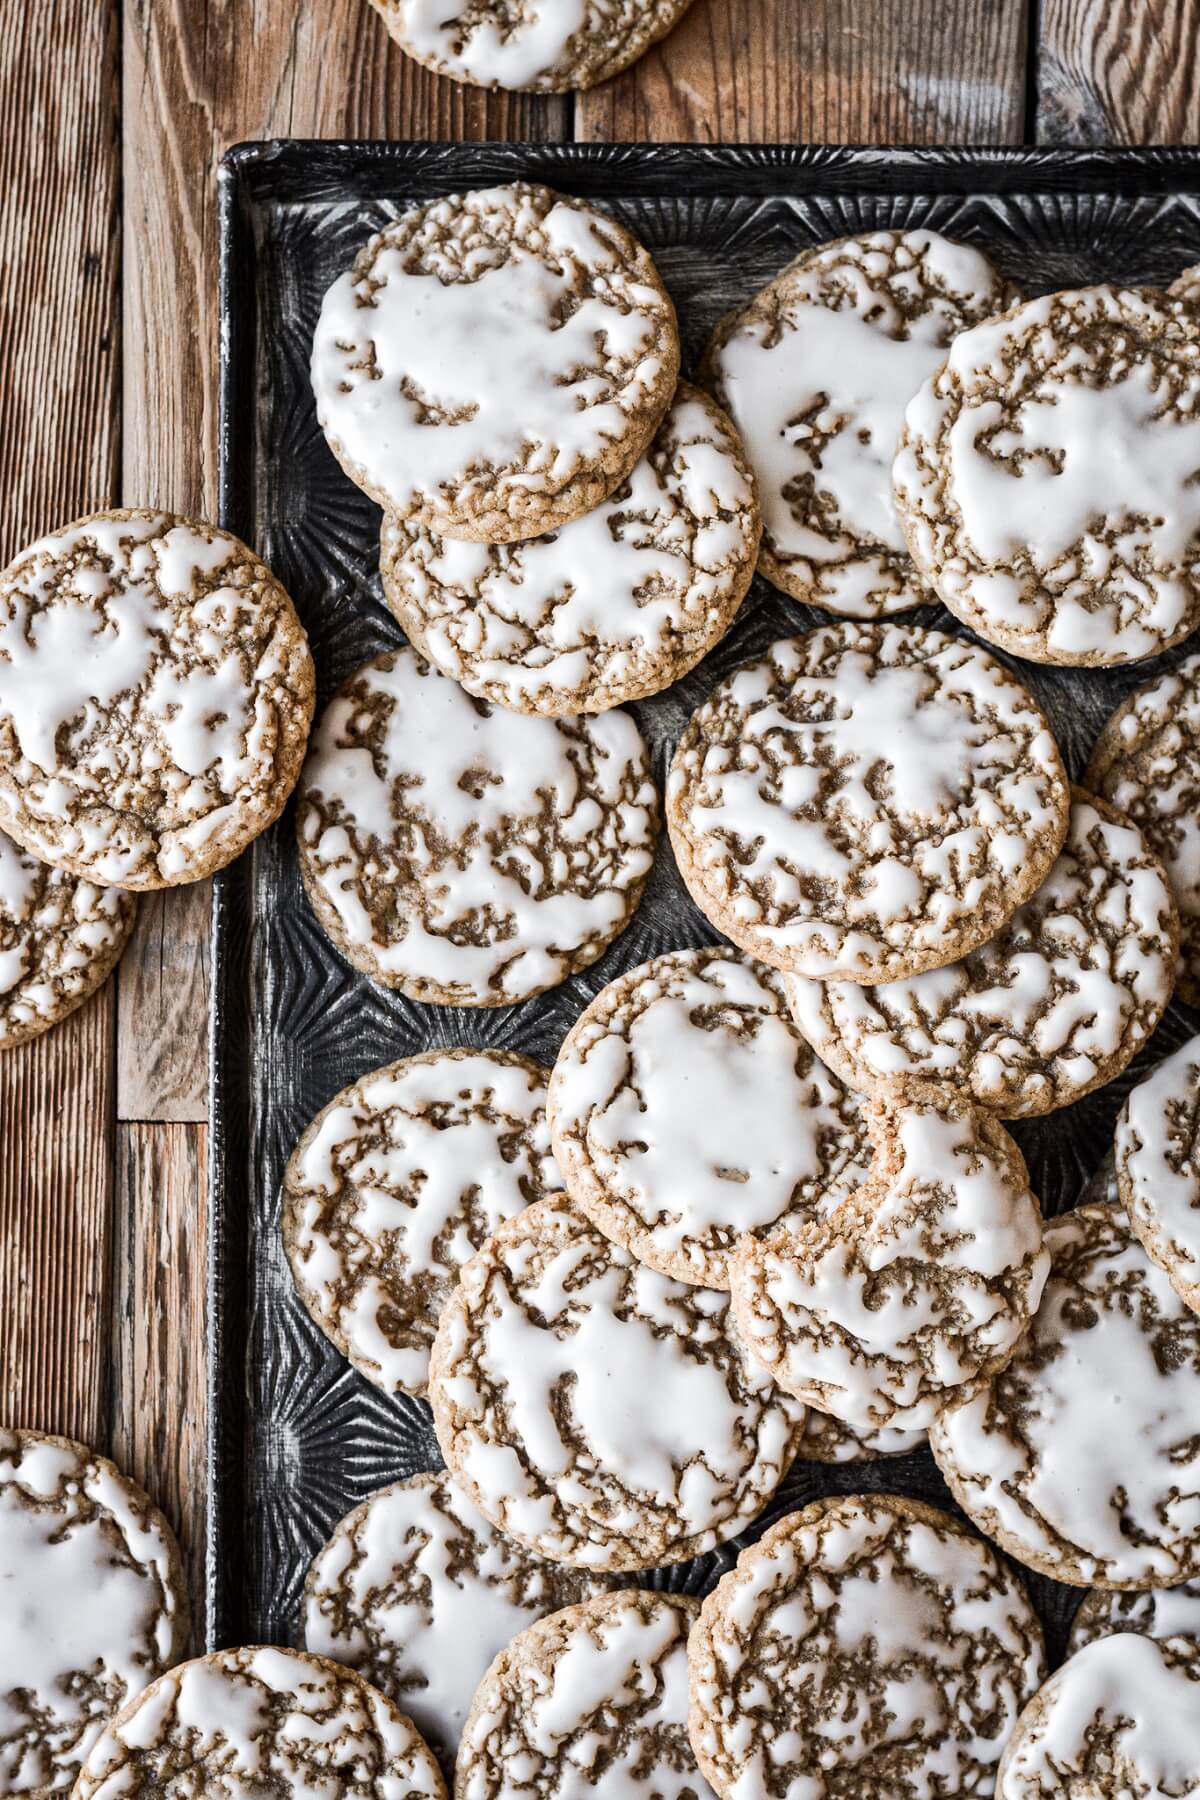
TIP: You don’t want to fully submerge the top of the cookies in the icing. Just lightly dip them so that the rough bumps and ridges on top of the cookies catch the icing, with plenty of gaps in between. This is the classic look of old fashioned iced oatmeal cookies.
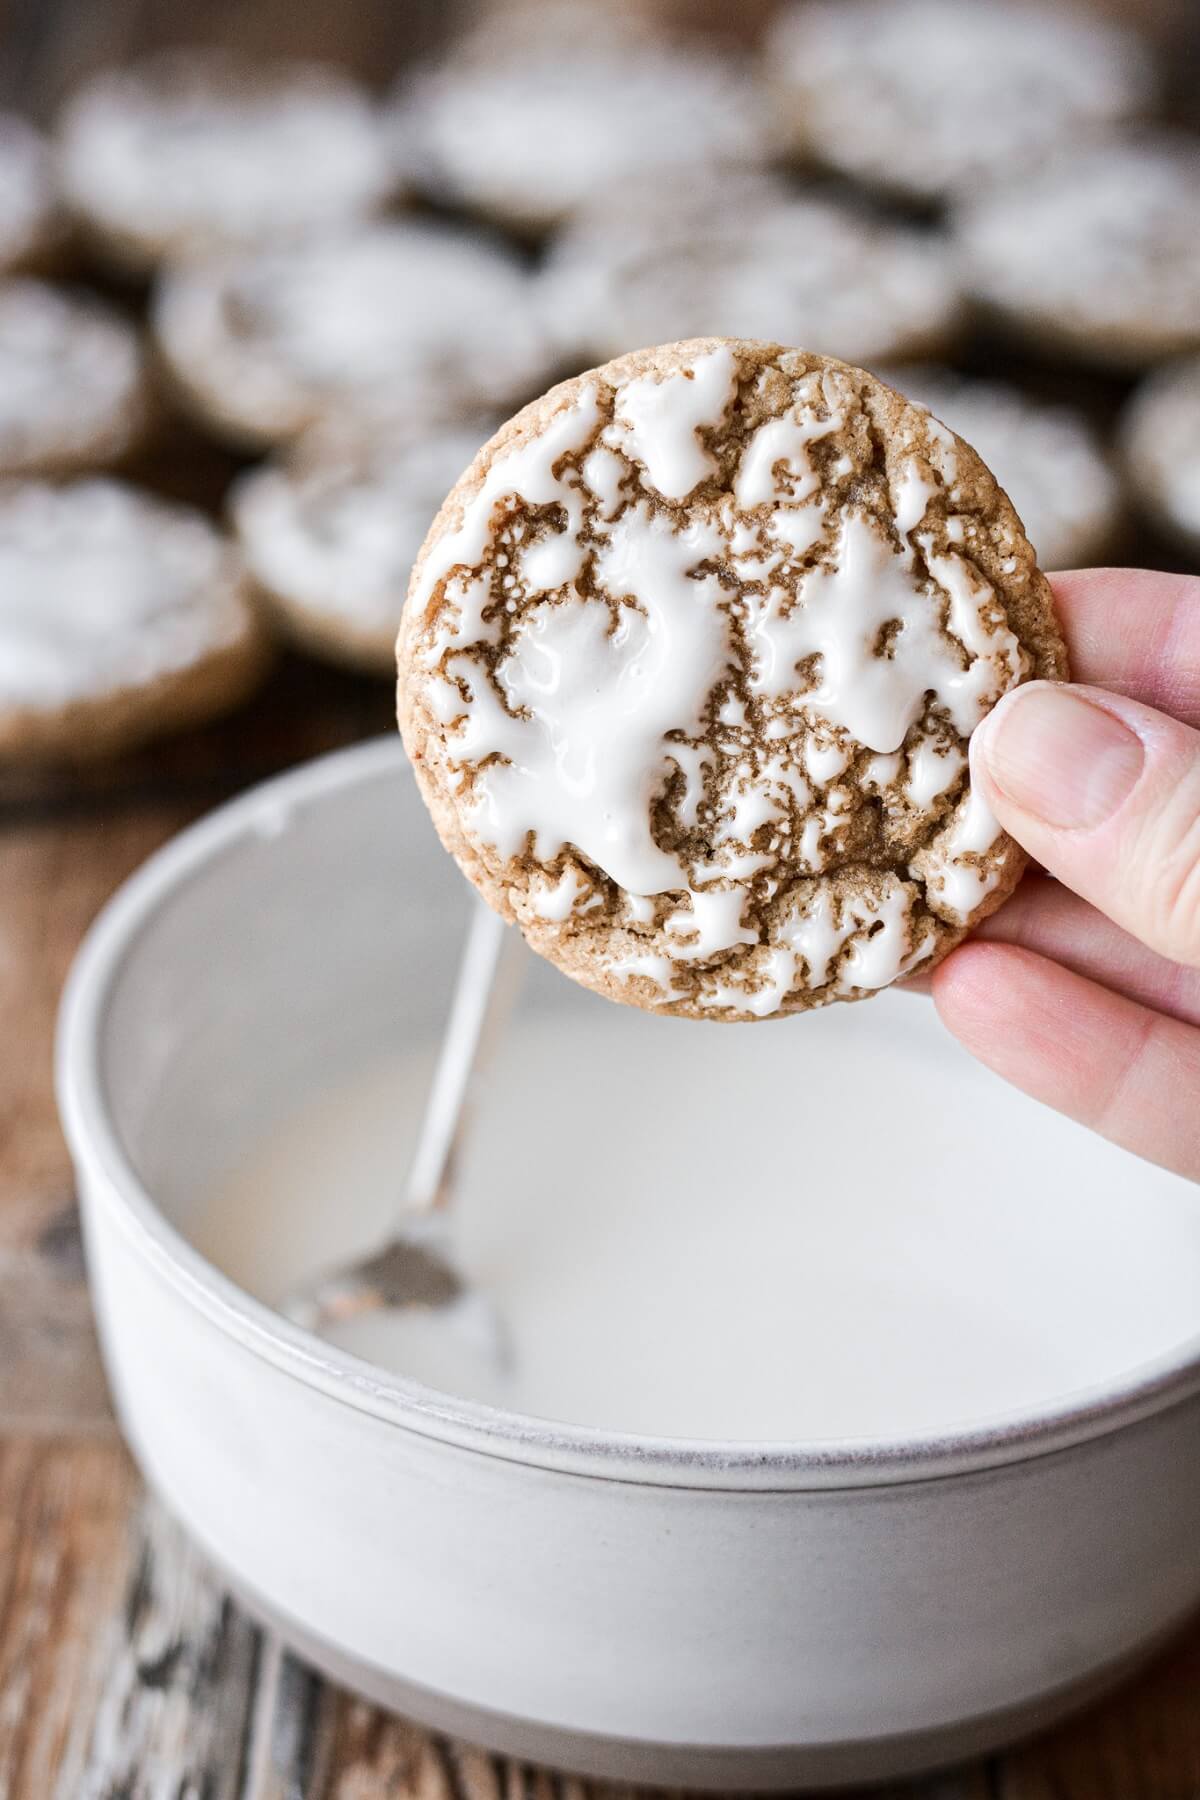
- The icing will set and dry to the touch within a few minutes, although it stays a little soft underneath the surface. Let dry for about an hour before storing the cookies in an airtight container. Separate each layer of cookies with wax paper, so that the top cookies don’t stick to the icing underneath.
Be sure to read all of my BAKING FAQs where I discuss ingredients, substitutions and common baking questions, so that you can be successful in your own baking!
Frequently Asked Questions
Does the icing dry hard or stay sticky?
The icing will stay set and dry, thanks to the addition of the meringue powder.
Can I make the icing without the meringue powder?
You can make the icing without the meringue powder, but your icing will take much longer to set, and may remain a little sticky.
How long do iced oatmeal cookies stay soft?
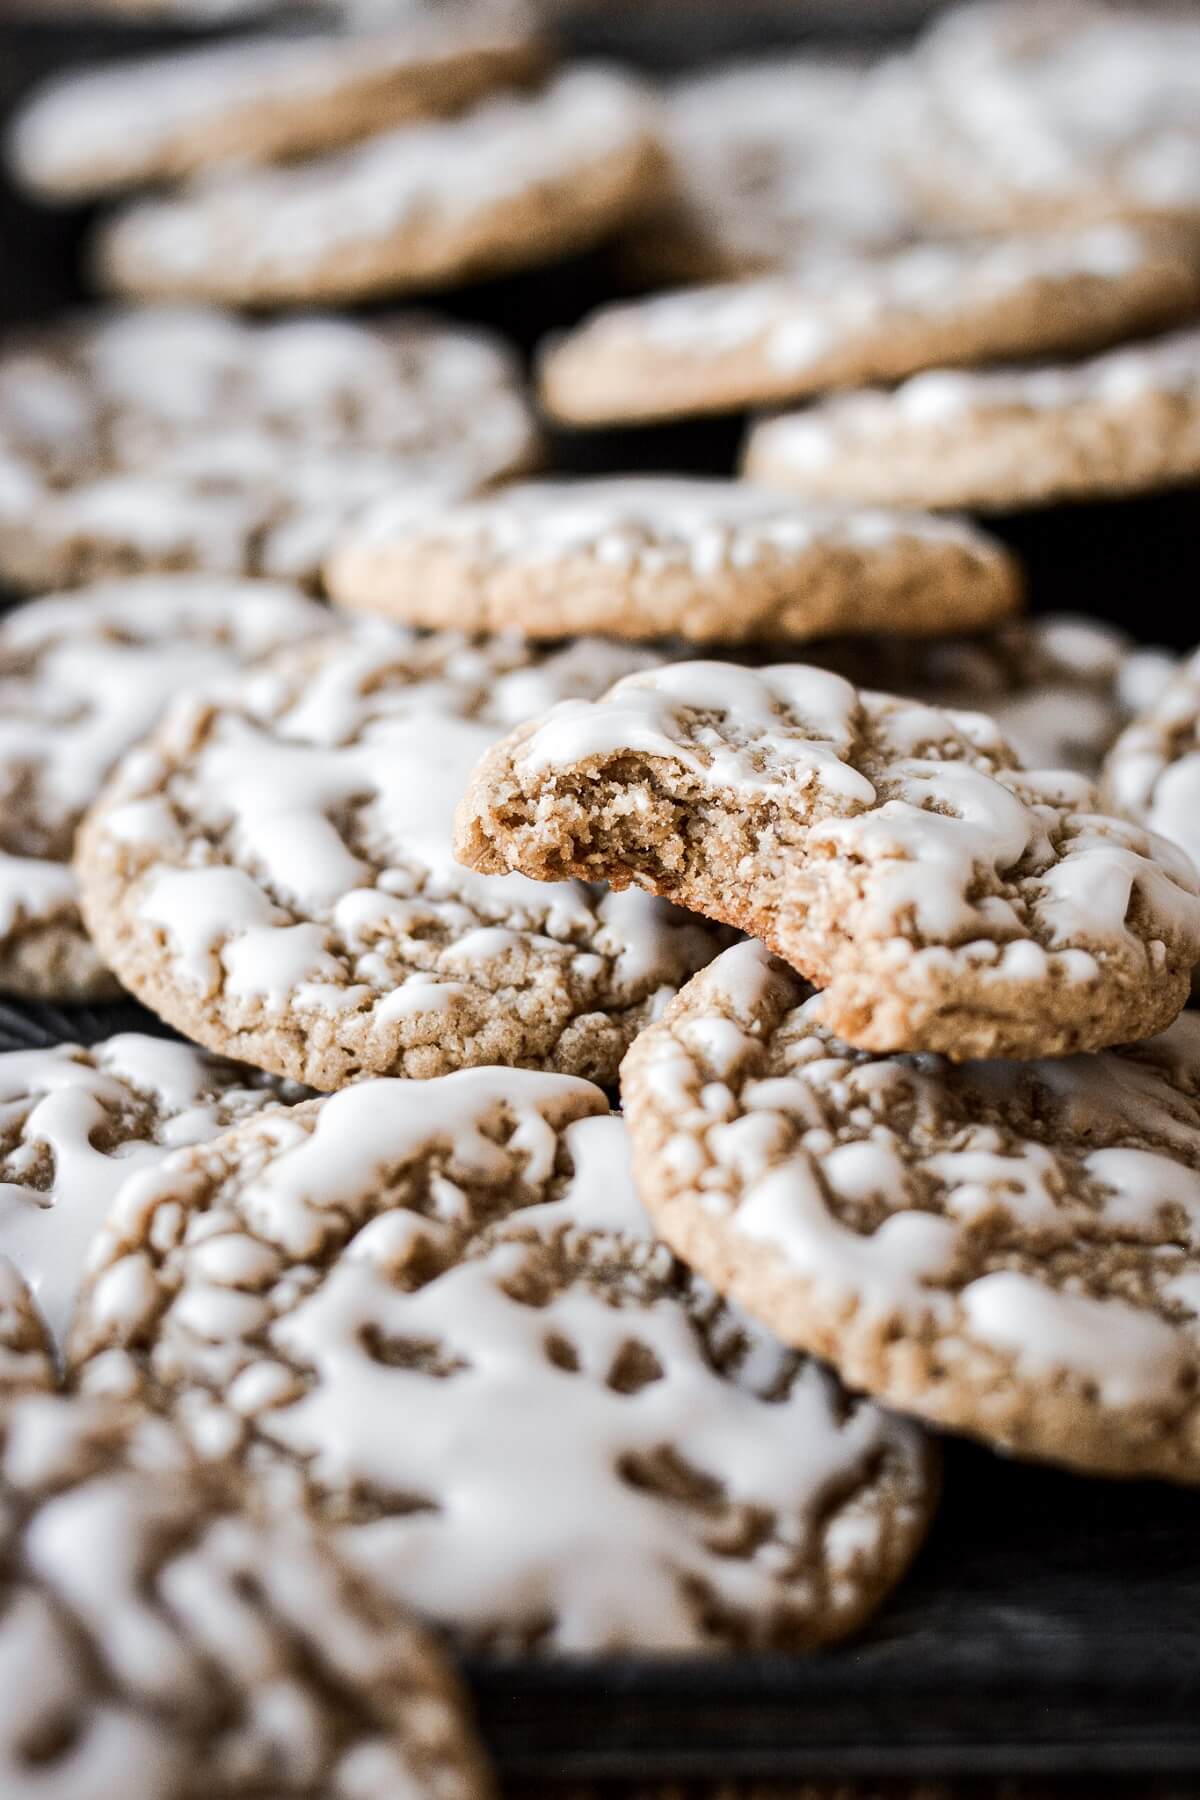
Your cookies will stay soft for at least 3 days, at room temperature, and will stay fresh much longer in the freezer if you bake them in advance.
How should I store the iced cookies?
After the icing dries and sets, store your cookies in an airtight container at room temperature. Separate each layer of cookies with wax paper, so that the top cookies don’t stick the the icing on the bottom cookie layer.
Can the cookies be frozen?
Yes, you can freeze the cookies with or without the icing for up to 3-6 months, and they’ll be soft and fresh when you thaw them out.
You Might Also Like
Please check out my Amazon Shop for a curated collection of some of my favorite cake pans from trusted brands, baking tools, ingredients, pretty things and fashion finds. I recommend products that I buy and use every day!
Did you love today’s recipe? Please rate the recipe and let me know in the comments what you thought! Also, be sure to follow Curly Girl Kitchen on Instagram, and tag me when you try one of my recipes so I can see all your delicious creations!
High Altitude Old Fashioned Iced Oatmeal Cookies
All recipes on Curly Girl Kitchen are developed for high altitude at 5,280 feet. See FAQs for adjusting to higher or lower elevations.
Ingredients
Cookies
- 1 cup unsalted butter
- ⅔ cup granulated sugar
- ⅔ cup light brown sugar, lightly packed
- 2 large eggs
- 2 tsp vanilla extract
- 2 tsp molasses (Grandma's old fashioned)
- 2 cups old-fashioned (rolled) oats
- 2 cups all-purpose flour, fluffed, spooned and leveled
- 1 ½ tsp coarse Kosher salt (if using table salt, use half the amount)
- 1 tsp baking soda
- 1 tsp ground cinnamon
- ¼ tsp ground nutmeg
Icing
- 1 ½ cups powdered sugar
- ½ tbsp meringue powder
- ½ tsp vanilla extract
- 3 ½ tbsp whole milk
Instructions
Cookies
- Melt the butter in a saucepan over medium heat. Continue to cook the butter, swirling the pan occasionally, for about 5-10 minutes, until nutty, light golden brown solids form at the bottom of the pan and the butter is very fragrant.Pour the browned butter into a large bowl, and let cool for 30 minutes at room temperature.
- Add the granulated sugar and the brown sugar to the butter, and whisk vigorously by hand for 1 minute.
- Add the eggs, vanilla and molasses, and whisk vigorously for 1 minute, until lightened in color.
- With a small food processor or Ninja, pulse the oats until they are finely ground. In a bowl, combine the ground oats with the flour, salt, baking soda, cinnamon and nutmeg.
- Add the dry ingredients to the wet ingredients, and stir together into a dough.
- Use a medium-sized cookie scoop with a release lever (about 1 1/2 tablespoons) to scoop the dough into 36 portions, dropping the dough balls onto a baking sheet lined with wax paper or parchment paper.Don't roll the dough balls smooth with your hands – you want the surface to be a little rough and craggy. Just ever so slightly flatten the tops of the dough balls with your hand.Cover the dough with plastic wrap, and refrigerate for 35 minutes.
- Preheat the oven to 350 F, and position a rack in the center of the oven. Line a large baking sheet with parchment paper.
- Place the chilled dough balls 3 inches apart on the baking sheet (refrigerating the rest of the dough balls until ready to bake them). Bake the cookies for 9 minutes, just until barely set in the middle.
- When you take the pan out of the oven, use a round cookie cutter (one that's larger than the circumference of the baked cookies), and immediately "scoot" it around the hot cookies. This pulls in any uneven edges to make perfectly round and beautiful cookies.Cool the cookies on the baking sheet for 2-3 minutes, then transfer to a cooling rack.Continue baking the rest of the cookies, and let them cool completely before icing.
Icing
- In a shallow bowl, combine the powdered sugar and meringue powder. Add the vanilla and milk, and whisk gently until smooth, thick and drizzly.
- To dip the cookies, turn a cookie over so that the top is facing down. Holding the cookie by the edges, lightly dip it in the icing, shake off the excess, and set on a baking sheet. Repeat with all the cookies.Note: You don't want to fully submerge the top of the cookies in the icing. Just lightly dip them so that the rough bumps and ridges on top of the cookies catch the icing, with plenty of gaps in between. This is the classic look of an old fashioned iced oatmeal cookie.
- The icing will set and dry to the touch within a few minutes, and will stay a little soft underneath. Let dry for about an hour before storing the cookies in an airtight container. Separate each layer of cookies with wax paper, so that the top cookies don't stick to the icing underneath.

What adjustment in flour should I use in Ohio? Not high altitude here😁
Please see my FAQs for guidance on adjusting recipes for various altitudes:
https://curlygirlkitchen.com/baking-faqs/
These turned out great! Hit for the whole family. I left the dough in the fridge a bit too long so the cookies didn’t spread as thin as they could have, but overall great flavor and look!
These turned out so great! I had a little user error and mine were not spreading and then I reread the recipe and I had skipped the flattening the dough before I put it in the fridge. They taste amazing and I am adding these to my cookie rotation. Thanks so much for creating these recipes! This is my second or third hit from your site.
Would the dough hold for few days in the fridge? Or be frozen after scooping but before baking? Thanks!
The dough will be fine in the fridge for a few days, but I’d probably scoop the dough first, and then freeze the dough balls, since cold dough is hard to scoop into balls. The only trick will be knowing how long to let them thaw before baking, since the cookies won’t spread enough if the dough is too cold, so you may have to experiment with one or two cookies at a time to see how they bake after freezing the dough. Personally I’d just bake the cookies and freeze them, if you want to make them in advance.
Browning the butter contributes to a delicious recipe! I live at 7,200 ft and Heather’s recipes work perfectly.
GREAT recipe!!! I don’t live at a high altitude and it still worked well. The only thing is I had to press the surface of my dough balls down more than what I thought I would. Not sure if this was due to the altitude or not, but my husband and I cannot stop eating them! They’re beautiful AND delicious!
I’m so glad it worked for sea level, too. Your needing to flatten them more was definitely due to the lower altitude – cookies spread more easily at high altitude 🙂
I’m not getting any spread on my cookies even when I flatten them nearly to desired size. I’m also wondering how yours turned out so much darker in color than mine. The only adjustment I made to the recipe was that I “browned” vegan butter.
Using a completely different type of butter could certainly affect the recipe differently. I don’t test my recipes with vegan ingredients, so I can’t attest to how well those substitutions will work.