
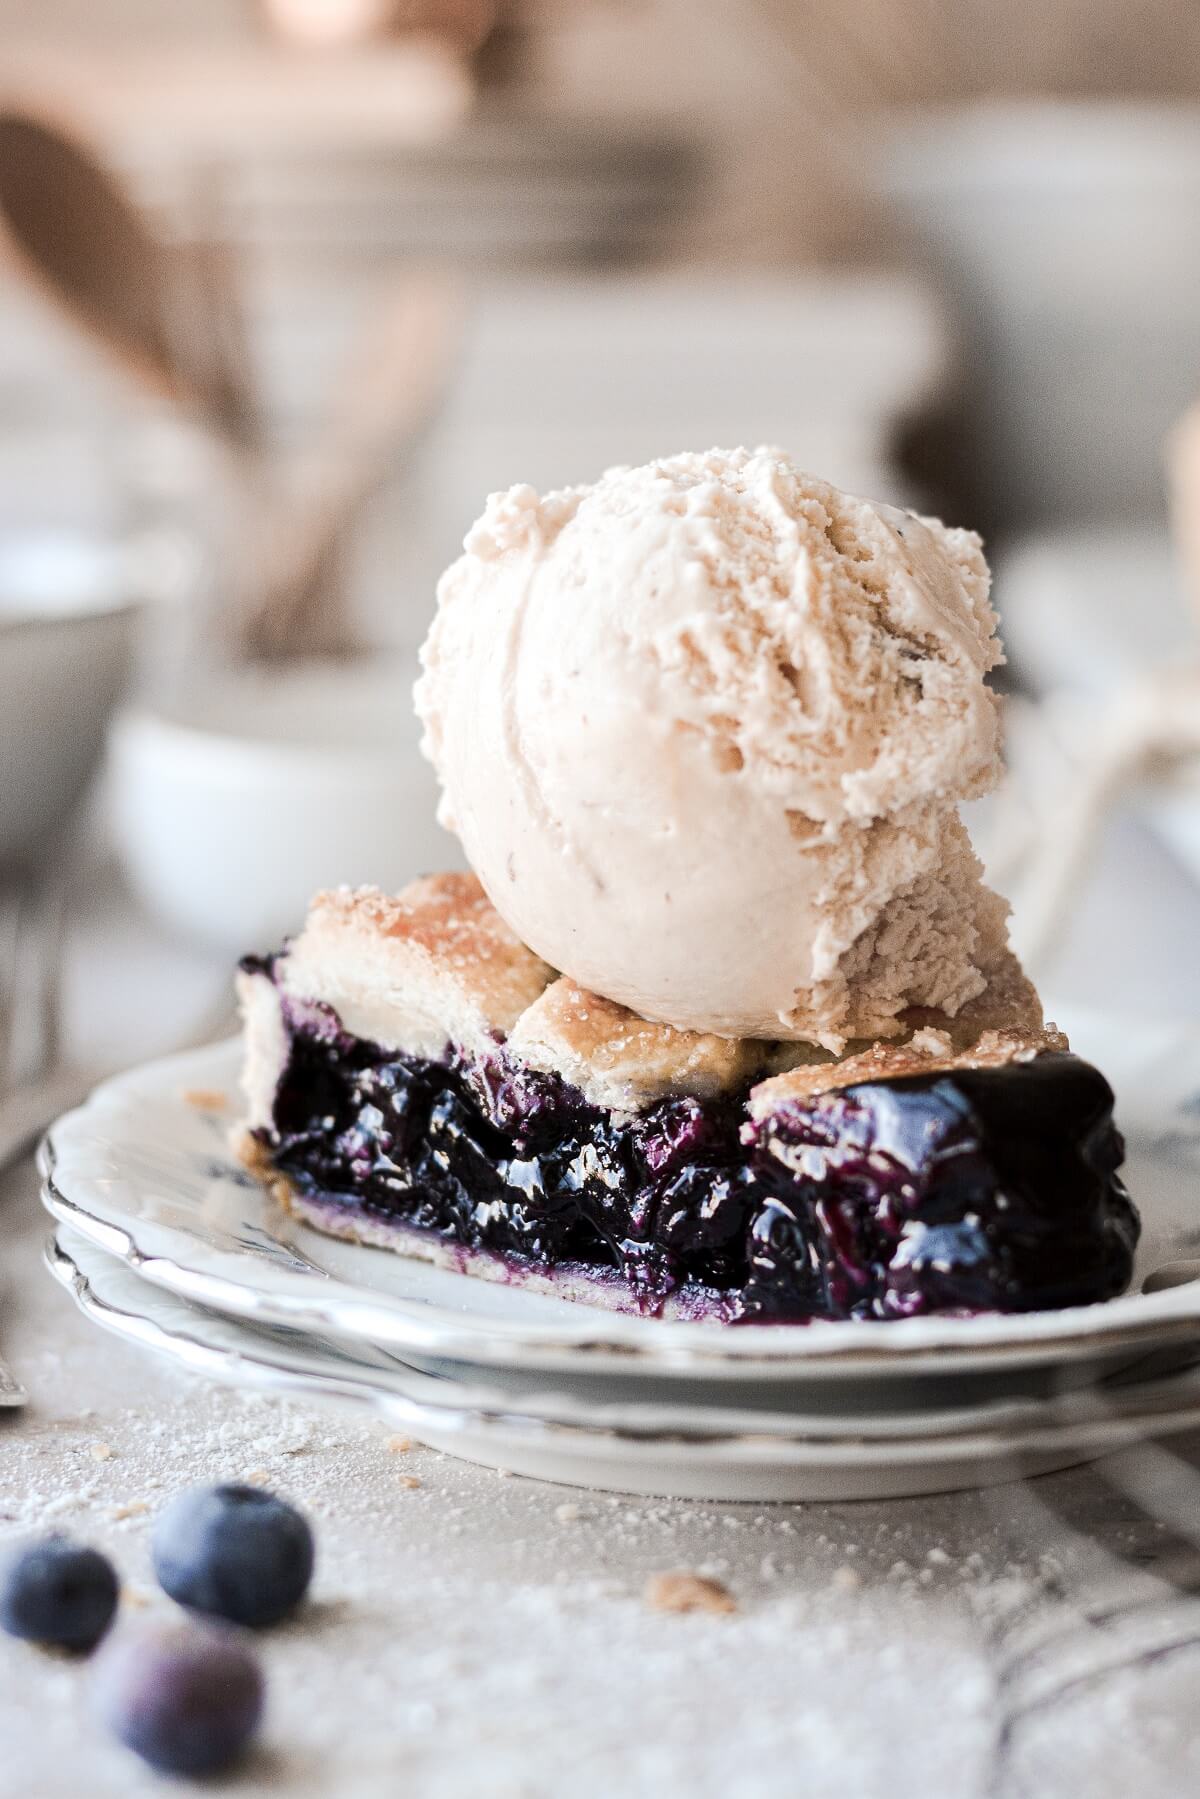
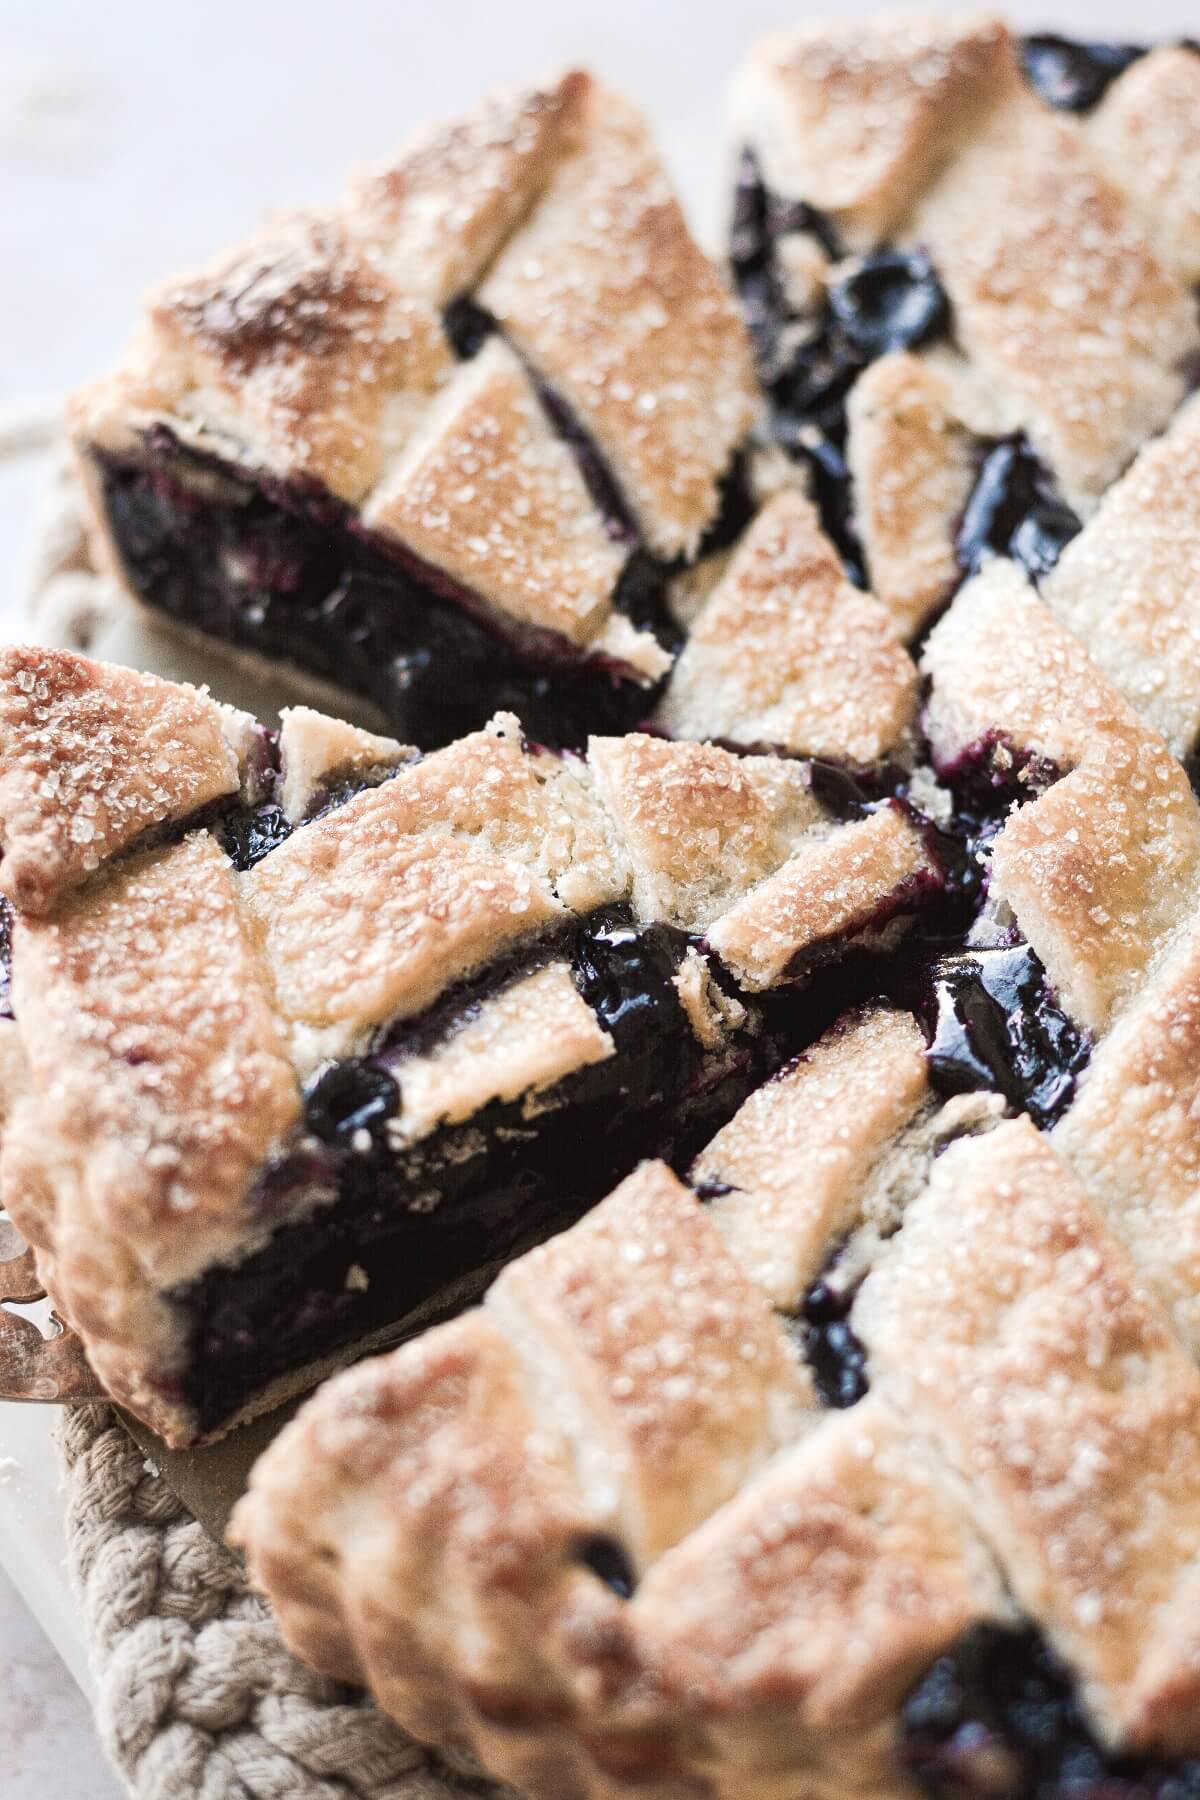
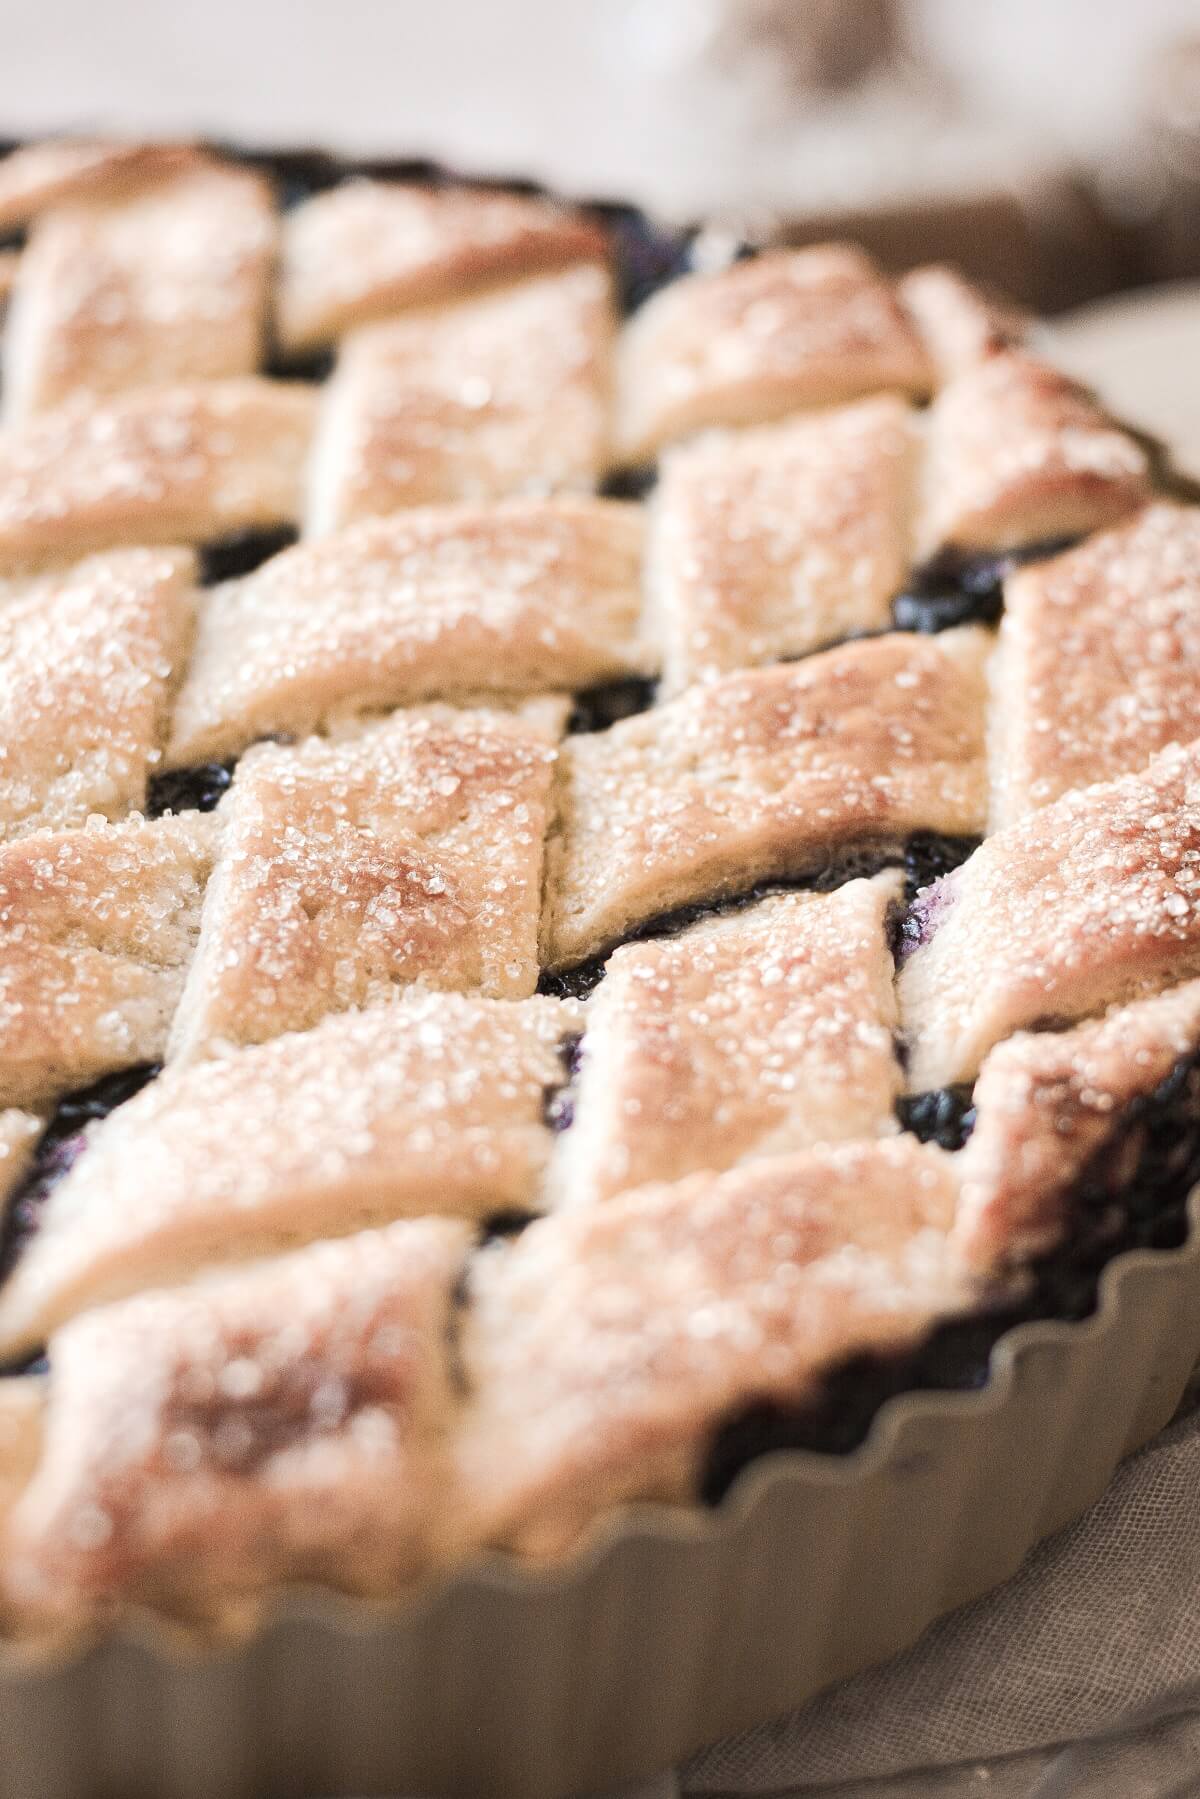
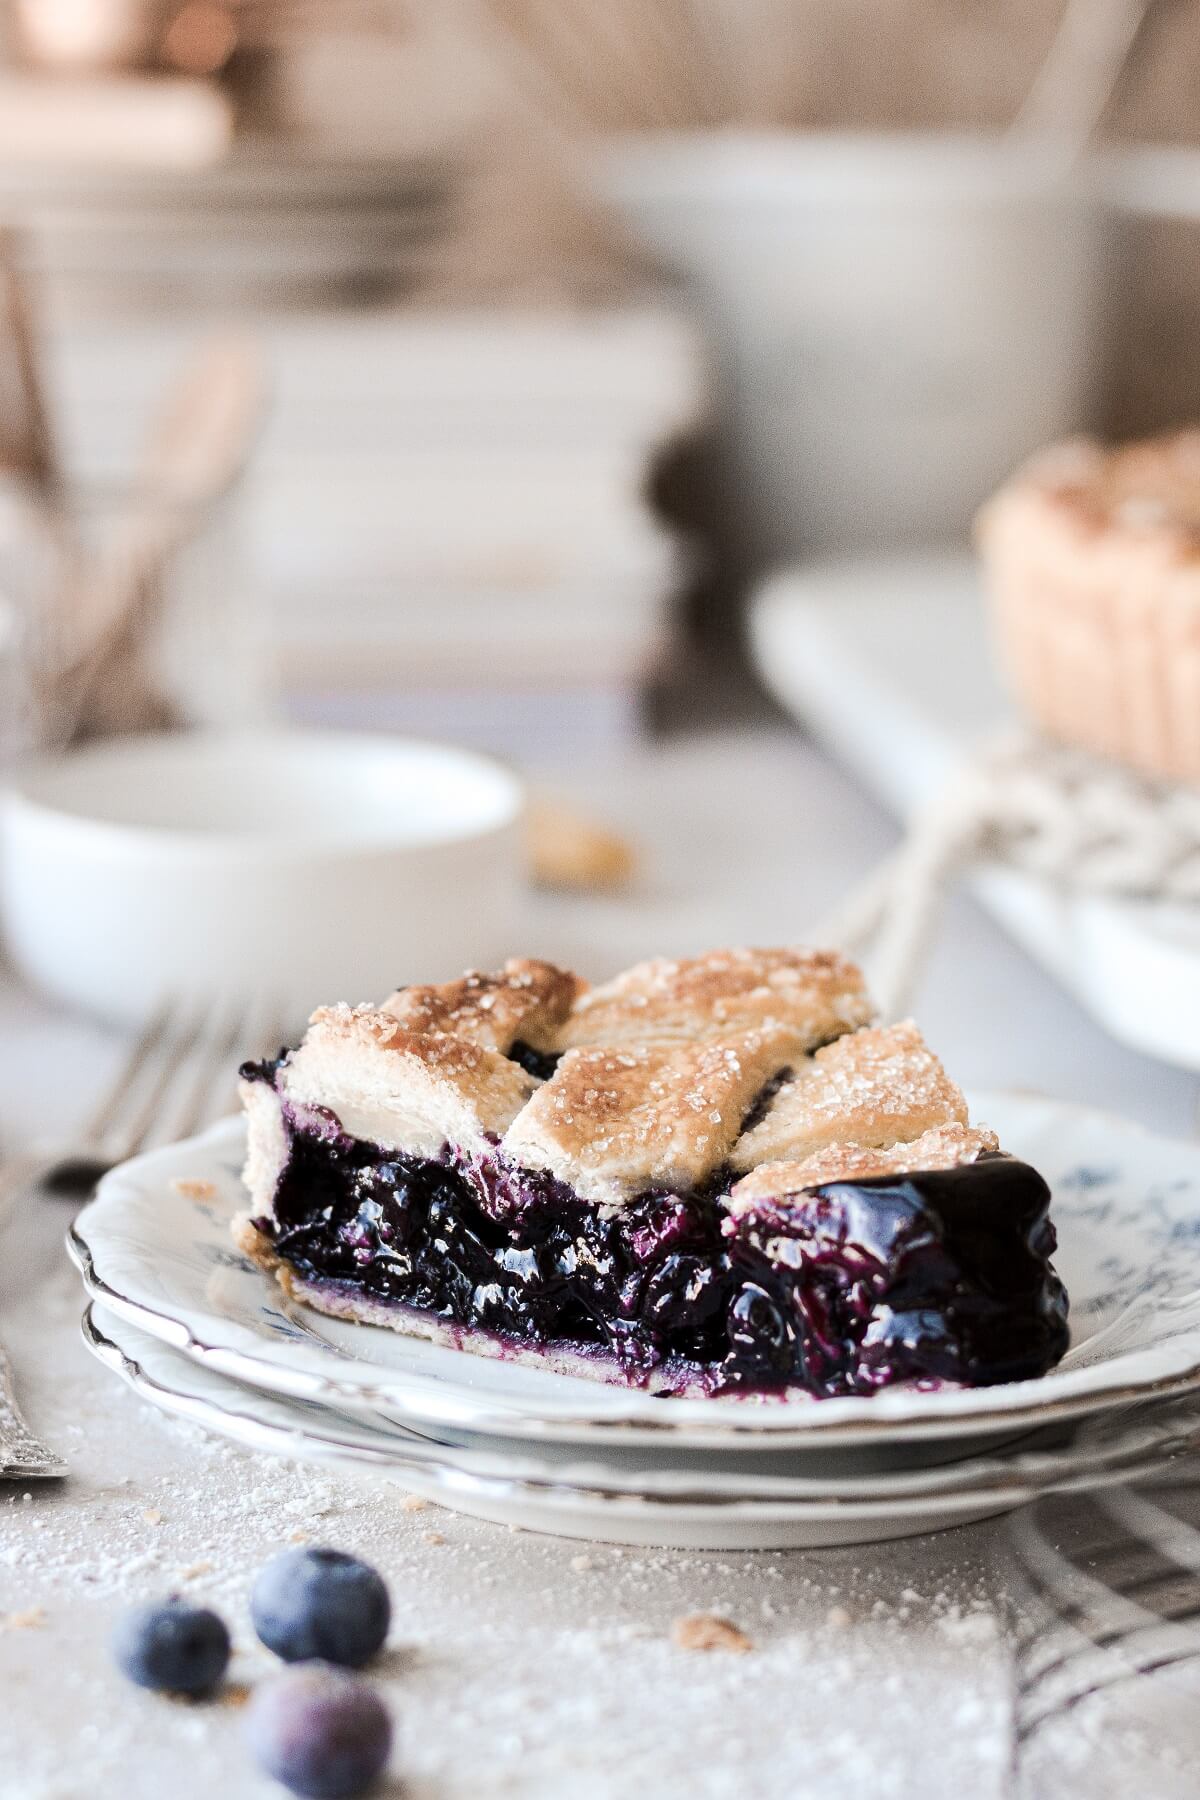
If I had to pick a favorite fruit pie, the one that I make over and over all year round, I’d choose a blueberry pie. And since frozen blueberries are always available, I can satisfy my blueberry pie cravings in any season. But I especially love this pie for the holidays. The crust is buttery and flaky, the filling is bursting with sweet, juicy blueberries with a hint of lemon, cloves and vanilla, and the lattice crust looks just lovely.
Be sure to read the whole post, for step-by-step photos, recipe variations (like a blueberry rhubarb pie with crumb topping) and lots of tips sprinkled throughout to help you bake a perfect pie.
Looking for more fruit pie recipes? You might also love this fresh peach pie, strawberry pretzel pie, and cherry crumb pie.
This site contains affiliate links. As an Amazon associate, I earn from qualifying purchases. This means that I may make a small commission if you purchase a product using those links. This in no way affects my opinion of those products and services. All opinions expressed on this site are my own.
Why You’ll Love This Pie
Perfect for Any Season. Whether it’s blazing hot or freezing cold out, a blueberry pie is always a great idea for dessert. And with frozen blueberries always available, you can make this pie any time of year.
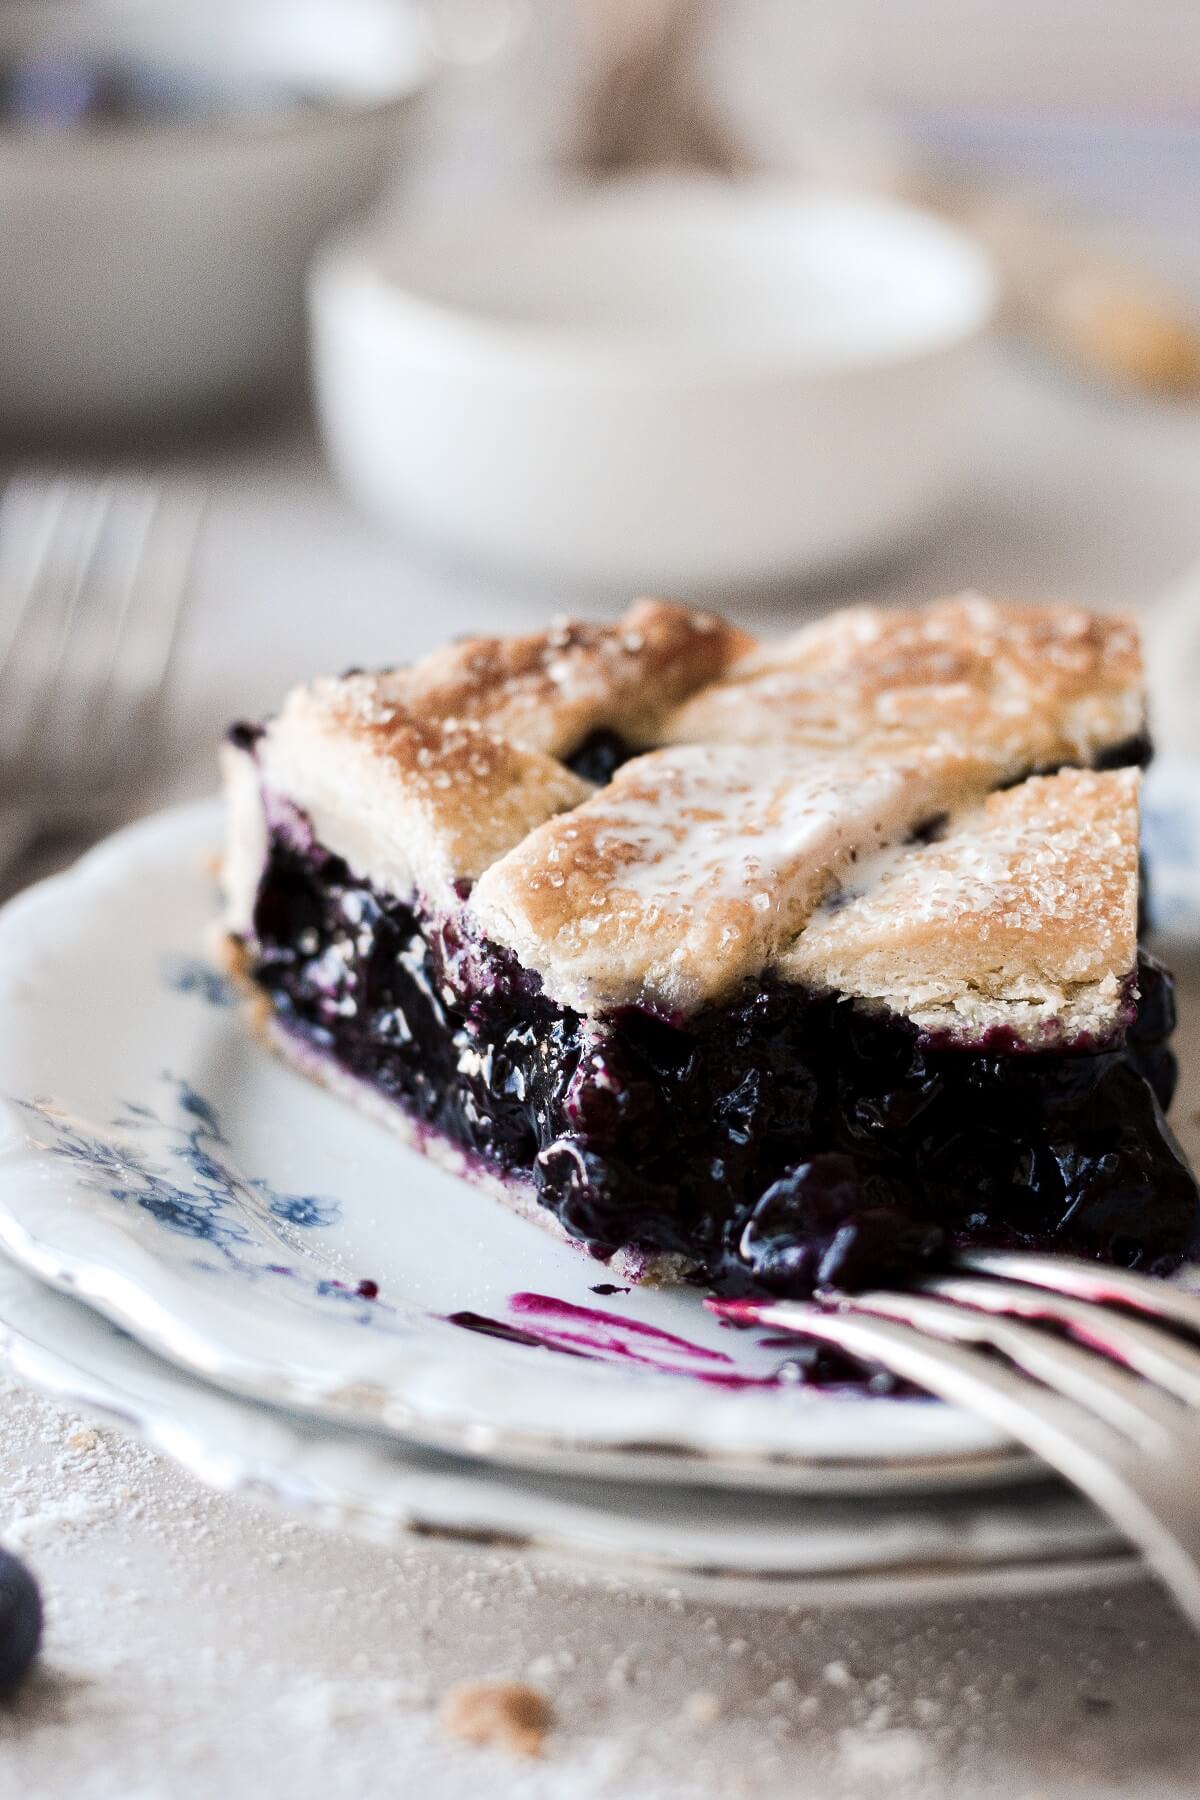
Sets up Perfectly. With my method of pre-cooking the filling before baking your pie, you can be assured of a perfectly set pie that’s juicy but holds its shape when cut into slices.
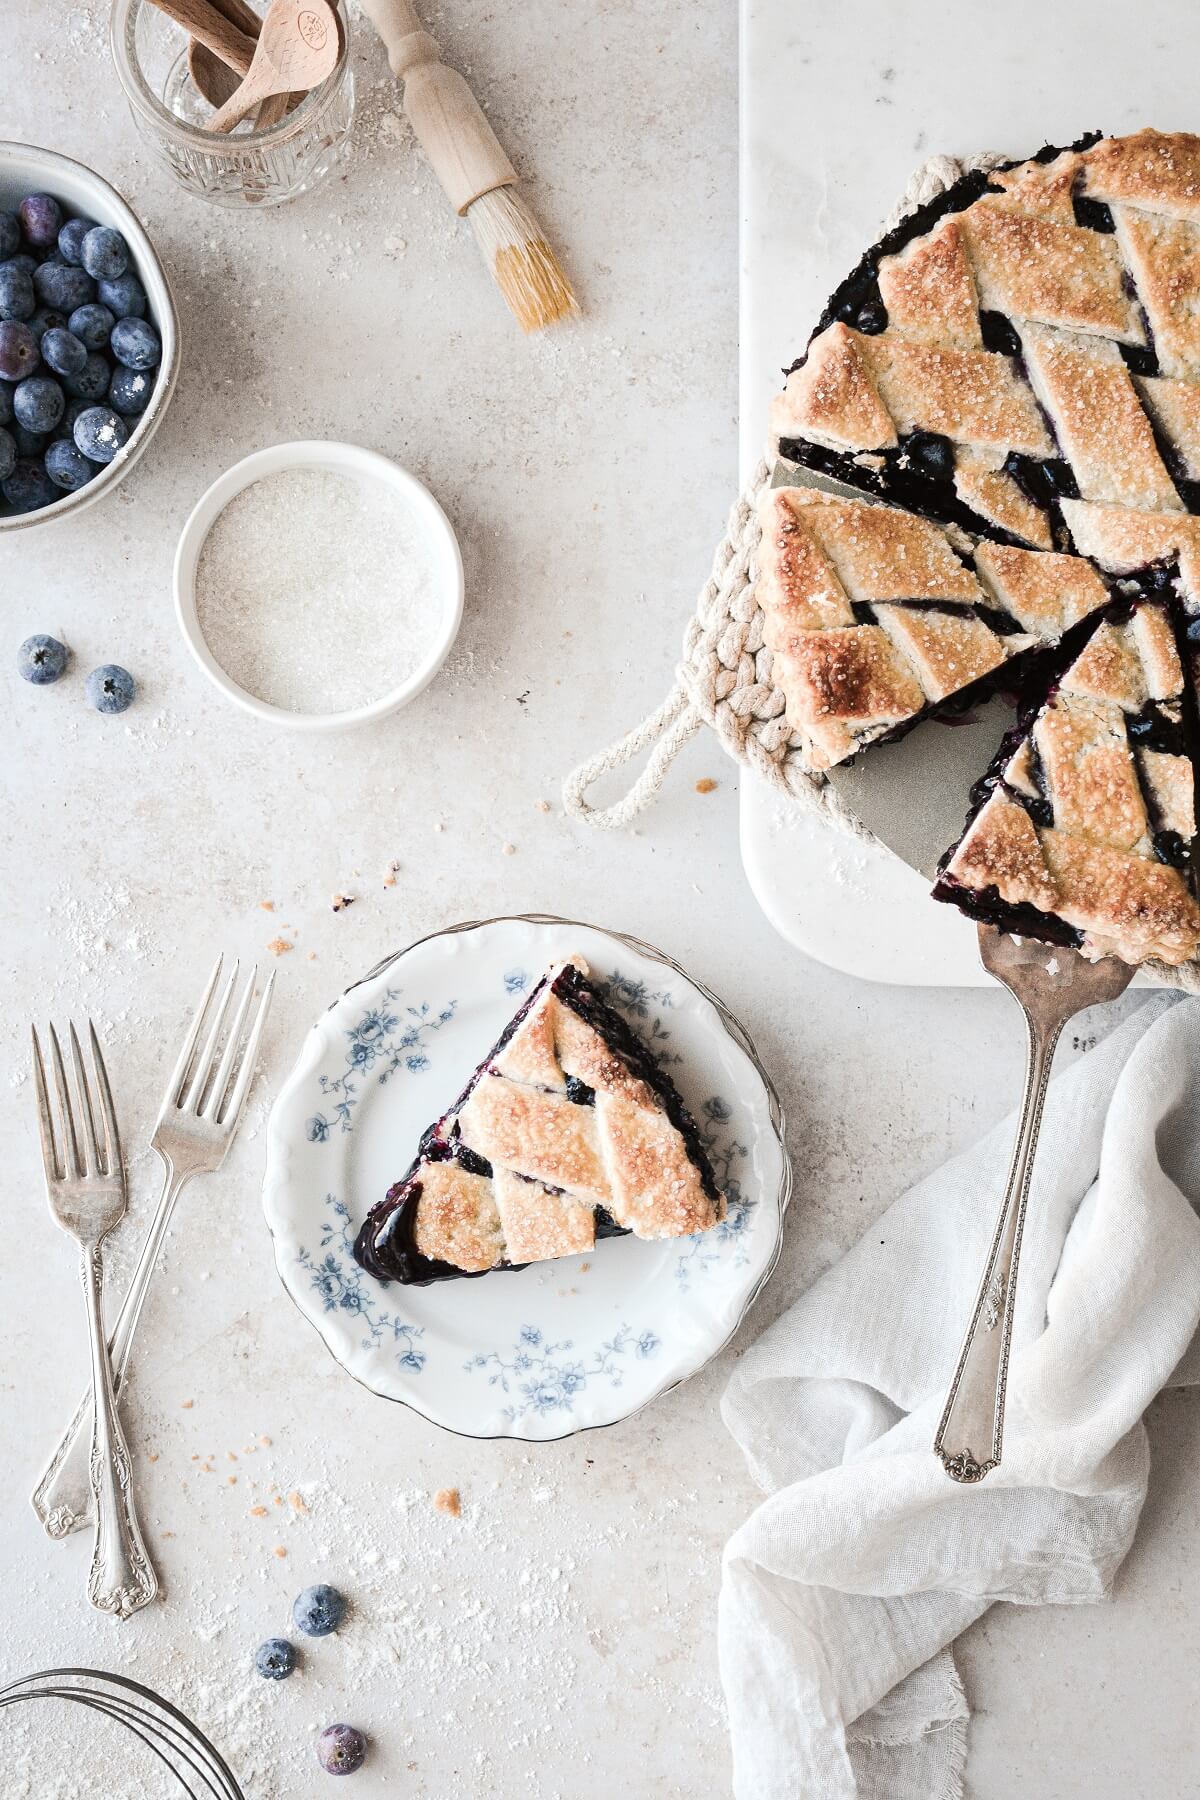
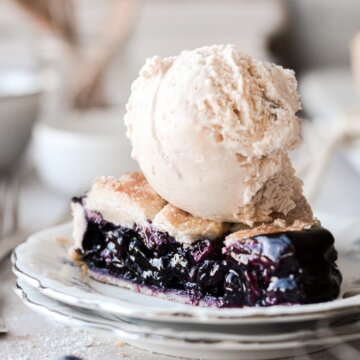
Delicious for Dessert or Breakfast. When there’s fruit pie in our house, it’s pretty much a given that everyone is going to be eating pie for breakfast the next morning.
High Altitude Tested. I develop all the recipes on my site for Denver’s altitude of 5,280 feet. If you’re at a lower or higher elevation, please see my FAQs for guidance on adjusting recipes for your altitude.
See the recipe card at the end of the post for the full ingredients list and instructions.
Ingredients
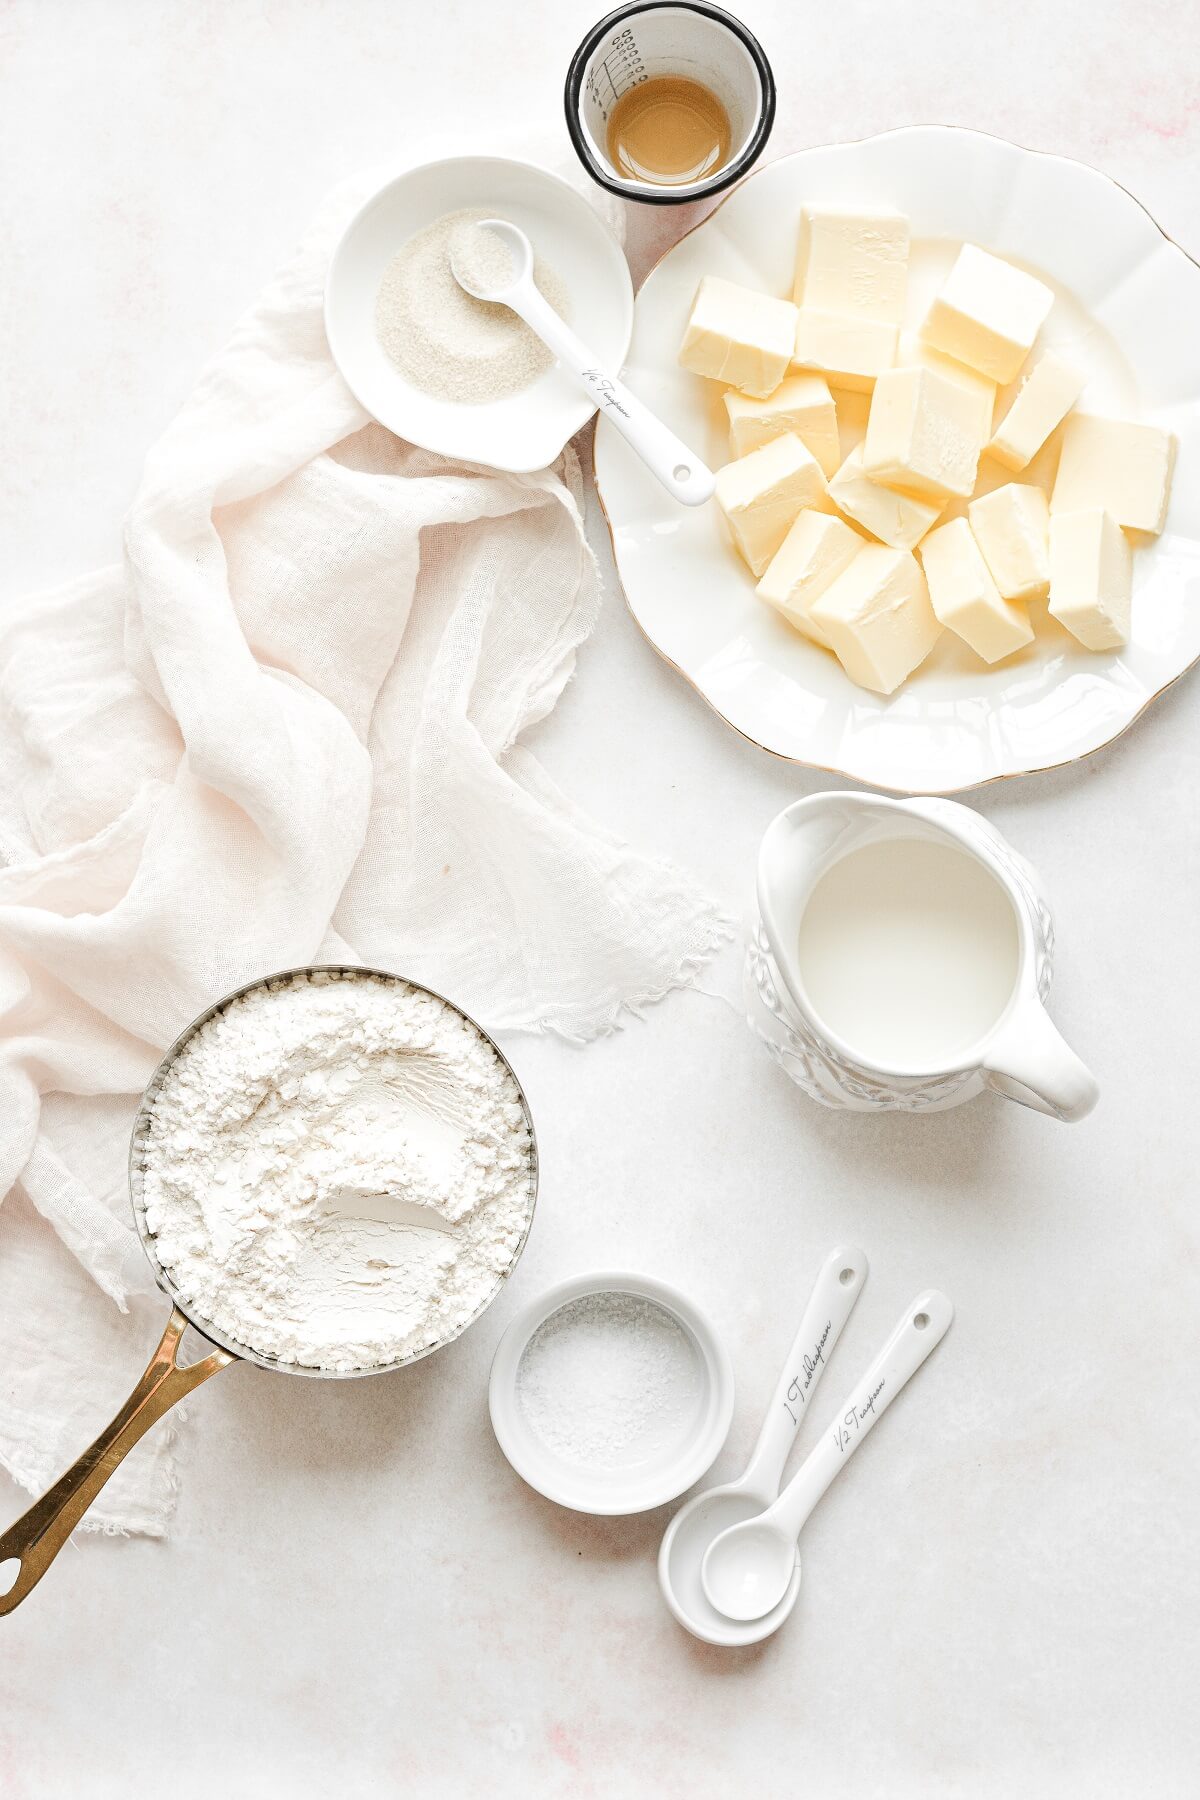
Pie Dough
- All-Purpose Flour. Provides structure and strength to the dough.
- Granulated Sugar. Just a little, to lightly sweeten the crust.
- Coarse Kosher Salt. Balances the sweetness of the pie.
- Unsalted Butter. Adds flavor and richness. Cold butter releases steam as it bakes, which creates tiny air pockets in the dough for a light and flaky crust.
- Apple Cider Vinegar. The vinegar is optional, but a little acid tenderizes the dough.
- Milk. Moisture, to bind the crust together. You can also use ice water, but I like to use milk. The liquid should be used sparingly, though, since too much liquid weighs down the dough, and makes a tough crust.
TIP: Many professional bakers will use pastry flour for pie dough. It has a lower percentage of protein than all-purpose flour, making a very light and flaky dough. It’s not easily found, though, so I use all-purpose flour.
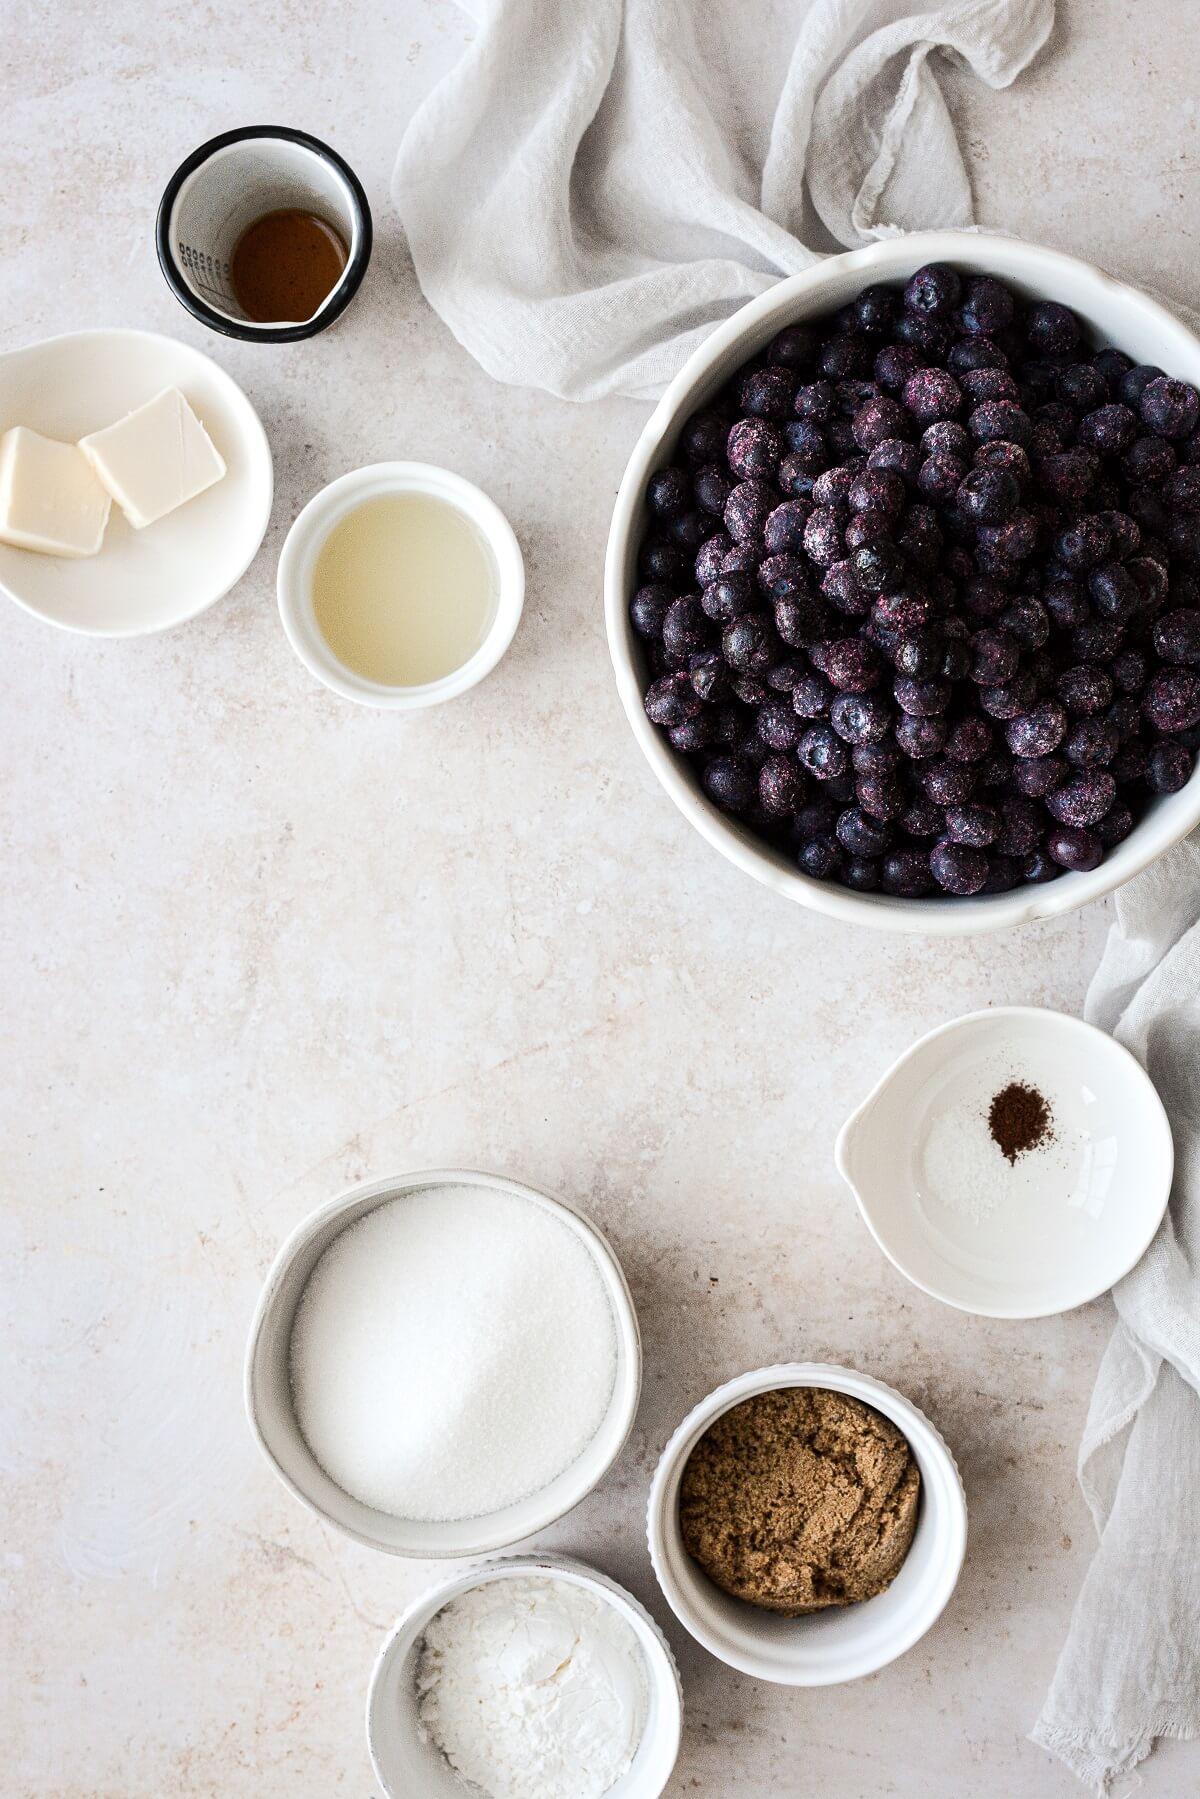
Blueberry Filling
- Frozen Blueberries. Frozen blueberries are available no matter the season, and are less expensive than fresh blueberries. I only use frozen berries for pie making. Depending on what’s in stock, sometimes I’ll use wild Maine blueberries, and sometimes regular cultivated blueberries. Wild blueberries are smaller in size, have more antioxidants, and a more intense blueberry flavor, so they make a great blueberry pie. I made today’s pie with cultivated blueberries.
- Sugar. A combination of granulated sugar and light brown sugar sweetens the pie filling and makes it juicy and moist.
- Corn Starch. Thickens the pie filling. Some people use tapioca, but corn starch is my preferred pie thickener for most fruit pies.
- Water + Lemon Juice. Adds moisture, cooking with the sugar and fruit juices to thicken into a lovely syrup.
- Coarse Kosher Salt. Balances the sweetness.
- Vanilla Extract. Flavor.
- Cloves. Just a hint of spice enhances without overwhelming the flavor of the blueberries, but the blueberries are the real star in this pie.
- Unsalted Butter. Added at the end, the butter adds a nice rich flavor to the filling.
Instructions
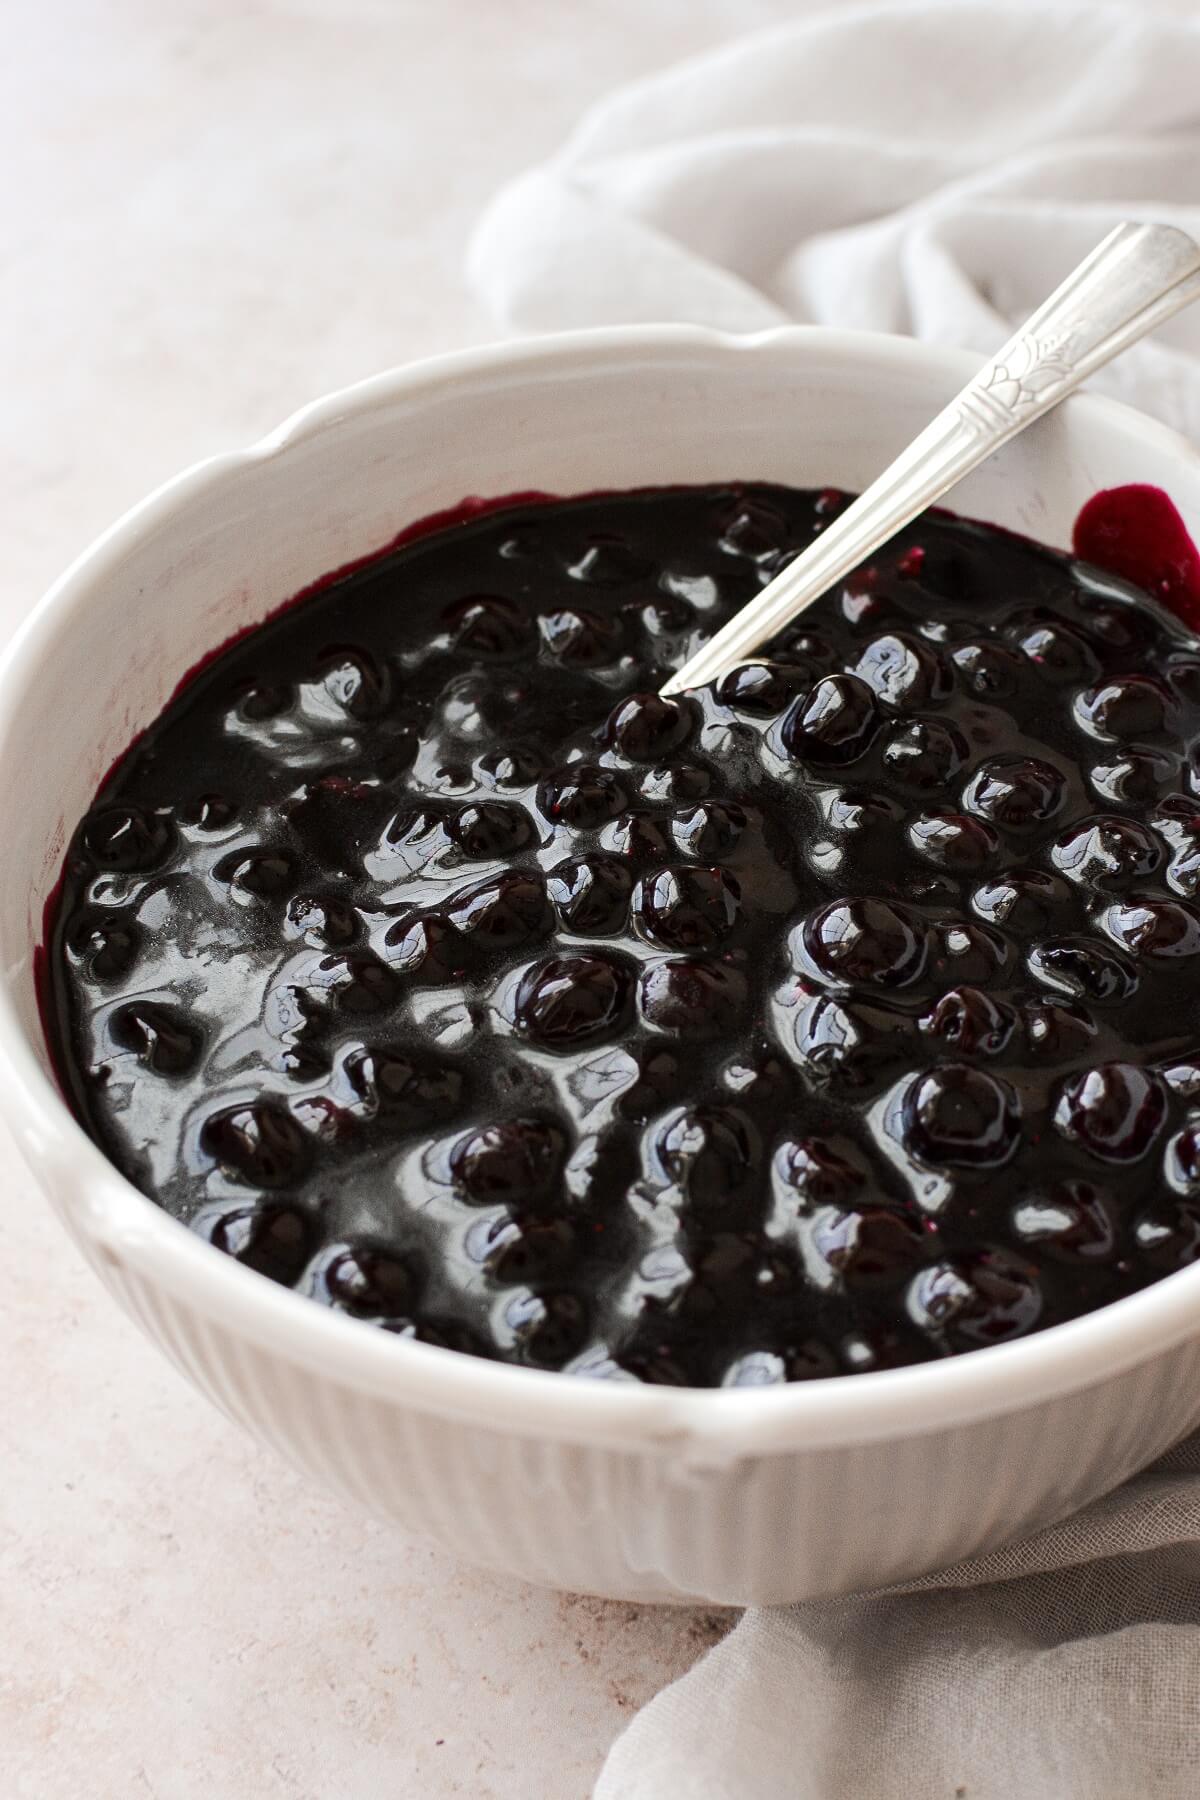
- In a stock pot, combine the frozen blueberries with the sugar, corn starch, water, lemon juice, salt and cloves. Warm over medium low heat to thaw the blueberries, stirring occasionally.
- Increase the heat to medium and bring to a boil, stirring frequently. Once it’s close to boiling, stir constantly, then boil for 1 full minute while stirring.
- Remove from the heat and stir in the vanilla and butter.
- Let the filling cool to room temperature before filling and baking your pie.
TIP: Pre-cooking the filling ensures that the juices thicken for a properly set pie that’s not too runny, and helps the pie bake more quickly. You can make the filling up to 1 day in advance, and refrigerate until needed. Take the filling out of the fridge an hour or two before baking your pie, to take the chill off the filling.
TIP: You can refrigerate the dough for up to 5 days, or freeze it for up to 3-6 months. Let it warm up to room temperature until you can roll it out without too much difficulty.
Make the dough.
- Prepare the All-Butter Perfect Flaky Pie Dough as instructed. See my pie crust post for lots of tips and step-by-step photos for making pie dough.
- Divide the dough in half, wrap each portion in plastic wrap, and refrigerate until needed.
Assemble and bake.
- Preheat the oven to 375 F. Position a rack in the lower third of the oven to bake your pie. Line a baking sheet with parchment paper.
TIP: The position of the oven rack is important. Baking the pie in the lower third of the oven brings the bottom crust closer to the heating element so that it fully bakes through, without over-browning the top crust.
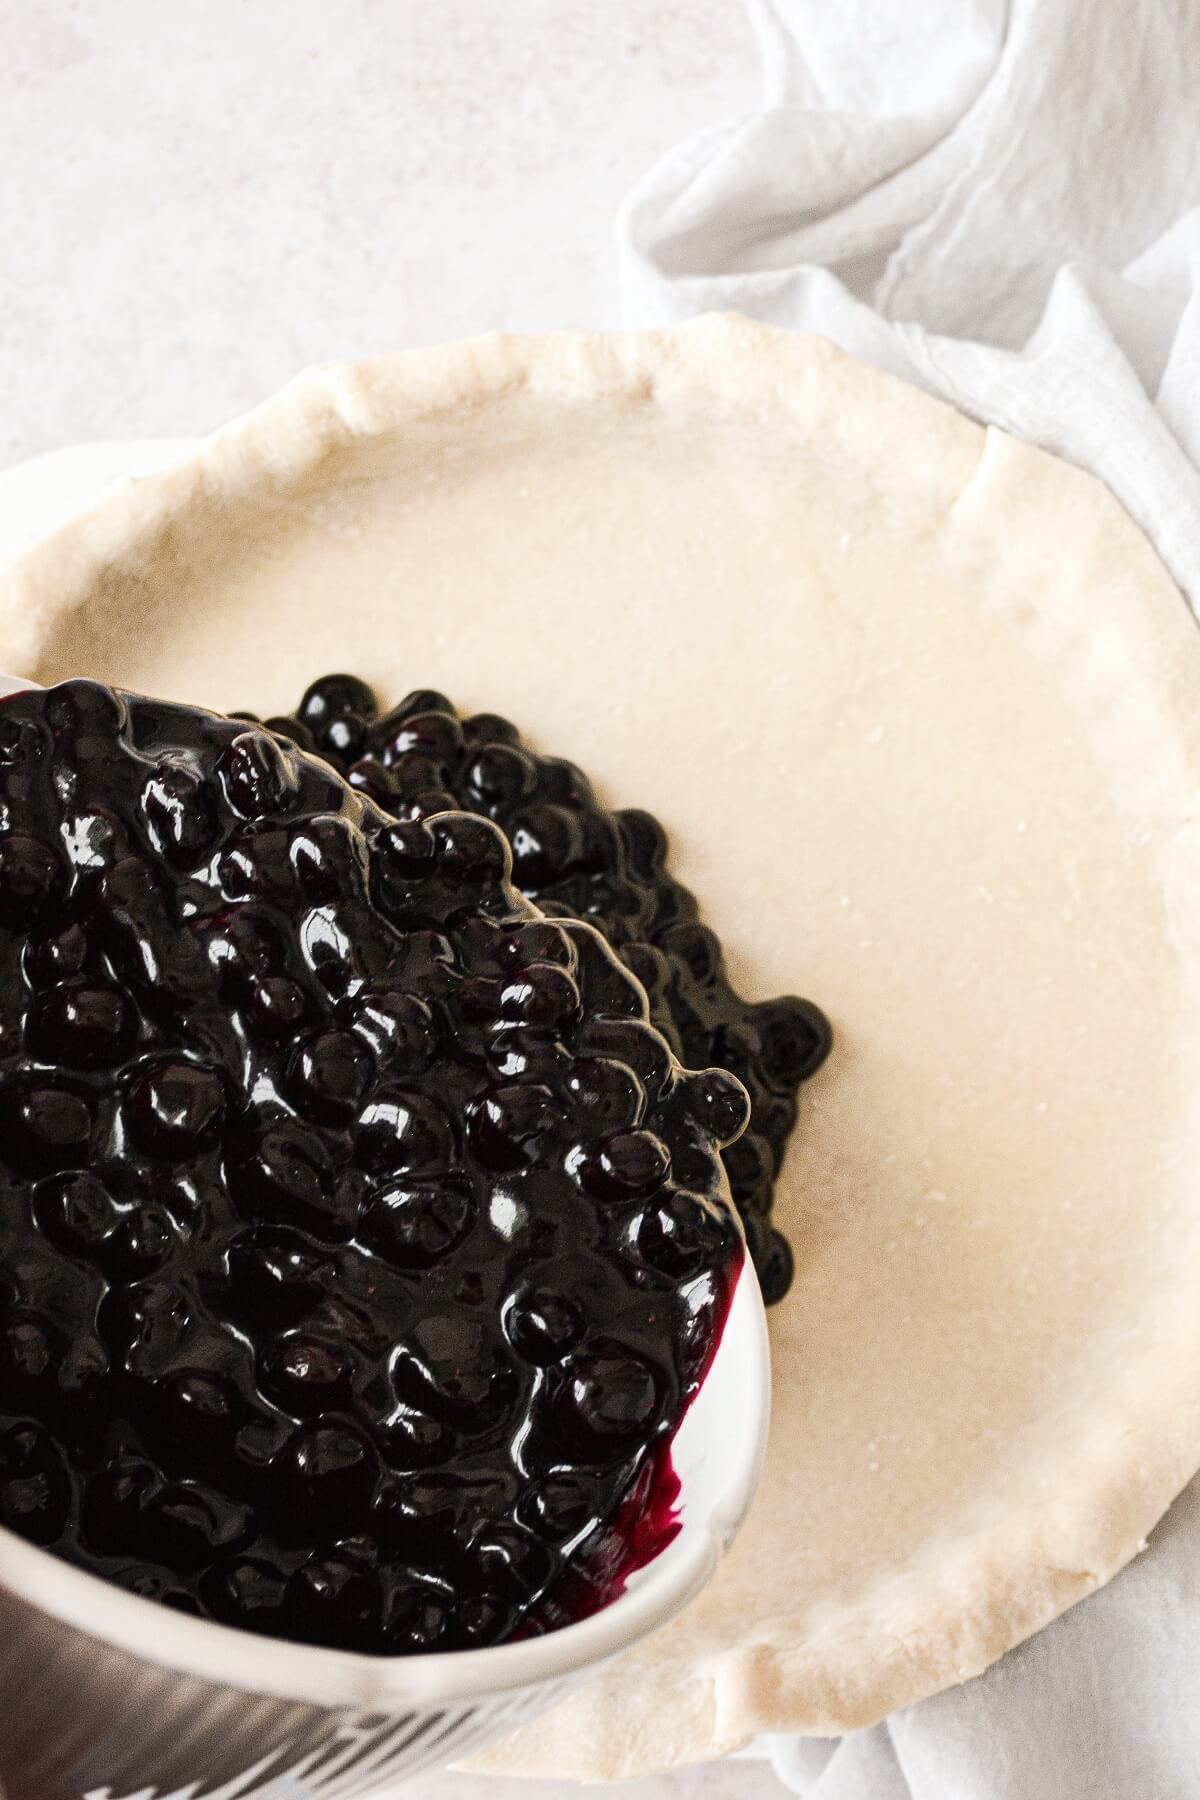
- On a floured surface, roll out half the dough to between 1/4-1/8 inch thick, and fit it into a 9-inch pie pan or tart pan. Trim the edges, leaving about 1/2 inch overhang all around.
- Pour the cooled blueberry filling into the crust, and set the pan in the refrigerator to stay cool while you roll and cut the lattice strips.
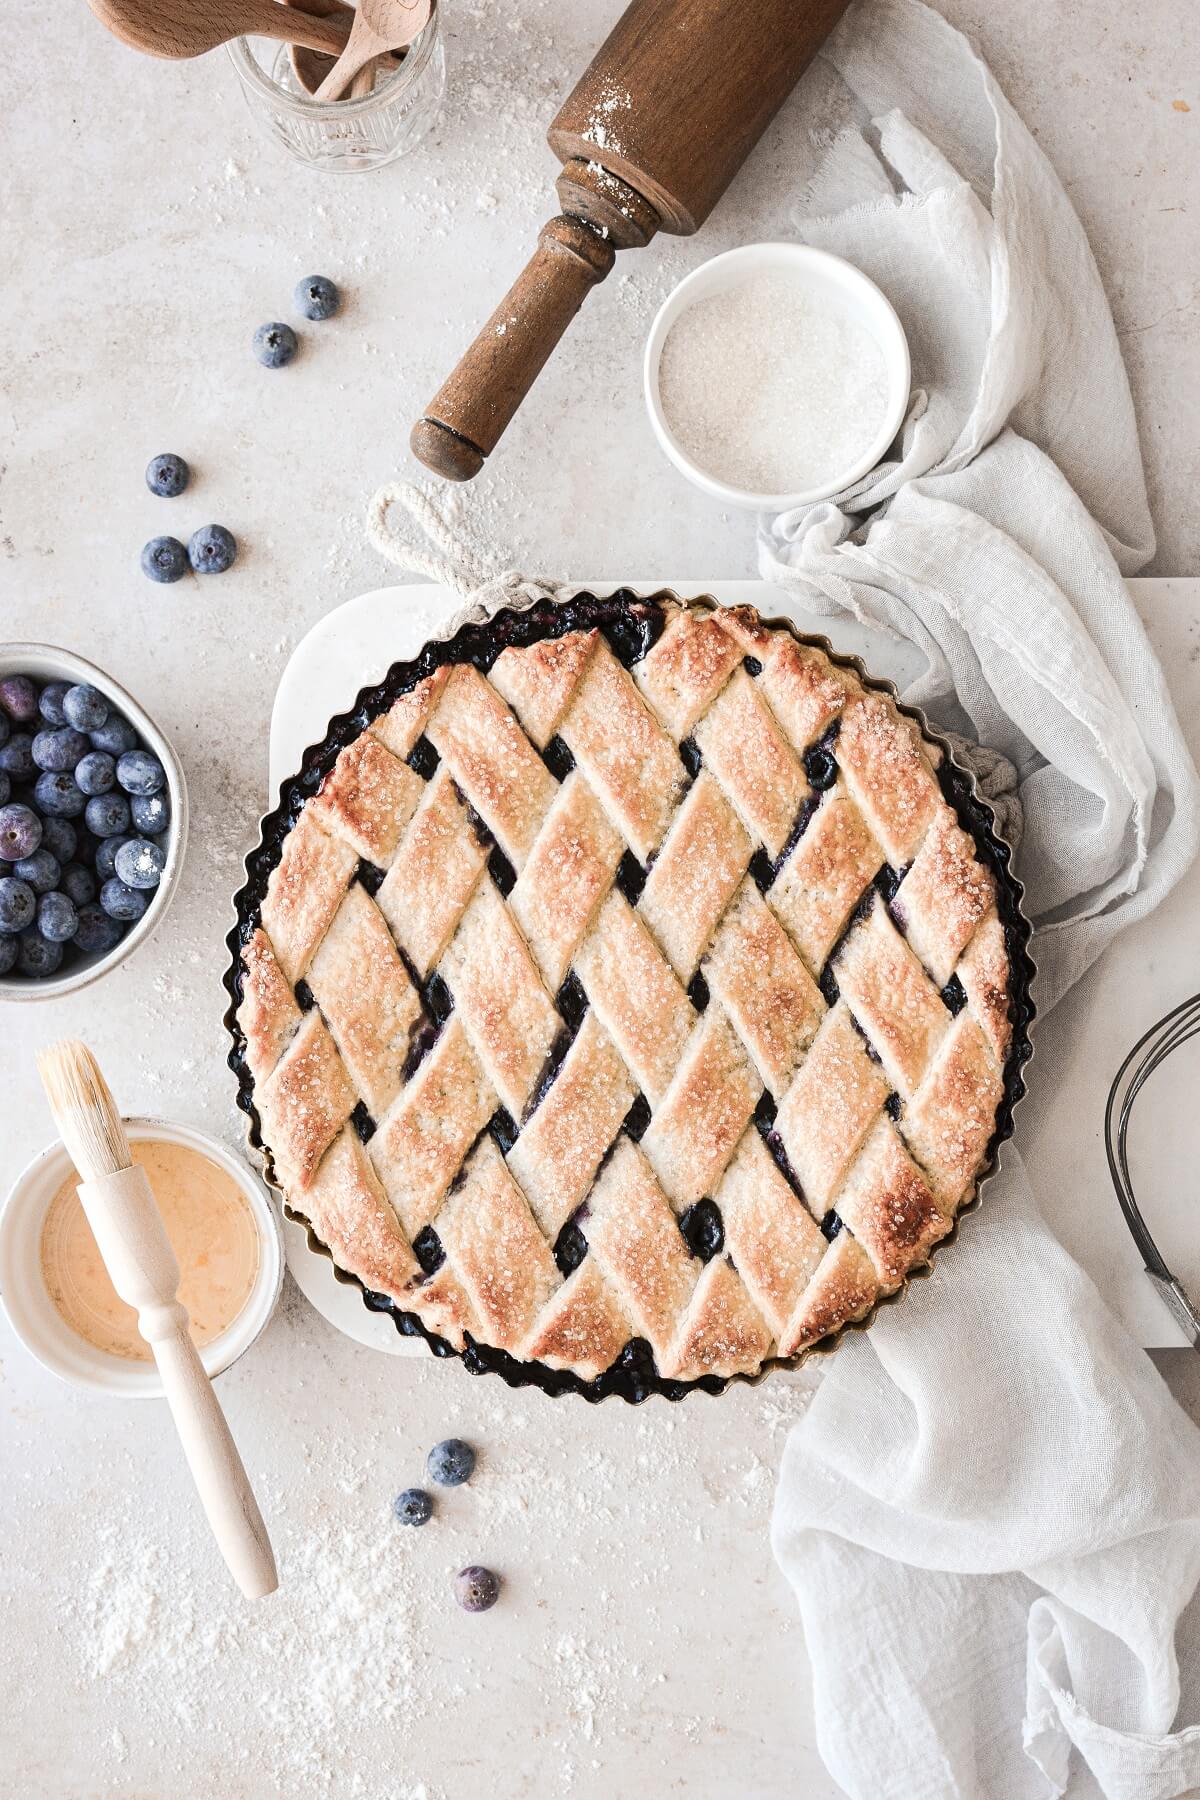
- On a floured surface, roll out the second half of the dough to 1/8 inch thick, and cut into strips. Arrange the strips of dough in a lattice pattern over the blueberry filling. Press the dough together all around the edges, then trim the edges.
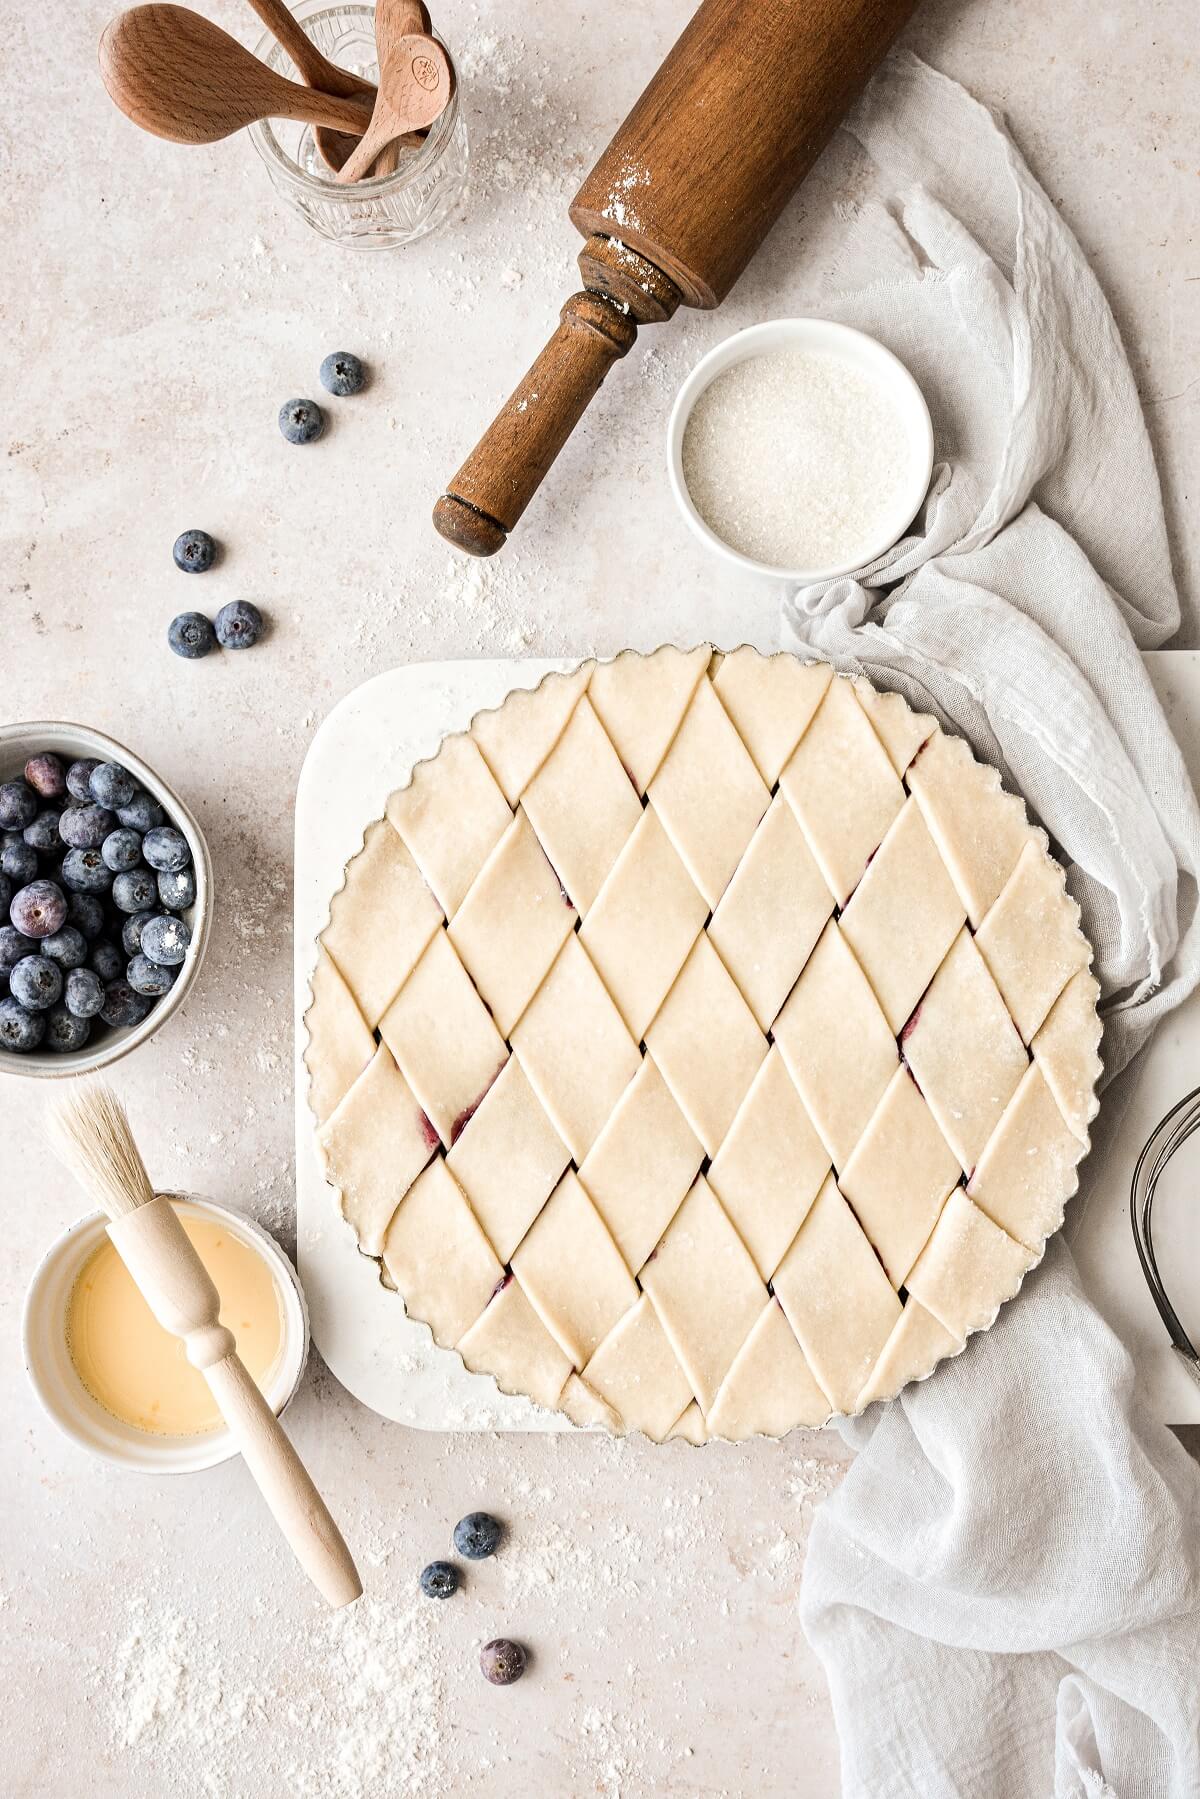
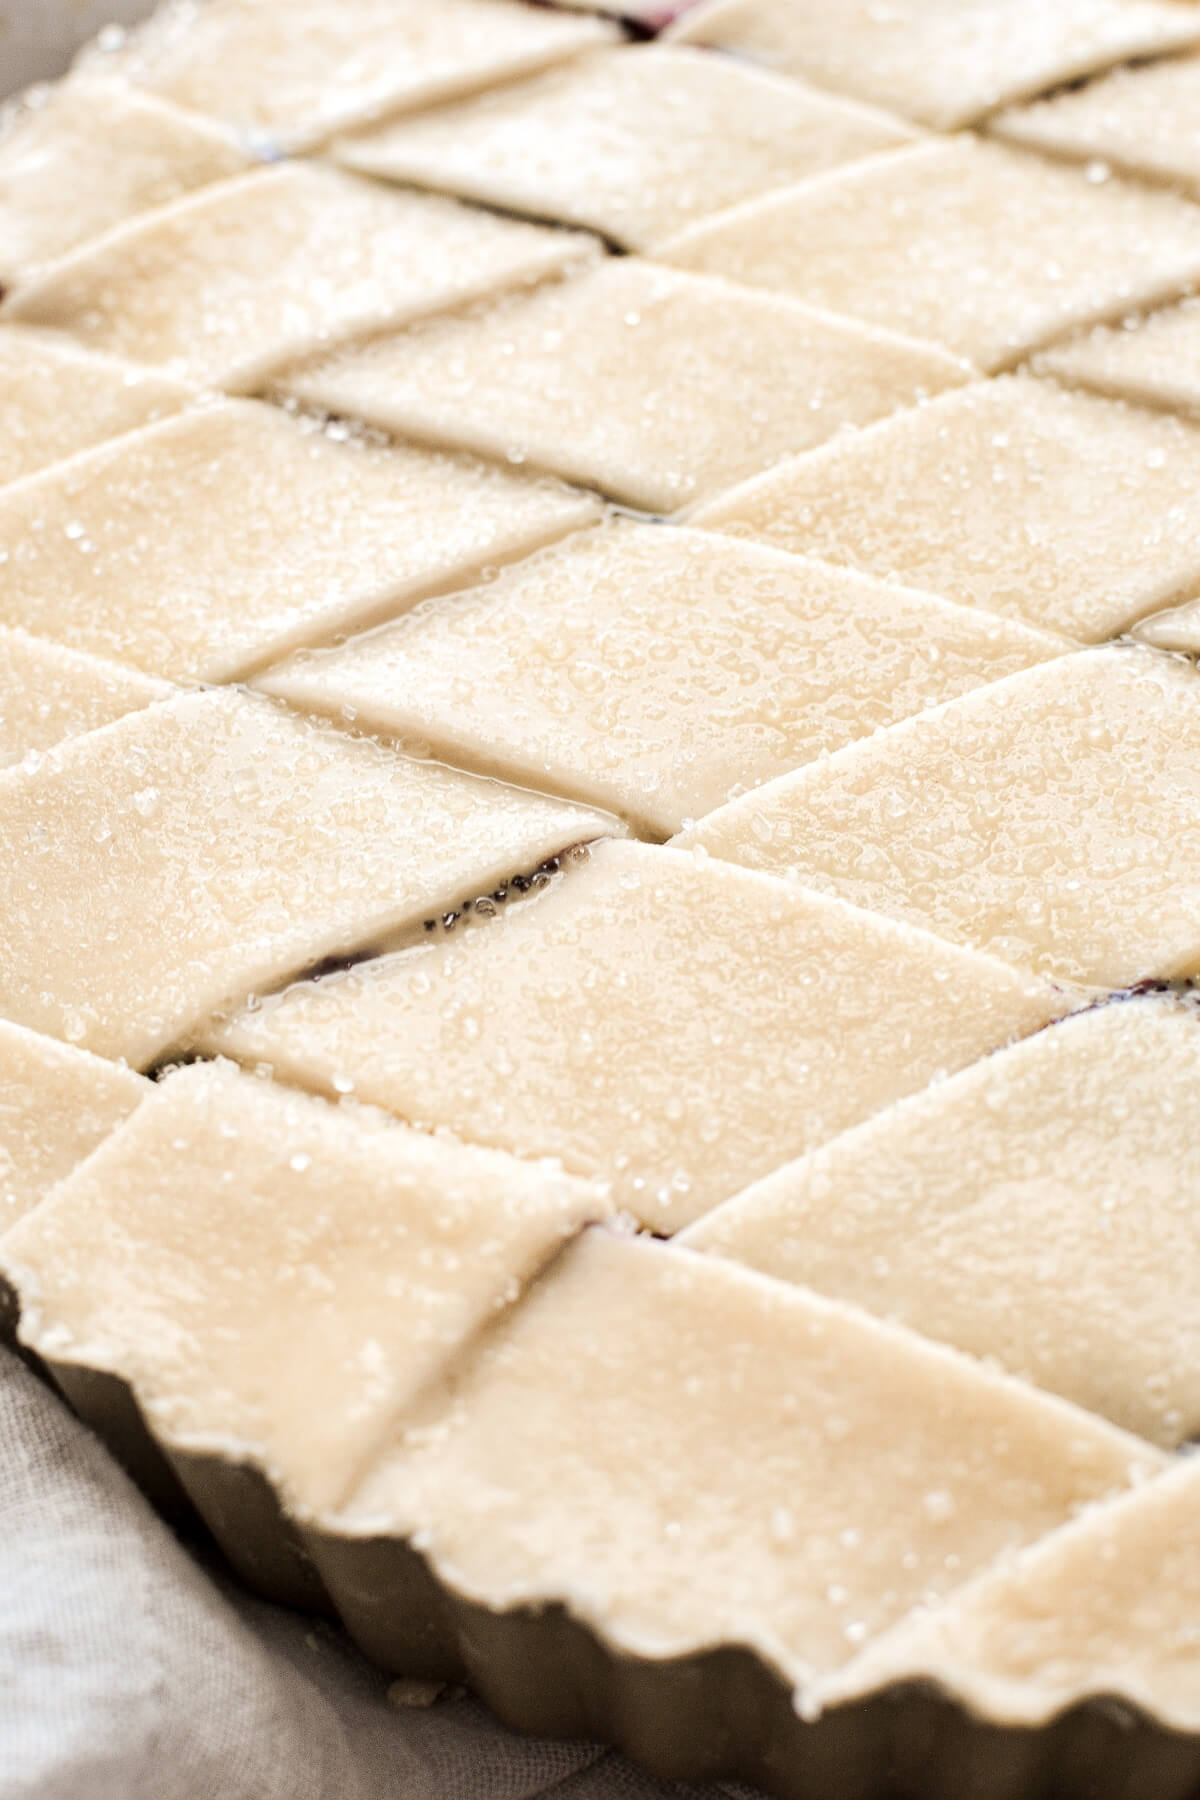
- Lightly beat the egg with the milk, and brush the egg wash over the lattice crust. If you like, sprinkle with a little granulated sugar for a crunchy finish.
- Set the pan on the baking sheet (to catch drips), and bake for about 45-60 minutes, until the filling is thick and bubbling over and the crust is golden brown and crisp.
TIP: The type of pan you use (ceramic, glass or metal), the position of your oven rack, and the temperature of your ingredients will all affect how long it takes a pie to bake. The important thing to watch is the filling. If it’s not bubbling, the pie is not done, and the filling won’t set up correctly. Ceramic pie pans don’t conduct heat as well, and pies might take anywhere from 60-90 minutes to bake through. A metal pan conducts heat much better, and when I baked this blueberry pie in my metal tart pan, it was done in less than 50 minutes.
- Cool the pie completely (at least 5-6 hours, or overnight), so the pie filling can set up before you slice it. Personally, I prefer to let mine cool for a good 8 hours before slicing, so I’ll plan on baking it first thing in the morning, to serve for dessert that night. Of course, if you don’t mind messy slices that still taste delicious, then you can certainly serve it warm.
TIP: If you want to speed up the cooling process so the filling sets up faster, let the pie cool at room temperature for 1-2 hours, then put the pie in the freezer for another 1-2 hours. Do NOT put a piping hot glass or ceramic pan into your freezer, or it could crack.
Recipe Variations: Blueberry Rhubarb Pie with Crumb Topping
For a blueberry rhubarb crumble pie, I simple replaced 3/4 pound of the blueberries with 3/4 pound chopped rhubarb (either fresh or frozen rhubarb is fine). Instead of the top lattice crust, I sprinkled the pie with brown sugar streusel topping (recipe found on my apple crumb pie) before baking.

Be sure to read all of my BAKING FAQs where I discuss ingredients, substitutions and common baking questions, so that you can be successful in your own baking!
Frequently Asked Questions
Can I use fresh blueberries instead of frozen?
Yes, absolutely. Although frozen blueberries tend to be much cheaper.
Will this pie work with a crumb topping?
Of course! You can use this crumb topping recipe.
Can I use shortening instead of butter in the pie dough?
Butter has the best flavor for pie dough, but shortening has a reputation for making flakier crusts. Personally, I only use butter, and my crusts are always very flaky. You can certainly substitute an equal amount of shortening for the butter, if you prefer.
Can I use tapioca or flour instead of corn starch?
There are so many ways to thicken pie filling, and corn starch is my preferred thickener, as it has the best flavor, texture and appearance. I really dislike tapioca, as it gives the pie filling an odd flavor and a weird, gummy texture. Flour is perfectly fine, but I find that it’s not quite as effective as corn starch. Use what you like and trust.
How do I know when my pie is done?
A browned crust on top does NOT mean the pie is done. You need to bake your pie until the juices in the middle are thick, with slow bubbles coming to the surface. This indicates that the corn starch has been activated and has properly thickened your pie filling.
How long does this pie stay fresh?
Homemade fruit pies are best eaten within 2 days. The crust will be the most crisp and flaky within the first 24 hours, after which it starts to soften a little as it absorbs moisture from the filling.
What’s the best pan to use to bake pies?
I love my pretty, ruffled edge ceramic pie pans, and even though they don’t conduct heat as efficiently, I’ve stubbornly clung to using them over the years. The type of pan you use (ceramic, glass or metal), the position of your oven rack, and the temperature of your ingredients will all affect how long it takes a pie to bake. Ceramic pie pans don’t conduct heat as well, and pies might take anywhere from 60-90 minutes to bake through. A metal pan conducts heat much better, and when I baked this blueberry pie in my metal tart pan, it was done in less than 50 minutes.
You Might Also Like


Please check out my Amazon Shop for a curated collection of some of my favorite cake pans from trusted brands, baking tools, ingredients, pretty things and fashion finds. I recommend products that I buy and use every day!
Did you love today’s recipe? Please rate the recipe and let me know in the comments what you thought! Also, be sure to follow Curly Girl Kitchen on Instagram, and tag me when you try one of my recipes so I can see all your delicious creations!
Blueberry Pie
All recipes on Curly Girl Kitchen are developed for high altitude at 5,280 feet. See FAQs for adjusting to higher or lower elevations.

Ingredients
Filling
- 2 lbs frozen blueberries
- ¾ cup granulated sugar
- ¼ cup light brown sugar
- ¼ cup corn starch
- 1 tbsp water
- 2 tbsp lemon juice
- ¼ tsp coarse Kosher salt (if using table salt, use half the amount)
- ⅛ tsp ground cloves
- 1 tsp vanilla extract
- 2 tbsp unsalted butter
Crust
- 1 recipe All-Butter Perfect Pie Dough
- 1 egg, beaten with 1 tbsp milk, for egg wash
Instructions
Filling
- In a stock pot, combine the frozen blueberries with the sugar, corn starch, water, lemon juice, salt and cloves. Warm over medium low heat to thaw the blueberries, stirring occasionally.
- Increase the heat to medium and bring to a boil, stirring frequently. Once it's close to boiling, stir constantly, then boil for 1 full minute while stirring.
- Remove from the heat and stir in the vanilla and butter.
- Let the filling cool to room temperature before filling and baking your pie.TIP: You can also make the filling 1 day in advance, and refrigerate until needed, taking it out of the fridge an hour before needed, to take the chill off.
Crust
- Prepare the All-Butter Perfect Flaky Pie Dough as instructed.
- Divide the dough in half, wrap each portion in plastic wrap, and refrigerate until needed.TIP: You can refrigerate the dough for up to 5 days, or freeze it for up to 3-6 months. Let it warm up to room temperature until you can roll it out without too much difficulty.
Assemble and Bake
- Preheat the oven to 375 F. Position a rack in the lower third of the oven to bake your pie. Line a baking sheet with parchment paper.TIP: The position of the oven rack is important. Baking the pie in the lower third of the oven brings the bottom crust closer to the heating element so that it fully bakes through, without over-browning the top crust.
- On a floured surface, roll out half the dough to between 1/4-1/8 inch thick, and fit it into a 9-inch pie pan or tart pan. Trim the edges, leaving about 1/2 inch overhang all around.
- Pour the cooled blueberry filling into the crust, and set the pan in the refrigerator to stay cool while you roll and cut the lattice strips.
- On a floured surface, roll out the second half of the dough to 1/8 inch thick, and cut into strips. Arrange the strips of dough in a lattice pattern over the blueberry filling. Press the dough together all around the edges, then trim the edges.
- Lightly beat the egg with the milk, and brush the egg wash over the lattice crust. If you like, sprinkle with a little granulated sugar for a crunchy finish.
- Set the pan on the baking sheet (to catch drips), and bake for about 45-60 minutes, until the filling is thick and bubbling over and the crust is golden brown and crisp.TIP: The type of pan you use (ceramic, glass or metal), the position of your oven rack, and the temperature of your ingredients will all affect how long it takes a pie to bake. The important thing to watch is the filling. If it's not bubbling, the pie is not done, and the filling won't set up correctly. Ceramic pie pans don't conduct heat as well, and pies might take anywhere from 60-90 minutes to bake through. A metal pan conducts heat much better, and when I baked this blueberry pie in my metal tart pan, it was done in less than 50 minutes.
- Cool the pie completely (at least 5-6 hours, or overnight), so the pie filling can set up before you slice it.TIP: If you want to speed up the cooling process so the filling sets up faster, let the pie cool at room temperature for 1-2 hours, then put the pie in the freezer for another 1-2 hours. Do NOT put a piping hot glass or ceramic pan into your freezer, or it could crack.
Notes
 https://curlygirlkitchen.com/
Such beautiful pictures! Thank you for sharing this. I needed ideas for my sweet little leaf cutters, and now thanks to you, I have one! Pie making is something my mother and grandmother passed on. A helpful tip they have shared with me is leaving the top crust an inch or so longer than the bottom then gently folding the top over the bottom before crimping the edges rather than simply pressing edges together evenly. This is especially helpful on catching extra juicy fillings that tend to run over.
That's a great tip! I've done that before when I don't want to use the scraps for something – it's a good way to get a nice thick crust, too, and not waste any dough.
Love your pictures. I have some frozen blueberries from this summer just screaming for attention! Can't wait to give this pie a whirl:)
Tke care
Connie
This was my first time making pie from scratch and it was very successful! I will definitely be making it again.
I’m so glad! This is one of my family’s favorites. 🙂