
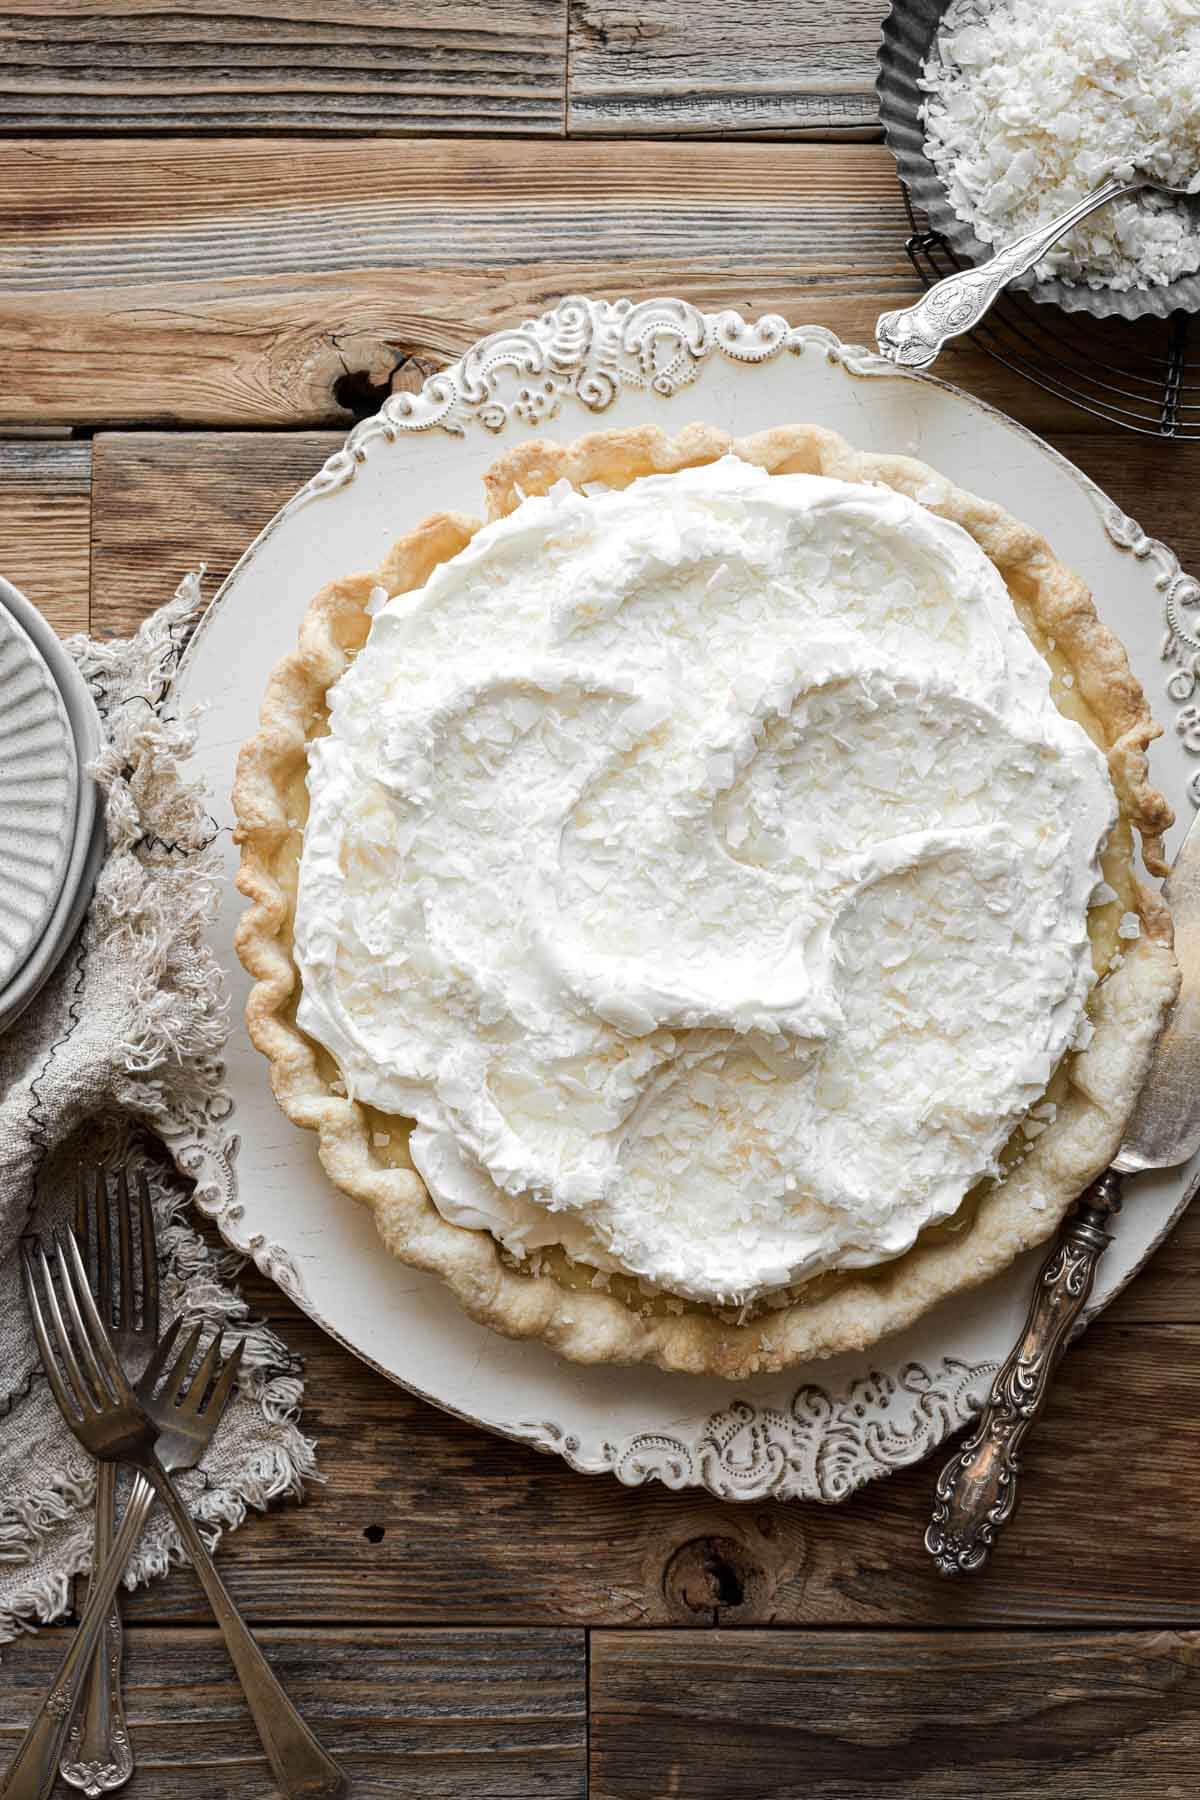
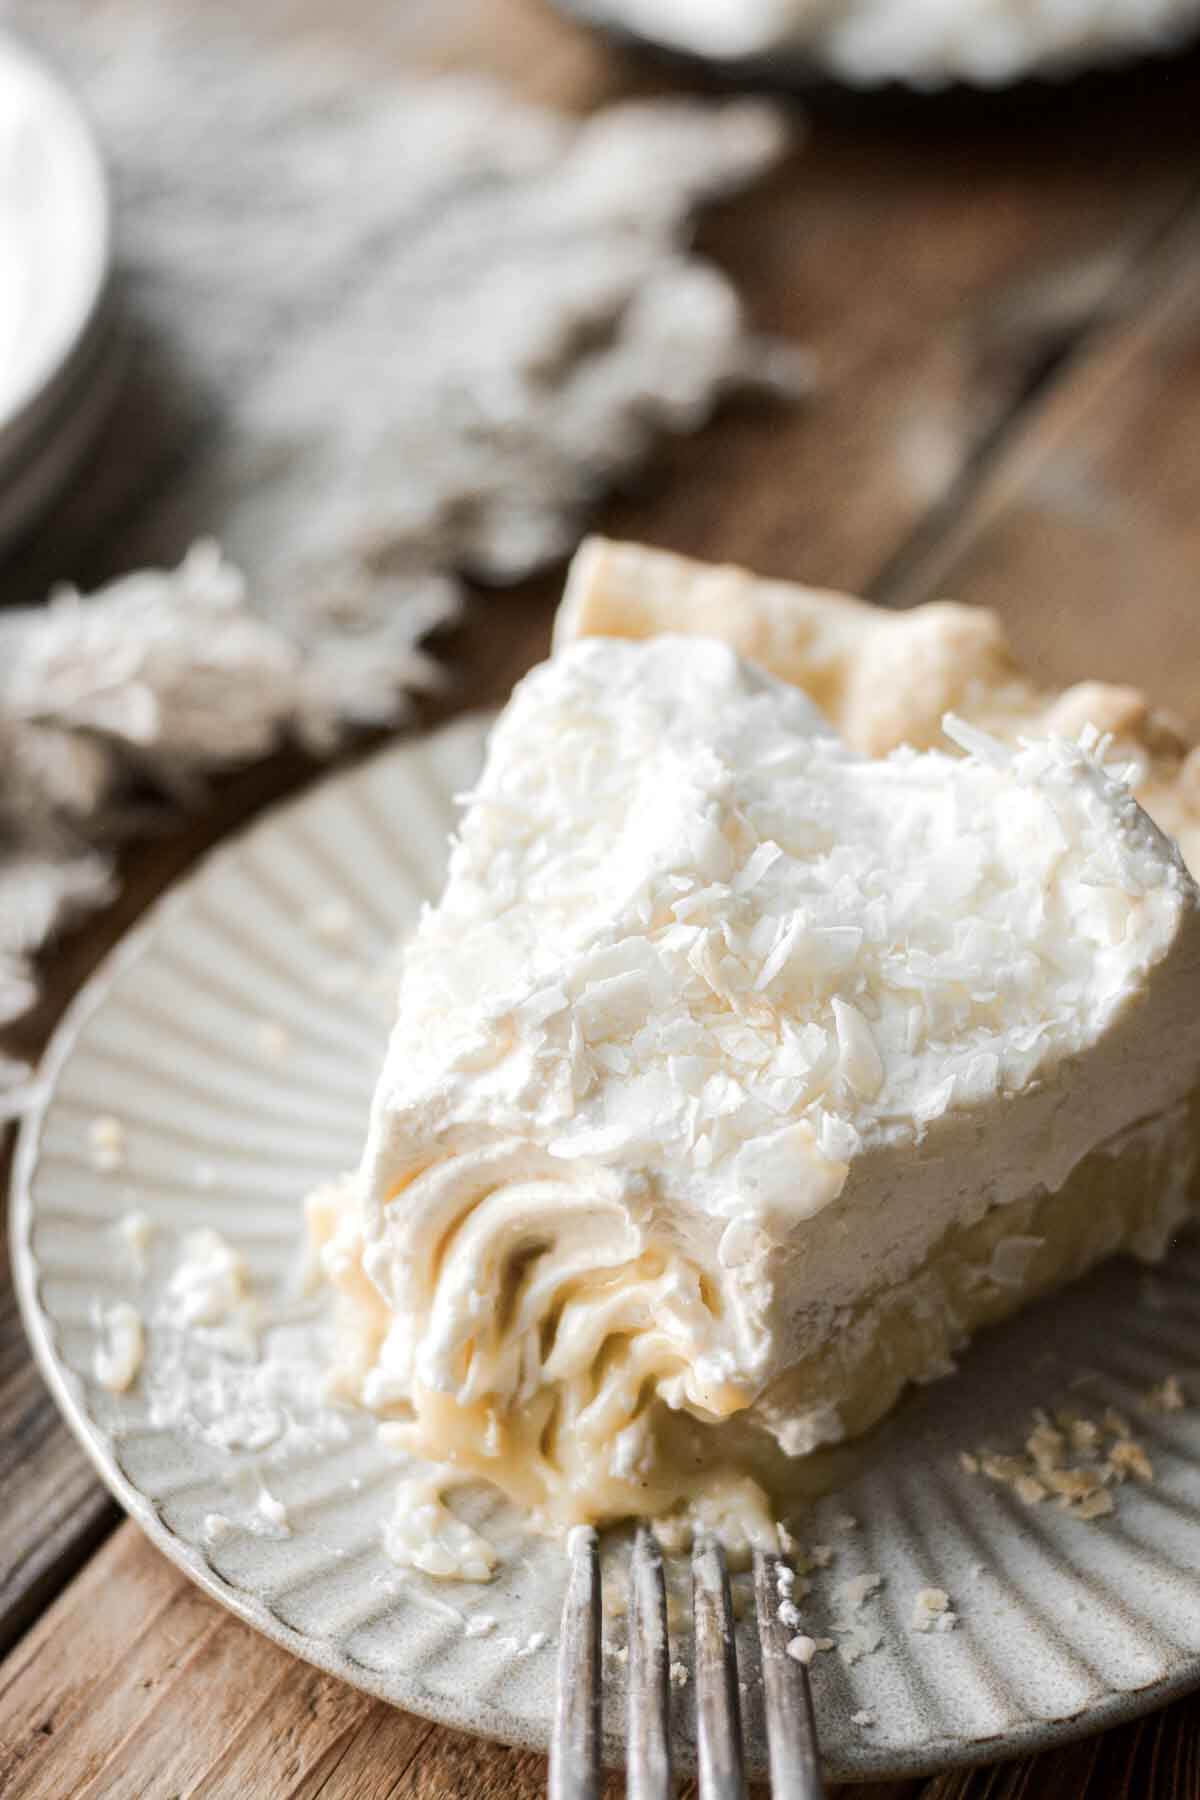
The best recipe for homemade coconut cream pie with flaky pastry, coconut pastry cream, and lightly sweetened whipped cream. This is a pie worth making for any special occasion!
Looking for more recipes like this? Don’t miss this banana cream pie, easy key lime pie, and chocolate cream pie.

This site contains affiliate links. As an Amazon associate, I earn from qualifying purchases. This means that I may make a small commission if you purchase a product using those links. This in no way affects my opinion of those products and services. All opinions expressed on this site are my own.
Why You’ll Love This Recipe
All Natural Coconut Flavor. While many coconut cream pies are nothing more than vanilla pudding with a little sweetened coconut mixed in, this pie is the real deal. Thick and creamy coconut milk makes a rich and flavorful coconut pastry cream that’s flecked with vanilla bean. And the natural unsweetened coconut flakes add texture and flavor, without excessive sweetness.
High Altitude Tested. I develop all the recipes on my site for Denver’s altitude of 5,280 feet. If you’re at a lower or higher elevation, please see my FAQs for guidance on adjusting recipes for your altitude. Today’s recipe will work at any altitude, though.
See the recipe card at the end of the post for the full ingredients list and instructions.
Ingredients
Flaky Pie Crust
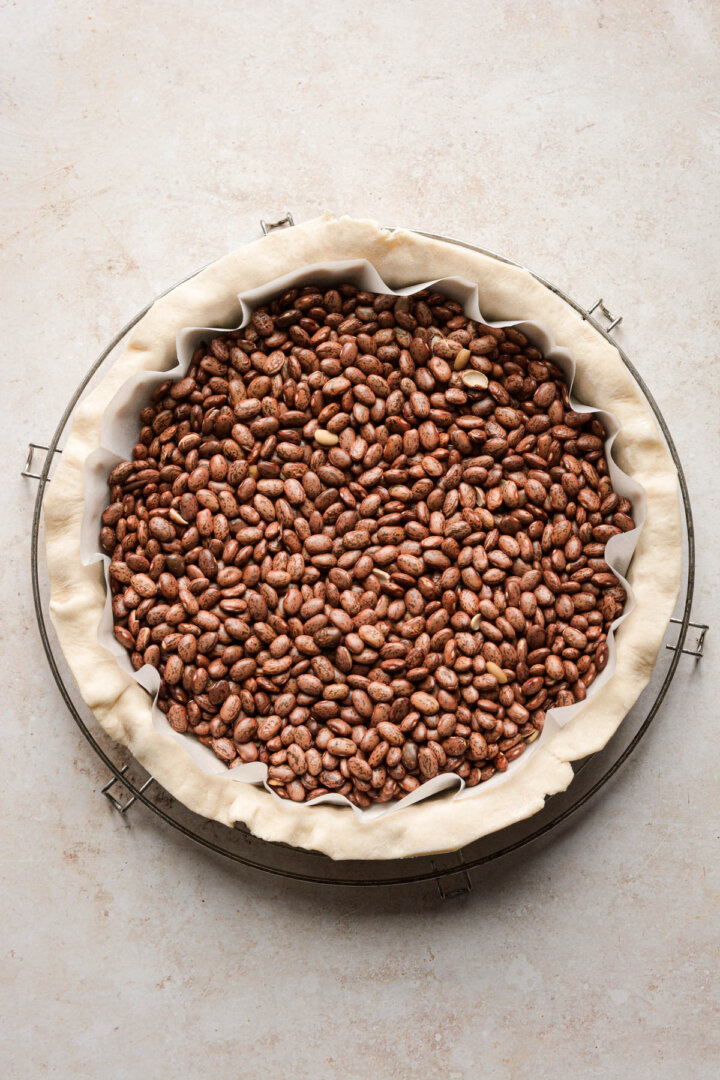
For the pie crust, I turned to my trusty All Butter Perfectly Flaky Pie Dough recipe. My recipe makes enough for a double crust pie, so you can either make 1/2 the recipe, or just wrap and freeze the other portion of dough for another pie. Since the coconut filling is not baked in the oven, you will need to pre-bake or blind-bake your pie crust, before you fill it with the coconut pastry cream.
- Flour. All-purpose flour provides strength and structure to the pie dough.
- Granulated Sugar. Just a touch of sweetness.
- Coarse Kosher Salt. Adds flavor.
- Unsalted Butter. The butter adds richness and moisture, as well as creates flaky layers when the steam escapes the cold butter as it bakes.
- Apple Cider Vinegar. The acidity makes a tender pie crust.
- Whole Milk. Whole milk has more flavor than ice water, and brings the dough together.
Coconut Pastry Cream
For the filling, I made this gloriously creamy, rich and thick coconut pastry cream, custard or pudding. Rather than flavoring a vanilla pastry cream with coconut extract, I used canned coconut milk. Canned coconut milk is thick and creamy, perfect for cooking and baking.
- Canned Coconut Milk. Unsweetened canned coconut milk can be found near the Thai food on the ethnic food aisle at most major grocery stores. It’s thick and creamy, and perfect for baking and cooking. You should not use refrigerated coconut milk from the dairy aisle, as that’s intended for drinking, and is too watery for a coconut pie filling.
- Granulated Sugar. Sweetness.
- Corn Starch. Thickens the filling.
- Egg Yolks. Egg yolks also help to thicken the filling, but they also add richness and flavor.
- Coarse Kosher Salt. A pinch of salt balances the sweetness.
- Vanilla Bean Paste. The flecks of vanilla bean are just delicious in this coconut cream pie filling.
- Unsalted Butter. A touch of butter added at the end adds flavor and richness.
- Coconut Flakes. I prefer to use natural, unsweetened coconut flakes. If you only have sweetened shredded coconut, then you can use that, too.
Whipped Cream
While you could make a meringue topping for your coconut pie, fresh whipped cream is the best topping.
- Cream Cheese. Stabilizes the whipped cream so it doesn’t deflate.
- Heavy Whipping Cream. To make homemade whipped cream, you must use heavy whipping cream, not table cream, or light cream, or half ‘n’ half.
- Powdered Sugar. Whipped cream doesn’t need to be too sweet, so just a little powdered sugar adds the perfect amount of sweetness.
- Vanilla Extract. Flavor.
Instructions
Make the Pie Crust
The process of “blind-baking” or “pre-baking” pie dough involves baking an unfilled pie crust, during which you’ll need to weigh the dough down with something (such as dried beans), since it’s being baked without any other filling. This weight helps prevent the bottom crust from puffing up too much and the sides from sliding down the side of the pan.
- Prepare 1/2 the recipe (for 1 single crust) of All-Butter Flaky Pie Dough. If you like, you can make the full recipe, divide the dough in half, and wrap and freeze half for another pie.
- Follow the instructions to blind-bake the crust, then set aside to cool slightly while you make the coconut pastry cream. You can bake the crust in either a 9-inch tart pan or a deep-dish pie pan.


Coconut Pastry Cream
- In a saucepan, whisk together the sugar, corn starch and salt. Add the egg yolks, and the coconut milk, whisking until combined. It’s normal for the solid cream in the coconut milk to be firm and lumpy, but it will smooth out as it warms up.
- Over medium heat, cook the pastry cream, whisking constantly. After about 7-8 minutes, it should start to boil and thicken. Once it boils, continue to cook for 2 more minutes, still whisking constantly.


- Remove the pan from the heat, and stir in the vanilla bean paste and butter, until melted and smooth. Stir in the coconut flakes.
- Immediately pour the filling into the pre-baked crust. Let cool at room temperature for about an hour, then cover loosely with plastic wrap and refrigerate until cooled and set, about 3 hours.


Whipped Cream
- Before serving, make the stabilized whipped cream.
- Pipe, spread or dollop the whipped cream on top of the pie. Sprinkle with the coconut flakes.

Be sure to read all of my BAKING FAQs where I discuss ingredients, substitutions and common baking questions, so that you can be successful in your own baking!
Frequently Asked Questions
Leftover pie should be covered loosely and refrigerated, for up to 3-5 days.
Yes, it will. You will still need to follow the instructions to pre-bake the crust.
If your coconut filling didn’t firm up in the refrigerator, then you didn’t cook it for long enough on the stove. Be sure you bring it to a boil (slow thick bubbles) and continue to cook it for two minutes longer to fully activate the corn starch. Also, be sure you’re using full fat coconut milk, not light coconut milk, which is too thin and watery.

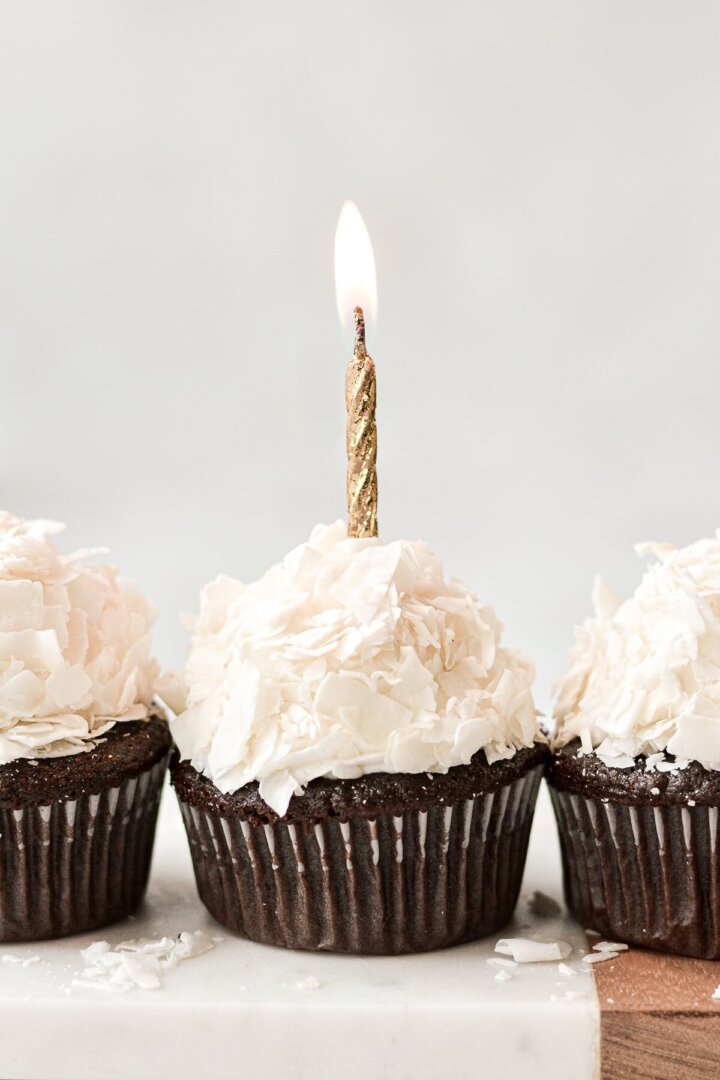
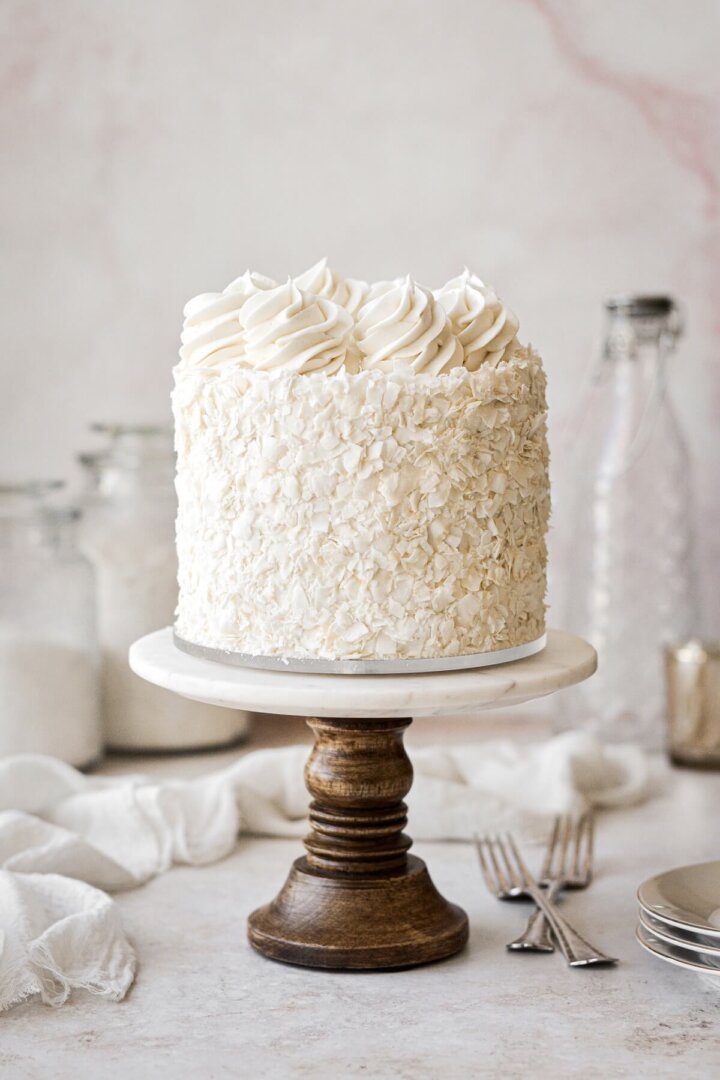
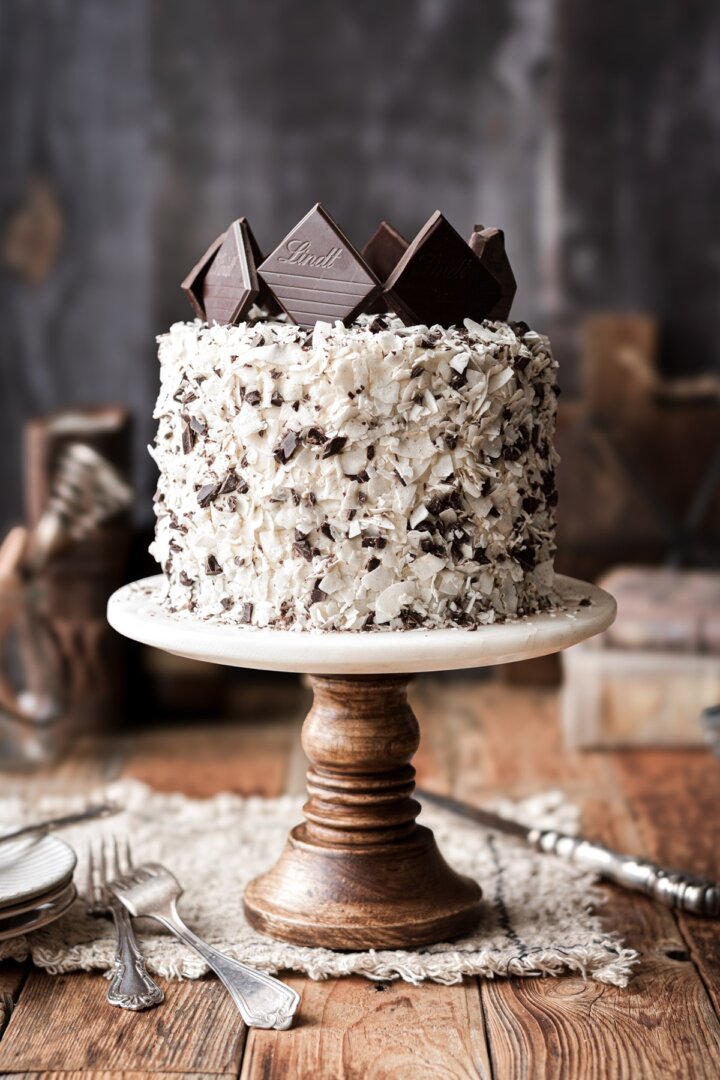
You Might Also Like
Please check out my Amazon Shop for a curated collection of some of my favorite cake pans from trusted brands, baking tools, ingredients, pretty things and fashion finds. I recommend products that I buy and use every day!
Did you love today’s recipe? Please rate the recipe and let me know in the comments what you thought! Also, be sure to follow Curly Girl Kitchen on Instagram, and tag me when you try one of my recipes so I can see all your delicious creations!

Coconut Cream Pie
All recipes on Curly Girl Kitchen are developed for high altitude at 5,280 feet. See FAQs for adjusting to higher or lower elevations.

Equipment
- 9-inch Round Tart Pan with Removable Bottom (or a deep-dish pie pan)
Ingredients
Pie Dough
- ½ recipe All-Butter Flaky Pie Dough
Coconut Pastry Cream
- ¾ cup granulated sugar
- ¼ cup corn starch
- ¼ tsp coarse Kosher salt (if using table salt, use half the amount)
- 4 large egg yolks
- 28 oz (2 cans) unsweetened, full-fat coconut milk (do not use light coconut milk)
- 1 tsp vanilla bean paste
- 4 tbsp unsalted butter
- 1 cup "natural" unsweetened coconut flakes
Whipped Cream
- 1 recipe Stabilized Whipped Cream
- ½ cup "natural" unsweetened coconut flakes
Instructions
Crust
- Prepare 1/2 the recipe (for 1 single crust) of All-Butter Flaky Pie Dough. If you like, you can make the full recipe, divide the dough in half, and wrap and freeze half for another pie.
- Follow the instructions to blind-bake the crust, then set aside to cool slightly while you make the coconut pastry cream. You can bake the crust in either a 9-inch tart pan or a deep-dish pie pan.
Coconut Pastry Cream
- In a saucepan, whisk together the sugar, corn starch and salt. Add the egg yolks, and the coconut milk, whisking until combined. It's normal for the solid cream in the coconut milk to be firm and lumpy, but it will smooth out as it warms up.
- Over medium heat, cook the pastry cream, whisking constantly. After about 7-8 minutes, it should start to boil and thicken. Once it boils, continue to cook for 2 more minutes, still whisking constantly.
- Remove the pan from the heat, and stir in the vanilla bean paste and butter, until melted and smooth. Stir in the coconut flakes.
- Immediately pour the filling into the pre-baked crust. Let cool at room temperature for about an hour, then cover loosely with plastic wrap and refrigerate until cooled and set, about 3 hours.
Whipped Cream
- Before serving, make the stabilized whipped cream.
- Pipe, spread or dollop the whipped cream on top of the pie. Sprinkle with the coconut flakes.
Notes
 https://curlygirlkitchen.com/
Leave a Reply