
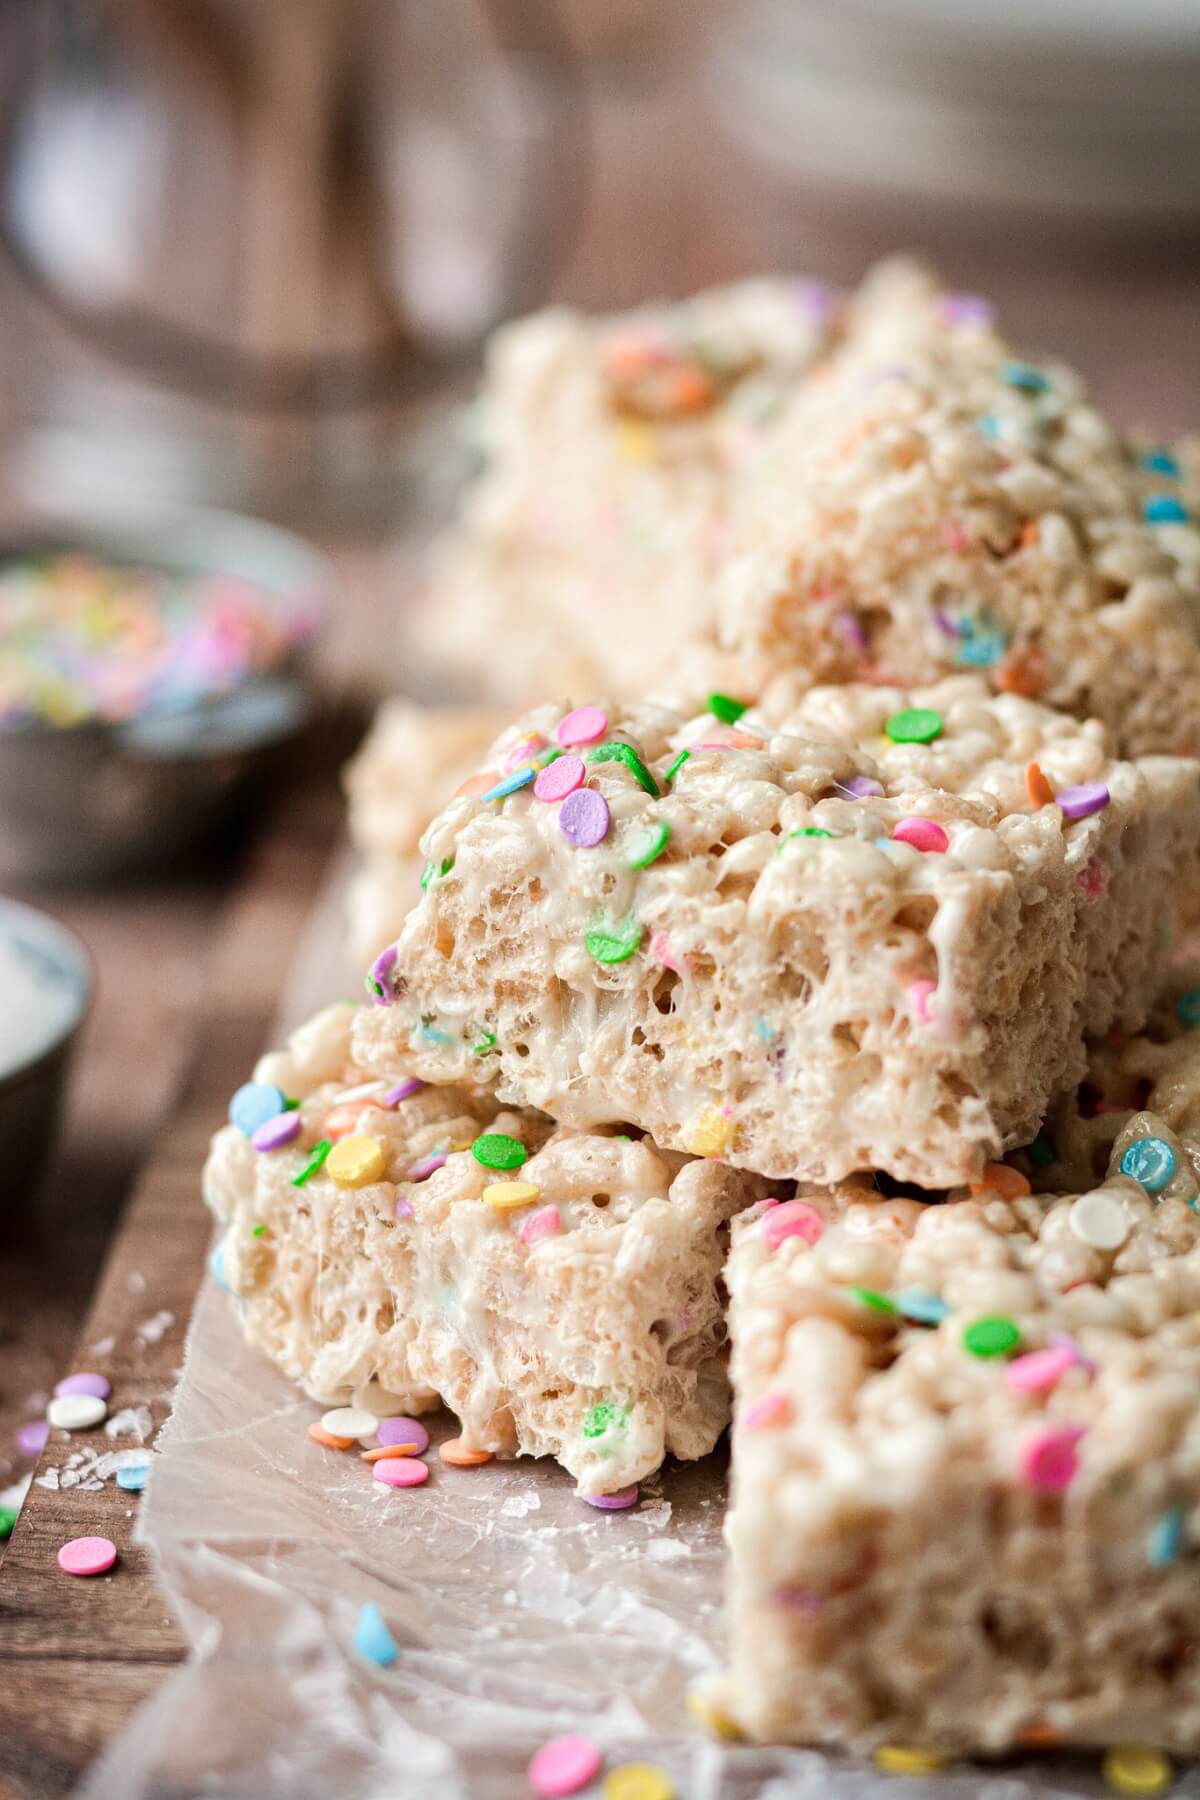
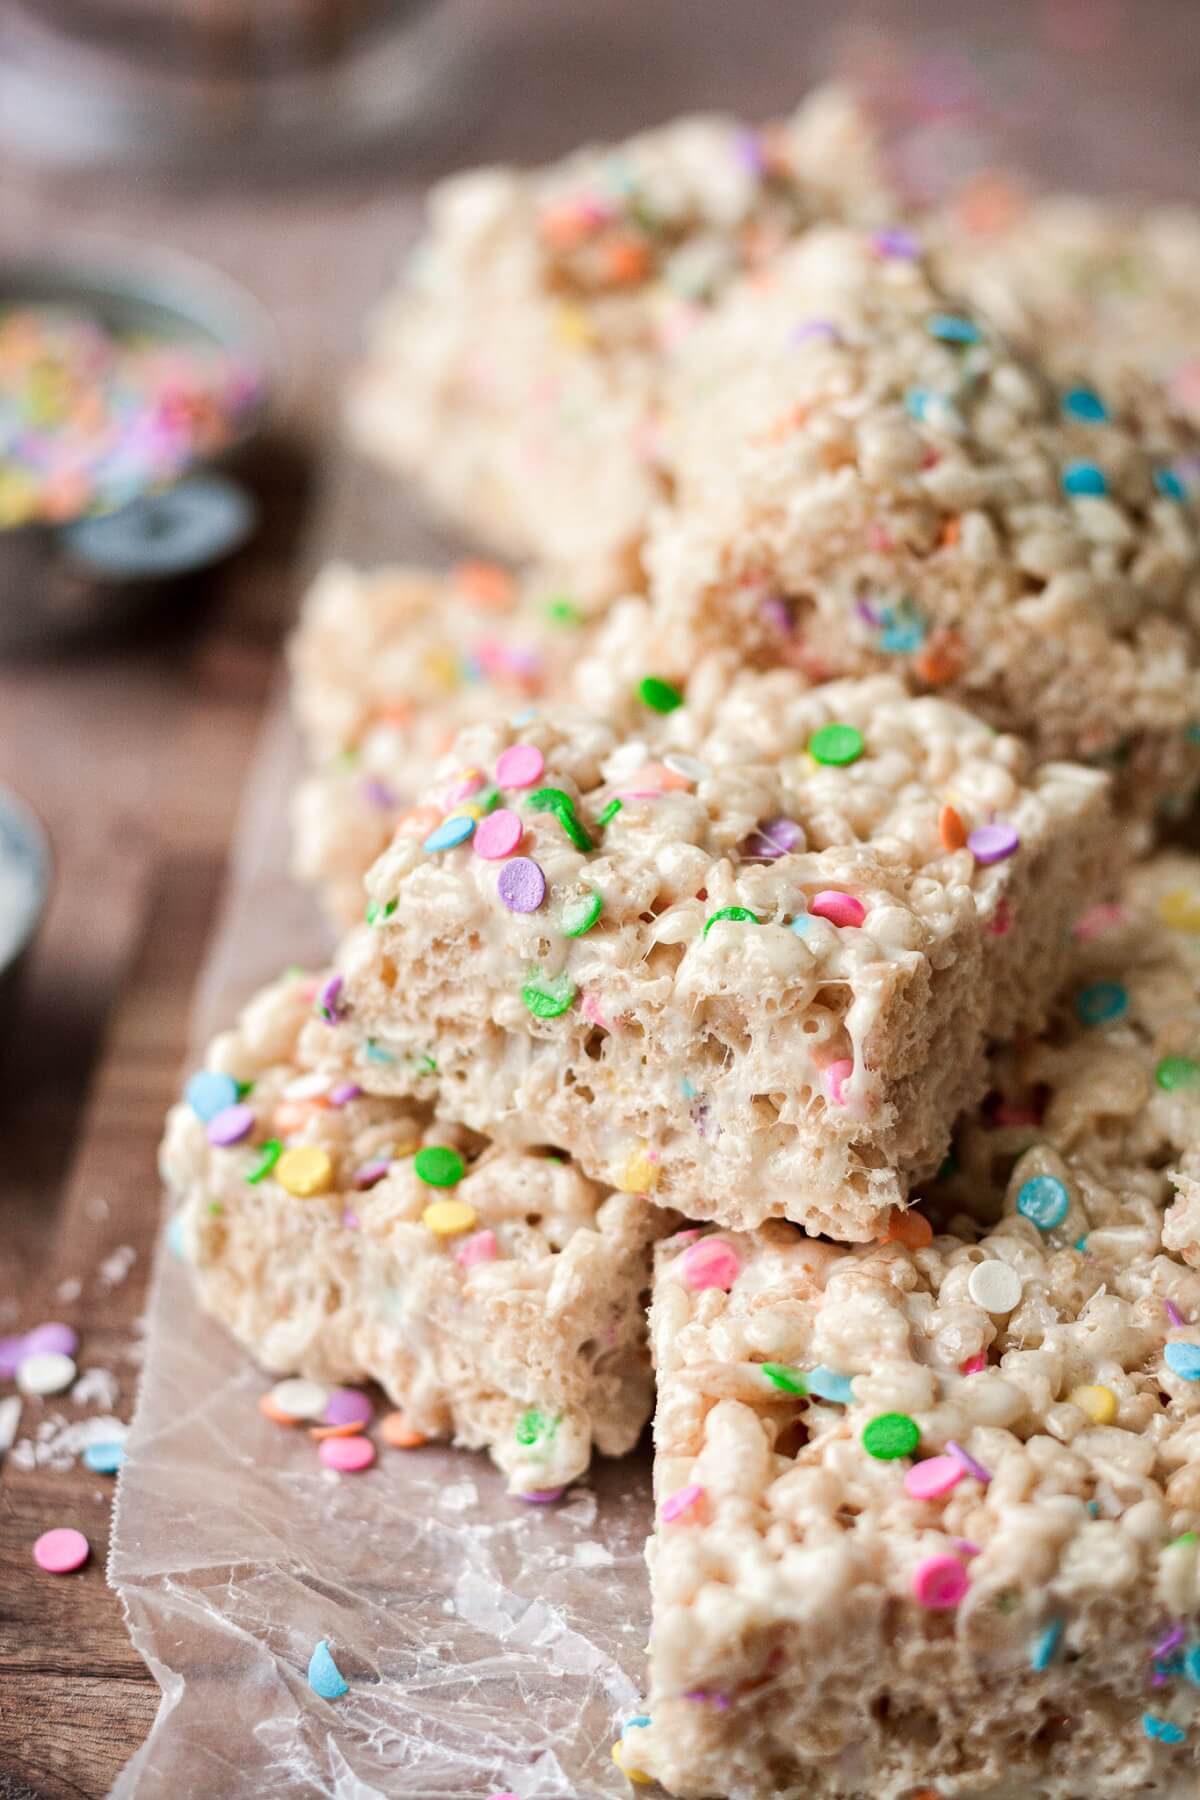
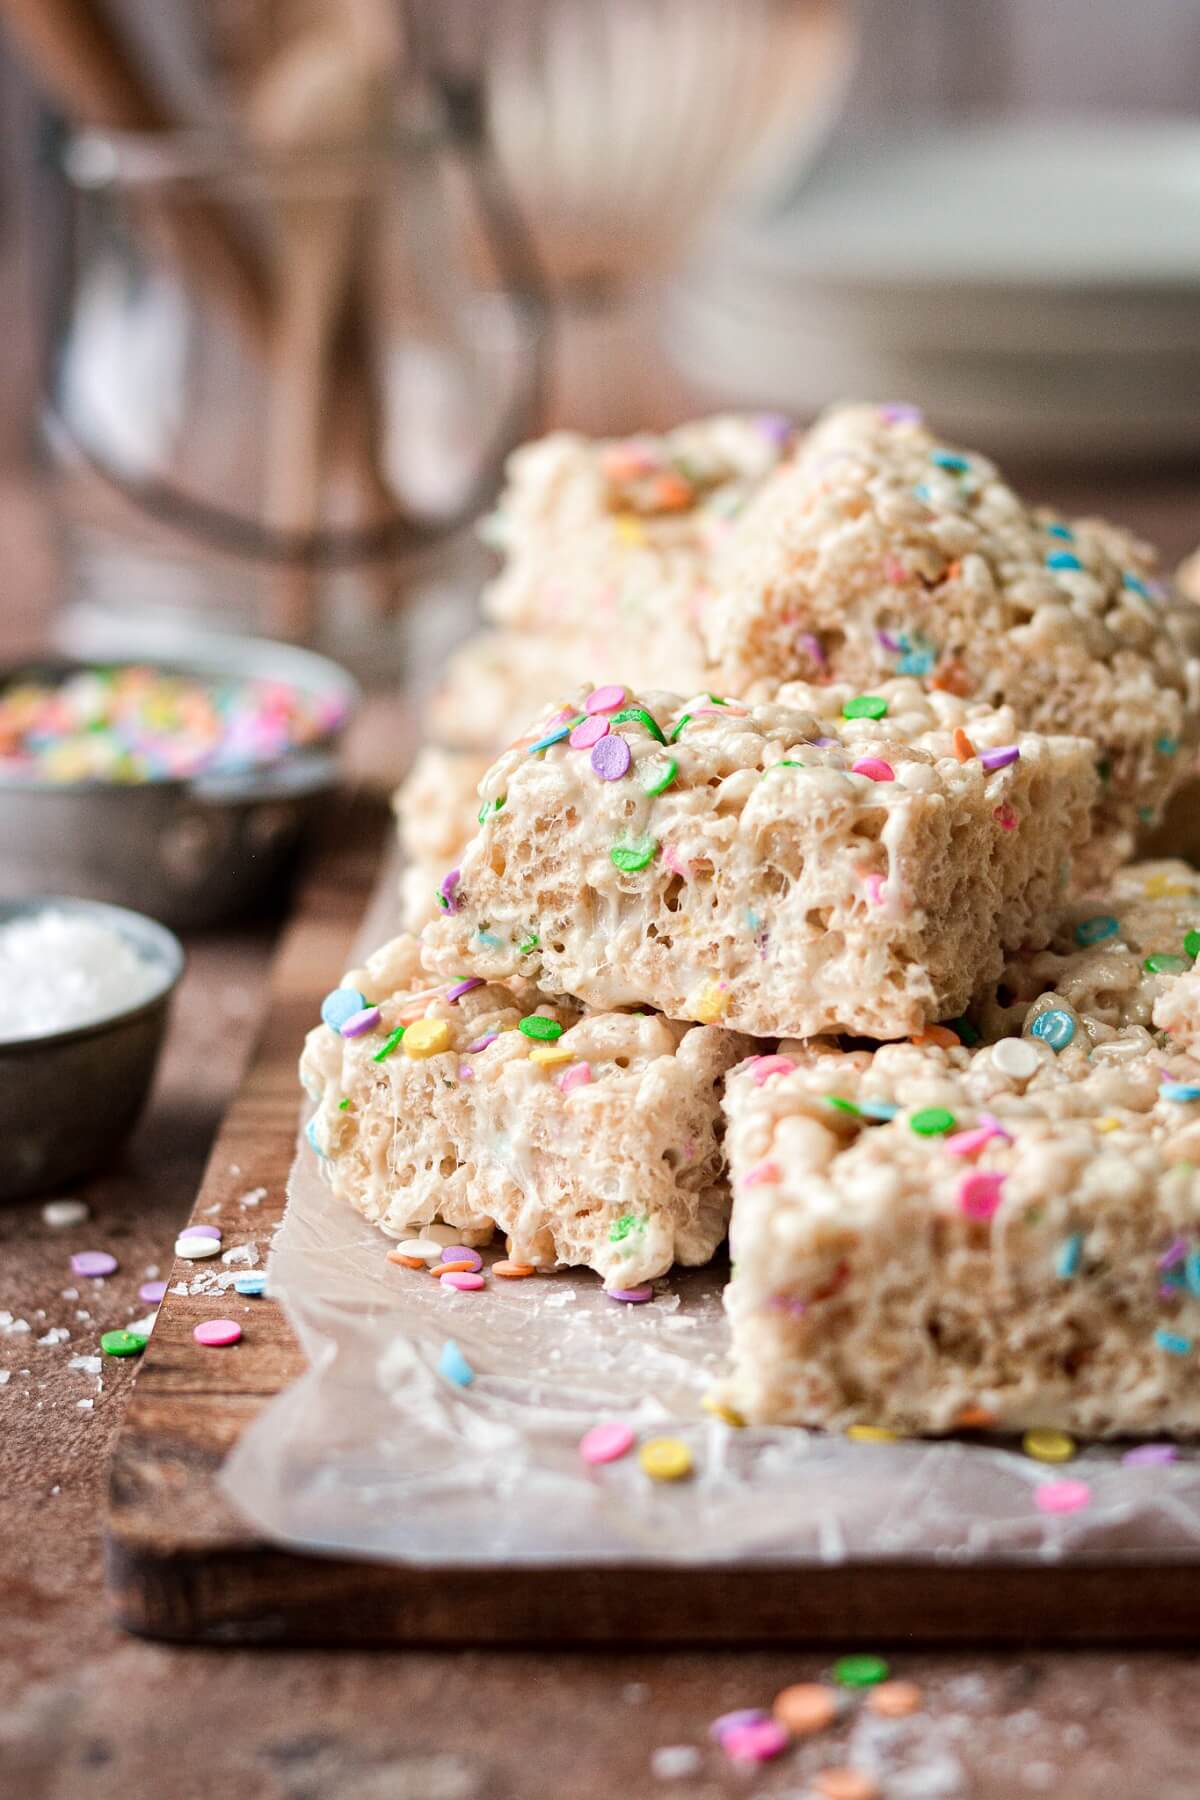
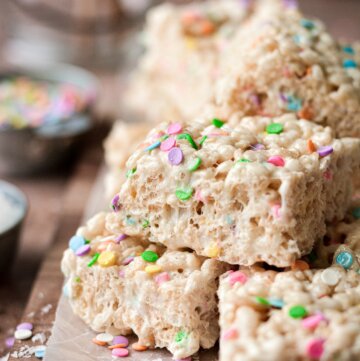
These chewy, gooey brown butter rice krispie treats are easy to make and so cute with colorful confetti sprinkles. This is a treat the whole family will love!
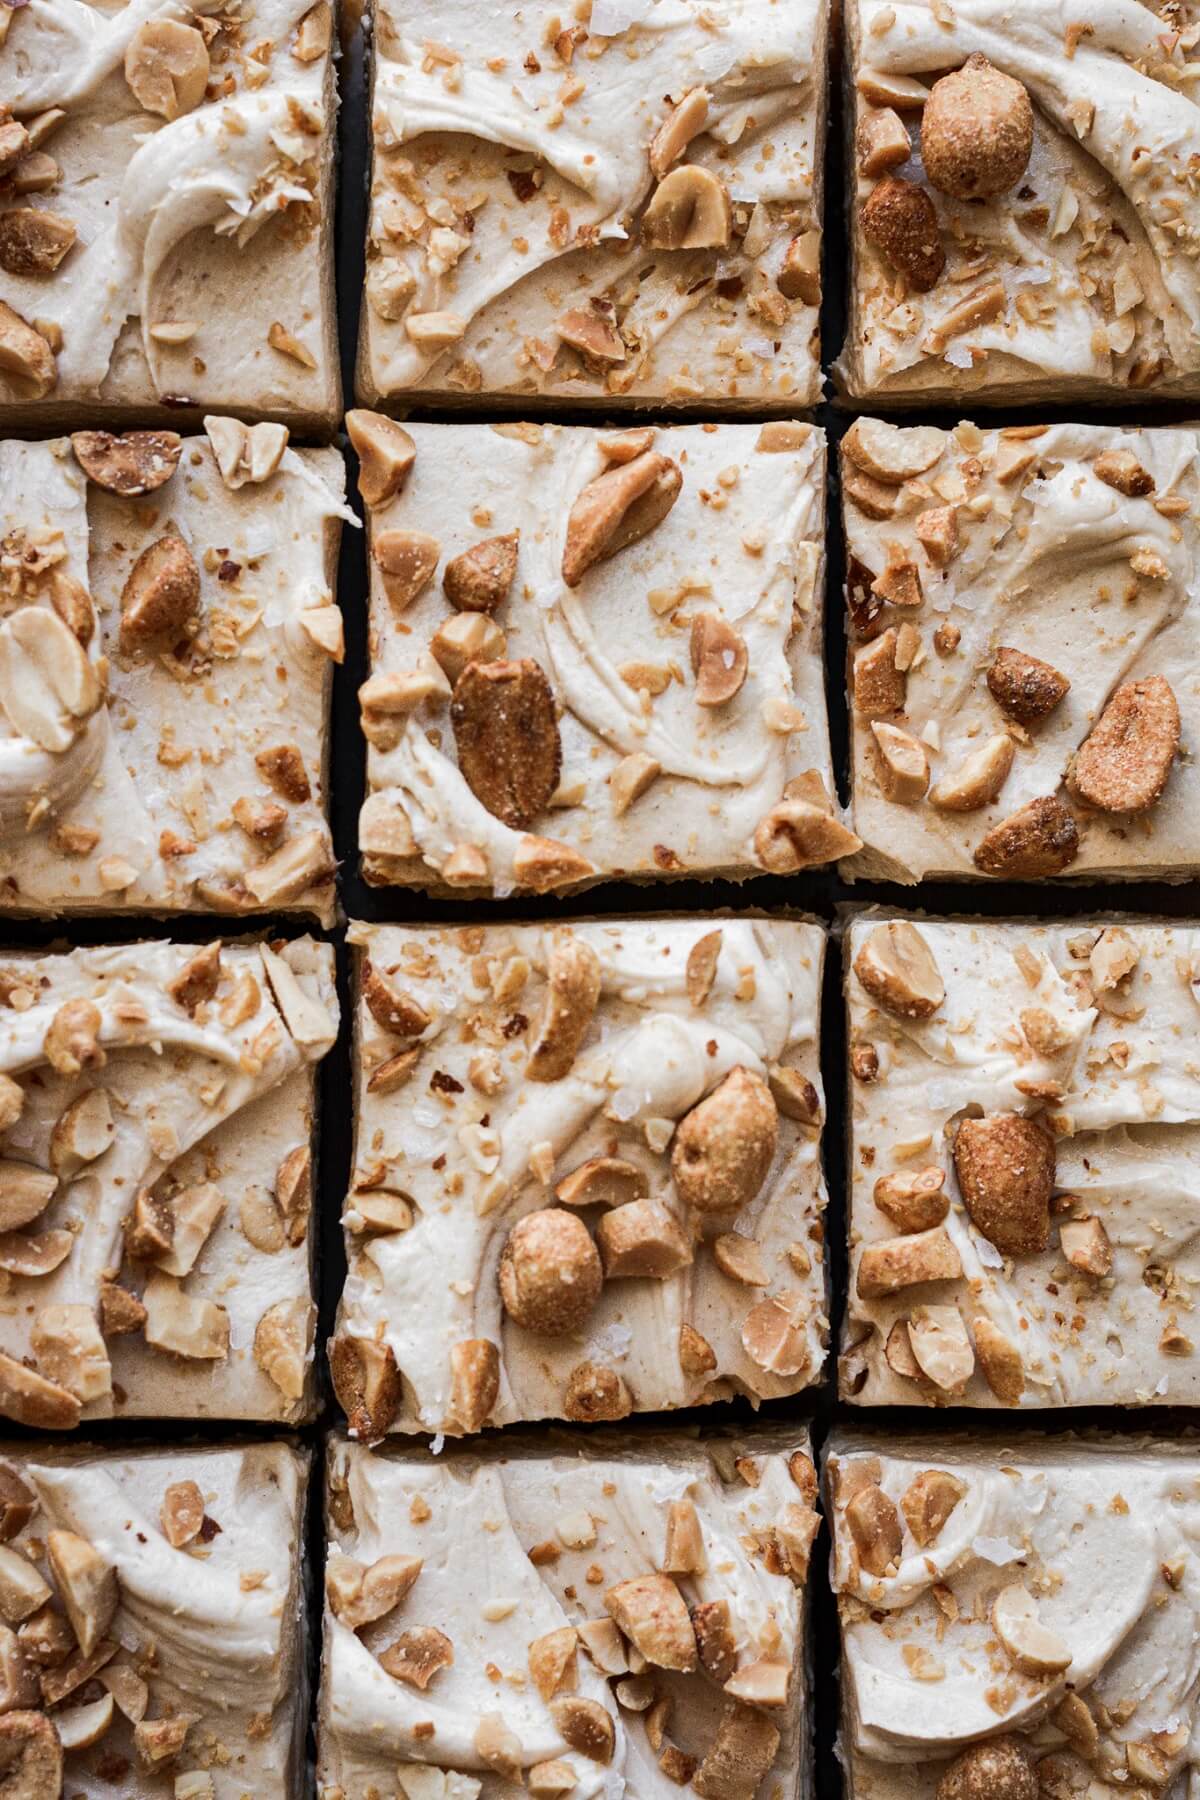
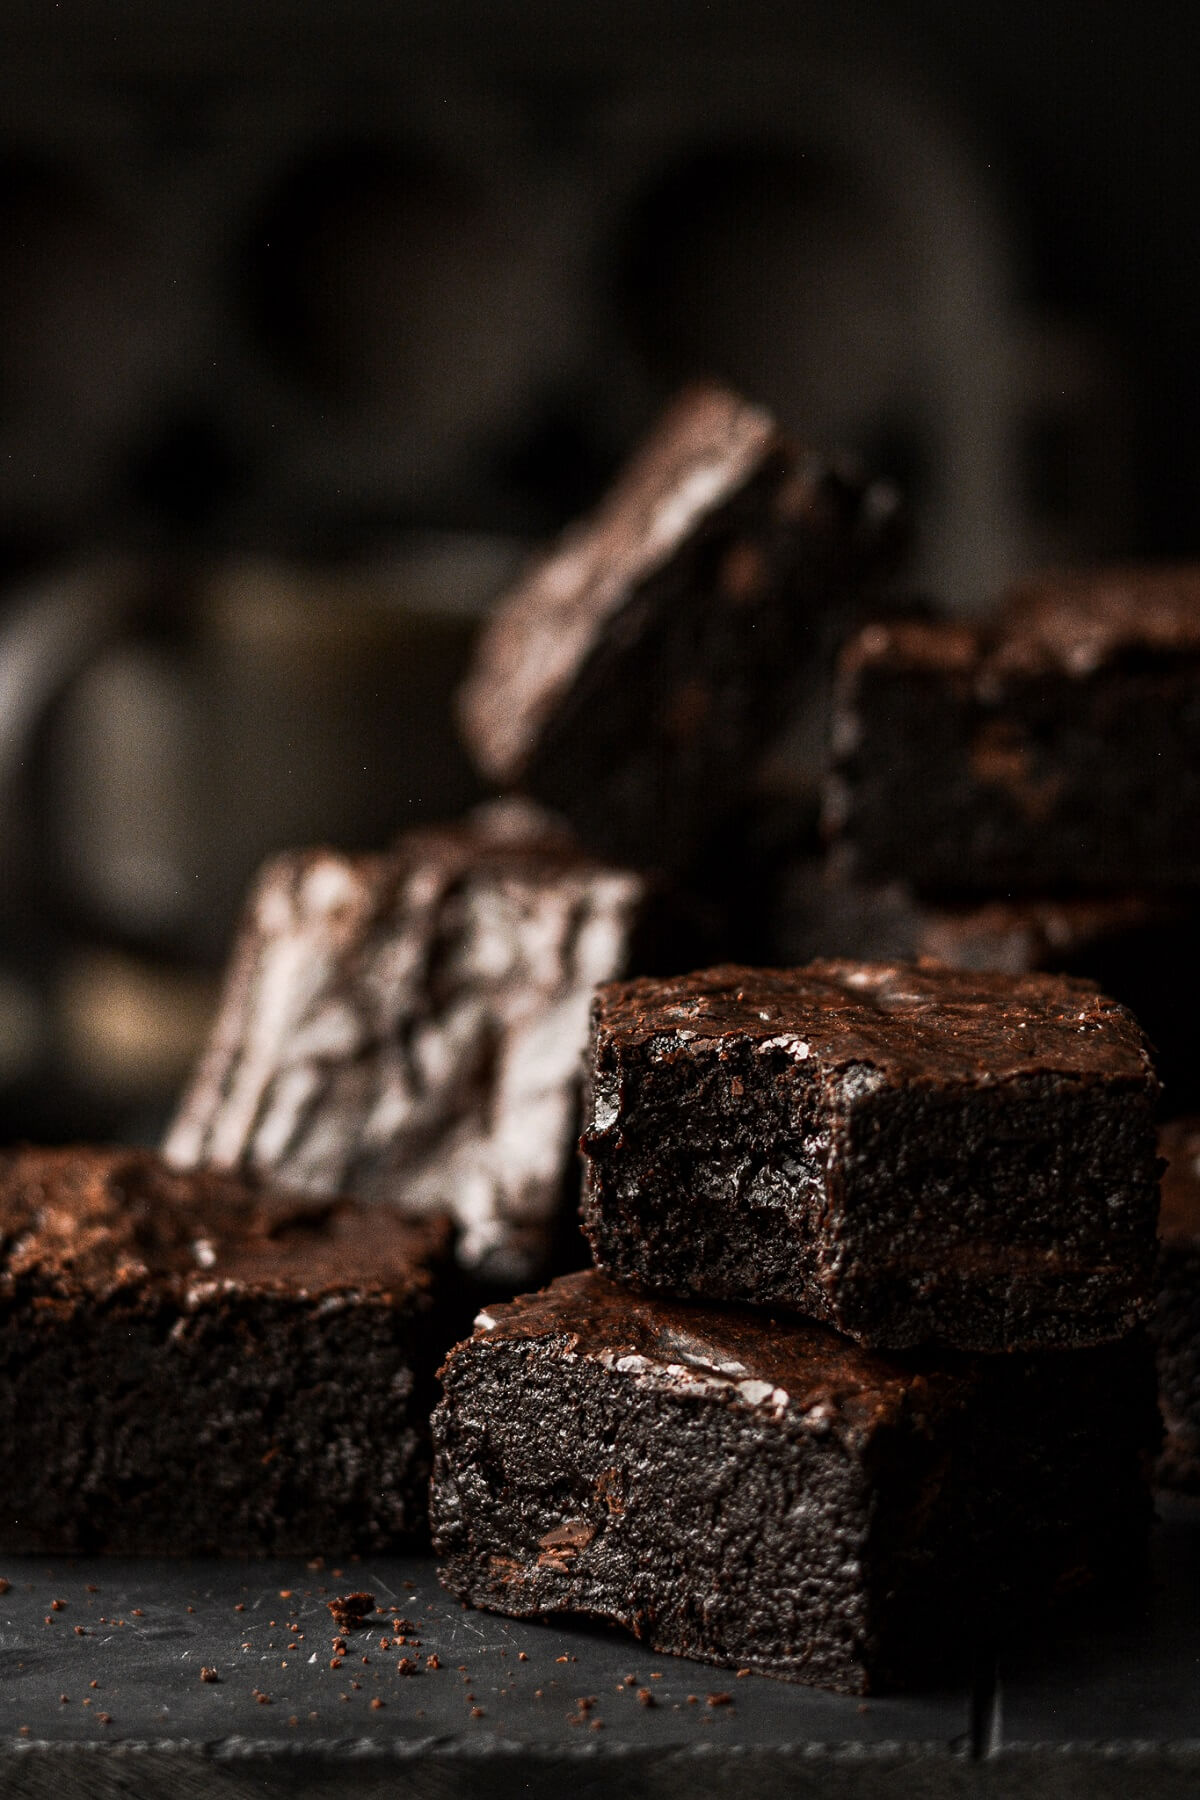
You might also love these high altitude recipes for salted peanut butter blondies, best crackly topped fudge brownies, and oatmeal chocolate chip cookie bars.
This site contains affiliate links. As an Amazon associate, I earn from qualifying purchases. This means that I may make a small commission if you purchase a product using those links. This in no way affects my opinion of those products and services. All opinions expressed on this site are my own.
Why You’ll Love This Recipe
Quick and Easy. Just a few minutes of prep work, and you’re all done. Then you just wait about an hour for the treats to cool and set up.
Just 5 Ingredients. You only need 5 simple ingredients from your pantry and fridge (6 if you’re adding sprinkles).
Brown Butter. The flavor of the brown butter really makes these rice krispie treats extra special. I promise you’ll be glad you took a few extra minutes to brown the butter first.
Kid Approved. I don’t know a kid who doesn’t love these crispy, gooey cereal treats. With the gooey marshmallows, butter and sprinkles, what’s not to love?
High Altitude Tested. I develop all the recipes on my site for Denver’s altitude of 5,280 feet. Now you might be wondering, how does high altitude affect something that doesn’t have leavening, like rice krispie treats? Well, with a recipe like this, it’s the dry air here in Colorado that will affect the outcome, rather than the altitude. The ratio of rice krispies to butter to marshmallows needs to be just right, so that the treats don’t dry out into hard bricks afterwards, but stay soft and gooey for days.
See the recipe card at the end of the post for the full ingredients list and instructions.
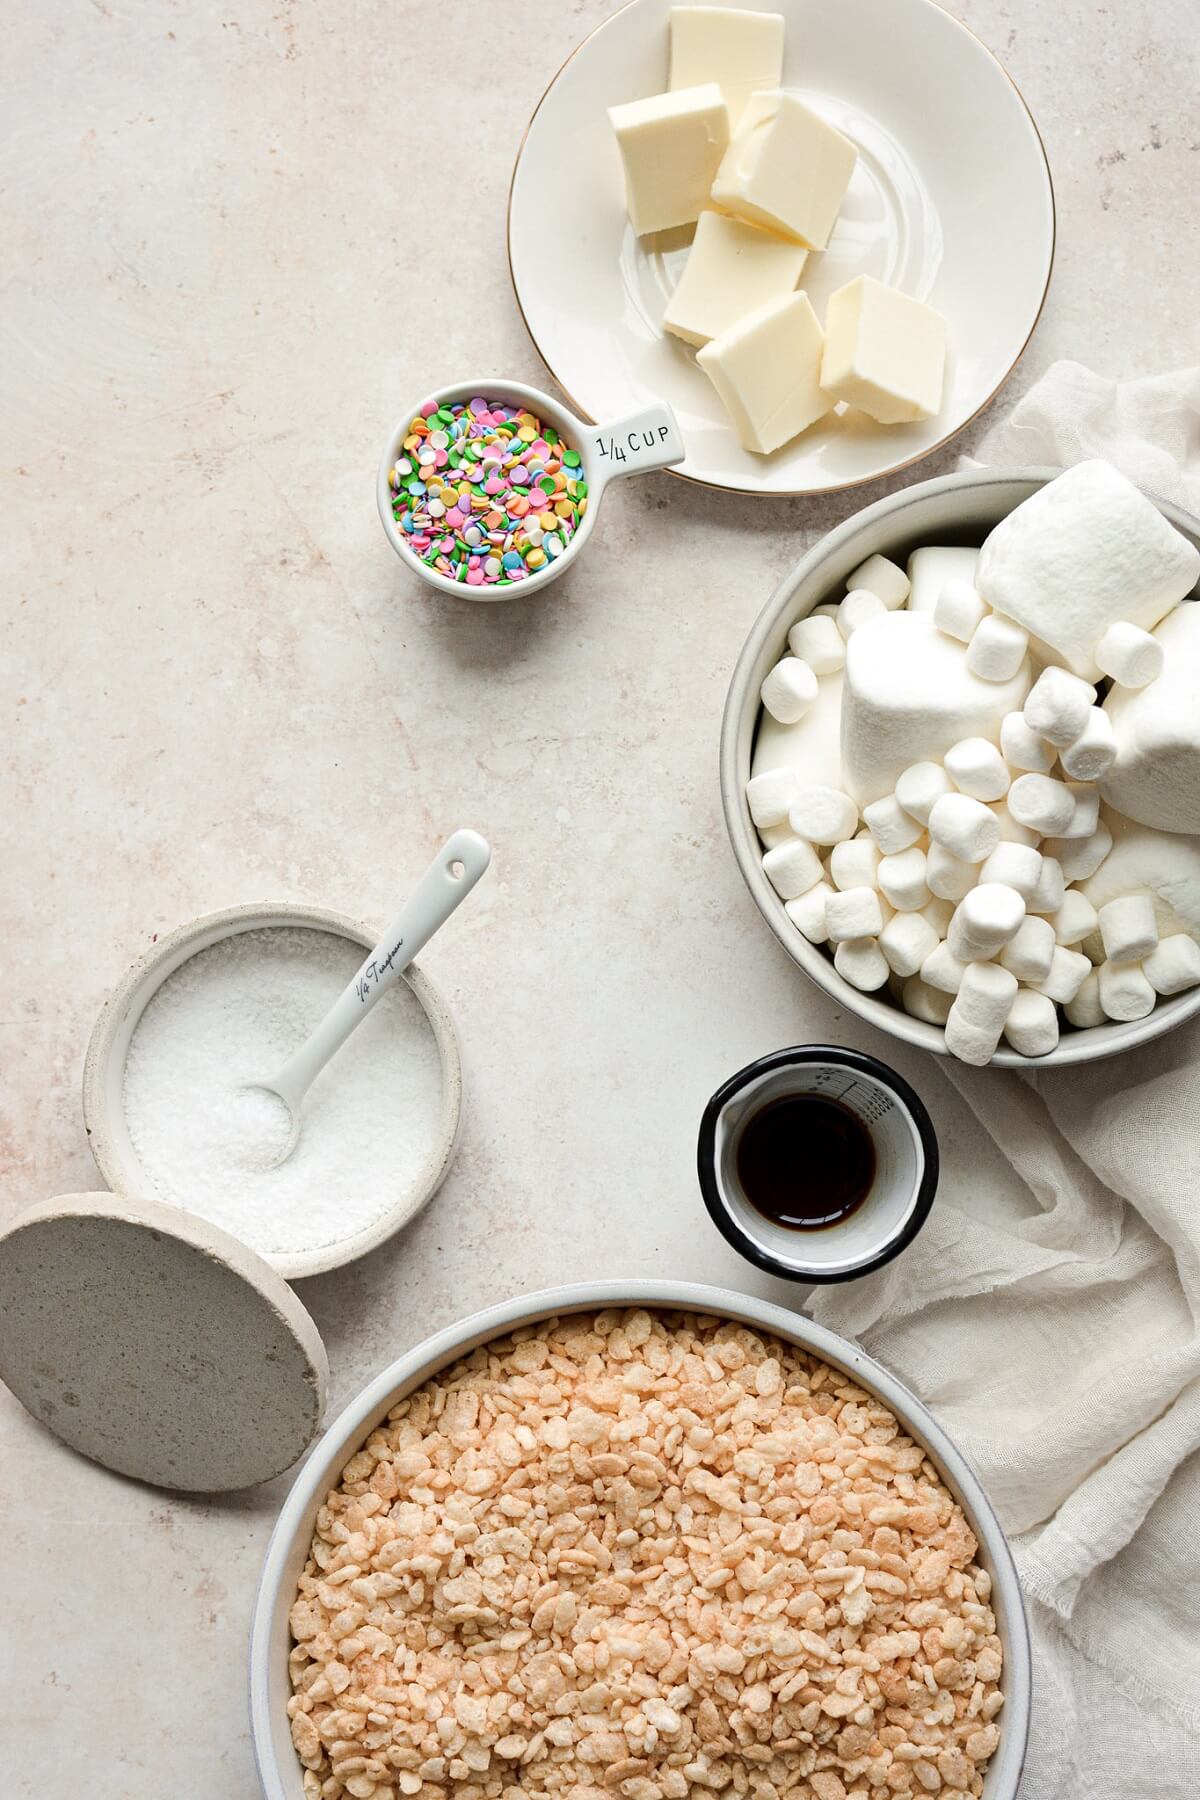
Ingredients
- Butter. Use unsalted butter, so you can control the saltiness of the treats. The butter helps the marshmallows to melt and makes everything gooey and delicious.
- Salt. Balances the sweetness and enhances the flavor of the browned butter.
- Vanilla Extract. Flavor.
- Marshmallows. You can use any size of marshmallows. I didn’t have enough mini ones, so I also used some big ones, torn into smaller pieces. Whatever you use, just weigh out 10 ounces on your food scale. 10 ounces of mini marshmallows is about 6 1/2 cups, but you can’t accurately measure the volume of larger ones, so you’ll need to weigh those.
- Rice Krispies. You can use the name brand rice krispies, or the generic crispy rice cereal.
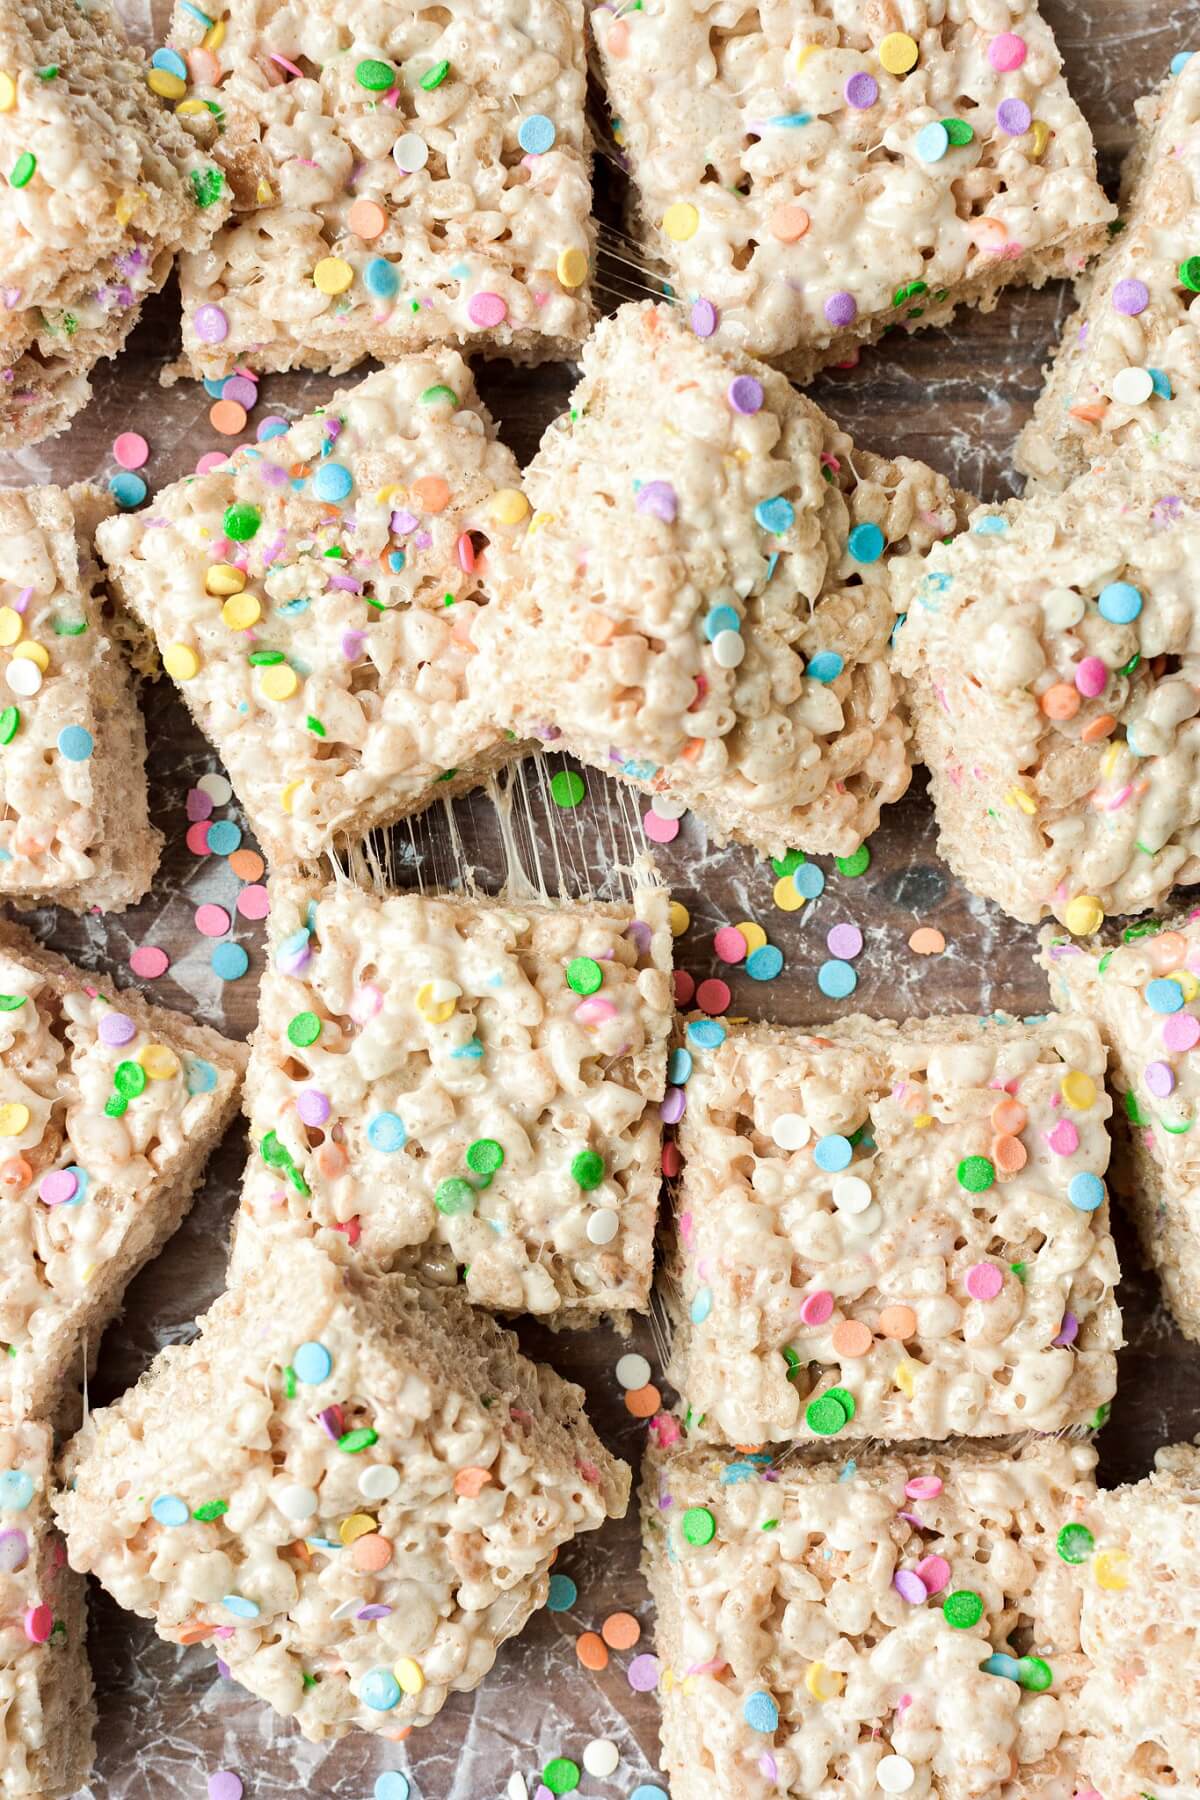
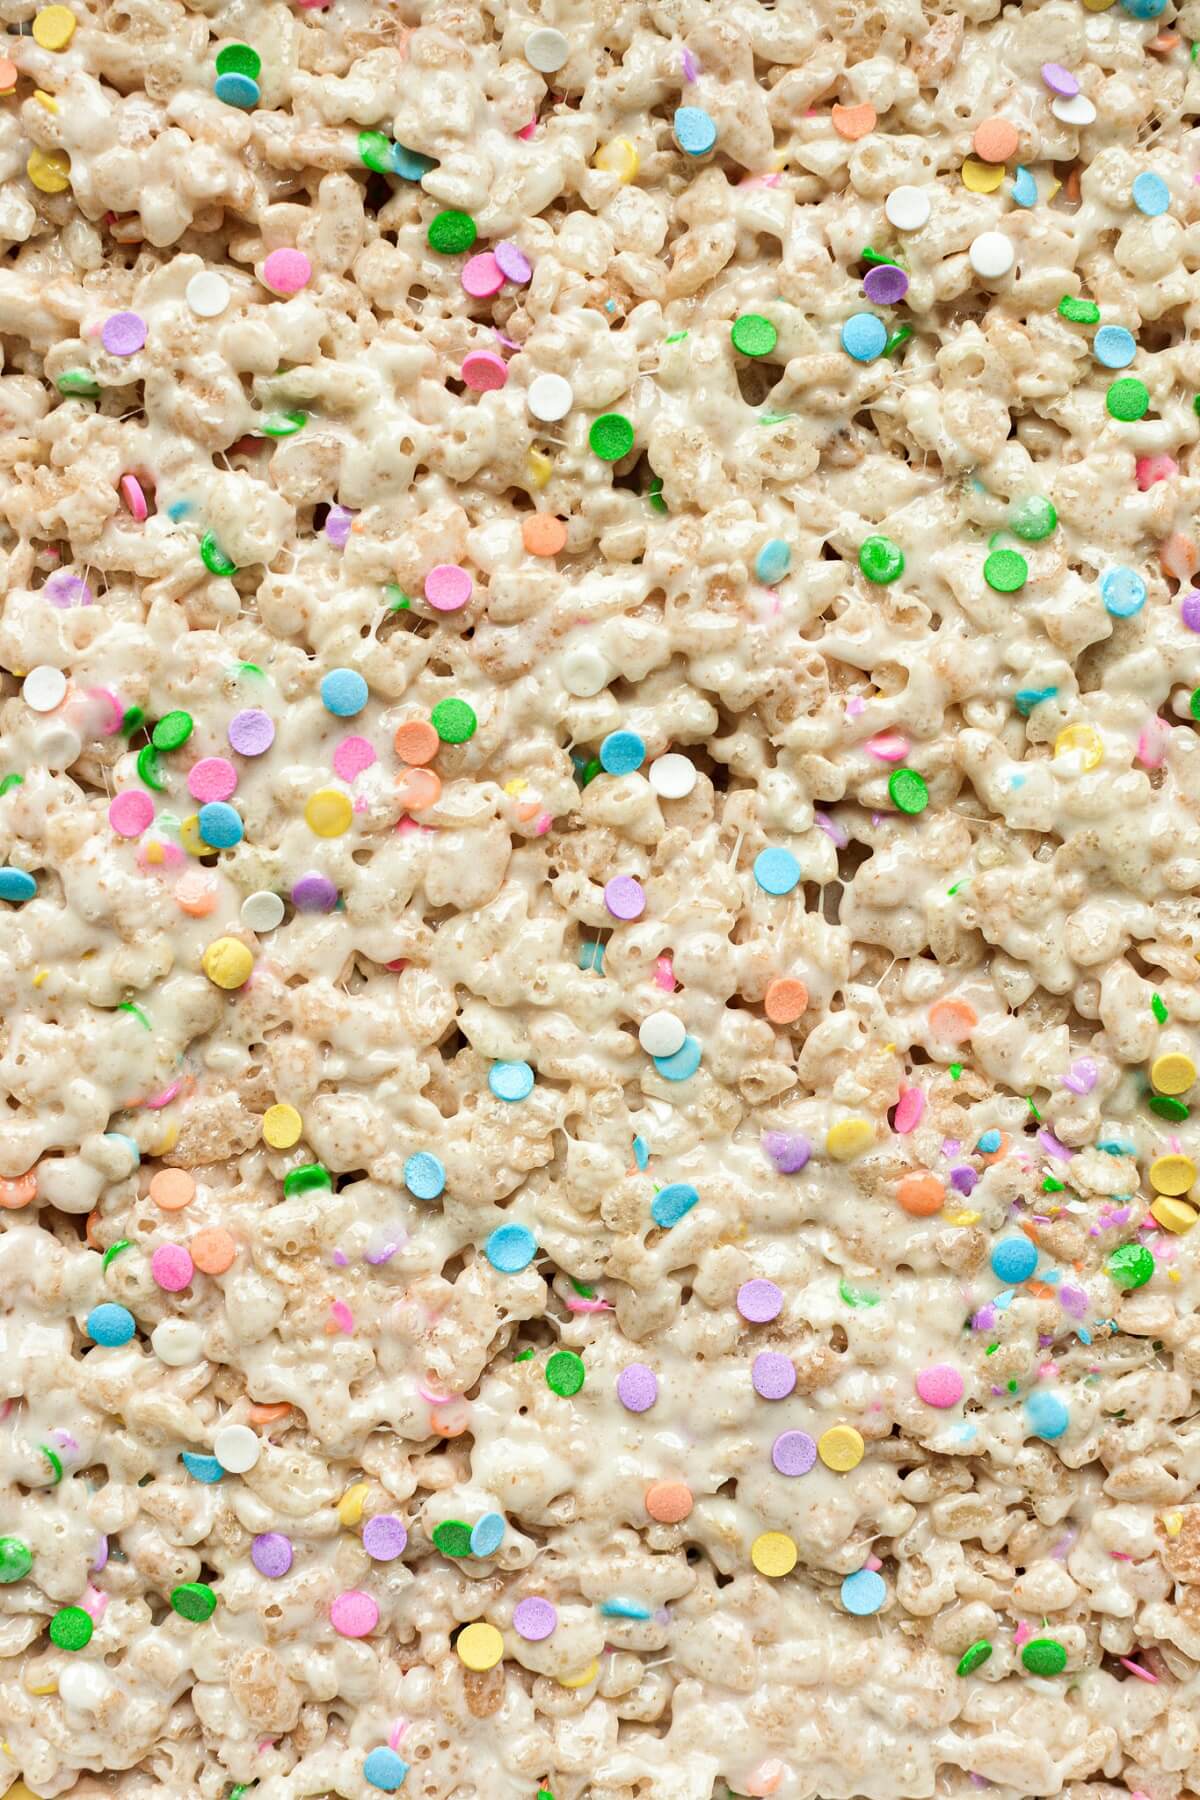
- Sprinkles. The sprinkles are optional, but so cute and colorful. I used confetti sprinkles (quins).
Instructions
- Get your baking pan ready by lightly greasing the bottom and sides with butter – this will help the rice krispies not to stick. I’d also suggest lightly greasing the inside of the mixing bowl and spatula you’ll be using to mix everything together.
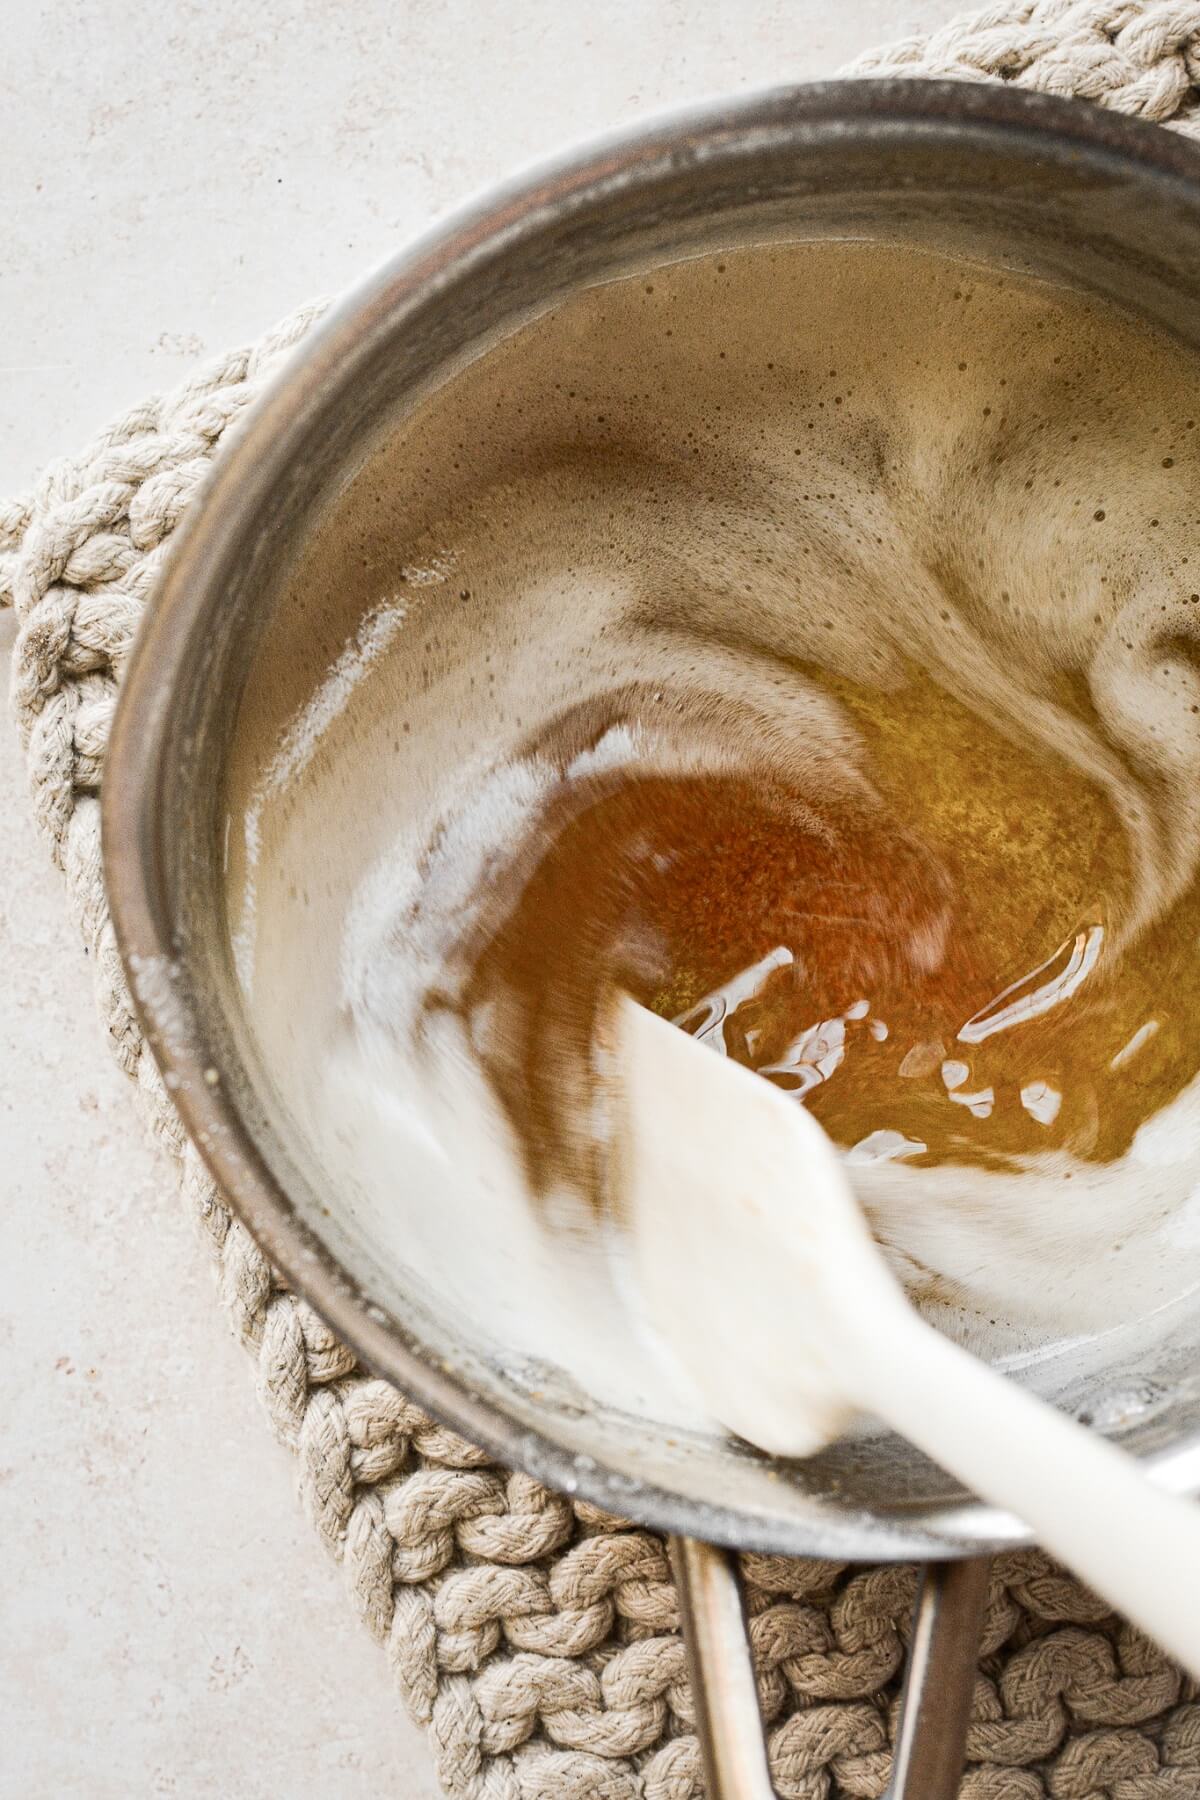
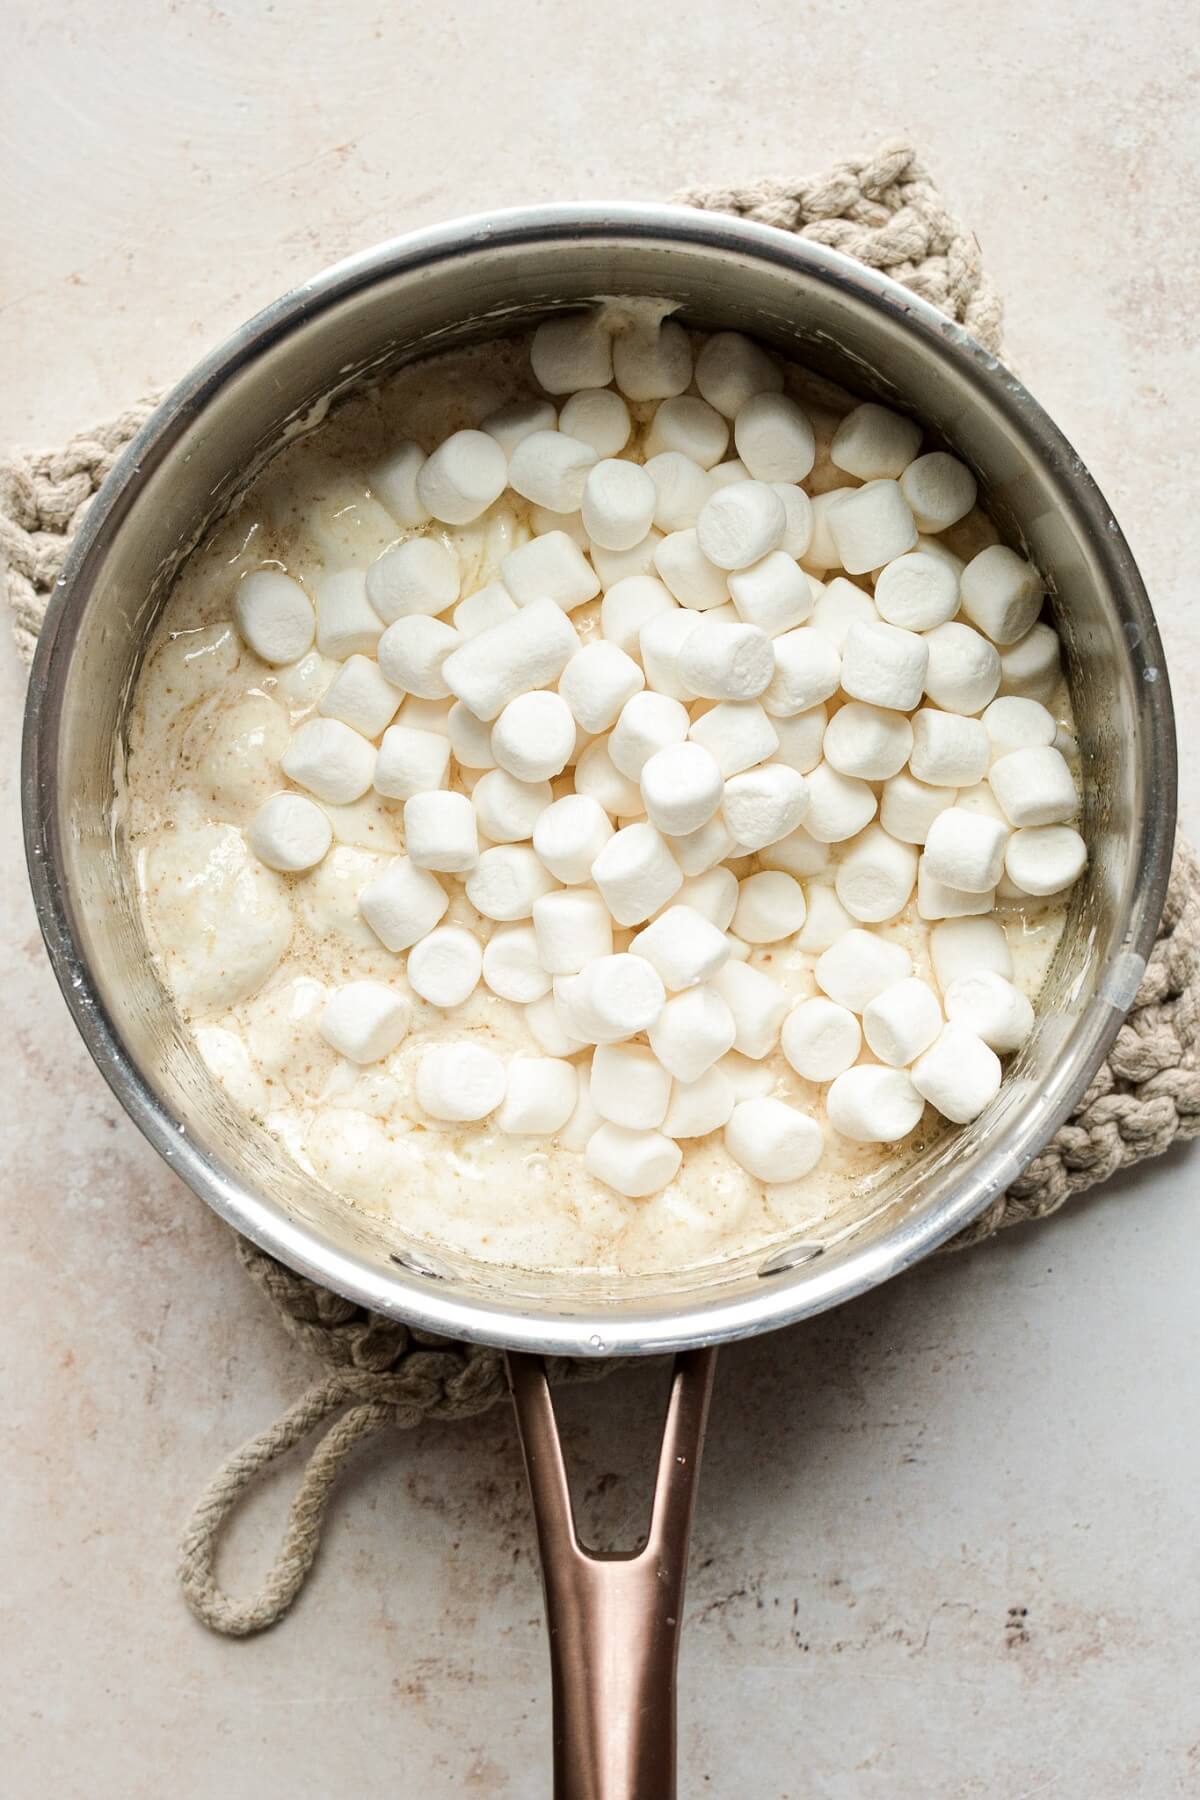
- In a saucepan, melt the 6 tablespoons butter over medium heat. Continue to cook the butter, swirling the pan occasionally, for about 5 minutes. It will hiss and splatter a little as the water evaporates, and as it gets close to being done, it will quiet down and a layer of foam will form on top. This will let you know it’s ready. The butter should smell very fragrant, with nutty, golden brown solids forming at the bottom of the pan. Use a spatula to scrape up the golden bits and stir them into the butter. Reduce the heat to low.
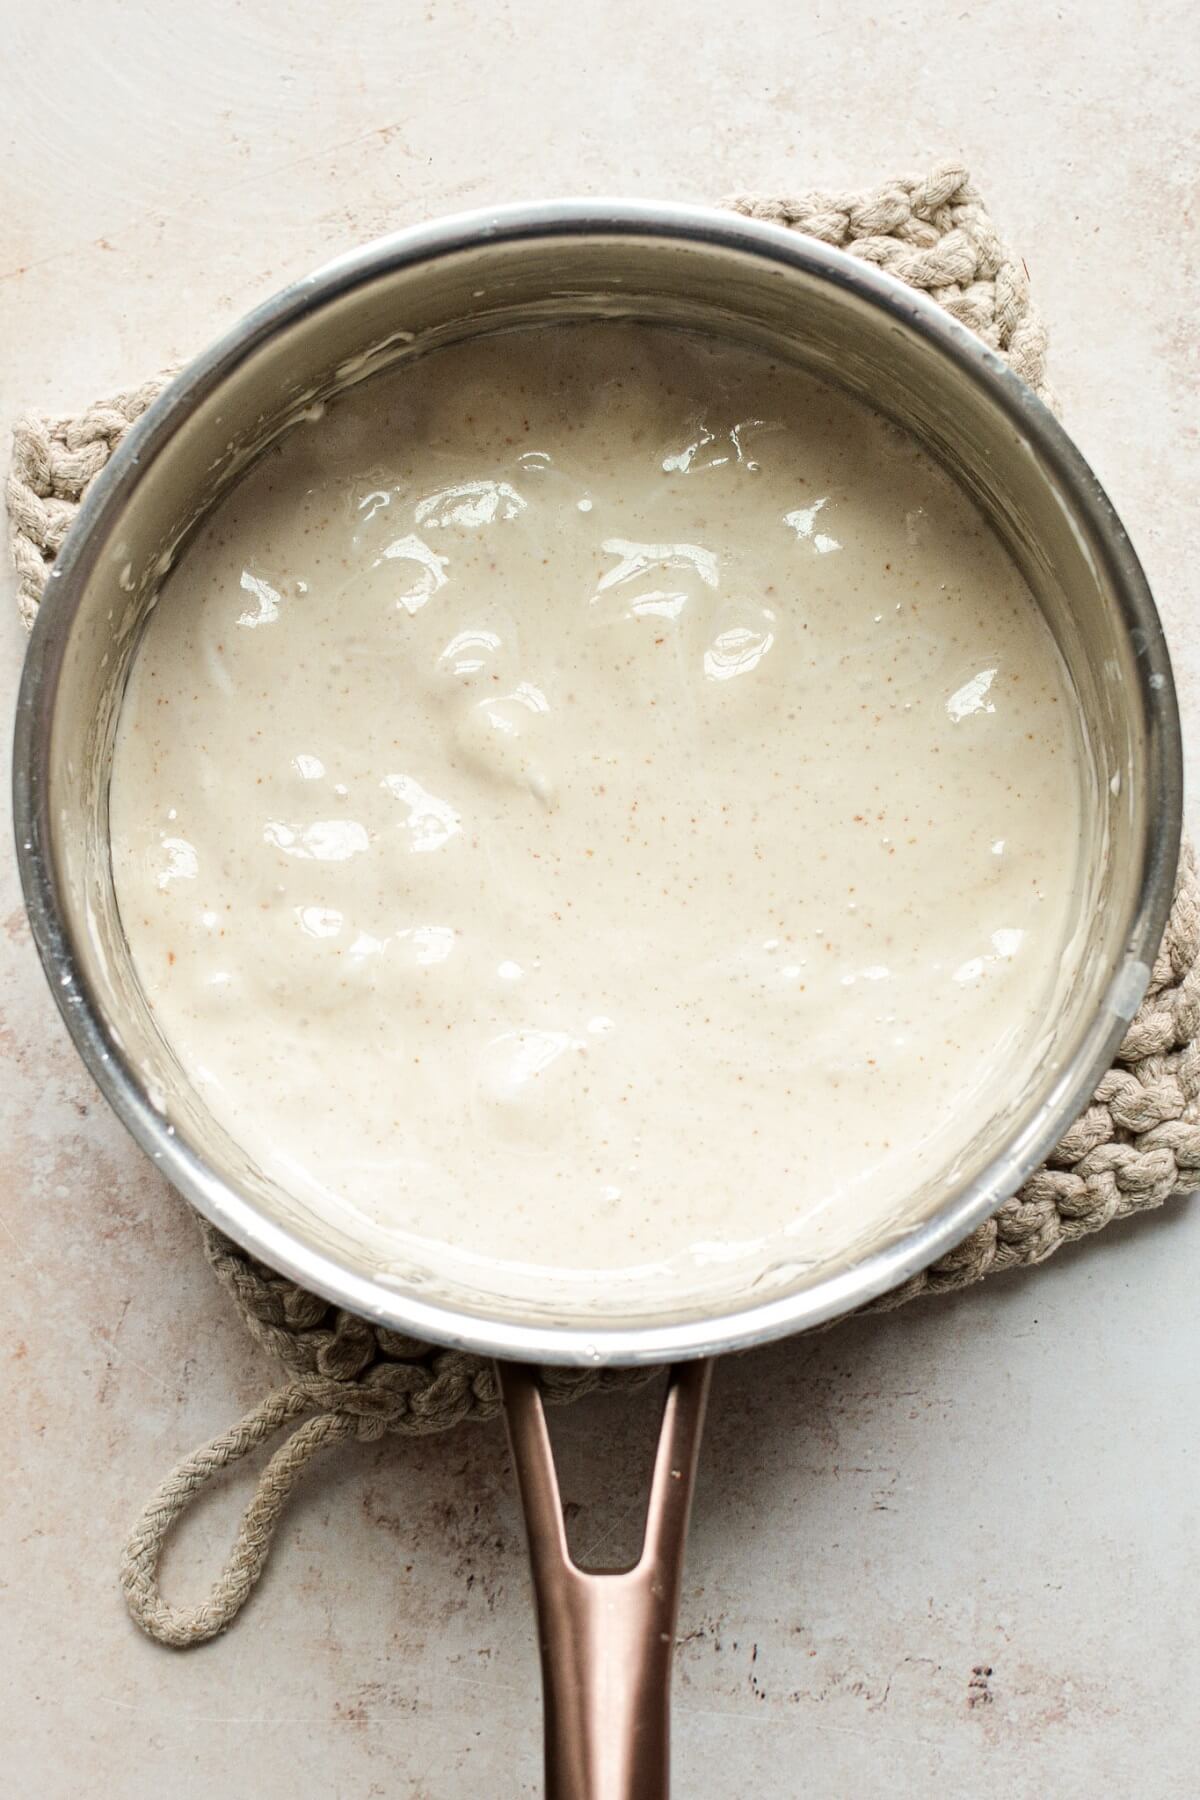
- Stir in the salt and vanilla, then add the marshmallows. Over low heat, stir the mixture frequently, letting the marshmallows melt slowly. I like to leave a few marshmallows not fully melted, for extra gooey bits throughout.
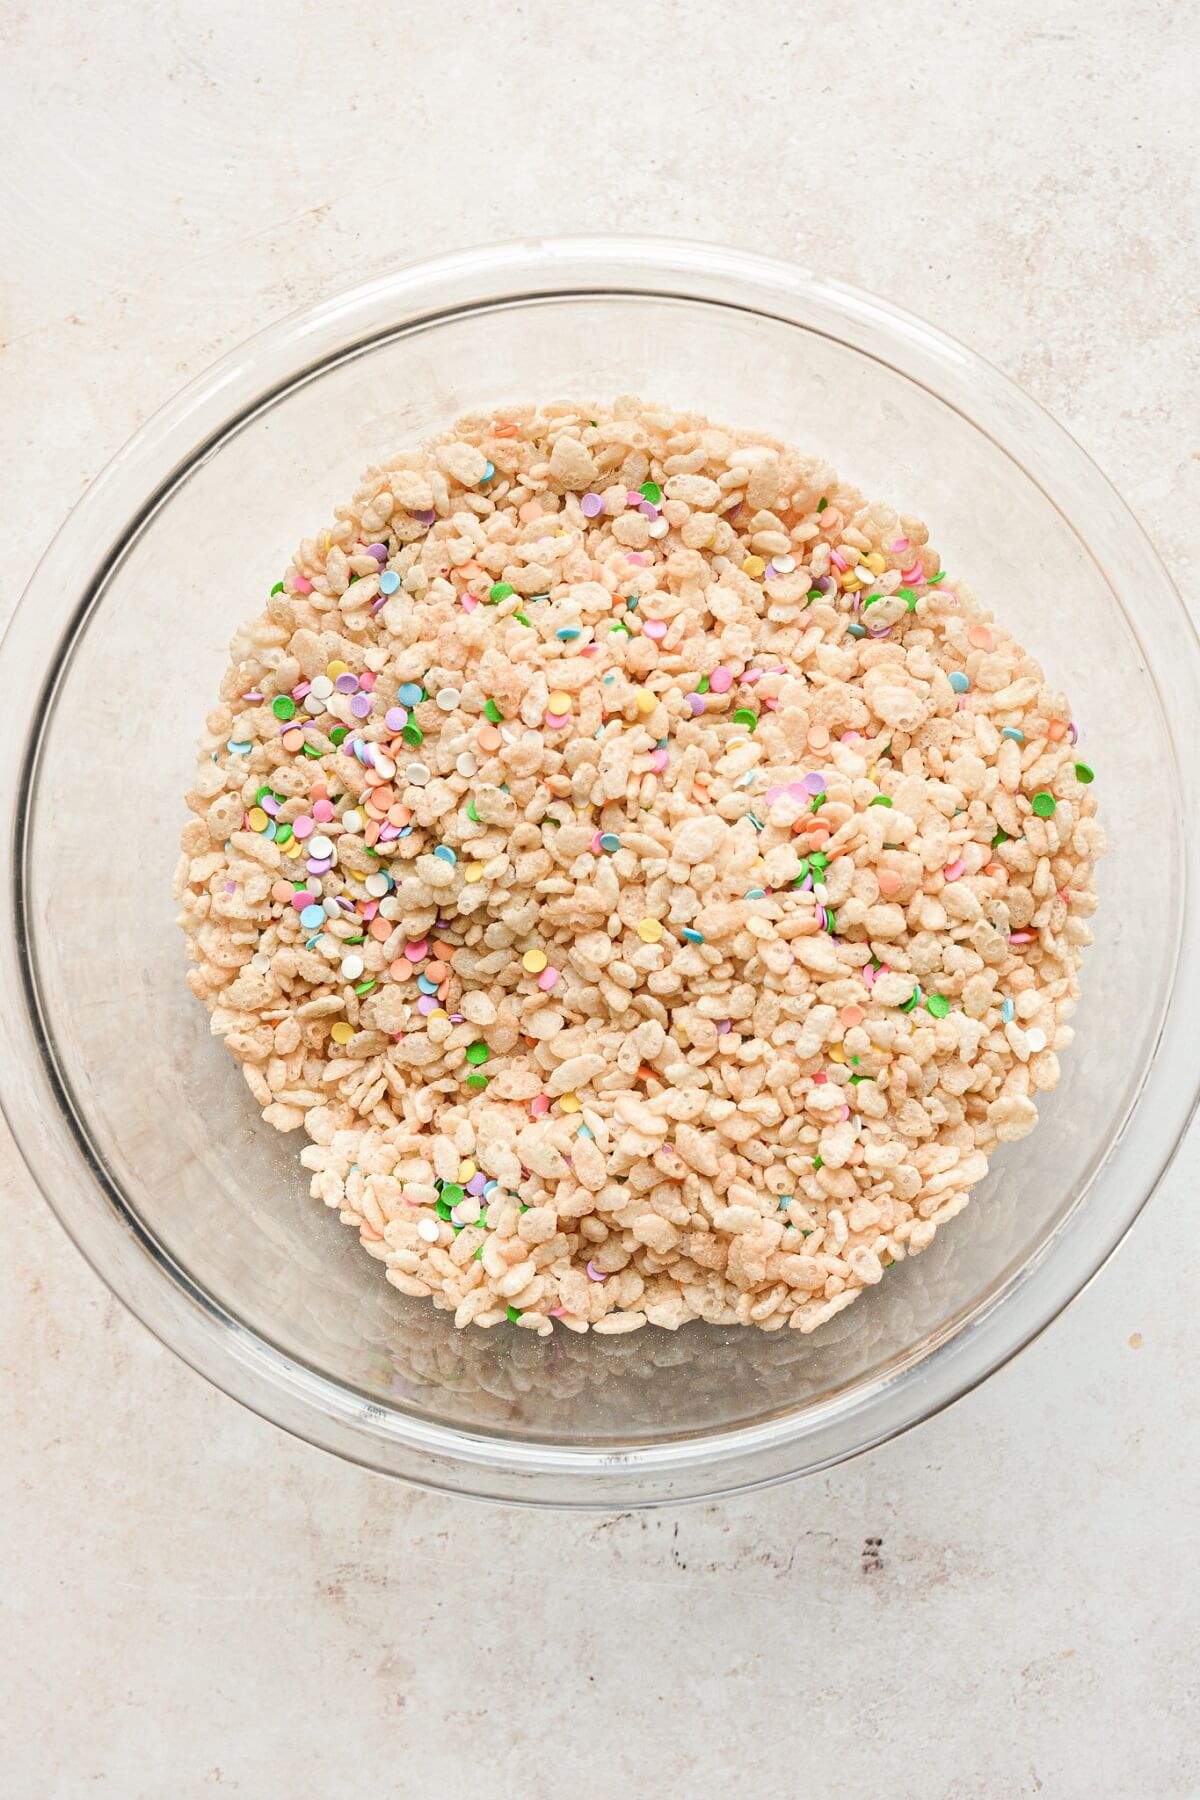
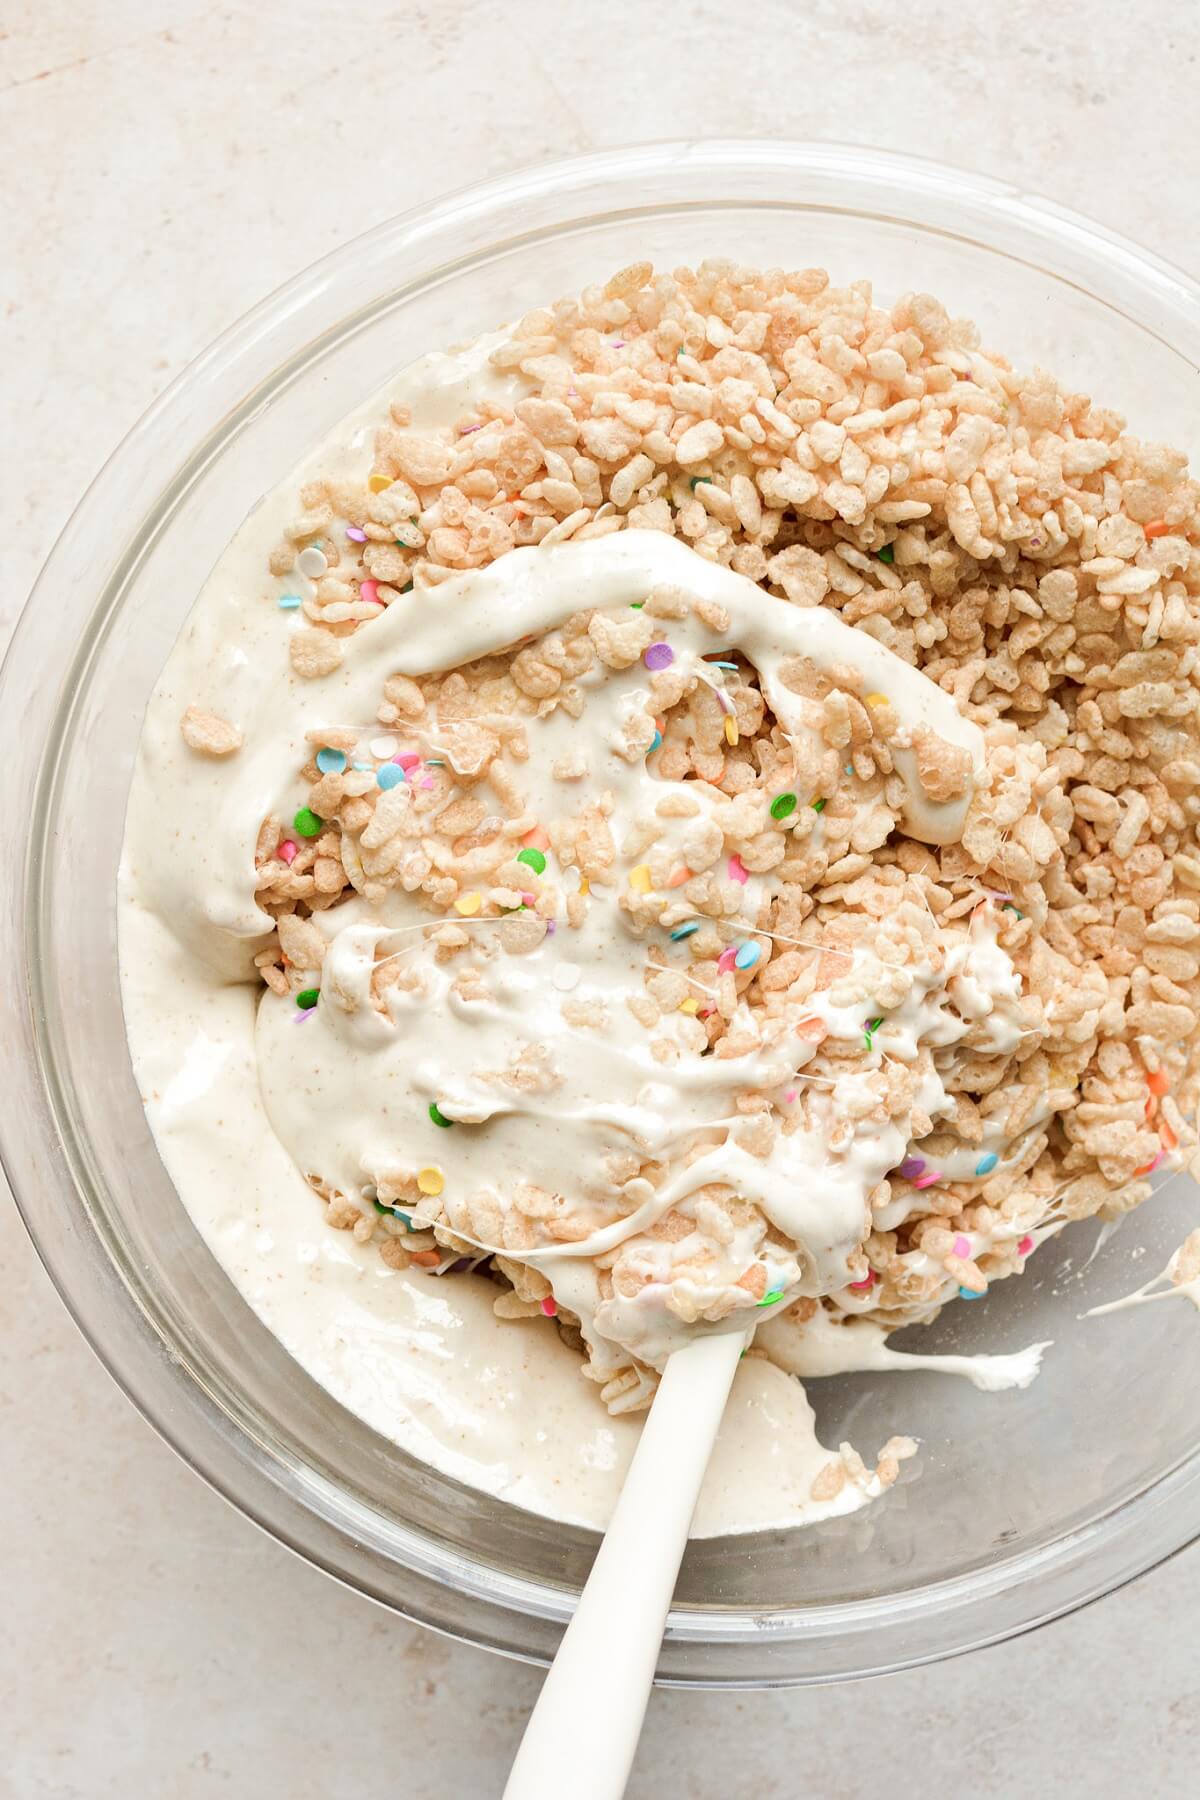
- In your mixing bowl, combine the rice krispies and sprinkles. Scrape the marshmallow mixture over the rice krispies, and stir everything together with a greased spatula, until combined.
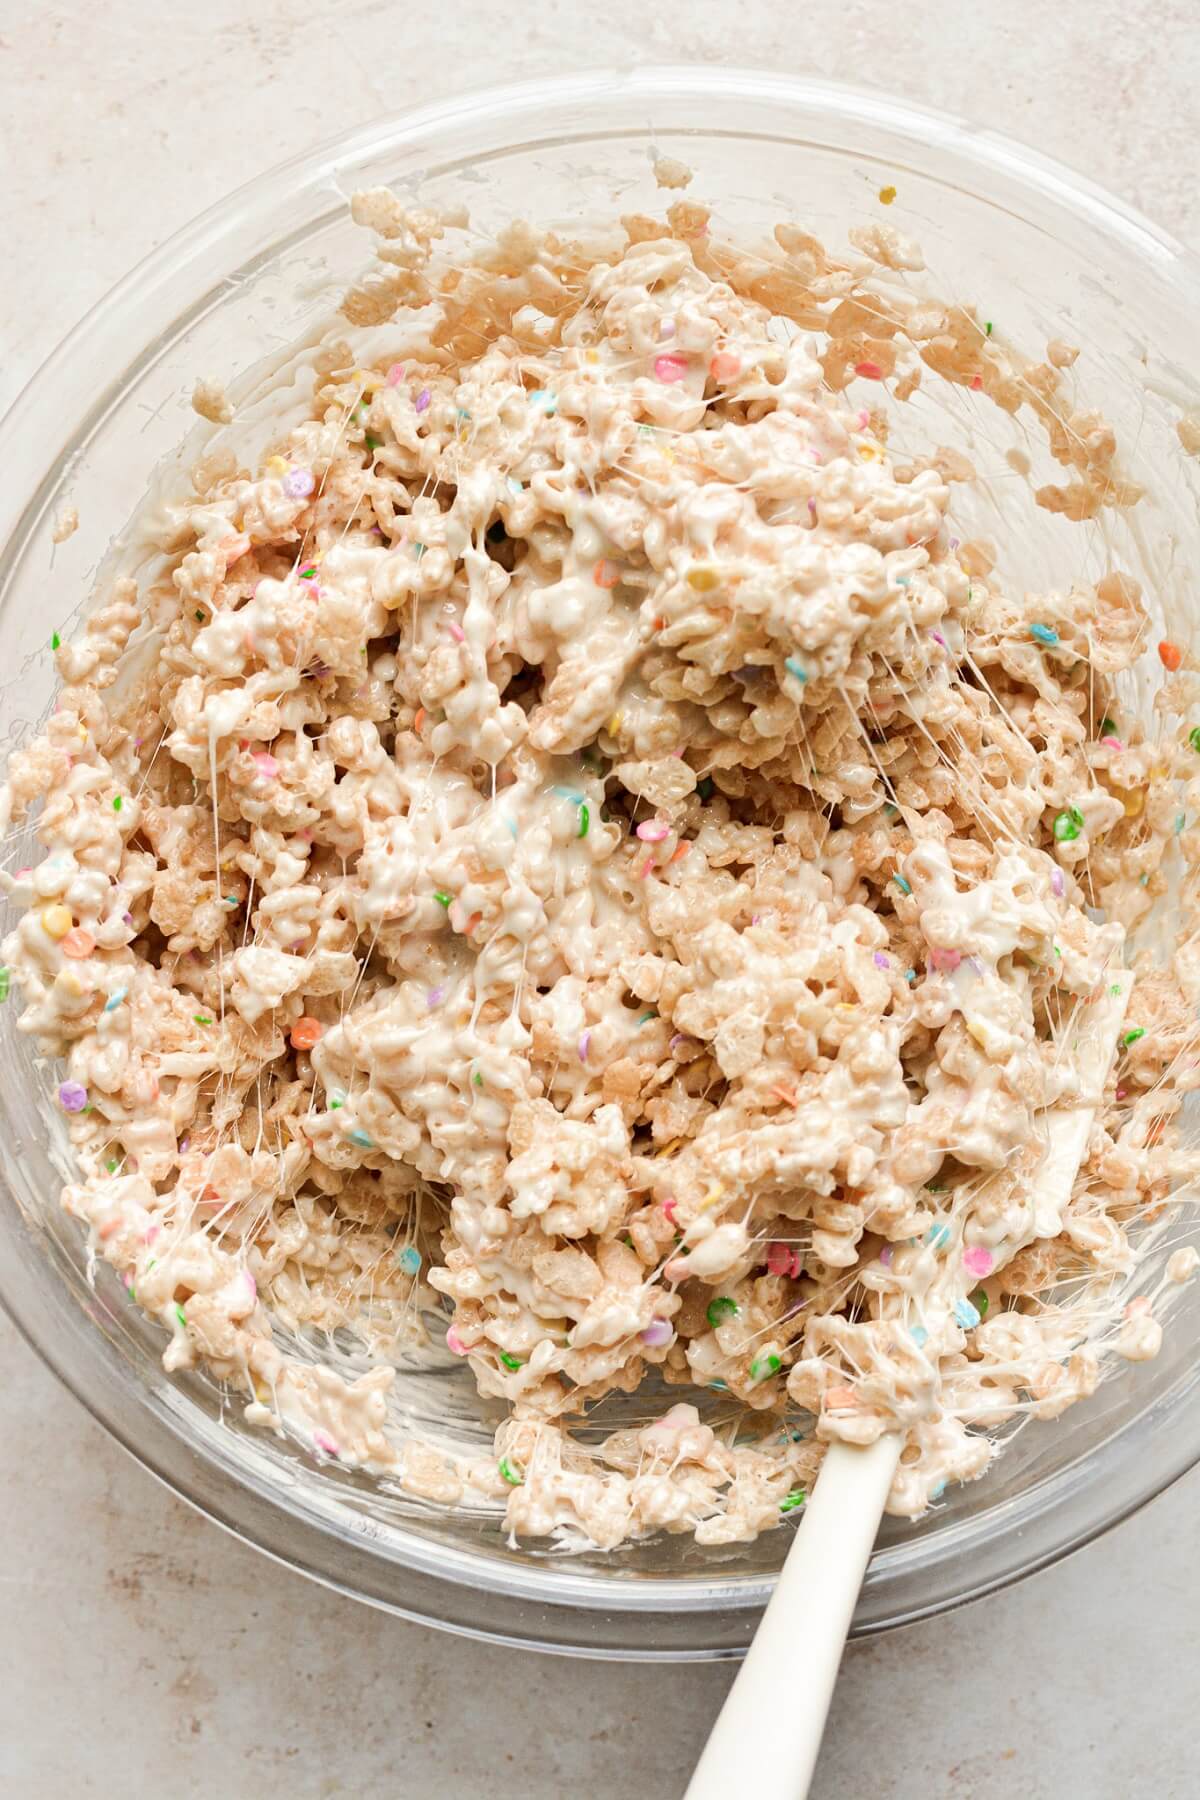
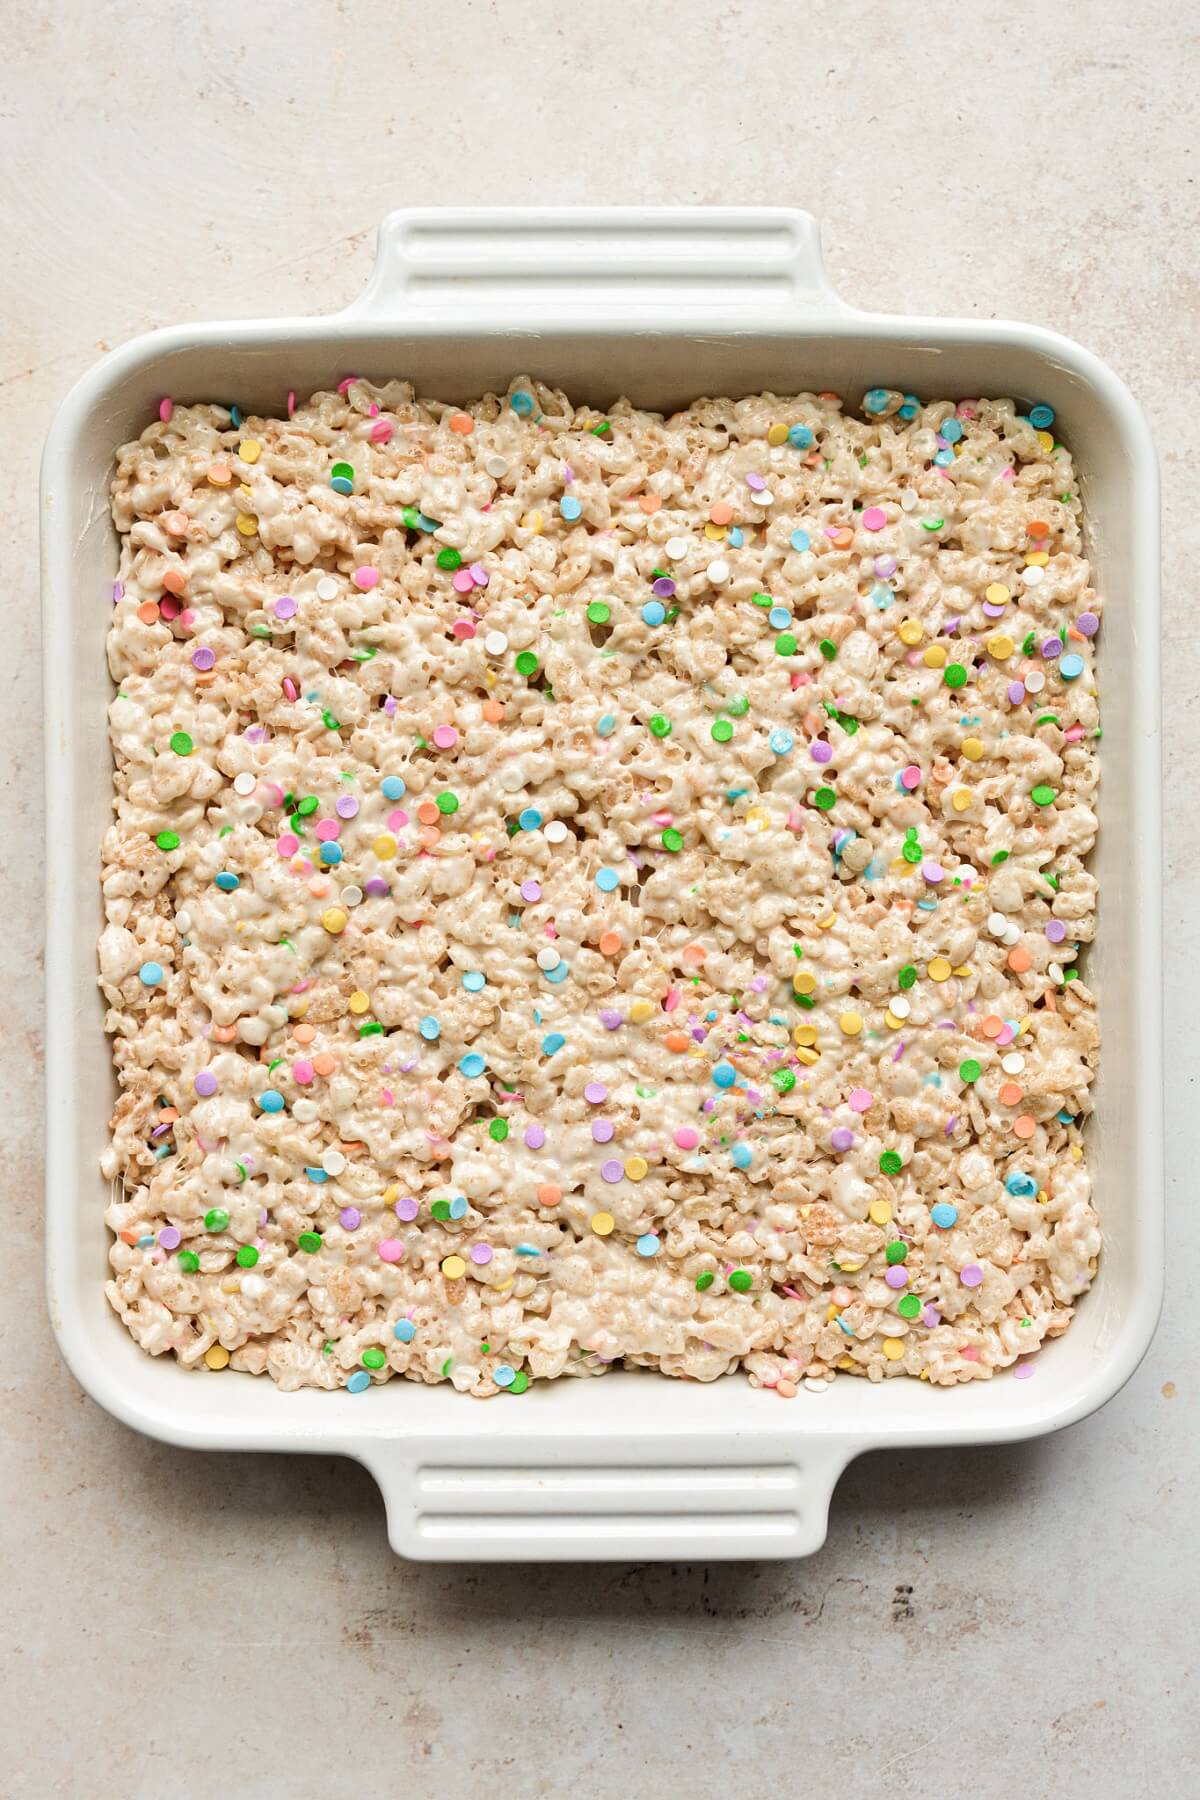
- Immediately spread the rice krispies into your greased baking pan. Using a greased spatula (or with buttered hands), gently press the rice krispies into an even layer. If you like, sprinkle the top with a few more sprinkles.
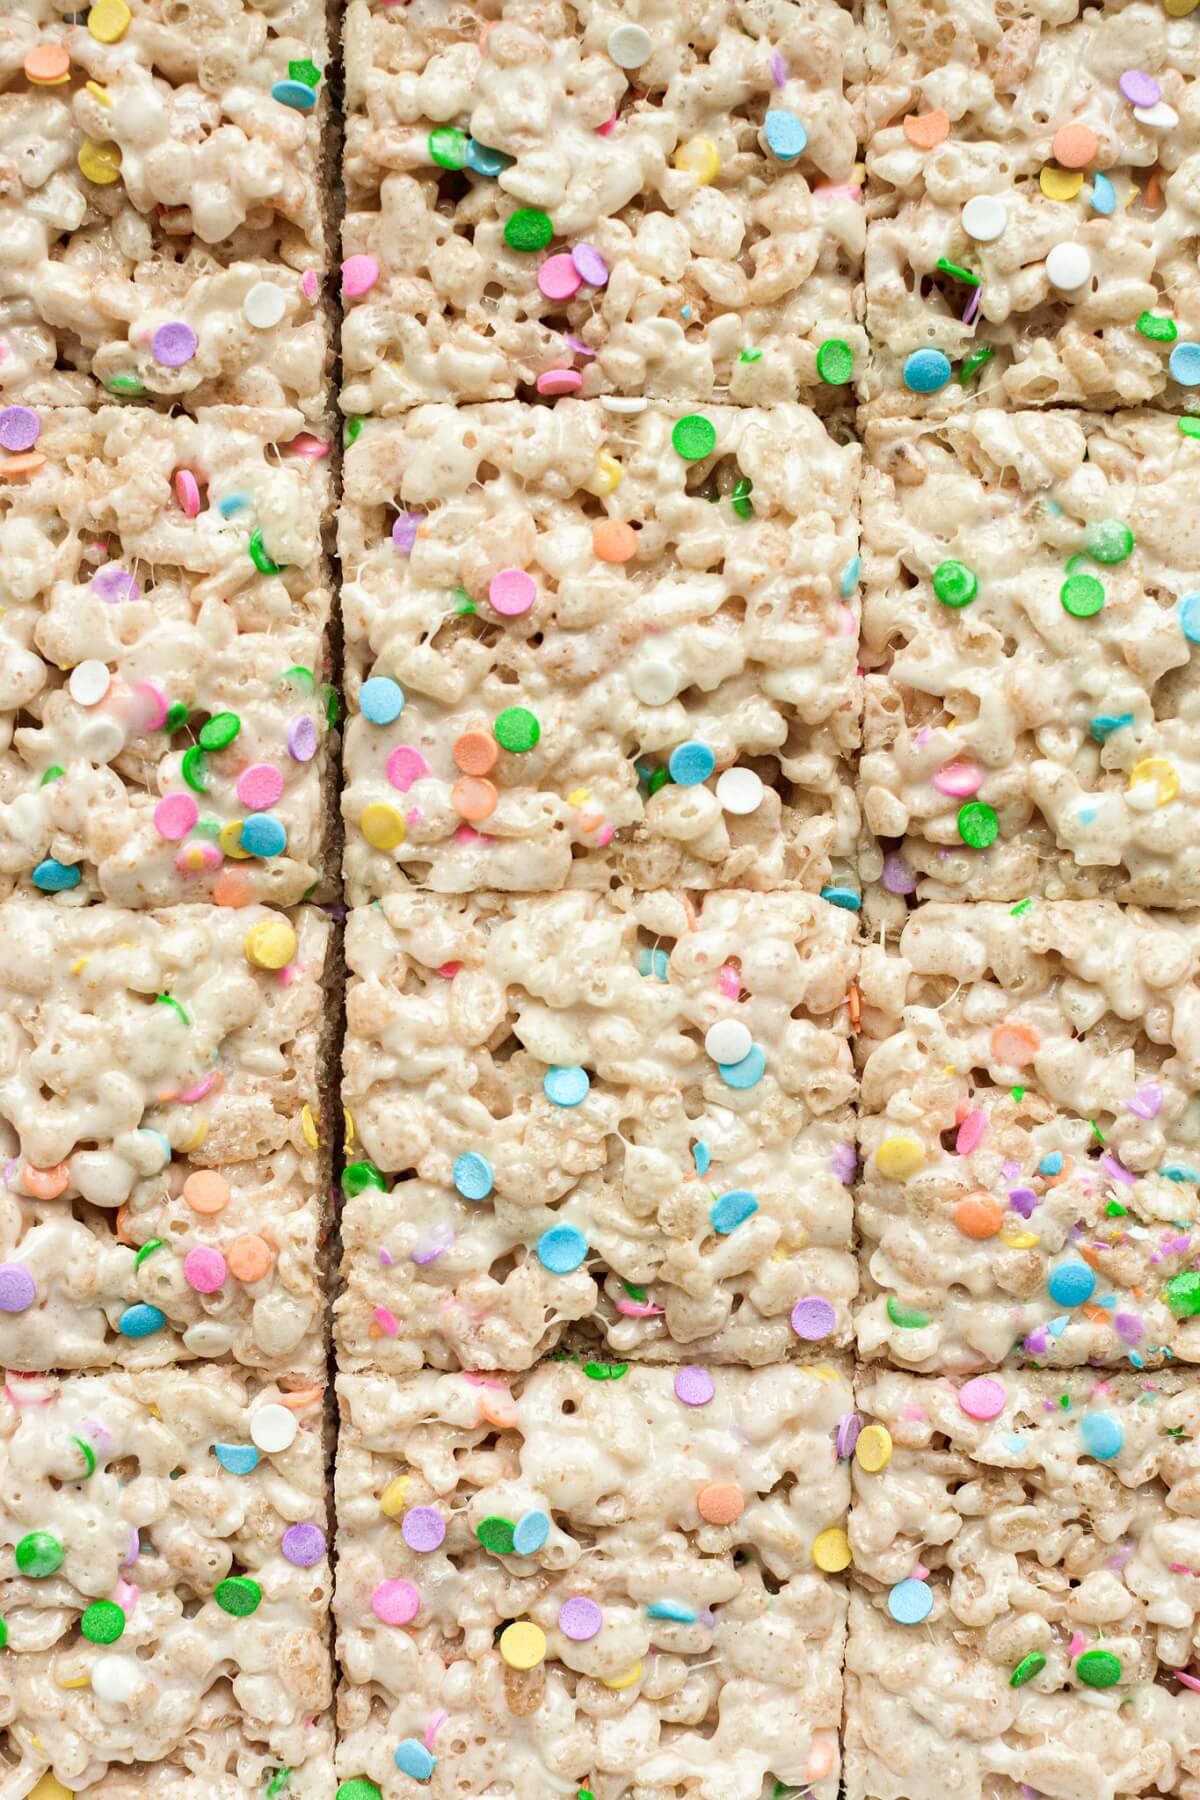
- Let the rice krispie treats cool and set for about 1 hour, before cutting into squares.
Recipe Variations
Peanuts. For a salty, nutty crunch, add a handful of salted peanuts. Peanuts are so good in brown butter rice krispie treats.
Chocolate. You can sprinkle a handful of mini chocolate chips on top, or spread a layer of ganache over the treats. Wait until the ganache sets before cutting the treats.
Caramel Swirl. For extra rich and gooey rice krispie treats, swirl in a little caramel sauce with the marshmallow mixture.
Be sure to read all of my BAKING FAQs where I discuss ingredients, substitutions and common baking questions, so that you can be successful in your own baking!
Frequently Asked Questions
How long will rice krispie treats stay soft?
Stored in an airtight container, they should stay soft for about 5-7 days.
Can I freeze leftover treats?
You can wrap the treats in plastic wrap and freeze them for up to 3-6 months.
You Might Also Like
Please check out my Amazon Shop for a curated collection of some of my favorite cake pans from trusted brands, baking tools, ingredients, pretty things and fashion finds. I recommend products that I buy and use every day!
Did you love today’s recipe? Please rate the recipe and let me know in the comments what you thought! Also, be sure to follow Curly Girl Kitchen on Instagram, and tag me when you try one of my recipes so I can see all your delicious creations!
Brown Butter Rice Krispie Treats with Sprinkles
All recipes on Curly Girl Kitchen are developed for high altitude at 5,280 feet. See FAQs for adjusting to higher or lower elevations.

Equipment
- 8 or 9 inch baking pan
Ingredients
- 6 tbsp unsalted butter, plus extra for greasing the pan
- ¾ tsp coarse Kosher salt (if using table salt, use half the amount)
- 1 tsp vanilla extract
- 10 oz mini marshmallows (about 6 1/2 cups)
- 4 cups rice krispies
- ¼ cup confetti sprinkles (quins) optional
Instructions
- Get your baking pan ready by lightly greasing the bottom and sides with butter – this will help the rice krispies not to stick. I'd also suggest lightly greasing the inside of the mixing bowl and spatula you'll be using to mix everything together.
- In a saucepan, melt the 6 tablespoons butter over medium heat. Continue to cook the butter, swirling the pan occasionally, for about 5 minutes. It will hiss and splatter a little as the water evaporates, and as it gets close to being done, it will quiet down and a layer of foam will form on top. This will let you know it's ready. The butter should smell very fragrant, with nutty, golden brown solids forming at the bottom of the pan. Use a spatula to scrape up the golden bits and stir them into the butter. Reduce the heat to low.
- Stir in the salt and vanilla, then add the marshmallows. Over low heat, stir the mixture frequently, letting the marshmallows melt slowly. I like to leave a few marshmallows not fully melted, for extra gooey bits throughout.
- In your mixing bowl, combine the rice krispies and sprinkles. Scrape the marshmallow mixture over the rice krispies, and stir everything together with a greased spatula, until combined.
- Immediately spread the rice krispies into your greased baking pan. Using a greased spatula (or with buttered hands), gently press the rice krispies into an even layer. If you like, sprinkle the top with a few more sprinkles.
- Let the rice krispies cool and set for about 1 hour, before cutting into squares.
Notes
 https://curlygirlkitchen.com/
Leave a Reply