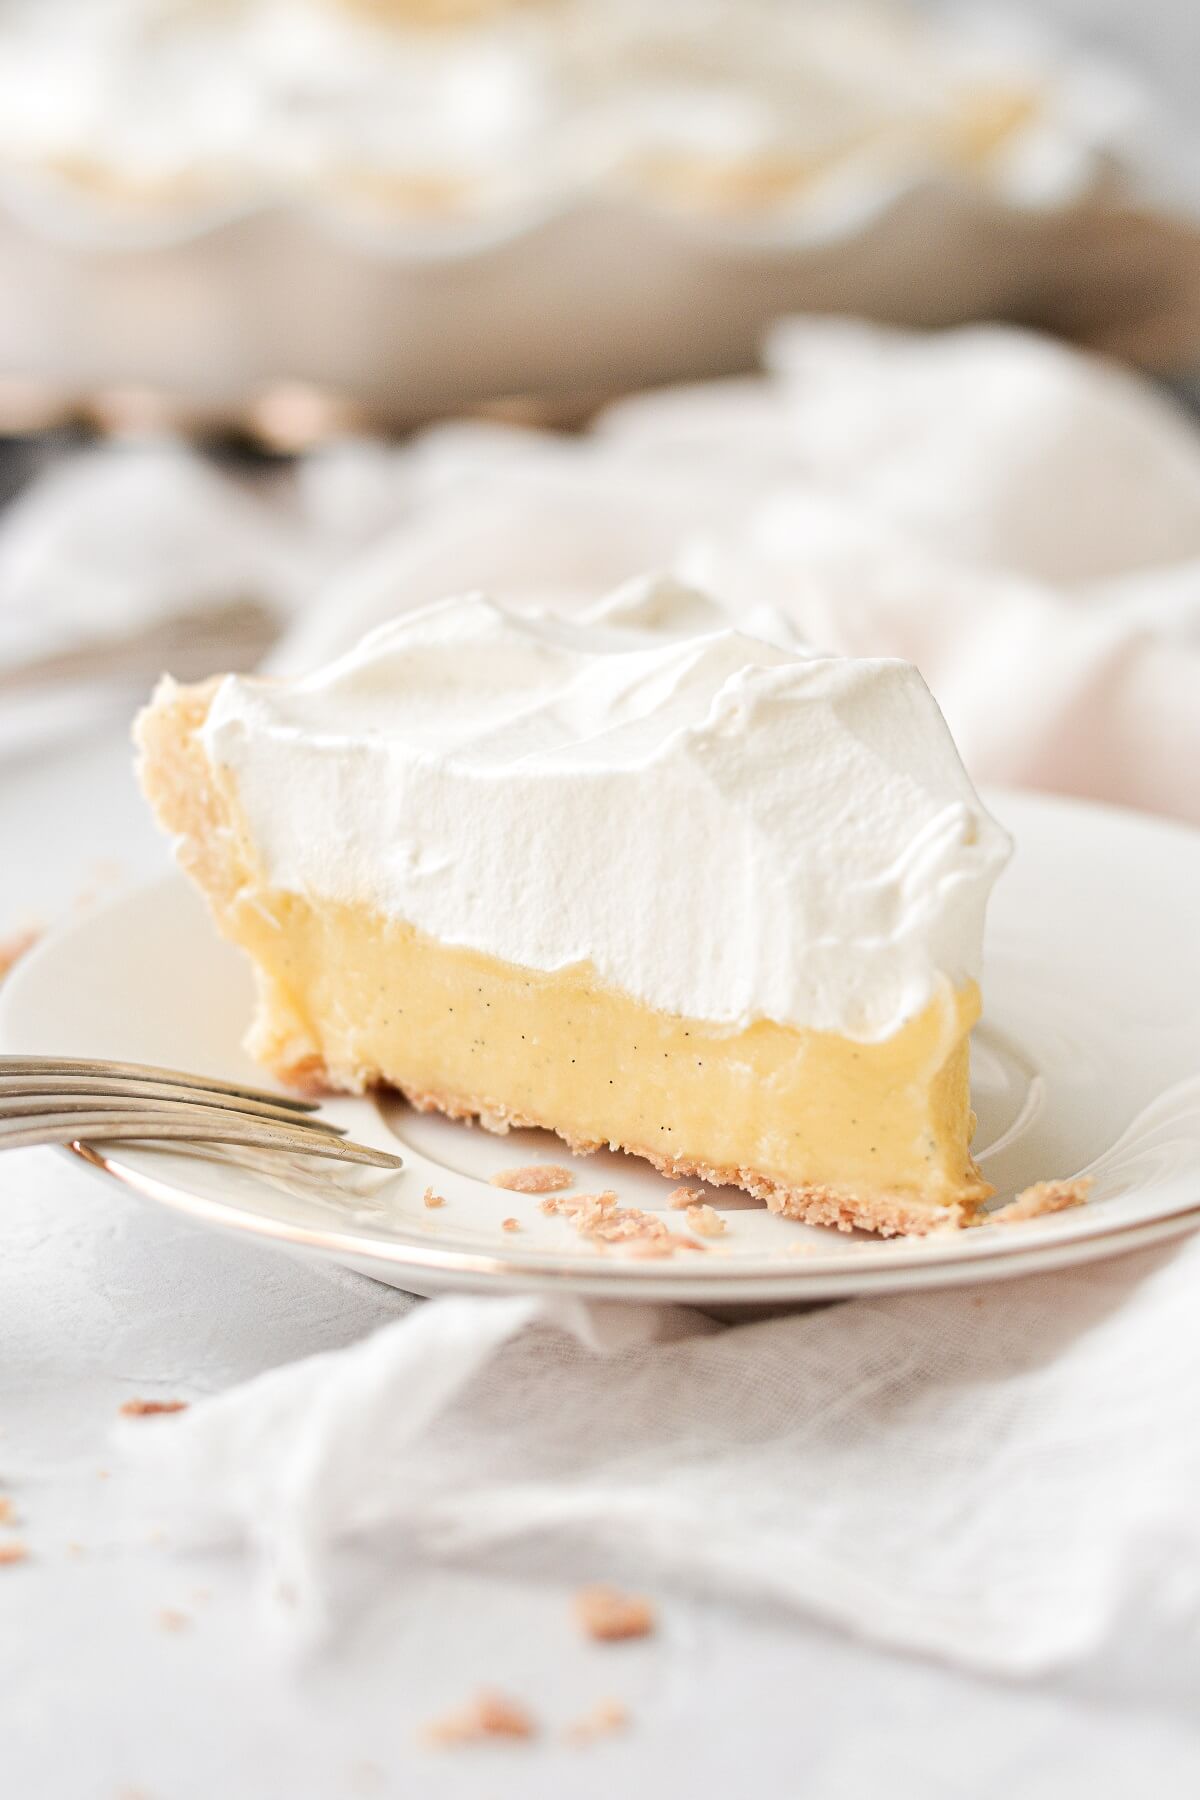
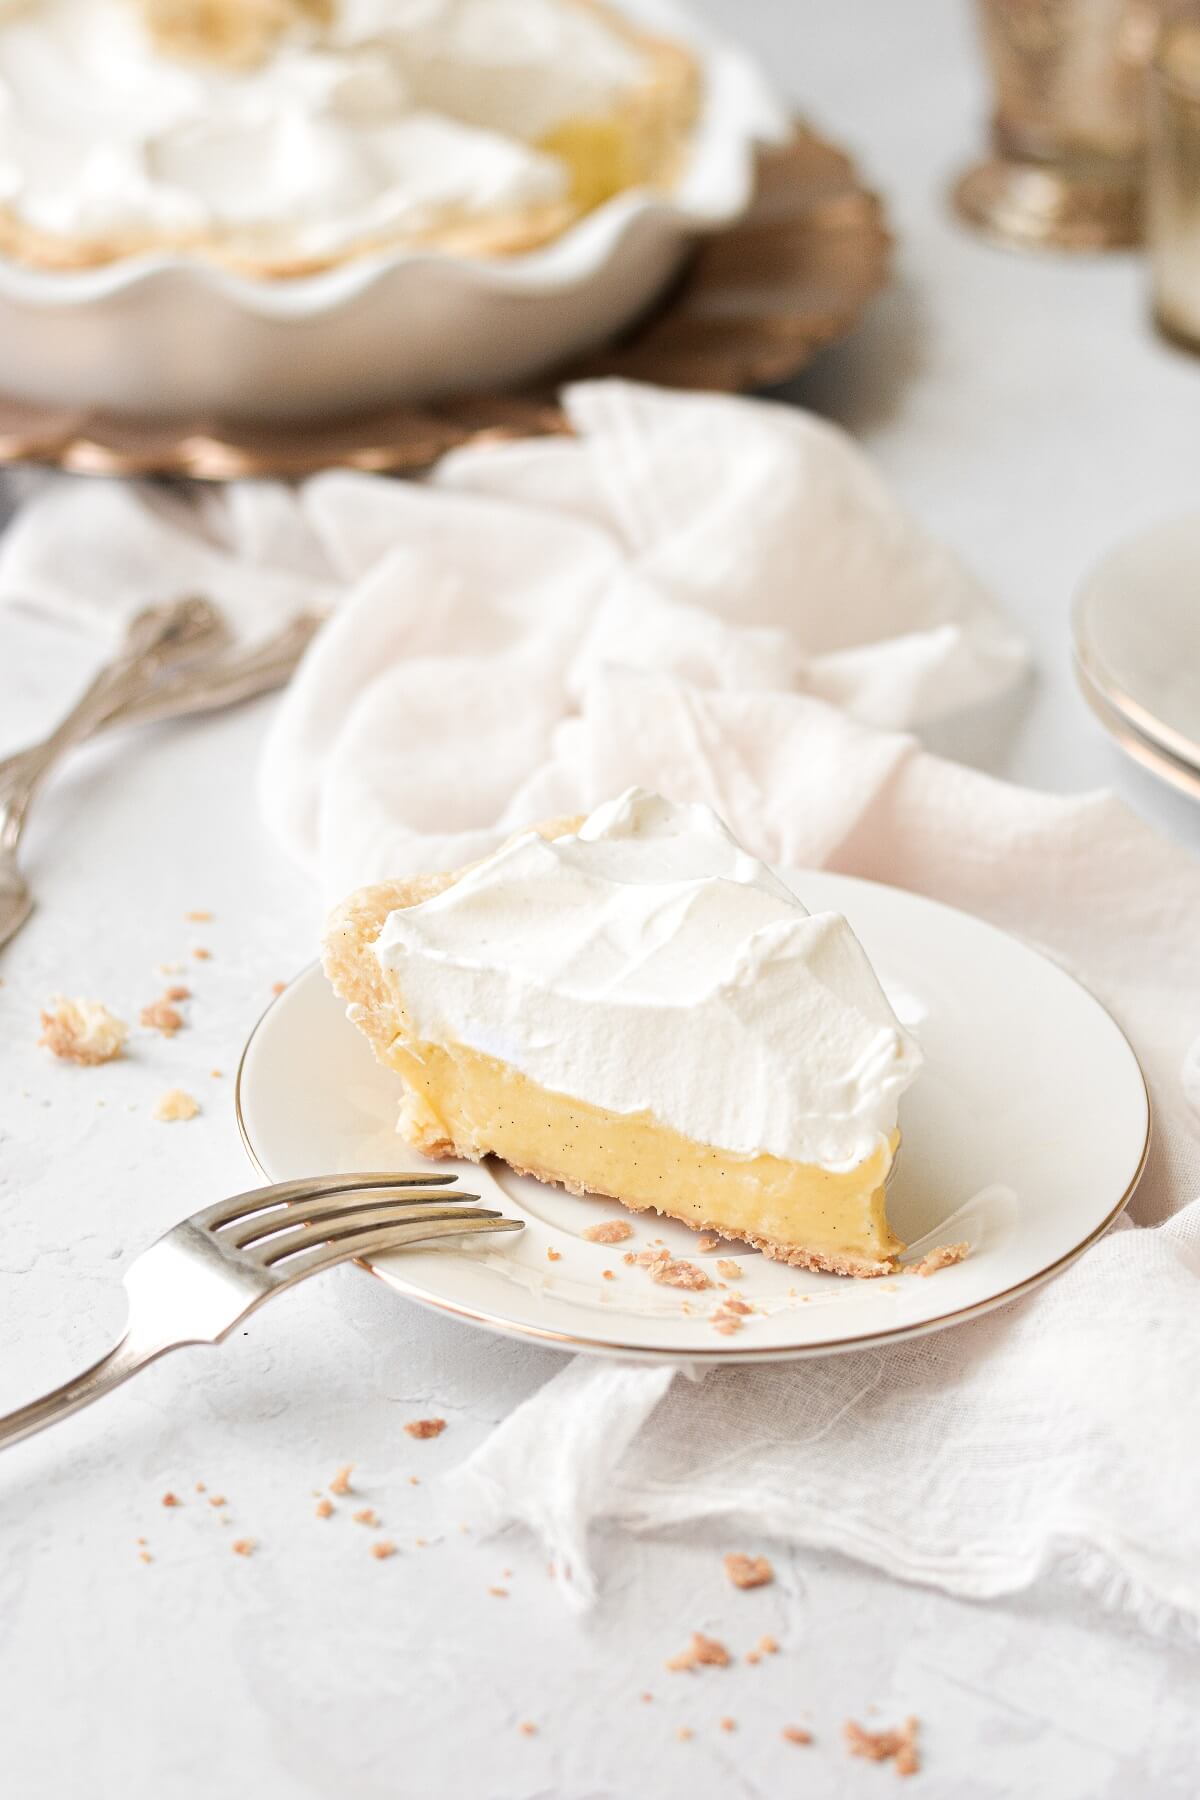
If you love banana pudding, you’ll go bananas over this homemade banana cream pie! The pastry crust is buttery, flaky and lightly salted, which perfectly balances the sweet banana custard filling. A thick layer of banana pastry cream or custard, made by infusing milk with bananas for maximum flavor, is rich, dreamy and flecked with vanilla bean. Top it all off with fluffy, lightly sweetened fresh whipped cream.
Looking for more recipes like this one? Don’t miss this bourbon banana pudding cake, caramelized banana toffee ice cream, and classic high altitude banana bread.
This site contains affiliate links. As an Amazon associate, I earn from qualifying purchases. This means that I may make a small commission if you purchase a product using those links. This in no way affects my opinion of those products and services. All opinions expressed on this site are my own.
Why We Love This Pie
- It’s made without any artificial ingredients, flavors or pudding mixes.
- The leftover pie keeps for days, with no slimy, brown bananas ruining the pie.
- Banana-infused milk makes the most incredible banana pastry cream.
- The pie crust is buttery, flaky and crisp.
- It has a perfect balance of salted pie crust with sweet and creamy banana custard and whipped cream.
So how is this banana cream pie recipe different from other recipes? Well, most recipes call for layering sliced bananas in the pie crust, then topping with vanilla pudding or custard. And once bananas are exposed to air, they can very quickly turn brown. Even if you brush the sliced bananas with a little lemon juice (which has to be very little, so as not to affect the taste of the pie), they will still get brown, slimy and mushy in the leftover pie. And if you have a small family like mine, and can’t possibly eat a whole pie in one day, this can make the leftover pie pretty unappealing.
My recipe is different, because instead risking a layer of brown bananas in my pie, I make a banana-infused milk instead. The process is so easy. Just combine milk and sliced bananas in a saucepan and bring the milk to a simmer. Then transfer to a container and refrigerate overnight, to infuse the milk with as much banana flavor as possible. When you’re ready to make the banana custard, simply strain the milk and discard the bananas. Now you have a banana flavored milk that makes the most delicious banana custard you’ve ever tasted!
Of course, if you like the texture of of sliced bananas in your pie, and you can finish the pie before they turn brown, then you can certainly go ahead and add them.
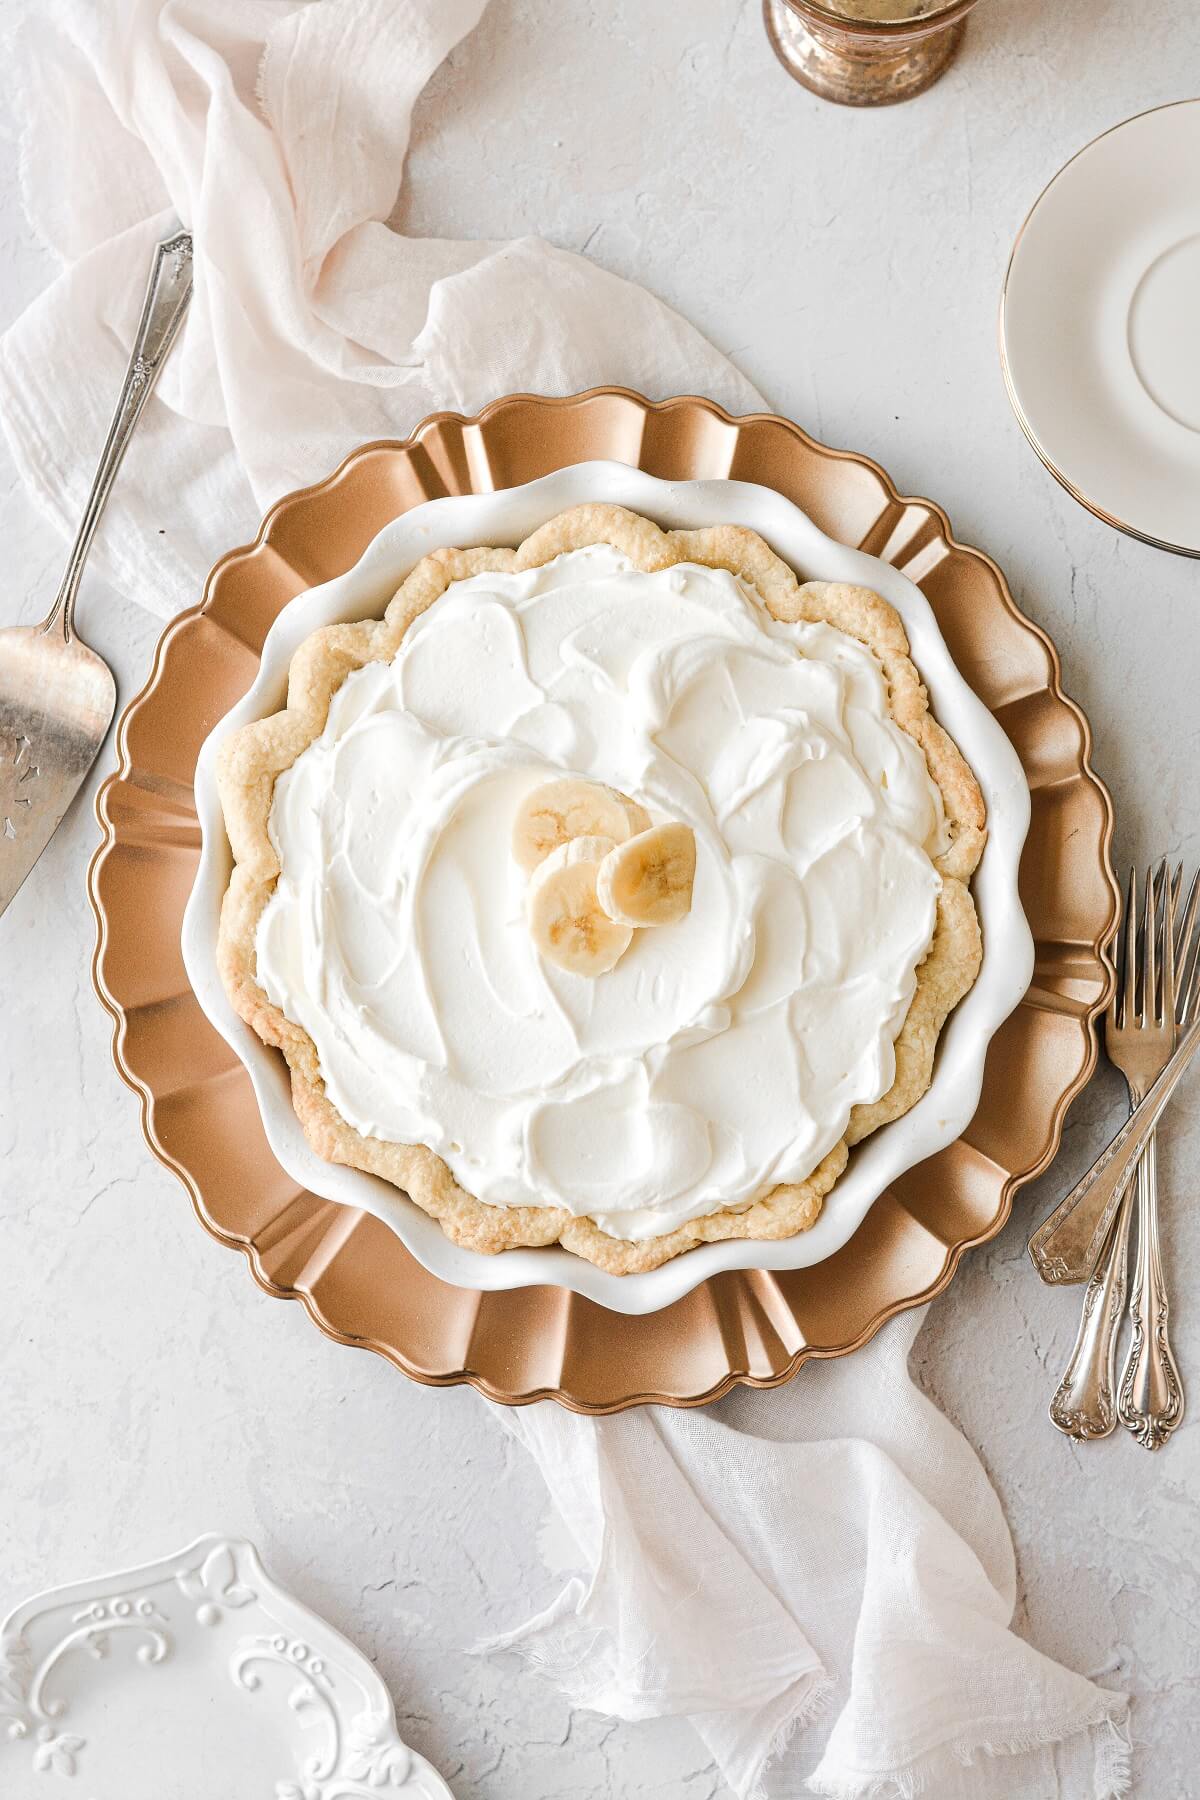
See the recipe card at the end of the post for the full ingredients list and instructions.
Ingredients
Crust
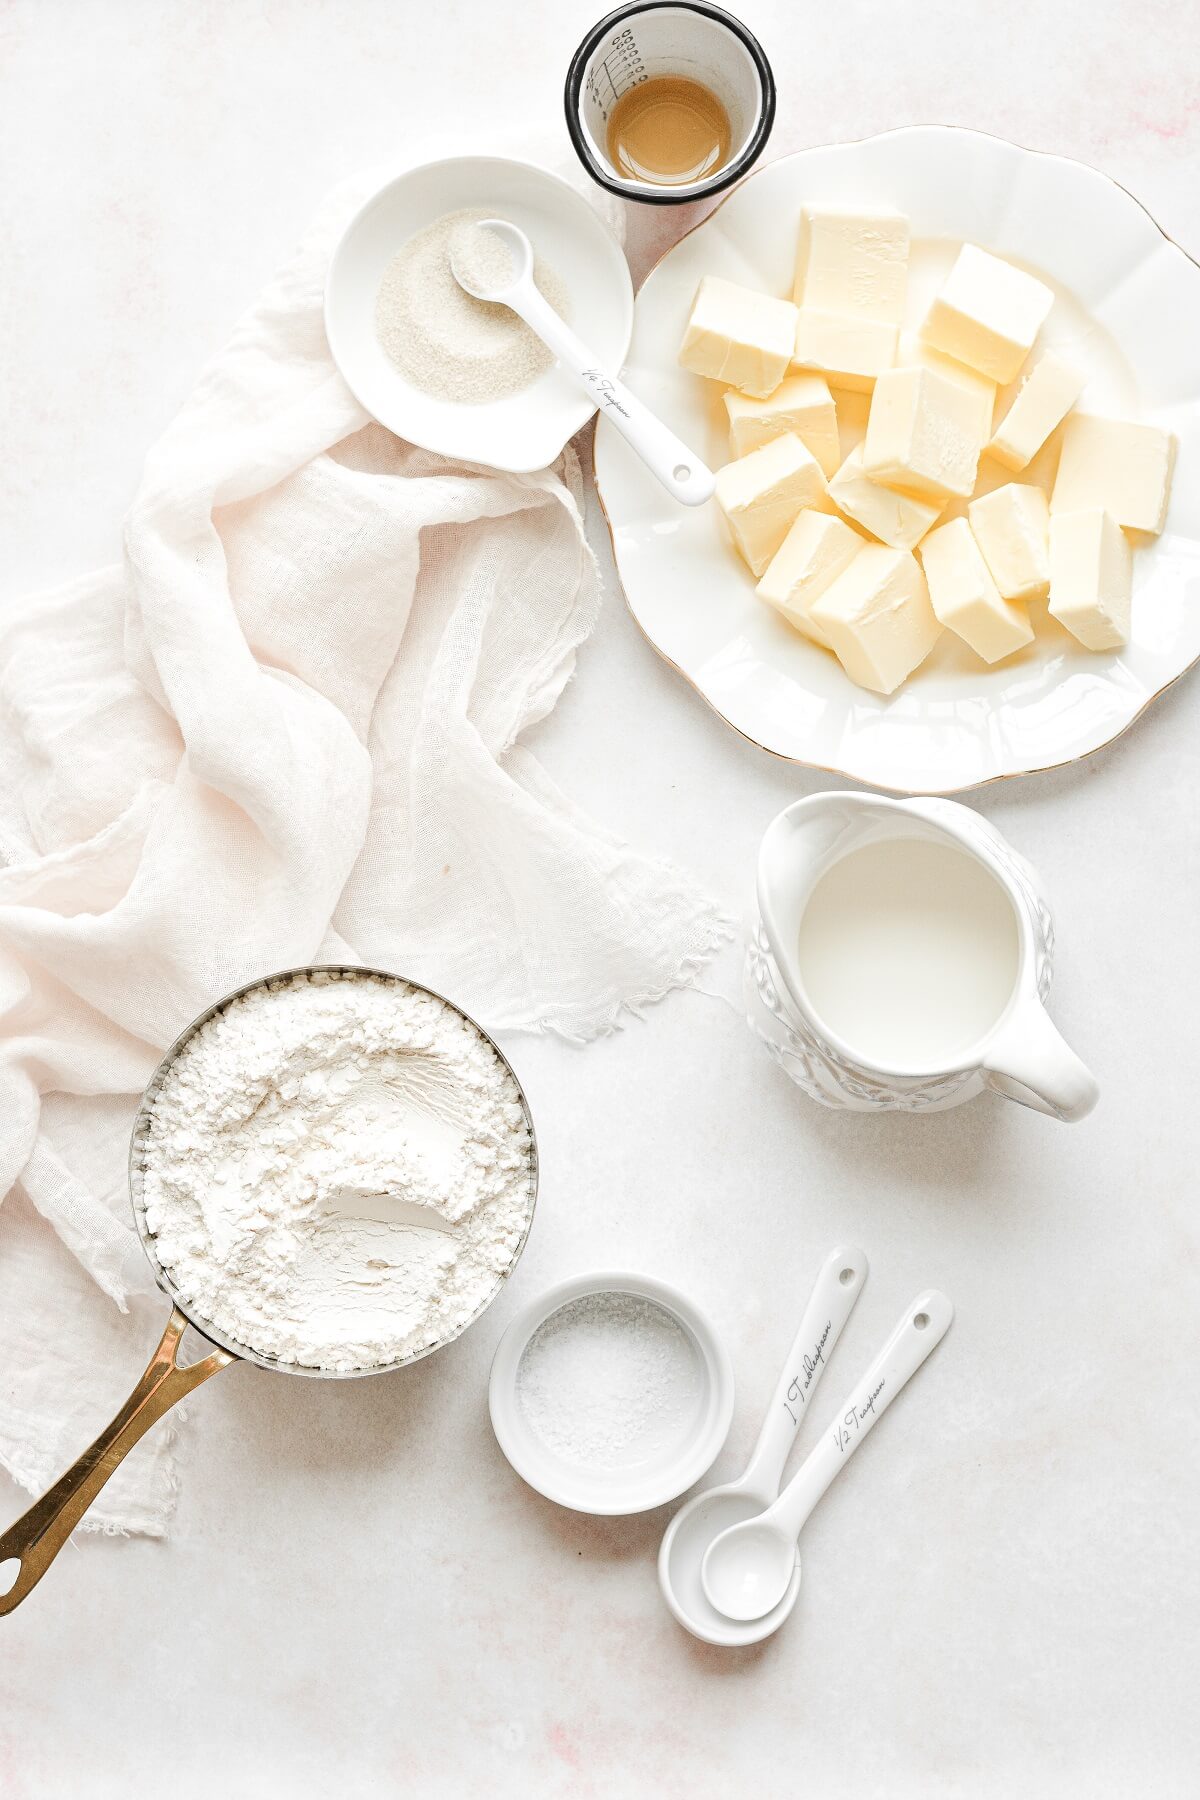
For the crust, I used my recipe for all butter pie crust, which bakes so perfectly flaky and buttery, with a nice saltiness to balance the sweetness of the filling. It’s a simple mixture of flour, sugar, salt and butter, with a little milk to bring the dough together, and an egg white to help seal the crust against moisture. You’ll be “blind-baking” the pie crust, which means you’ll be baking it without any filling. The crust stays crisp for days in the refrigerator, even when filled with the creamy banana custard. If you have questions about making homemade pie crust, be sure to give this post a read!
Filling
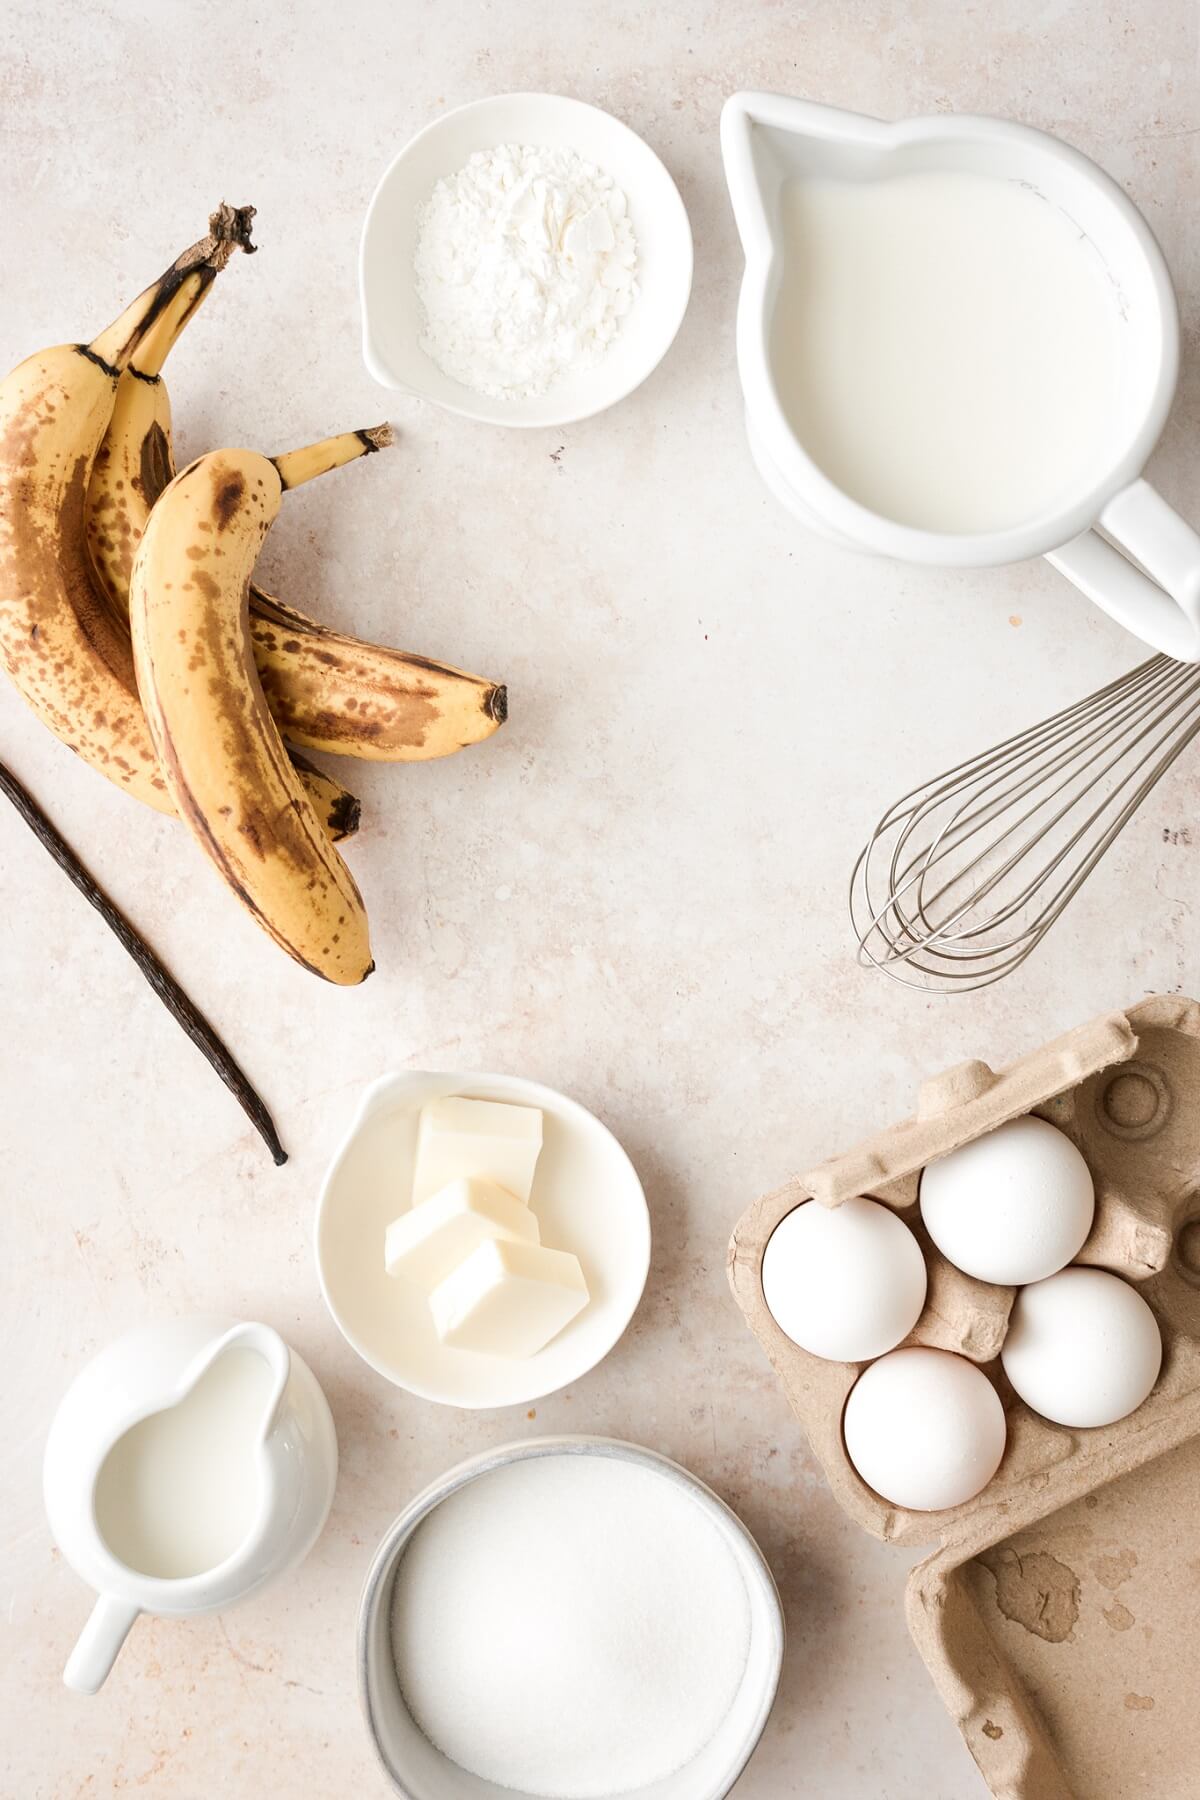
Whether you call it banana pudding, custard or pastry cream, you’ll love the flavor of the filling. You’ll start by infusing milk with bananas. Then you’ll make the most delicious pastry cream by whisking the banana milk with cream, sugar, corn starch to thicken it, egg yolks for richness, and the seeds scraped from a vanilla bean. After cooking and thickening the pastry cream, just whisk in a little butter.
Topping
A banana pie needs a fluffy mound of whipped cream on top, and fresh, barely sweetened whipped cream is best. All you need is heavy whipping cream, powdered sugar and vanilla extract.
Instructions
Make the pie dough.
- In a bowl, combine the flour, sugar and salt. Use a pastry cutter to cut the cold butter in until the pieces of butter are no bigger than peas. Stir in the milk.
- Dump the mixture out onto a clean work surface, and use your hands to gather the crumbs together. Keep gathering and pressing the crumbs together until it comes together into a ball – this should only take a minute or two. Use your bench scraper to scrape all the bits of dough off the work surface, if any of it sticks.
- Lightly flour your work surface, the ball of dough, and your rolling pin. Roll the dough out, using using your bench scraper to loosen the dough from your work surface, and sprinkling more flour as needed to keep it from sticking, into a rough circle about 1/4 inch thick. There may be a few cracks in the dough, and you should see visible chunks of butter throughout.
- Fold the dough into thirds, like a letter, and then in thirds again, so you have a neat little package of dough. Now roll it out again, large enough to fit into your pie pan with a little overhang. At this point, you can use the dough right away, or wrap it in plastic and refrigerate for up to 3 days, or freeze for 3-6 months.
Tip: For step-by-step photos, see my tutorial post on making the best pie dough.
Chill the dough and bake the crust.
- Roll the dough out again, large enough to fit into your pie pan with a little overhang. Fit the dough into your pie pan, taking care not to pull or stretch the dough. Fold the edges under and crimp the dough all around the edge.
- Use a fork to lightly prick the bottom of the dough – this is called “docking” and helps prevent the crust from puffing up as it bakes.
- Freeze the dough in the pan for 30 minutes.
- Preheat the oven to 400 F.
- Lightly spray a piece of aluminum foil with non-stick spray, and fit it inside the frozen crust. Fill the foil with pie weights or dried beans.
- Bake on the center oven rack for 15 minutes. Remove the pan from the oven, and gently remove the weights and foil. Brush the dough with the egg white, then return the crust to the oven (uncovered). Bake for an additional 12-15 minutes, until the crust is golden brown and cooked through.
- Set aside to cool slightly.
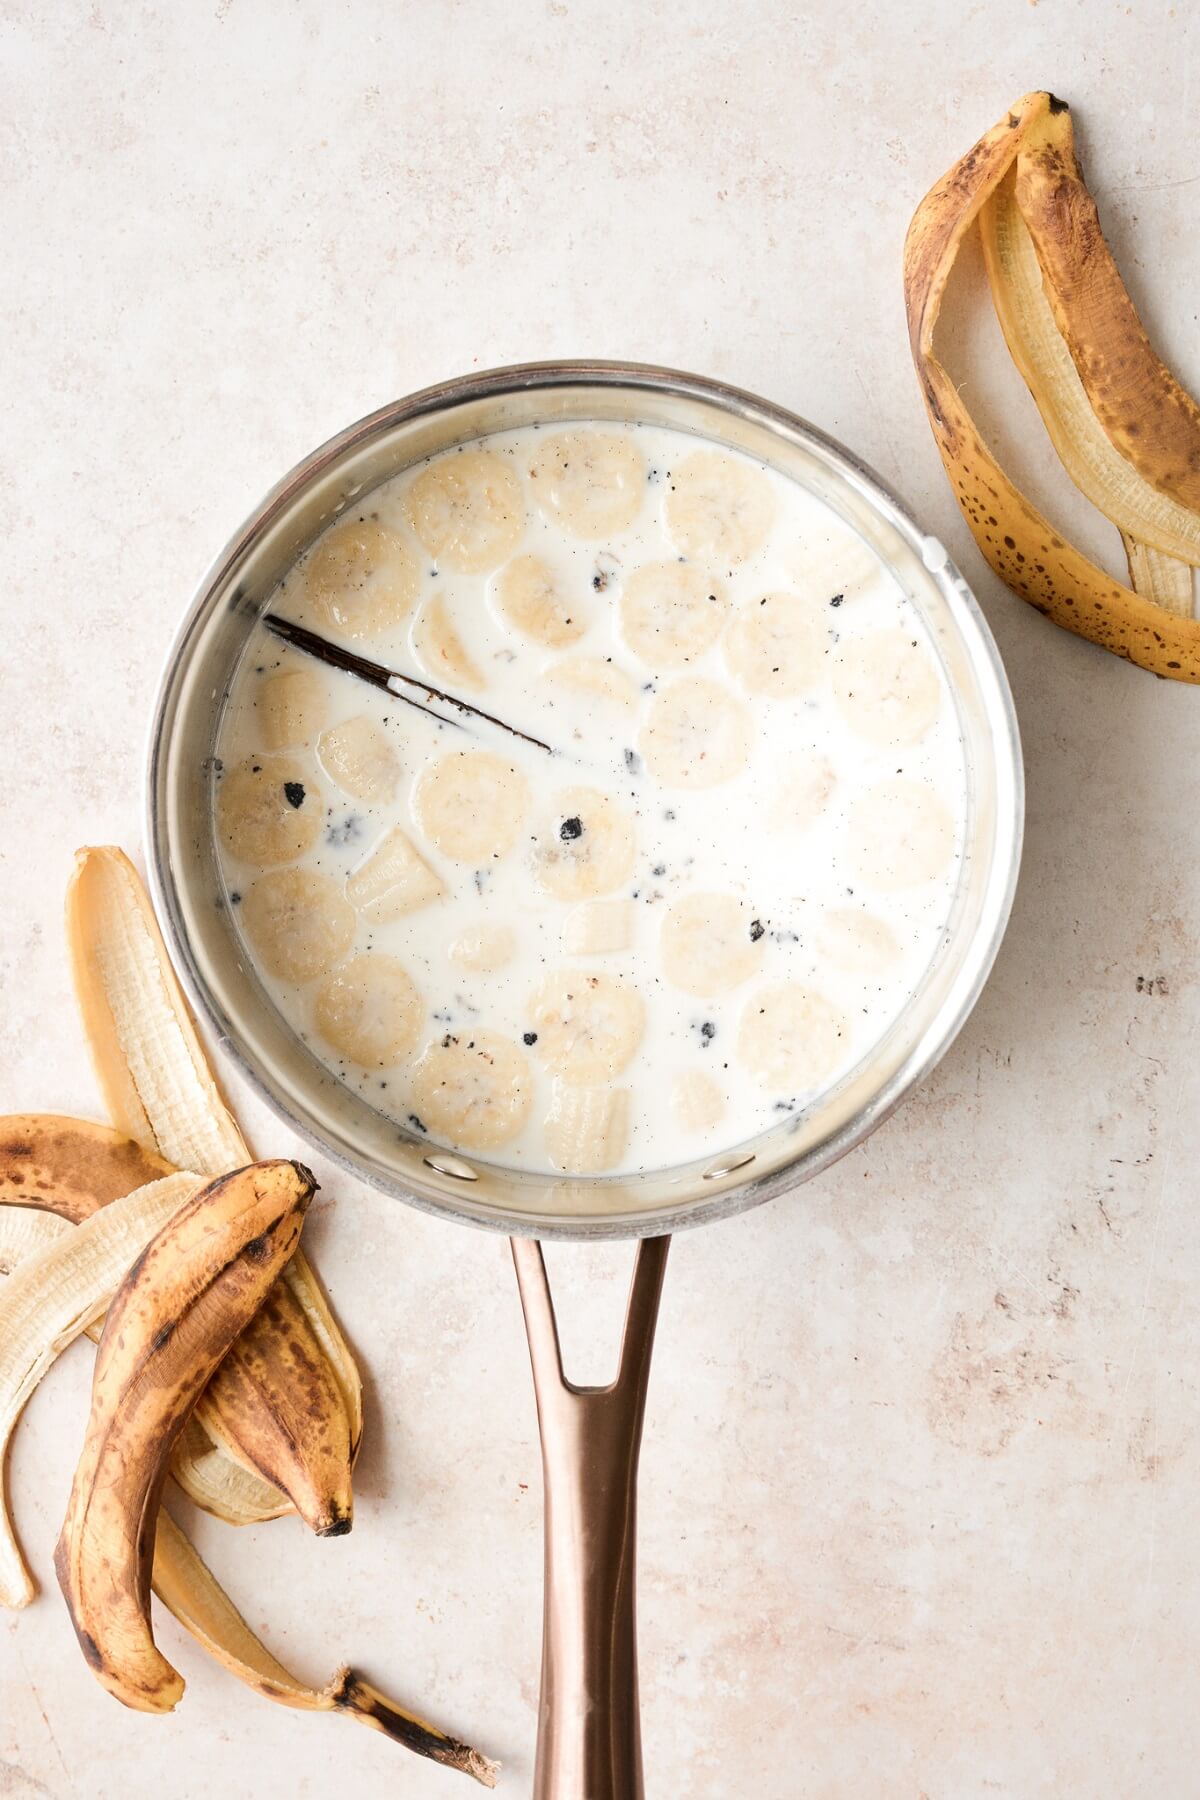
Shown above, a vanilla bean steeping in milk with the sliced bananas.
Infuse milk with bananas.
- Combine the milk and sliced bananas in a saucepan. Over medium heat, bring the milk to a simmer. Remove from the heat.
- Pour the milk with the bananas into a lidded container, and refrigerate for 12 hours (overnight) to infuse the milk with banana flavor.
- After 12 hours, strain the milk and discard the bananas.
TIP: Be sure to make the banana-infused milk the night before, so it can steep for 12 hours before you make the banana custard.
Make the banana custard and chill the pie.
- In a saucepan, whisk together the sugar and corn starch. Whisk in the cream and egg yolks until smooth, then whisk in the banana-infused milk and the vanilla bean seeds.
- Over medium heat, whisk the custard constantly and bring it to a boil. It should take about 10-12 minutes of whisking before it begins to boil and thicken. Once this happens, continue to cook, whisking constantly, for 1 full minute, until the custard is very thick.
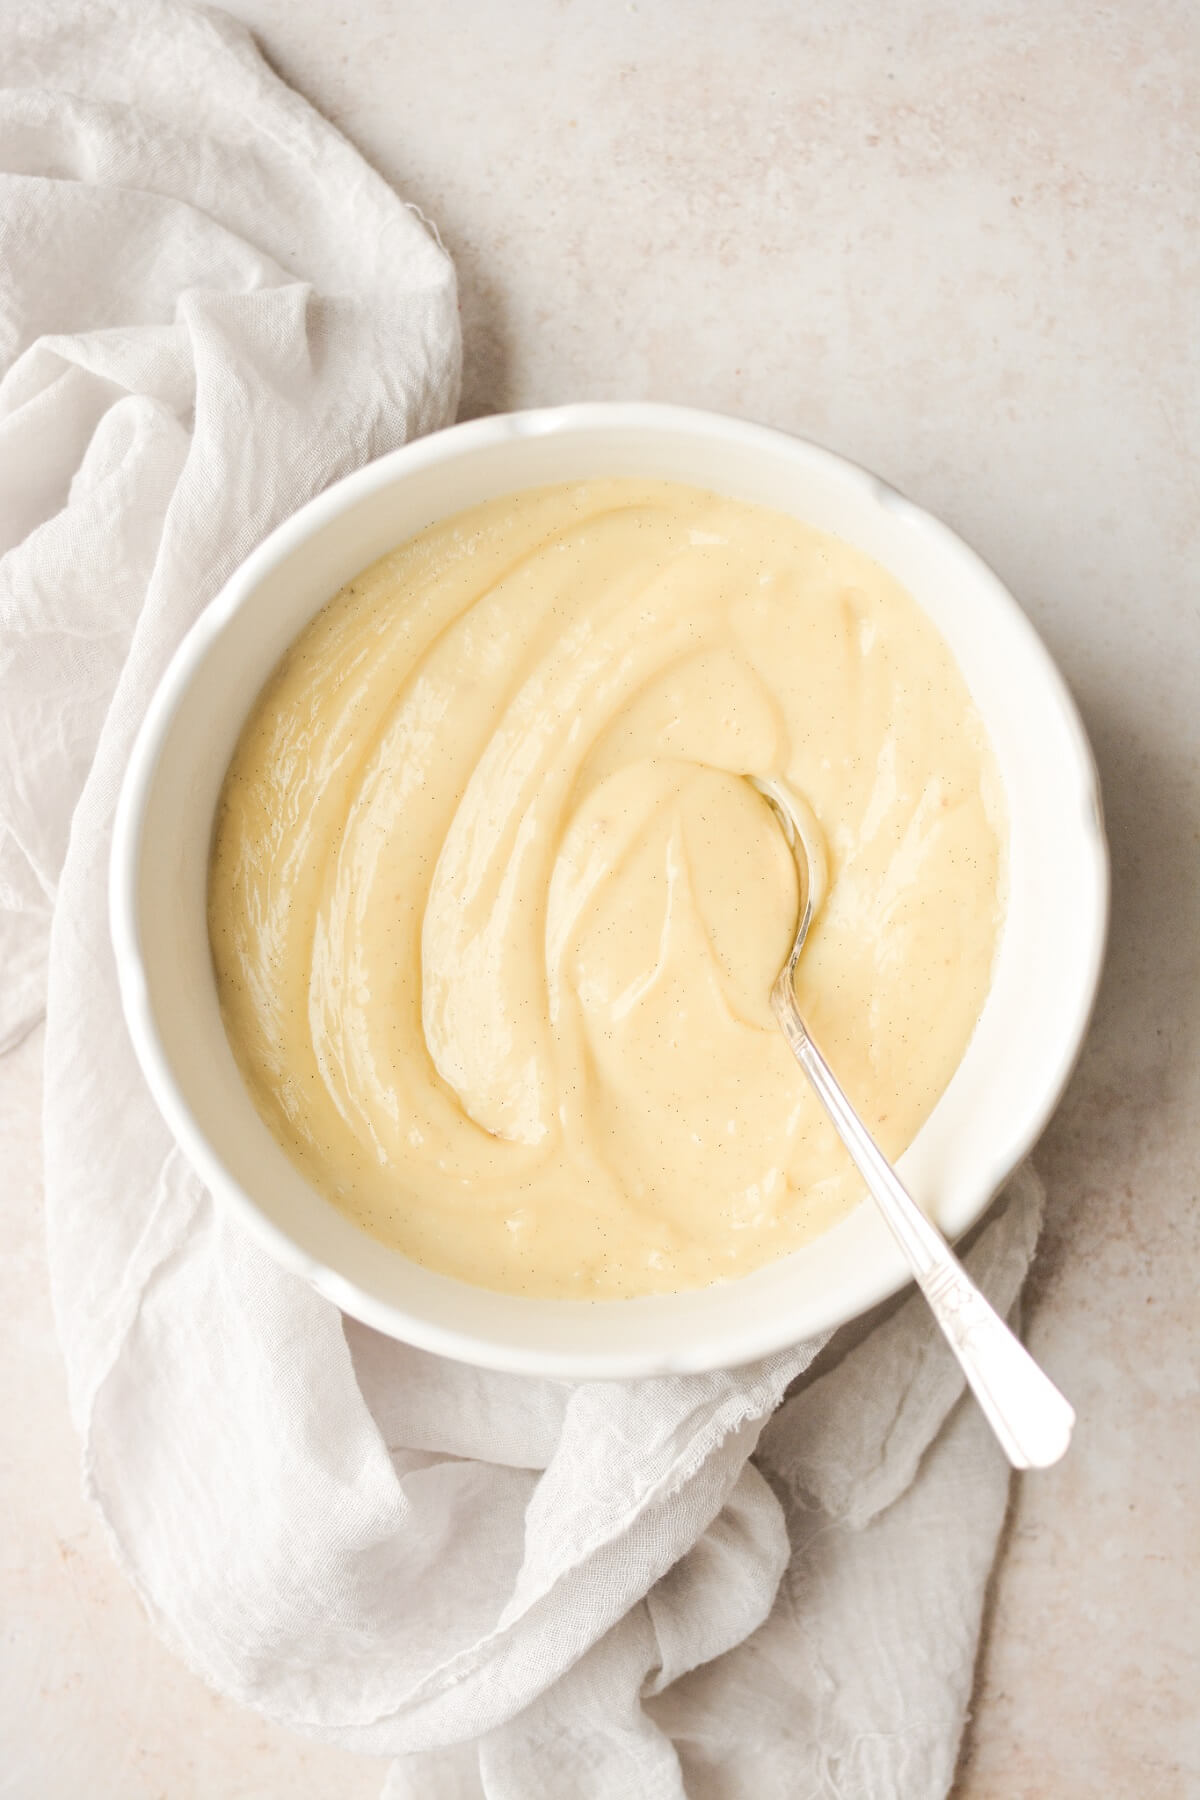
- Remove from the heat and whisk in the butter until smooth. Pour the custard through a mesh strainer to remove any bits of cooked egg. Let the custard cool at room temperature, uncovered, for about an hour, until it’s no longer steaming hot.
- Stir up the custard and spread it into the baked crust. Refrigerate for about 2 1/2 – 3 hours, until chilled and set.
Top with whipped cream.
- With an electric mixer, whip the cream until it starts to thicken. Add the powdered sugar and vanilla, and whip until soft peaks that hold their shape form.
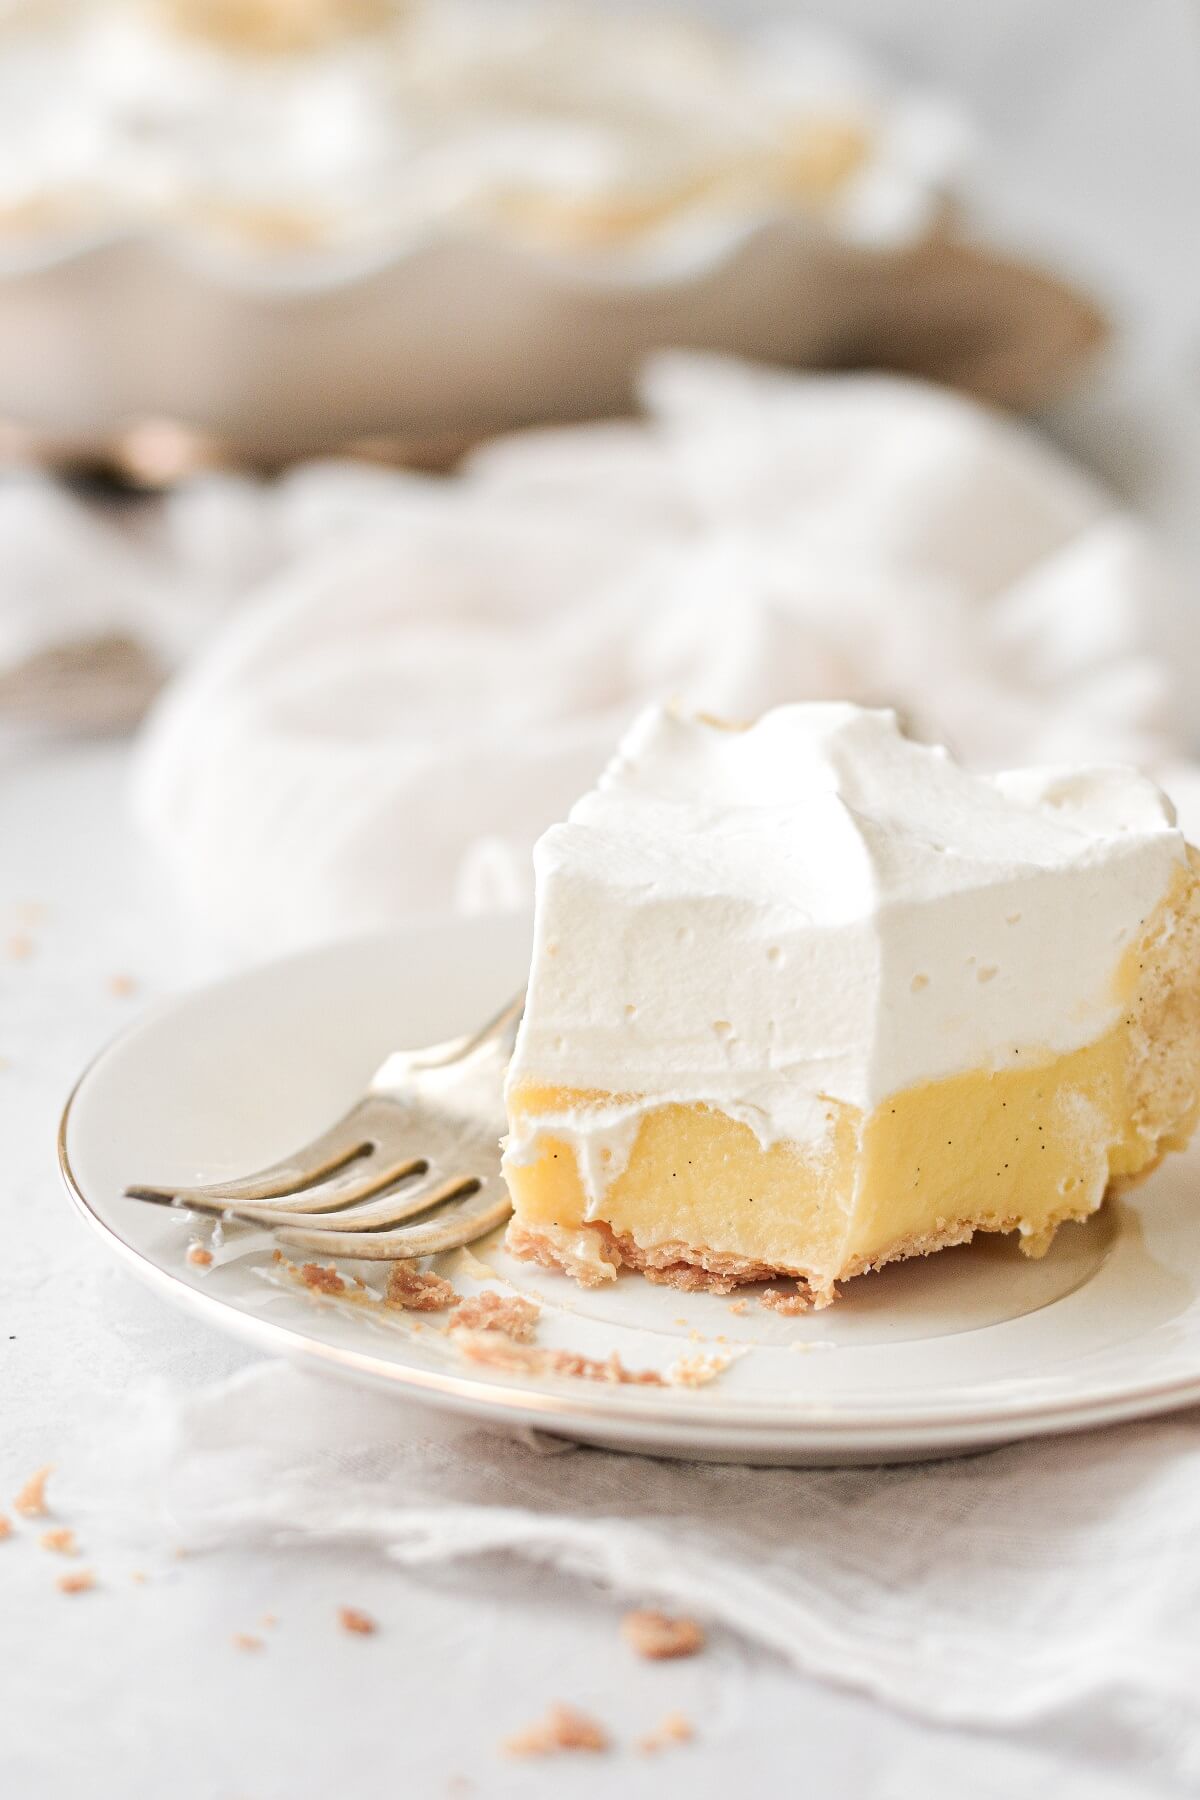
- Spread the whipped cream on top of the banana custard.
Be sure to read all of my BAKING FAQs where I discuss ingredients, substitutions and common baking questions, so that you can be successful in your own baking!
Frequently Asked Questions
Does the crust need to be blind baked?
Yes, whether you make your own homemade pie crust, or choose to use store bought dough, you need to blind bake the crust. This simply means that you’ll be baking the crust on its own, without any filling inside, since you’ll be cooking the filling on the stove, and not in the oven.
Can I make the custard without making the banana milk first?
Sure, if you want to fill your pie with sliced bananas, then you can skip the step of making the banana-infused milk, and just make a vanilla bean custard instead.
Do I have to use a real vanilla bean?
If you don’t have any real vanilla beans, then the next best thing is vanilla bean paste, which will still give you all those beautiful flecks of vanilla bean seeds in your custard. Otherwise, you can use a good-quality vanilla extract.
How do you keep sliced bananas from turning brown?
This is tricky, and is pretty much inevitable. You can try to slow down the browning a little by brushing the banana slices with a little lemon juice, but honestly, this doesn’t really do much to keep them from turning slimy and mushy in the pie. It’s for this reason that I developed today’s banana cream pie recipe using banana custard made with banana-infused milk.
Does this pie need to be refrigerated?
Yes, you should loosely cover the leftover pie and keep it refrigerated for up to 3 days.
Other garnish ideas?
- Banana pies are fantastic topped with crushed toffee bits or shaved chocolate.
- You can garnish with fresh banana slices just before serving.
- A slice of banana pie drizzled with salted caramel sauce is wonderful, too!
- For a banoffee pie, layer bananas, toffee and caramel sauce in the pie, before topping with the custard and whipped cream.
You Might Also Like
Please check out my Amazon Shop for a curated collection of some of my favorite cake pans from trusted brands, baking tools, ingredients, pretty things and fashion finds. I recommend products that I buy and use every day!
Did you love today’s recipe? Please rate the recipe and let me know in the comments what you thought! Also, be sure to follow Curly Girl Kitchen on Instagram, and tag me when you try one of my recipes so I can see all your delicious creations!
Banana Cream Pie
All recipes on Curly Girl Kitchen are developed for high altitude at 5,280 feet. See FAQs for adjusting to higher or lower elevations.
Equipment
- Saucepan, Whisk, Fine Mesh Strainer
- Rolling Pin, Bench Scraper, Pastry Cutter
- Deep Dish Pie Pan
- Electric Mixer (Stand or Hand-Held)
Ingredients
Crust
- 1 cup + 2 tbsp all-purpose flour, spooned and leveled, plus extra for rolling
- 1 ½ tsp granulated sugar
- ½ tsp coarse Kosher salt (if using table salt, use half the amount)
- ½ cup cold, unsalted butter, diced
- 3 tbsp milk or ice water
- 1 egg white
Filling
- 2 cups whole milk
- 2 large bananas, sliced into 1/2 inch slices
- ⅔ cup granulated sugar
- ¼ cup corn starch
- ¼ cup heavy whipping cream
- 4 large egg yolks
- 1 vanilla bean, seeds scraped
- 3 tbsp unsalted butter
Topping
- 1 cup cold heavy whipping cream
- 2 tbsp powdered sugar
- ½ tsp vanilla extract
- optional garnish: toffee bits, shaved chocolate, caramel sauce
Instructions
Crust
- In a bowl, combine the flour, sugar and salt. Use a pastry cutter to cut the cold butter in until the pieces of butter are no bigger than peas. Stir in the milk.
- Dump the mixture out onto a clean work surface, and use your hands to gather the crumbs together. Keep gathering and pressing the crumbs together until it comes together into a ball – this should only take a minute or two. Use your bench scraper to scrape all the bits of dough off the work surface, if any of it sticks.
- Lightly flour your work surface, the ball of dough, and your rolling pin. Roll the dough out, using using your bench scraper to loosen the dough from your work surface, and sprinkling more flour as needed to keep it from sticking, into a rough circle about 1/4 inch thick. There may be a few cracks in the dough, and you should see visible chunks of butter throughout.
- Fold the dough into thirds, like a letter, and then in thirds again, so you have a neat little package of dough. Now roll it out again, large enough to fit into your pie pan with a little overhang. At this point, you can use the dough right away, or wrap it in plastic and refrigerate for up to 3 days, or freeze for 3-6 months.
- Roll it out again, large enough to fit into your pie pan with a little overhang. Fit the dough into your pie pan, taking care not to pull or stretch the dough. Fold the edges under and crimp the dough all around the edge.
- Use a fork to lightly prick the bottom of the dough – this is called "docking" and helps prevent the crust from puffing up as it bakes.
- Freeze the dough in the pan for 30 minutes.
- Preheat the oven to 400 F.
- Lightly spray a piece of aluminum foil with non-stick spray, and fit it inside the frozen crust. Fill the foil with pie weights or dried beans.
- Bake on the center oven rack for 15 minutes. Remove the pan from the oven, and gently remove the weights and foil. Brush the dough with the egg white, then return the crust to the oven (uncovered). Bake for an additional 12-15 minutes, until the crust is golden brown and cooked through.
- Set aside to cool slightly.
Filling
- Combine the milk and sliced bananas in a saucepan. Over medium heat, bring the milk to a simmer. Remove from the heat.
- Pour the milk with the bananas into a lidded container, and refrigerate for 12 hours (overnight) to infuse the milk with banana flavor.
- After 12 hours, strain the milk and discard the bananas.
- In a saucepan, whisk together the sugar and corn starch. Whisk in the cream and egg yolks until smooth, then whisk in the banana-infused milk and the vanilla bean seeds.
- Over medium heat, whisk the custard constantly and bring it to a boil. It should take about 10-12 minutes of whisking before it begins to boil and thicken. Once this happens, continue to cook, whisking constantly, for 1 full minute, until the custard is very thick.
- Remove from the heat and whisk in the butter until smooth. Pour the custard through a mesh strainer to remove any bits of cooked egg. Let the custard cool at room temperature, uncovered, for about an hour, until it's no longer steaming hot.
- Stir up the custard and spread it into the baked crust. Refrigerate for about 2 1/2 – 3 hours, until chilled and set.
Topping
- With an electric mixer, whip the cream until it starts to thicken. Add the powdered sugar and vanilla, and whip until soft peaks that hold their shape form.
- Spread the whipped cream on top of the banana custard. If desired, garnish the top with sliced bananas, toffee bits or shaved chocolate. Banana cream pie is delicious served with salted caramel sauce or chocolate syrup.

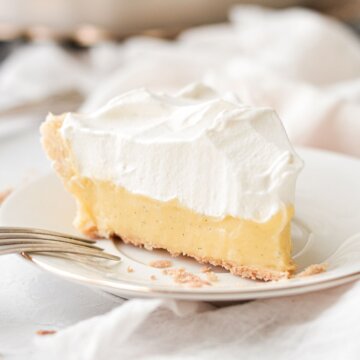
A delicious and classic pie!
Can the banana and milk mixture be refrigerated longer than 12 hours? Can it be refrigerated for closer to 24 hours?
Yes, that will be fine!
With the Vanilla Bean on the filling, can I substitute with Vanilla Extract? If so, how much? Thanks!
I would use 1 1/2 – 2 teaspoons vanilla extract to replace the vanilla bean.
BEST banana cream recipe I’ve ever used for filling. Worth the wait for the banana infused milk. Packed way more banana flavor than I was expecting!
Hi Heather- I plan on making this recipe tonight.
I wanted to know if there’s a reason the bananas have to be discarded, or if we can incorporate them into the recipe some other way after.
Thank you!
The bananas are discarded because they will turn the custard brown. You may be able to freeze them to use in banana bread.