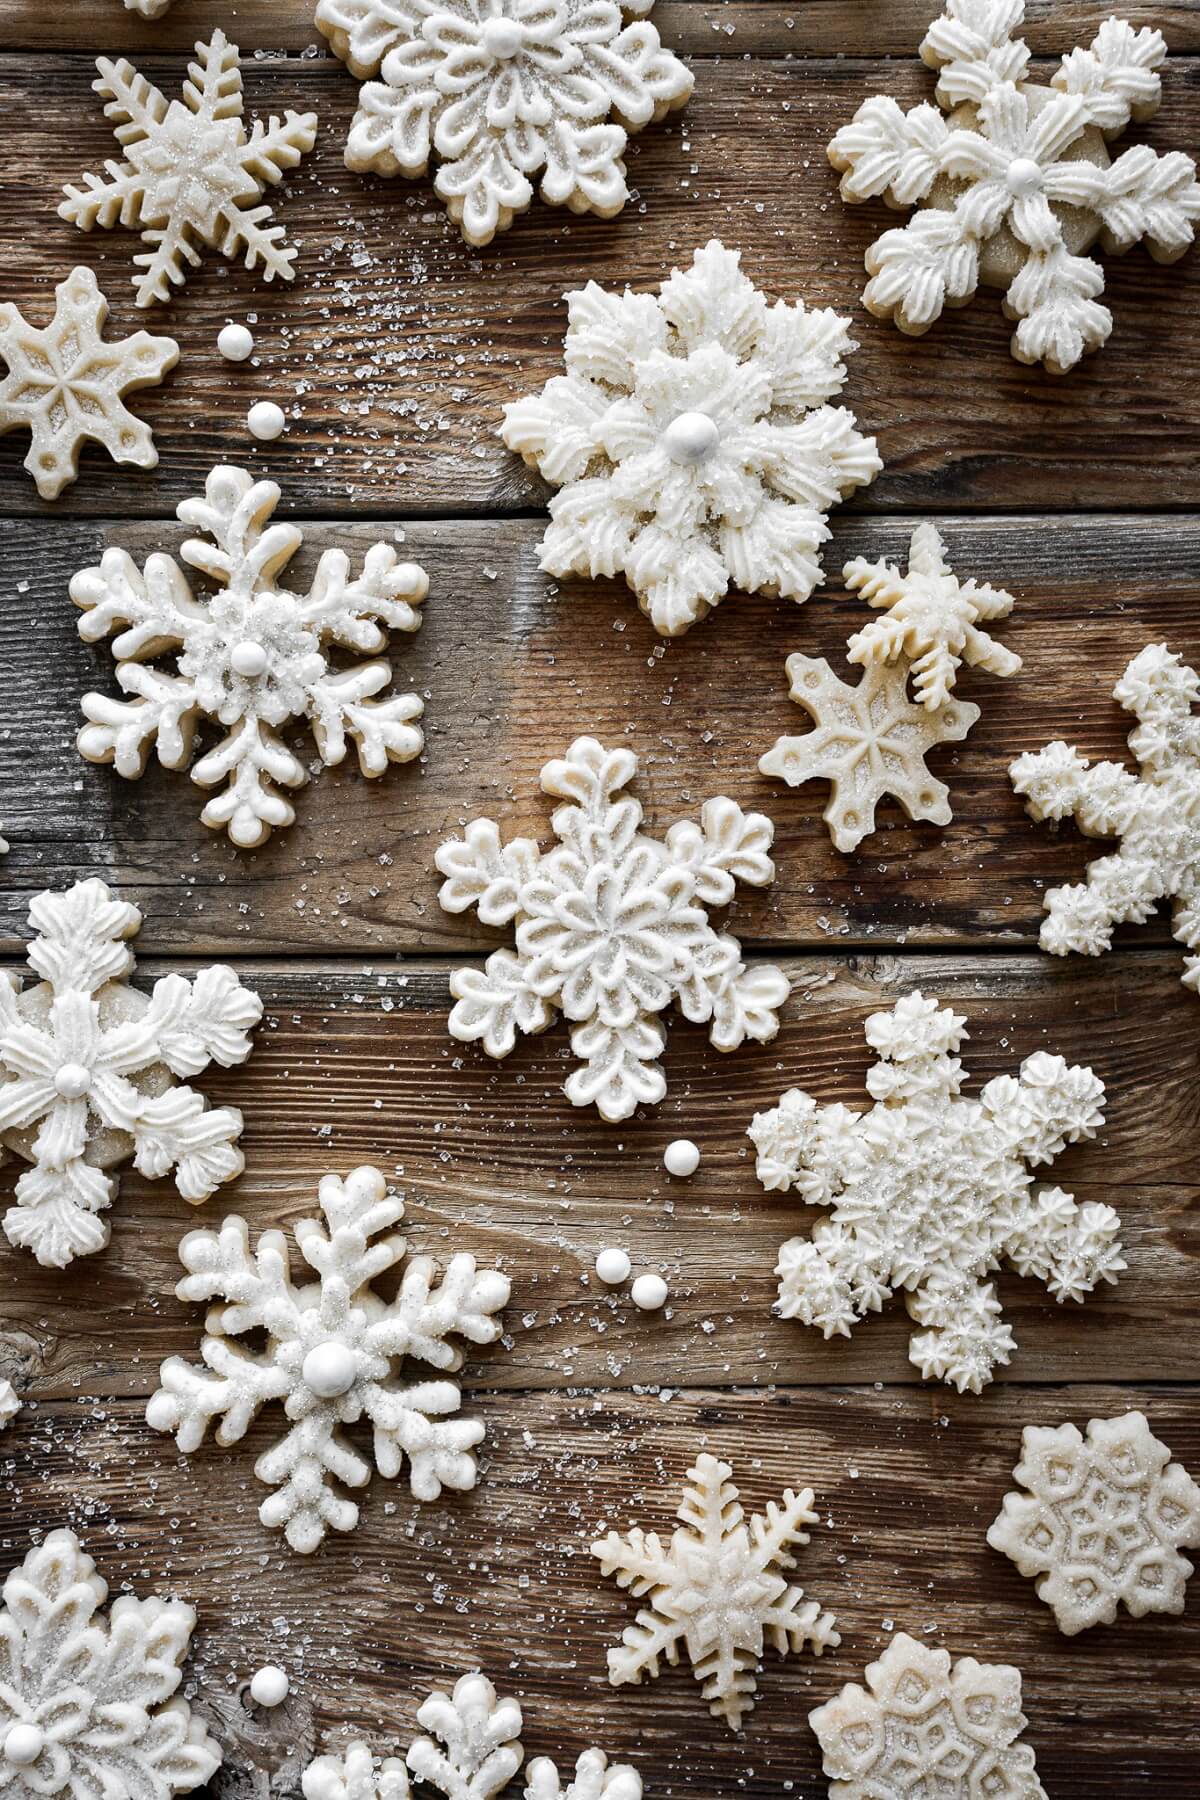
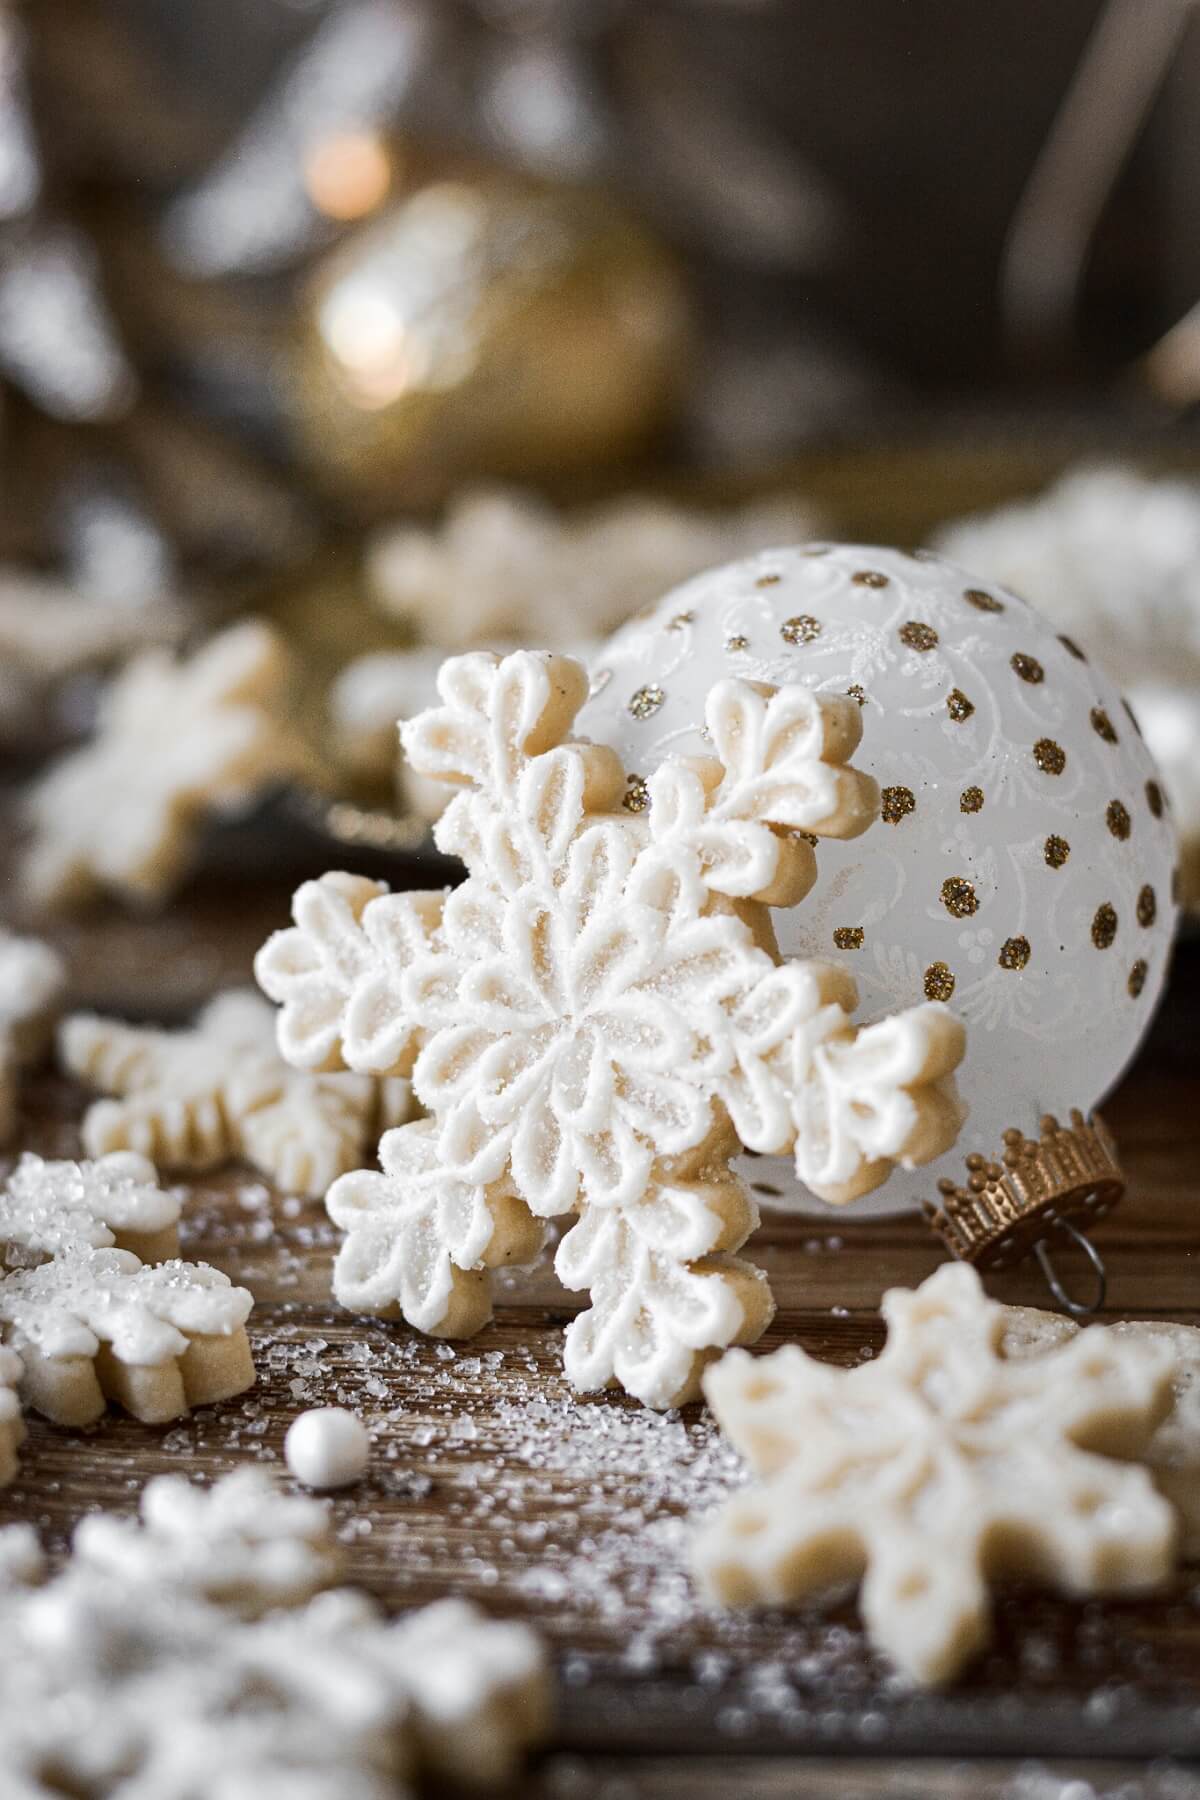
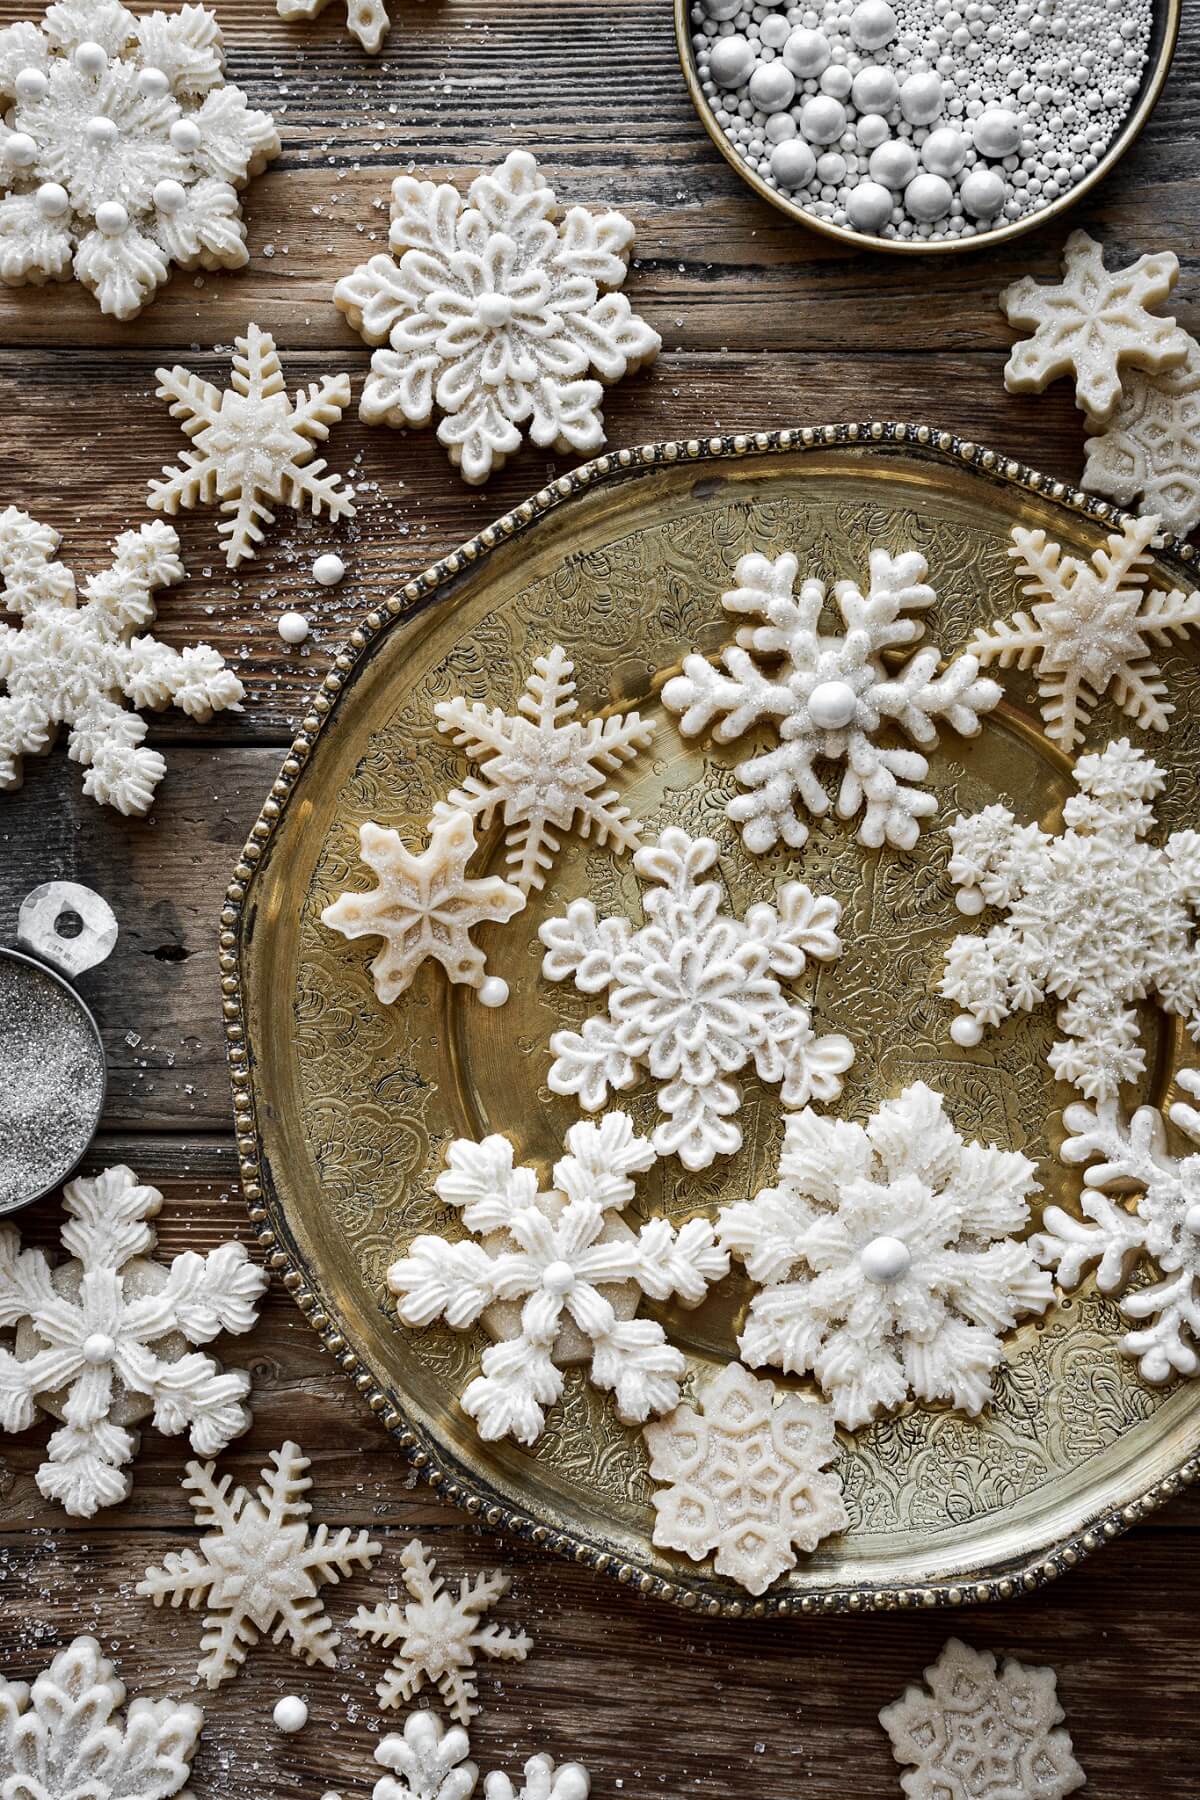
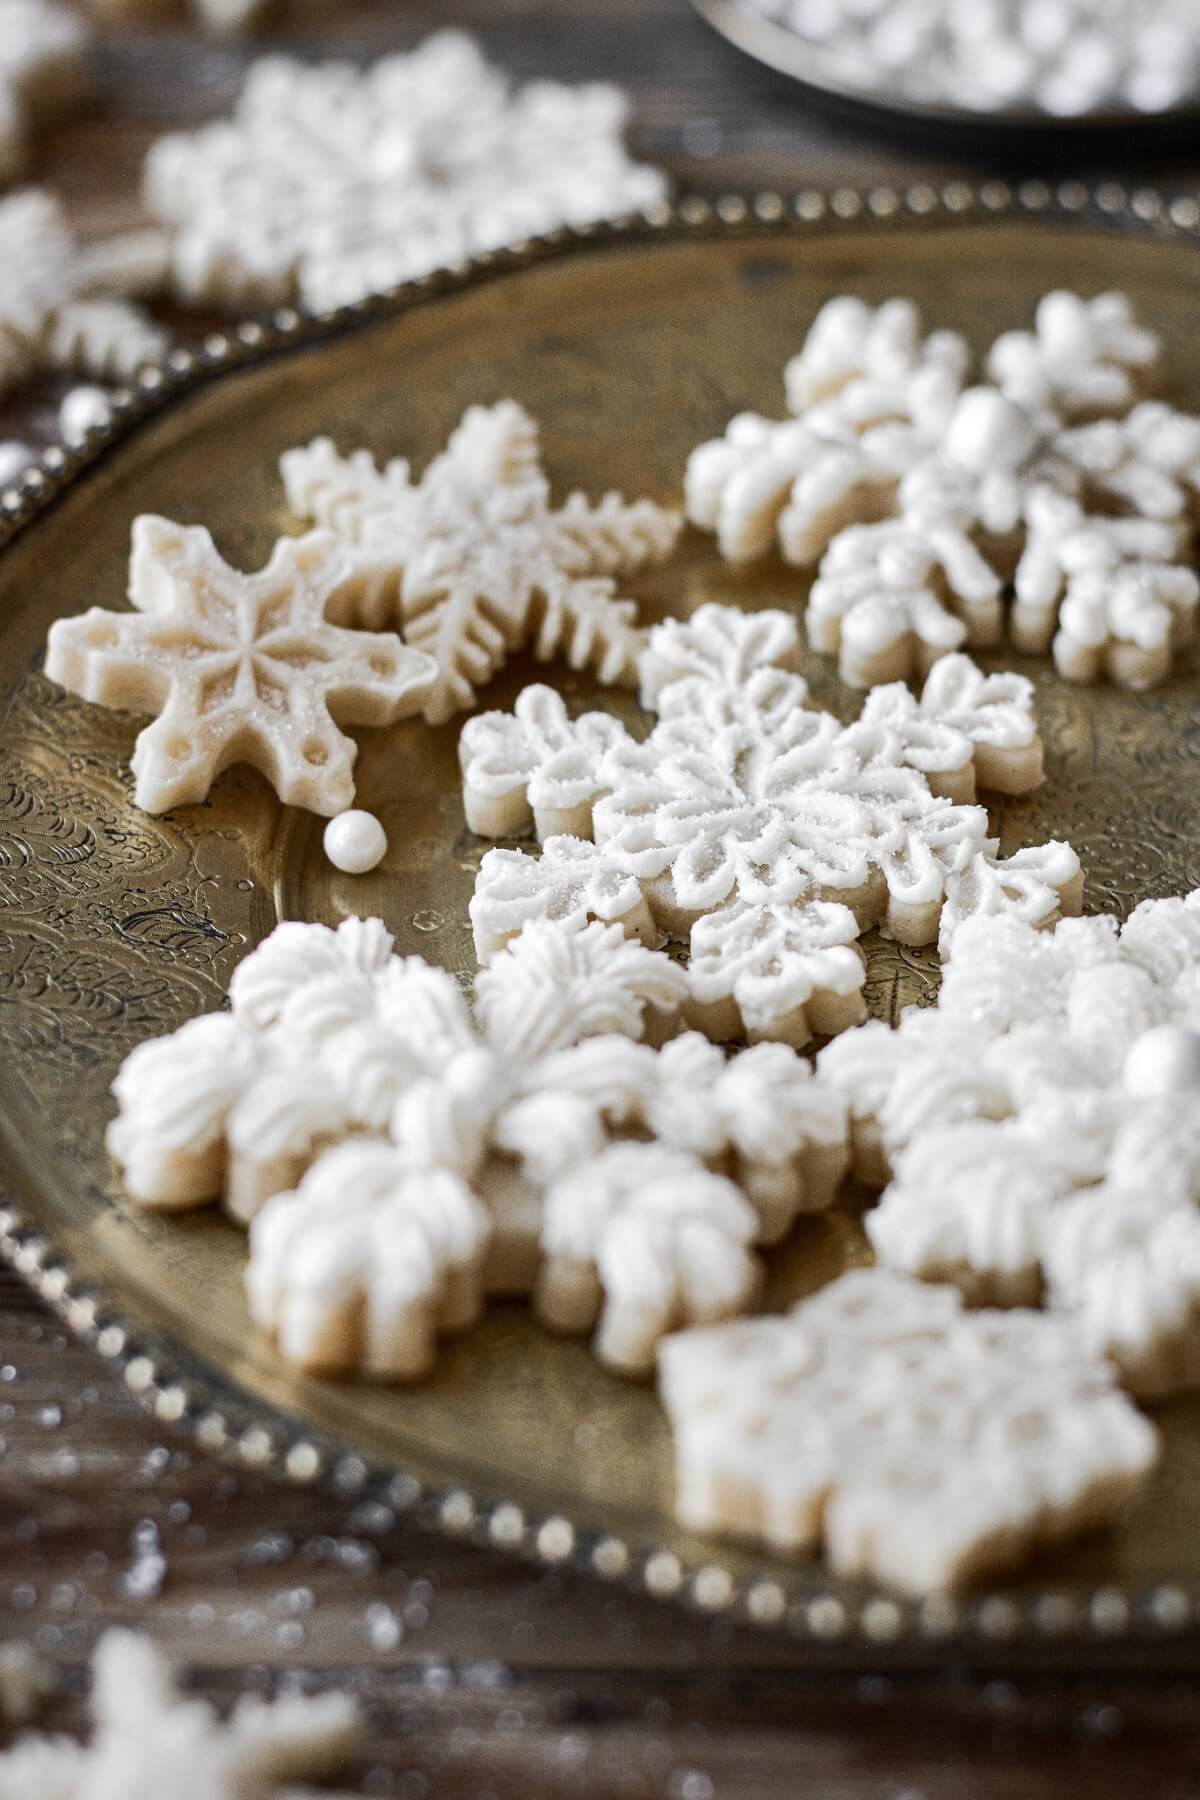
Soft, buttery almond flavored snowflake sugar cookies, decorated with fluffy buttercream frosting and sprinkled with sparkling sugar. These delicate cookies make the most beautiful Christmas cookies for the holiday season. And today’s post includes not only the best, no spread vanilla sugar cookie recipe for cutout cookies, but also simple, step-by-step photos on how to decorate snowflake cookies with buttercream, the best cookie cutters to choose, and tips on making the prettiest snowflake cookies.
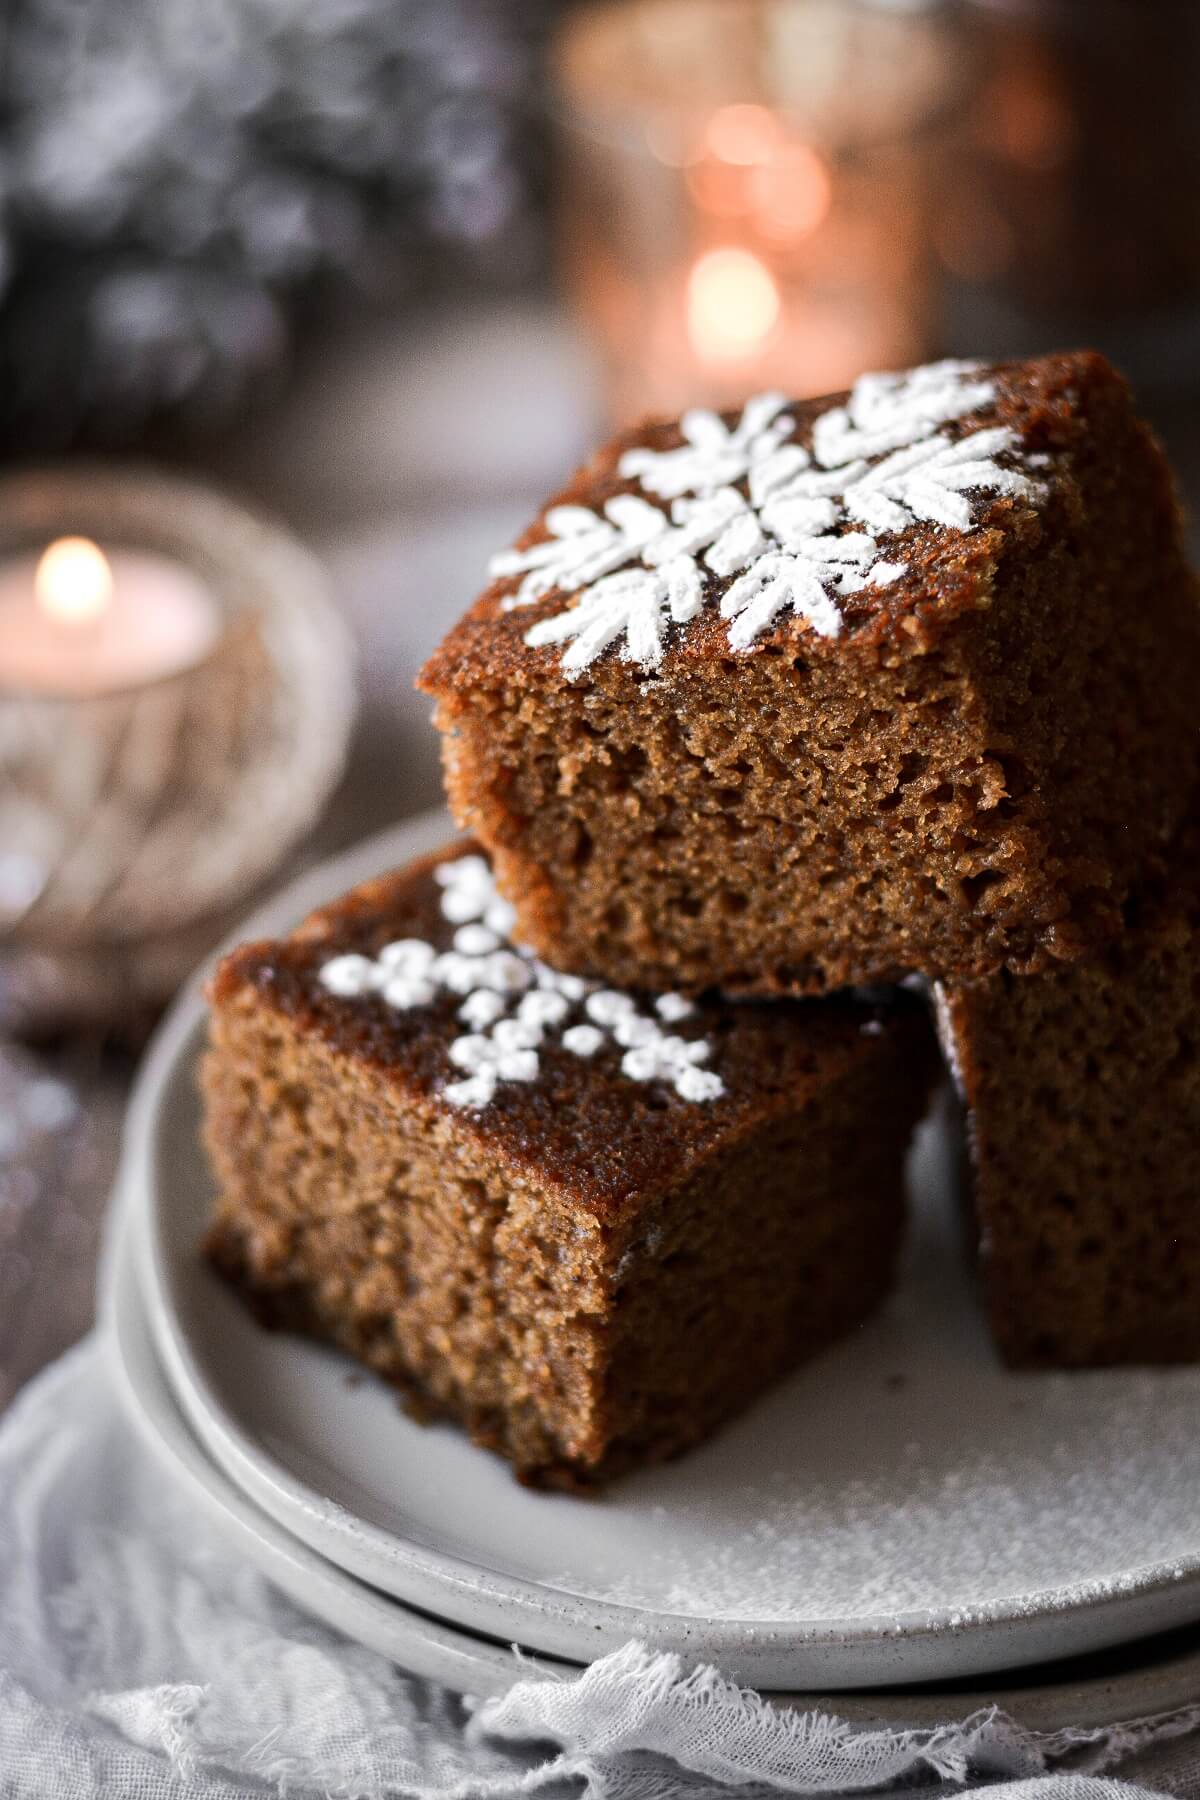
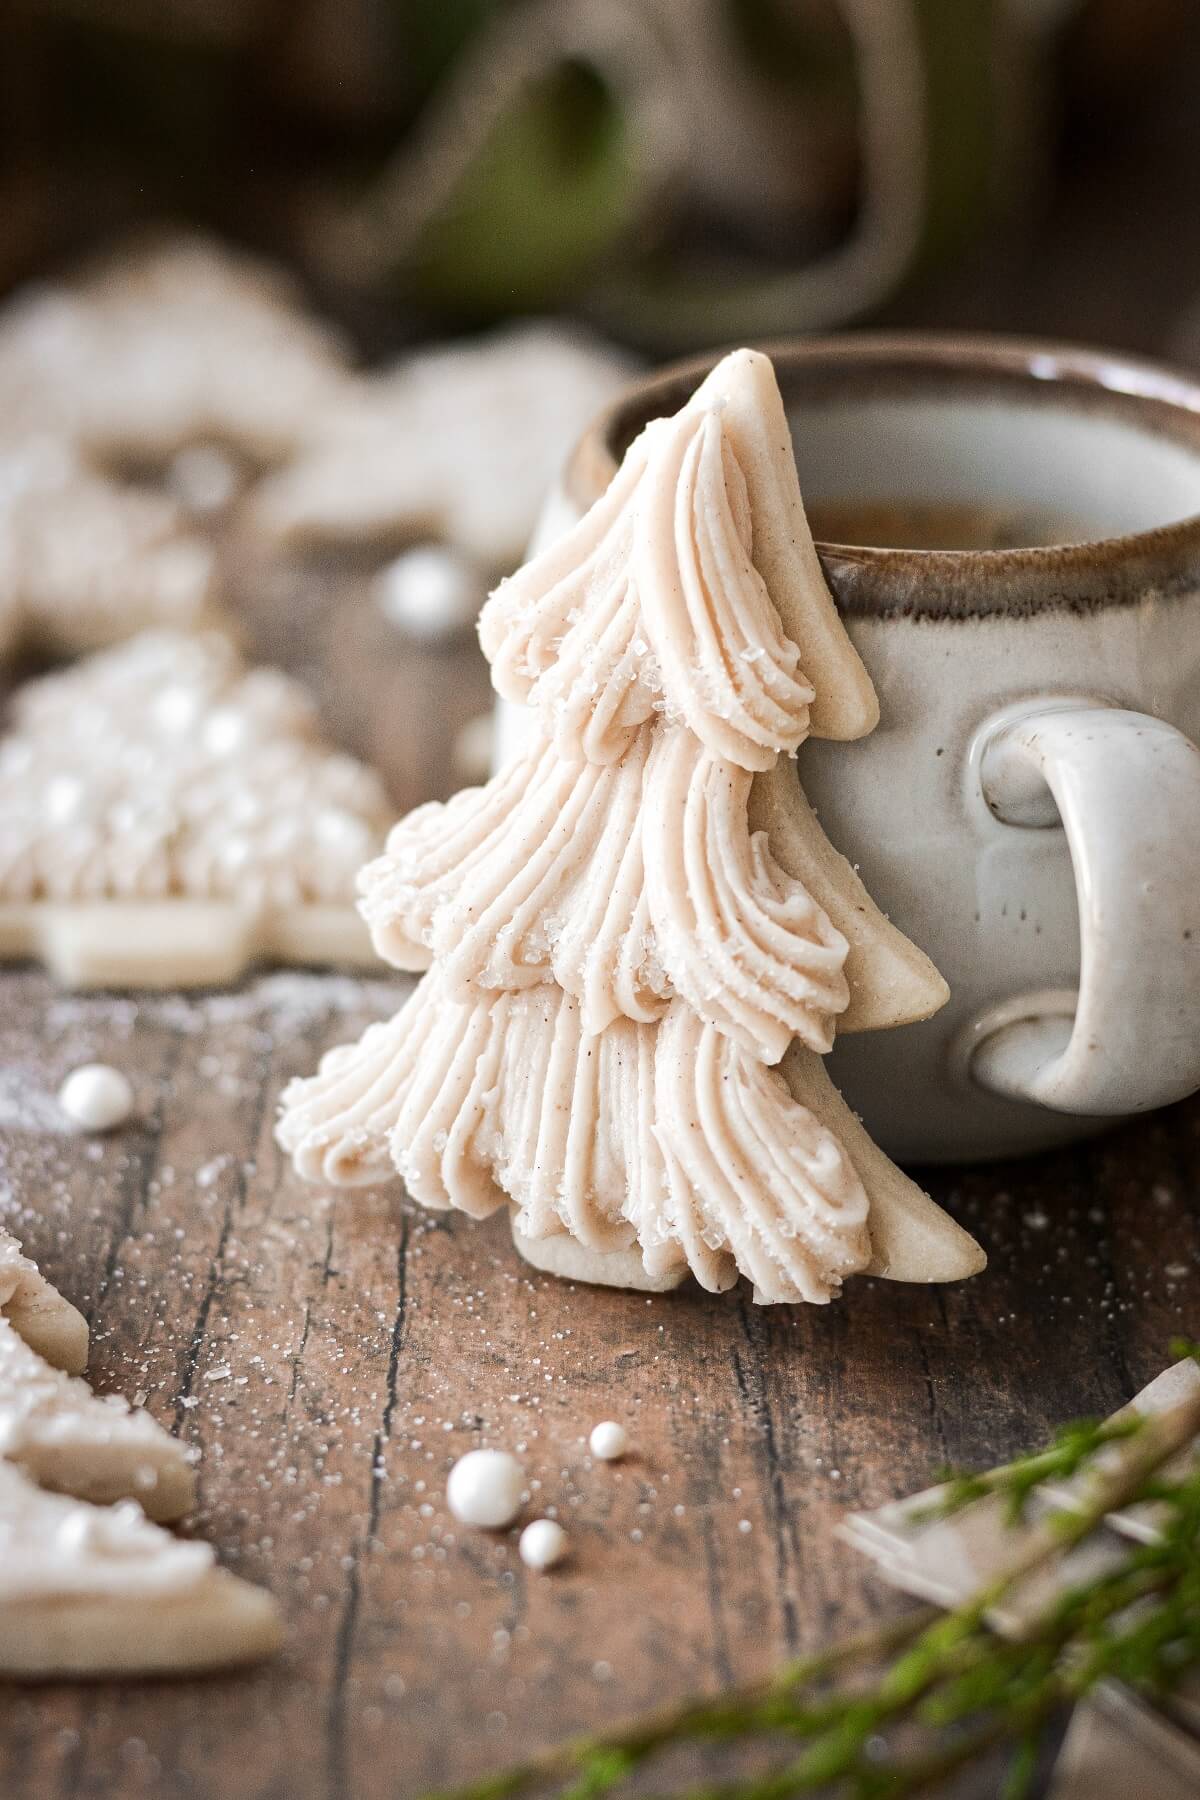
You might also love this gingerbread sheet cake with powdered sugar snowflakes, a buttercream Christmas tree cake tutorial, and the most stunning Christmas tree sugar cookies decorated with buttercream.
This site contains affiliate links. As an Amazon associate, I earn from qualifying purchases. This means that I may make a small commission if you purchase a product using those links. This in no way affects my opinion of those products and services. All opinions expressed on this site are my own.
Why You’ll Love This Recipe
No Spread Sugar Cookie Recipe. I really can’t say enough good things about the sugar cookies themselves. With flecks of real vanilla bean, the flavor of the cookies is just incredible, with a delicious balance of sugar, butter and vanilla that’s not too sweet. They’re soft, flaky and tender, and they hold their shape beautifully when they bake. They are my go to cookie recipe every time I want to make decorated cutout cookies for the holidays. For my snowflake sugar cookies, I added almond extract to both the cookie dough and the buttercream for the most wonderful Christmas flavor.
Buttercream not Royal Icing. When it comes to royal icing, I can manage a simple flooding technique on my cookies for a clean, pretty, iced cookie. But I’ve never mastered piping tiny, intricate details with royal icing. So I turned to my trusted American buttercream recipe for today’s cookie decorating.
Simplified Decorating Techniques. As you’ll see in the detailed photos below, when you break down each step of the decorating process, you’ll find that decorating these cookies is actually quite simple, especially with a little practice.
Make Ahead for the Holidays. These snowflake cookies freeze well, so you can make the cookies in advance and then freeze them until you have time to decorate them.
Tools and Equipment
- Disposable Piping Bag. A 12-inch piping bag is a good size for today’s project.
- Piping Tips. I used #18 (a small star tip) and #4 (a small round tip) for all of the designs shown today.
- Small Tapered Palette Knife. For one of today’s decorating techniques, you’ll need a small tapered palette knife to drag through the buttercream. I used one from my set of palette knives that I occasionally use for cake and cookie decorating.
- Food Processor. For making the cookie dough. If you don’t have a food processor, you can use a pastry cutter, but the process is much quicker and easier with a food processor.
- Stand Mixer with Paddle Attachment. For making the buttercream.
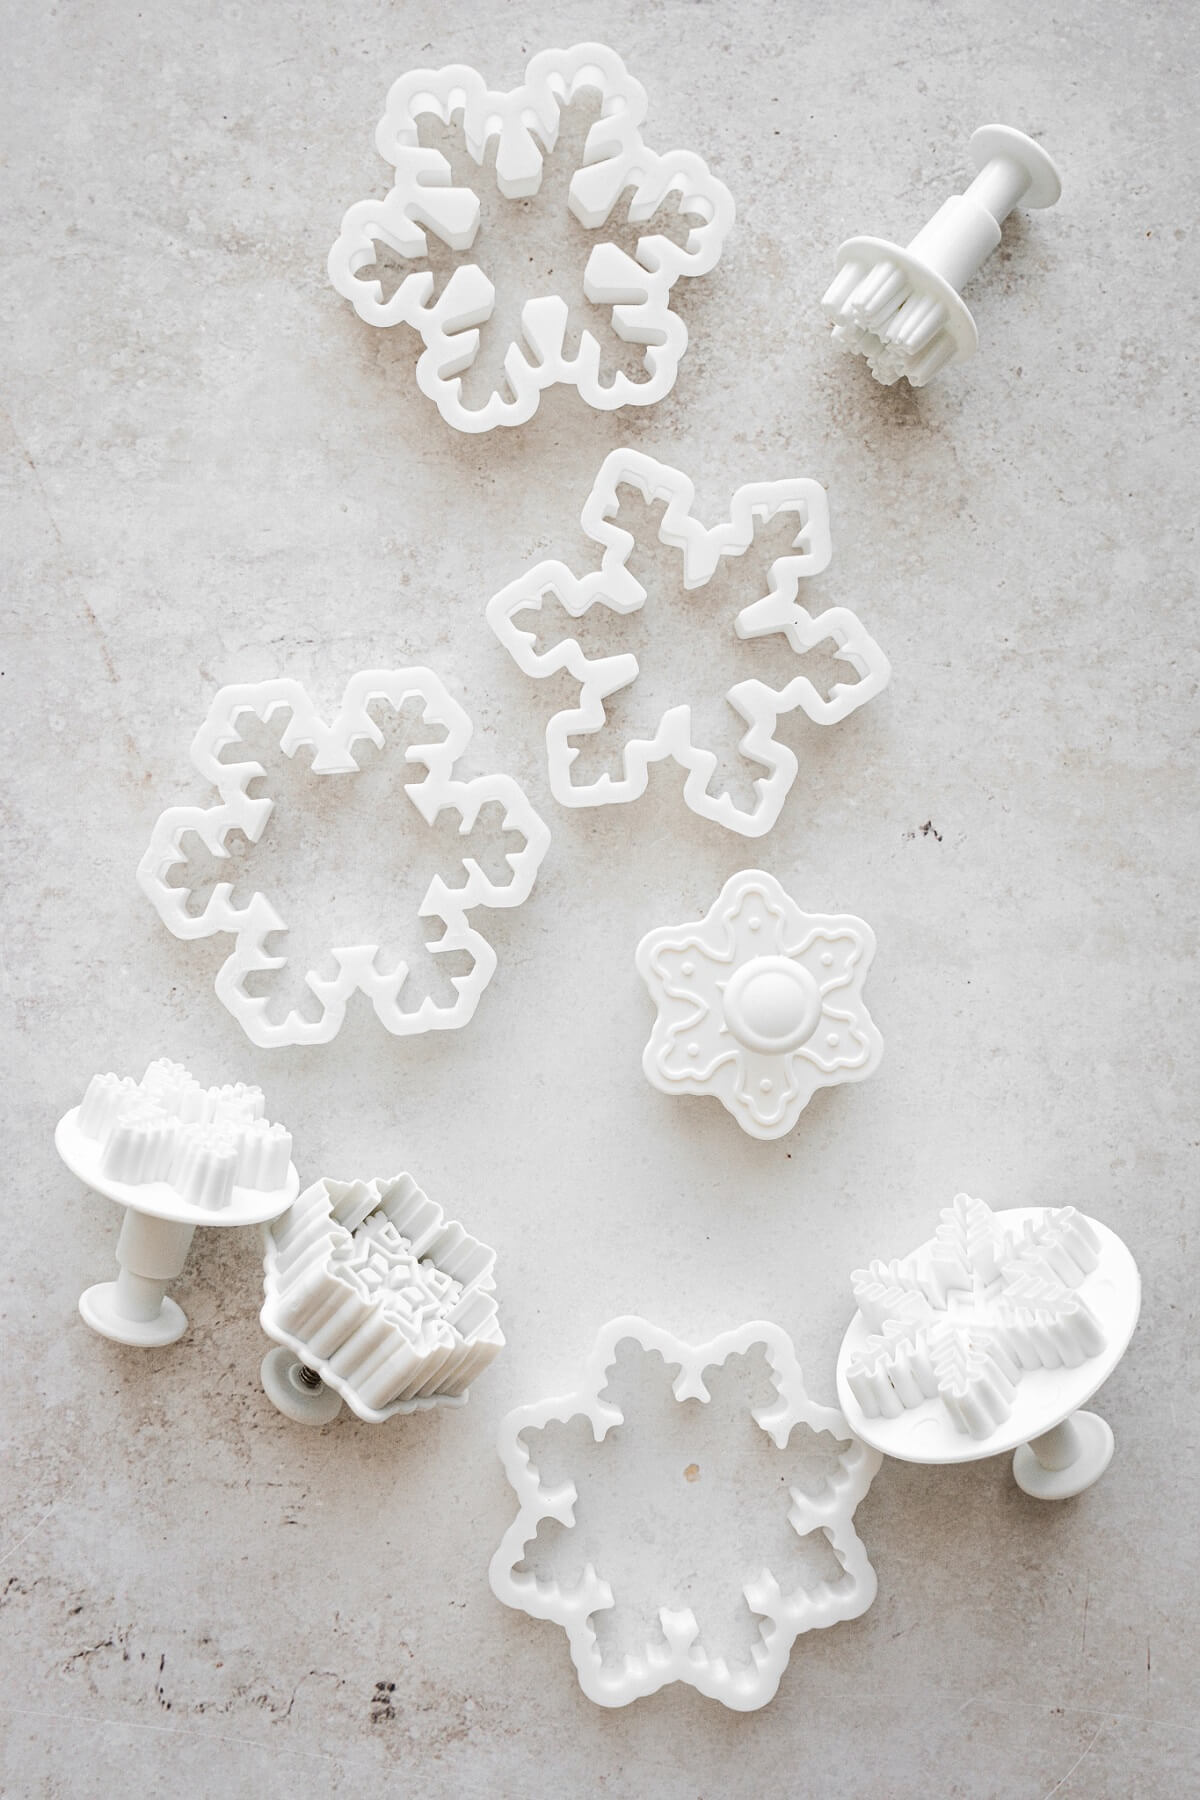
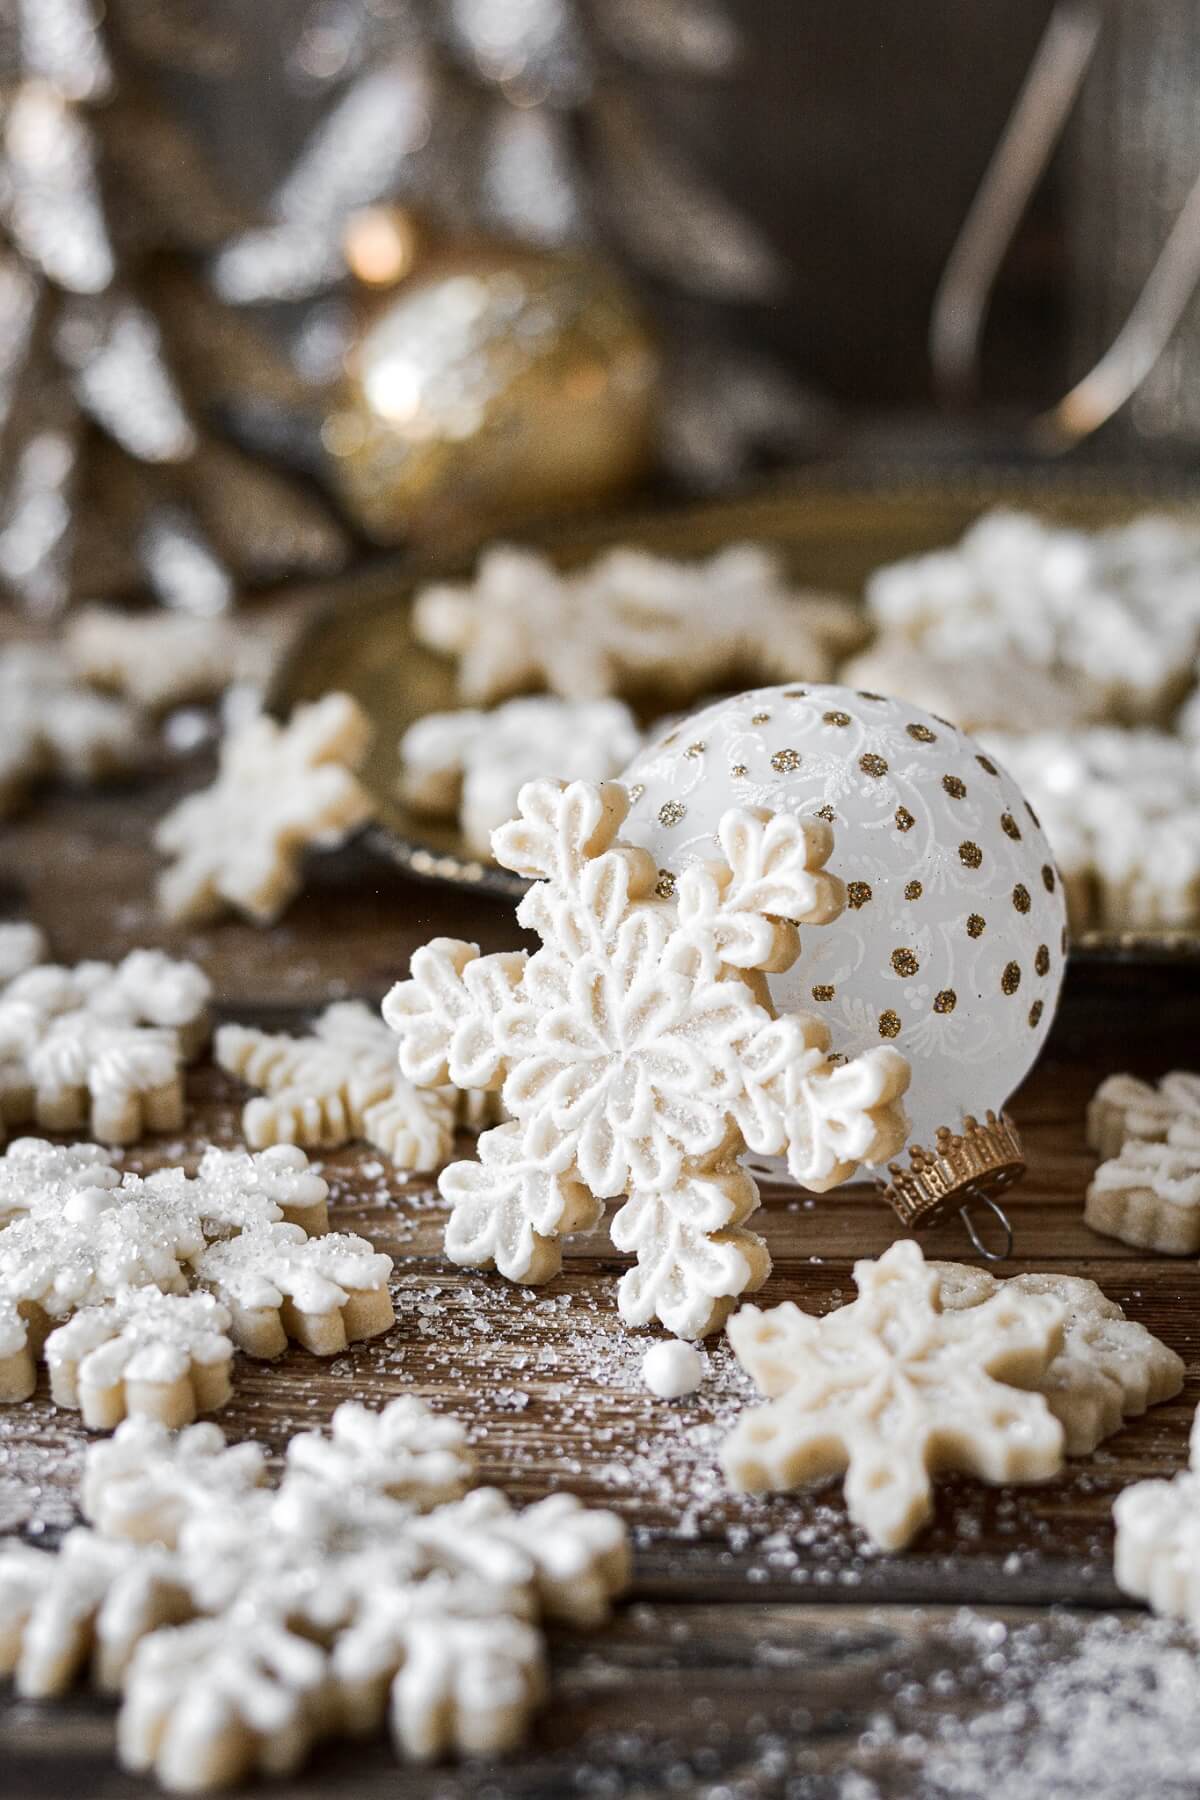
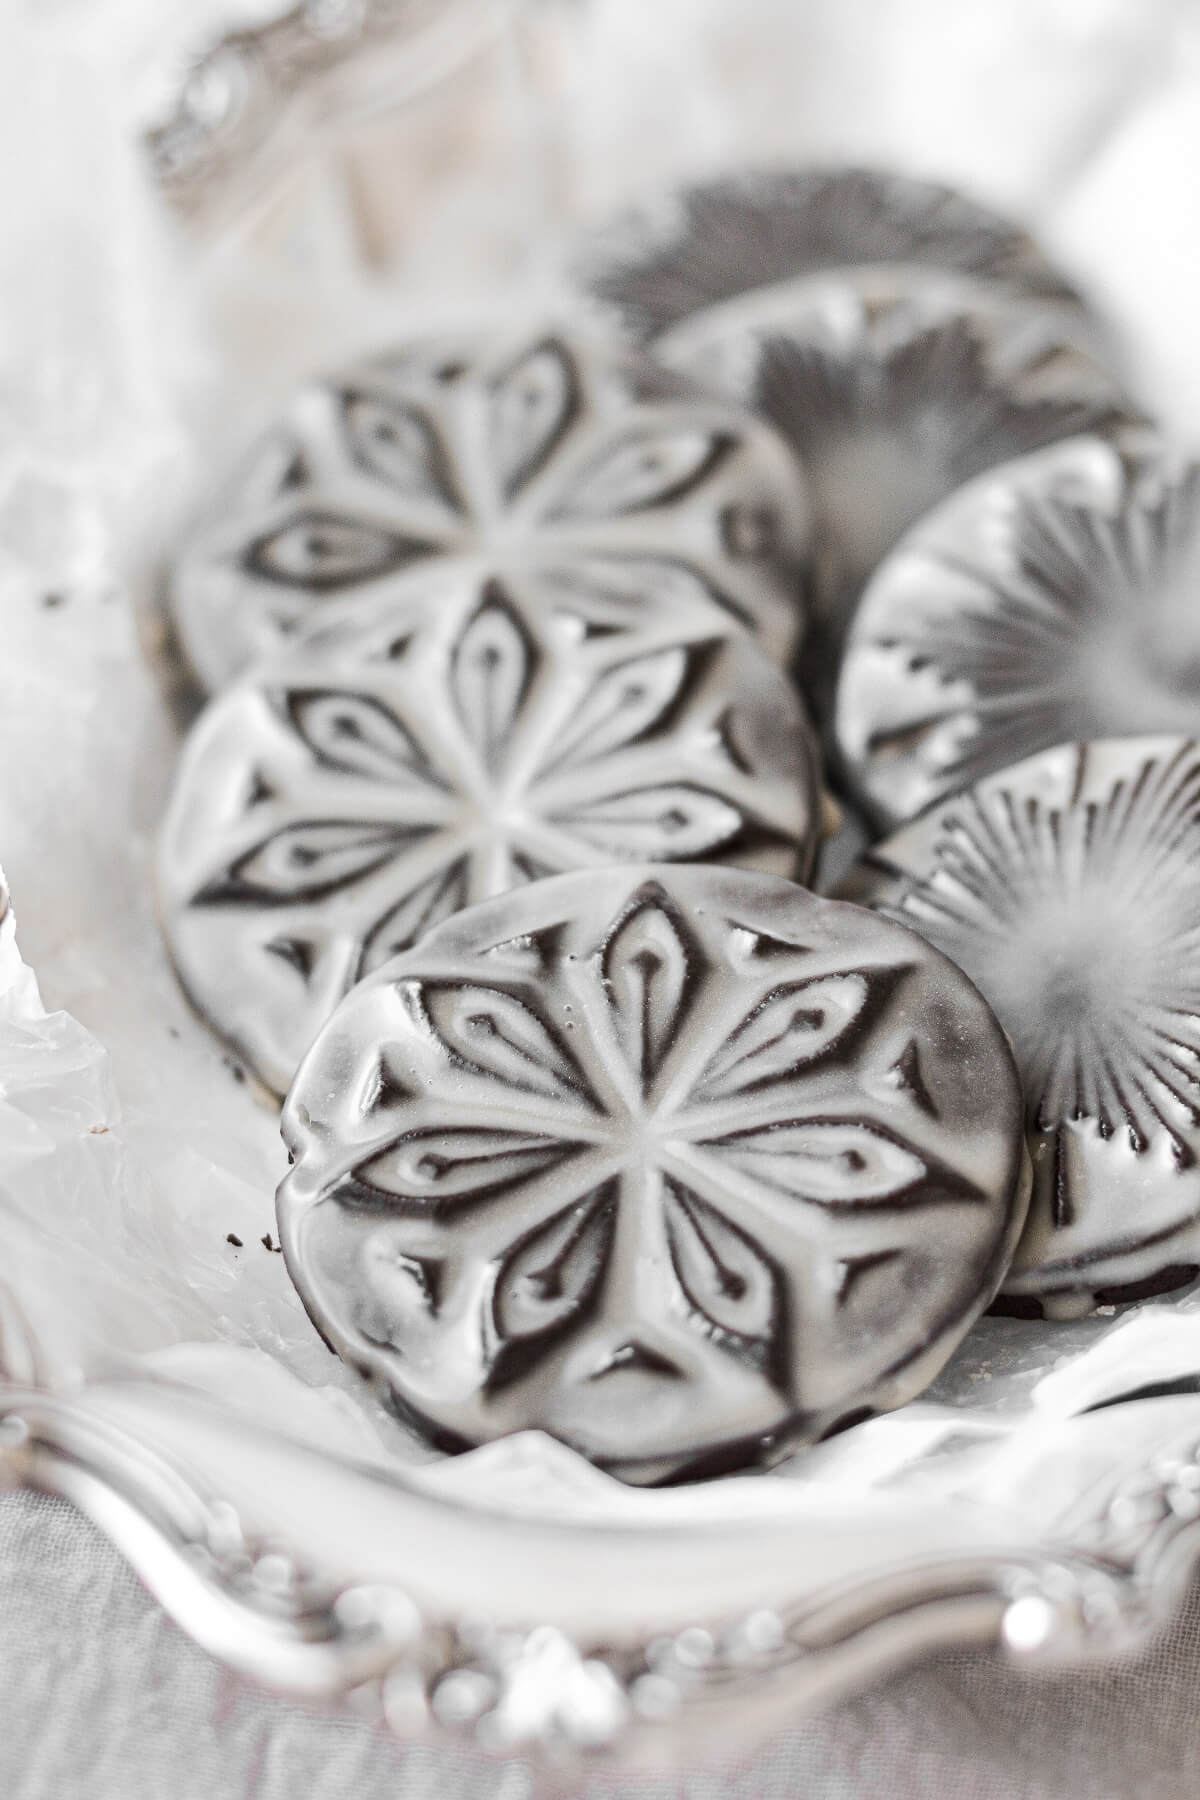
- Snowflake Cookie Cutters. Snowflake cookies look best when there’s a lot of variety in the size and style, so I used several different sets of cutters. This set of four 3-inch snowflake cookie cutters are my favorite snowflake cutters I’ve ever bought. They make really beautifully shaped snowflakes, and they are the perfect size for decorating. For small, intricate snowflakes, you need to use a snowflake cookie cutter with a plunger, which helps to easily push the cookie dough out without breaking the points. These are too tiny to frost with icing, but they look lovely whether they’re kept plain or dusted with sugar. And a set of snowflake cutters that stamp an embossed pattern on top of your cookies will add some more interest to your batch of cookies.
See the recipe card at the end of the post for the full ingredients list and instructions.
Ingredients
- ½ recipe No Spread Vanilla Sugar Cookie Dough
- 2x recipe Perfect Vanilla American Buttercream
- White Sugar Pearls
- White and Silver Sparkling Sugar
Instructions
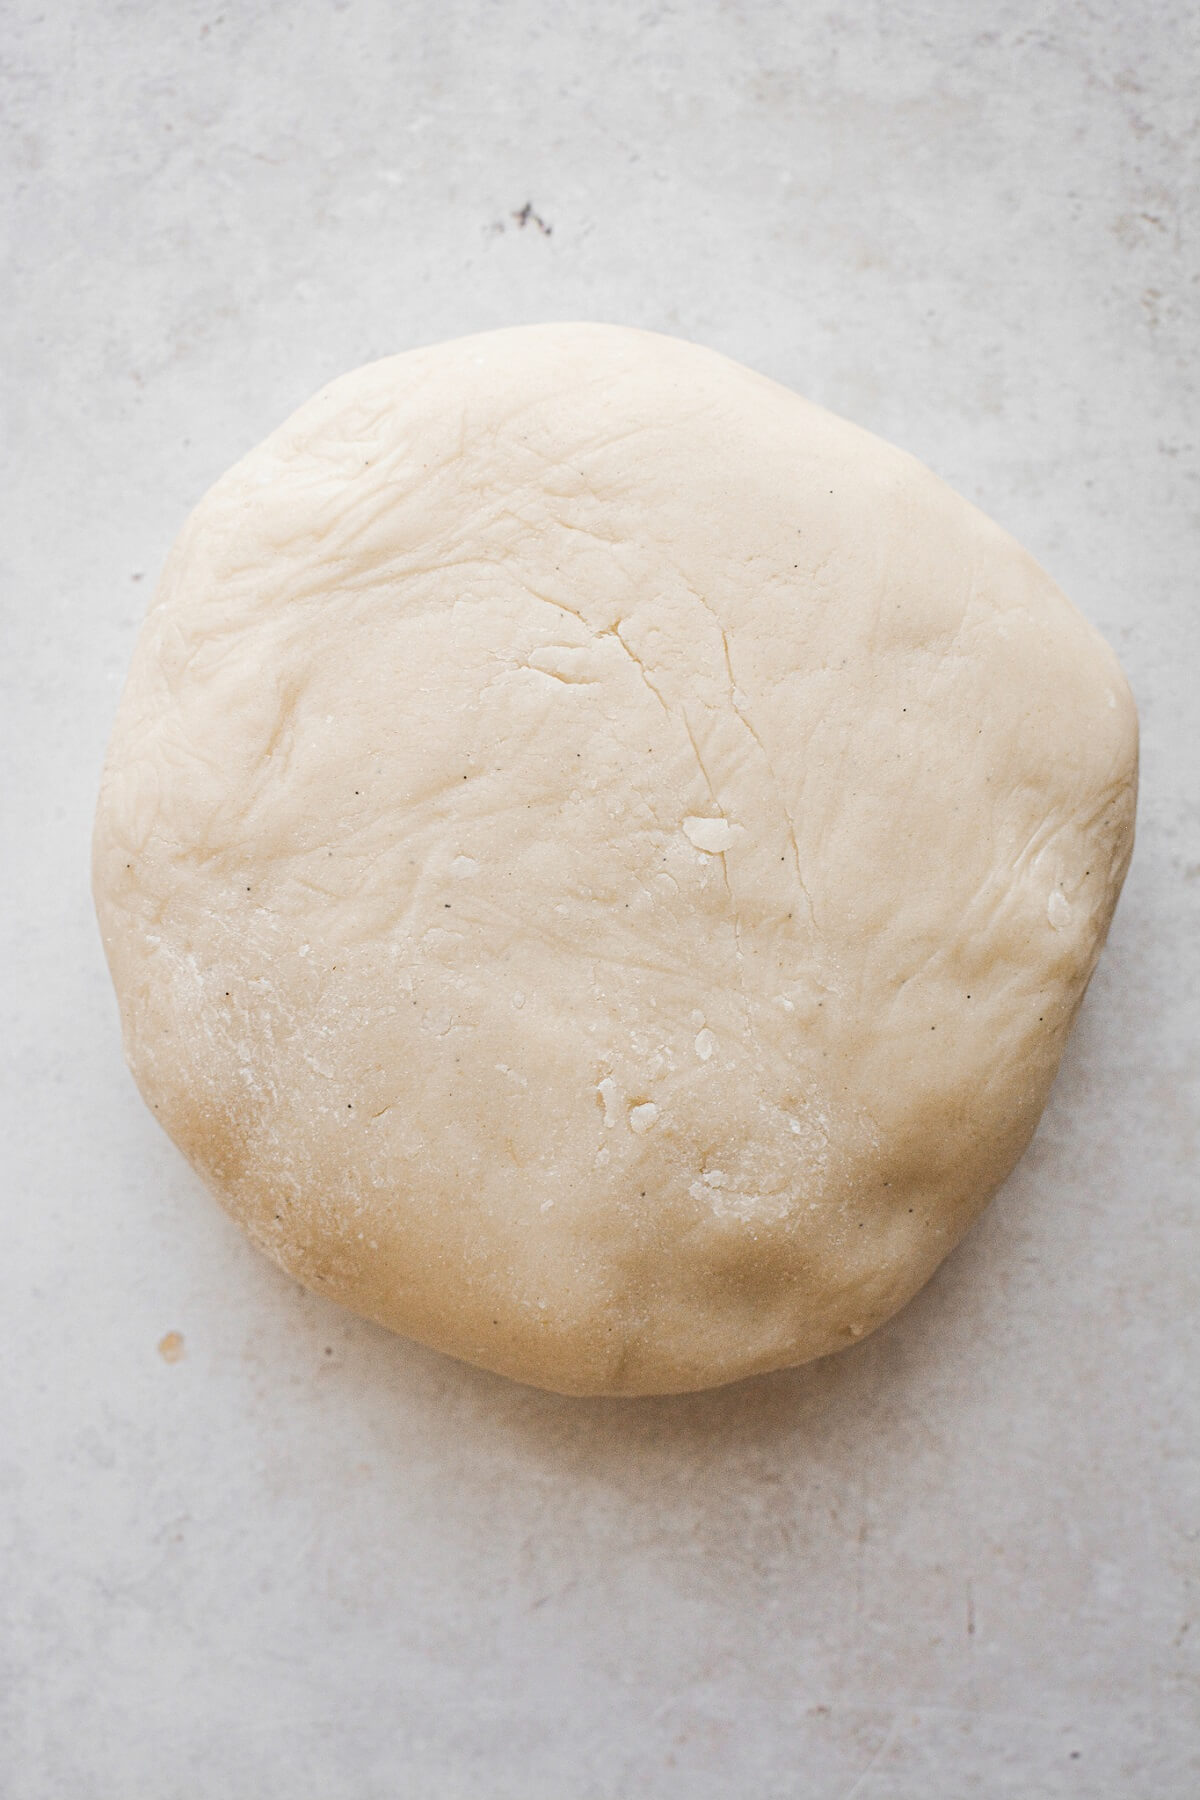
Make and chill the cookie dough.
- Prepare 1/2 recipe of No Spread Vanilla Sugar Cookie Dough. Wrap the dough in plastic wrap and refrigerate for 1 hour. (I also added 1/2 teaspoon almond extract to the dough, which gives these cookies the most wonderful holiday flavor.)
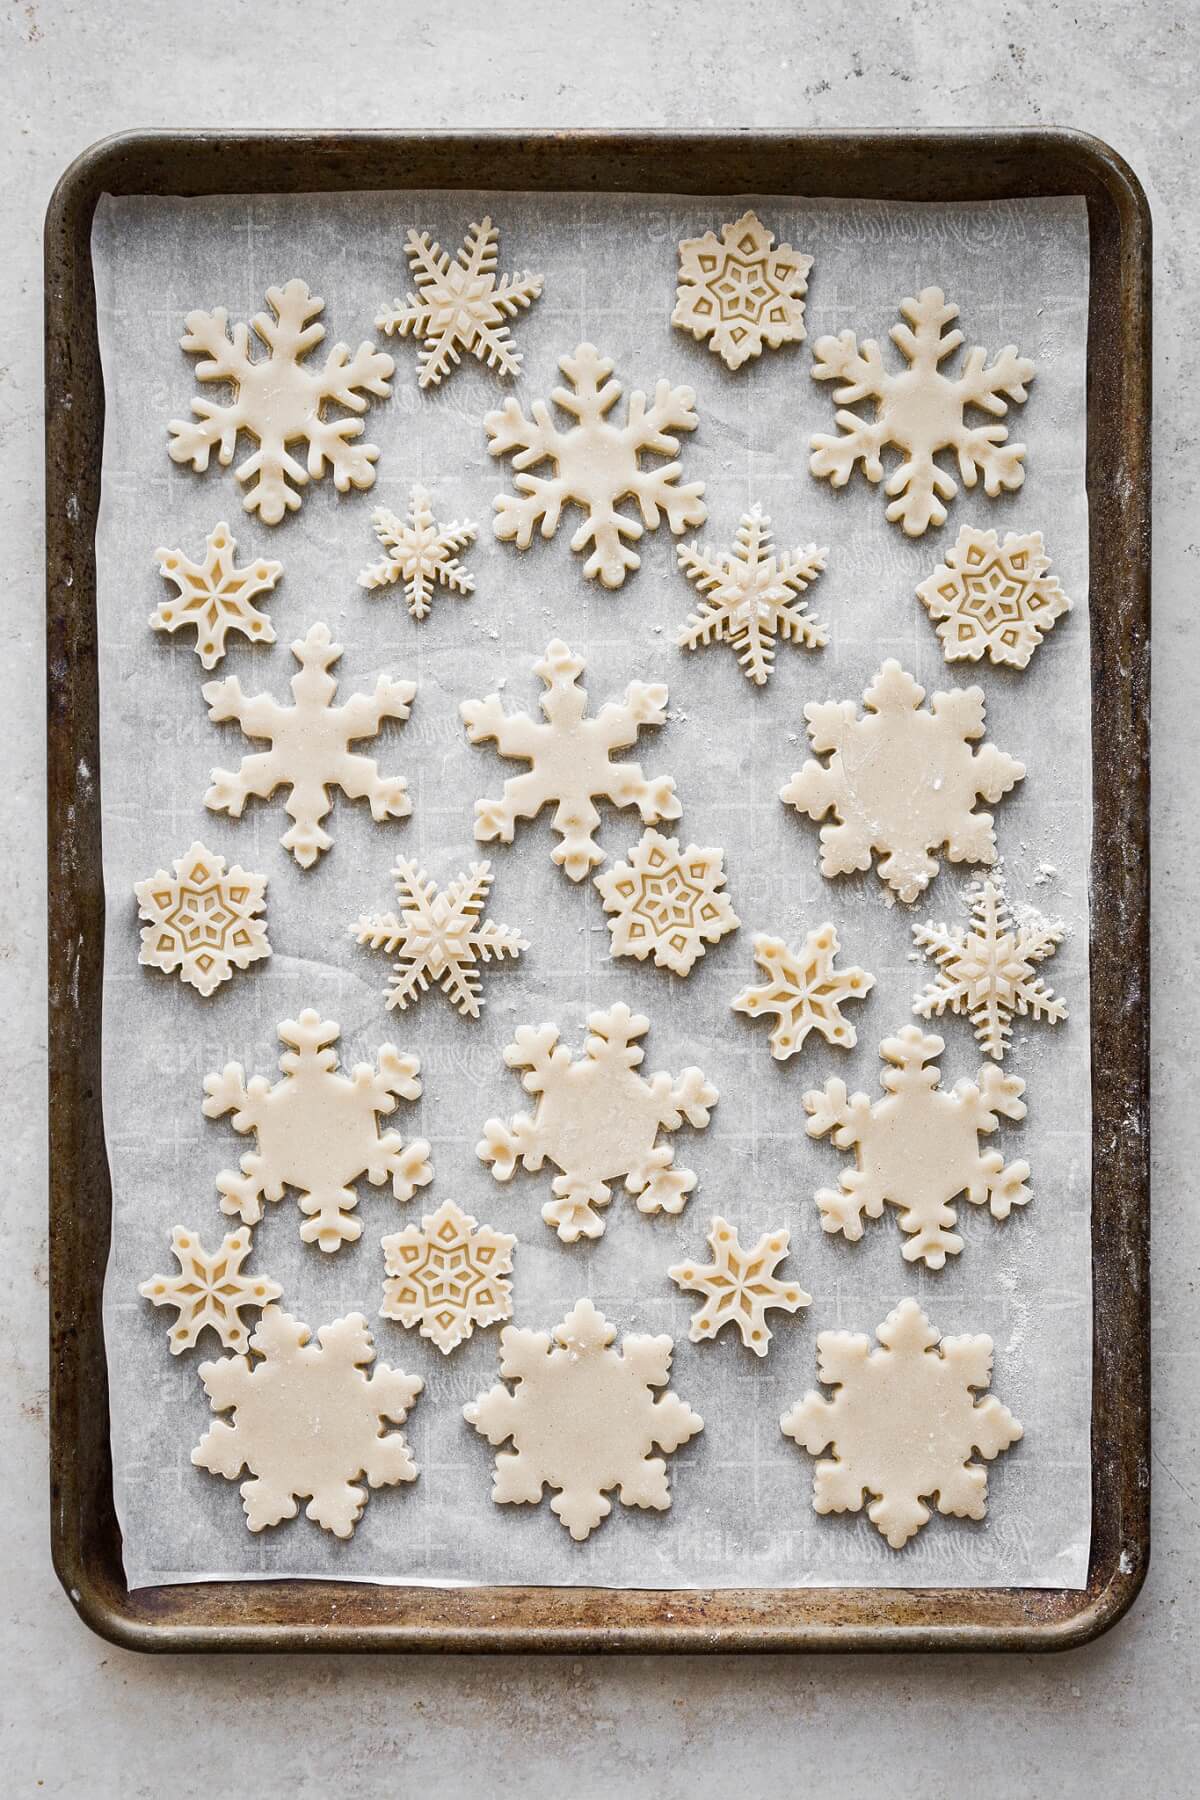
Roll and cut the cookie dough.
- On a lightly floured surface, roll the dough out to 1/4 inch thick. Dip your snowflake cutters in flour and cut as many cookies as you can, dipping the cutters in flour between each cookie. Gather up the dough scraps, roll them out again, and continue cutting cookies until you’ve used up all the dough. If you’re using a 3-inch cookie cutter, you should be able to cut about 18-24 snowflakes.
- Line a baking sheet with parchment paper and place the cut cookies 1-2 inches apart on the baking sheet. Refrigerate for 30 minutes.
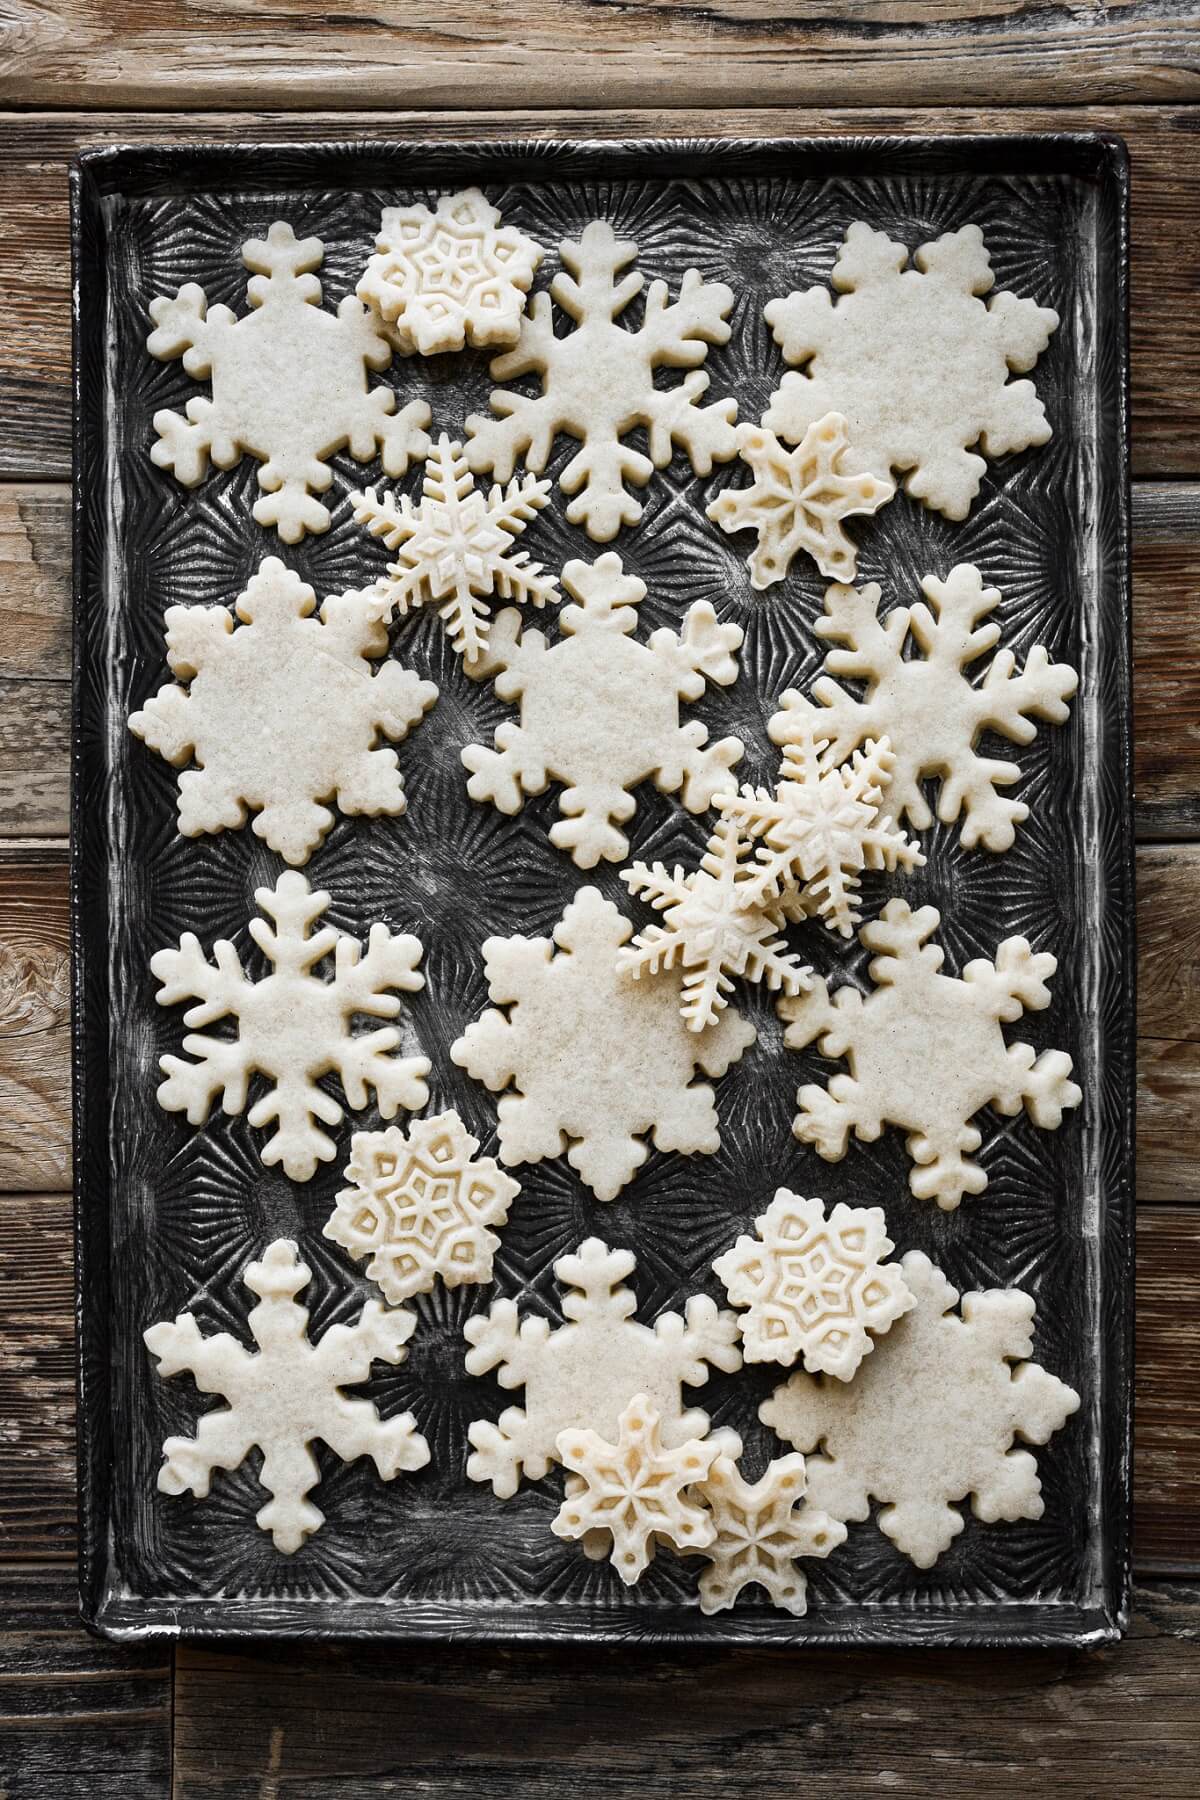
Note: Snowflake cookies are extremely fragile, especially when warm, and need to be handled gently so as not to break the points. I avoid picking them up by the points, even when they’re cool, and always slide a small spatula underneath them to move them.
Bake the cookies.
- Preheat the oven to 350 F, and position a rack in the center of the oven. Bake the chilled cookies for about 8-10 minutes. They should still be very pale, but with no appearance of raw or wet dough. If you very carefully turn one over, it should be a pale golden brown on the bottom.Cool the cookies on the baking sheet for 5 minutes, then very gently transfer them to a cooling rack to cool completely.
- Once cooled, store the cookies in an airtight container. You can freeze the baked cookies for up to 3-6 months, before you’re ready to decorate them.
Make the buttercream.
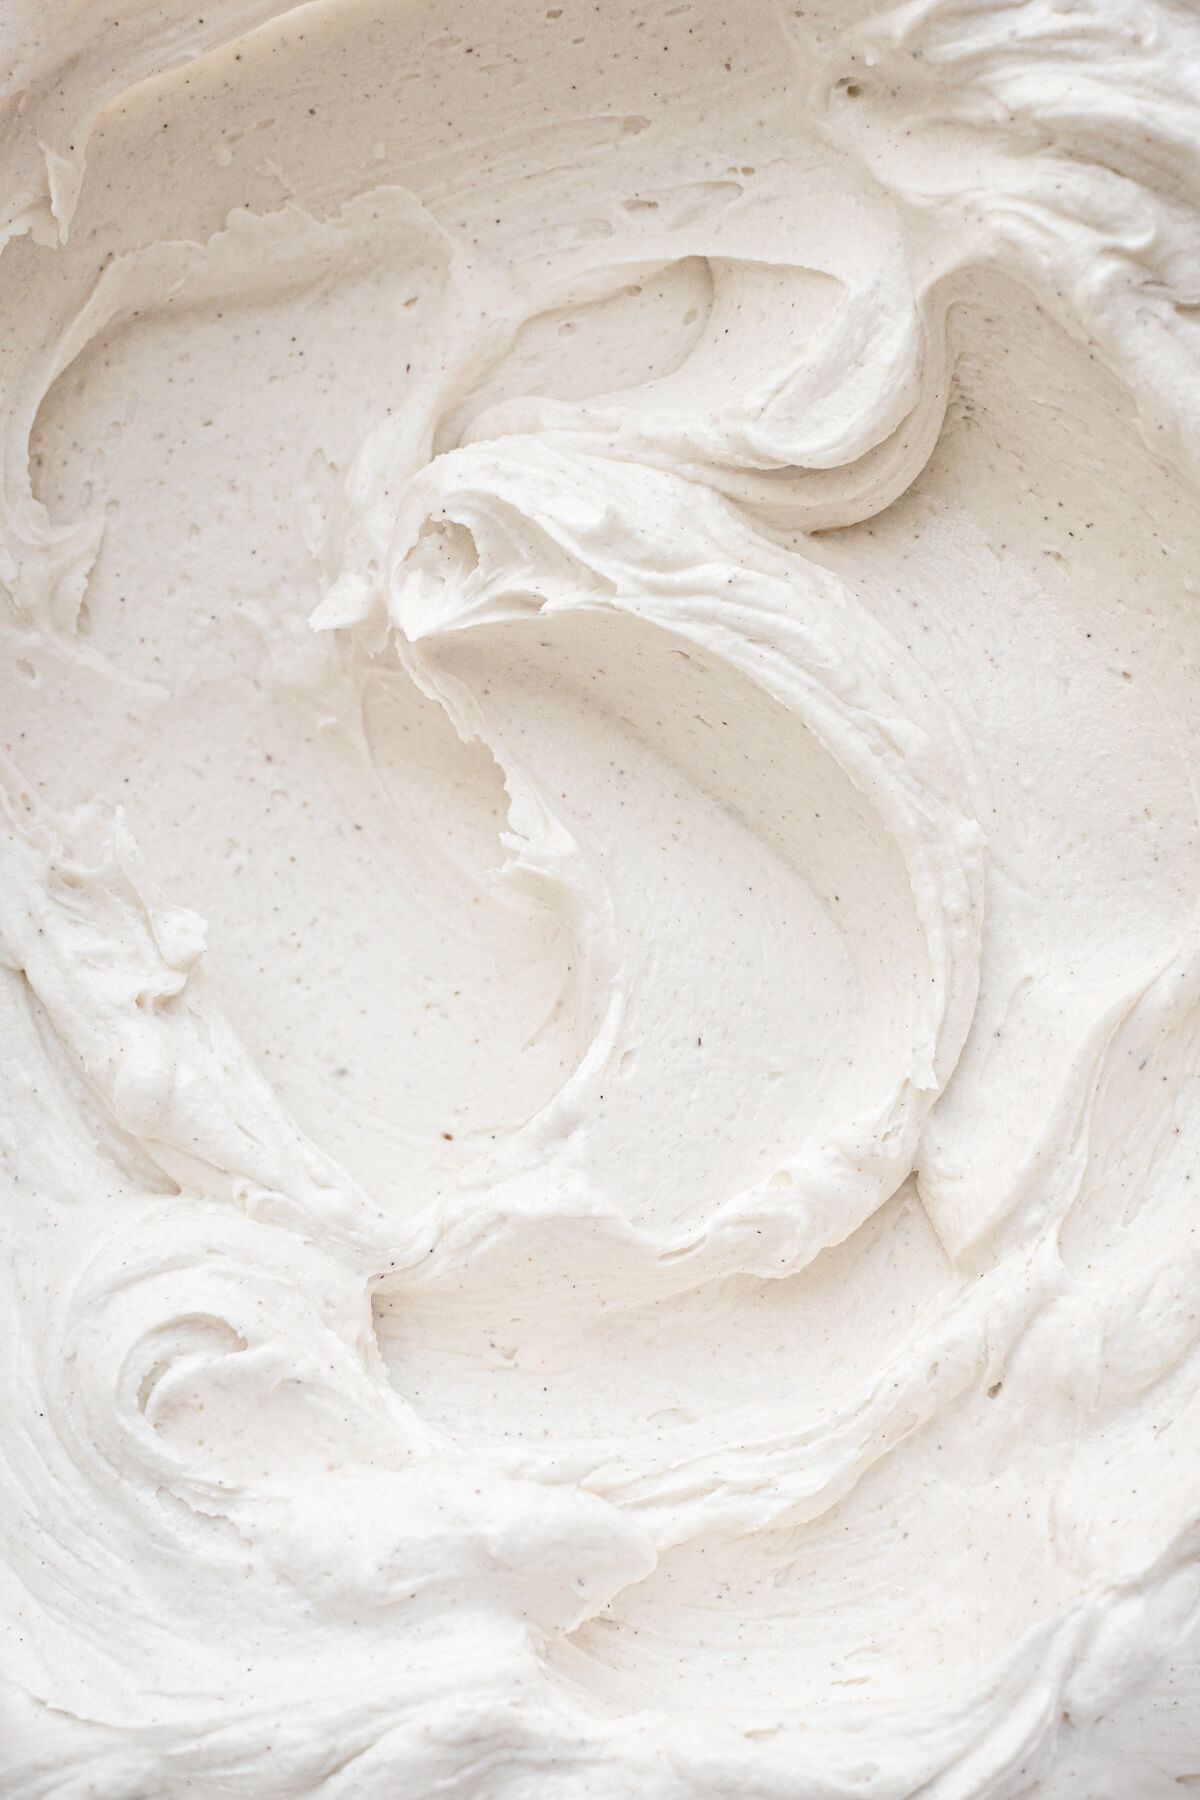
- Prepare 2x my recipe for Perfect American Buttercream as instructed. Note: I recommend making the buttercream with half butter and half vegetable shortening, for a whiter color. I flavored mine with 1 teaspoon vanilla extract and 1/4 teaspoon almond extract to complement the almond flavored cookies.
- If you won’t be using the buttercream right away, you can make it in advance and store it in a freezer bag or airtight container. Refrigerate the buttercream for up to 1 week, or freeze it for up to 3-6 months. Let it come to room temperature before using.
Decorate your snowflake cookies.
- Fit a piping bag with a coupler so you can easily switch between tips 4 and 18.
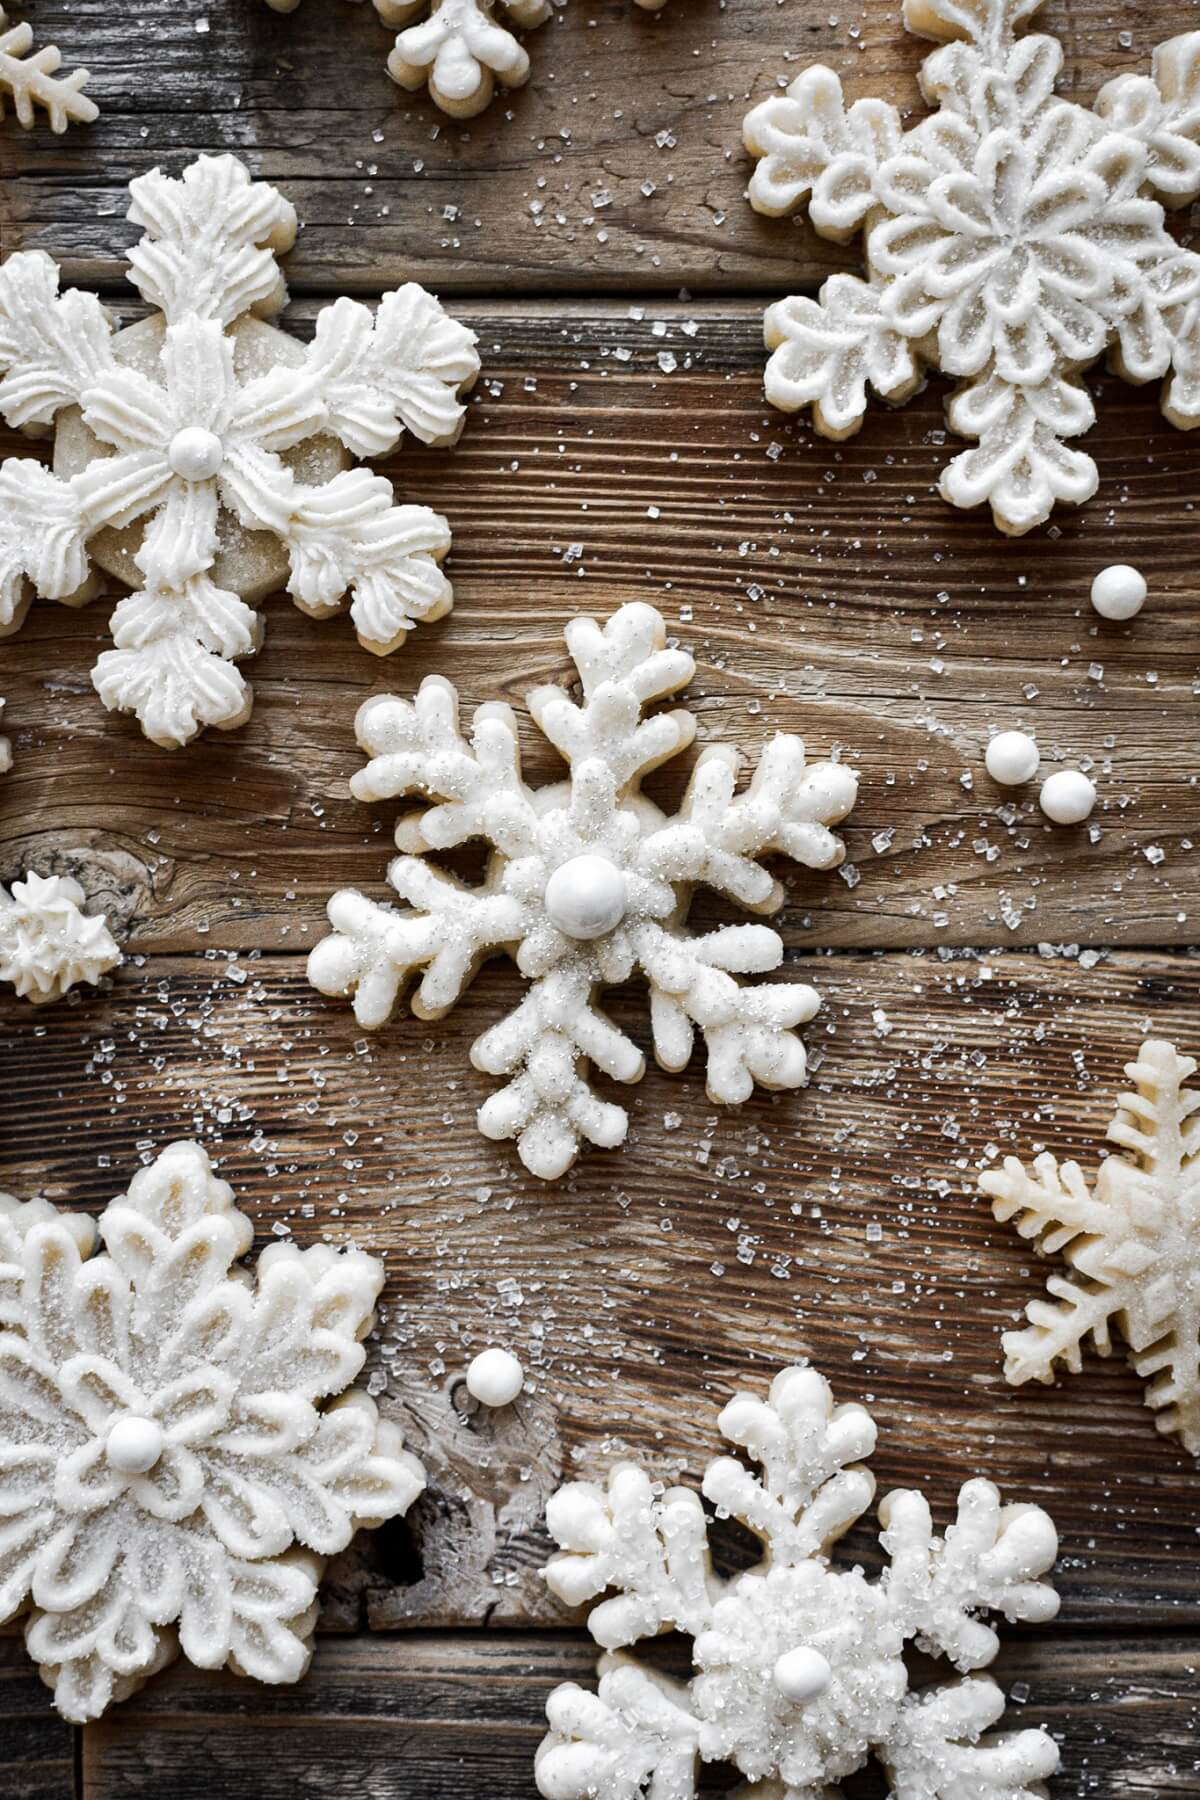
- Decorate your snowflake cookies by piping the buttercream onto the cooled cookies. Add sugar pearls and sparkling sugar before the buttercream crusts over.
- Snowflake sugar cookies decorated with buttercream will need to be stored in a single layer in an airtight container.
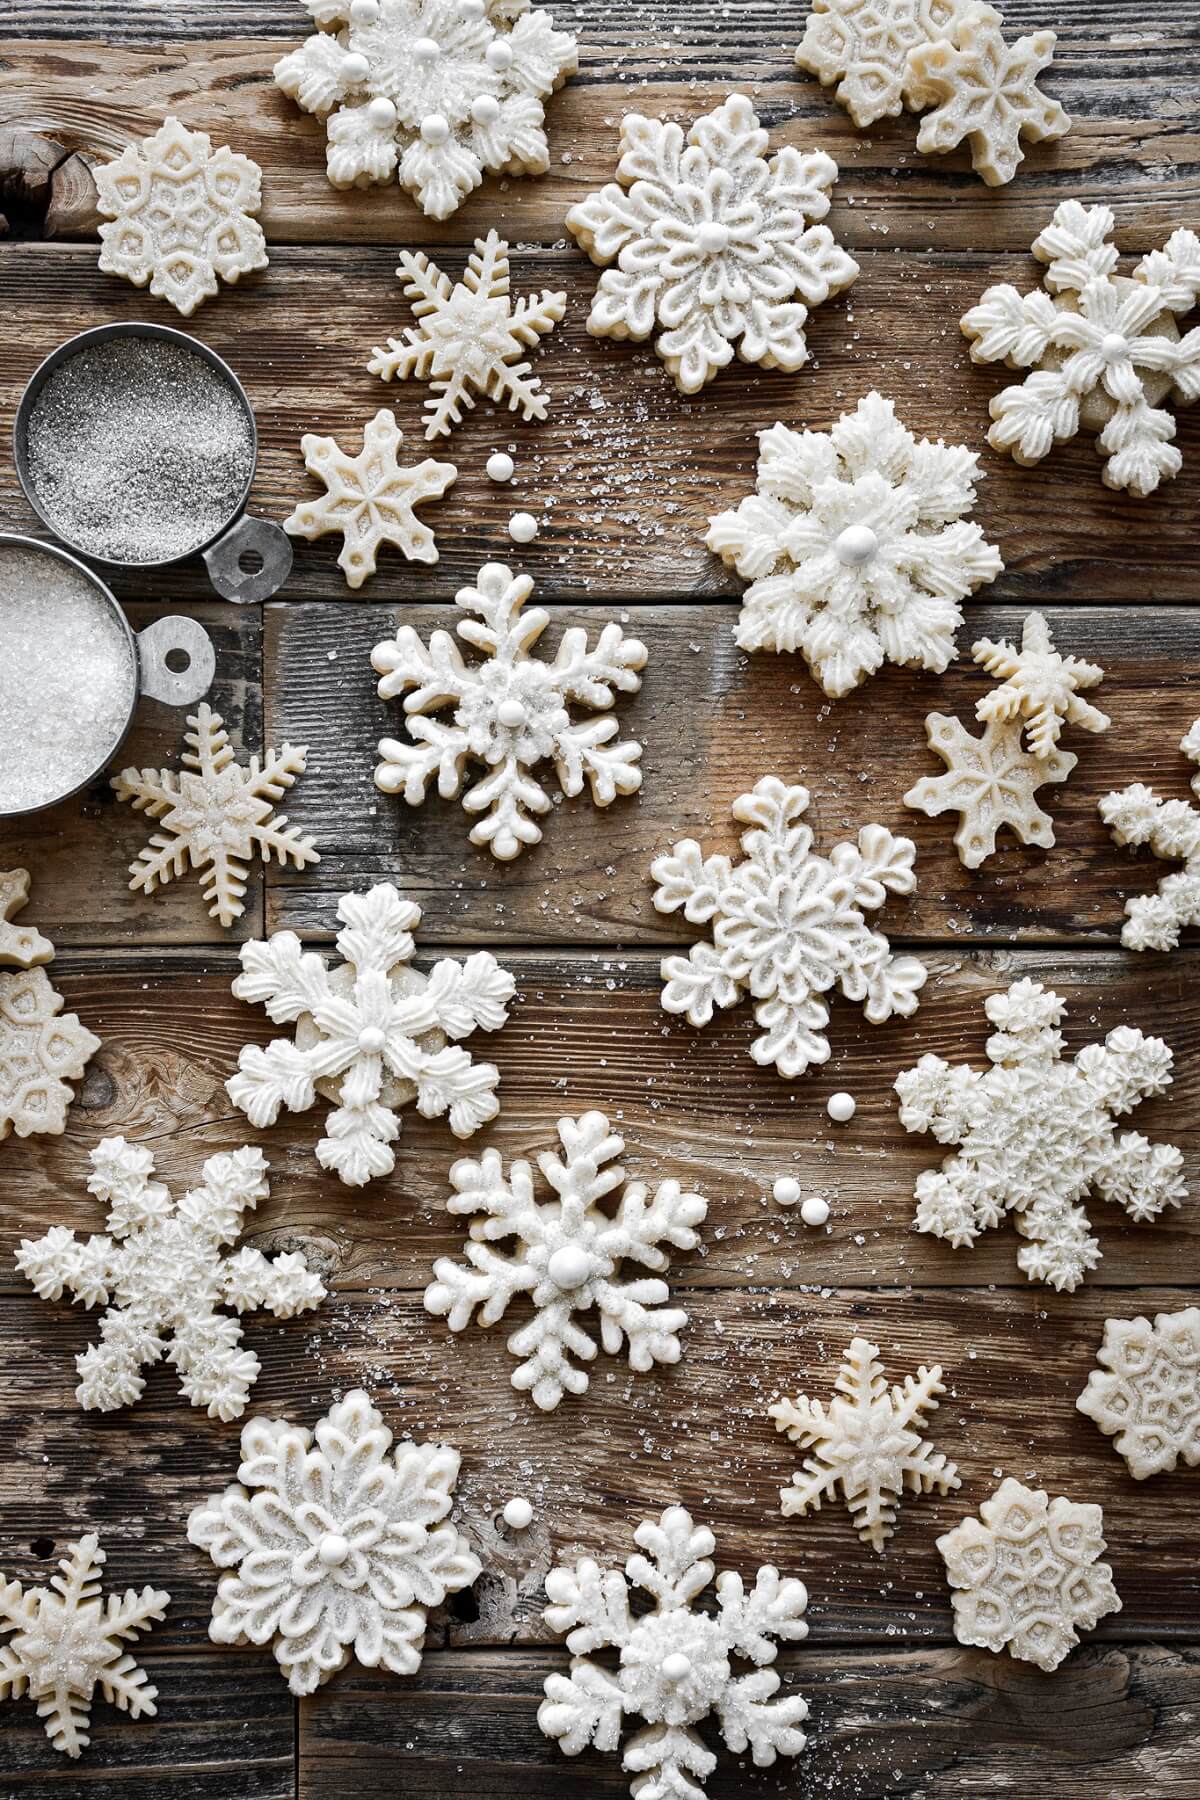
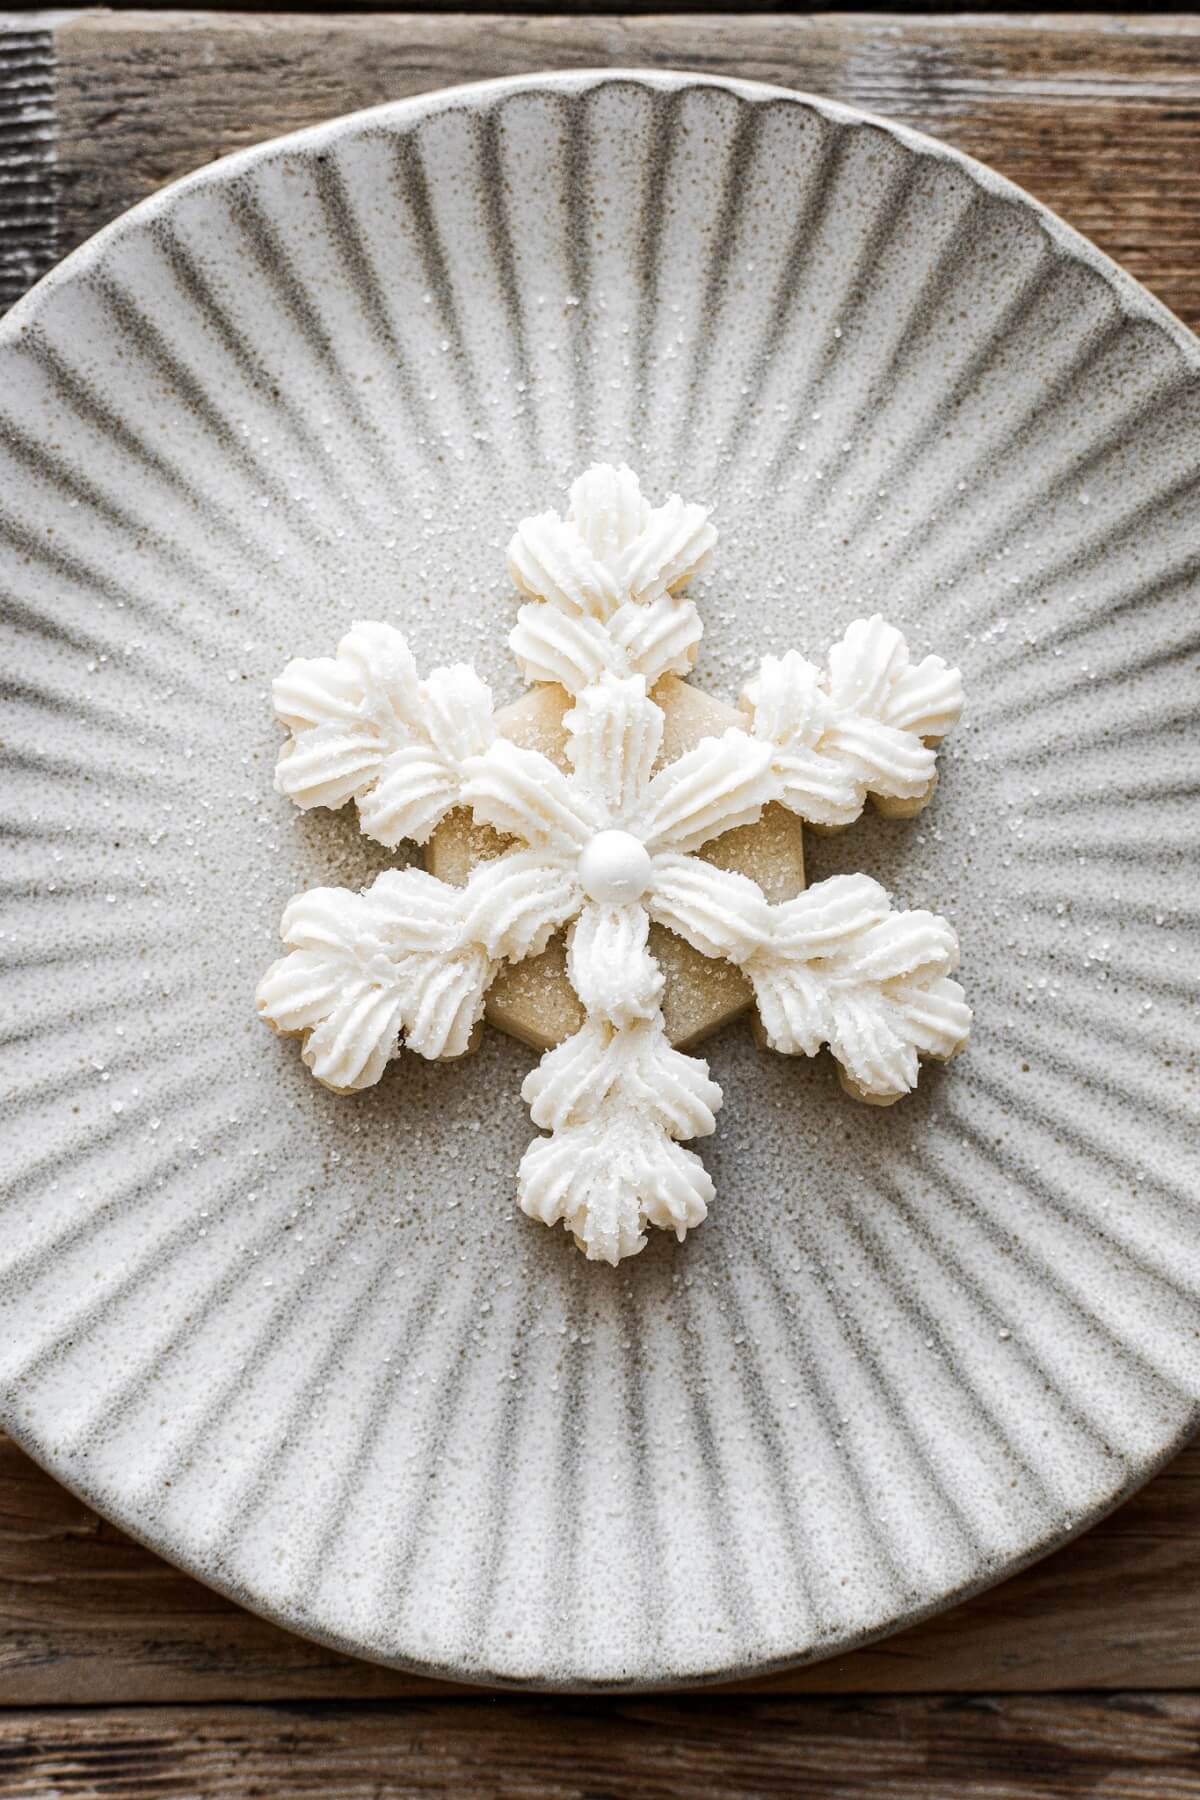
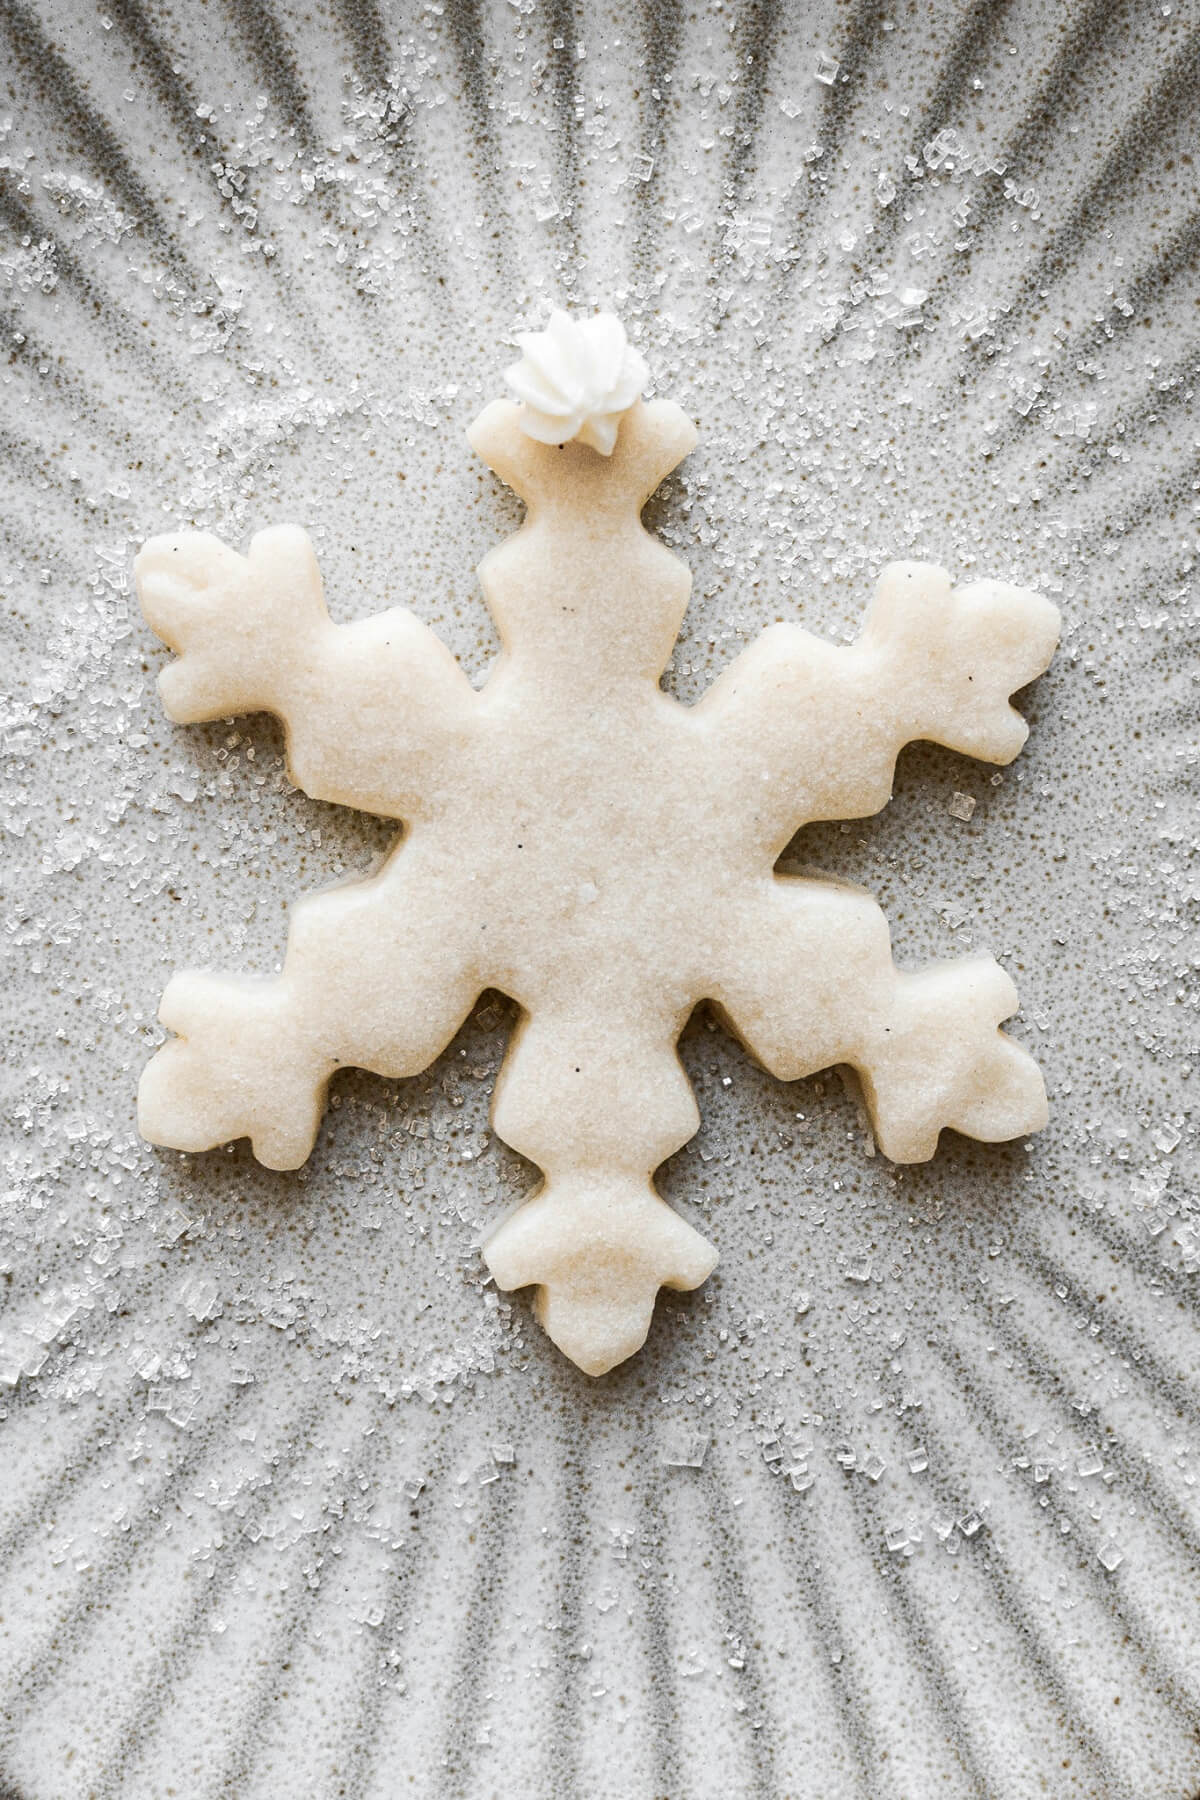
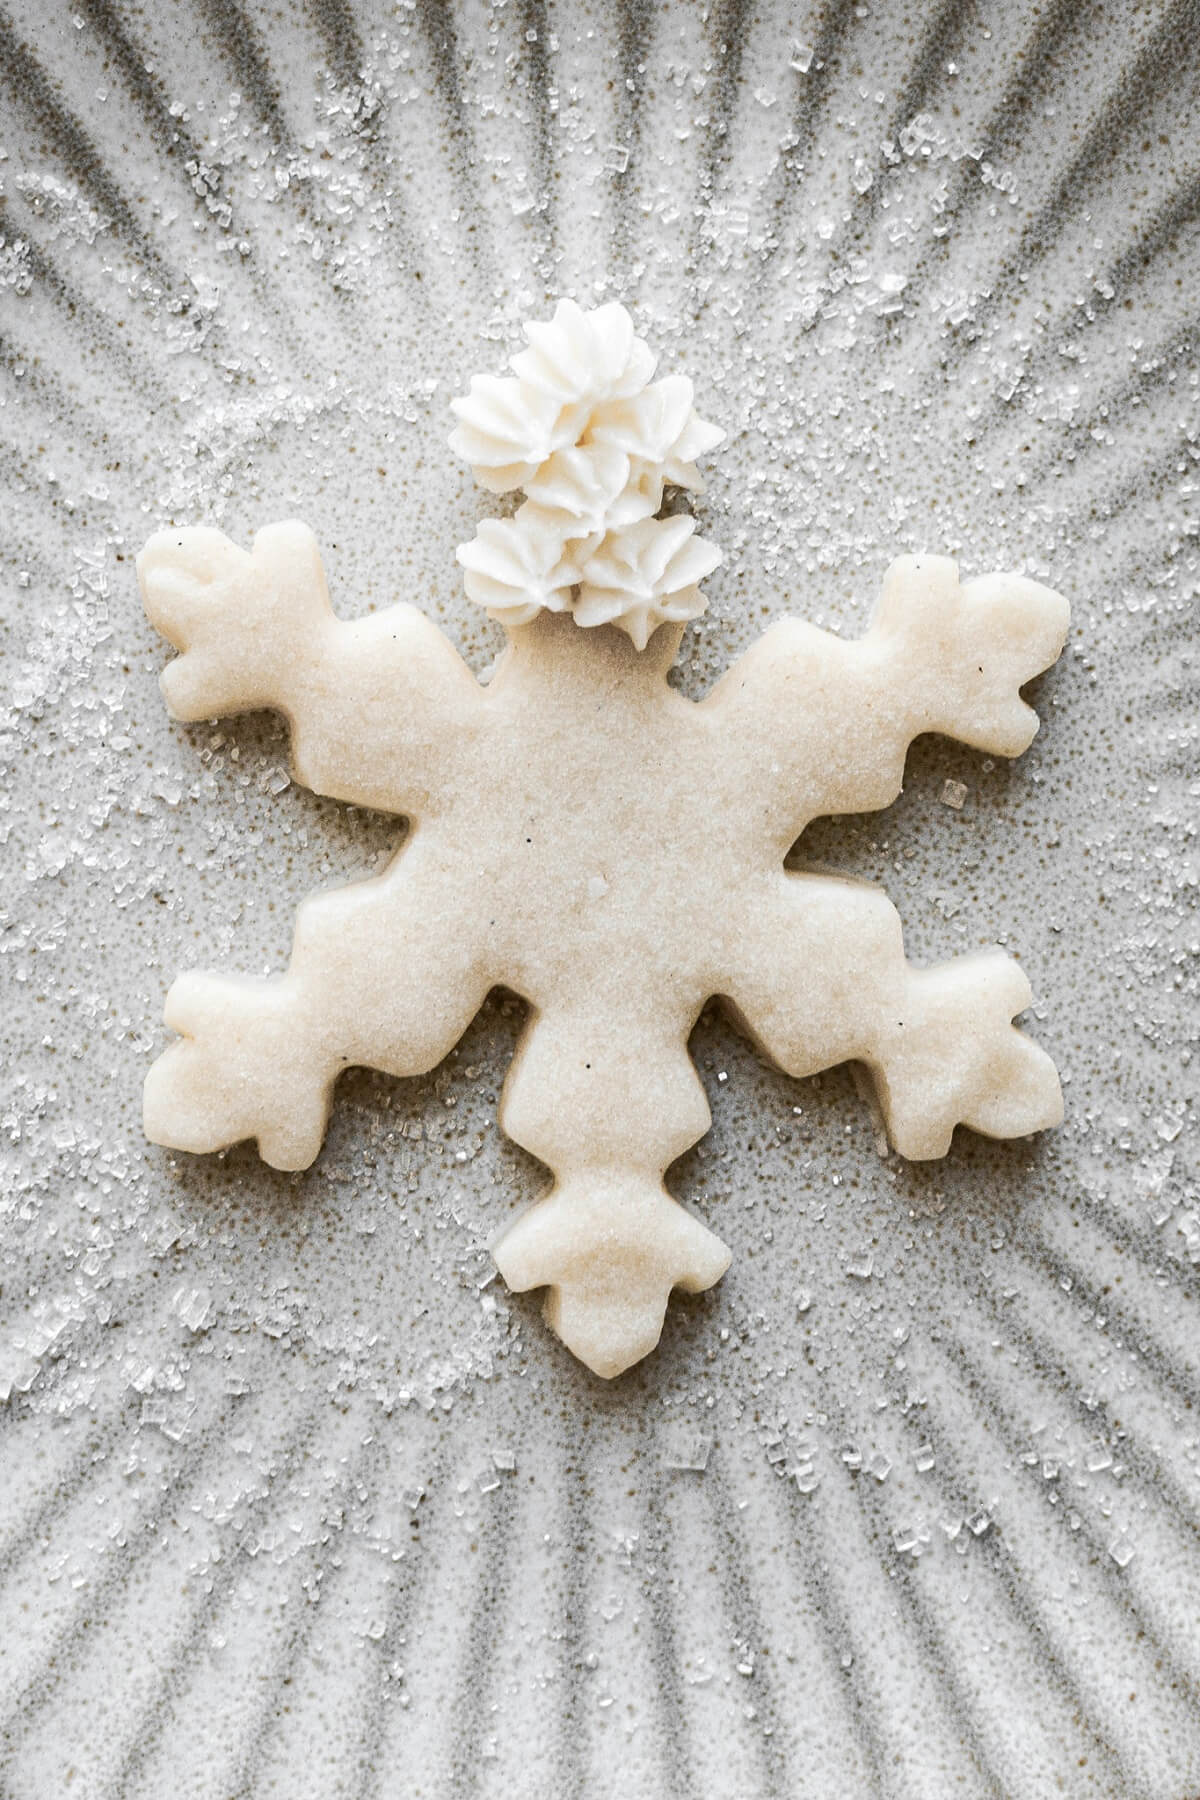
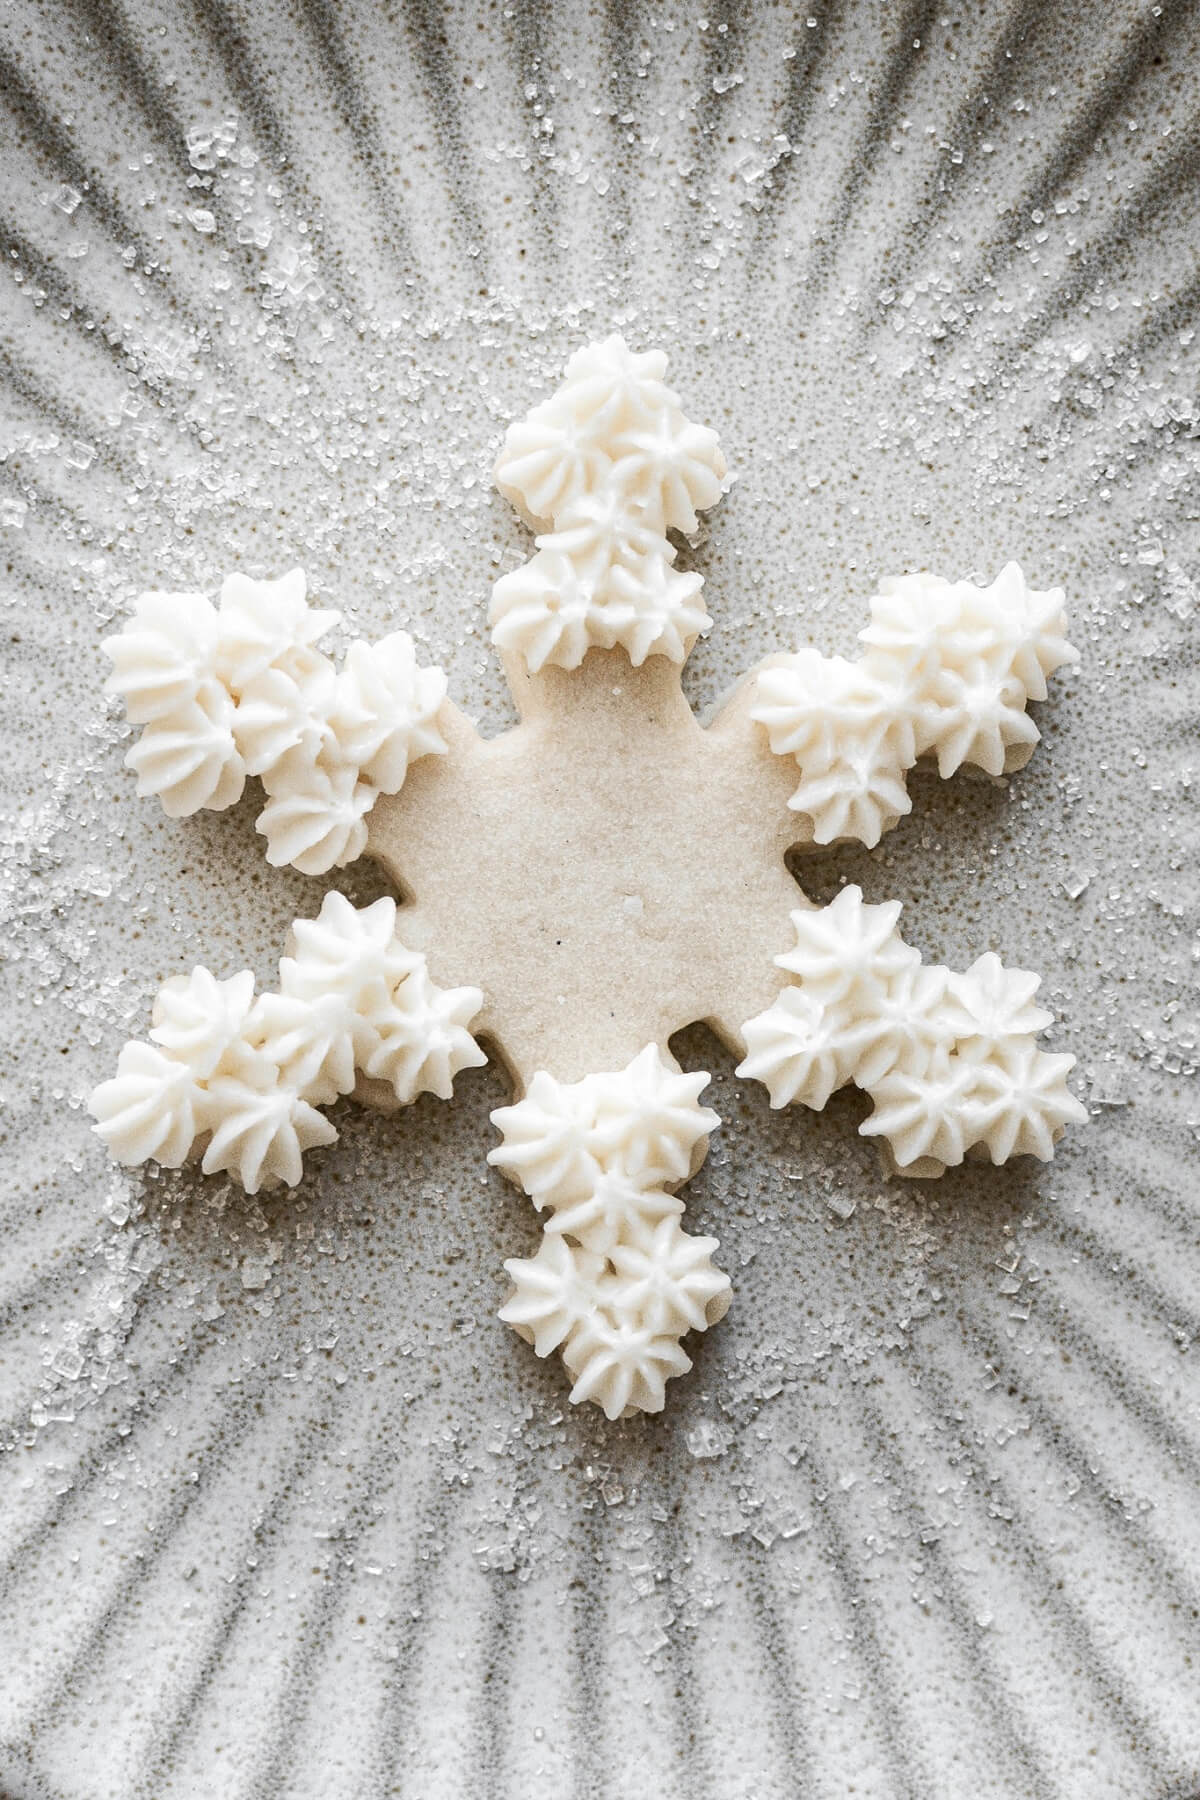
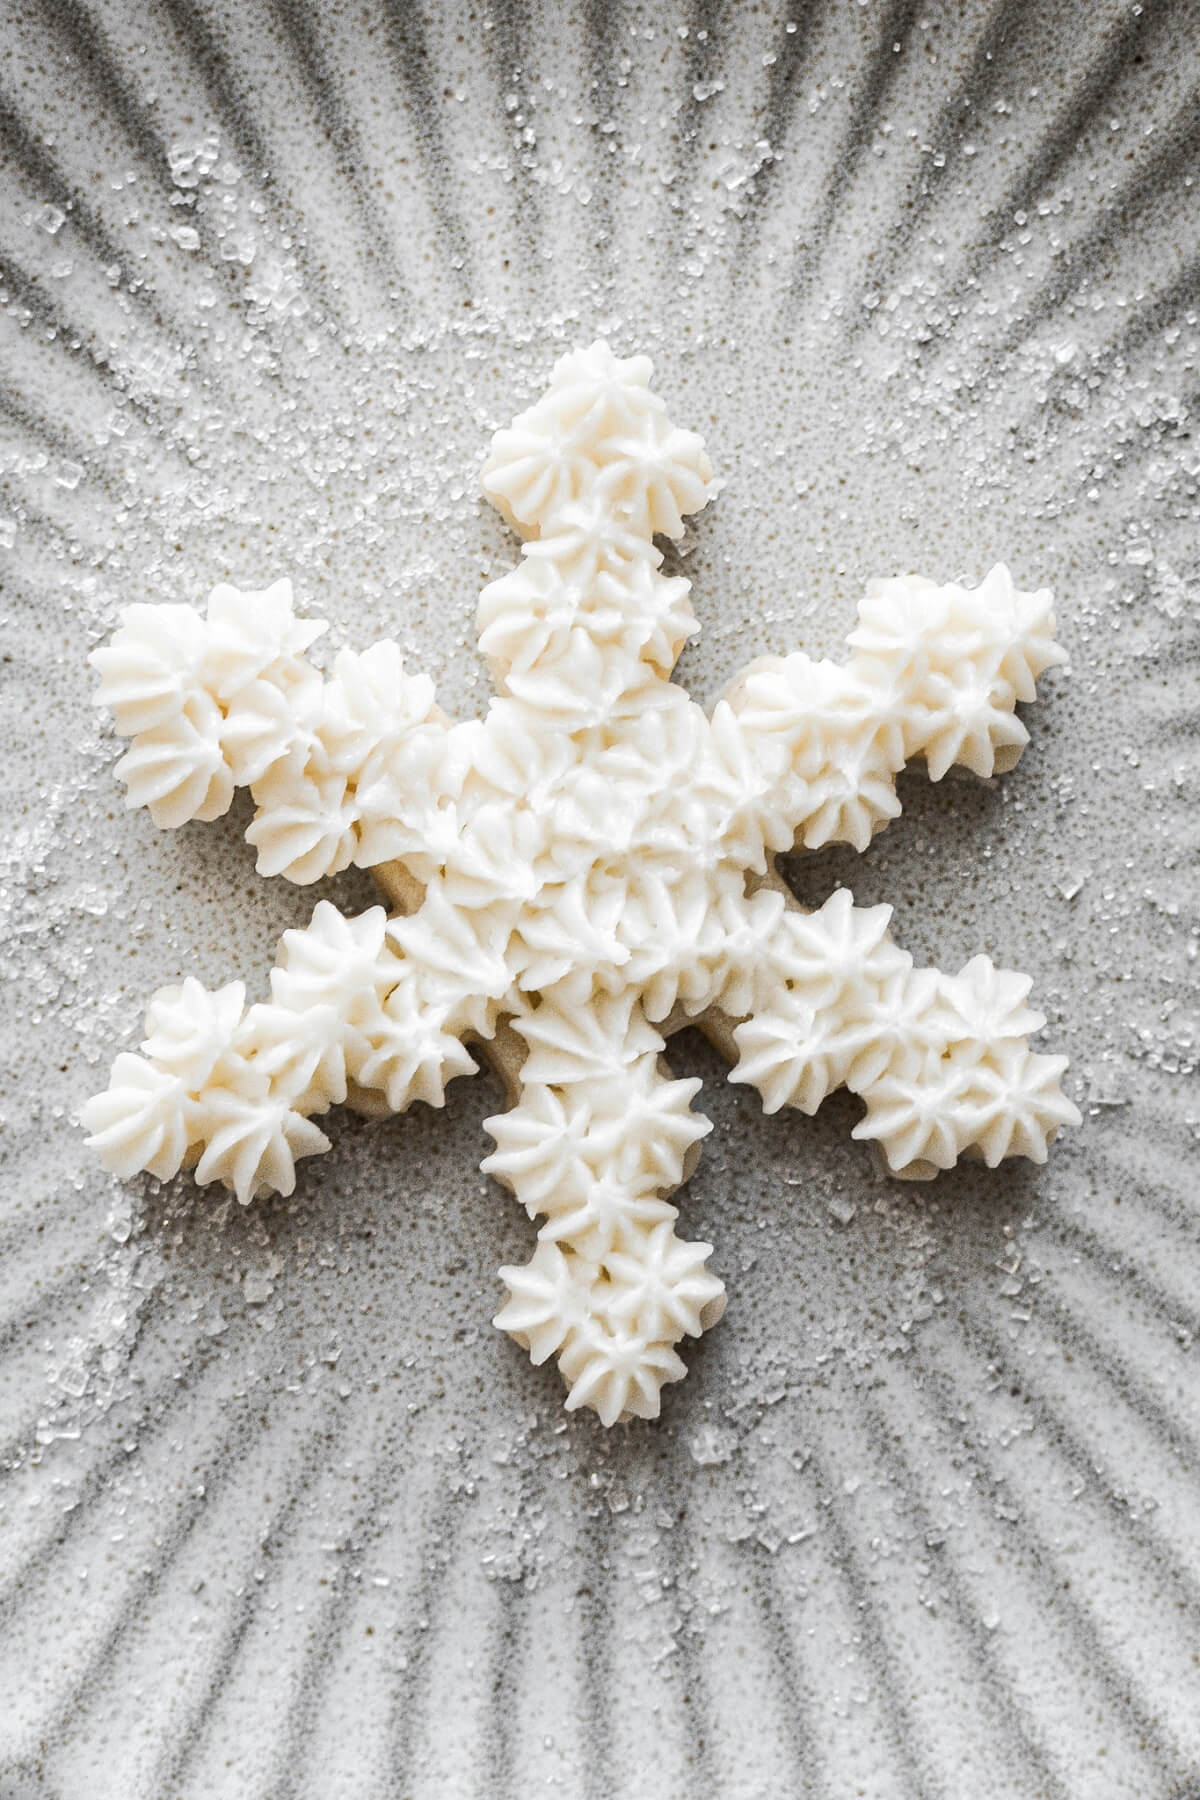
Shells: Style 1
- With tip #18, pipe small “shells” on each of the snowflake points, working your way from the outside to the middle.
- Finish with a sugar pearl in the center and a sprinkling of sparkling sugar.
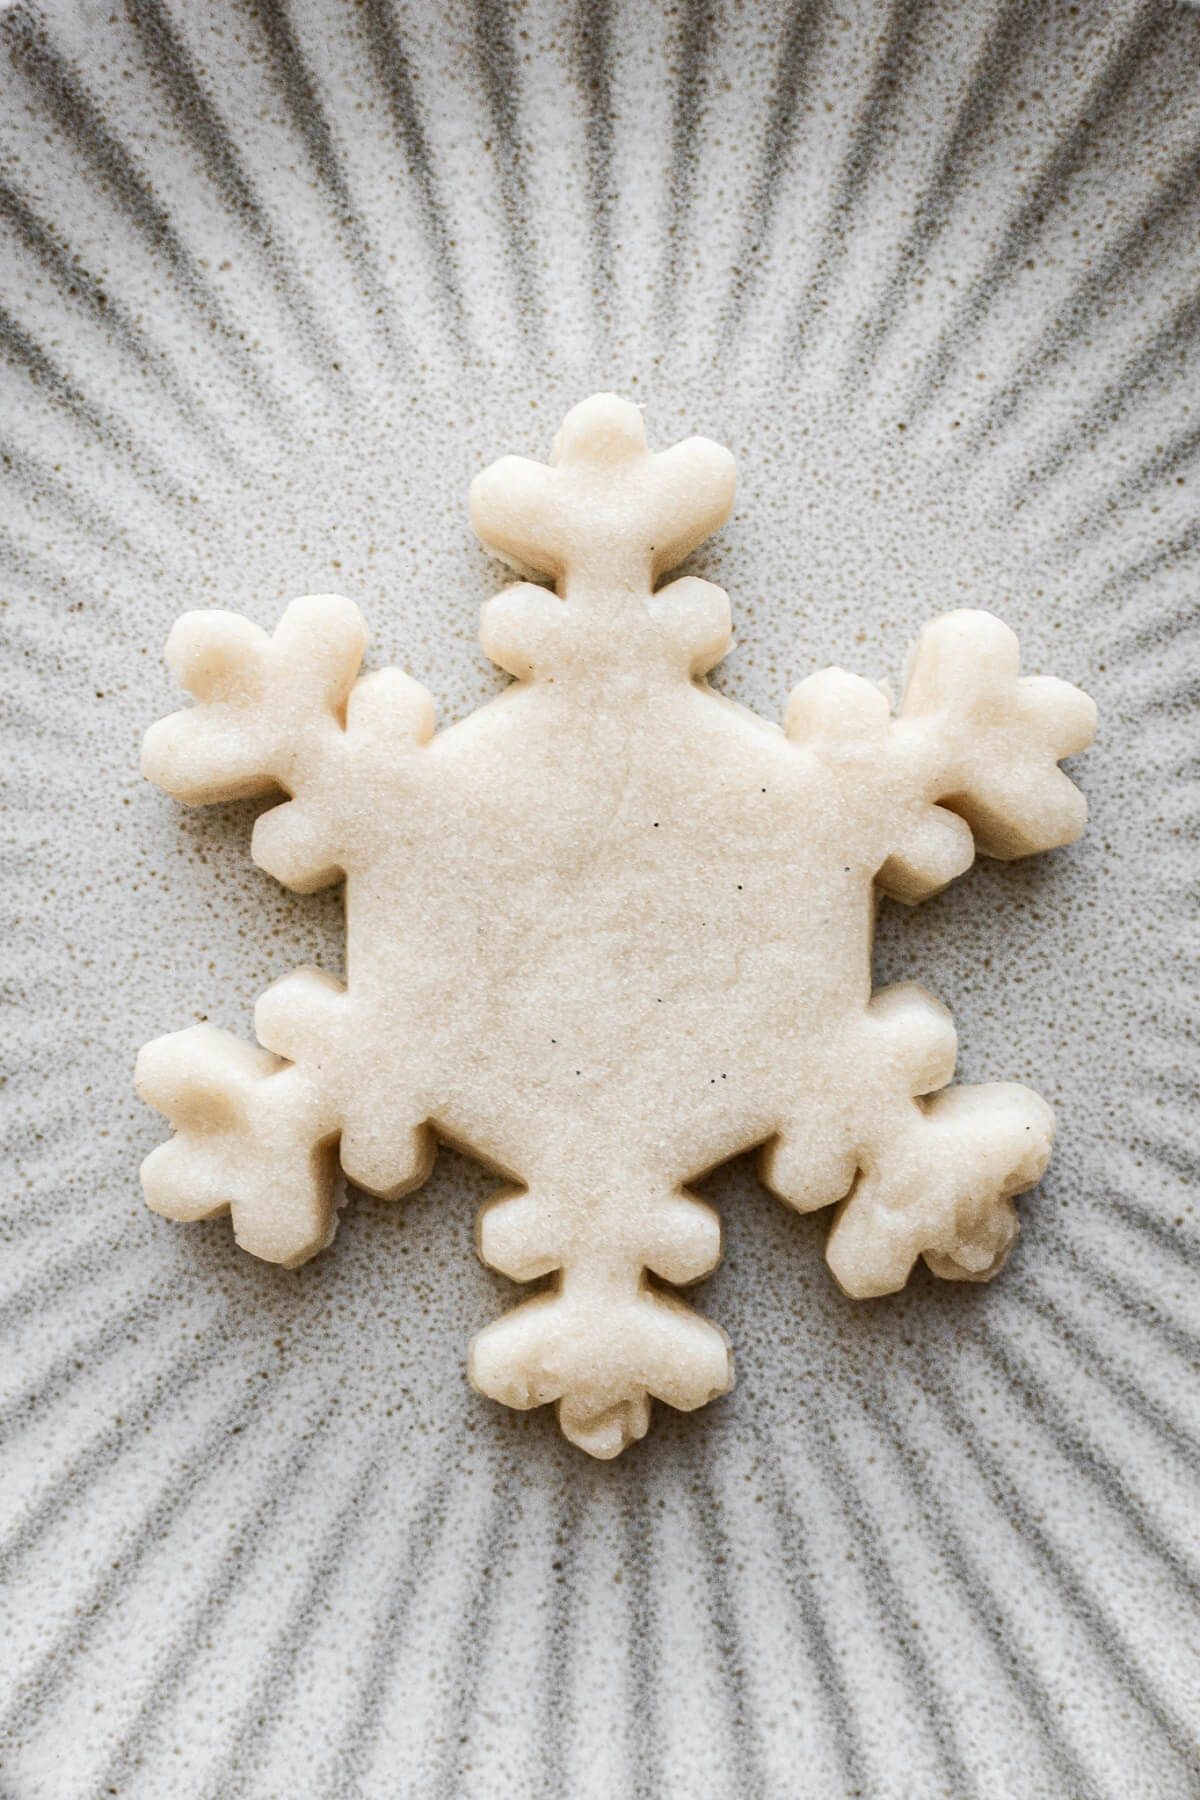
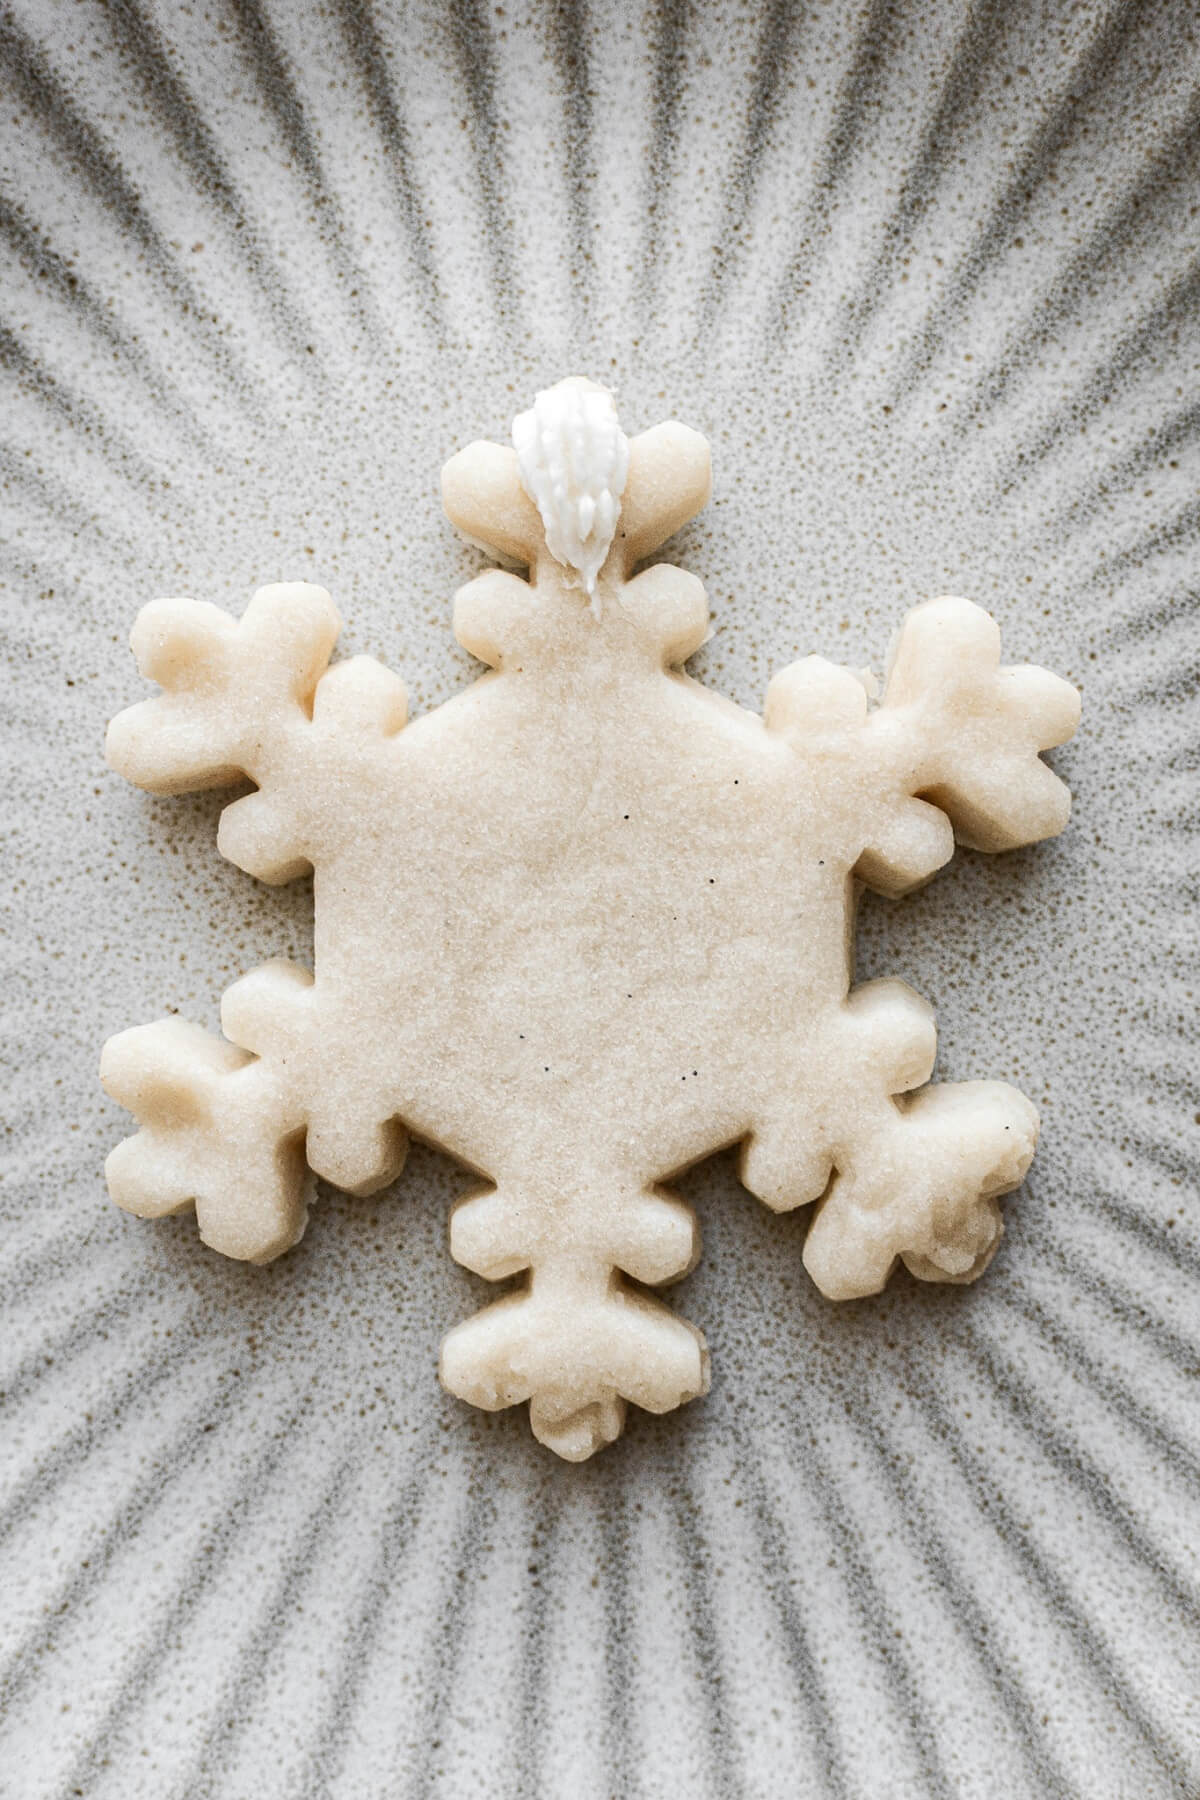
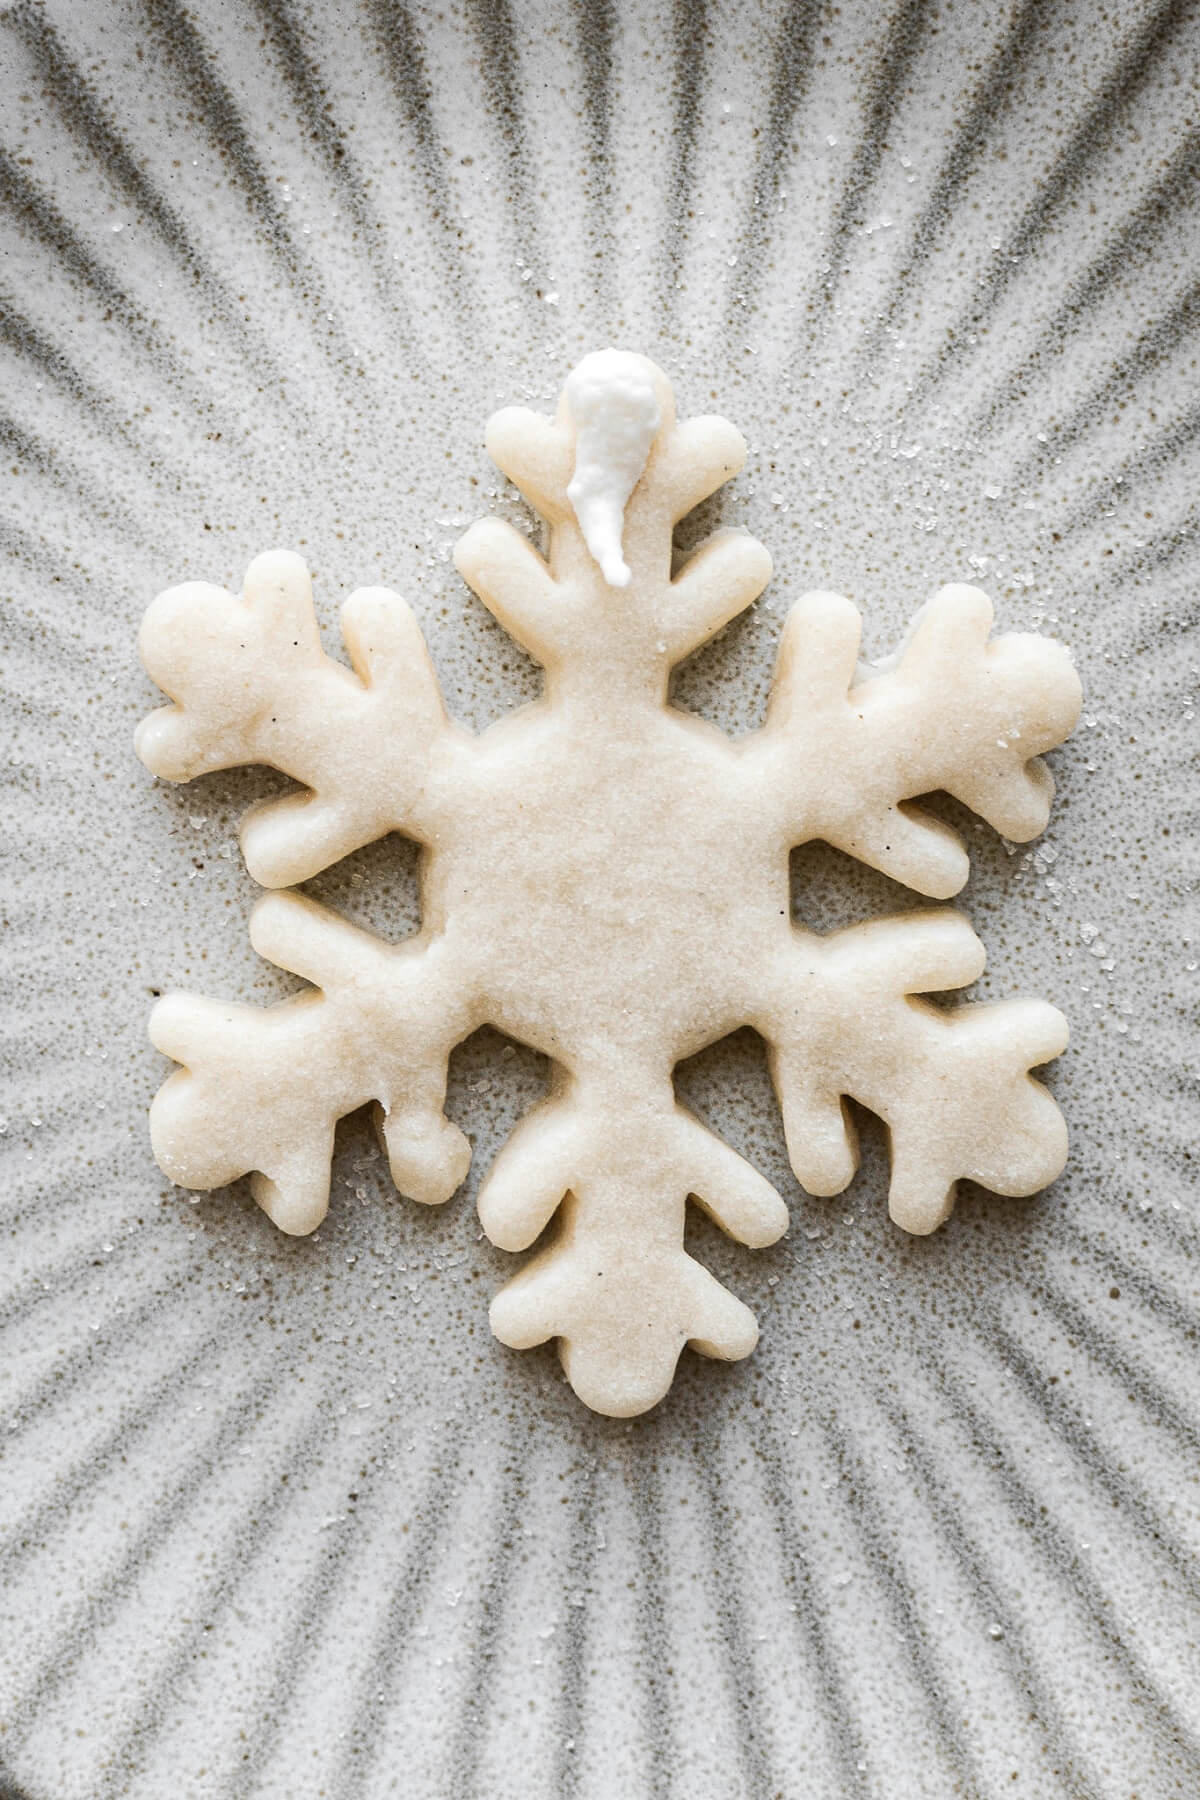
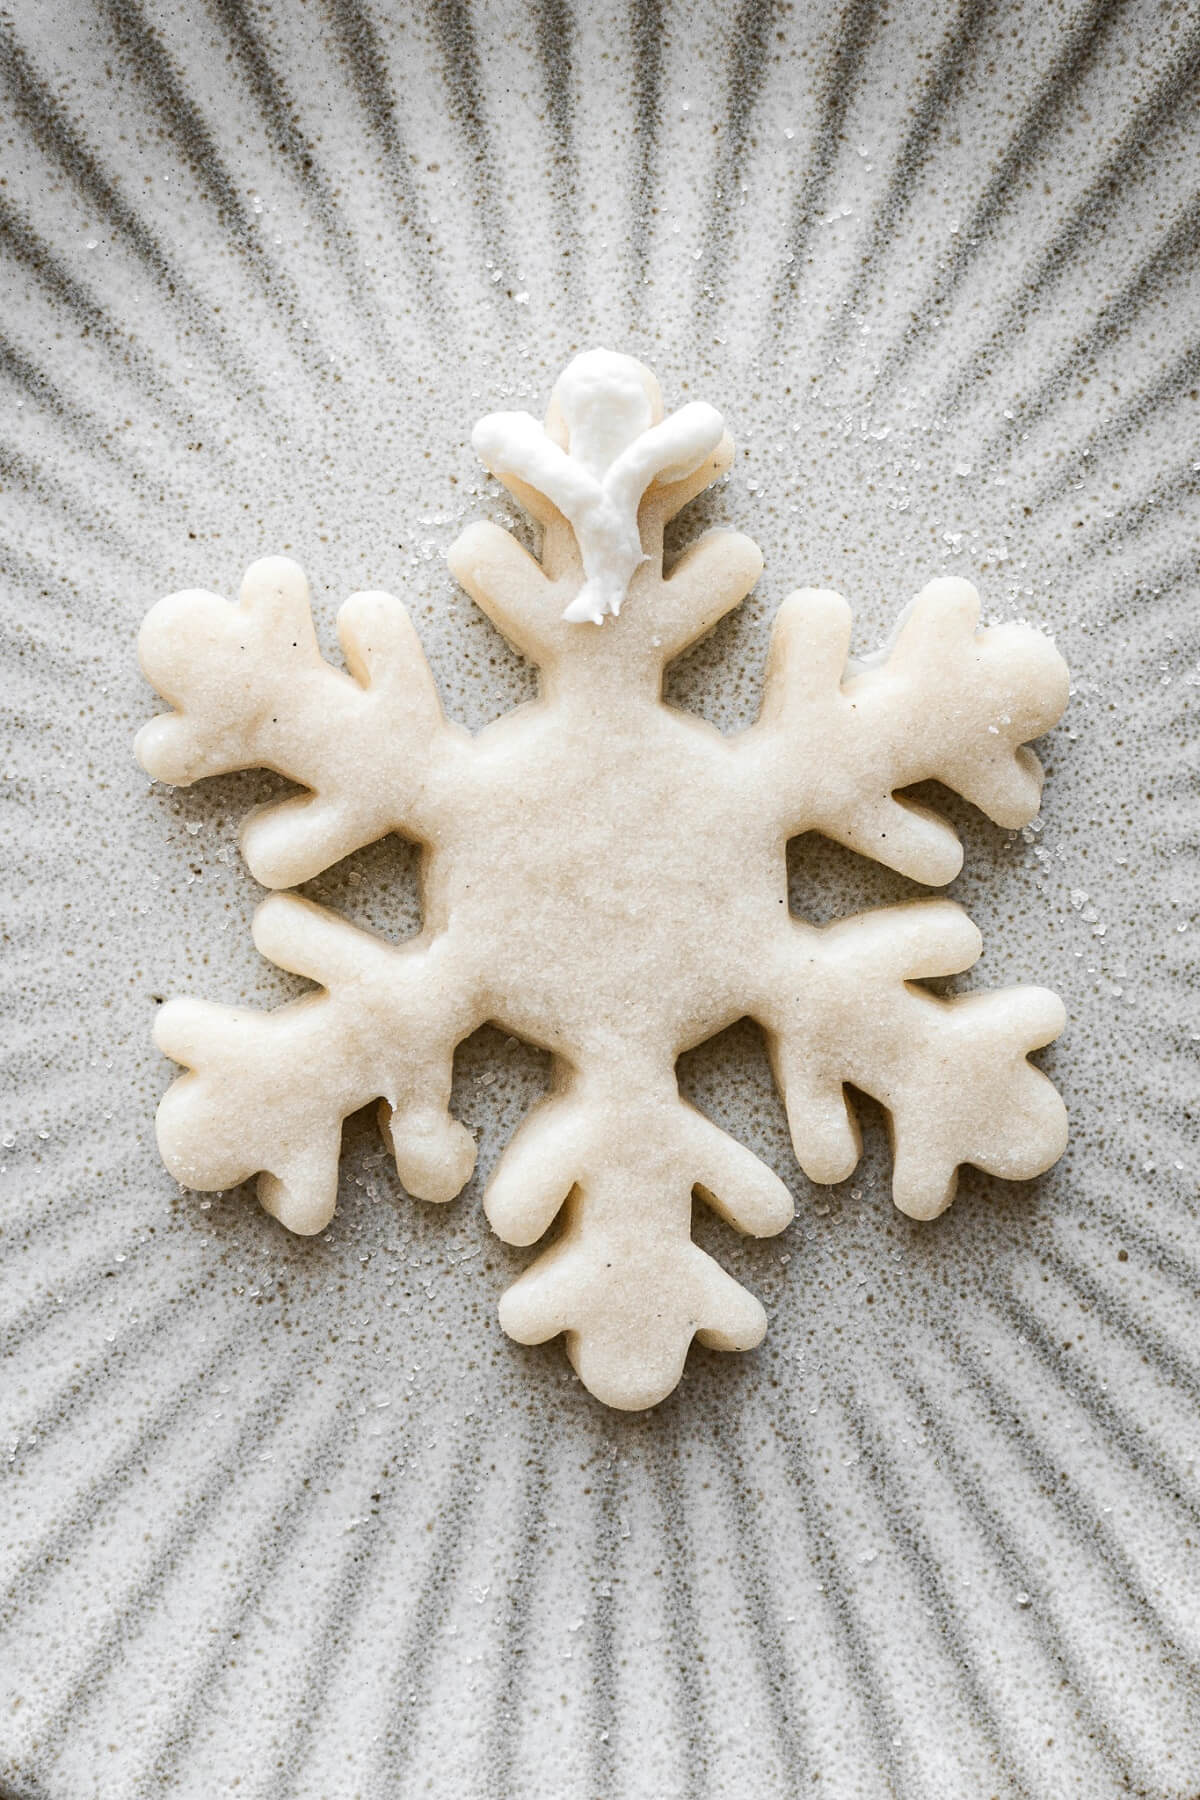
Teardrops: Style 2
- With tip #4, pipe “teardrop” shapes along the snowflake points, working your way from the outside to the middle.
- Finish with a sugar pearl in the center and a sprinkling of sparkling sugar.
- This style takes a little more practice to get the shape of the teardrops just right, and this first one that I photographed wasn’t my best. As I practiced this one a few more times, it looked much better. I also would have finished the center a little differently. Be sure to practice on wax paper, first, to decide what you like best.

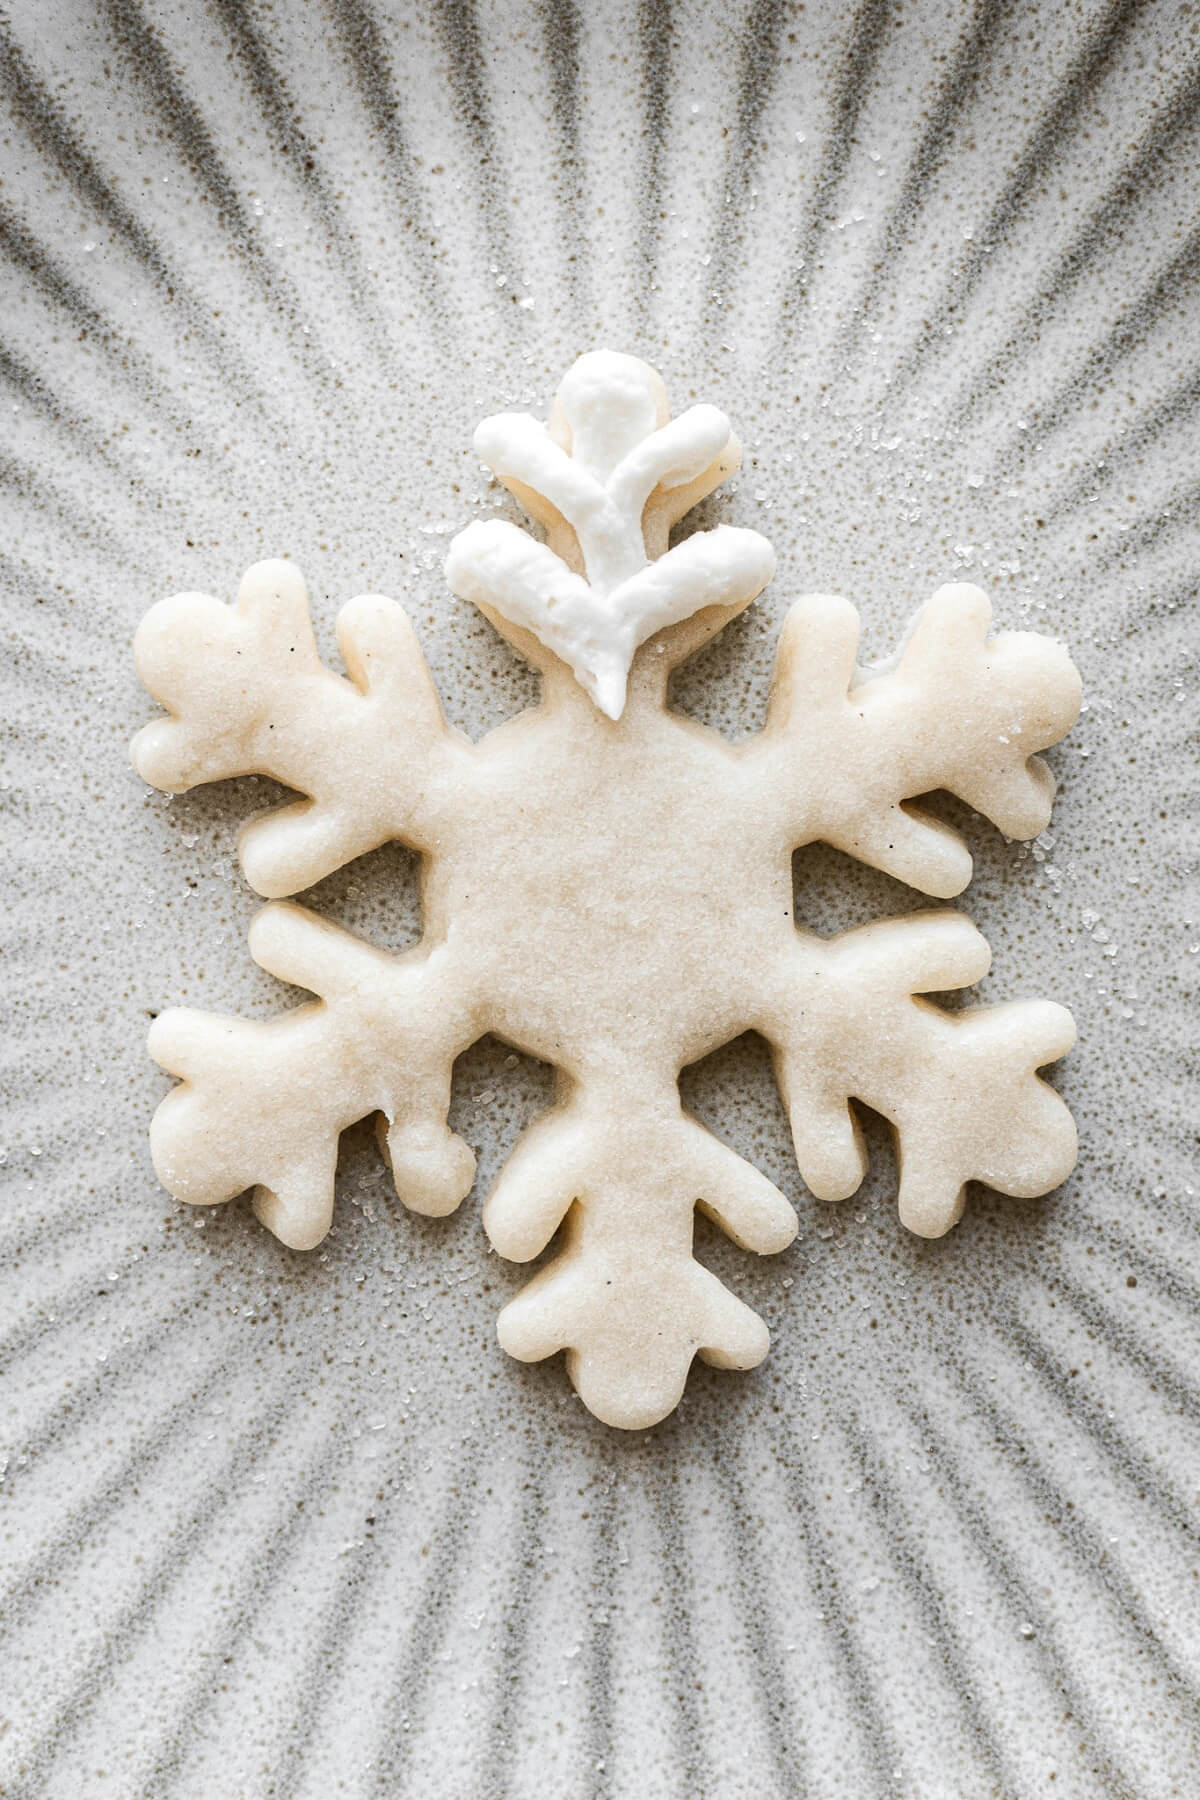
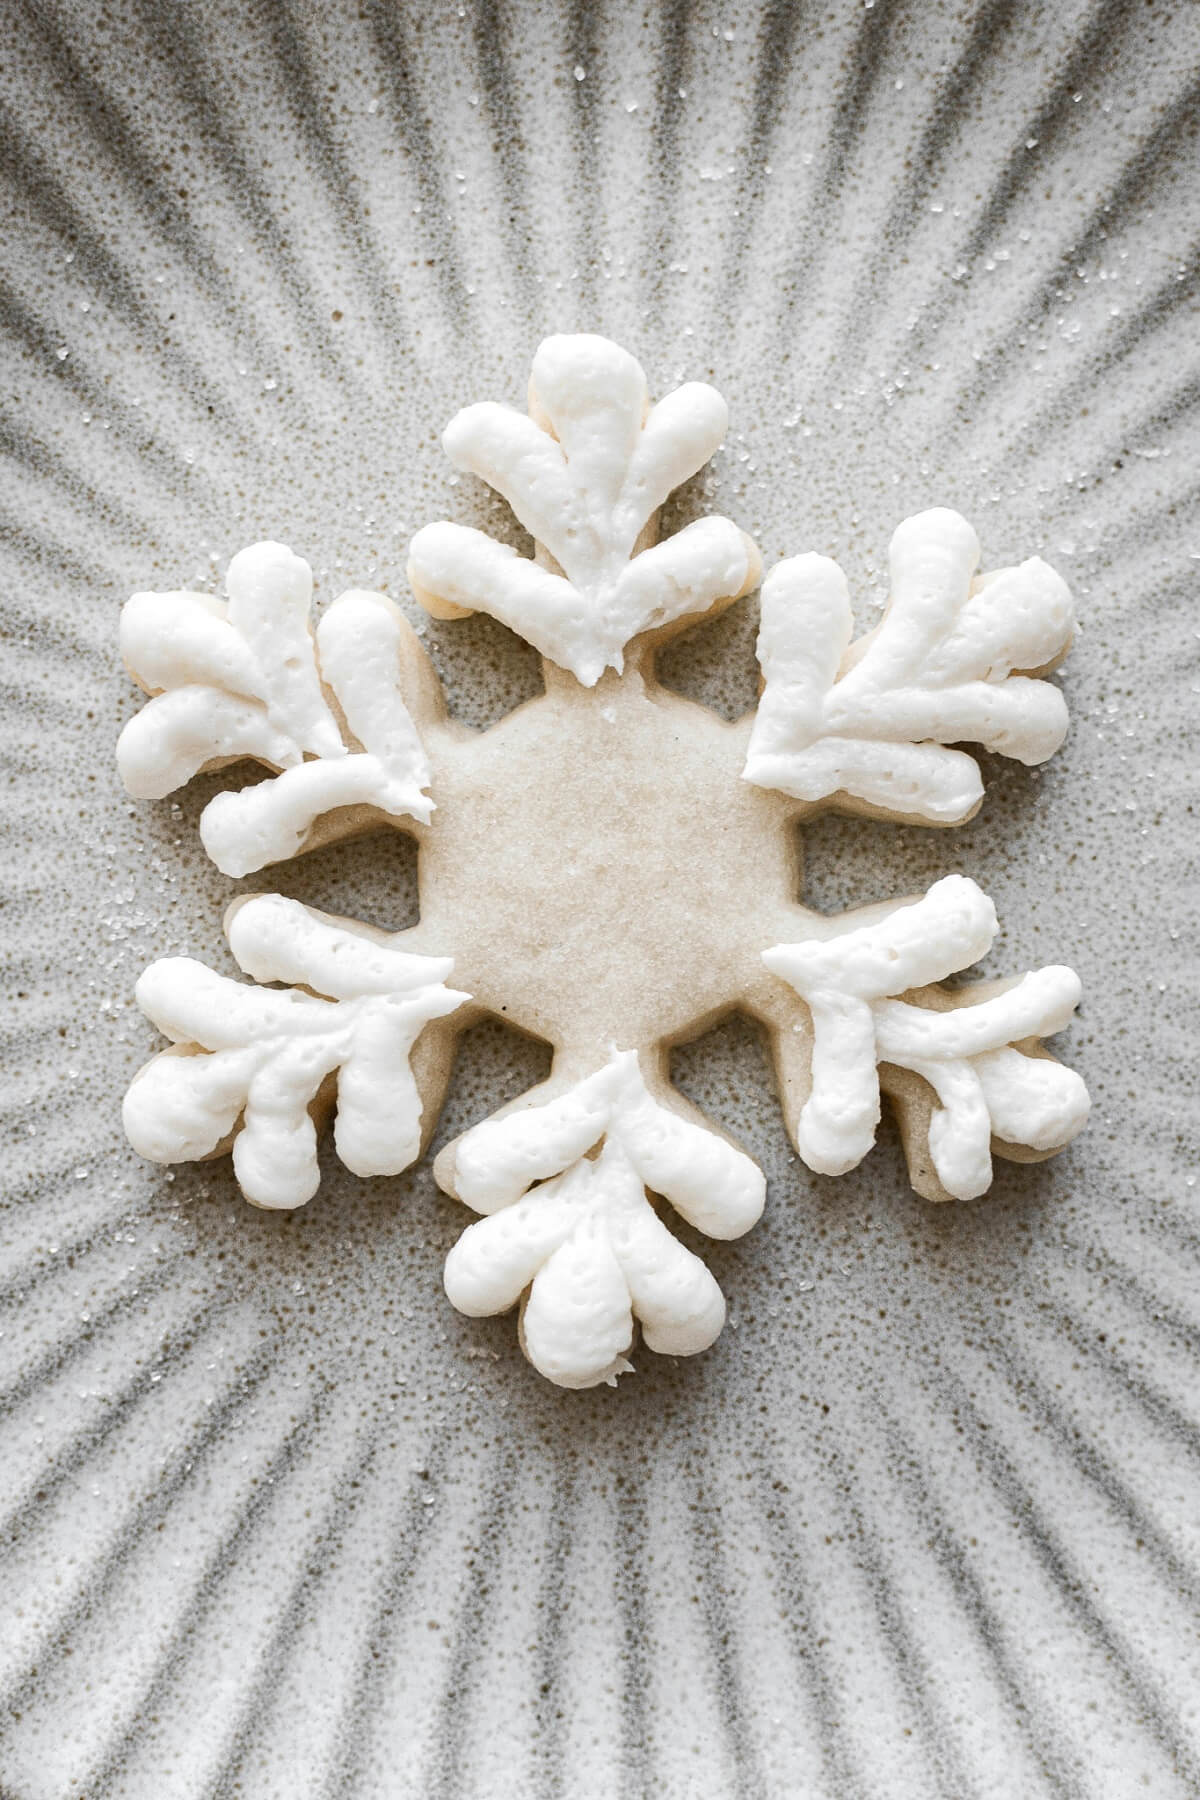
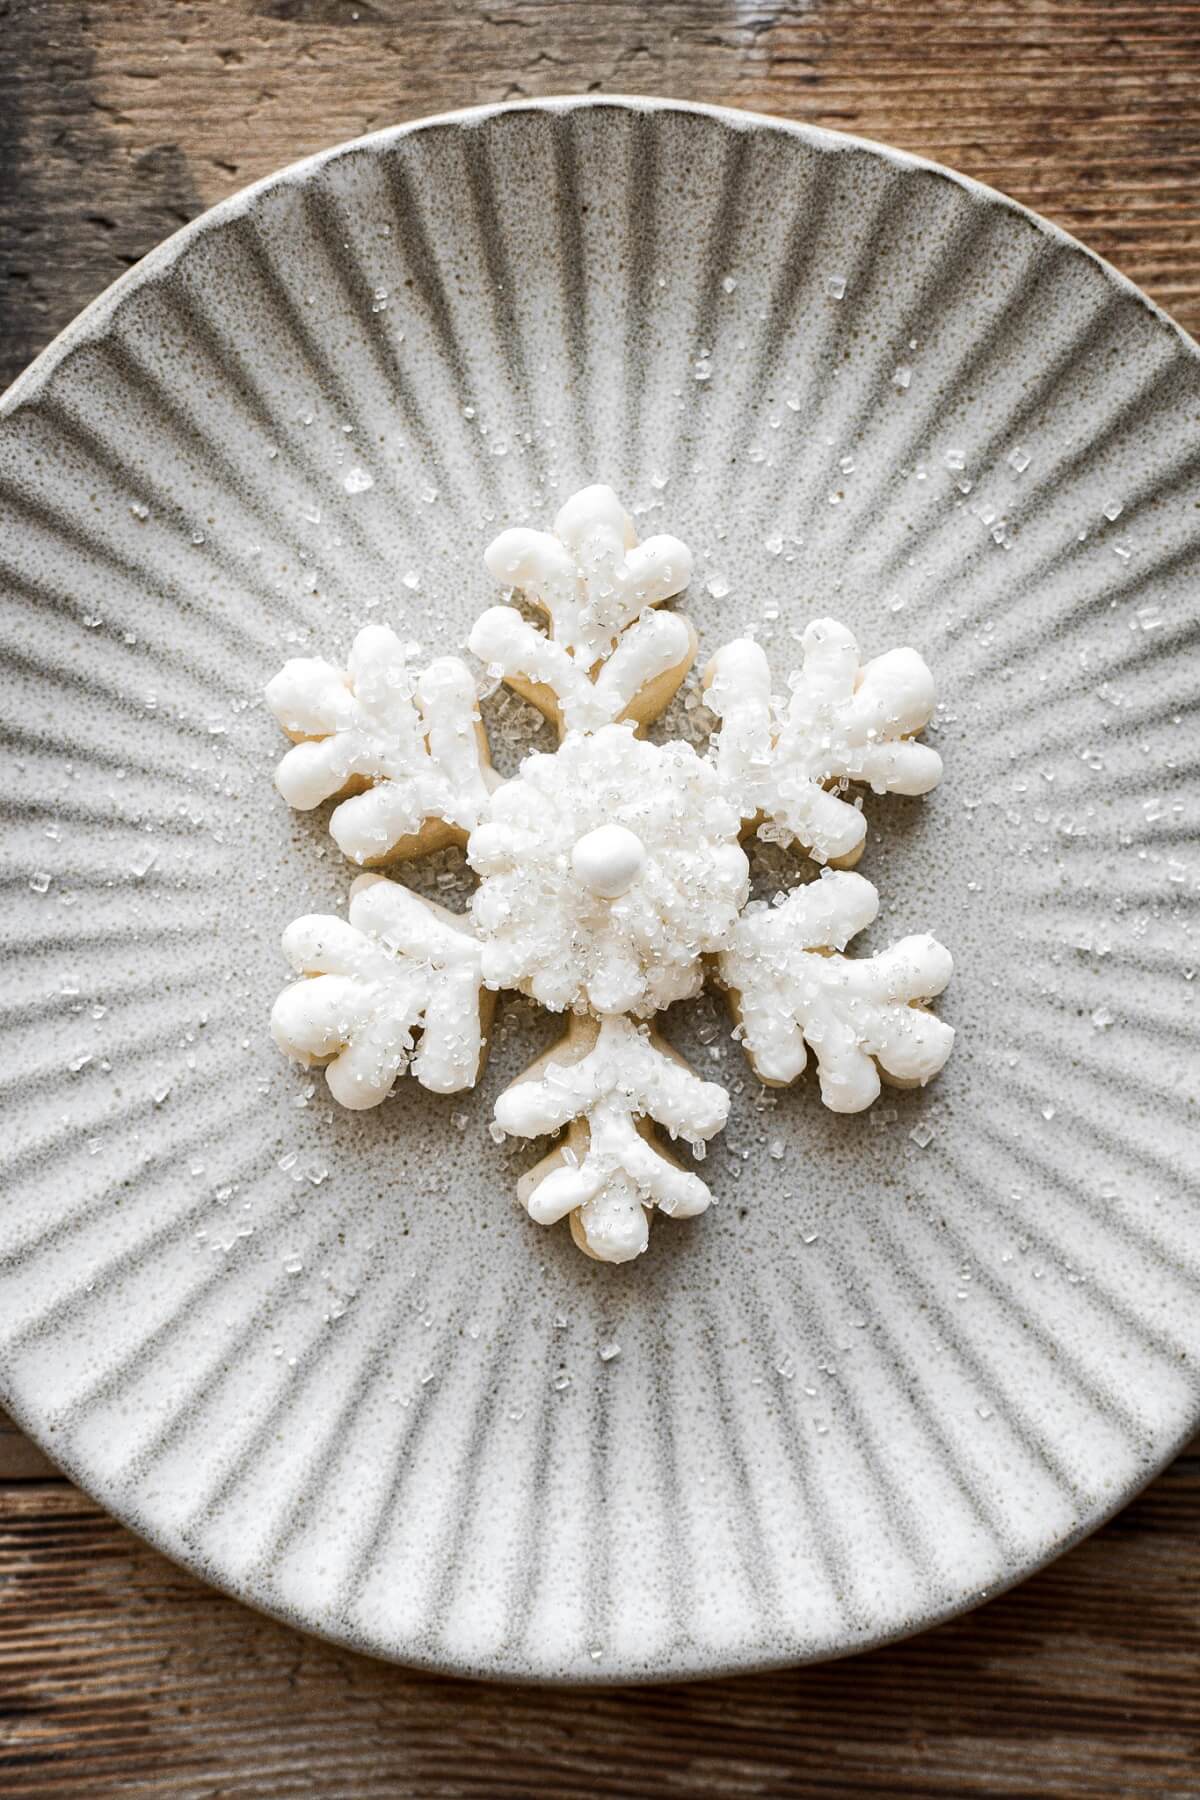
Stars: Style 3
- This style is the easiest. With tip #18, simply pipe small stars all over the snowflake.
- Finish with sparkling sugar, and if you like, some sugar pearls.
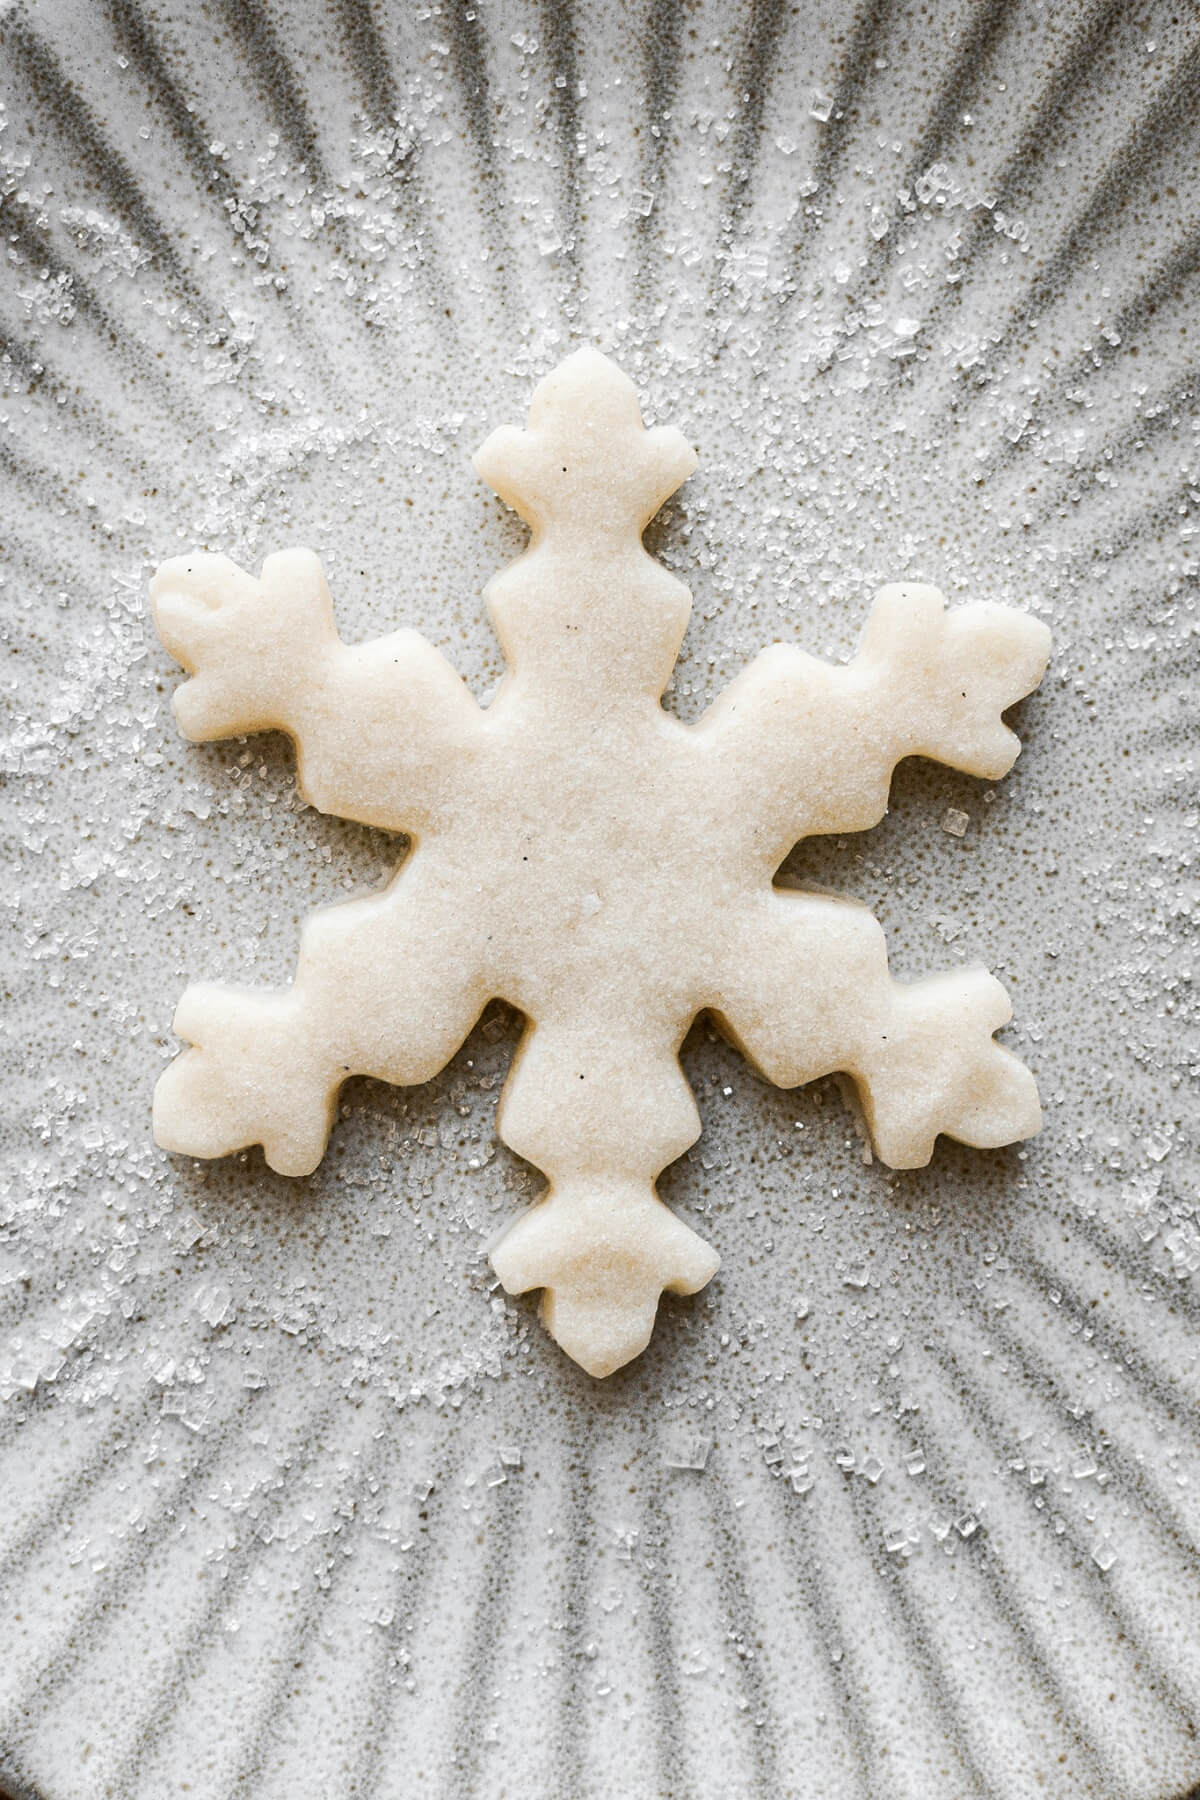
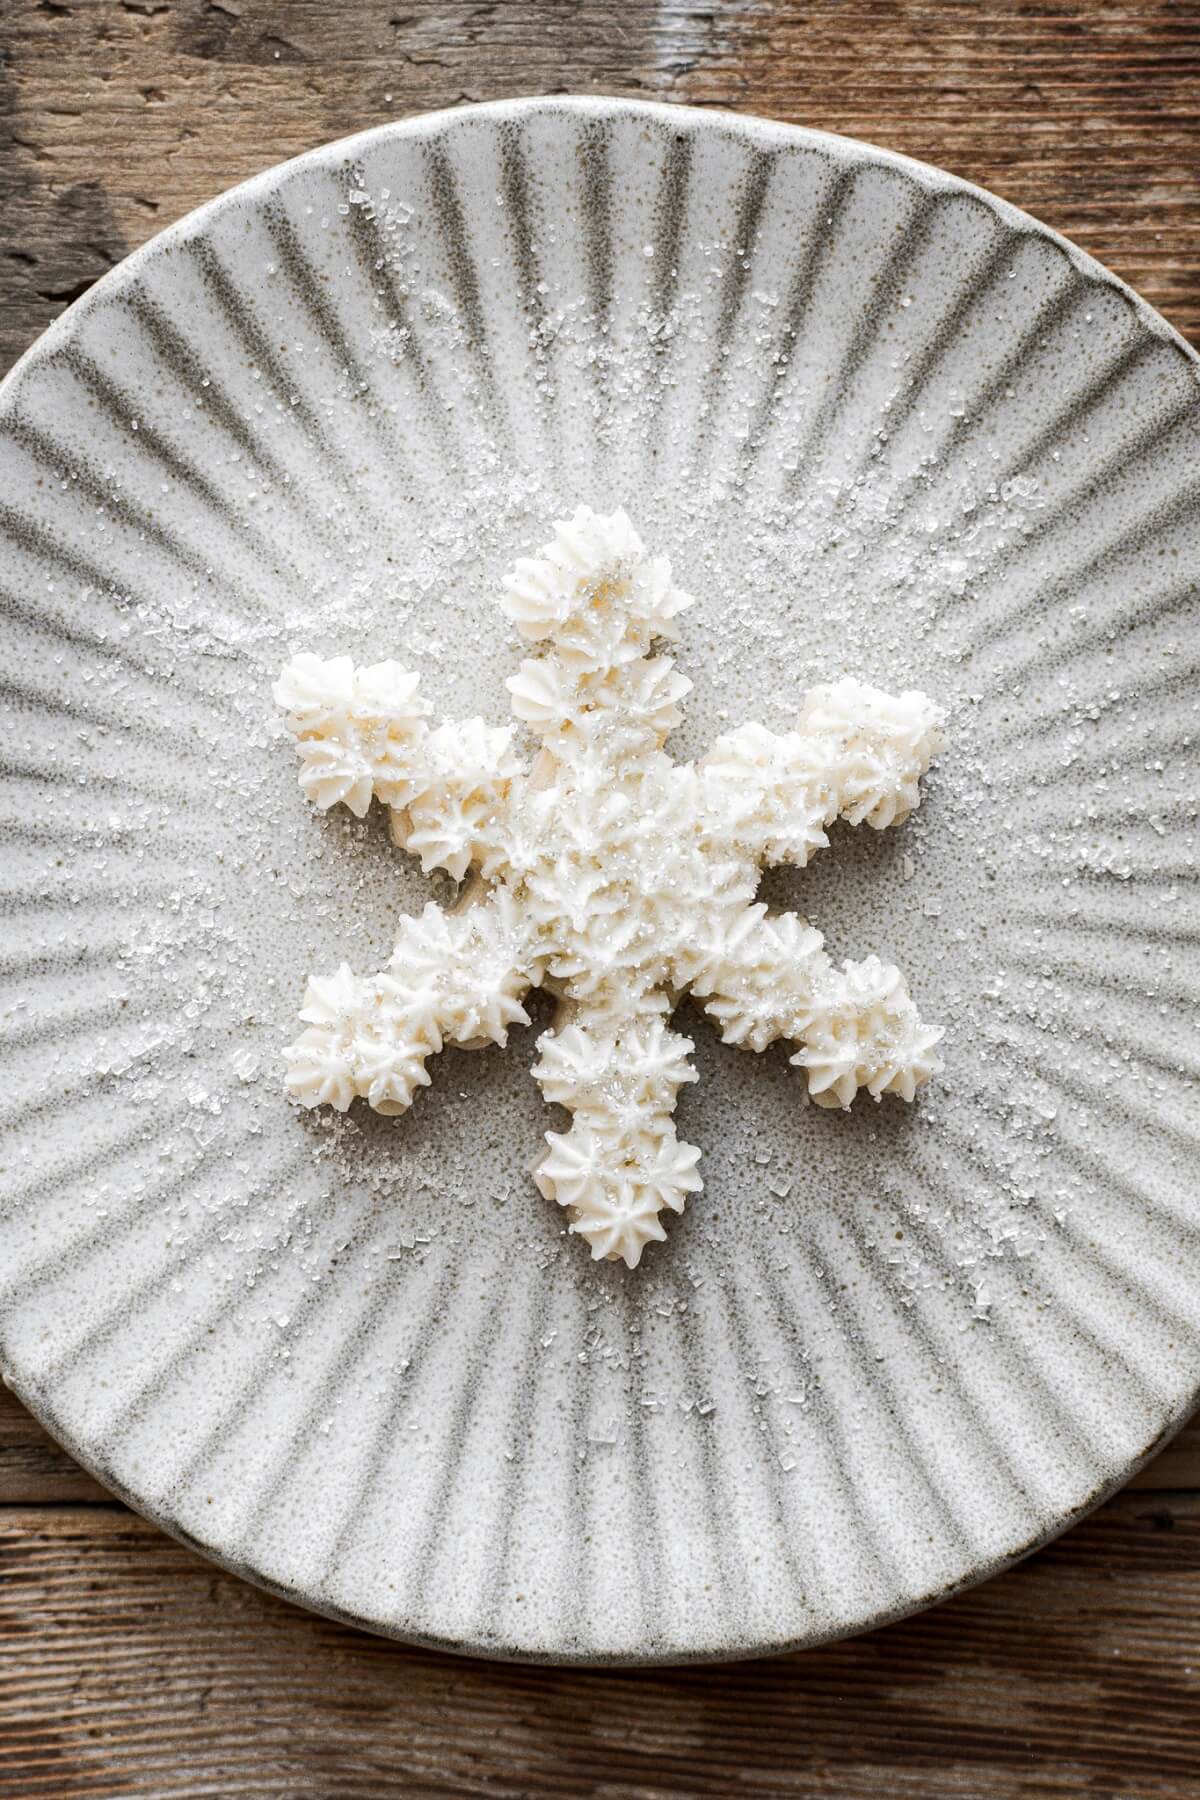
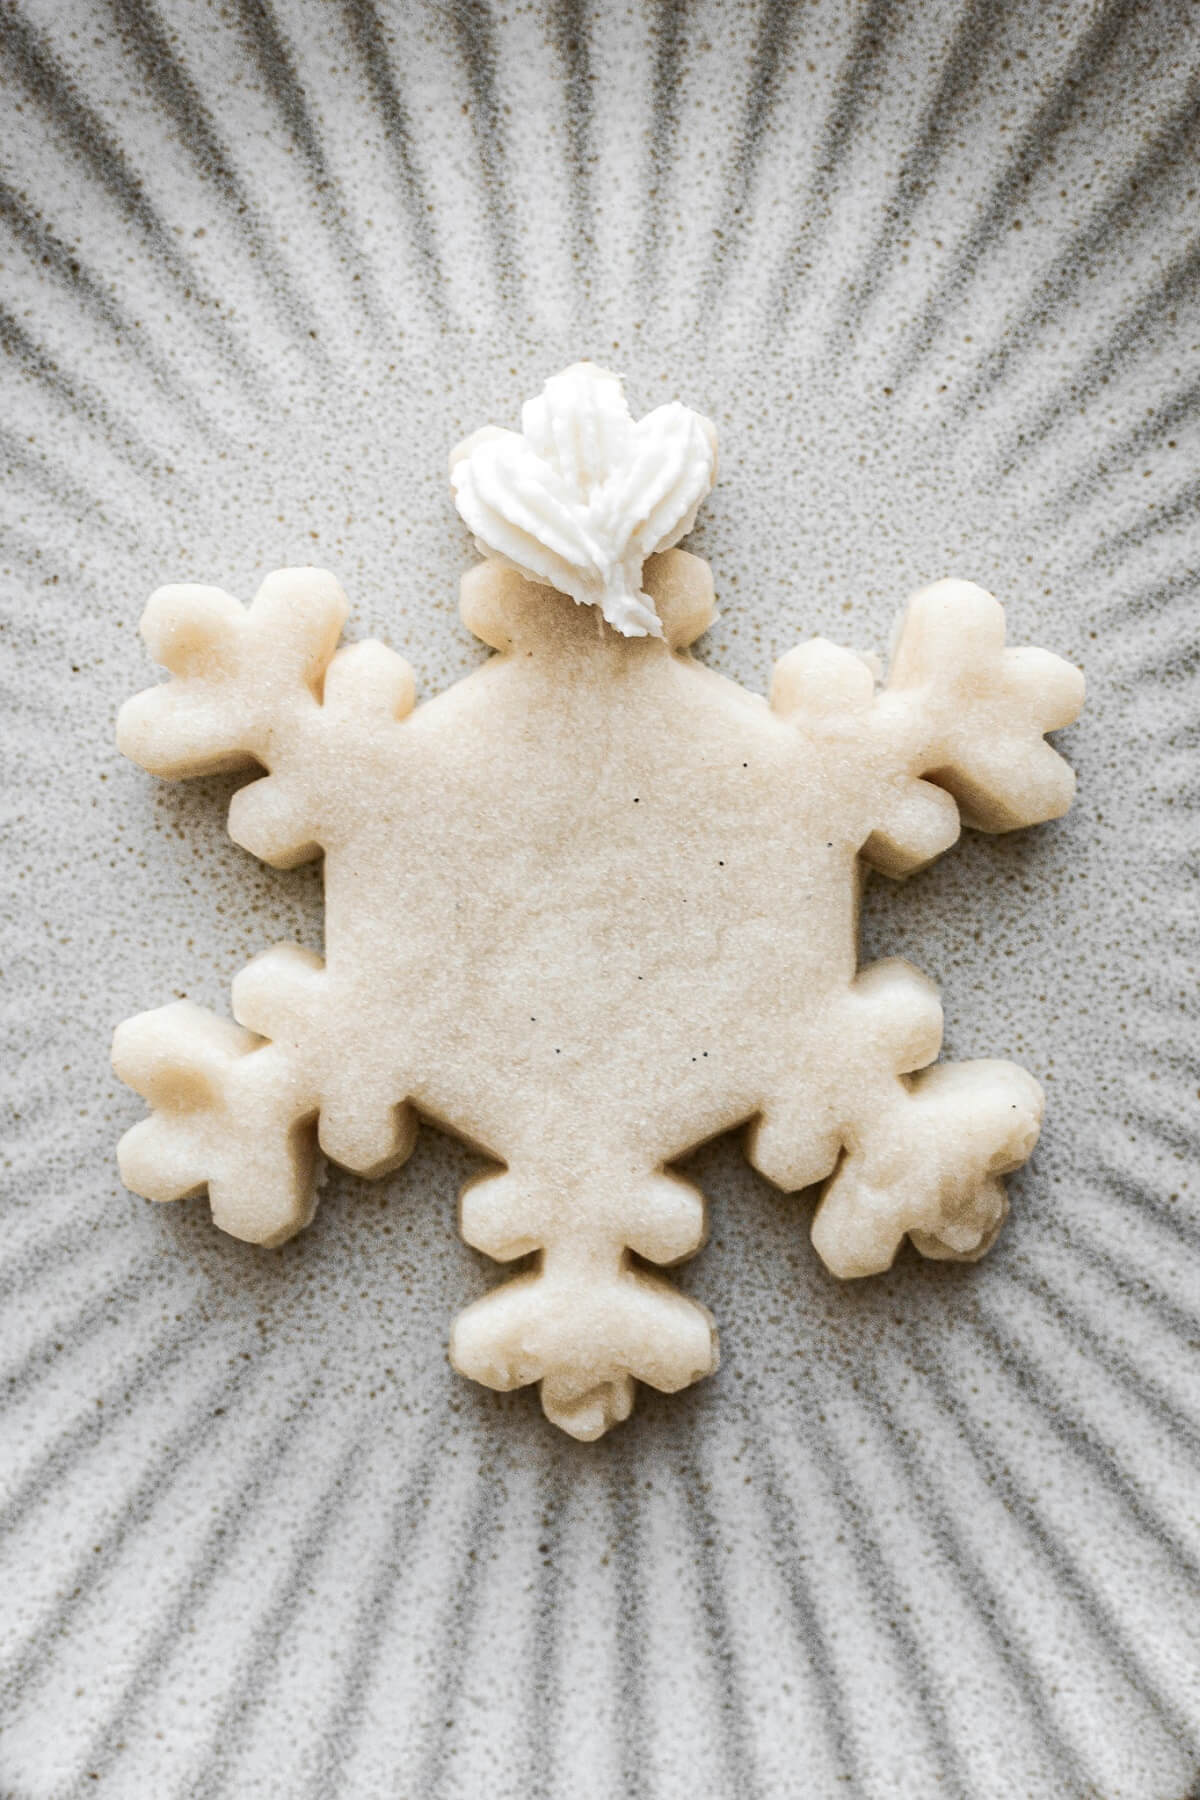
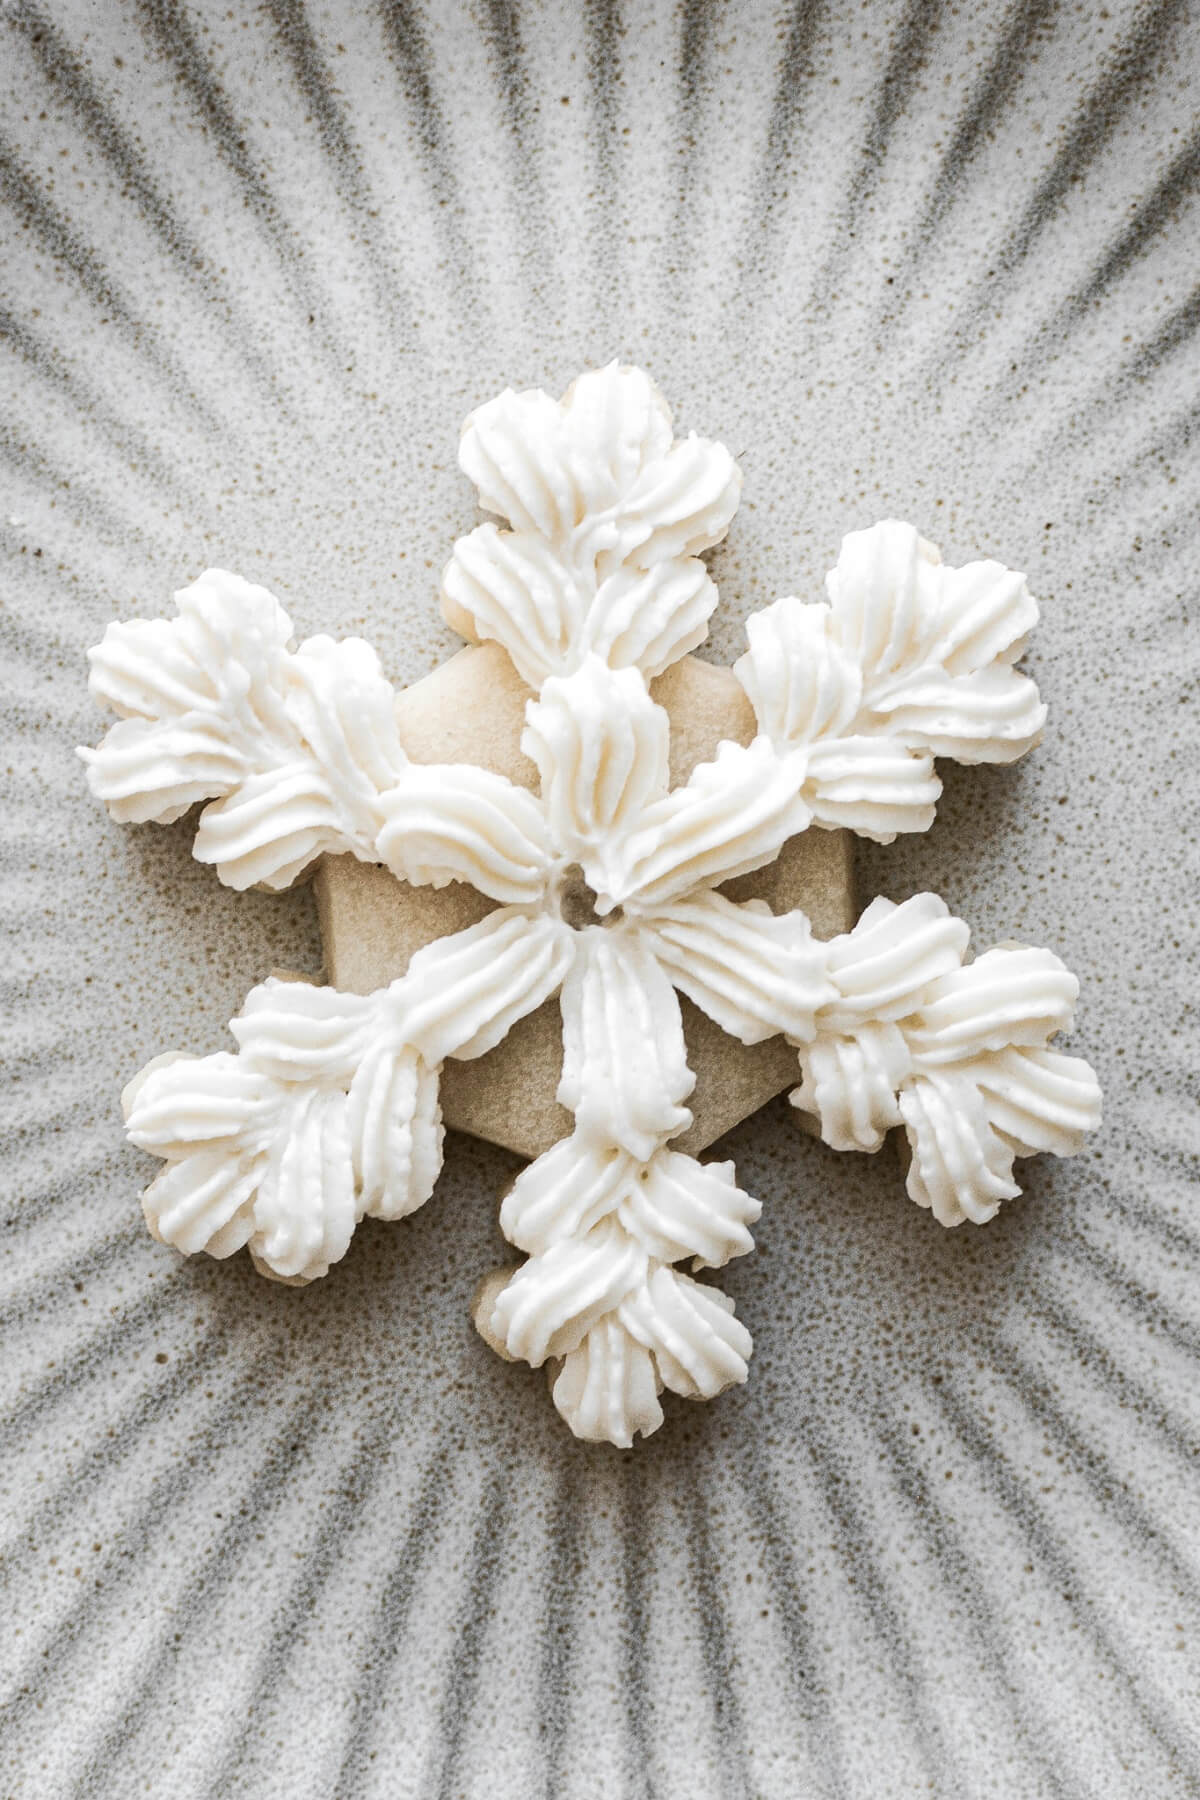
Flower Petals: Style 4
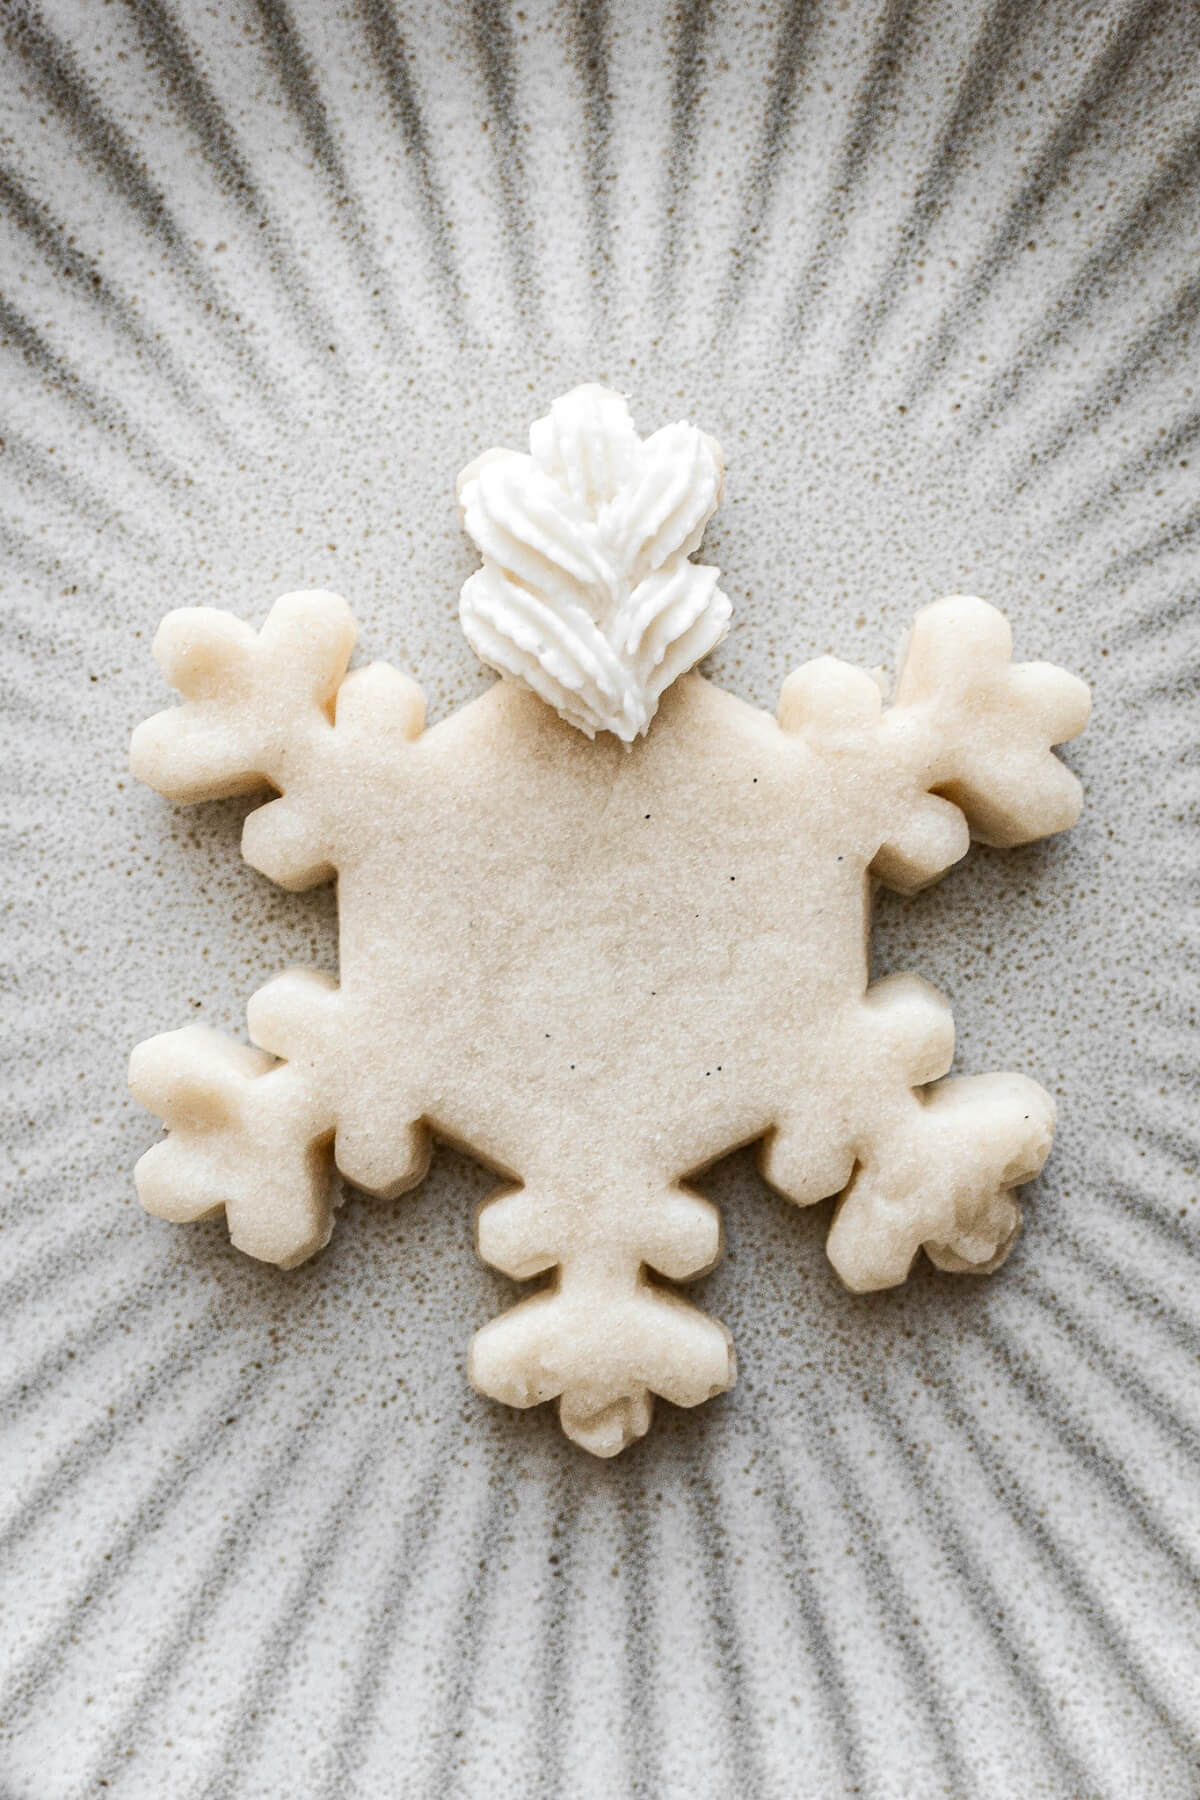
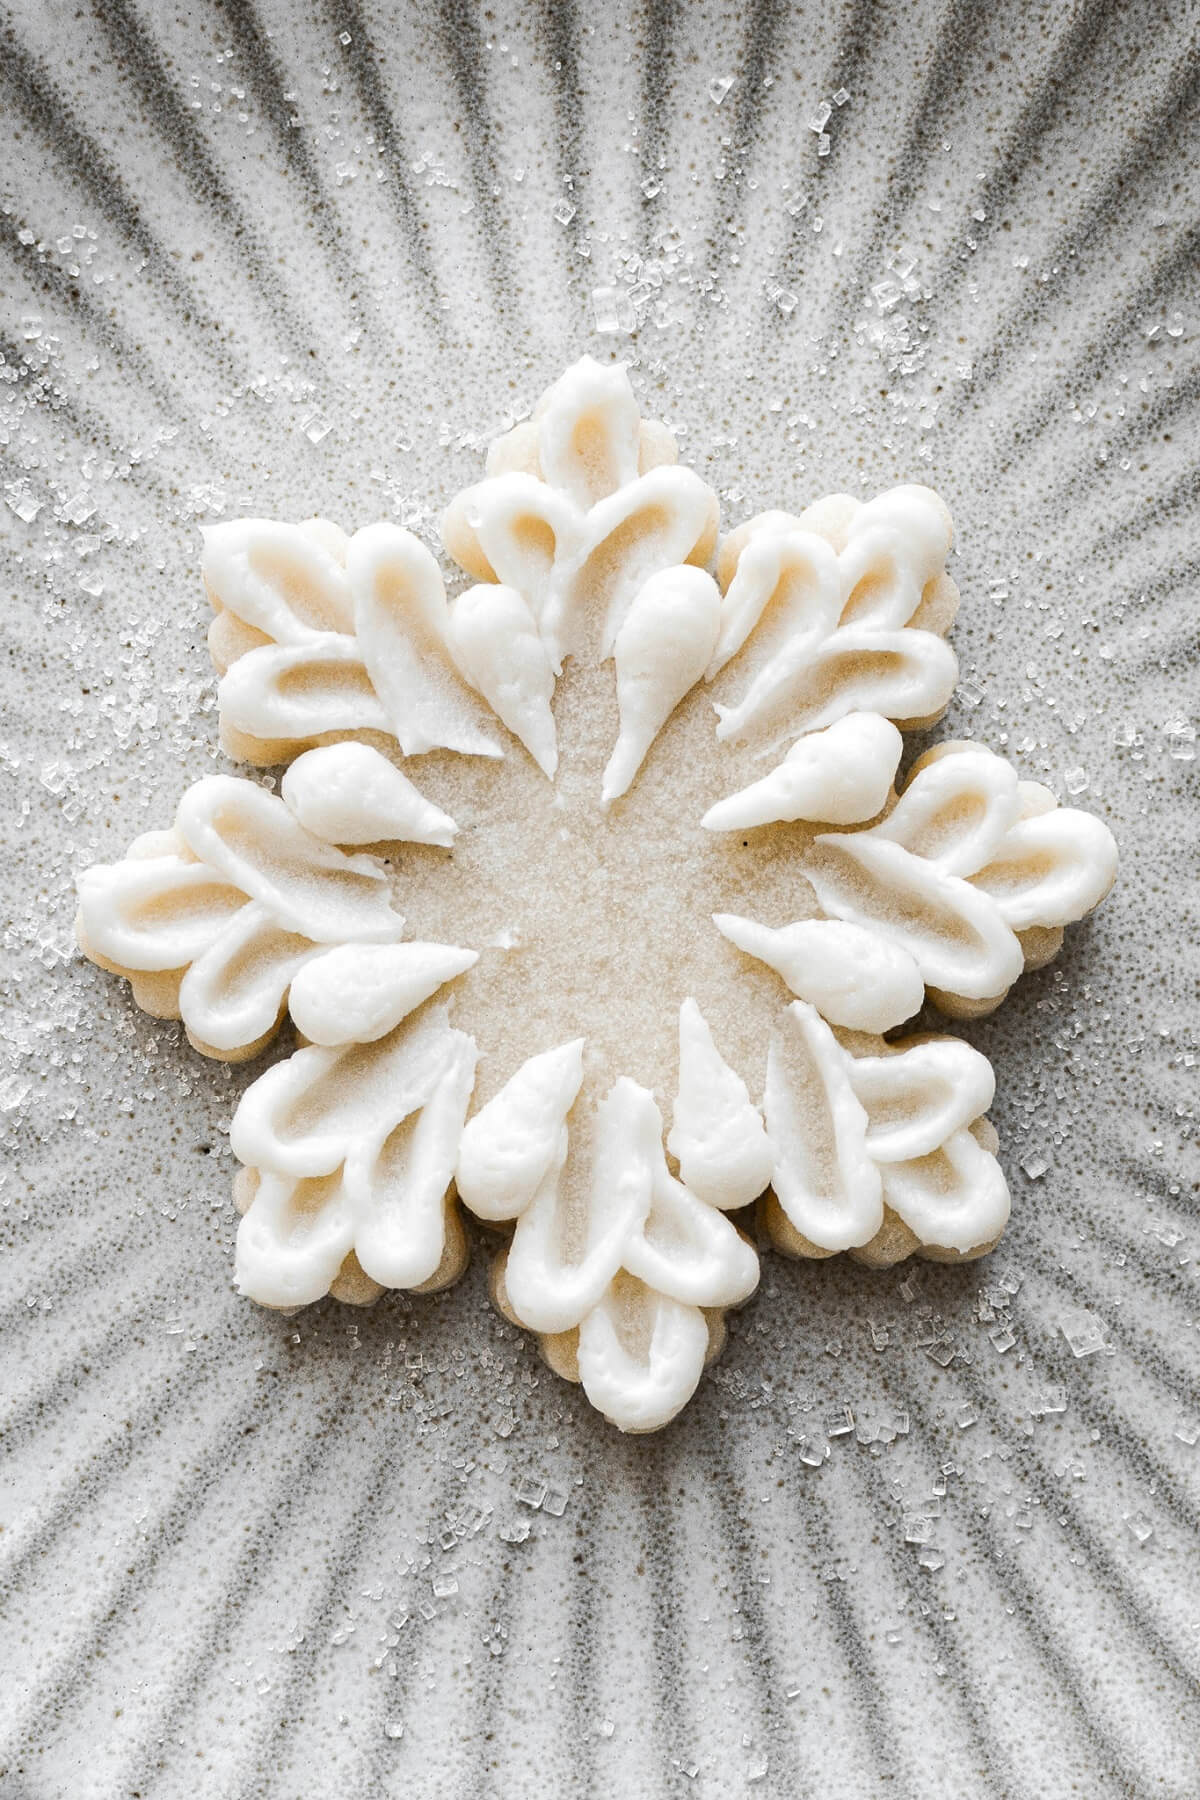
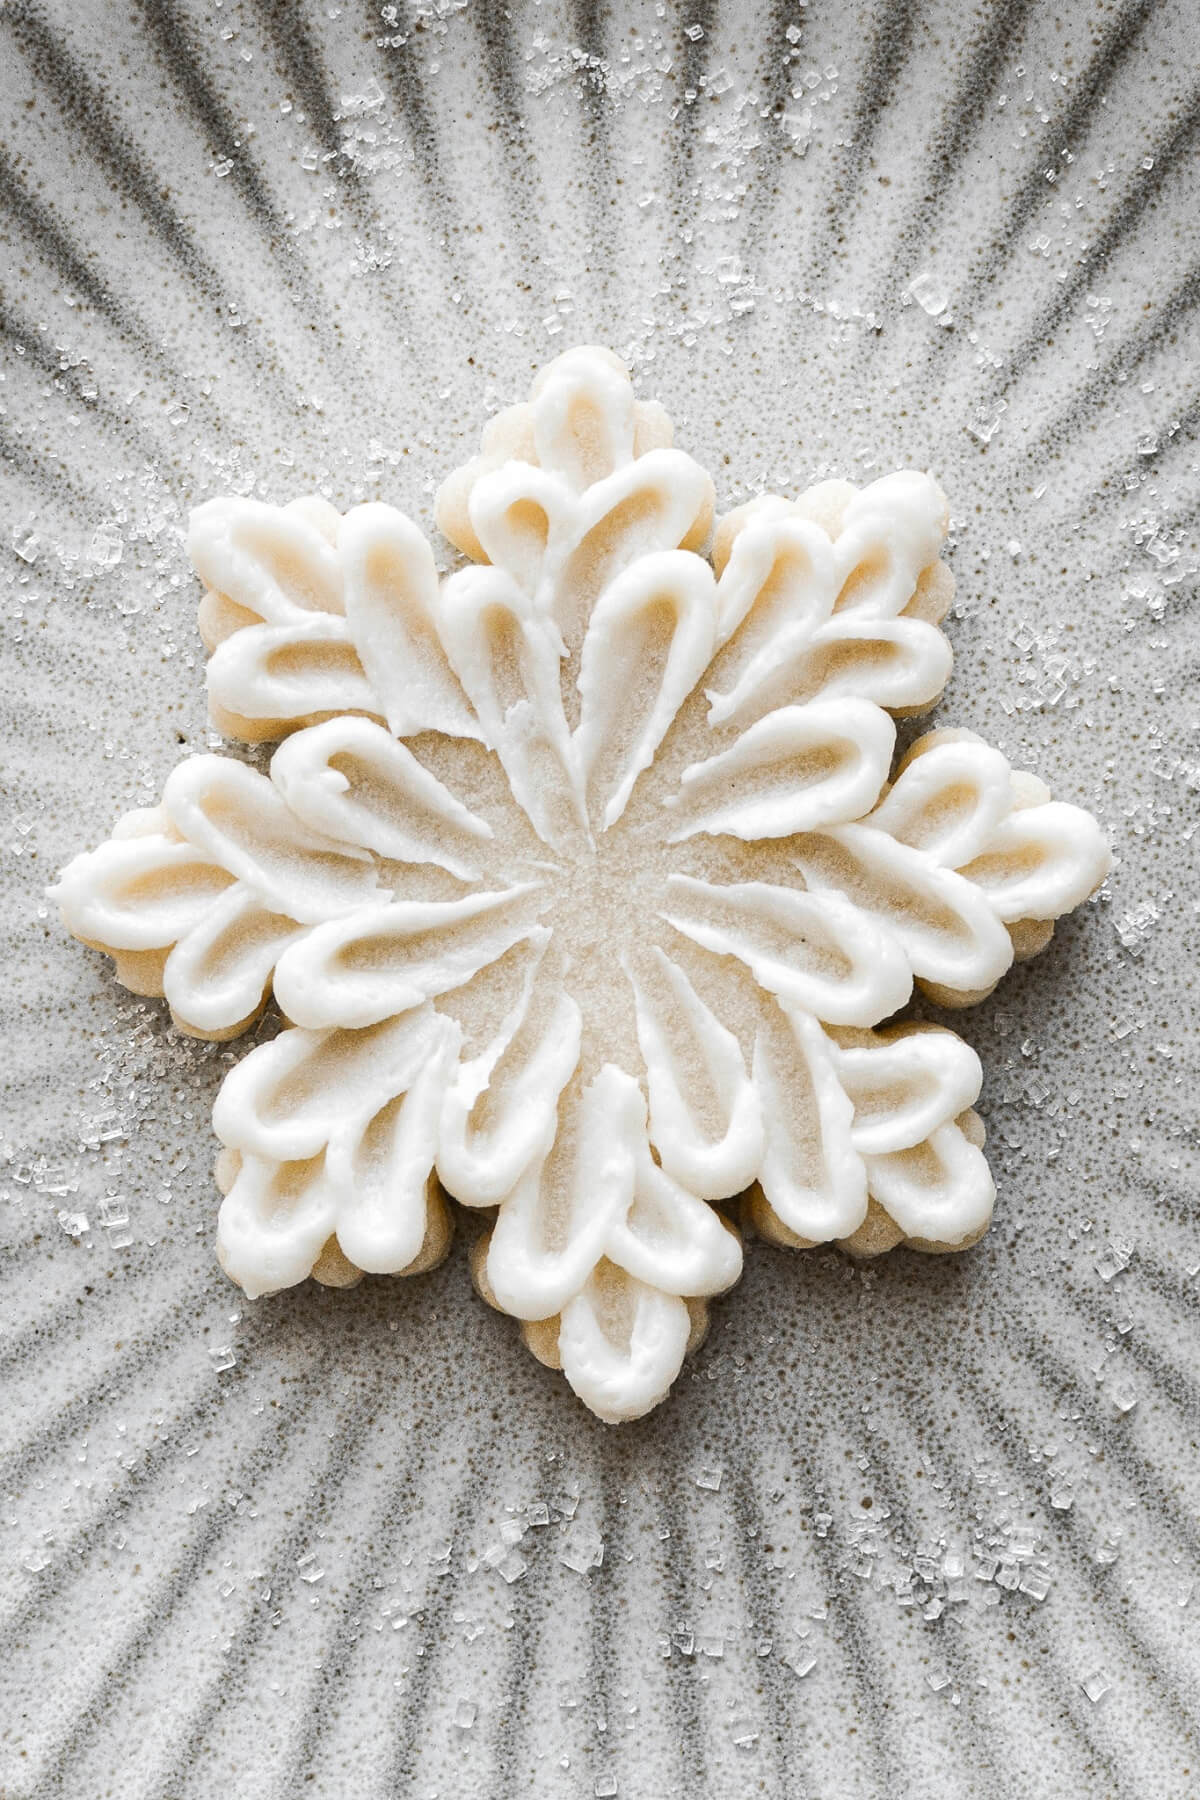
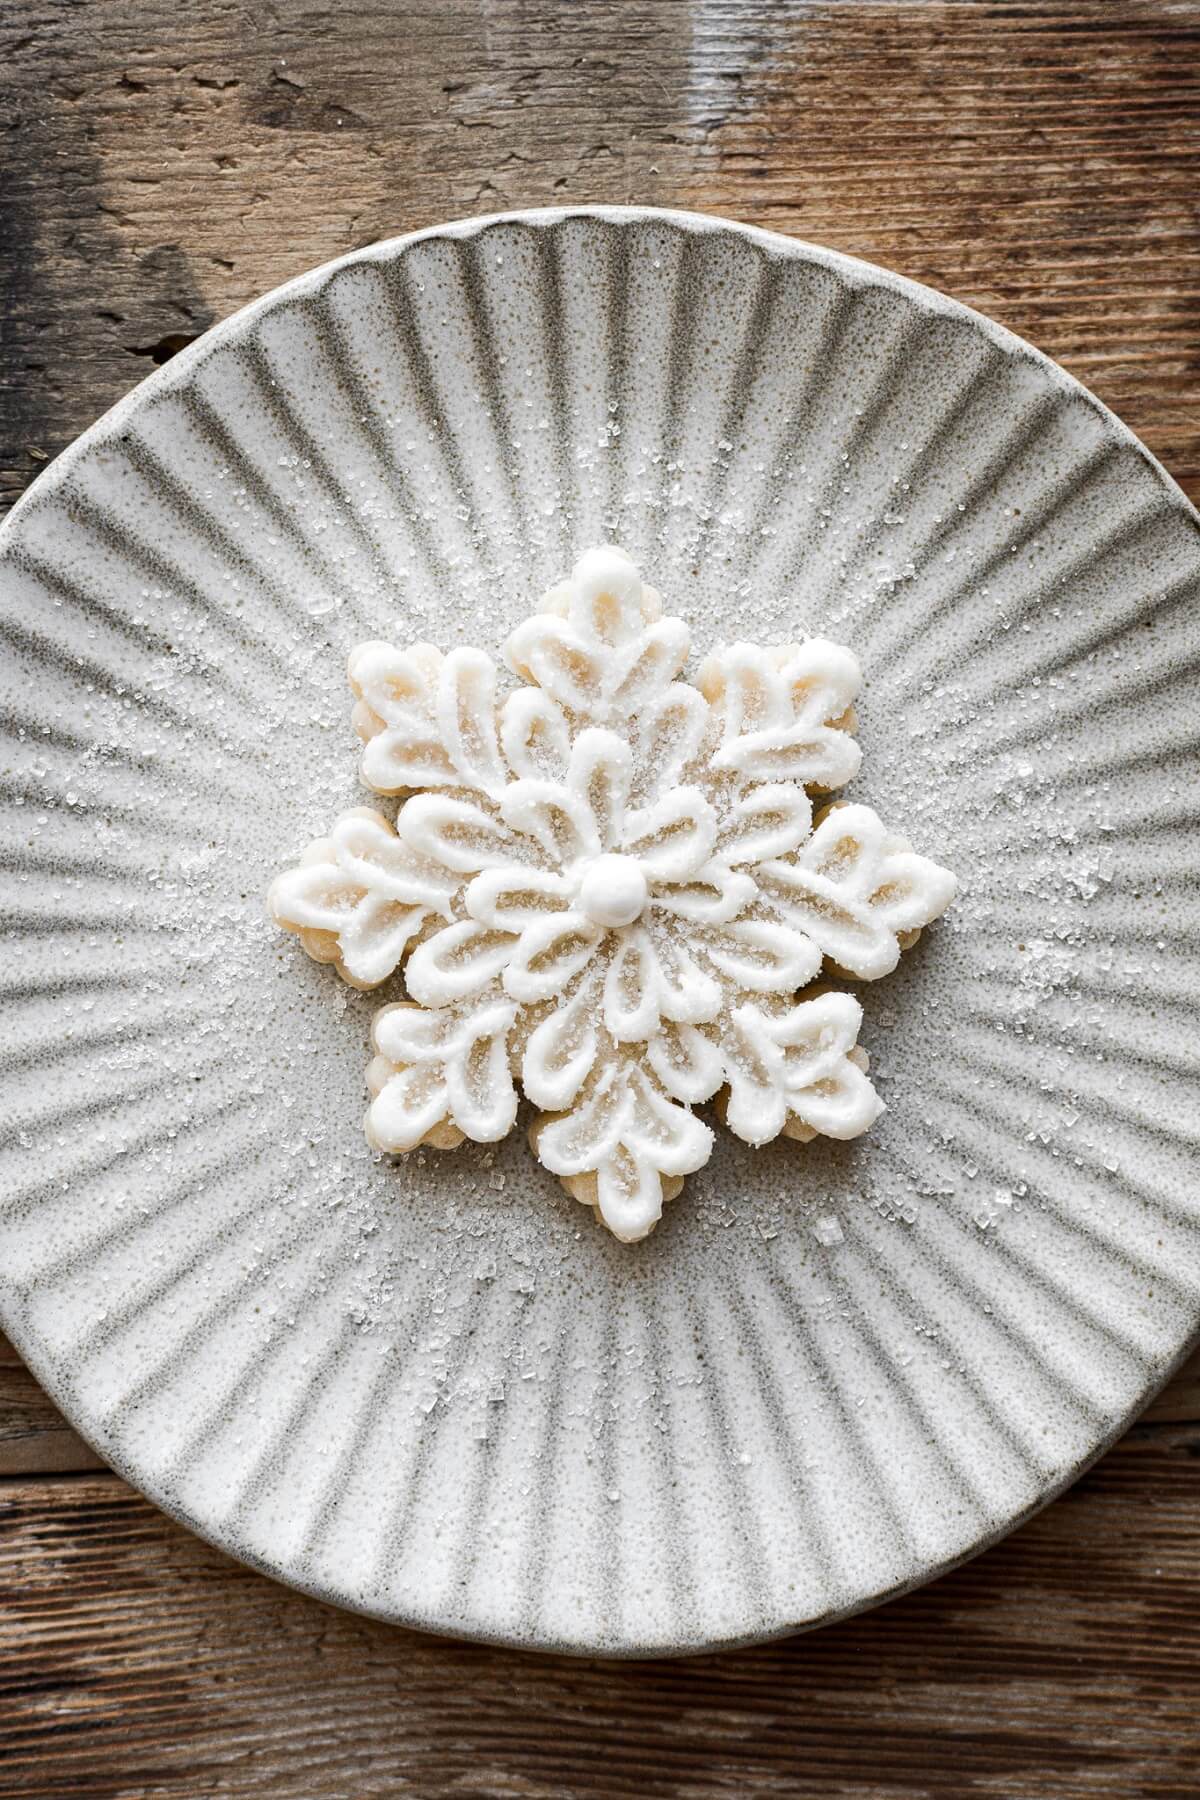
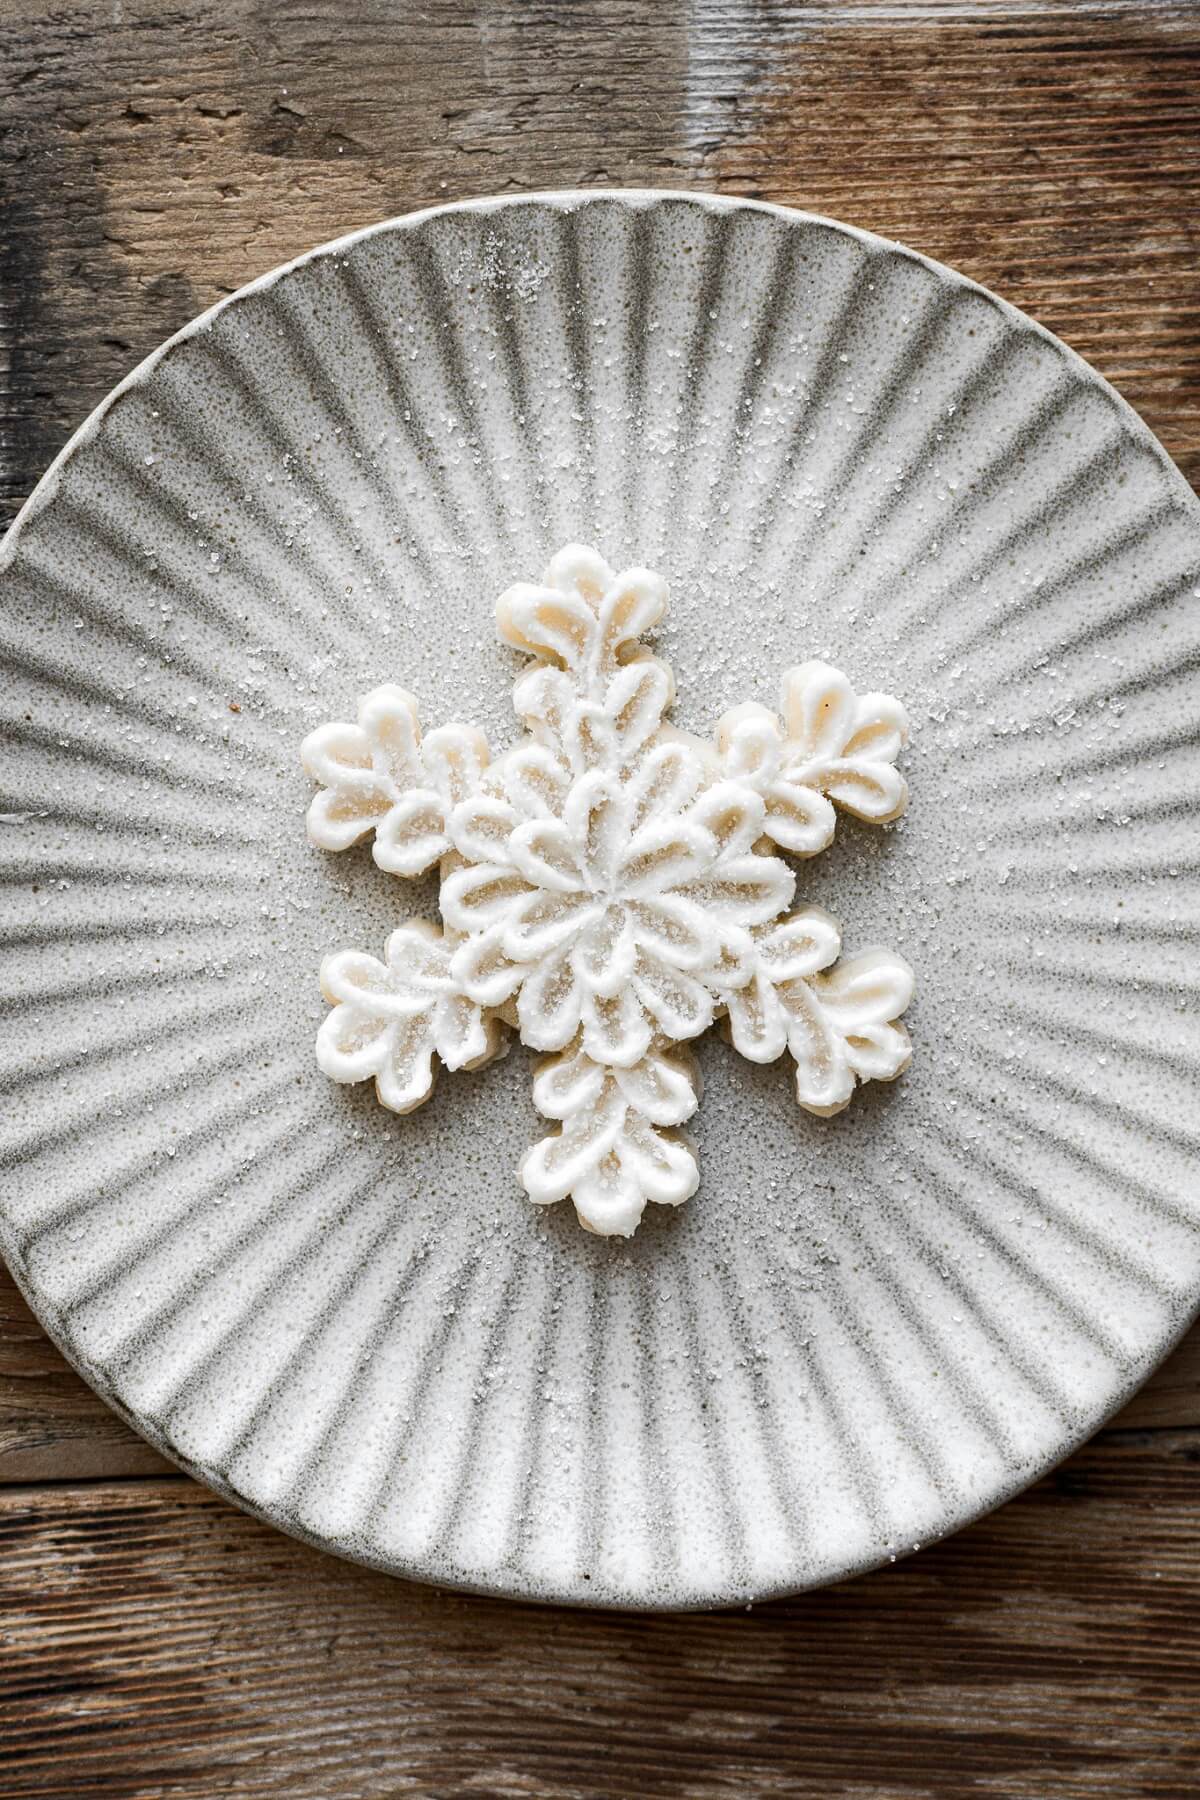
- This style is a little more time consuming, but it looks harder to create than it actually is. It ended up being my favorite, though, because the end result looks so intricate and beautiful. The shape of the piping ends up looking a little like delicate flower petals on snowflakes.
- Start by using tip #4 to pipe a “teardrop” shape on one of the points. Then use your small tapered palette knife and drag it through the teardrop.
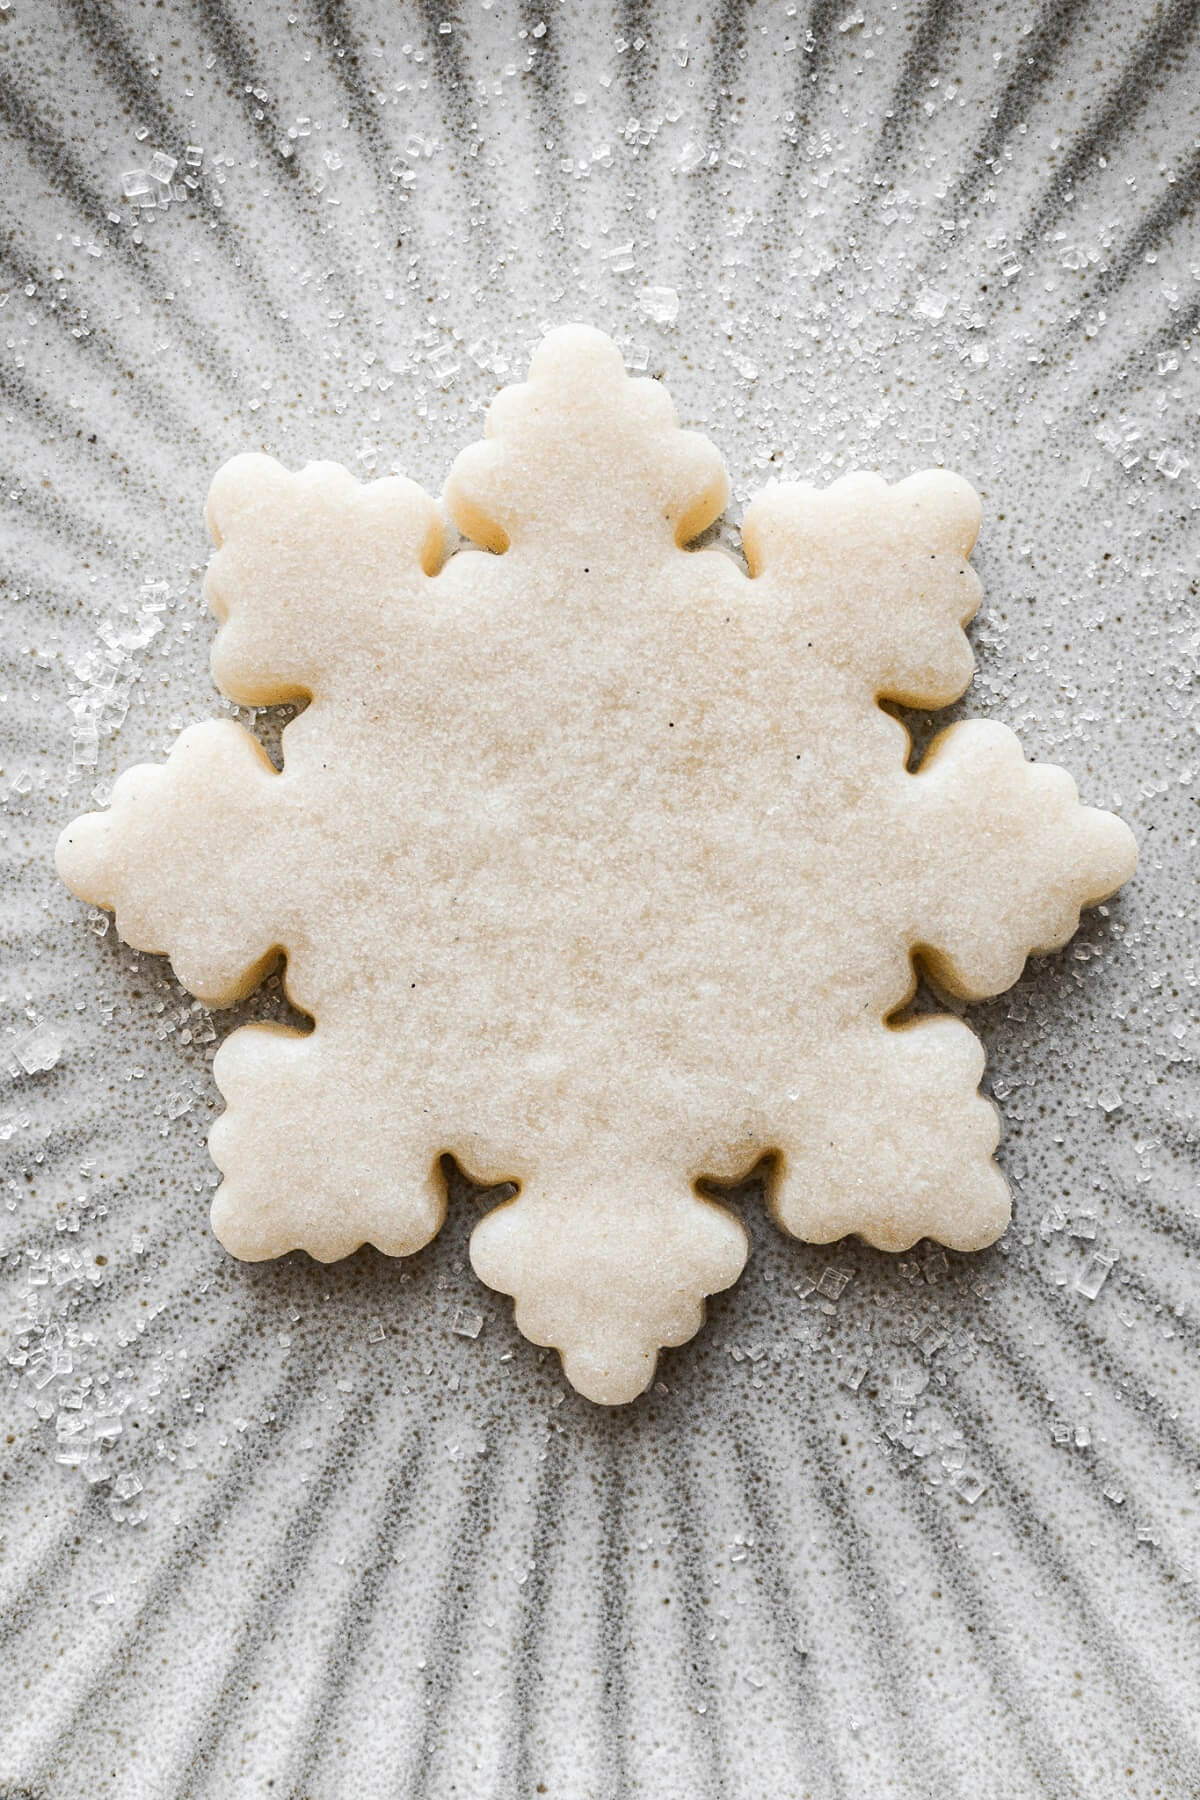
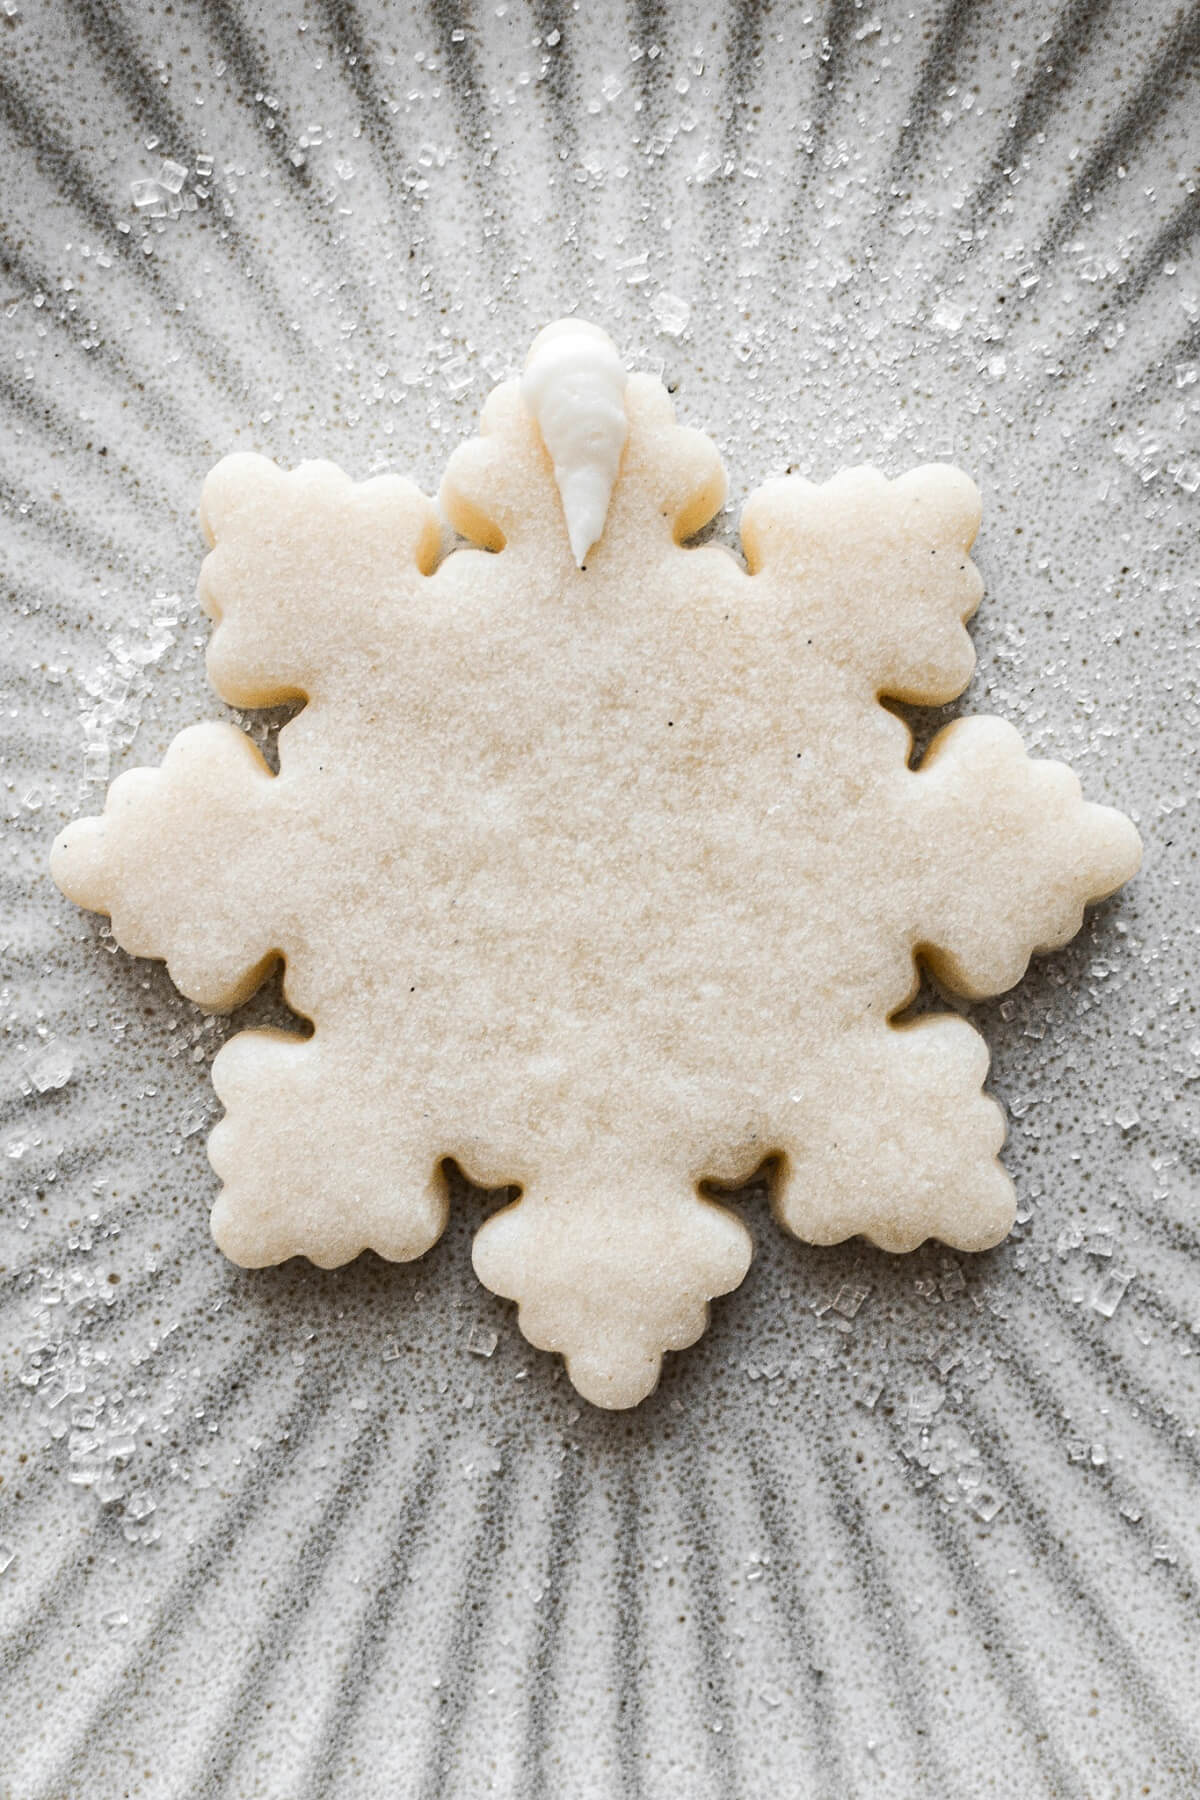
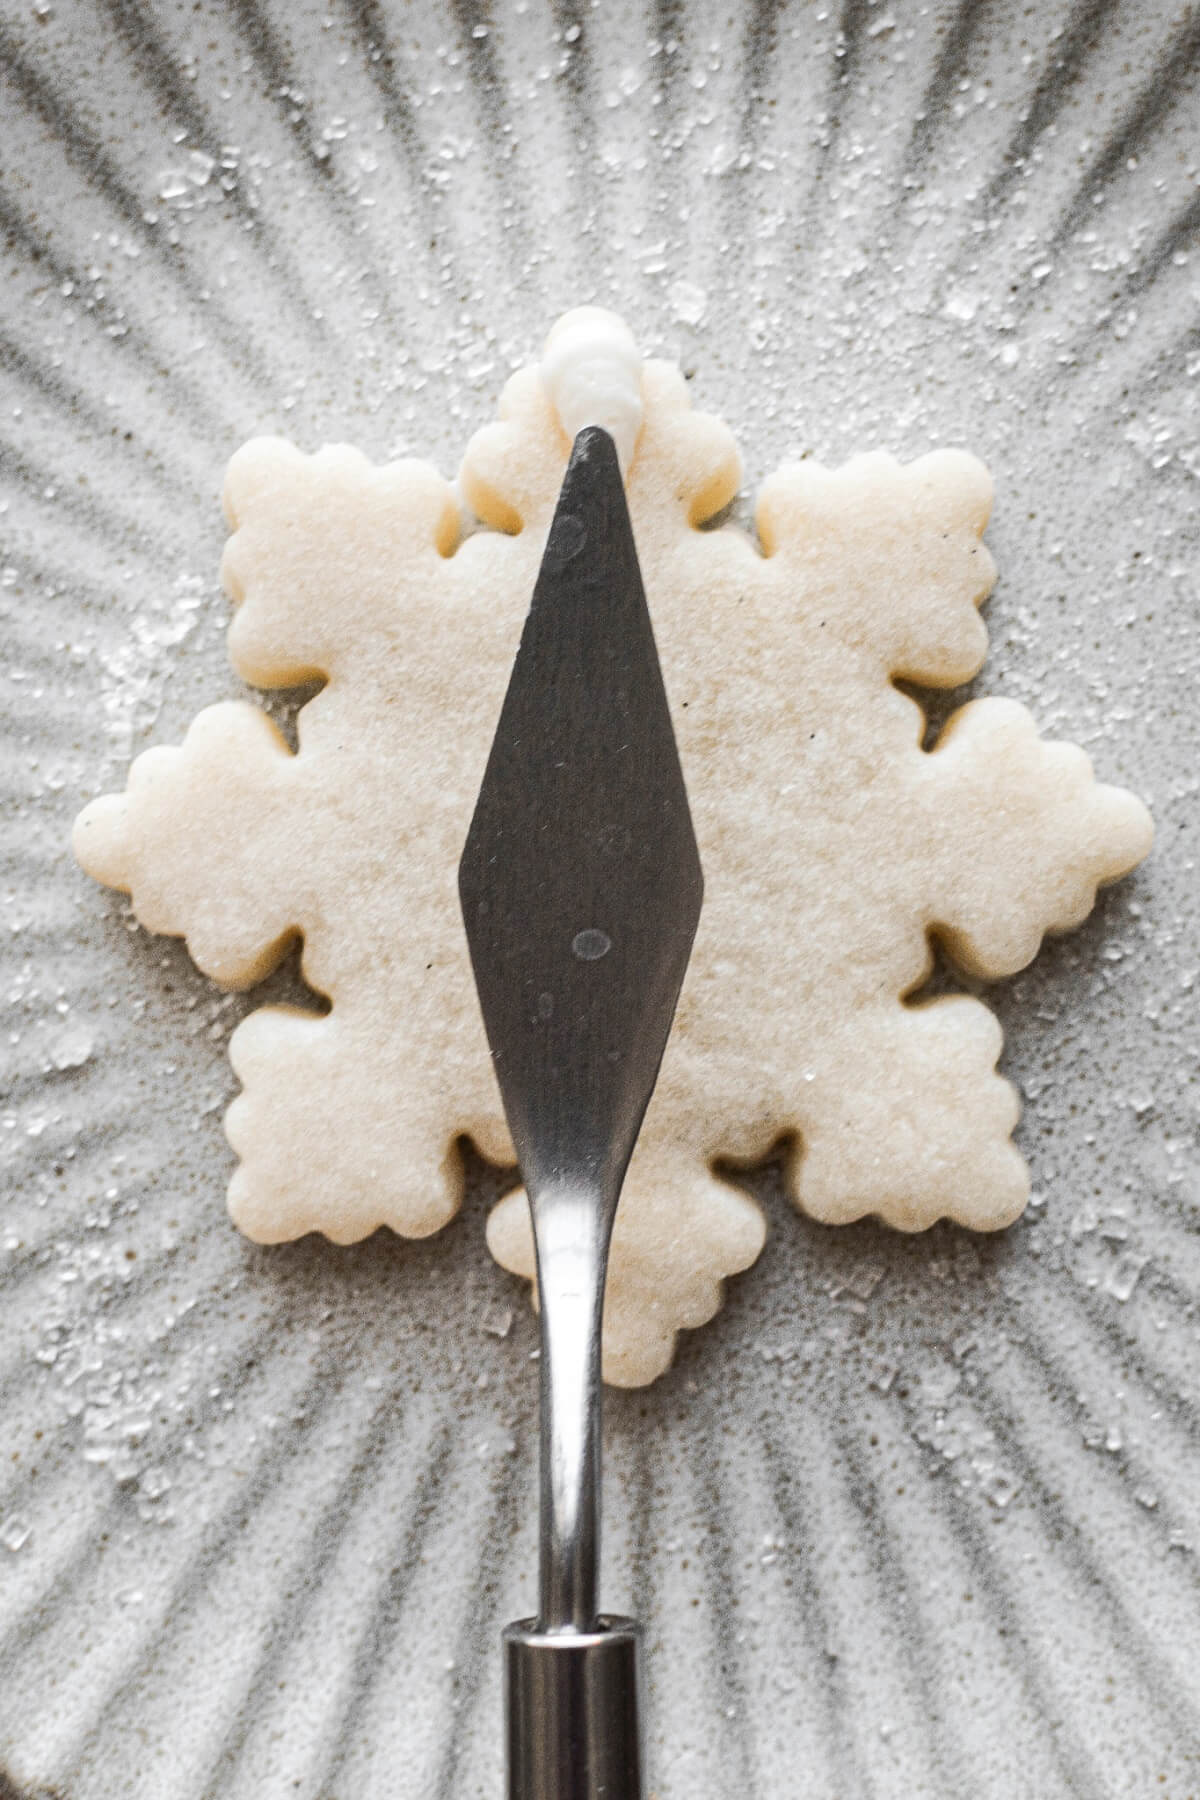
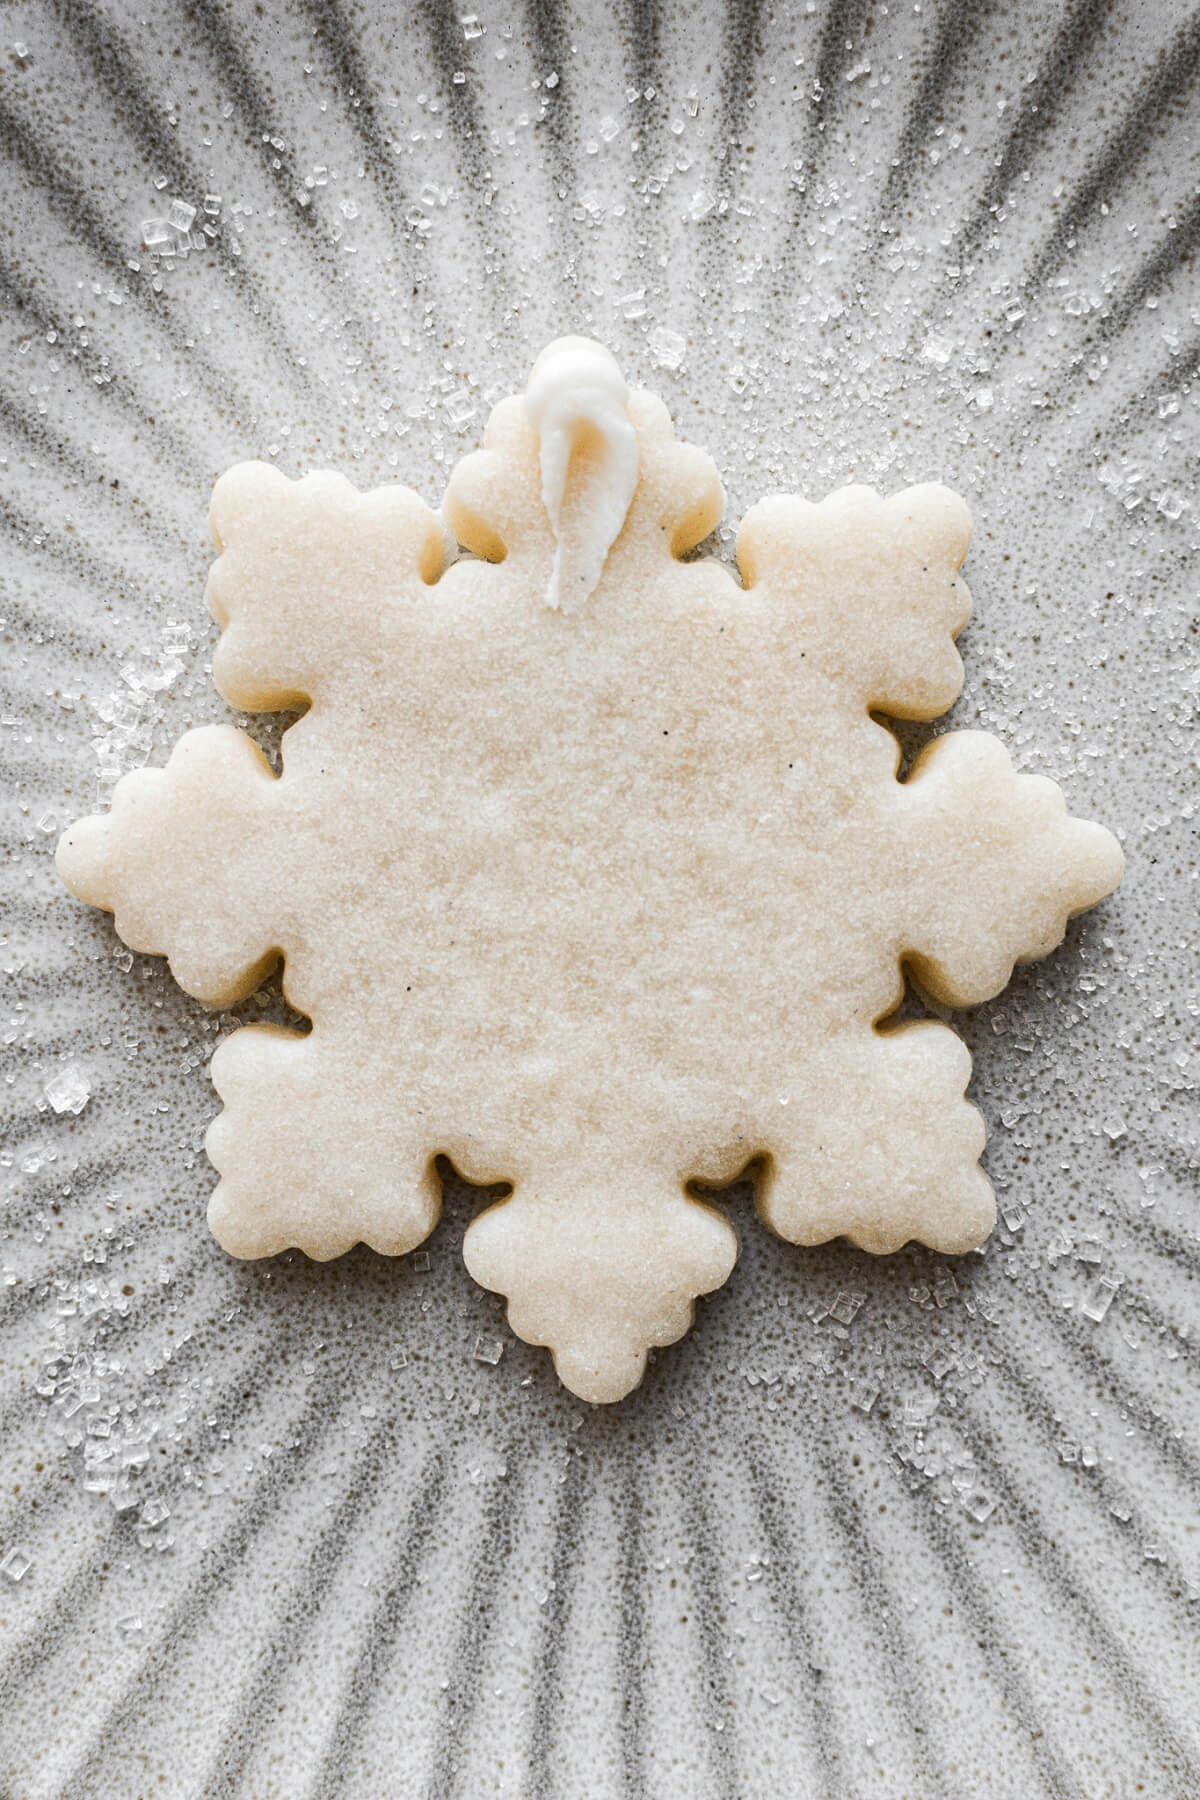
- Continue to pipe teardrops on the points, each time dragging the palette knife through the buttercream.
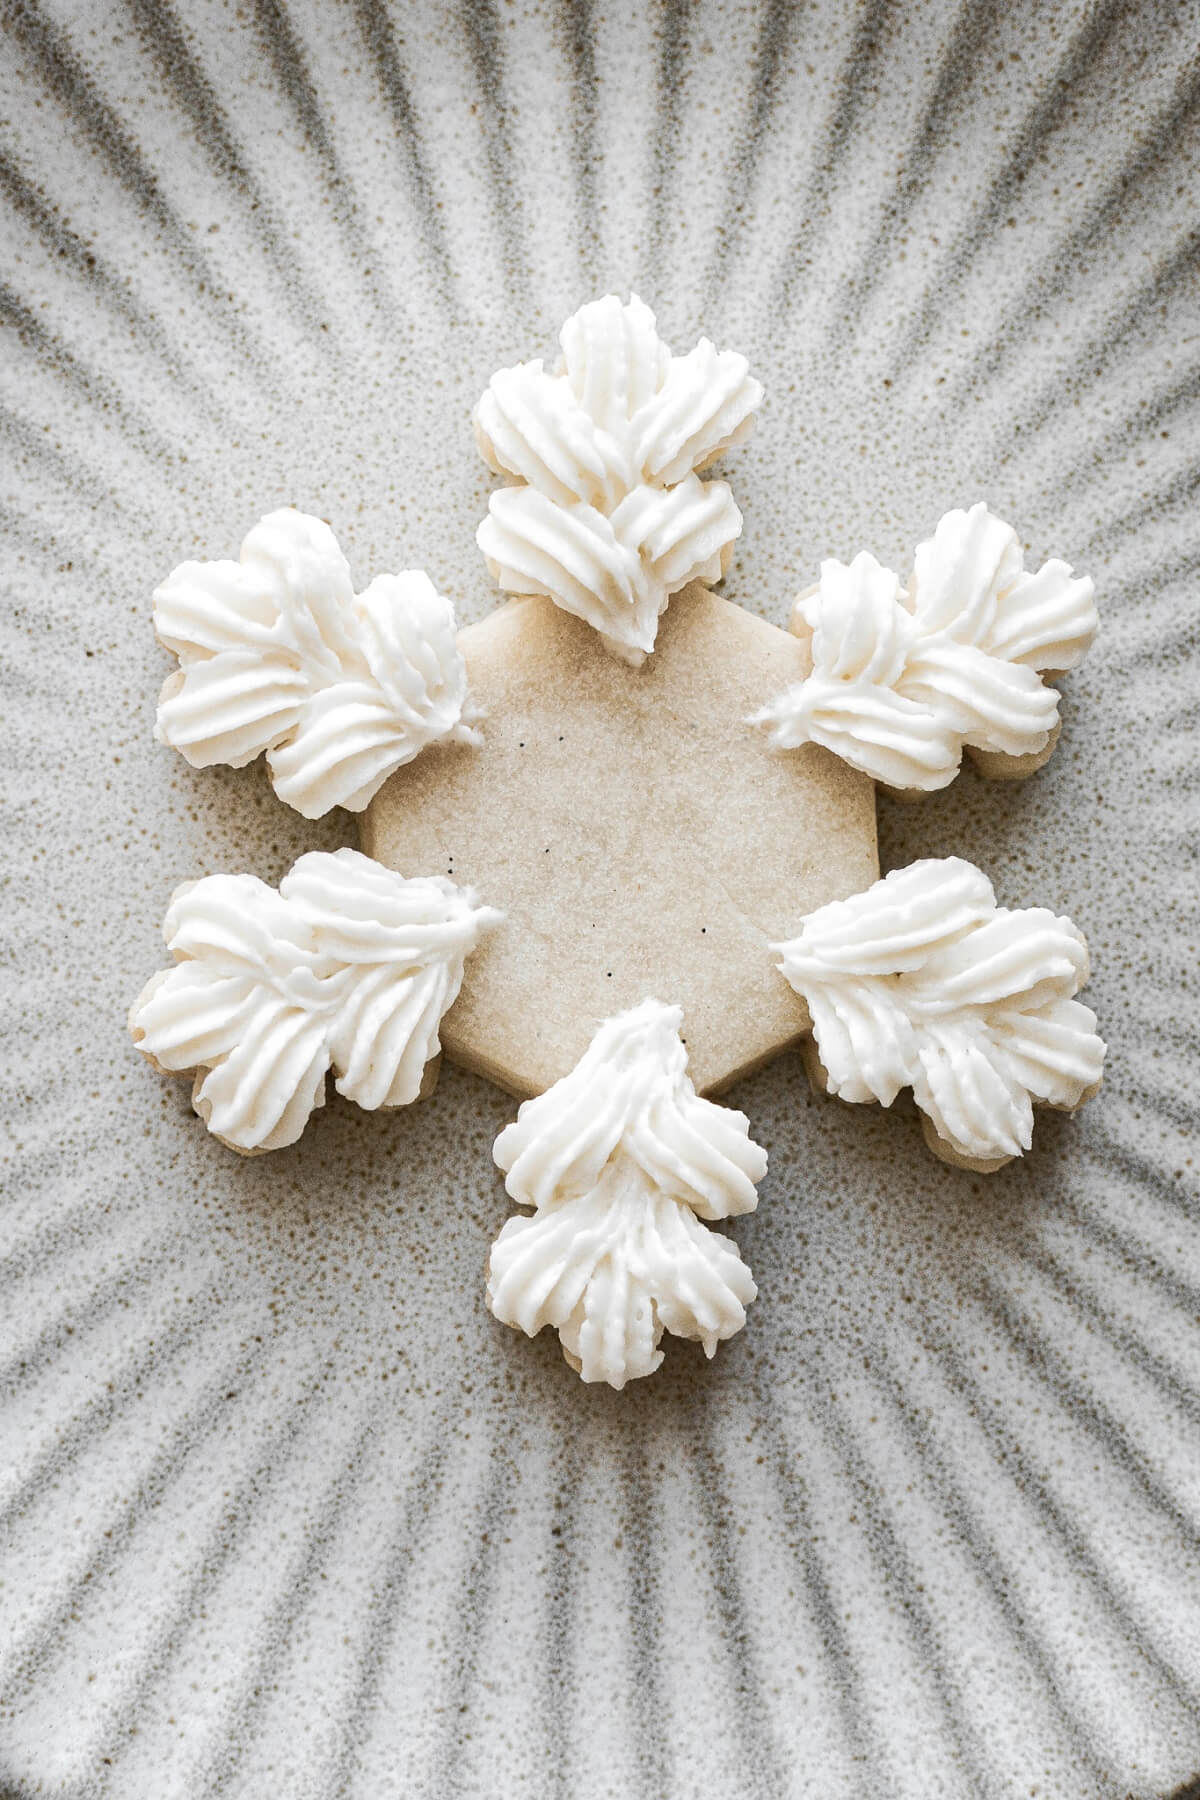
- Repeat on all the snowflake points.
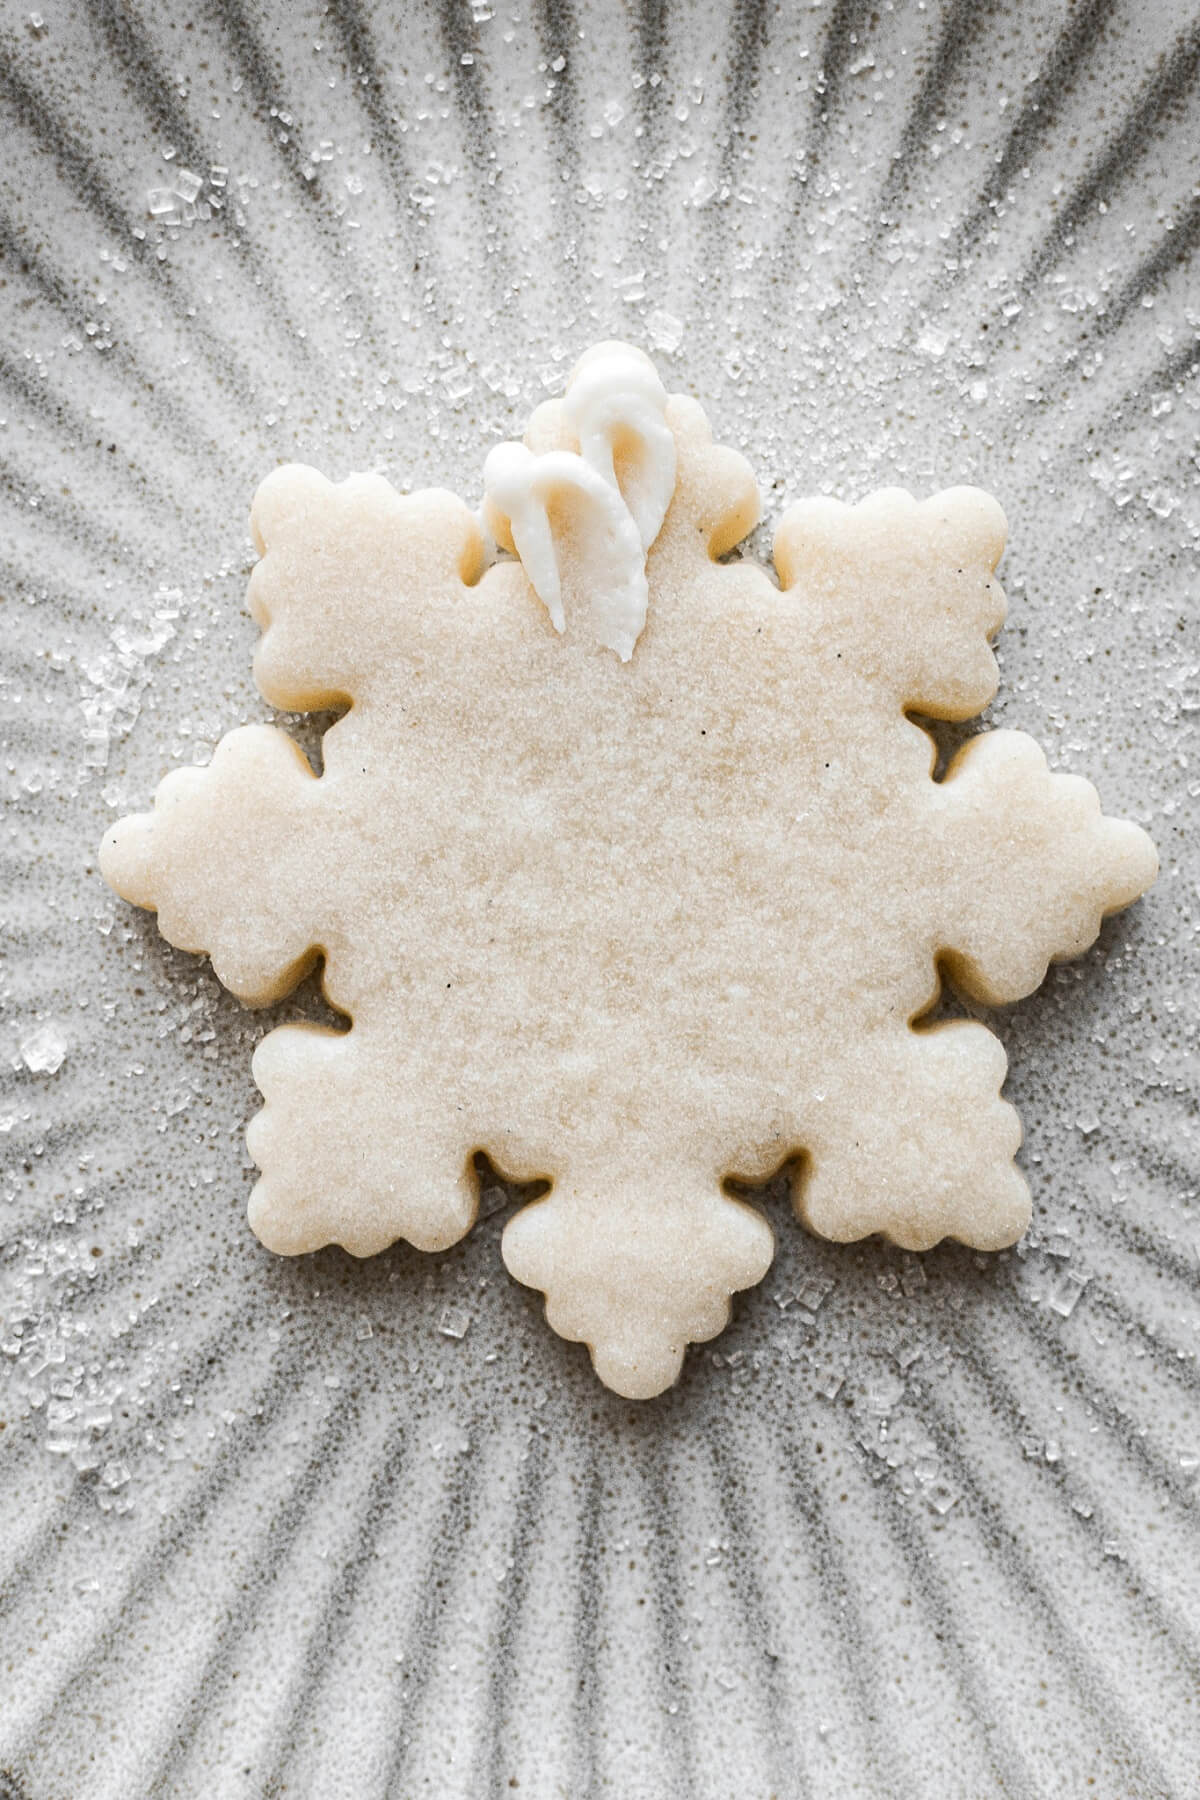
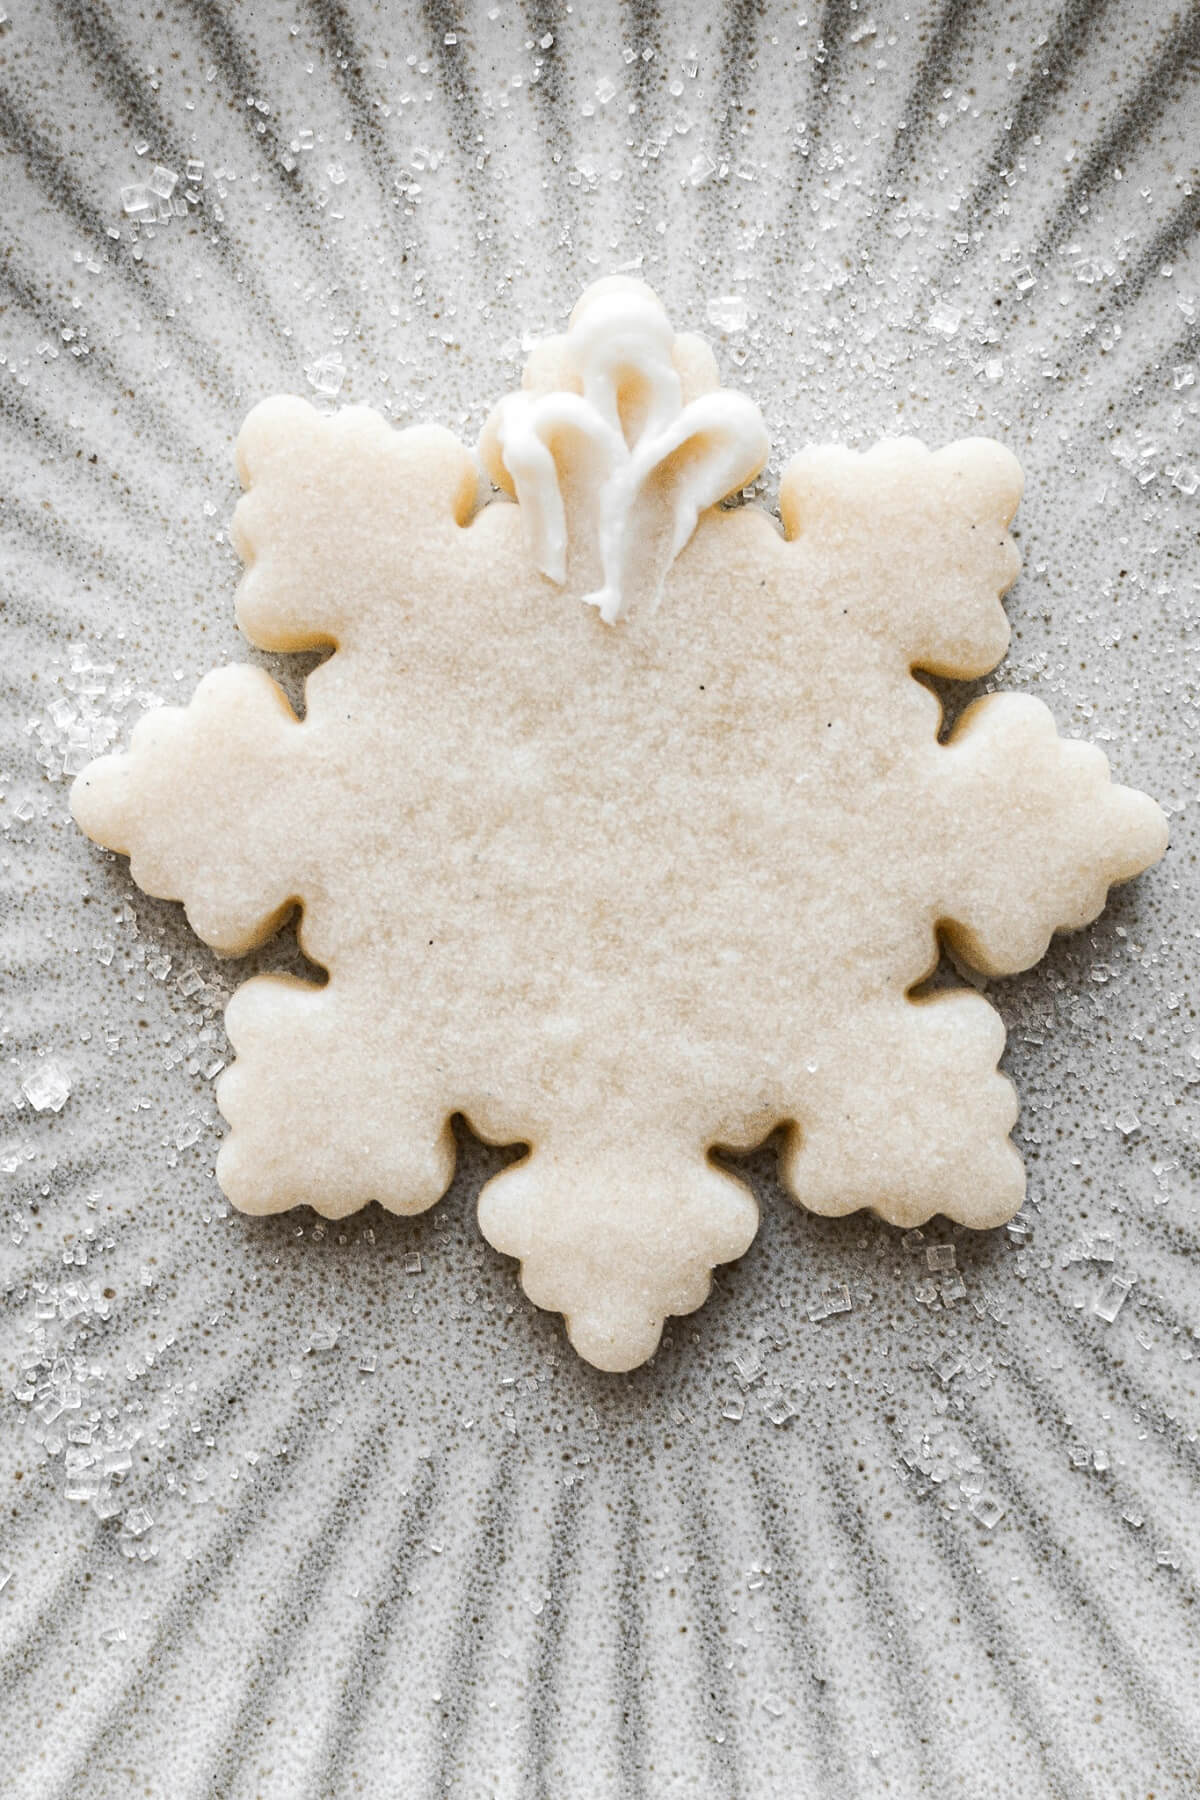
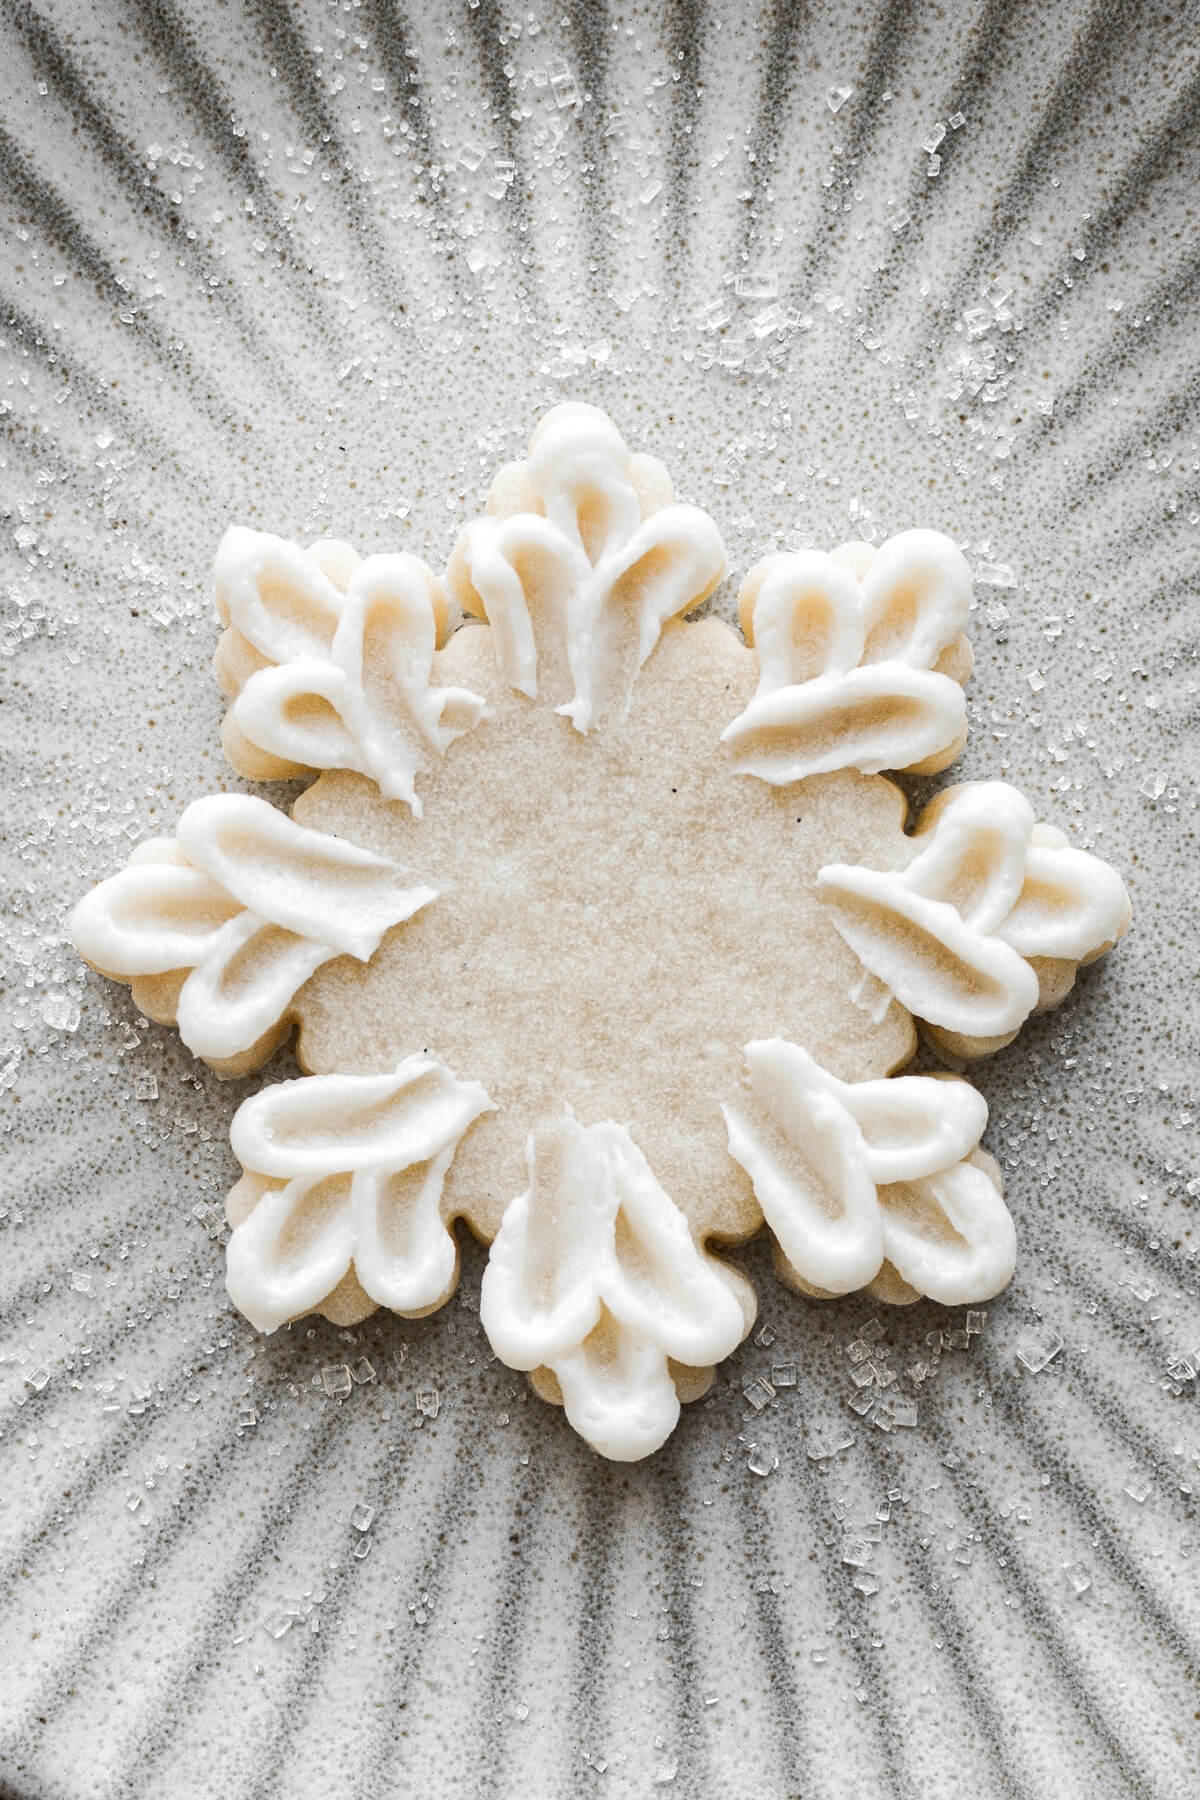
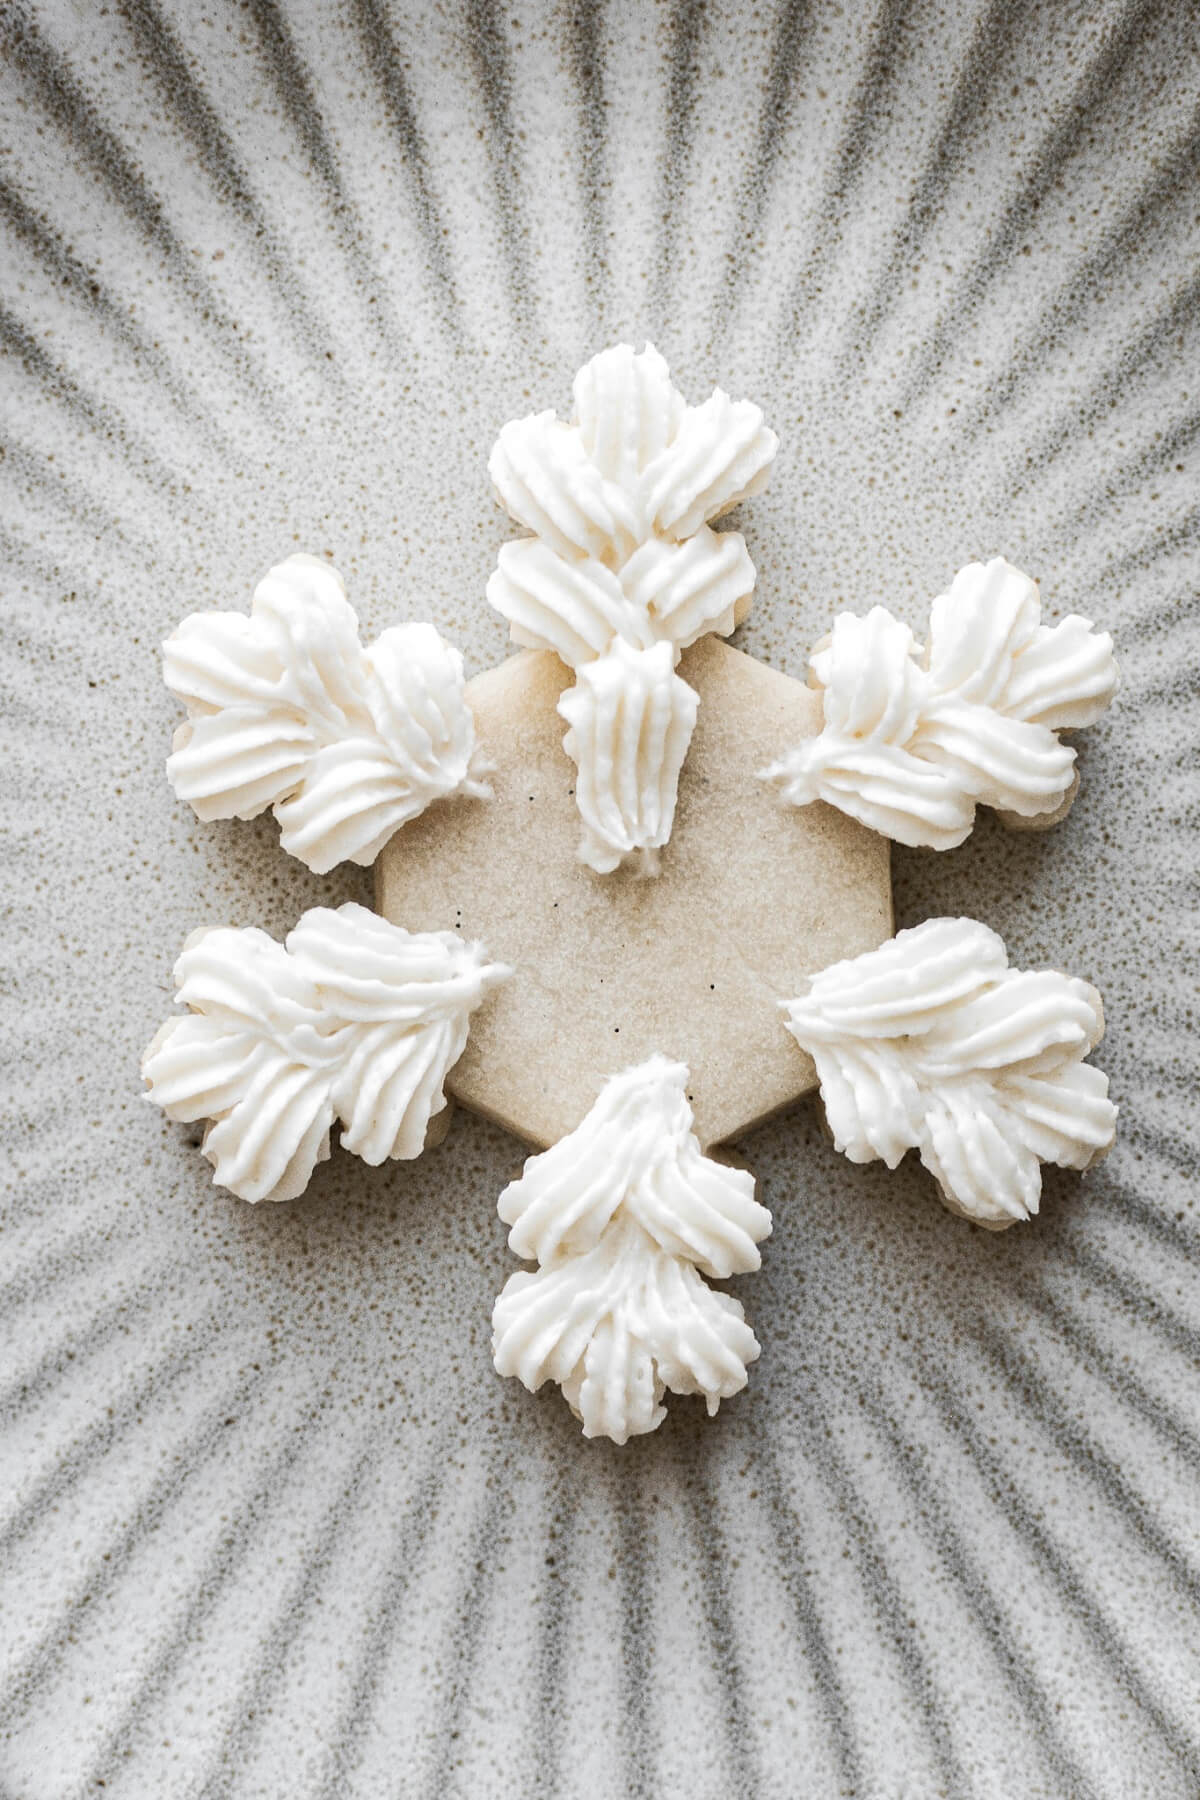
- Continue this process as you work your way towards the center of the cookie, until you’ve reached the center.
- If you like, add a sugar pearl in the center, and finish with a sprinkling of sparkling sugar.
- In the photos below, you can see how this design looks on both an 8-point snowflake and a 6-point snowflake, from the set of cookie cutters I used.
Recipe Variations
Royal Icing. If you want to try your hand at decorating snowflake cookies with royal icing, I have an easy royal icing recipe.
Powdered Sugar. If you want to skip the decorating altogether, a simple dusting of powdered sugar is a pretty finish.
Snowflake Sugar Cookie Tips and Tricks
Keep the dough cool.
After making sugar cookie dough, I usually chill the dough for 30 minutes before rolling and cutting my cookies. With snowflake sugar cookies, though, you want the dough to be just a little bit cooler, which is why I chill it for 1 hour. The cooler dough helps the delicate points of the snowflakes to come out of the cookie cutters more easily than if your dough is too warm and soft.
Roll the cookie dough 1/4 inch thick.
Don’t be tempted to roll the dough thinner than 1/4 inch to get more cookies out of a batch. The dough will be too thin and the cookies will be too delicate if you do this.
Use a variety of cutters.
Make your cookie display interesting and beautiful with a variety of cookie shapes, sizes and decorating styles.
Dip the cookie cutters in flour.
Your cookie cutters need to be well floured for the dough to fall out of the cutter. Sometimes, the first cut cookie will not come out cleanly, simply because flour won’t stick to a dry cutter. This is totally fine. Just gather up those scraps to roll out again. The flour will stick better to the cookie cutter after cutting the first cookie. For the first cut, you can also try rinsing the cookie cutter in water, lightly towel drying the cutter to get most of the water off, and then dipping the cutter in flour. The lingering moisture will help the flour stick better.
Try prepping the cookie cutters with nonstick spray.
I have read that when using cookie cutters with intricate details, you can spray the cookie cutters with nonstick spray, before cutting your dough, to help the dough slip out more easily. I’m curious about this, although I have not tried this yet. My concern is that it might leave a greasy residue around the edges of the cookies and cause too much browning as they bake. If I do try it, I’ll update this post with the results.
Beware of “too intricate” snowflake cookie cutters.
A couple years ago, I bought these snowflake cutters with interior cutouts. I thought they would make the most beautiful snowflake sugar cookies ever. But the problem is that it’s almost impossible to get the dough out of these types of cookie cutters, and the openings are too small to push the dough out from the top. In the end, I managed to get a few out intact, but the cookies were a bit mangled, and honestly, I wanted to bang my head against the wall trying. And the metal rusted the first time I washed them. I do wonder now, though, if the nonstick spray method would have made these cutters more manageable.
Gently push the dough out of the cutters.
I’m so much happier with my new set of snowflake cutters I used for today’s post. Now, I will say that you may still have to help wiggle the dough out a little, even if you floured the cutter. To get the cookies out, first try shaking the cutter and see if the dough will just fall out. With any luck, it will. If it sticks a little in the snowflake points, use your finger, or the end of a small craft brush to help gently push the dough out from the top of the cutter. You may end up with a few dents in the dough, but this is fine, since it will be covered up with frosting after decorating your cookies.
Handle snowflake sugar cookies gently.
I can’t stress this one enough. Due to their shape, snowflake cookies are very fragile, and it’s easy to break off the points when you pick them up. I recommend avoiding picking them up by the points at all, and sliding a small spatula underneath the cookies to move them.
Practice decorating first.
It’s a great idea to practice your piping first, before you start piping buttercream onto cookies. An easy way to do this is to trace the outline of your cookie cutters onto wax paper. Then flip the paper over (so the ink is underneath and not touching the frosting) and practice piping your designs on the paper, to figure out what works. Then you can scrape the frosting back into the bowl to use it again. I wish I’d taken my own advice and done this first. I’m pretty happy with my cookies, but they’re not perfect, and there are a few details I’d go back and change if I could. If only I had practiced first!
Frequently Asked Questions
How many cookies will this recipe make?
That really depends on the size of your cutters. I cut about 17-18 large snowflakes (3 inch) and then a bunch of mini ones. If you’re only cutting 3-inch cookies, you’ll probably be able to cut close to 2 dozen cookies.
Can I freeze the cookie dough?
Yes, after making the cookie dough, you can wrap it in plastic wrap and freeze it for up to 3-6 months. Let thaw in the refrigerator overnight, then warm up at room temperature until it’s still cool, but pliable enough to roll out without difficulty.
Can I freeze the baked cookies?
You can freeze baked sugar cookies in an airtight container for up to 3-6 months, until you’re ready to decorate them.
How should I store the decorated cookies?
Once you’ve decorated your cookies with buttercream, store them in an airtight container at room temperature for up to 5 days, or in the refrigerator for up to 2 weeks. You can freeze them, as well, for up to 3-4 weeks. Note that the decorated cookies need to be stored in a single layer. Stacking them will ruin the buttercream, even after it’s been frozen.
You Might Also Like

Please check out my Amazon Shop for a curated collection of some of my favorite cake pans from trusted brands, baking tools, ingredients, pretty things and fashion finds. I recommend products that I buy and use every day!
Did you love today’s recipe? Please rate the recipe and let me know in the comments what you thought! Also, be sure to follow Curly Girl Kitchen on Instagram, and tag me when you try one of my recipes so I can see all your delicious creations!
Decorated Snowflake Sugar Cookies with Buttercream
All recipes on Curly Girl Kitchen are developed for high altitude at 5,280 feet. See FAQs for adjusting to higher or lower elevations.
Equipment
- Disposable Piping Bag
- Piping Tip #18 (small star tip)
- Piping Tip #4 (small round tip)
- Small Tapered Palette Knife
- Food Processor (for making the cookie dough)
- Stand Mixer with Paddle Attachment (for making the buttercream)
- Snowflake Cookie Cutters (3-inch)
Ingredients
- ½ recipe No Spread Vanilla Sugar Cookie Dough
- 2x recipe Perfect Vanilla American Buttercream
- White Sugar Pearls
- White and Silver Sparkling Sugar
Instructions
Cookies
- Prepare 1/2 recipe of No Spread Vanilla Sugar Cookie Dough. Wrap the dough in plastic wrap and refrigerate for 1 hour.Note: I also added 1/2 teaspoon almond extract to the dough, which gives these cookies the most wonderful holiday flavor.
- On a lightly floured surface, roll the dough out to 1/4 inch thick. Dip your snowflake cutters in flour and cut as many cookies as you can, dipping the cutters in flour between each cookie.Gather up the dough scraps, roll them out again, and continue cutting cookies until you've used up all the dough. If you're using a 3-inch cookie cutter, you should be able to cut about 18-24 snowflakes.
- Line a baking sheet with parchment paper and place the cut cookies 1-2 inches apart on the baking sheet. Refrigerate for 30 minutes.
- Preheat the oven to 350 F, and position a rack in the center of the oven. Bake the chilled cookies for about 8-10 minutes. They should still be very pale, but with no appearance of raw or wet dough. If you very carefully turn one over, it should be a pale golden brown on the bottom.Cool the cookies on the baking sheet for 5 minutes, then very gently transfer them to a cooling rack to cool completely.Note: Snowflake cookies are extremely fragile, especially when warm, and need to be handled gently so as not to break the points. I avoid picking them up by the points, and always slide a small spatula underneath them to move them.
- Once cooled, store the cookies in an airtight container. You can freeze the baked cookies for up to 3-6 months, before you're ready to decorate them.
Buttercream
- Prepare 2x my recipe for Perfect American Buttercream as instructed. Note: I recommend making the buttercream with half butter and half vegetable shortening, for a whiter color. I flavored mine with 1 teaspoon vanilla extract and 1/4 teaspoon almond extract to complement the almond flavored cookies.
- If you won't be using the buttercream right away, you can make it in advance and store it in a freezer bag or airtight container. Refrigerate the buttercream for up to 1 week, or freeze it for up to 3-6 months. Let it come to room temperature before using.
Decorating
- Fit a piping bag with a coupler so you can easily switch between tips 4 and 18.
- Decorate your snowflake cookies by piping the buttercream onto the cooled cookies. Add sugar pearls and sparkling sugar before the buttercream crusts over.
- Snowflake sugar cookies decorated with buttercream will need to be stored in a single layer in an airtight container.

I bought the difficult interior snowflake cutters and as you said they are tricky. I finally found a way that was 90% successful. I flured the cutter, removed the dough left around the edge, picked the cutter up with the dough inside and pressed the edges on the back. Then I put the cutter/dough on waxed paper and took a Q-tip and went around the cutter gently poking the tips and center until the dough all came out on the waxed paper. I froze the shaped dough and I will bake them this week. Will try royal icing or just dust with XXX sugar.
Thanks for all your great recipes and love your Christas boxes.
From Atlanta, GA (sort of high altitude)
That’s smart to use a Q-tip! So glad you love the recipe.
Your cookies are lovely and would be a beautiful entry for my office cookie bakeoff this week. Do I need to make any adjustments for baking in a non-high altitude location?
No, this recipe won’t need any adjustments for lower altitudes.