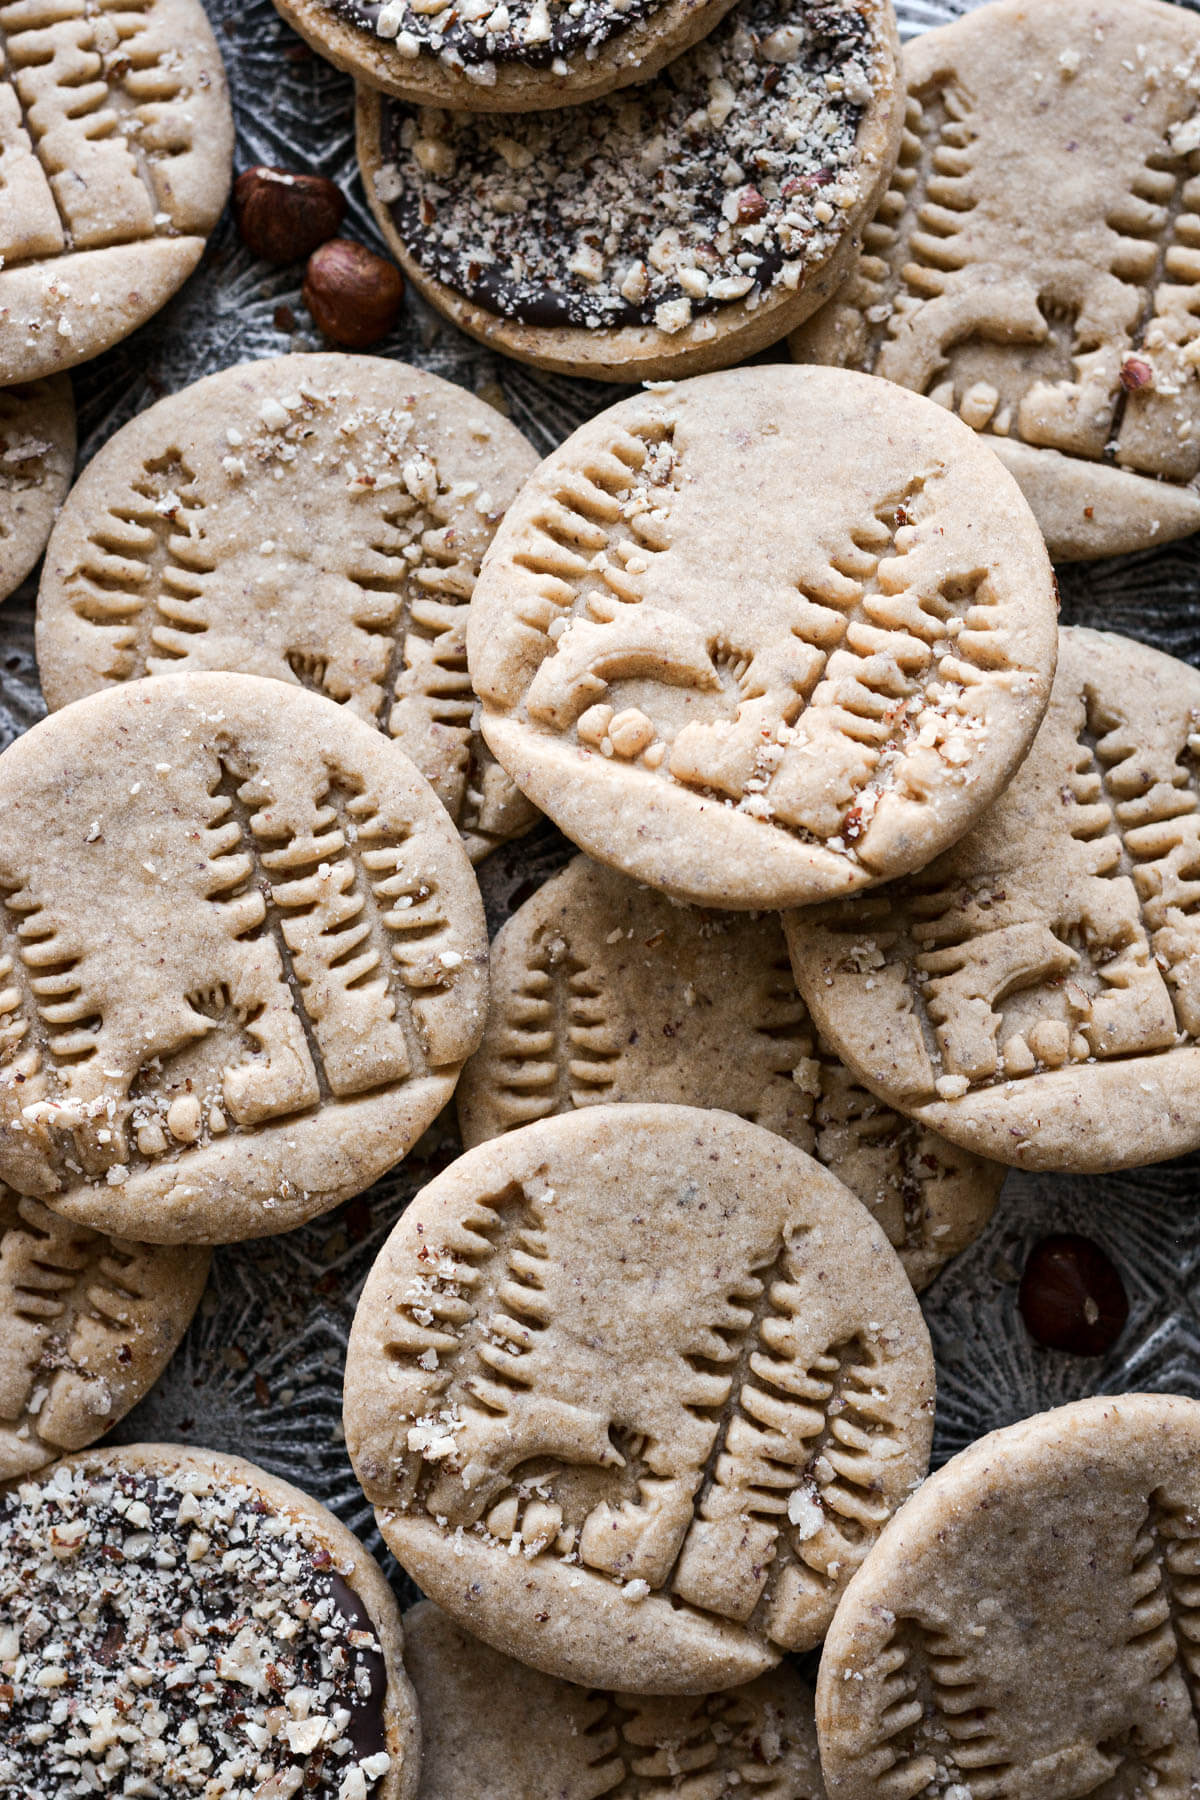
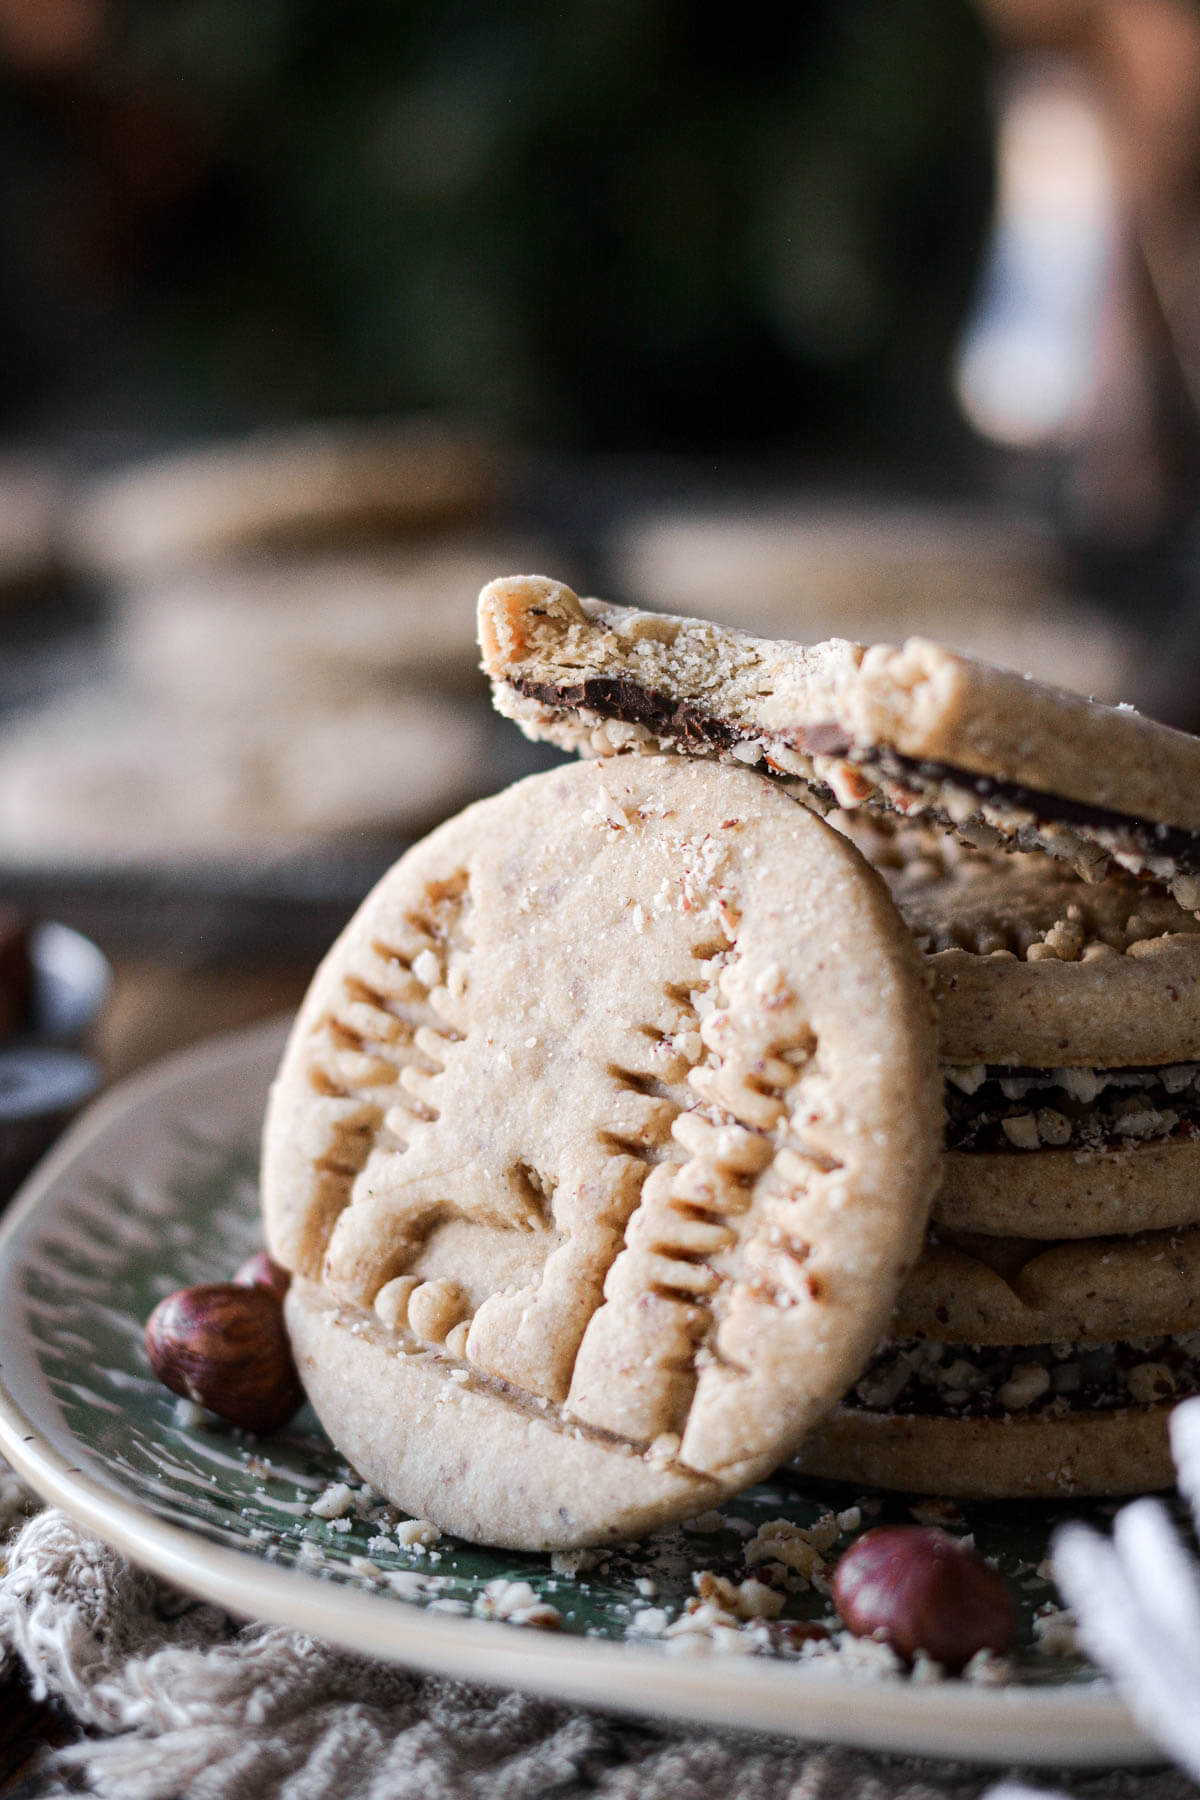
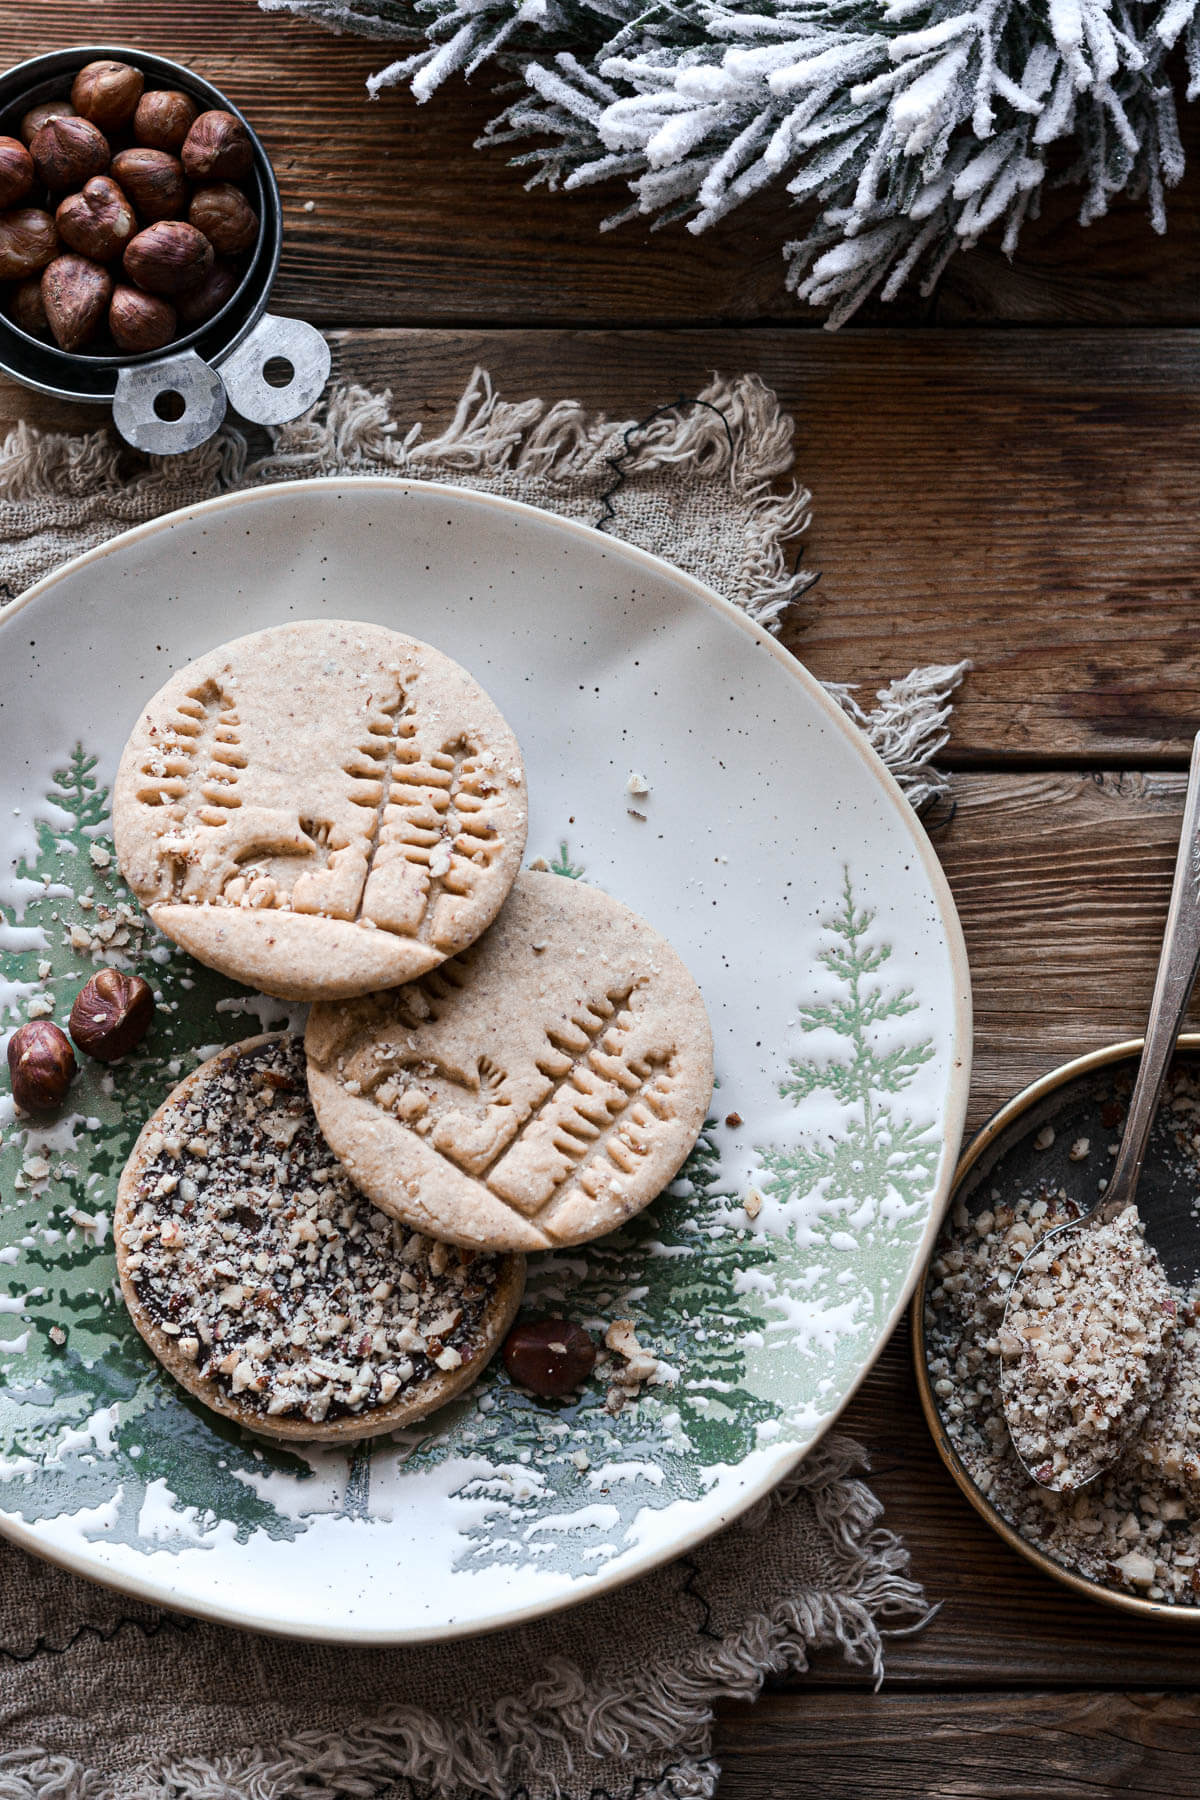
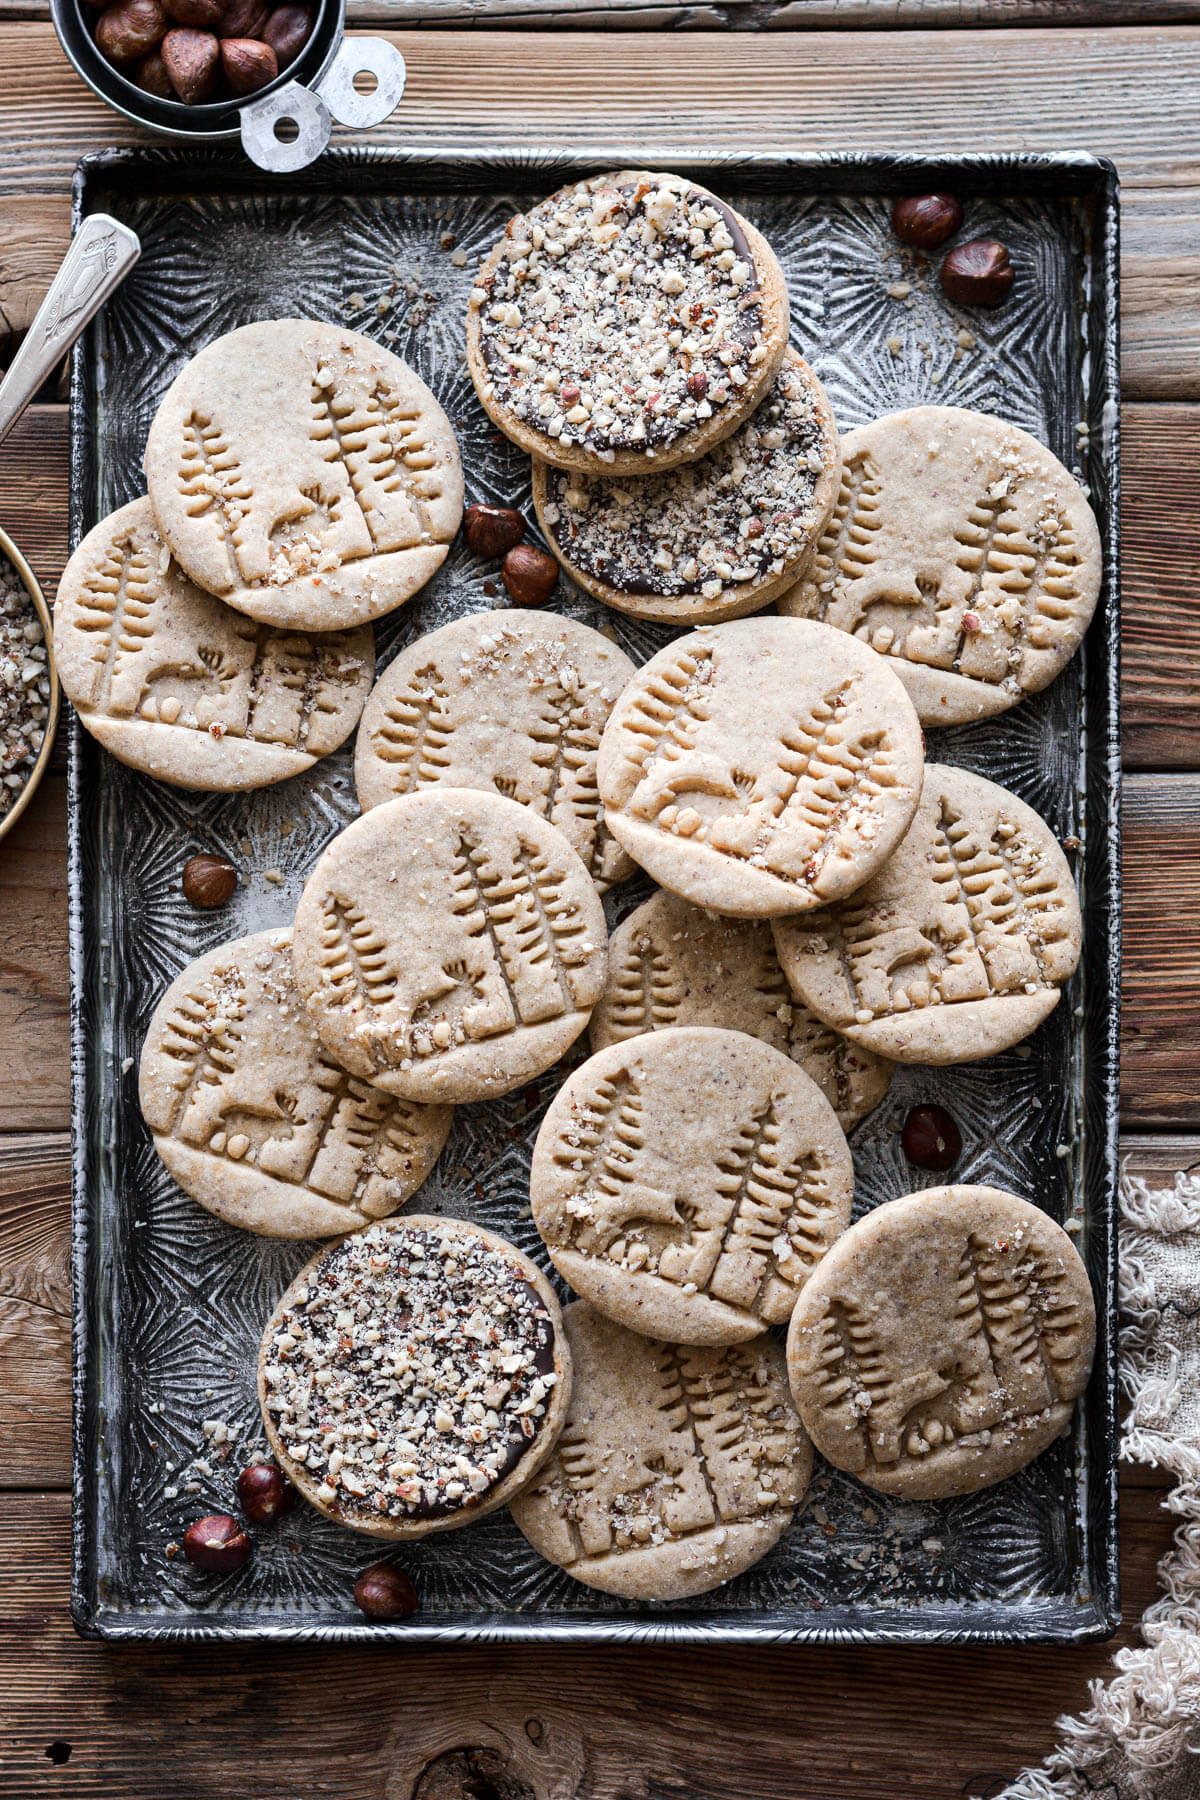
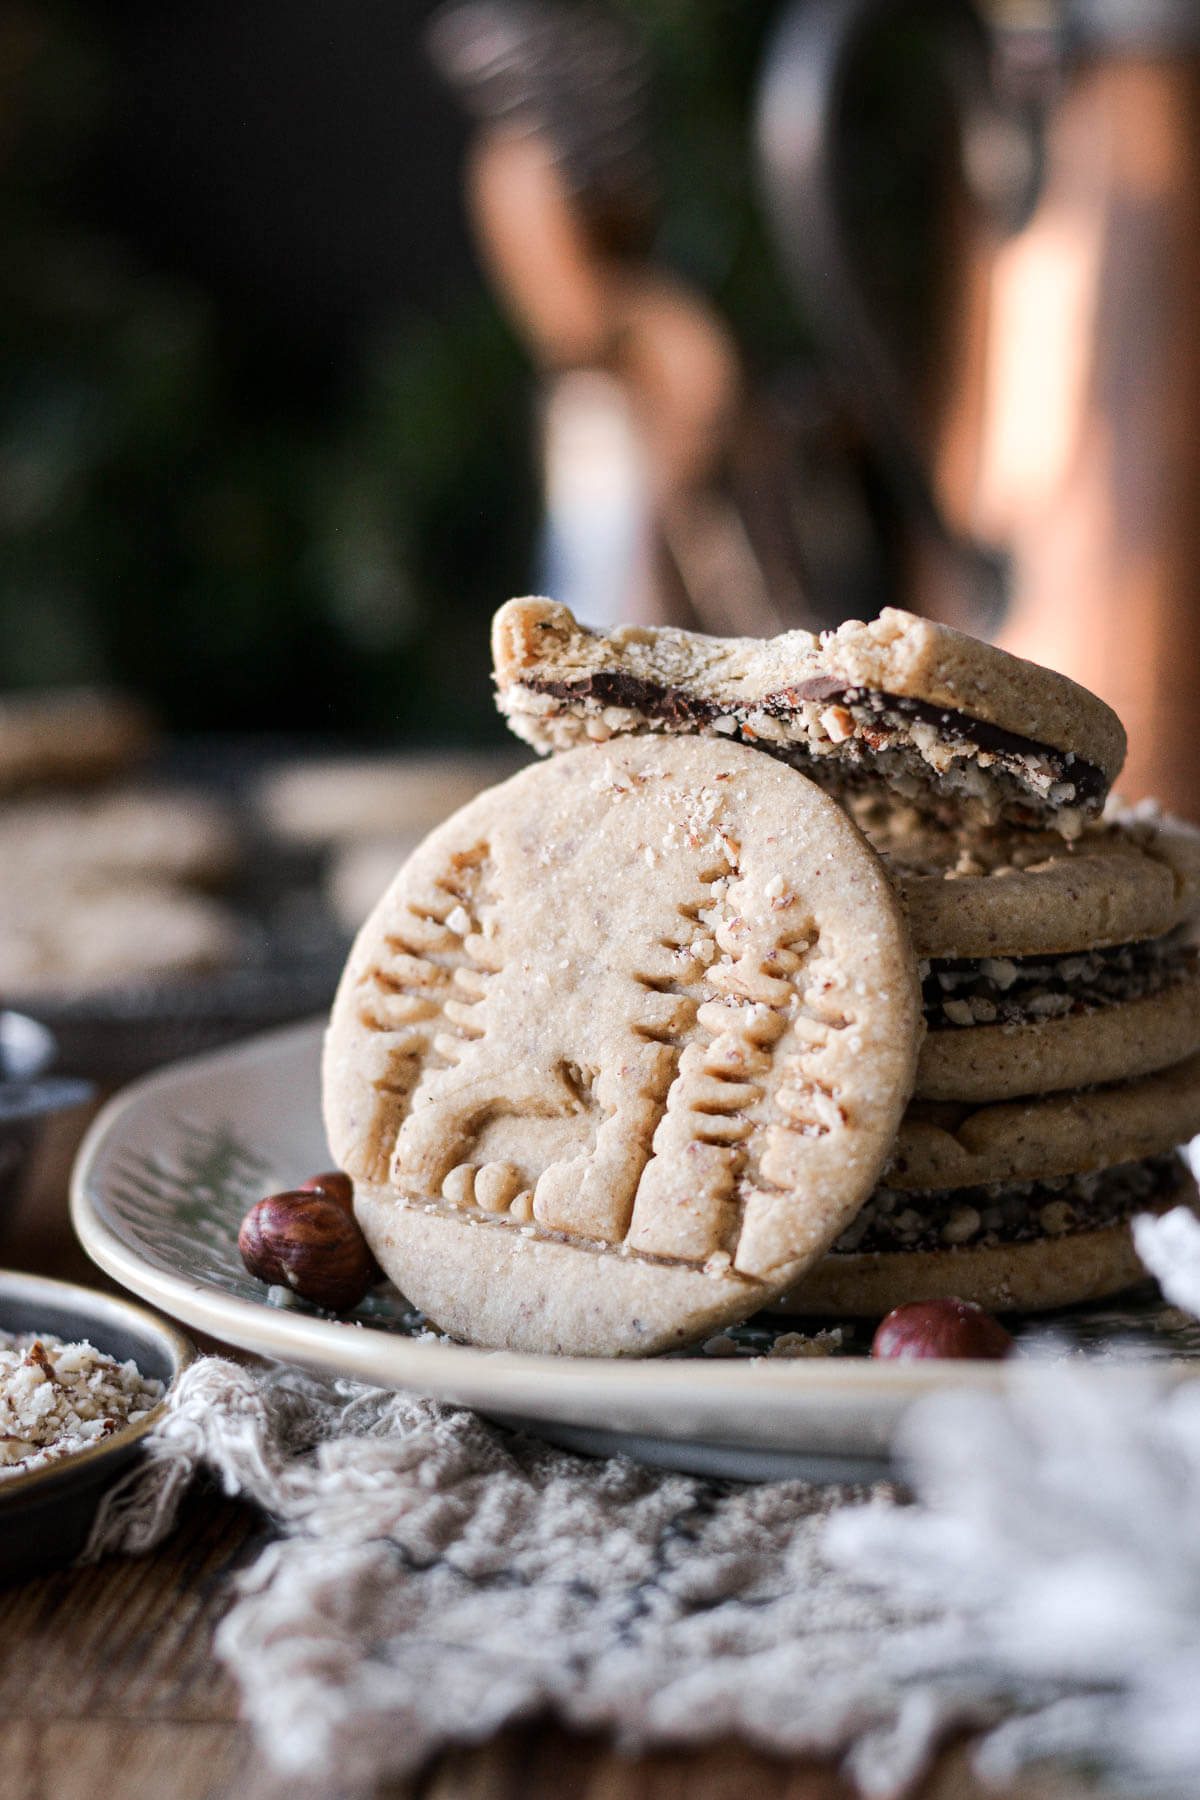
Buttery toasted hazelnut Christmas cookies with a shortbread like texture, finished with melted dark chocolate and crunchy toasted hazelnuts. These beautiful cookies make a delicious addition to a Christmas cookie box!
You might also love these high altitude tested recipes for chocolate hazelnut cupcakes, toasted hazelnut coffee cake, and no churn chocolate hazelnut ice cream.
This site contains affiliate links. As an Amazon associate, I earn from qualifying purchases. This means that I may make a small commission if you purchase a product using those links. This in no way affects my opinion of those products and services. All opinions expressed on this site are my own.
Why You’ll Love This Recipe
Bake in Advance, Freeze for Later. If you want to make the cookies in advance, they freeze beautifully until you’re ready to put together your Christmas cookie boxes.
Easy to Make. The hazelnut cookie dough comes together quickly in a food processor, and you don’t even have to remember to soften your butter ahead of time, since you’ll use cold butter.
No Spread Recipe. These hazelnut cutout cookies are based on my perfect vanilla sugar cookies, which don’t spread in the oven, so the shape of your cookie cutters and the beautifully stamped design on top is perfectly preserved.
Not Too Sweet. I love cookies that aren’t overwhelmingly sweet, and the flavor of the hazelnuts and the butter is what really comes through in these cookies. If you want to add a bit more sweetness, use milk chocolate instead of dark chocolate, or frost them with a sweet buttercream or royal icing.
High Altitude Tested. I develop all the recipes on my site for Denver’s altitude of 5,280 feet. If you’re at a lower or higher elevation, please see my FAQs for guidance on adjusting recipes for your altitude. These hazelnut Christmas cookies will work at any altitude without adjustments, though.
See the recipe card at the end of the post for the full ingredients list and instructions.
Ingredients
- Hazelnuts. For a deeper, nuttier flavor, toast the hazelnuts first. The nuts will be finely ground in your food processor to incorporate them into the cookie dough, as well as for sprinkling over the chocolate on top of the cookies.
- All-Purpose Flour. Provides structure and strength to the cookies.
- Powdered Sugar. Sweetens the cookies, of course, and the fine texture makes a soft, tender cookie.
- Coarse Kosher Salt. Balances the sweetness and enhances the flavor the hazelnuts.
- Cardamom. This is a really nice complementary spice to the nuts.
- Unsalted Butter. Adds richness, moisture and flakiness.
- Vanilla Extract. Flavor. You could also try adding a little hazelnut extract, to enhance the flavor of the hazelnuts.
- Milk. The milk helps to bind the dough together, without adding something like an egg, which would leaven the cookies and make them puff up and lose their shape.
- Chocolate. For a finishing touch, I melted some chocolate, spread it on the bottom of the cookies (since the tops looked too pretty to cover up), and sprinkled chopped hazelnuts over the chocolate. You can use milk, semi sweet or dark chocolate, whatever you like best.
Instructions
Toast the Hazelnuts
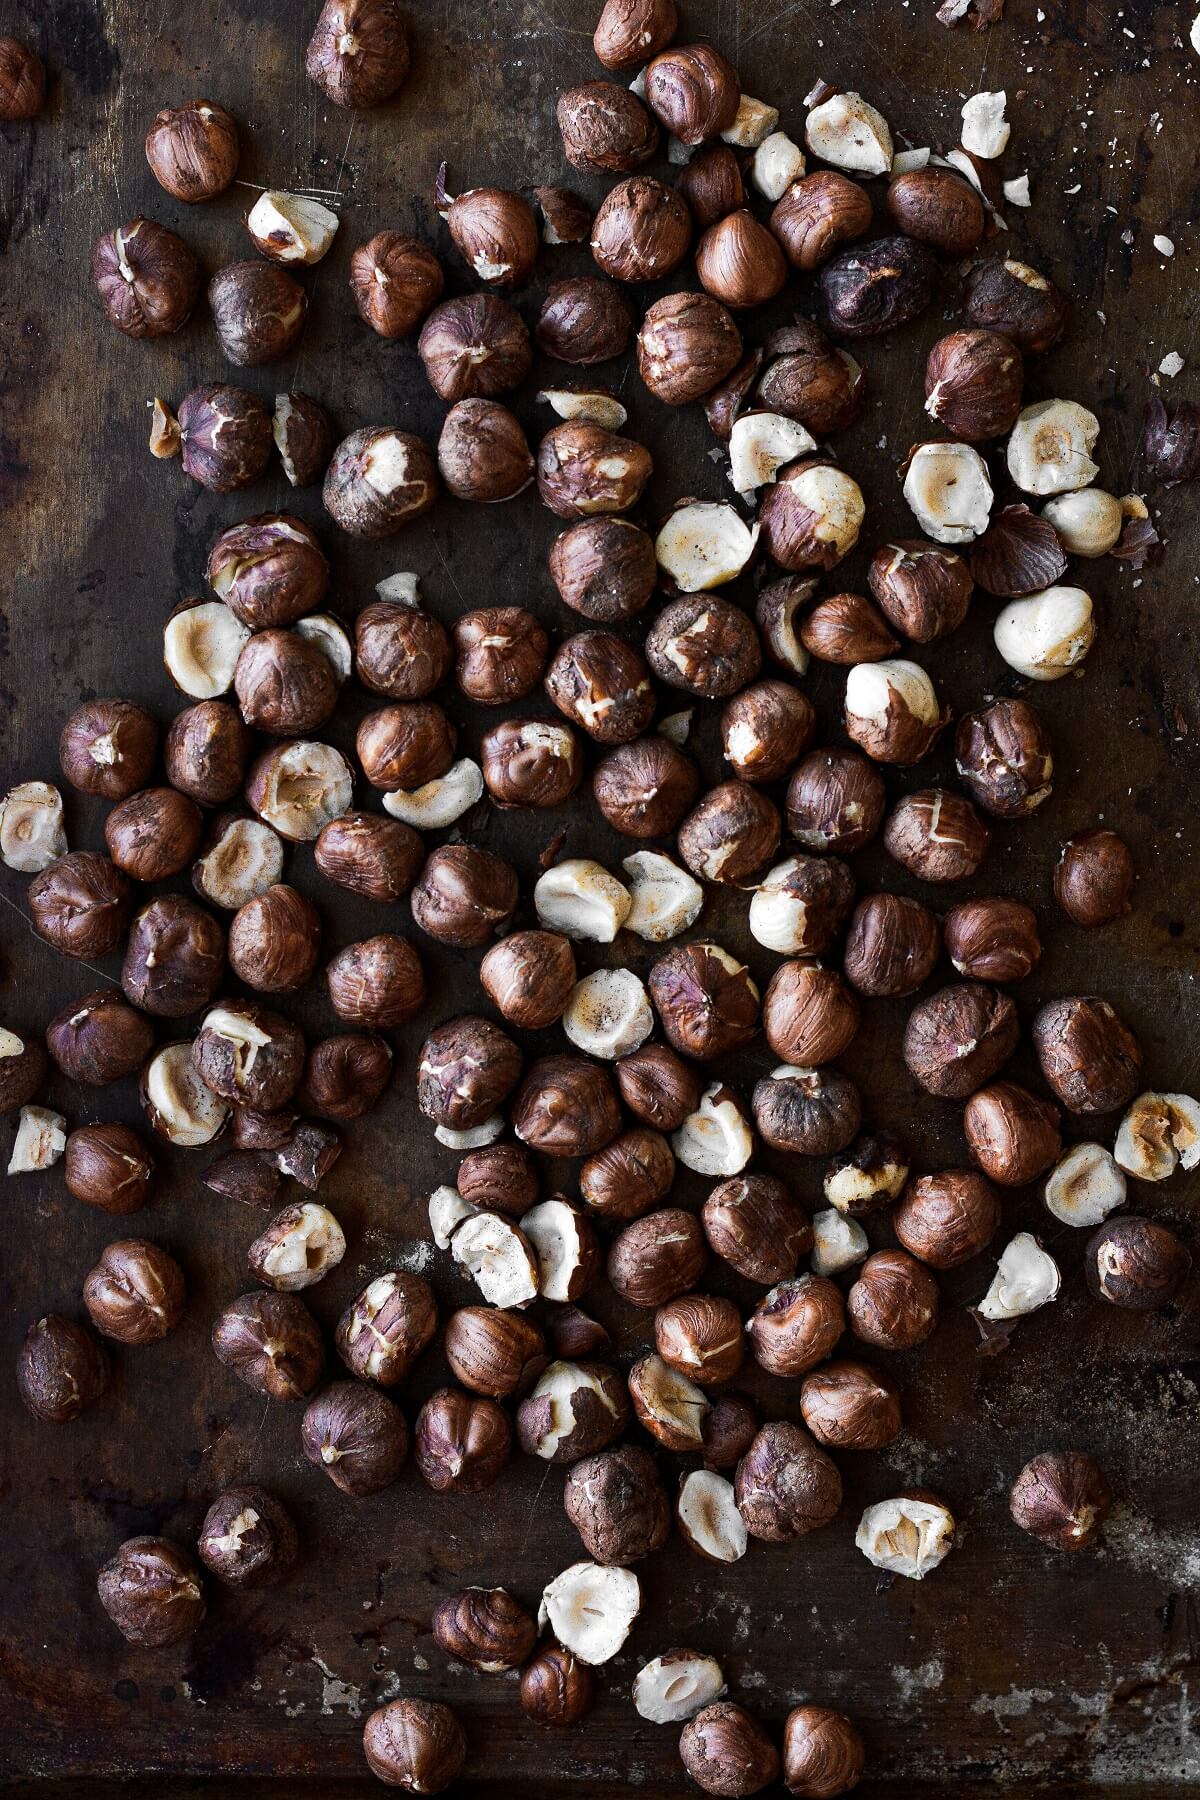
- First, toast the hazelnuts (this step is optional, but adds more depth of flavor). Preheat the oven to 350 F, and place the hazelnuts in a single layer on a baking sheet. Bake for about 5-7 minutes, until fragrant, but don’t let them burn. Let the hazelnuts cool completely before adding them to the dough. You don’t want hot hazelnuts that will melt or soften the butter in the dough.
- If you like, you can remove the skins by rubbing the hazelnuts between two towels. Note that you’ll be using half the hazelnuts in the dough, and half later.
Make the Cookie Dough
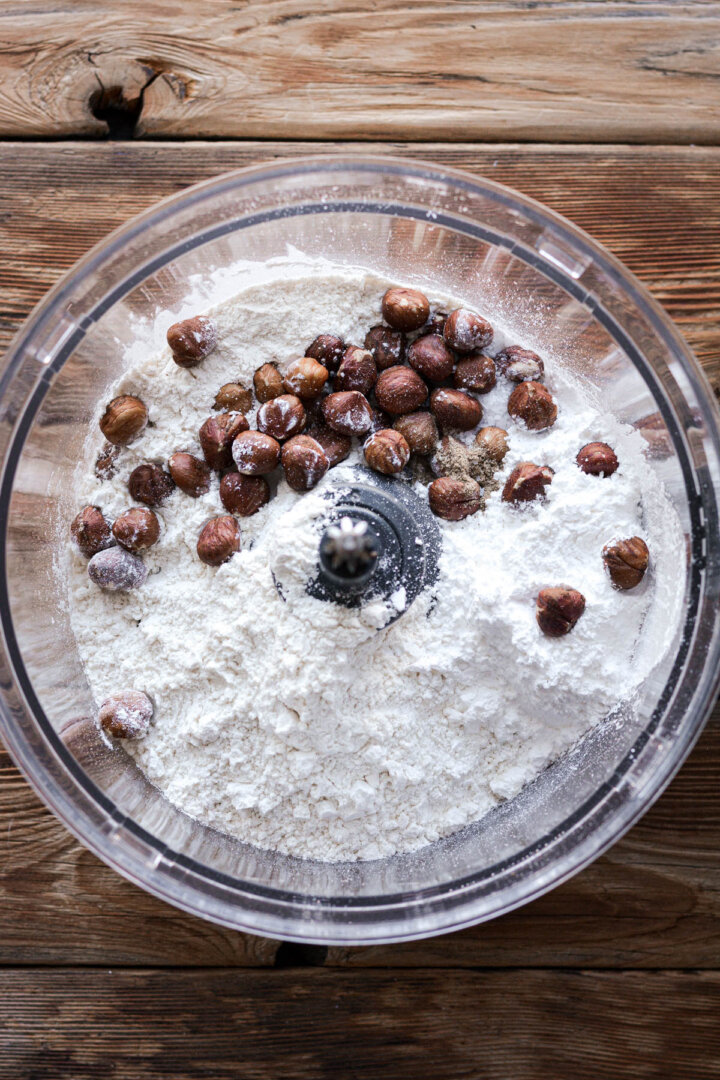
- In your food processor, combine 1/2 cup of the toasted, cooled hazelnuts with the flour, powdered sugar, salt and cardamom, and pulse for about a minute until the hazelnuts are very finely ground.
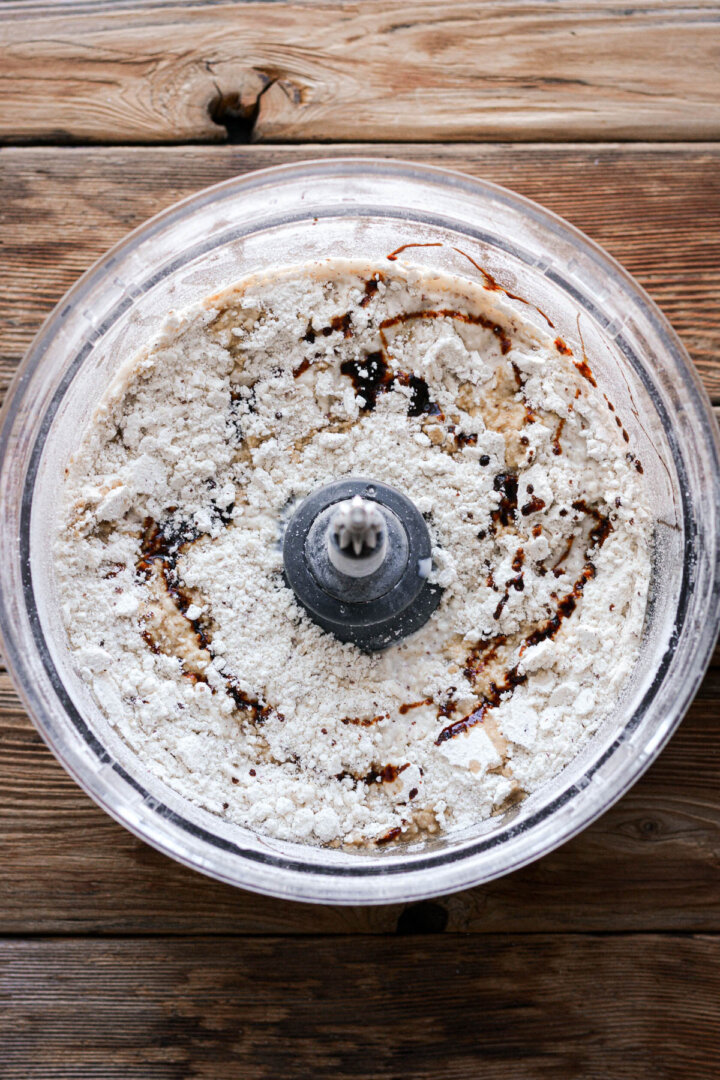
- With the processor running, drop in the pieces of cold butter, one at a time. Pulse until well distributed.
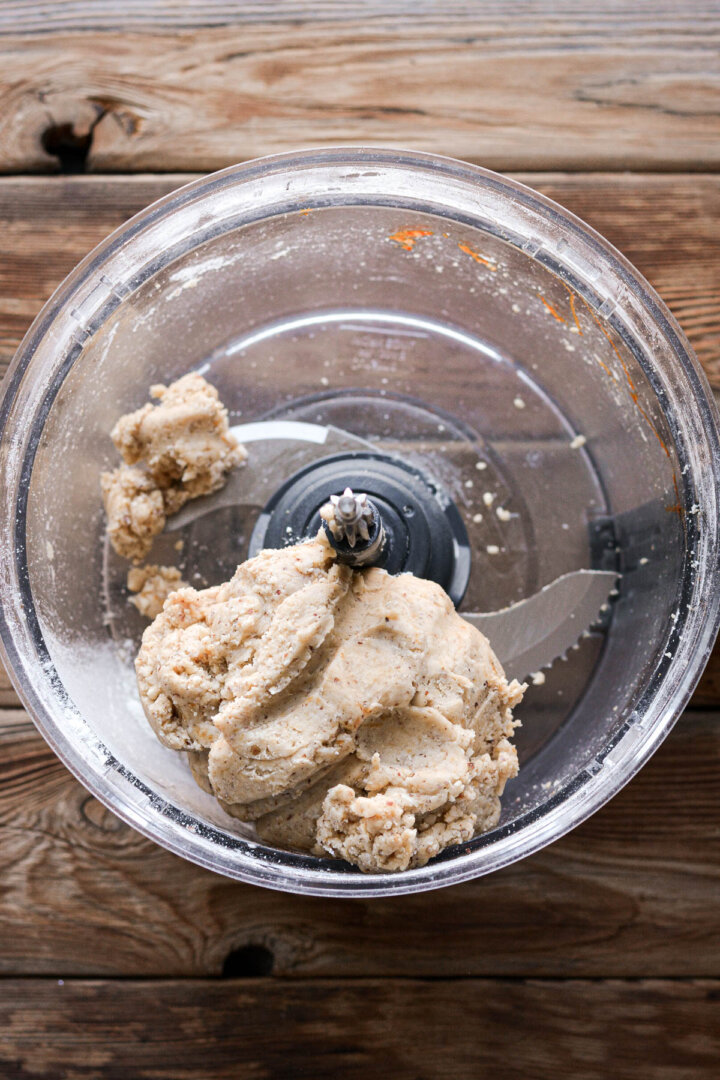
- Add the vanilla and milk, and pulse just until the crumbs come together into a dough.
- Dump the dough out, and knead a few times with your hands, just to incorporate any stray floury bits, until you have a soft, supple dough. Shape into a flat disk, wrap in plastic, and refrigerate for 20 minutes.

Cut the Cookies
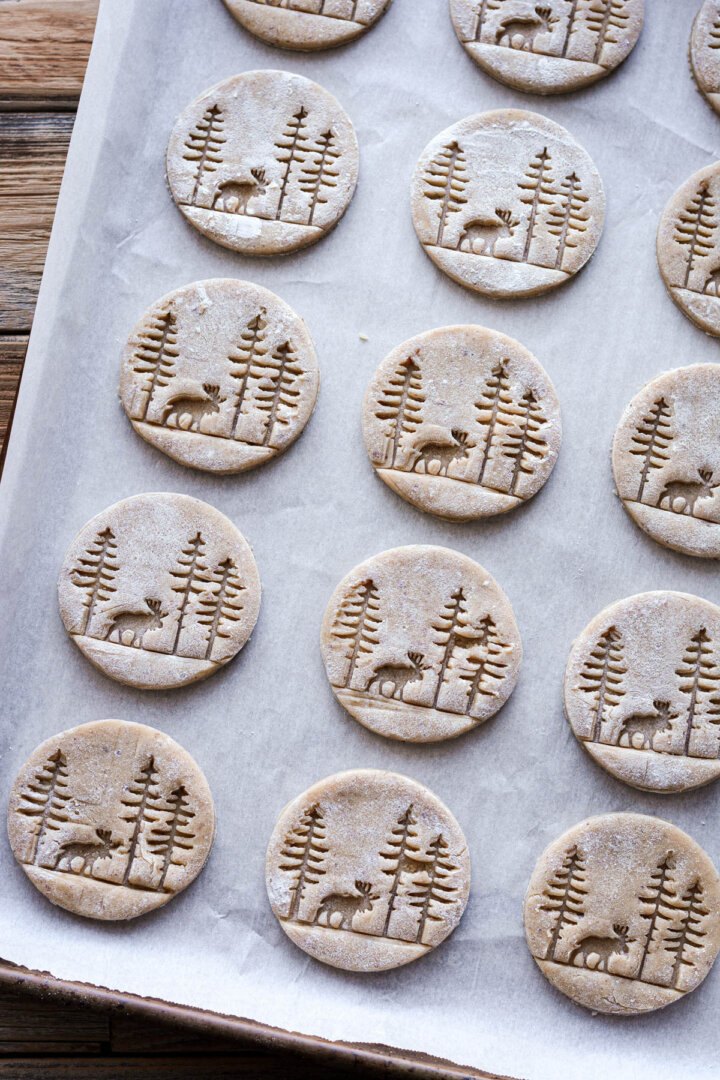
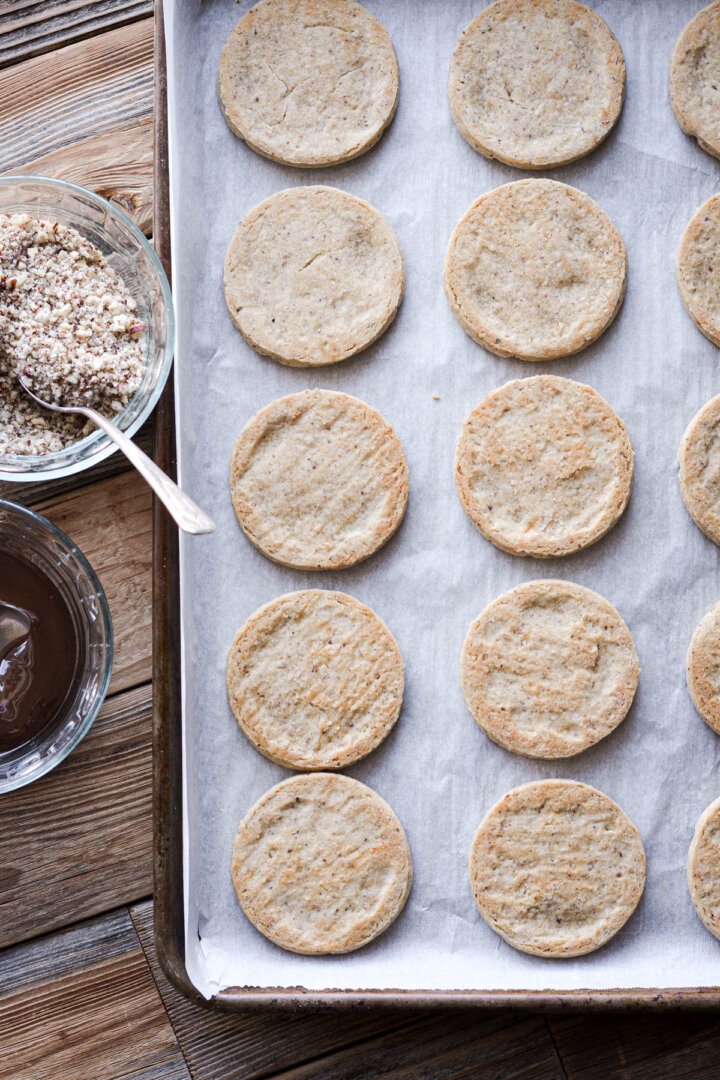
- On a lightly floured surface, roll out the dough (dusting with a little more flour as needed), to just under 1/4 inch thick. Cut as many cookies as you can with your cookie cutters, and place the cut cookies 1 1/2 inches apart on a large baking sheet lined with parchment paper.
- Gather up the dough scraps, roll again, and finish cutting all of the dough. Using a 3-inch cookie cutter, you should be able to cut around 15 cookies.
- Set the baking pan in the refrigerator to chill for 1 hour, or in the freezer for 30 minutes. Chilling helps prevent the cookies from spreading while baking.
Bake the Cookies
- Preheat the oven to 350. Bake the chilled cookies on the center oven rack for about 11-12 minutes. They should be pale golden, with flaky edges. When turned over, you shouldn’t see any wet or raw dough underneath.
- Cool on the pan for 5 minutes, then carefully transfer to a cooling rack to cool completely.

Decorate
- Finely chop the remaining 1/2 cup hazelnuts in your food processor.
- Using a double boiler, melt the chocolate until smooth.
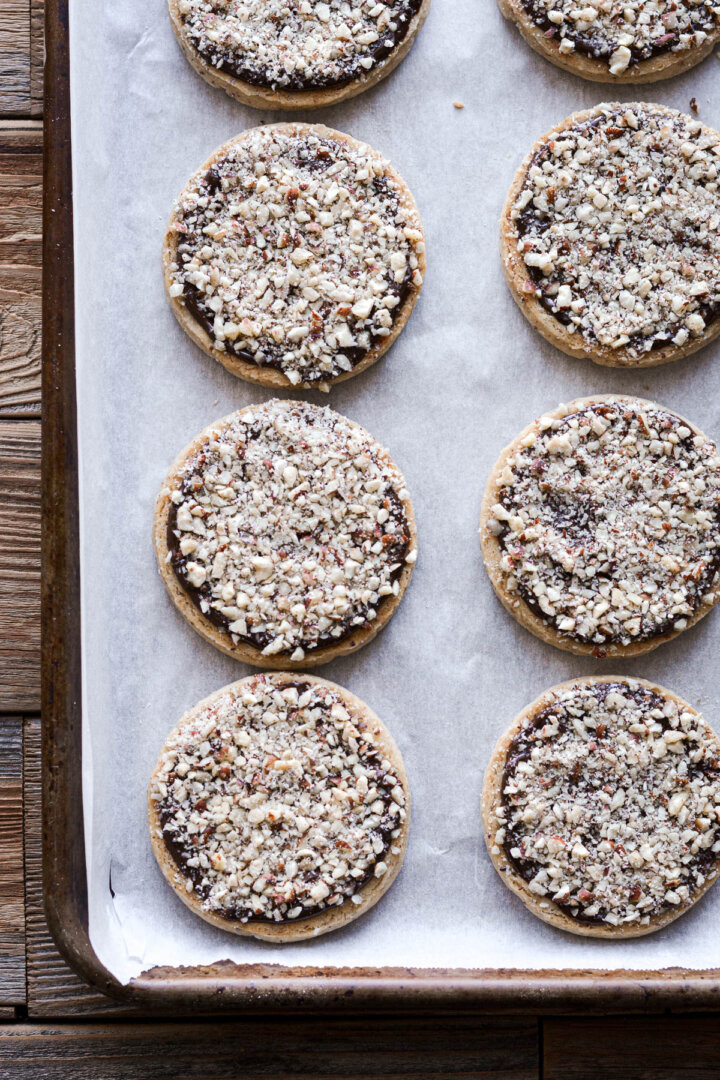
- If your cookies have a decorative top that you don’t want to cover up, like mine do, turn the cookies over so the bottom is facing up. Use a spoon to spread a thin layer of melted chocolate on the cookies.
- Sprinkle the chopped hazelnuts over the chocolate, then place the cookies in the refrigerator for several minutes until the chocolate has firmed up again.
Cookie Cutter Usage Tips
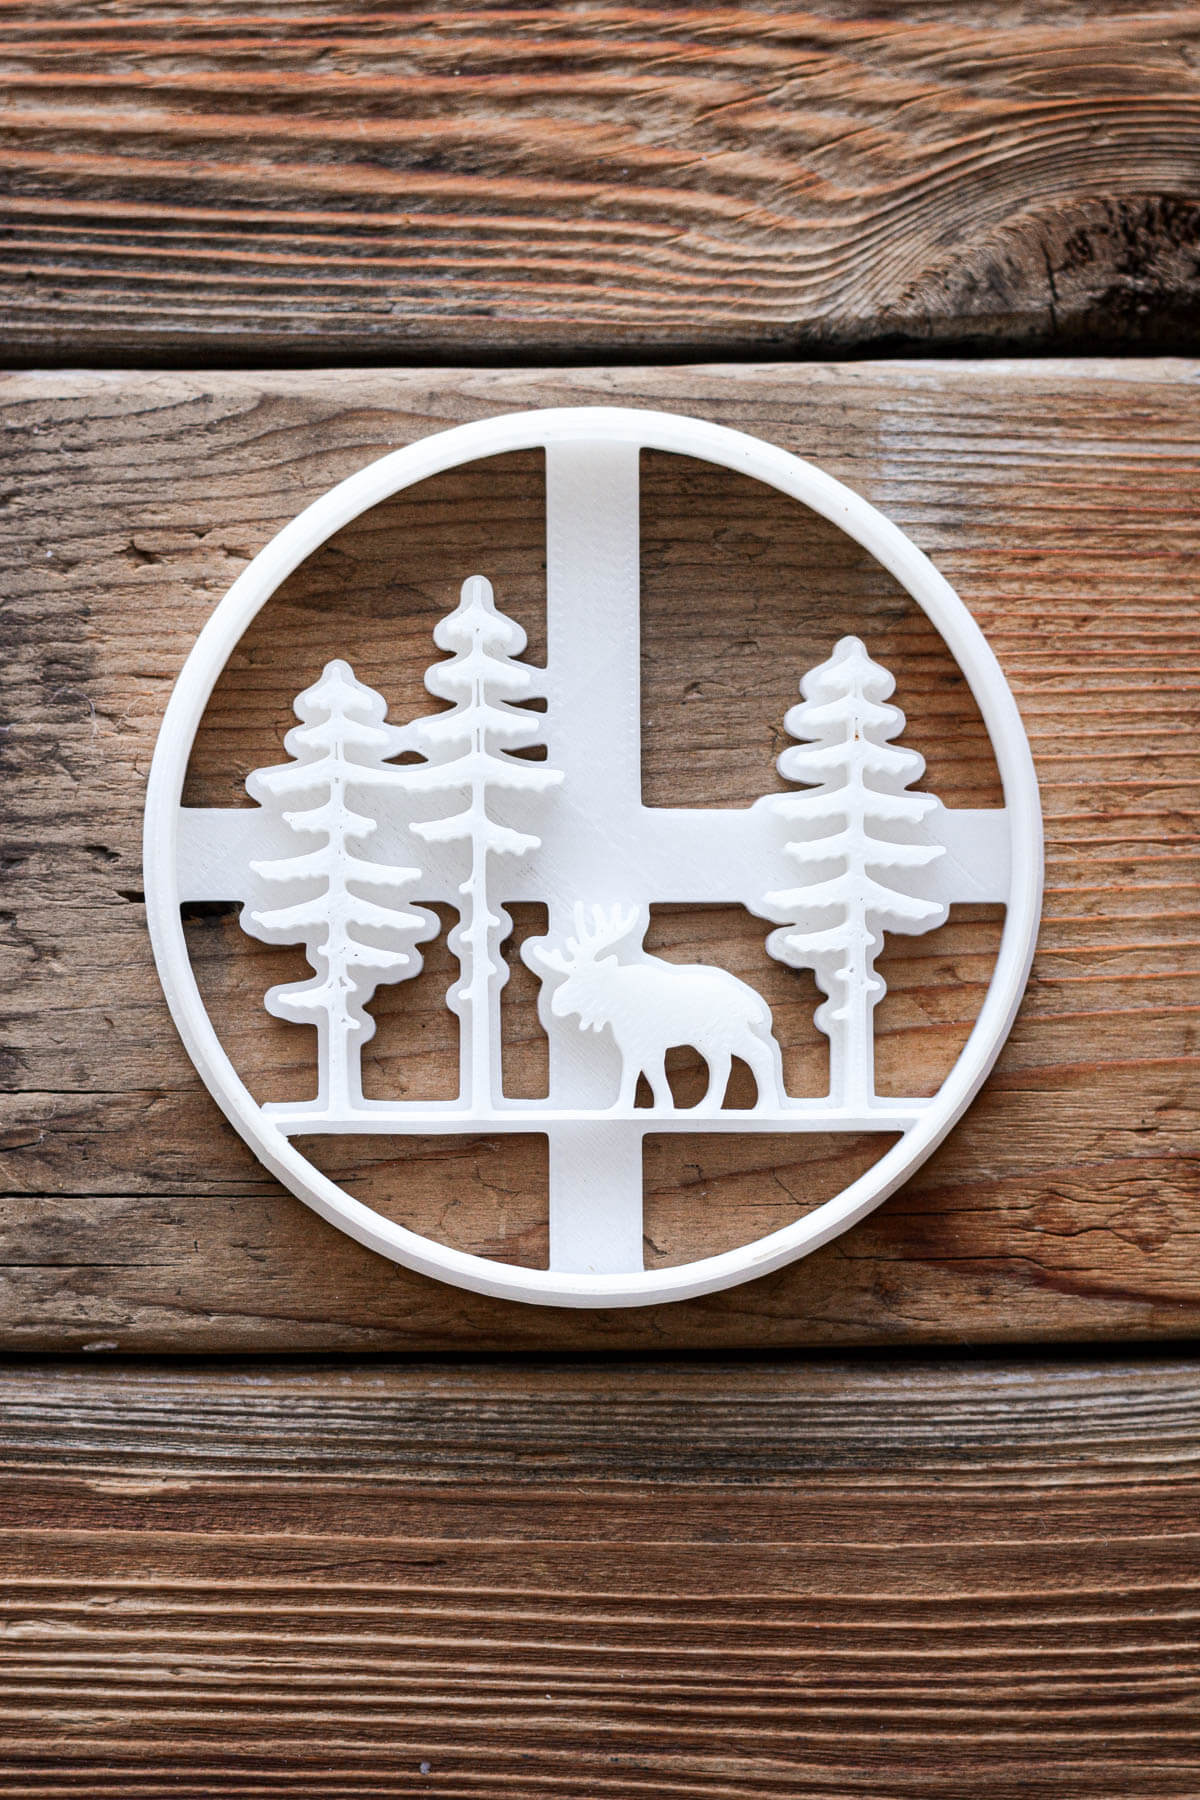
The cookie cutter I used for today’s hazelnut Christmas cookies is this Bakerlogy Forest Moose Cookie Cutter. A cutter with such an intricate design that’s imprinted onto the dough yields gorgeous results, but can be a bit tricky to use. The most troublesome spot in this particular cookie cutter is the area between the two trees standing next to each other. I suggest following these tips to avoid frustration.
Chill the dough first.
- Just like with the intricate snowflake cutters I used for these snowflake cookies, colder dough will release from the cookie cutter much easier than soft, warm dough.
- I recommend chilling the dough no less than 20 minutes before rolling it out, but you may want to chill the dough for as much as 30-45 minutes if using this cookie cutter.
The first cookie will not be pretty.
- Even if you dip the cookie cutter in flour, flour doesn’t stick well to a dry cookie cutter.
- So accept that the first cookie you cut will likely stick to the cutter. Just pick the dough out with the tip of a knife, and add it to your scrap pile of dough to re-roll later.
- Now that all the grooves in the cutter are coated with a little butter from the dough, the flour will stick much better to it.
- Be sure to thoroughly dip the cookie cutter in flour (and gently tap off the excess) in between cutting every single cookie.
Flour the dough.
- Roll your dough out to just under 1/4 inch thick.
- Now sprinkle a bit of extra flour on top of the dough, and use your hand to smooth it out so the dough has an even, fine dusting of flour. This will also help it release from the cookie cutter.
Shake the cookie out of the cutter.
- Rather than forcefully pulling the cookie dough out (which will tear the dough) or pushing it out from above (which will leave unsightly dents and holes in the cookies), hold the cookie cutter by the edges in one hand and give it a quick, firm shake into your other hand.
- A few shakes and the cut cookie will fall right out of the cutter into your hand.
- If the dough refuses to come out, just pick the dough out, flour the cutter and try again. I think I had 3-4 cookies in this batch that I had to re-roll and cut again after they stuck to the cutter.

Be sure to read all of my BAKING FAQs where I discuss ingredients, substitutions and common baking questions, so that you can be successful in your own baking!
Frequently Asked Questions
How should I store these cookies?
Cooled cookies should be stored in an airtight container for up to 1 week.
They can also be baked in advance, and frozen for 3-6 months.
Can the cookie dough be refrigerated or frozen?
The cookie dough can also be made in advance, wrapped in plastic wrap, and refrigerated for up to 5 days, or frozen for 3-6 months. Let thaw in the refrigerator, then bring to room temperature until still cool but pliable enough to roll out.
What cookie cutter did you use?
The cookie cutter I used for today’s hazelnut Christmas cookies is this Bakerlogy Forest Moose Cookie Cutter. See the section above for tips on how to use this cookie cutter. The Bakerlogy Shop has so many more cute cookie cutter designs, like a pine tree forest, mountains with pine trees, forest bear, Santa Claus and reindeer, stag forest, and more.
You Might Also Like




Please check out my Amazon Shop for a curated collection of some of my favorite cake pans from trusted brands, baking tools, ingredients, pretty things and fashion finds. I recommend products that I buy and use every day!
Did you love today’s recipe? Please rate the recipe and let me know in the comments what you thought! Also, be sure to follow Curly Girl Kitchen on Instagram, and tag me when you try one of my recipes so I can see all your delicious creations!
Hazelnut Christmas Cookies with Dark Chocolate
All recipes on Curly Girl Kitchen are developed for high altitude at 5,280 feet. See FAQs for adjusting to higher or lower elevations.
Equipment
- Food Processor
- Rolling Pin
Ingredients
- 1 cup hazelnuts, toasted
- 1 ½ cups all-purpose flour, spooned and leveled
- ½ cup powdered sugar
- ¼ tsp coarse Kosher salt (if using table salt, use half the amount)
- ⅛ tsp ground cardamom
- ½ cup cold, unsalted butter, cut into 8 pieces
- 2 tsp vanilla extract
- 2 tbsp milk
- 4 oz milk, semi sweet or dark chocolate
Instructions
Toast the Hazelnuts
- First, toast the hazelnuts (this step is optional, but adds more depth of flavor). Preheat the oven to 350 F, and place the hazelnuts in a single layer on a baking sheet. Bake for about 5-7 minutes, until fragrant, but don't let them burn. Let the hazelnuts cool completely before adding them to the dough. You don't want hot hazelnuts that will melt or soften the butter in the dough.
- If you like, you can remove the skins by rubbing the hazelnuts between two towels. Note that you'll be using half the hazelnuts in the dough, and half later.
Make the Cookie Dough
- In your food processor, combine 1/2 cup of the toasted, cooled hazelnuts with the flour, powdered sugar, salt and cardamom, and pulse for about a minute until the hazelnuts are very finely ground.With the processor running, drop in the pieces of cold butter, one at a time. Pulse until well distributed.Add the vanilla and milk, and pulse just until the crumbs come together into a dough.
- Dump the dough out, and knead a few times with your hands, just to incorporate any stray floury bits, until you have a soft, supple dough. Shape into a flat disk, wrap in plastic, and refrigerate for 20 minutes.
Cut the Cookies
- On a lightly floured surface, roll out the dough (dusting with a little more flour as needed), to just under 1/4 inch thick. Cut as many cookies as you can with your cookie cutters, and place the cut cookies 1 1/2 inches apart on a large baking sheet lined with parchment paper.Gather up the dough scraps, roll again, and finish cutting all of the dough. Using a 3-inch cookie cutter, you should be able to cut around 15 cookies.
- Set the baking pan in the refrigerator to chill for 1 hour, or in the freezer for 30 minutes. Chilling helps prevent the cookies from spreading while baking.
Bake the Cookies
- Preheat the oven to 350. Bake the chilled cookies on the center oven rack for about 11-12 minutes. They should be pale golden, with flaky edges. When turned over, you shouldn't see any wet or raw dough underneath.
- Cool on the pan for 5 minutes, then carefully transfer to a cooling rack to cool completely.
Decorate
- Finely chop the remaining 1/2 cup hazelnuts in your food processor.
- Using a double boiler, melt the chocolate until smooth.
- If your cookies have a decorative top that you don't want to cover up, like mine do, turn the cookies over so the bottom is facing up. Use a spoon to spread a thin layer of melted chocolate on the cookies.
- Sprinkle the chopped hazelnuts over the chocolate, then place the cookies in the refrigerator for several minutes until the chocolate has firmed up again.
Notes
- Cooled cookies should be stored in an airtight container for up to 1 week.
- They can also be baked in advance, and frozen for 3-6 months.
- The cookie dough can also be made in advance, wrapped in plastic wrap, and refrigerated for up to 5 days, or frozen for 3-6 months. Let thaw in the refrigerator, then bring to room temperature until pliable enough to roll out.


Thanks, I just bought three of those adorable cookie cutters(like I need any more!). I can’t wait to try these cookies. I live in Pagosa Springs, an altitude of about 7,600 after moving from Illinois. I consider myself an accomplished baker but, this high altitude has really messed with my baking. I’m grateful to have found your website. I’ve already tried a few of your cakes, with great success! Thanks for the great recipes!
I’m so happy to be able to help with your baking! 🙂
Could these be made like slice and bake cookies, not rolled out?
Yes, they can. Shape the dough into a log 2 inches in diameter, then wrap and refrigerate at least 4 hours, or overnight. Slice 1/4 inch thick and bake the same amount of time as in the recipe card.