
A high altitude recipe for a rich and moist dark chocolate cake, shaped like a heart, and decorated with piped rosettes and drop flowers. You can even make this heart cake for Valentine’s Day without a heart shaped cake pan! See the video in today’s recipe card for guidance and decorating inspiration.
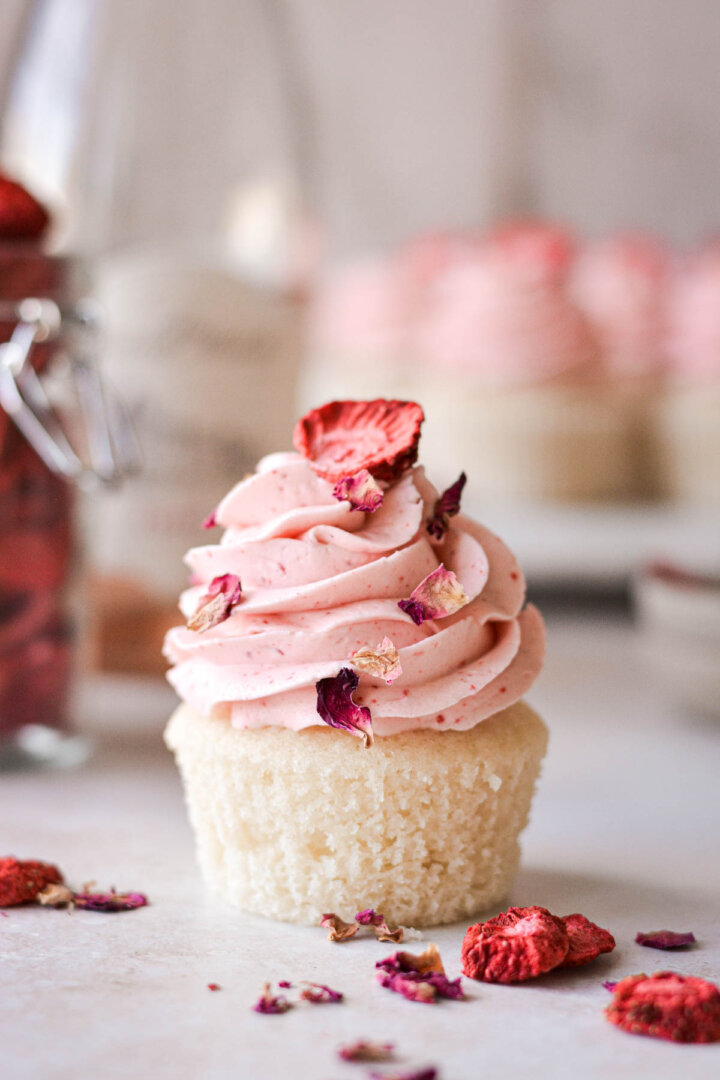
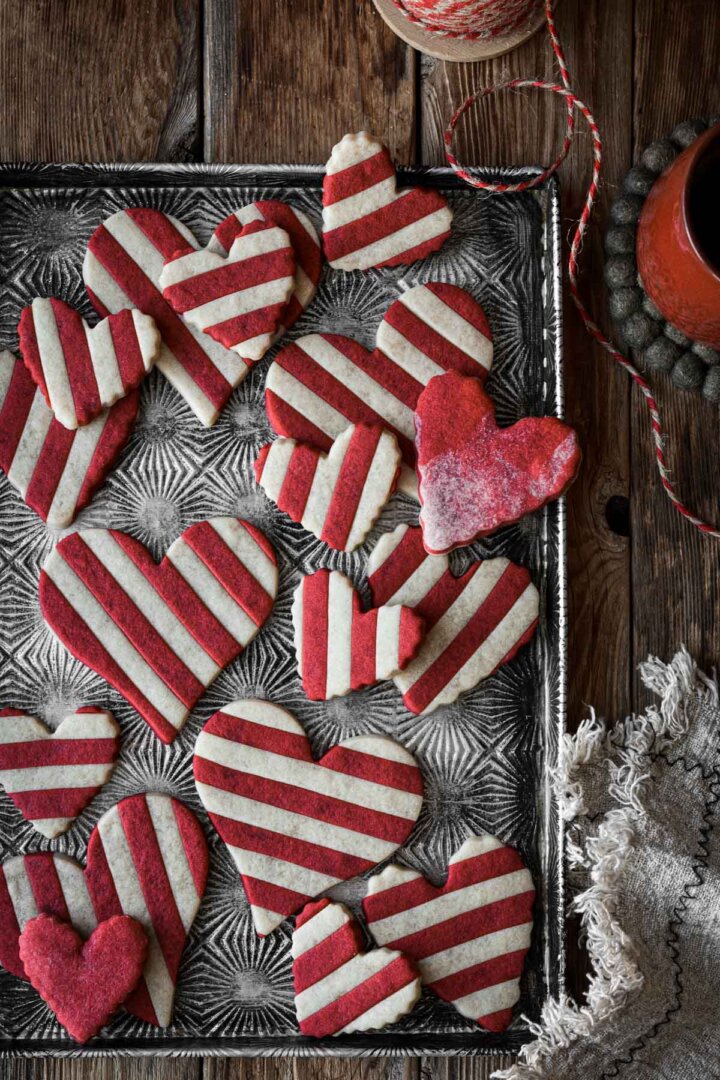
Looking for more Valentine inspiration? Don’t miss these buttercream filled Valentine Linzer cookies, heart shaped strawberry shortbread cookies, and ruby chocolate truffles.

This site contains affiliate links. As an Amazon associate, I earn from qualifying purchases. This means that I may make a small commission if you purchase a product using those links. This in no way affects my opinion of those products and services. All opinions expressed on this site are my own.
Ingredients and Tools
- 6-inch Round Cake Pans (x2)
- 6-inch Square Cake Pans (x2)
- Stand Mixer with Whisk Attachment
- Chocolate Cake Recipe (or any standard sized layer cake recipe)
- Chocolate Buttercream
- Vanilla Buttercream + gel food coloring
- Piping Bag + Tip 1M
See the recipe card at the end of the post for the full ingredients list and instructions.

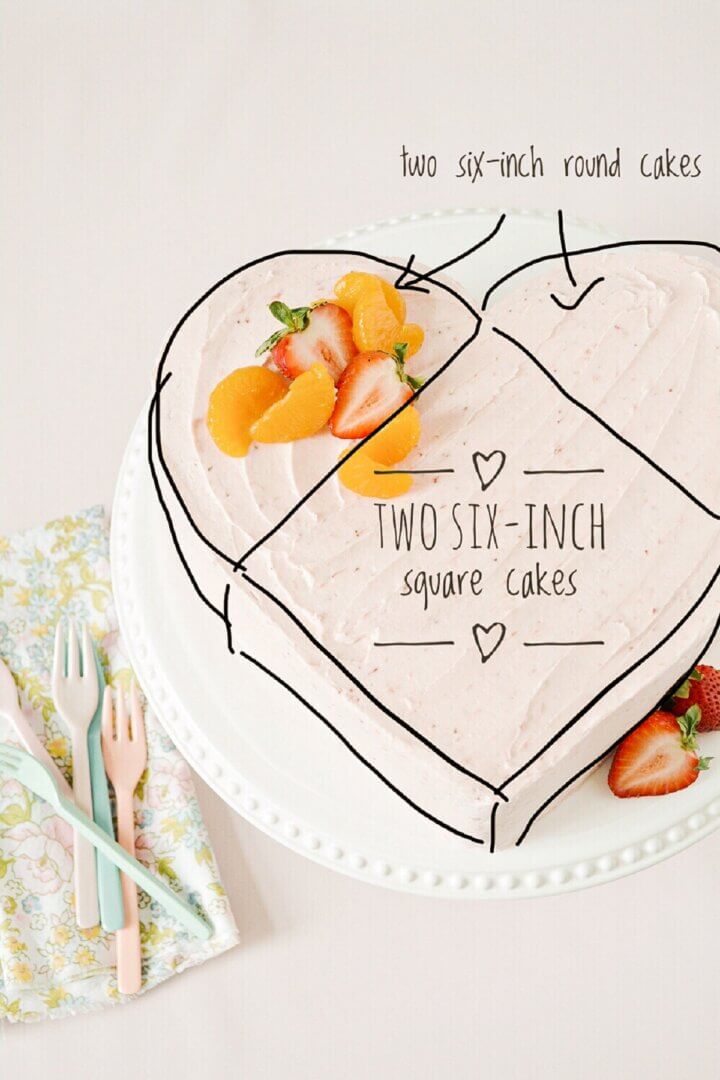
How to Make a Heart Shaped Cake without a Heart Cake Pan
To make a heart shaped cake, you don’t need to have a heart shaped pan as long as you have square and round pans that are the same diameter (6 inches is best). When you cut a round cake in half, and arrange the two half-circles on two sides of a square, they form a heart.
Using the 6-inch cake pans assembled into two layers keeps the final cake a more manageable size of about 9 inches in diameter and 5 inches tall.

Be sure to read all of my BAKING FAQs where I discuss ingredients, substitutions and common questions with cake making, so that you can be successful in your own baking! I also suggest reading these comprehensive posts on making Perfect American Buttercream, How to Stack, Fill, Crumb Coat and Frost Layer Cakes and How to Use Piping Bags.
Frequently Asked Questions
This two-layer heart shaped layer cake is about 9 inches in diameter and 5 inches tall.
The capacity of a square pan is slightly more than a round pan, so put just a little more batter in the square pans, so that all the finished cakes are the same height.
You can use any standard-sized layer cake recipe that makes a similar amount of batter to this one. Note that other cake recipes may vary slightly with the baking times, so check the cakes for doneness.


You Might Also Like

Please check out my Amazon Shop for a curated collection of some of my favorite cake pans from trusted brands, baking tools, ingredients, pretty things and fashion finds. I recommend products that I buy and use every day!
Did you love today’s recipe? Please rate the recipe and let me know in the comments what you thought! Also, be sure to follow Curly Girl Kitchen on Instagram, and tag me when you try one of my recipes so I can see all your delicious creations!

Heart Shaped Chocolate Layer Cake
All recipes on Curly Girl Kitchen are developed for high altitude at 5,280 feet. See FAQs for adjusting to higher or lower elevations.

Equipment
- Stand Mixer with Paddle Attachment
- 6-inch Round Cake Pans (x2)
- 6-inch Square Cake Pans (x2)
- 16-inch Disposable Piping Bag (plus tip 1M)
Ingredients
Chocolate Cake and Chocolate Buttercream
- 1 recipe Chocolate Cake + Chocolate Buttercream
Vanilla Buttercream
- 2x recipe Vanilla Buttercream
- gel food coloring "super red" + "warm brown"
Instructions
Chocolate Cake
- Preheat the oven to 350 F, and position a rack in the center of the oven. Spray the insides of two 6-inch square cake pans and two 6-inch round cake pans with non-stick baking spray.
- Make the chocolate cake batter as instructed.
- Divide the batter between the four cake pans. Since the square pans have a little more volume capacity than the round pans, you should add slightly more batter to the square pans, so that all the baked cakes are of equal heights.
- Bake the cakes for about 30 minutes, until a toothpick or cake tester inserted comes out clean.
- Cool the cakes in the pans for 15 minutes, then run a knife around the edges, turn the cakes out onto a cooling rack, and cool completely before assembling and frosting.
Chocolate Buttercream
- Make the chocolate buttercream.
- Cover the bowl and set aside until needed.
Vanilla Buttercream
- Divide the buttercream between four bowls. Keep one bowl white, and tint the other three various shades of pink, in light, medium and dark, using the "super red" gel food coloring. A few drops of "warm brown" gives the pink color a richer hue.
Assembly and Decorating
- Set one of the square cakes on a cake stand or cake plate with a 9-10 inch diameter. Cut one of the round cakes in half, and arrange the "half moons" on two sides of the square to form a heart.
- Frost the top of the first layer of cake with the chocolate buttercream.
- Arrange the second square and round cakes on top to form the second layer. Frost the top and sides of the cake with a thin "crumb coat" of chocolate buttercream. Refrigerate the cake for 15-30 minutes, then frost the sides of the cake with a final coat of chocolate buttercream, using a bench scraper to smooth out the sides. You will likely have some leftover chocolate buttercream for another project.
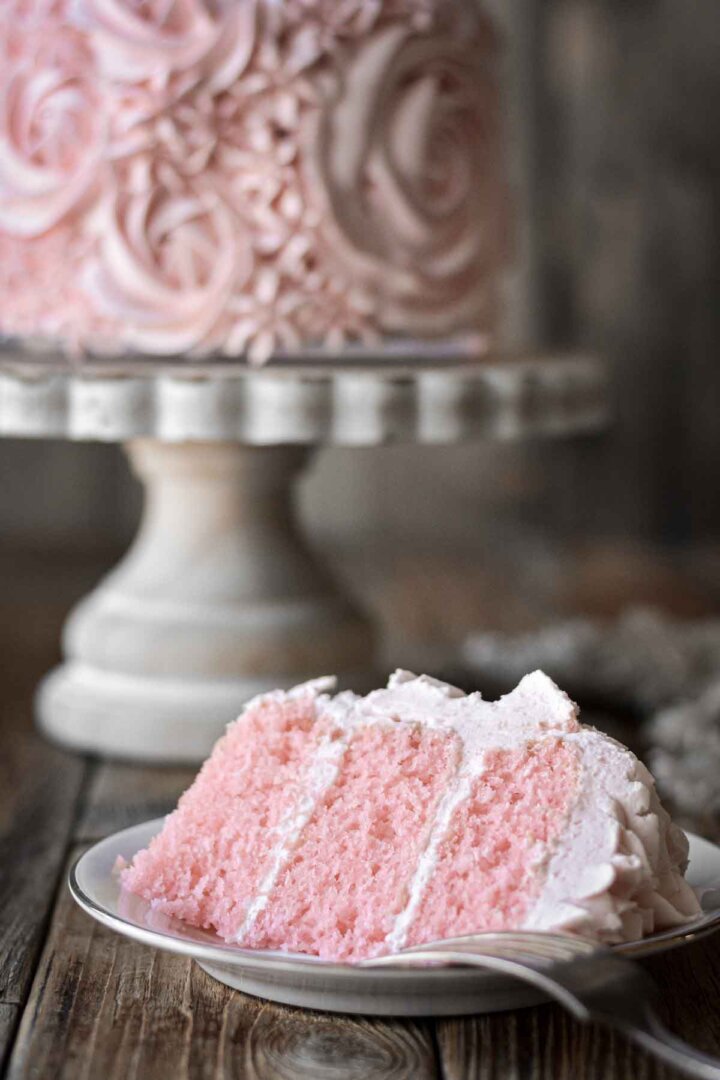
- Fit a disposable 16-inch piping bag with tip 1M. Scoop the three shades of pink buttercream into the bag, alternating the colors so they swirl together a bit.
- Pipe rosettes and drop flowers on top of the cake, leaving a few gaps here and there. Add the white buttercream to the piping bag, and finish piping drop flowers to fill in any gaps.
Video
 https://curlygirlkitchen.com/
Can you make this recipe for a one layer cake using 8 inch pans?
Yes, but the diameter of the assembled cake will be much bigger.
Hello Heather, Love your heart shaped V’Day cake. Colors are so pretty. Always look to you for beautifully designed cakes. I’ll be doing this one after watching your video. So happy to get your email today. Happy Valentine’s Day! Emily