
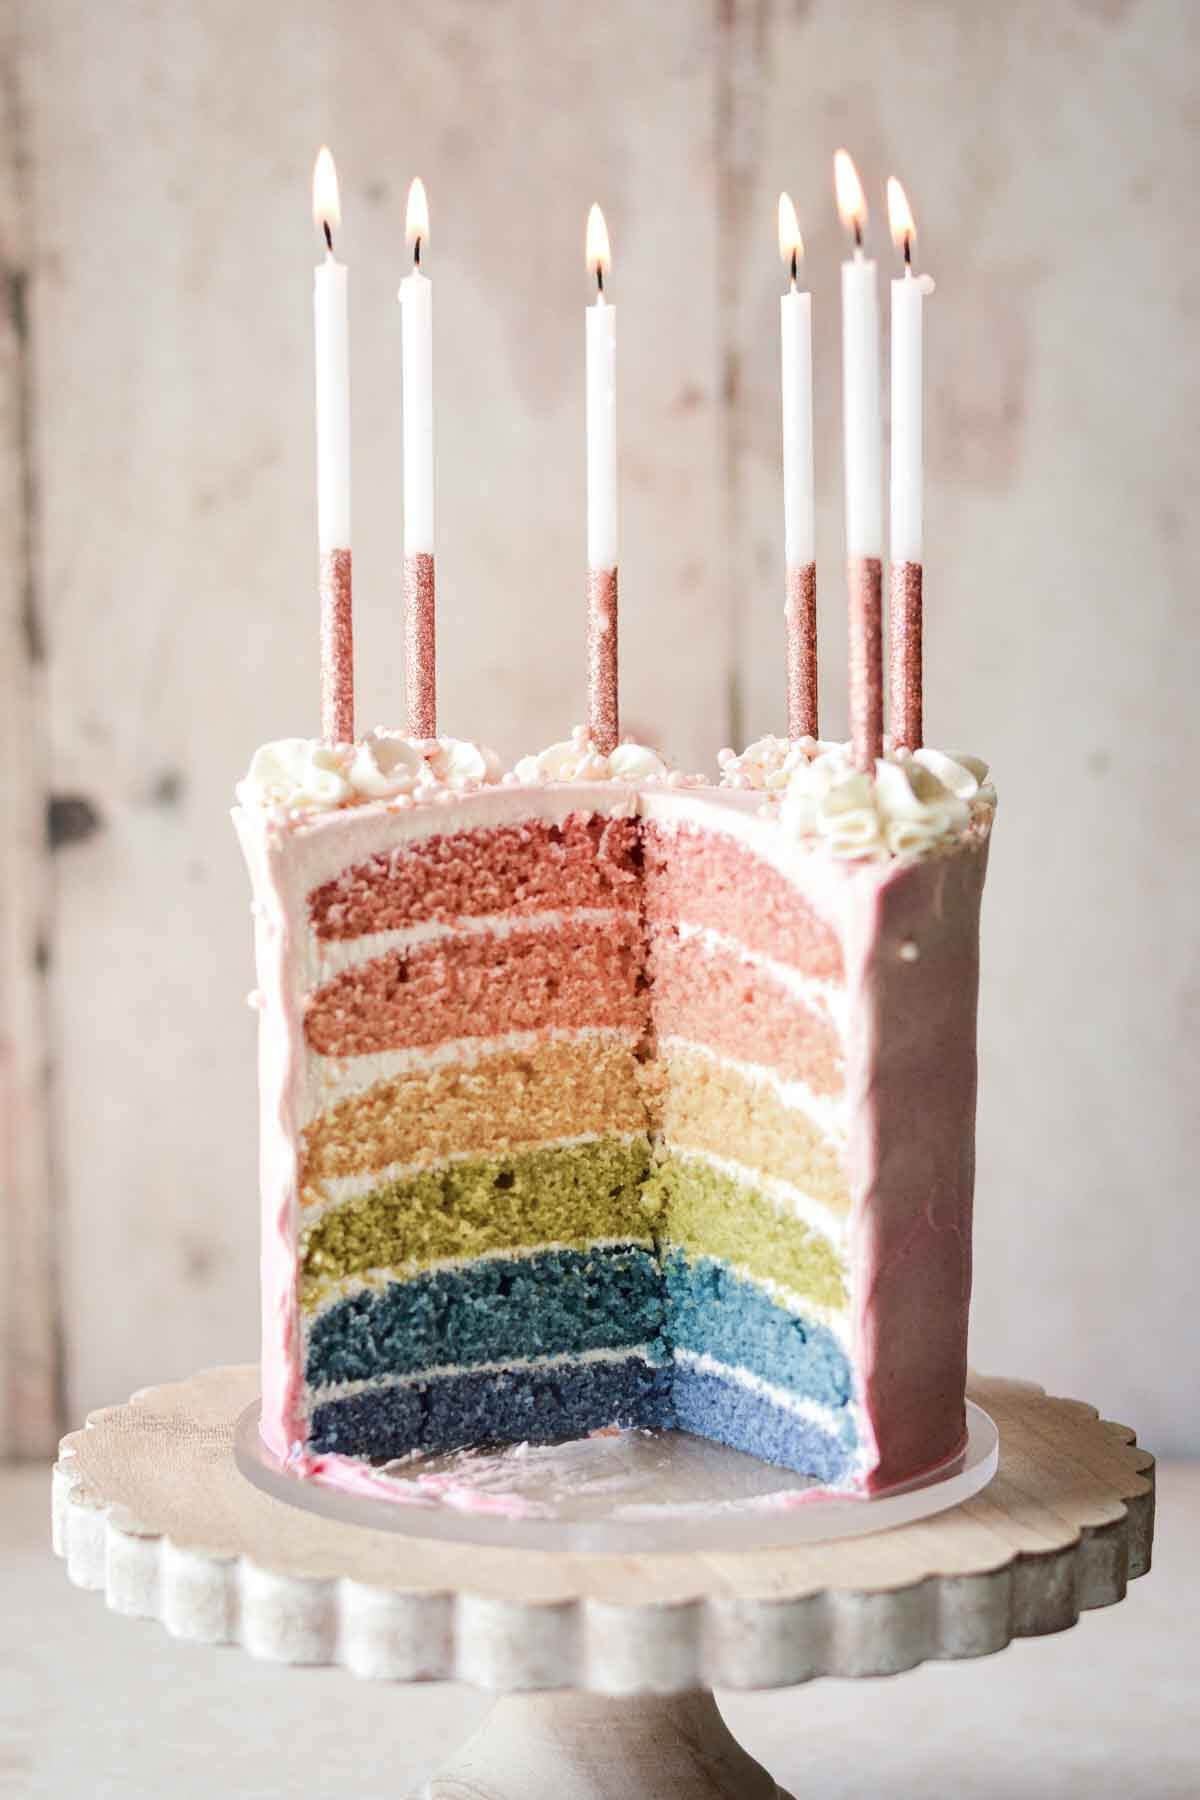
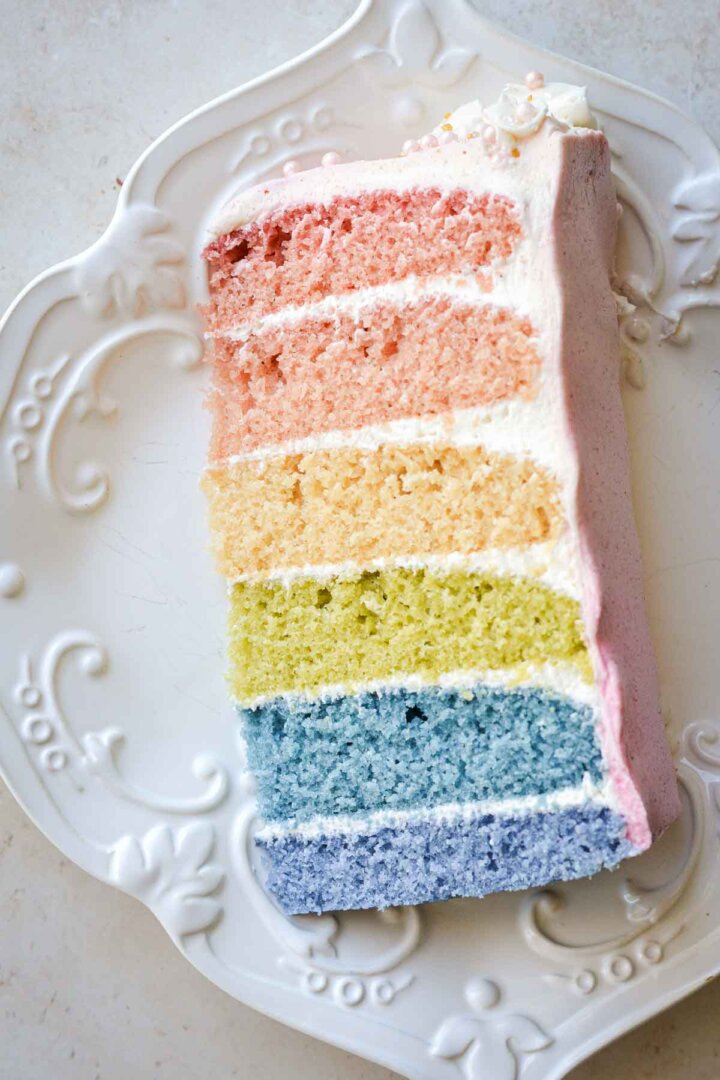
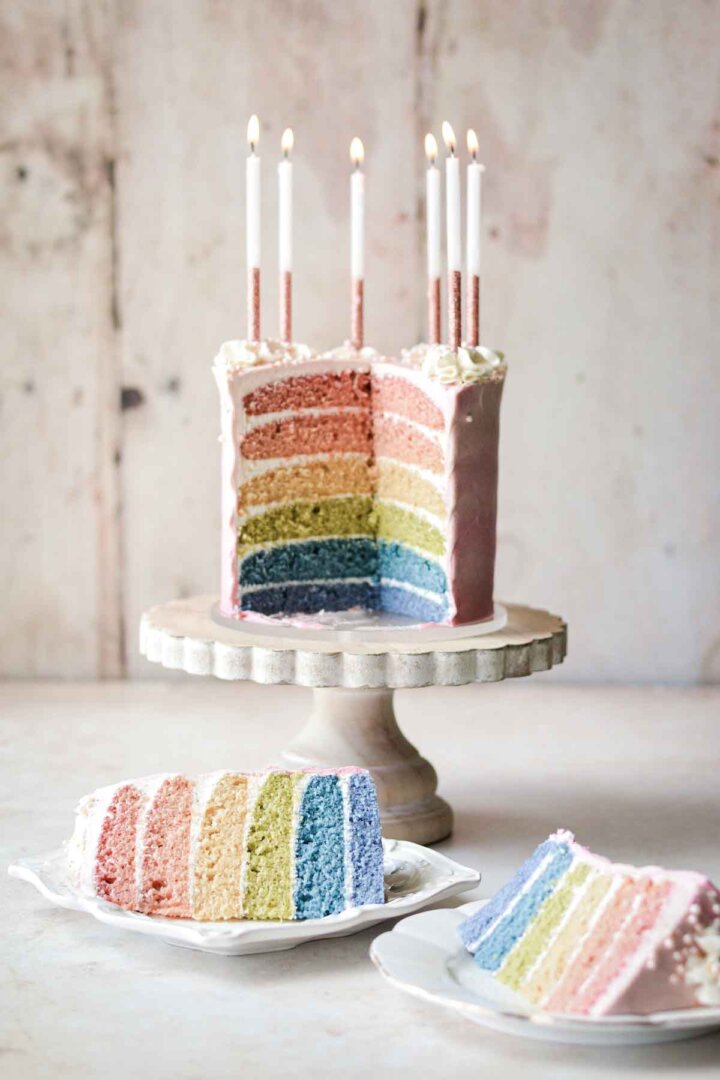
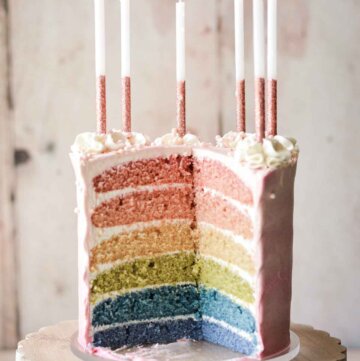
A fun and colorful high altitude rainbow cake is perfect for celebrating any occasion, and everyone loves watching the first slice of cake cut to reveal the vivid rainbow layers hiding inside. In today’s post you’ll find two options for coloring your cake batter, either with gel food coloring or natural food dyes.
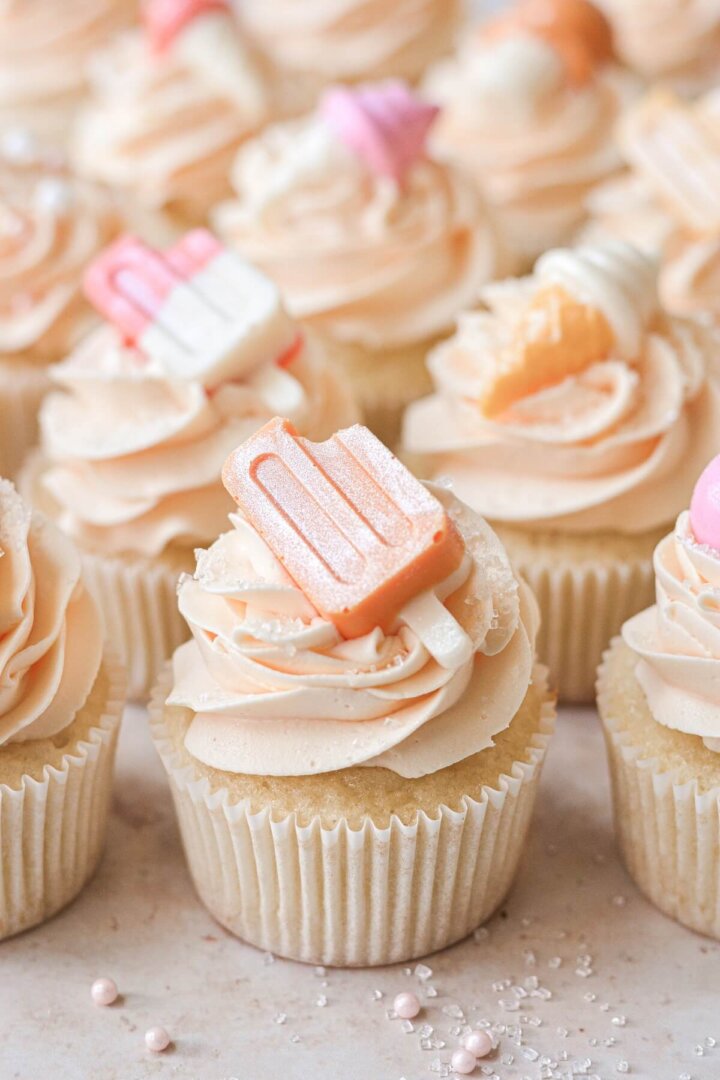
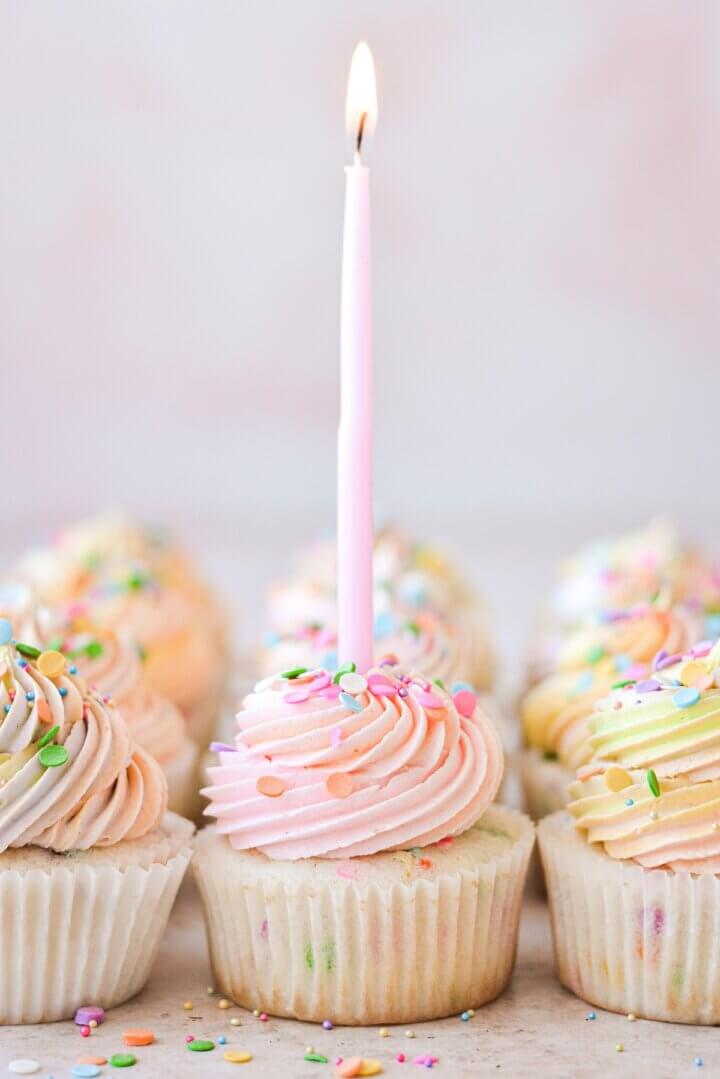
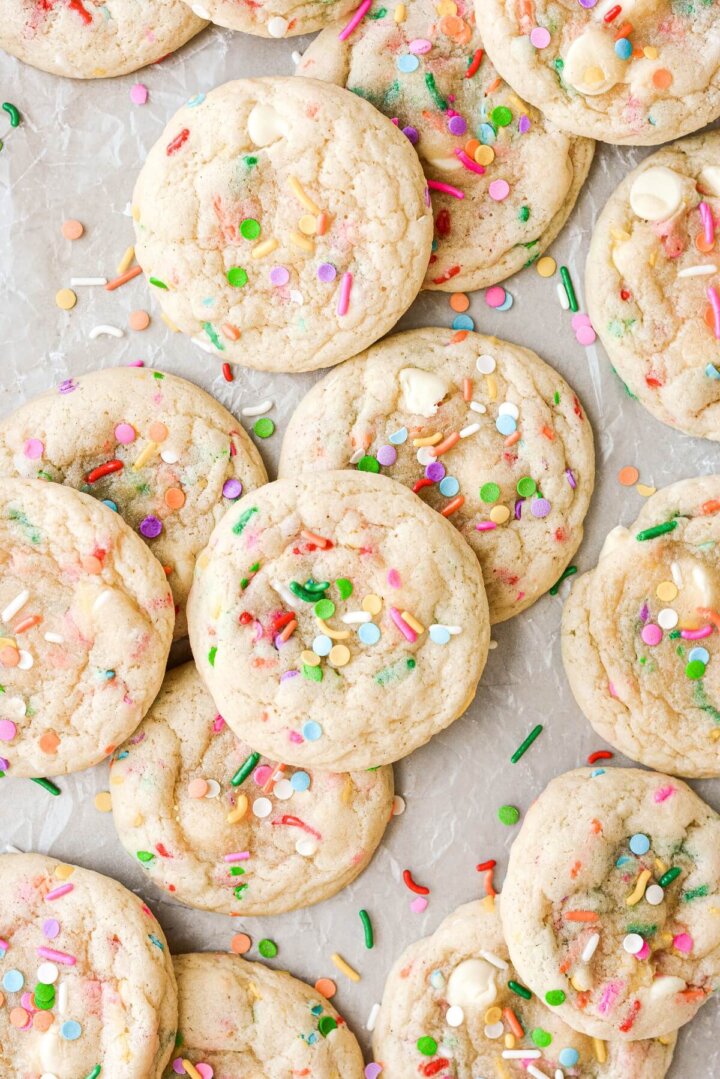
You might also love these Funfetti cupcakes with rainbow swirl frosting, baked Funfetti donuts, and soft white chocolate chip sprinkle cookies.
This site contains affiliate links. As an Amazon associate, I earn from qualifying purchases. This means that I may make a small commission if you purchase a product using those links. This in no way affects my opinion of those products and services. All opinions expressed on this site are my own.
Why You’ll Love This Recipe
Pretty and Colorful. Although this rainbow cake has 6 layers, a rainbow actually has a spectrum of 7 colors: red, orange, yellow, green, blue, indigo and violet. The main reason I just made 6 layers, though, is because I only have 6 cake pans. That said, you can certainly bake the batter in batches if you don’t have enough pans. So if you want to squeeze in that indigo layer, then go for it!
Natural Food Coloring. I’ve made this cake with both artificial gel food coloring, as well as natural dyes using vegetable powders. You’ll find information on both methods in today’s post, although the video in the recipe card shows the cake made with natural food dyes.
Fun for the Family. This is the cake my youngest son requested for his third birthday, and my little boys absolutely loved getting to help bake and assemble all the colorful cake layers.
Celebration Cake. This is such a beautiful cake for a variety of holidays and celebrations, from birthdays, to St. Patrick’s Day, to Pride Month.
High Altitude Tested. I develop all the recipes on my site for Denver’s altitude of 5,280 feet. If you’re at a lower or higher elevation, please see my FAQs for guidance on adjusting recipes for your altitude.

See the recipe card at the end of the post for the full ingredients list and instructions.
Ingredients
Cake
- Cake Flour. With a lower percentage of protein, cake flour makes a softer, more tender cake crumb than all-purpose flour, and gives the cake strength and structure.
- Granulated Sugar. Adds sweetness and moisture.
- Baking Powder. Leavens the cake.
- Coarse Kosher Salt. Balances the sweetness.
- Eggs + Egg White. Adds structure to the cake batter.
- Buttermilk. Gives the cake moisture and acidity, for a more tender cake crumb.
- Unsalted Butter + Vegetable Oil. A combination of melted butter and oil makes cakes that are really moist, with a nice buttery flavor.
- Vanilla Extract. Flavor
- Gel Food Coloring: red, orange, yellow, green, blue, (indigo) and violet/purple
Today’s photographed rainbow cake is a 6-inch cake, that I scaled down from my favorite vanilla cake recipe. To make an 8-inch cake, use the full recipe found here.
Buttercream
- Unsalted Butter. Butter gives buttercream it’s rich, creamy buttery flavor. For a whiter buttercream, substitute half of the butter with vegetable shortening.
- Powdered Sugar. Sweetens and thickens the buttercream.
- Meringue Powder. A little known secret, meringue powder adds stability and improves the texture of buttercream.
- Vanilla Extract. Flavor.
- Coarse Kosher Salt. Balances the sweetness.
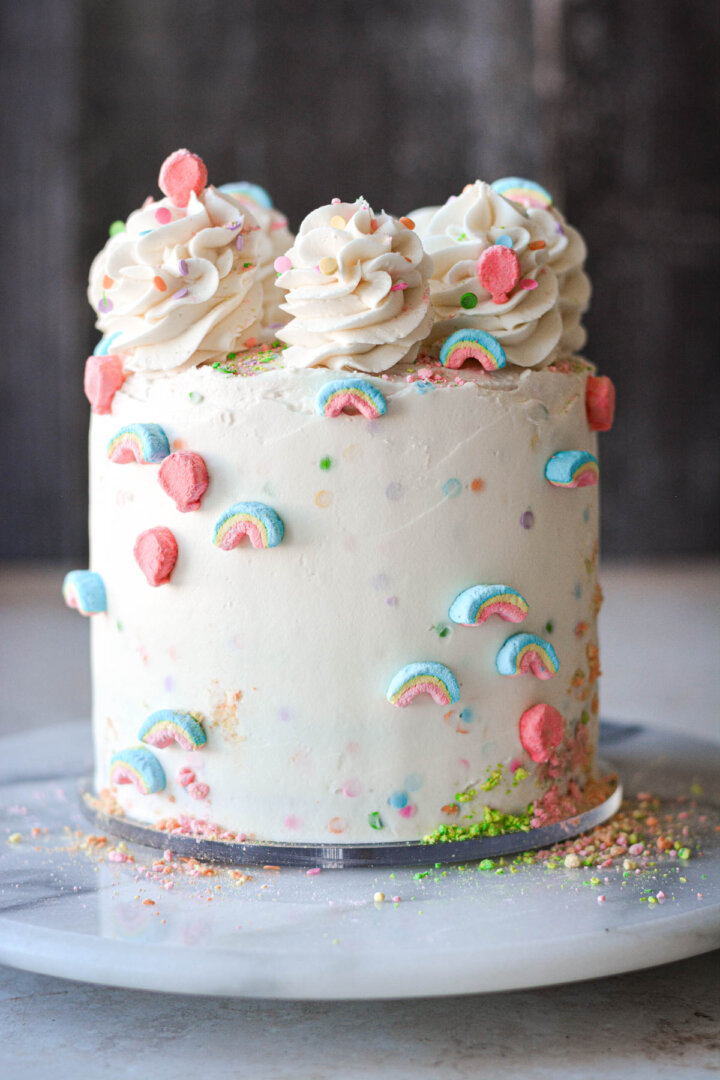
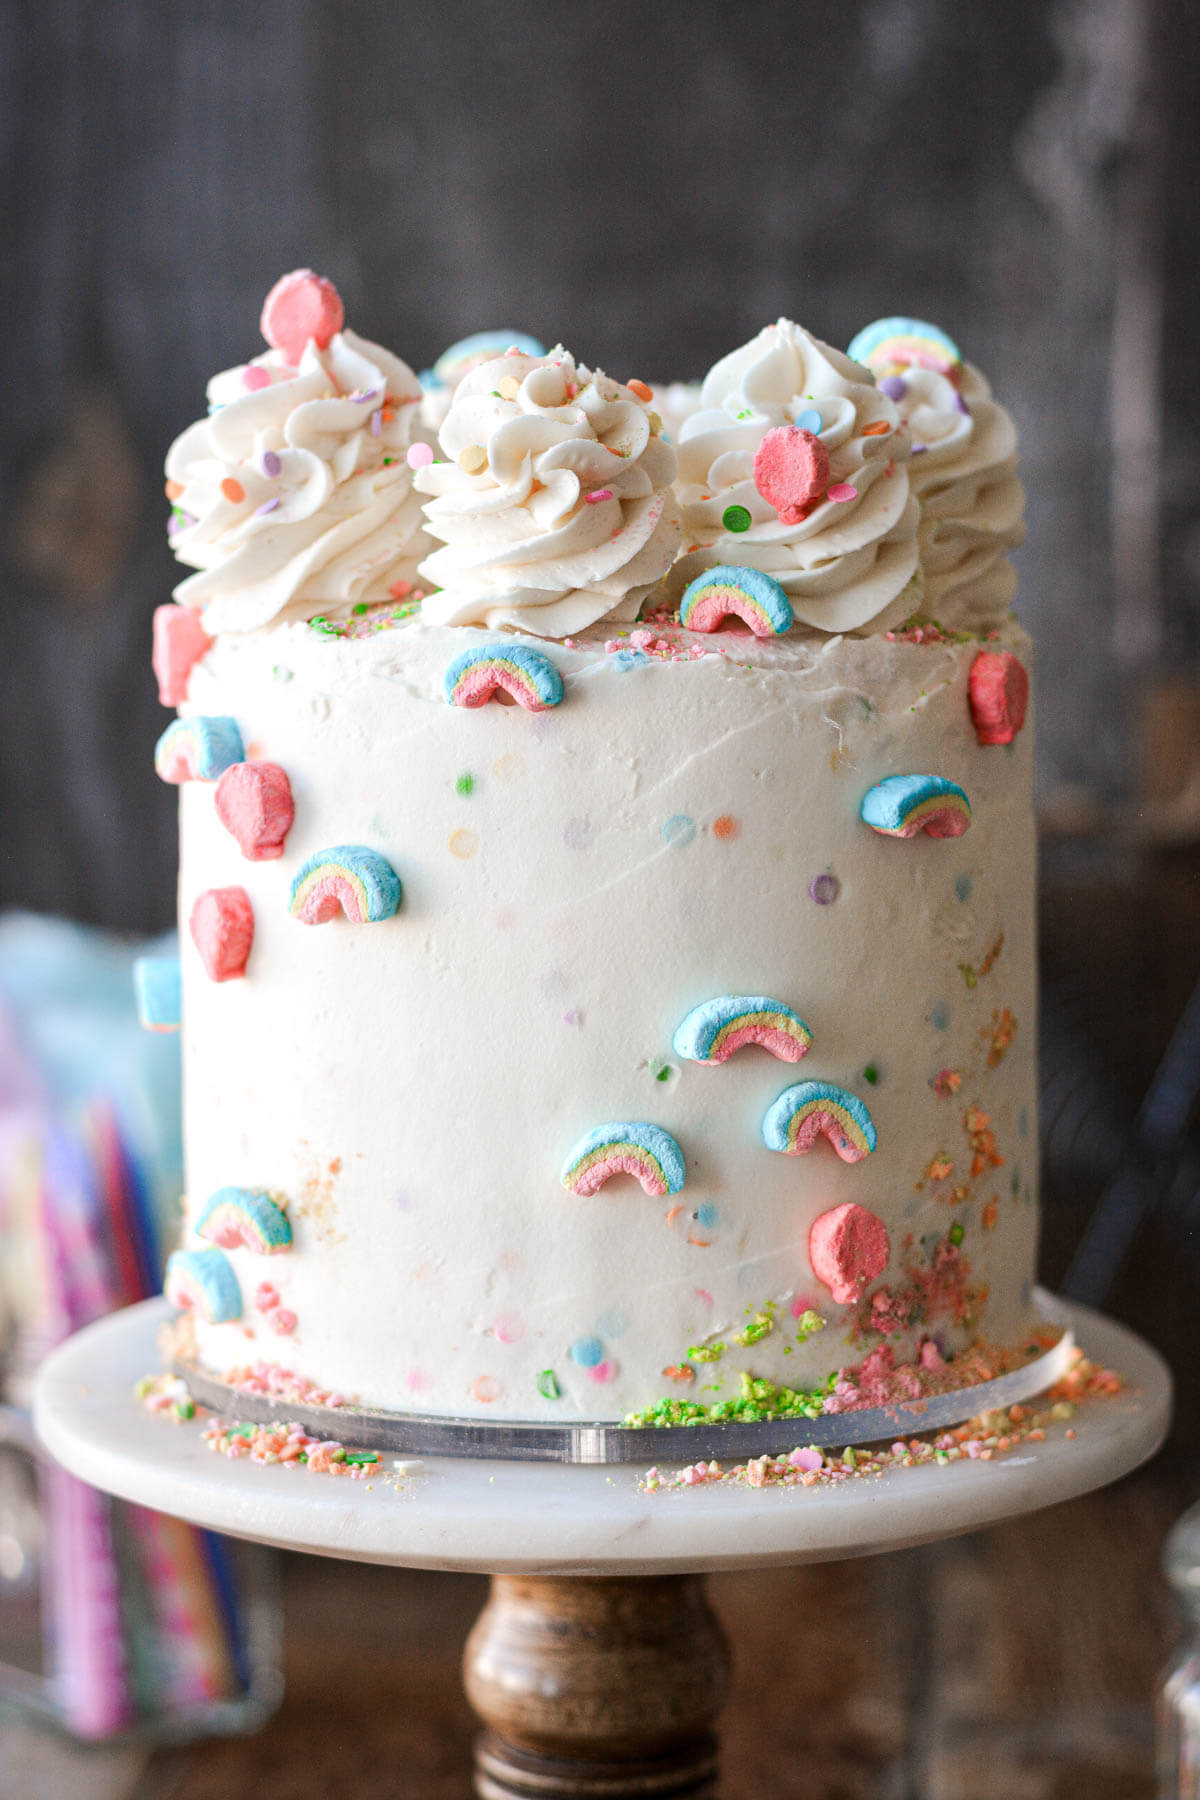
- Sprinkles. After crumb coating the cake, I added confetti sprinkles (quins) to the final coat of buttercream, so that it was flecked all over with color.
- Lucky Charms Marshmallows.
See the recipe card at the end of the post for the full ingredients list and instructions.
Instructions
Cake
- Preheat the oven to 350F and spray the bottoms of six 6-inch cake pans with non-stick spray.
- In a large bowl, sift together the flour, sugar, baking powder and salt. Whisk to combine well.
- In another large bowl, whisk together the eggs, egg whites, buttermilk, melted butter, oil and vanilla extract until smooth.
- Add the dry ingredients to the wet, and whisk until mostly combined and smooth, about 10-15 seconds. Don’t over-mix, since you’ll be mixing the batter again when you add the food coloring.
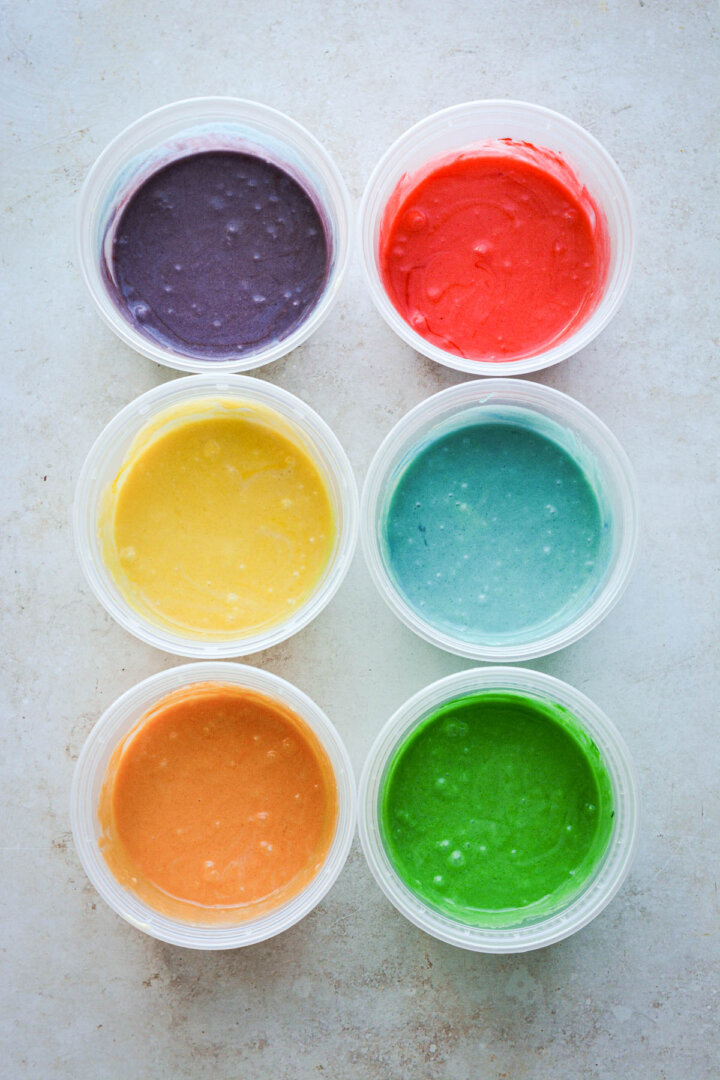
- Divide the batter evenly between 6 small bowls. Tint each bowl of batter separately with red, orange, yellow, green, blue and purple gel food coloring. Use 1-2 drops for more vivid colors, or use a toothpick to add just a tiny bit of color for pastel shades. Stir the coloring into the batter until combined.
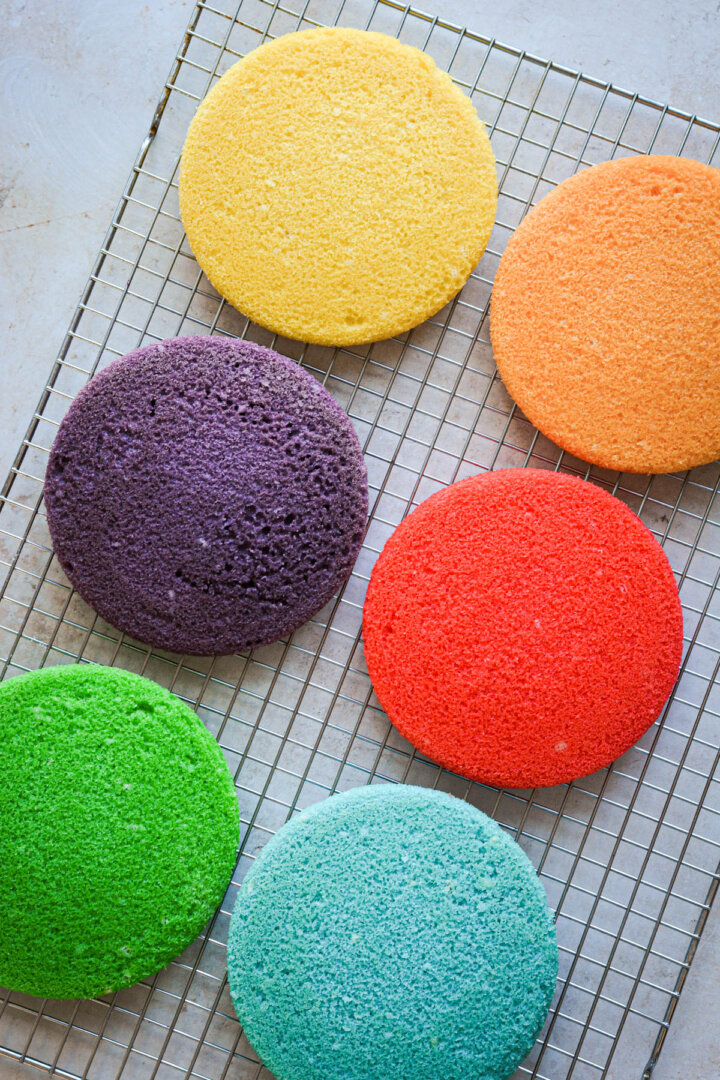
- Scrape the 6 colors of batter into the prepared pans. Bake on the center oven rack for about 13-15 minutes, until the centers spring back when lightly touched. Since there’s a small amount of batter in each pan, the layers will be fairly thin.
- Cool the cakes in the pans before assembling and frosting.
TIP: If you don’t have 6 cake pans, you can bake the batter in batches. Let the extra cake batter rest at room temperature, until you can wash the pans after baking the first batch.
Buttercream
- In the bowl of your stand mixer fitted with the whisk attachment, beat the butter for 1 minute until smooth.
- With the mixer running on low, add the powdered sugar by spoonfuls, the meringue powder and the salt, mixing until thick and combined.
- Add the vanilla and the milk; increase speed to medium and whip for 4-5 minutes, scraping the bowl down several times, until light and fluffy.
Assembly
- Remove the cooled cakes from the pans.
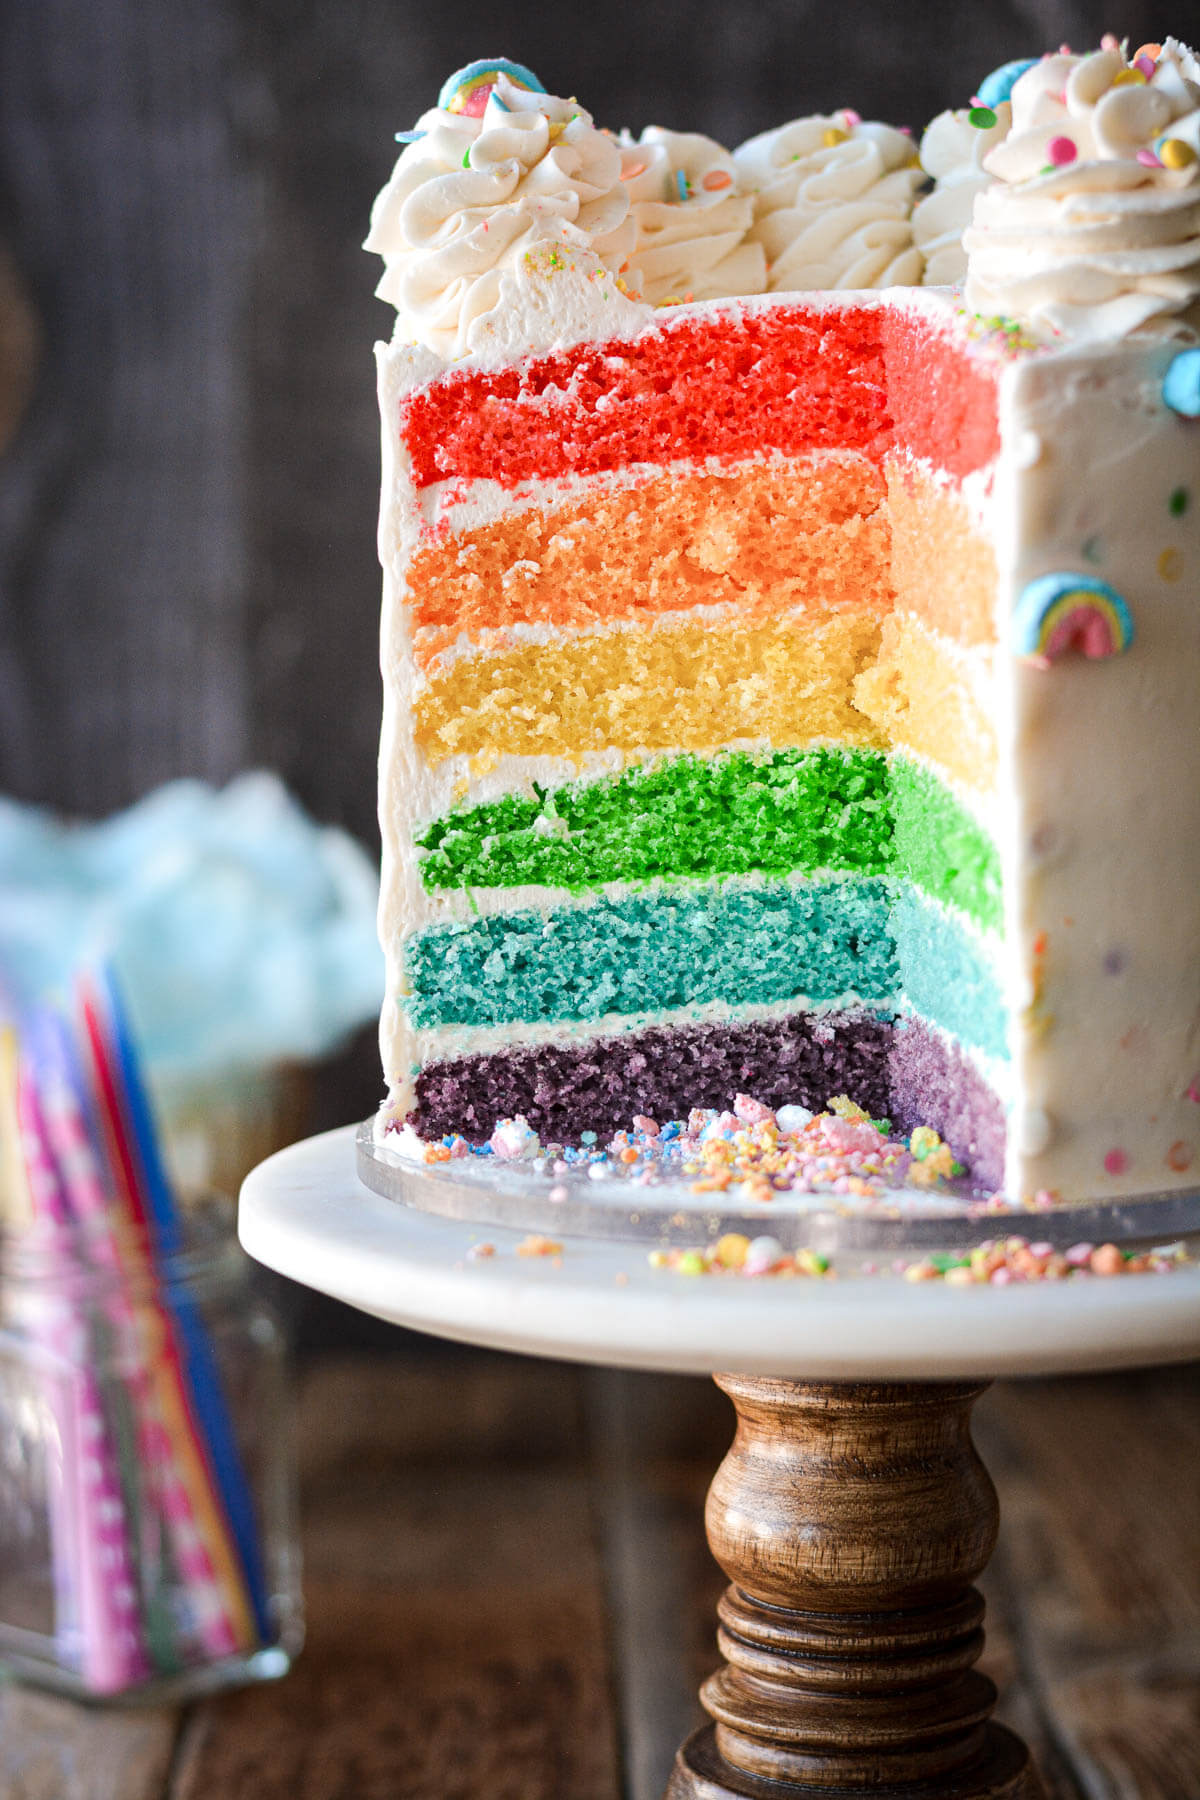
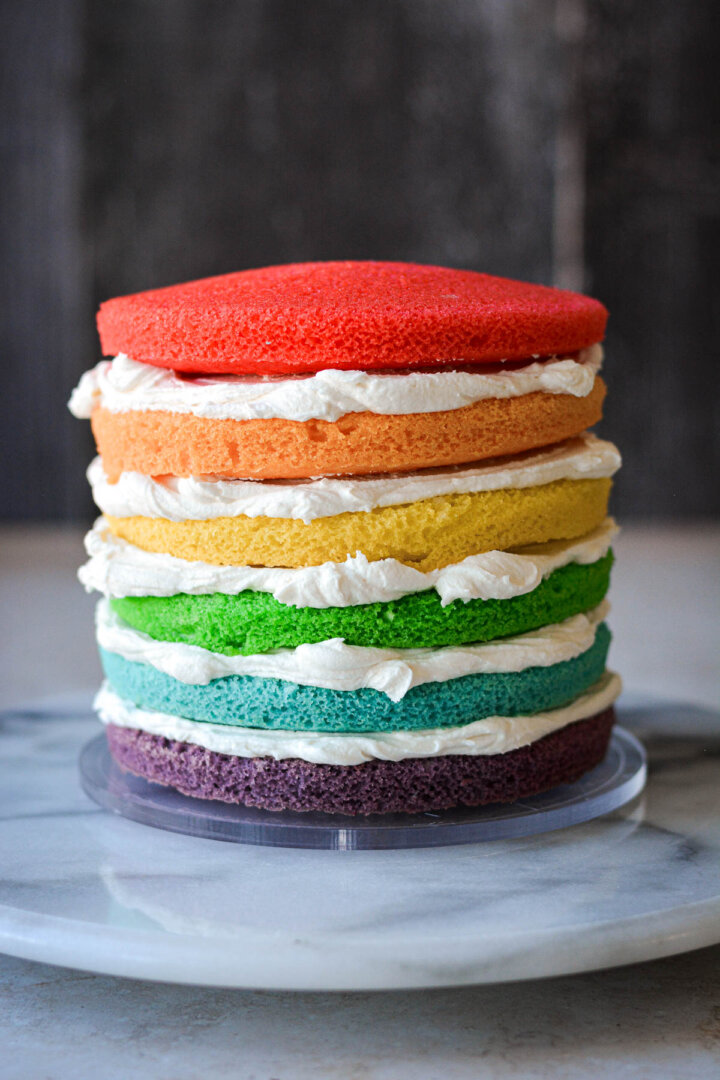
- Set the purple cake on a cake board. Frost with a thin layer of buttercream. Repeat stacking and filling with the remaining colors, ending with red on top.
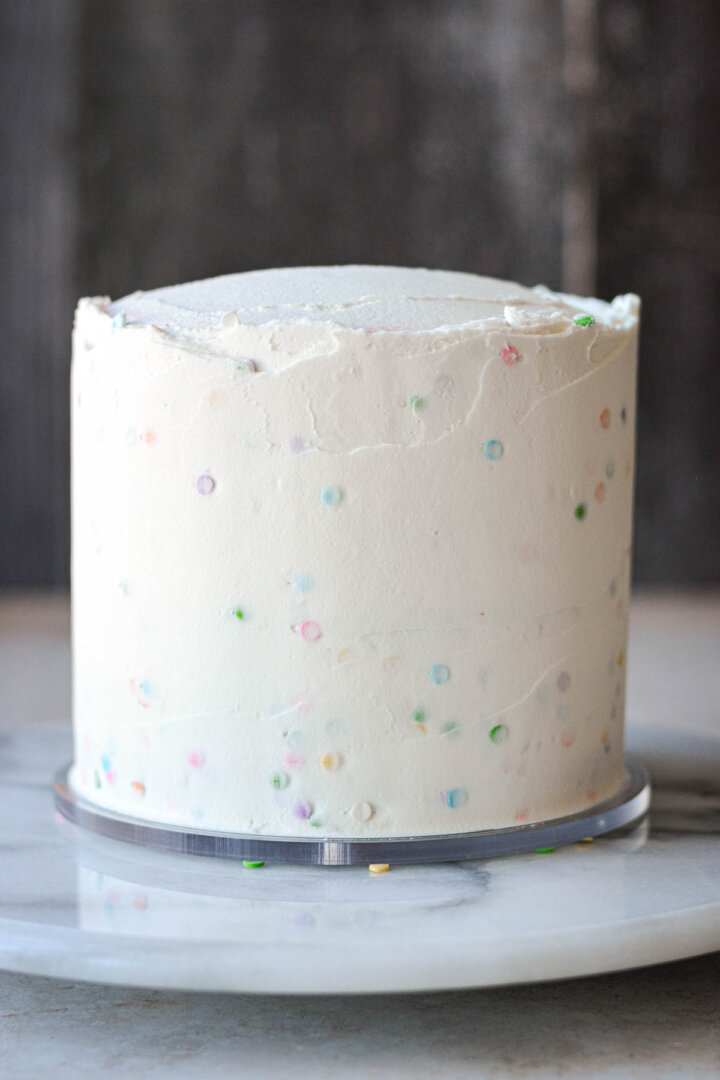
- Frost the cake all over with a thin crumb coat of buttercream, and chill for 30 minutes.
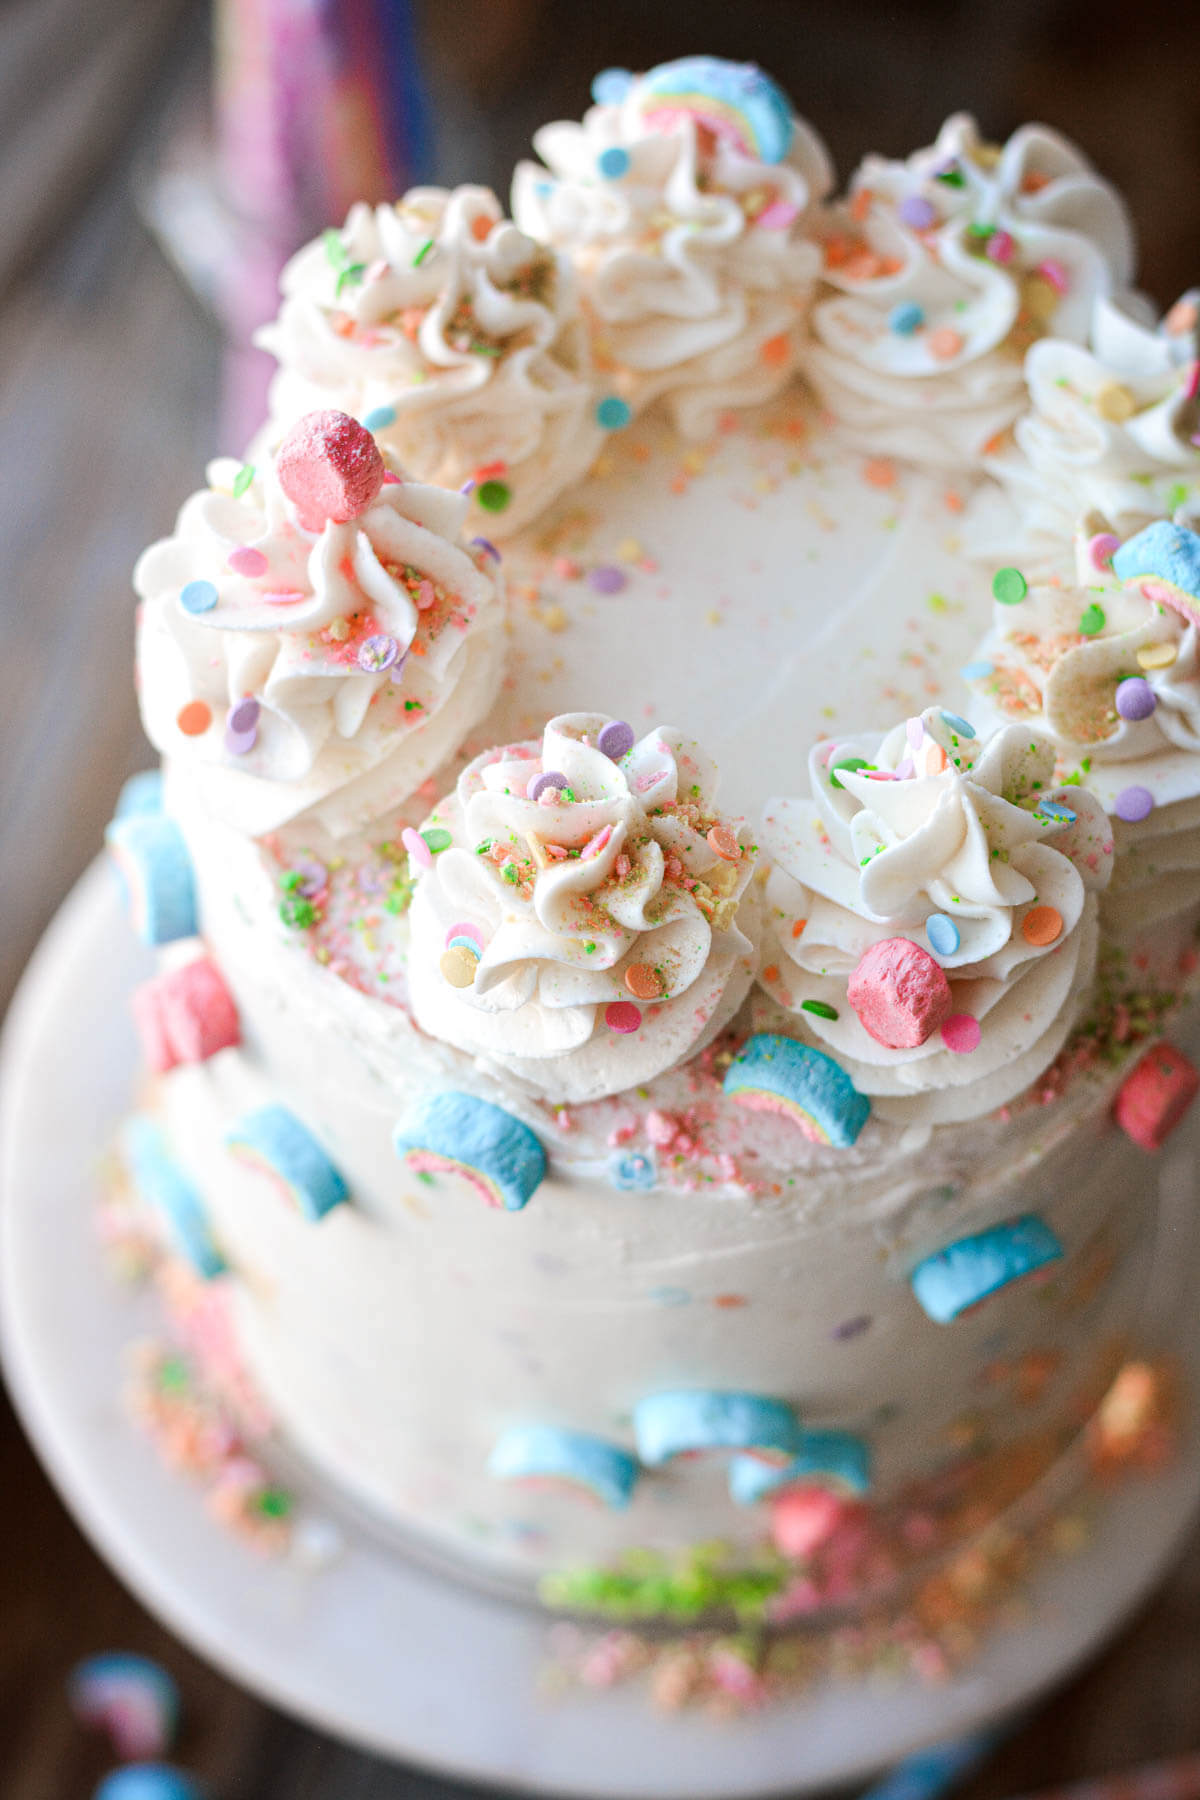
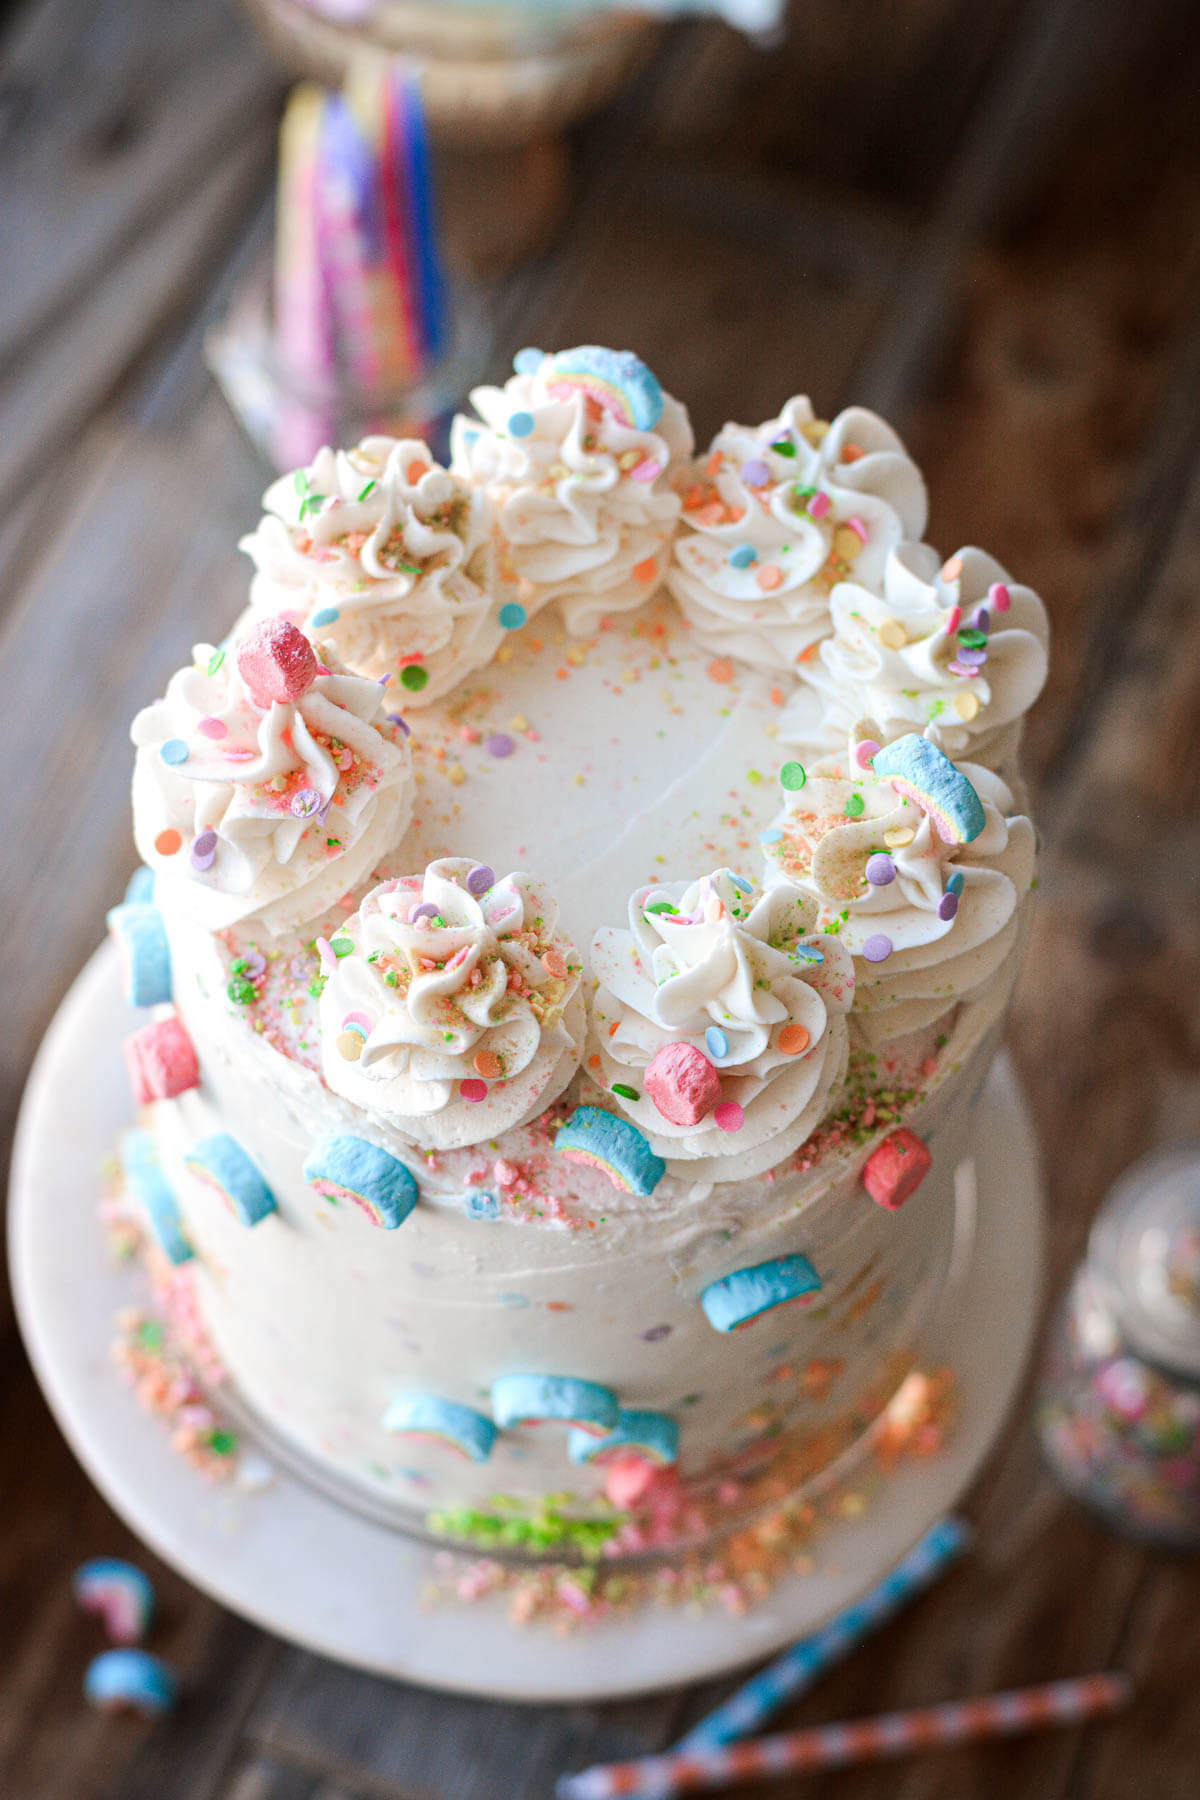
- If you like, fold a few tablespoons of sprinkles into the remaining buttercream, and frost the cake all over with a final coat of buttercream.
- Fit a piping bag with tip 2M, and fill with the leftover buttercream. Pipe the buttercream in decorative peaks on top of the cake.
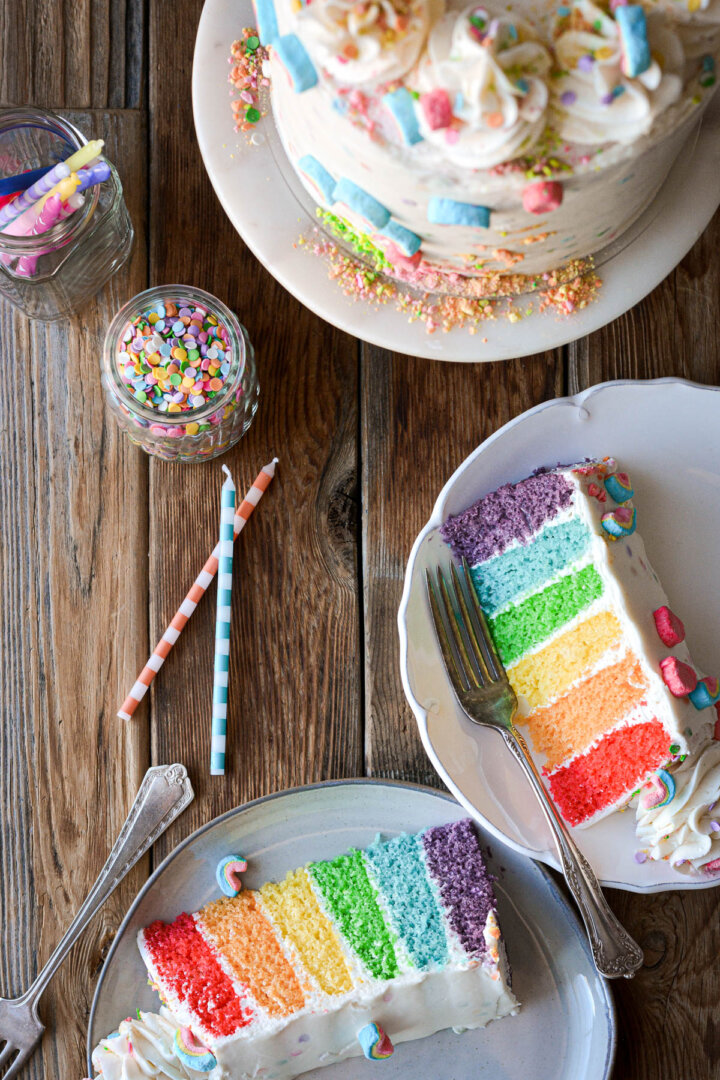
- Decorate the cake with Lucky Charms marshmallows and sprinkles.

Using Natural Food Dyes
Although I’ve previously used gel food coloring to color cake batter and buttercream, I’ve been interested in experimenting with more natural options. There are brands that sell natural food coloring, but I decided to make my own using fruit and vegetable powders. Of note, using these powders is a more expensive option.
There are likely other ingredients you can use for food coloring, but these are the ones that I’ve tried. When making the colors, mix the powder with a small amount of water first, to make a liquid paste. This will “bloom” the color, dissolving it a bit in the water for a more vivid color. Then mix the paste into your cake batter or buttercream. The small amount added does not noticeably affect the flavor of the cake.
- Red/Pink: Beet Root Powder (1/2 tsp) (where to buy beet root powder)
- Orange: Beet Root Powder (1/8 tsp) + Carrot Powder (1 tsp)
- Yellow: Carrot Powder (1 tsp) (where to buy carrot powder)
- Green: Matcha Powder (1/2 tsp) (where to buy matcha green tea powder)
- Blue: Butterfly Pea Flower Powder (1/2 tsp) (where to buy butterfly pea flower powder)
- Purple: Butterfly Pea Flower Powder (1/2 tsp) + an acid (Note that I added lemon juice to the butterfly pea flower powder, as the acid turns it purple. However, the additional acid affected the purple cake layer, and it didn’t rise well. Next time, I would try adding a pinch of the beet root powder to the butterfly pea flower powder, since red and blue makes purple.)
Be sure to read all of my BAKING FAQs where I discuss ingredients, substitutions and common questions with cake making, so that you can be successful in your own baking! I also suggest reading these comprehensive posts on making Perfect American Buttercream, How to Stack, Fill, Crumb Coat and Frost Layer Cakes and How to Use Piping Bags.
Frequently Asked Questions
Since I do so much baking, I have six 6-inch cake pans and six 8-inch cake pans. But I realize a lot of home bakers don’t have so many spare pans. If you only have 2 or 3 pans, you can bake the cake batter in batches. While baking the first batch, let the bowls of colored batter rest at room temperature. When you have a clean pan available, gently scrape the batter into the, trying not to mix it again or disturb it too much, and bake the remaining cake layers. Since baking powder is double acting, you should still get a rise from your cake even though some of the batter wasn’t baked immediately.
For my 6-inch cake, I scaled the recipe down to 2/3 the size of a standard cake. To bake this in six 8-inch cake pans, use my vanilla cake recipe found here.
Cake flour contains a lower percentage of protein than other flours, which is why it makes such light, fluffy cakes. You can use all-purpose flour instead, but the cake won’t be as light.
You can use either whole buttermilk or low fat buttermilk. To make your own buttermilk, add 2 tablespoons white distilled vinegar to whole milk, and warm briefly in the microwave to curdle the milk.
I recommend using gel food coloring, rather than liquid, for the most concentrated, vivid colors. See the section above on my experience using natural colors.
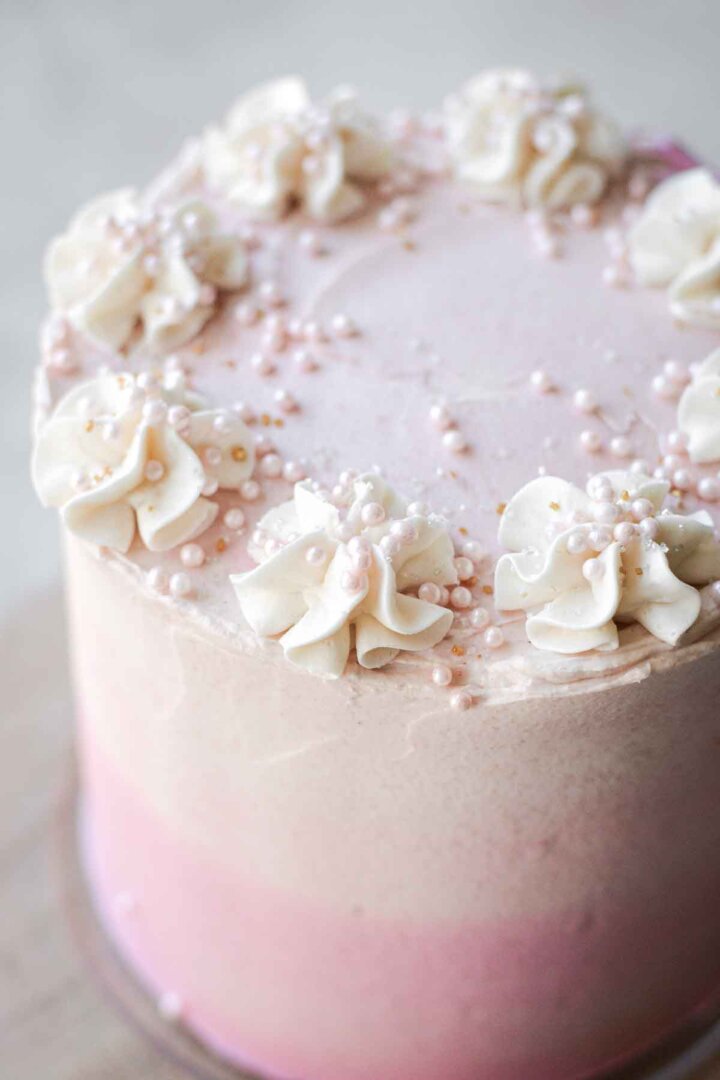
Tip 1M.
You Might Also Like
Please check out my Amazon Shop for a curated collection of some of my favorite cake pans from trusted brands, baking tools, ingredients, pretty things and fashion finds. I recommend products that I buy and use every day!
Did you love today’s recipe? Please rate the recipe and let me know in the comments what you thought! Also, be sure to follow Curly Girl Kitchen on Instagram, and tag me when you try one of my recipes so I can see all your delicious creations!
High Altitude Rainbow Birthday Cake
All recipes on Curly Girl Kitchen are developed for high altitude at 5,280 feet. See FAQs for adjusting to higher or lower elevations.

Equipment
- Six 6-inch cake pans
- Stand Mixer with Paddle Attachment
Ingredients
Cake
- 2 ⅓ cups cake flour, fluffed, spooned and leveled
- 1 cup granulated sugar
- 2 tsp baking powder
- ½ tsp coarse Kosher salt (if using table salt, use half the amount)
- 2 large eggs
- 1 large egg white
- 1 cup whole buttermilk
- ⅓ cup unsalted butter, melted
- ⅓ cup vegetable oil
- 1 ½ tsp vanilla extract
- gel food coloring: red, orange, yellow, green, blue and purple
Buttercream
- 2 cups unsalted butter, softened to room temperature
- 4 cups powdered sugar
- 1 tbsp meringue powder
- 2 tsp vanilla extract
- ⅛ – ¼ tsp coarse Kosher salt (if using table salt, use half the amount)
- 2 tbsp sprinkles (nonpareils or confetti sprinkles)
- Lucky Charms marshmallows
Instructions
Cake
- Preheat the oven to 350F, and position a rack in the center of the oven. Spray the bottoms of six 6-inch cake pans with non-stick spray.
- In a large bowl, sift together the flour, sugar, baking powder and salt. Whisk to combine well.
- In another large bowl, whisk together the eggs, egg whites, buttermilk, melted butter, oil and vanilla extract until smooth.
- Add the dry ingredients to the wet, and whisk until mostly combined and smooth, about 10-15 seconds. Don't over-mix, since you'll be mixing the batter again when you add the food coloring.
- Divide the batter evenly between 6 small bowls. Tint each bowl of batter separately with red, orange, yellow, green, blue and purple gel food coloring. Use 1-2 drops for more vivid colors, or use a toothpick to add just a tiny bit of color for pastel shades. Stir the coloring into the batter until combined.
- Scrape the 6 colors of batter into the prepared pans. Bake on the center oven rack for about 13-15 minutes, until the centers spring back when lightly touched. Since there's a small amount of batter in each pan, the layers will be fairly thin.
- Cool the cakes in the pans before assembling and frosting.
Buttercream
- In the bowl of your stand mixer fitted with the paddle attachment, beat the butter for 1 minute until smooth.
- With the mixer running on low, add the powdered sugar by spoonfuls, the meringue powder and the salt, mixing until thick and combined.
- Add the vanilla and the milk; increase speed to medium and whip for 4-5 minutes, scraping the bowl down several times, until light and fluffy.
Assembly
- Remove the cooled cakes from the pans.
- Set the purple cake on a cake board. Frost with a thin layer of buttercream. Repeat stacking and filling with the remaining colors, ending with red on top.
- Frost the cake all over with a thin crumb coat of buttercream, and chill for 30 minutes.
- Fold the sprinkles into the remaining buttercream, and frost the cake all over with a final coat of buttercream.
- Fit a piping bag with tip 2M, and fill with the leftover buttercream. Pipe the buttercream in decorative peaks on top of the cake.
- Decorate with sprinkles and Lucky Charms marshmallows.
Video
Notes
- Keep leftover cake in an airtight container at room temperature for up to 3 days.
- If you don’t have buttermilk, you can use whole milk + lemon juice instead; for every one cup of milk, simply replace one tbsp of milk with lemon juice.
 https://curlygirlkitchen.com/
Where did you get those cute candles?
I’ve found many of them on Amazon – there are links in my Amazon shop.