
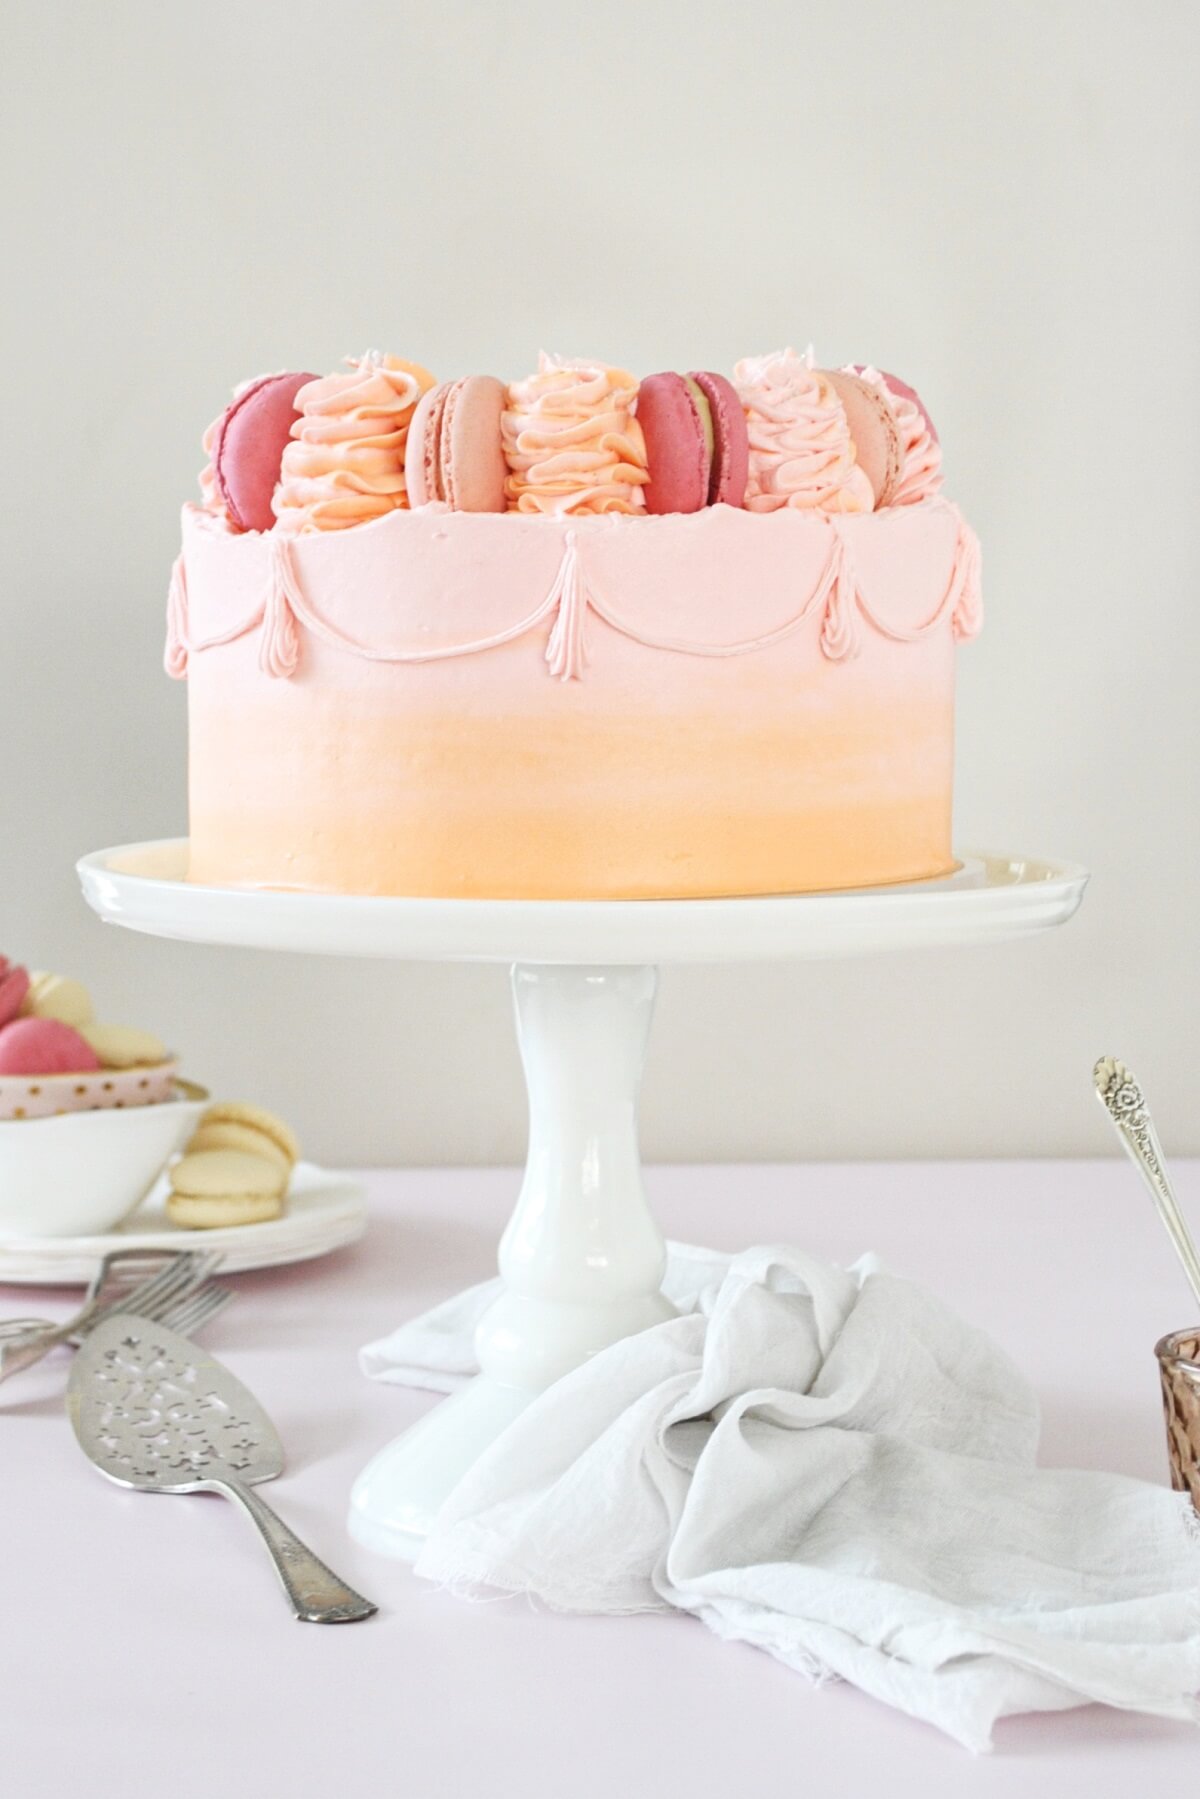
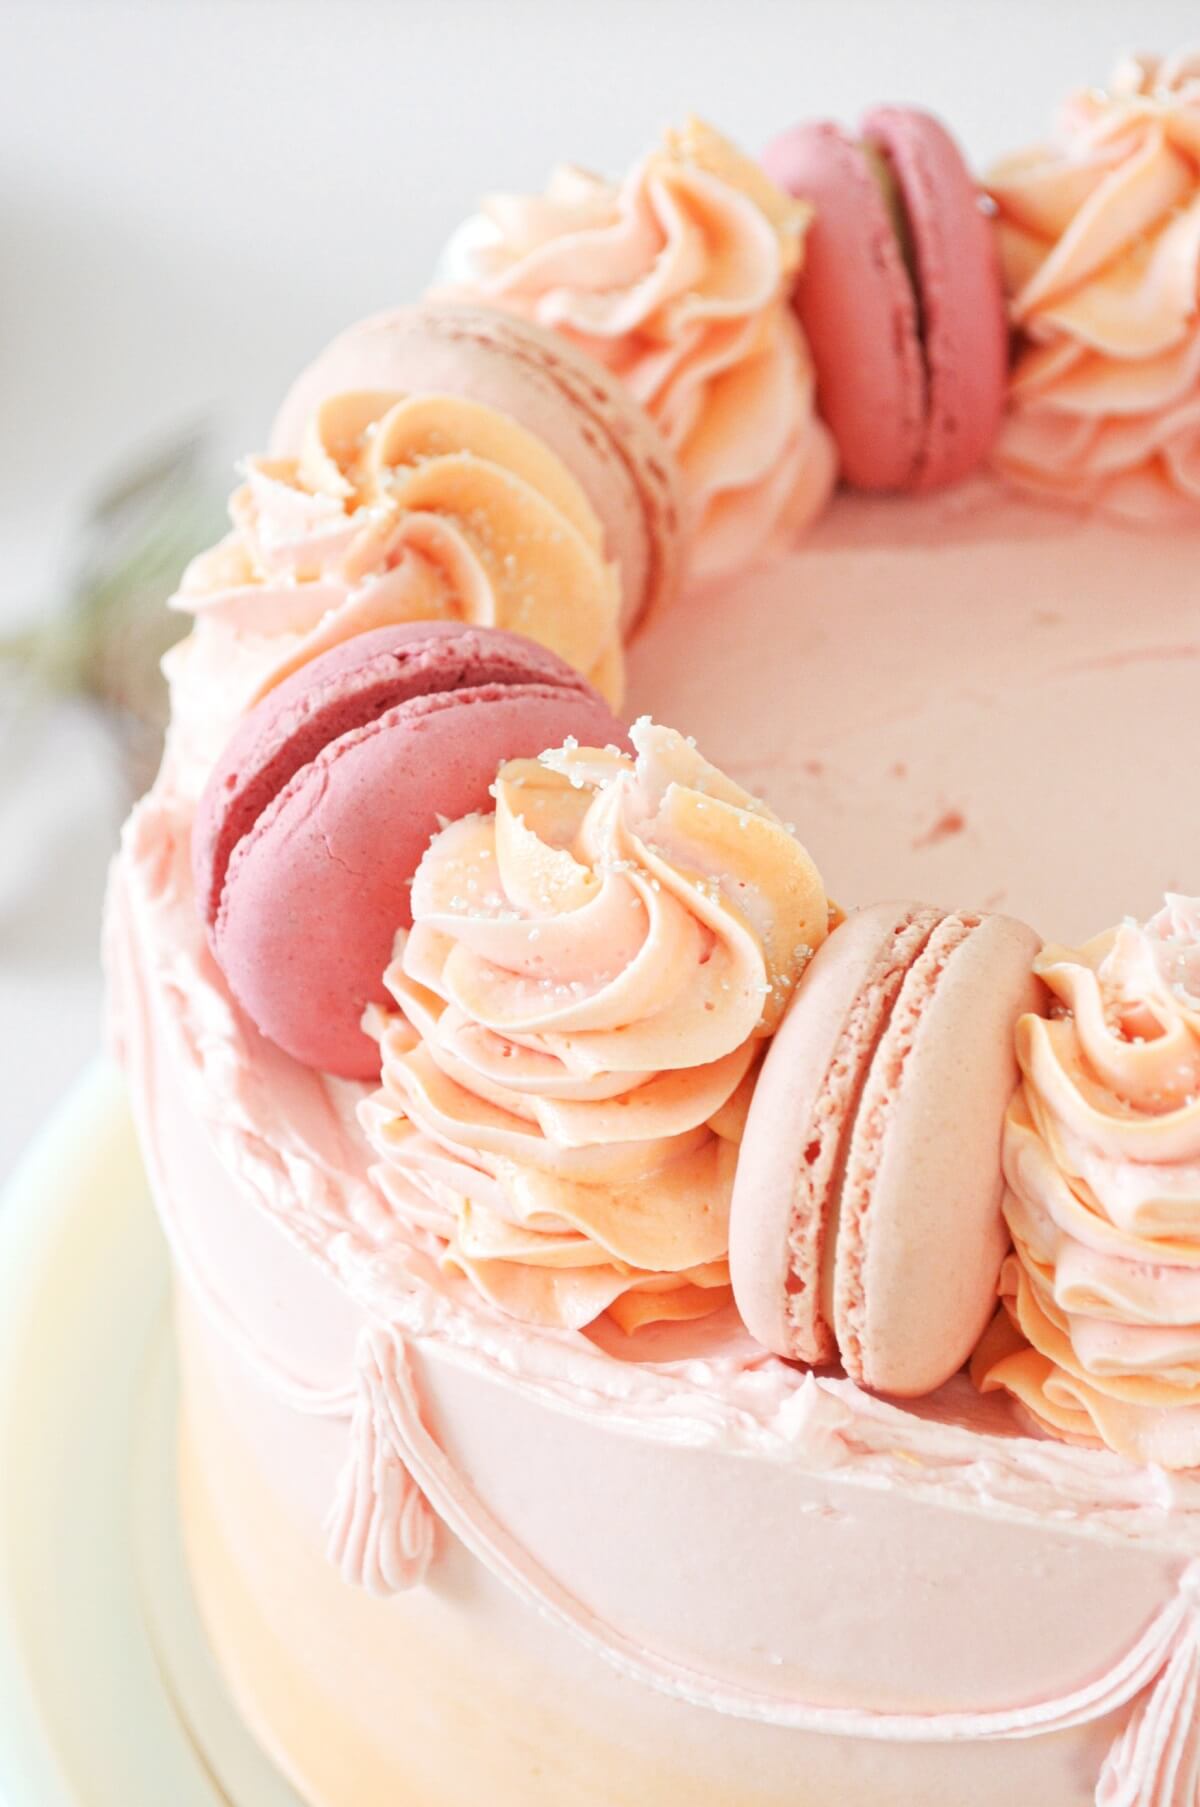
One of my favorite decorating techniques is watercolor buttercream – soft pastel hues, blended together to create the look of a watercolor painting. It’s just so pretty. For this Watercolor Buttercream Cake, I chose pale shades of pink and orange, swirling them together into a soft ombre watercolor effect, finished with a little piping, swirls of buttercream and pink macarons.
Looking for more cake decorating inspiration? You might like this chai tea spice cake, strawberry almond cake, and neapolitan cake.
This site contains affiliate links. As an Amazon associate, I earn from qualifying purchases. This means that I may make a small commission if you purchase a product using those links. This in no way affects my opinion of those products and services. All opinions expressed on this site are my own.
How to Make a Watercolor Buttercream Cake
This is a technique I just love. One of my favorite bloggers, Tessa Huff of Style Sweet, does this watercolor effect so beautifully. I have both of her cake books, and they are total eye candy. Her gorgeous work inspired today’s watercolor buttercream cake.
Frosting a cake with watercolor buttercream is really very easy. Once your cake is crumb-coated, tint your remaining buttercream in 2-3 complementary pastel hues. I chose pale orange and pink for mine, but there are so many color combinations that would be really beautiful.
Then I dabbed the orange buttercream around the bottom half, and the pink buttercream around the top half. Lastly, I took a bench scraper and smoothed the buttercream all around the sides until I was happy with how it looked. You could also do a more swirly effect, by dabbing both colors all over the cake and blending them together.
And if you’re a visual learner, Tessa has a great photo tutorial for this technique that you can view on her website here.
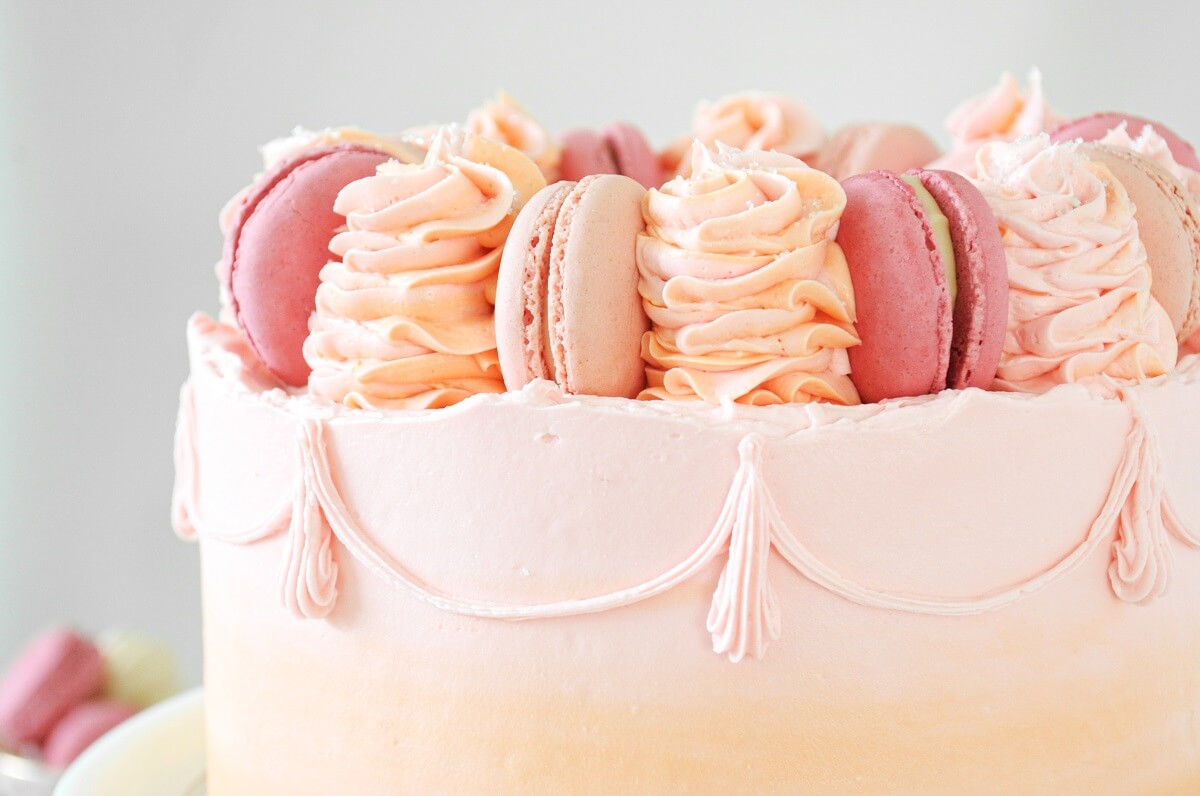
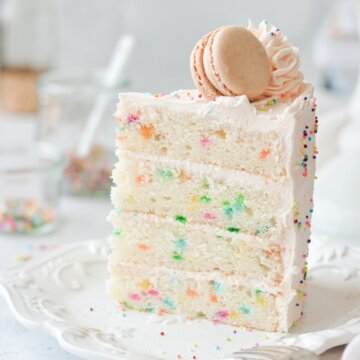
Lastly, I added a little decorative piping around the sides, and topped my cake with some pretty (storebought) French macarons and big swirls of buttercream.
Testing the Reverse Creaming Method
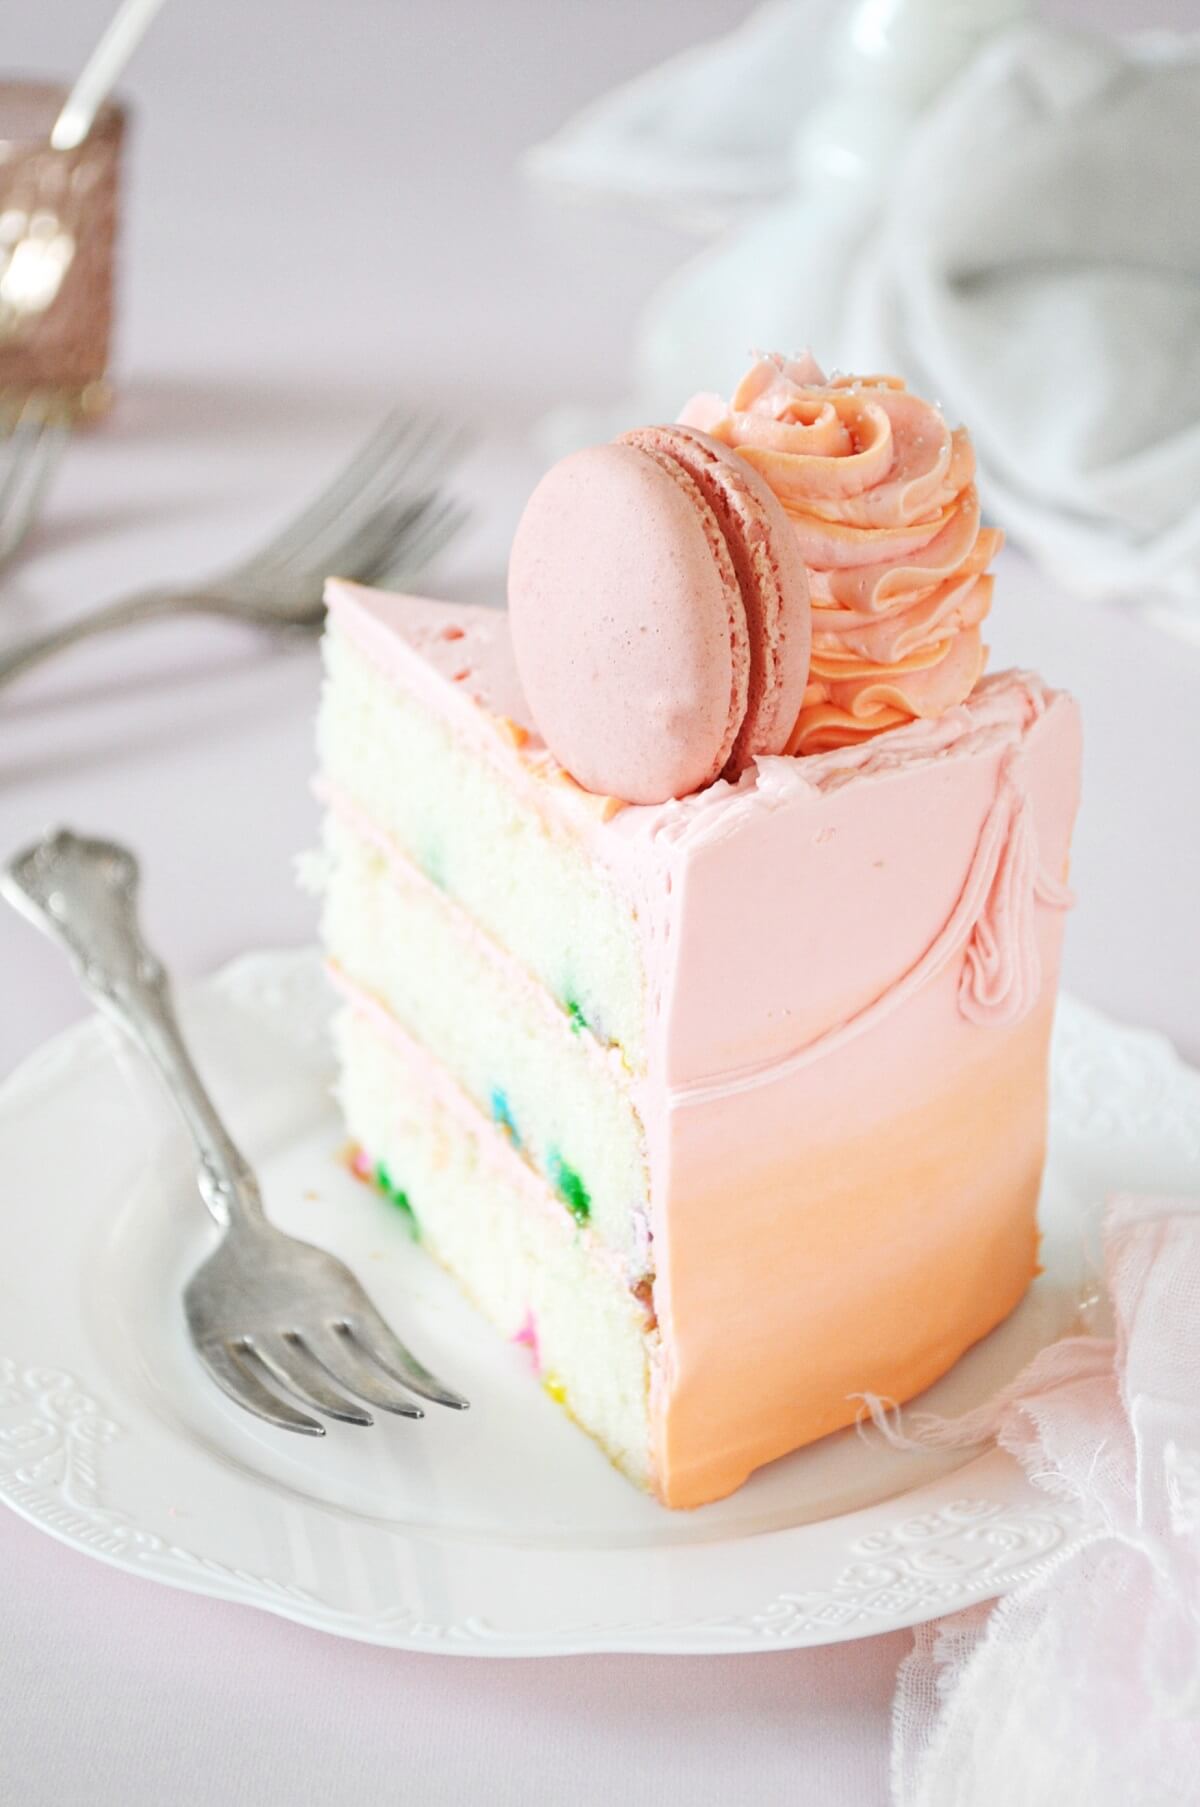
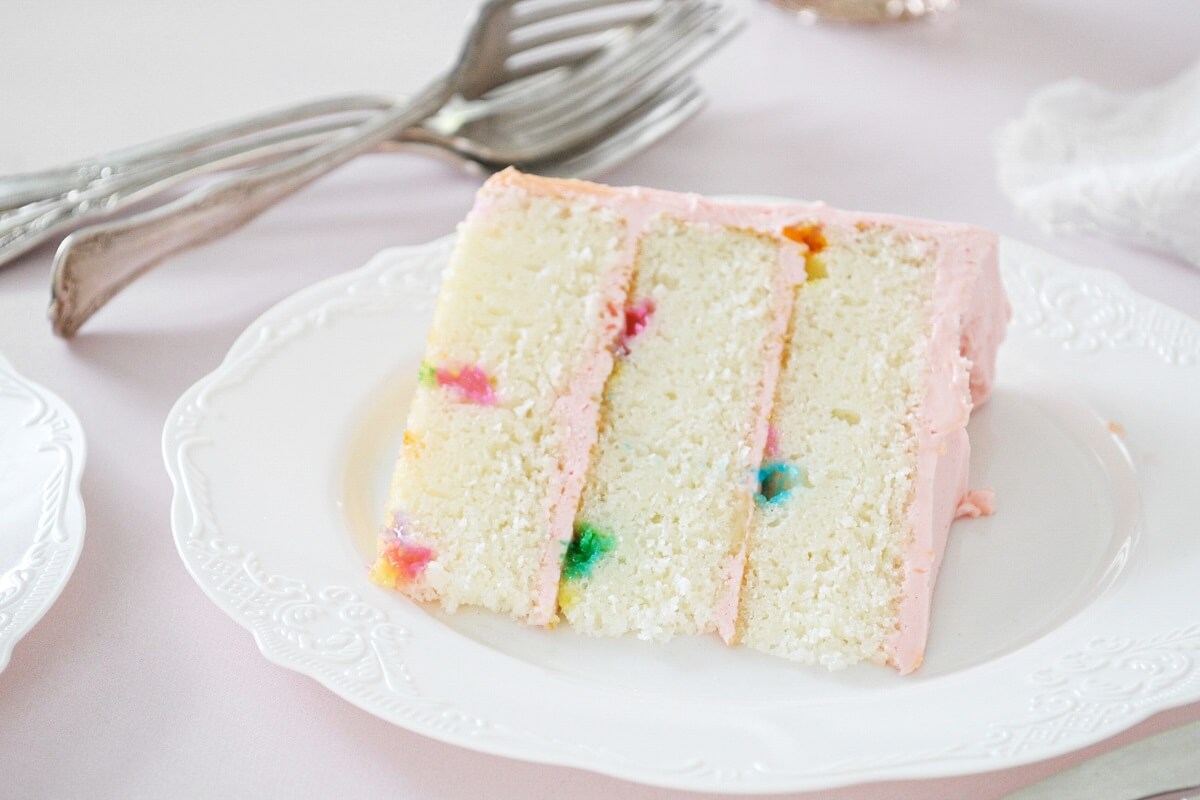
Today’s post is more about the cake decorating, than the cake recipe itself. And of course you can make this with any flavor of cake you like! I used my Funfetti Cake recipe, which you can find at the bottom of the post.
When I test my cake recipes, I like to test a few different variations with different mixing methods, adjustments to the leavening and other ingredients, etc, to come up with the best possible recipe. One method that I’ve long heard about is the “reverse creaming” method. Instead of first creaming the butter and sugar together, the butter is creamed with the sugar, flour and other dry ingredients until sandy and crumbly. Then the eggs and liquid are added at the end.
The purpose of the reverse creaming method is to coat the flour with fat, creating a luxurious mouth-feel and very tender crumb. I have to admit, it was a bit odd to me, since I’m so used to the standard creaming method. With the standard creaming method, you first cream butter with sugar, then add eggs, and lastly add the dry ingredients alternating with the liquid.
Results of the Reverse Creaming Method
The reverse creaming method finishes by mixing the batter on high speed after adding the remaining liquid, which threatened to fling batter all over my kitchen. But I forged ahead, following the recipe to the letter, and then folded in the sprinkles. The batter was thin, and I suspected that the sprinkles (which were very tiny nonpareils) would fall to the bottom of the pan, which they did.
In the end, though, the cake was delicious, soft, moist and tender, although in my opinion, not any more so than by using the traditional creaming method. So, would I use this method again? Honestly, no. It was a more finicky method to follow, as well as messier, and didn’t really live up to the hype.
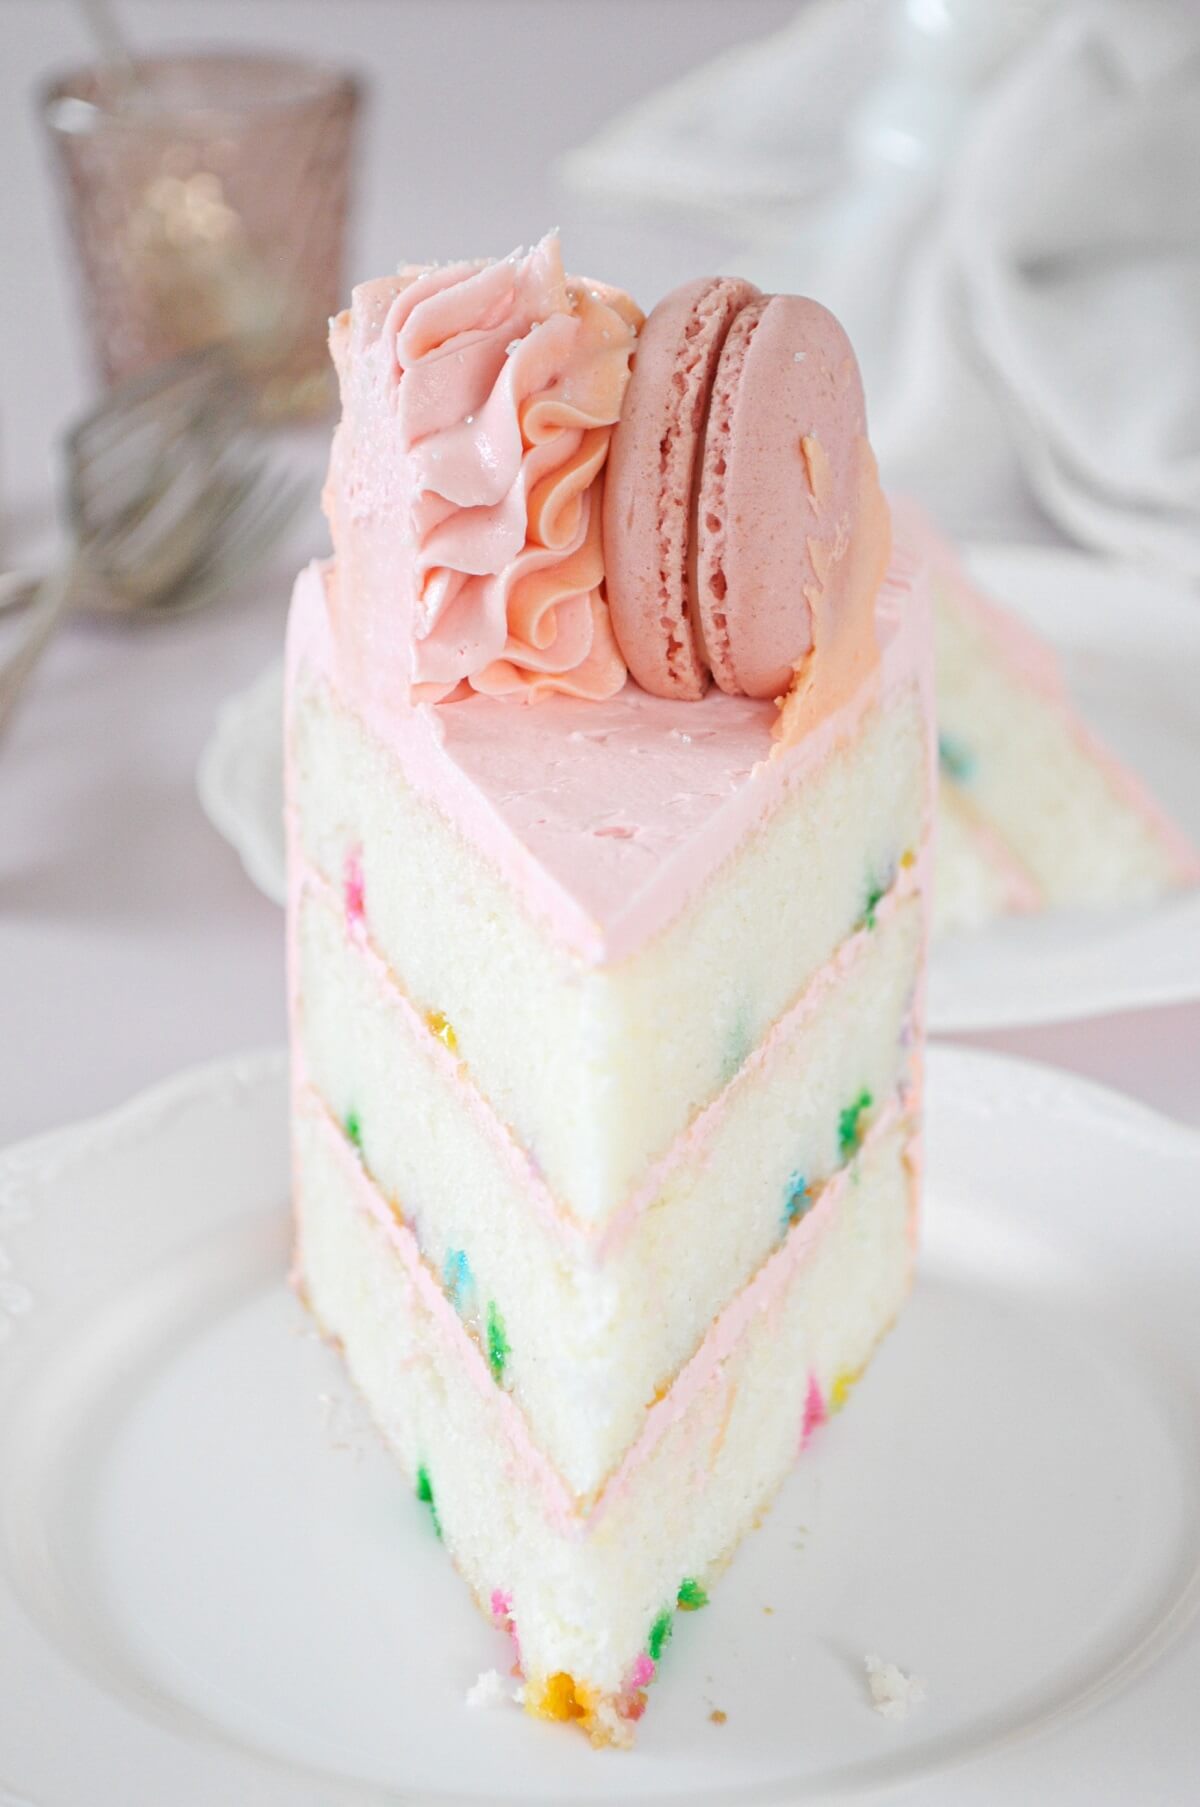
I’m completely happy with the results I get using the traditional creaming method. My recipe for Funfetti Cake is so incredibly moist, tender and fluffy, but also sturdy enough to suspend the sprinkles throughout the batter.
You Might Also Like


Please check out my Amazon Shop for a curated collection of some of my favorite cake pans from trusted brands, baking tools, ingredients, pretty things and fashion finds. I recommend products that I buy and use every day!
Did you love today’s recipe? Please rate the recipe and let me know in the comments what you thought! Also, be sure to follow Curly Girl Kitchen on Instagram, and tag me when you try one of my recipes so I can see all your delicious creations!
High Altitude Confetti Cake
All recipes on Curly Girl Kitchen are developed for high altitude at 5,280 feet. See FAQs for adjusting to higher or lower elevations.

Equipment
- Stand Mixer with Paddle Attachment
Ingredients
Cake
- 1 ½ cups unsalted butter, softened to room temperature
- 1 ¾ cups granulated sugar
- 6 egg whites room temperature (you can use fresh egg whites, or 3/4 cup liquid egg whites from a carton)
- 3 cups cake flour, fluffed, spooned and leveled
- 3 ½ tsp baking powder
- ½ tsp coarse Kosher salt (if using table salt, use half the amount)
- 1 ½ cups whole buttermilk, room temperature
- ½ cup sour cream
- 2 tsp vanilla extract
- 2 tsp almond extract
- ½ cup rainbow sprinkles, preferably quins or confetti sprinkles
Buttercream
- 2 cups unsalted butter, softened to room temperature
- 4 cups powdered sugar
- 1 tbsp meringue powder (optional)
- ¼ tsp coarse Kosher salt (if using table salt, use half the amount)
- 2 tsp vanilla extract
- 2-4 tbsp milk or cream, only if needed
- 2-3 drops "soft pink" gel food coloring
- rainbow sprinkles and French macarons, for decorating
Instructions
Cake
- Preheat the oven to 350 F, and position a rack in the center of the oven. Spray the bottoms of four 8-inch cake pans with non-stick spray.
- In the bowl of your stand mixer fitted with the paddle attachment, beat the butter and sugar on medium speed for 10 minutes, scraping the bowl occasionally, until very light and fluffy. Beat in the egg whites, one at a time, beating each for about 15 seconds before adding the next egg white. Scrape the bowl down and beat for 15 more seconds.
- In a separate bowl, sift together the cake flour, baking powder and salt. In another bowl, whisk together the buttermilk, sour cream, vanilla and almond extracts.
- With the mixer on low, add the flour mixture in three additions, alternating with the buttermilk mixture, starting and ending with the flour, being careful not to over-mix. Add the sprinkles and use a large spatula to briefly fold the sprinkles in, as well as any remaining bits of flour.
- Divide the batter between the pans, weighing each to make sure the batter is evenly divided. Use a spatula to smooth out the top of the batter.
- Bake the cakes on the center rack for about 28-30 minutes, until a toothpick in the center comes out clean or with moist crumbs clinging to it, and the centers spring back when lightly touched.
- Set the pans on a wire rack, cover loosely with a clean kitchen towel, and cool completely before frosting. As the cake cools, it's normal for it to pull away from the sides of the pan, and for the top of the cake to settle and flatten, since this is a slightly dense, butter-based cake.
Buttercream
- In the bowl of your stand mixer fitted with the paddle attachment, beat the butter for one minute until smooth.
- Whisk together the powdered sugar, meringue powder and salt. With the mixer on low, add the powdered sugar mixture by spoonfuls, mixing until combined.
- Add the vanilla, then whip on medium speed for 4-5 minutes until very light and fluffy, scraping the bowl occasionally. Add the milk only if needed for desired consistency.
- For the subtle blush color pictured, mix in 2-3 drops of "soft pink" gel food coloring.
- Stack and fill the cooled cake layers with the buttercream, then frost all over with a thin crumb coat of buttercream. Refrigerate for 20-30 minutes to set the crumb coat. Frost all over with a final coat of buttercream.
- Before the buttercream crusts over, place the cake over a baking sheet to collect any stray sprinkles. Scatter the buttercream with rainbow nonpareils and quins. Decorate the top of the cake with colorful French macarons.
Notes
 https://curlygirlkitchen.com/
Gorgeous.
sounds and looks so good
I love your website! Thank you for the recipe. If I wanted to decorate a cake with macarons, can I do it the night before? Or will the macarons wilt? Thank you!
I’ve done that, and it’s been just fine as long as the cake is refrigerated.