
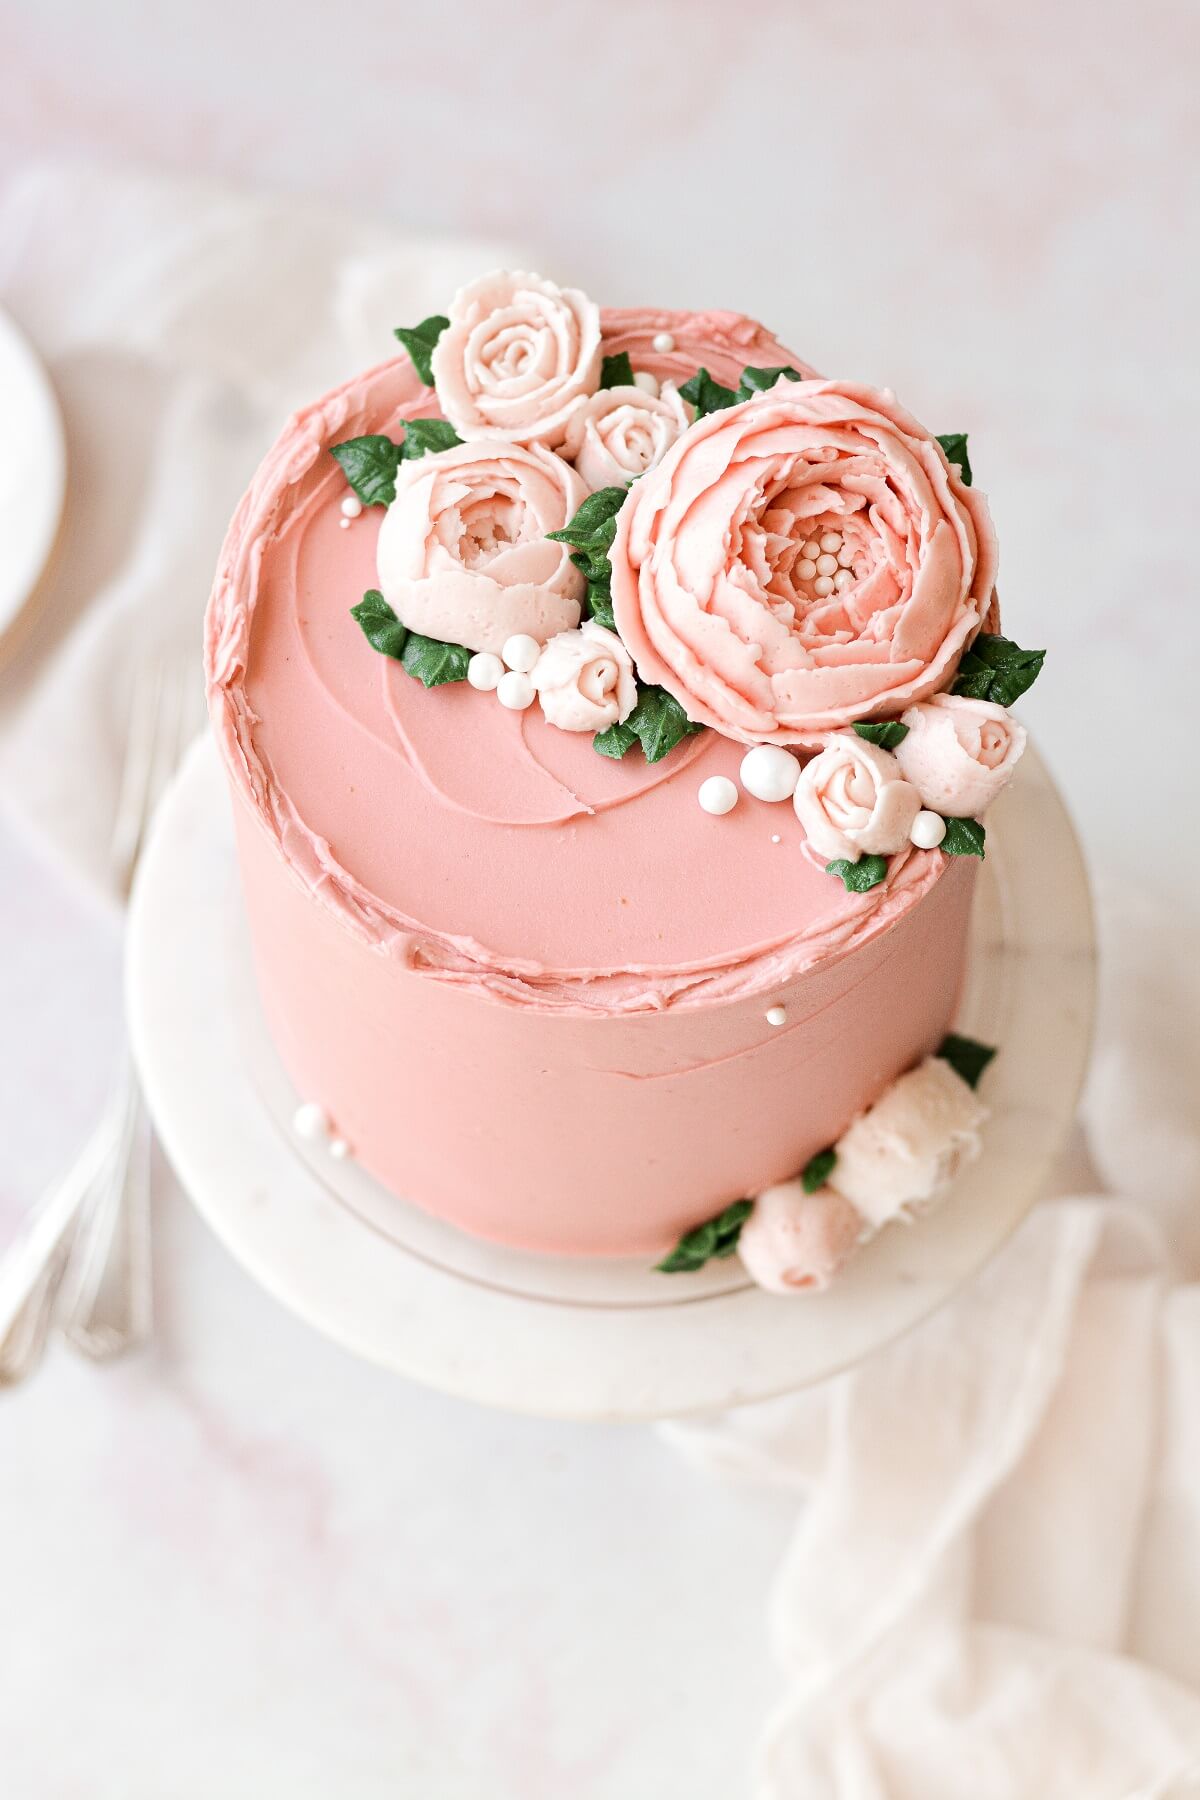
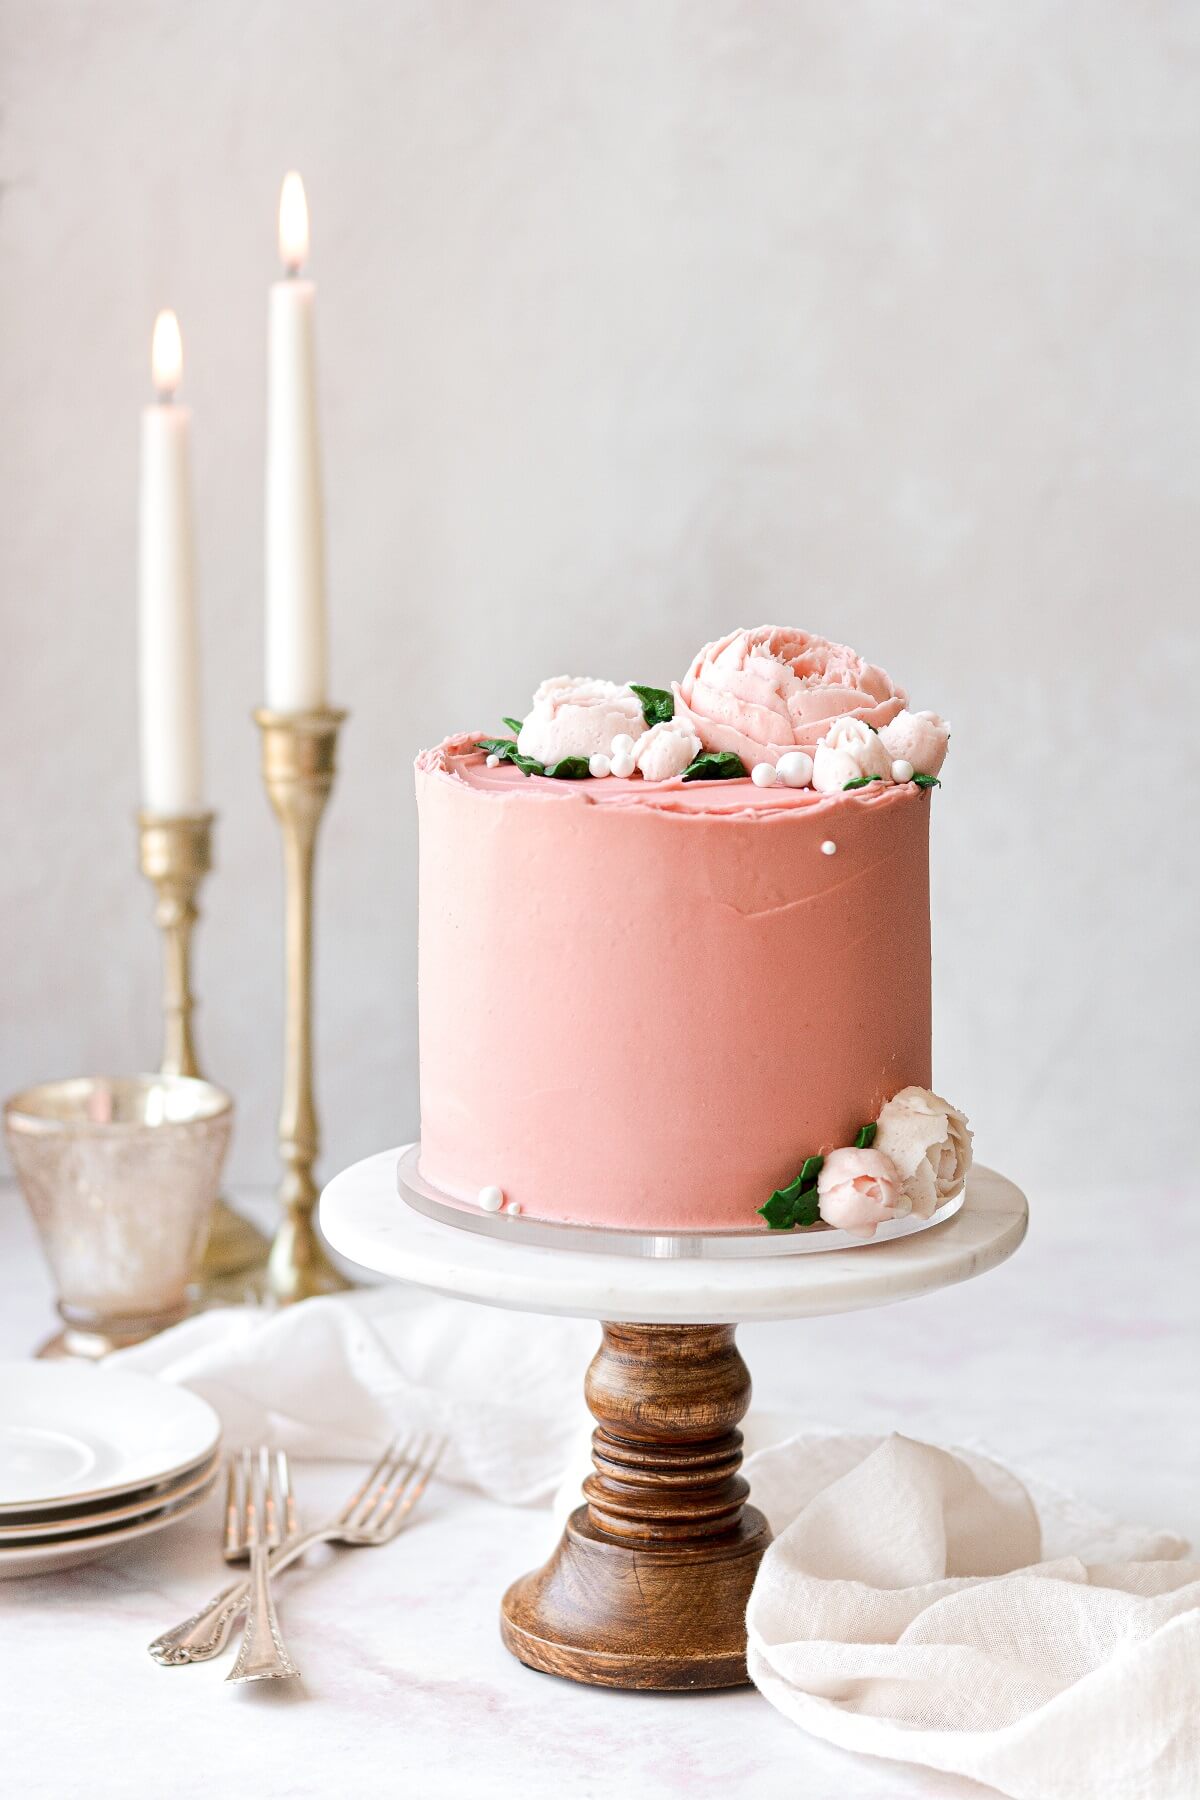
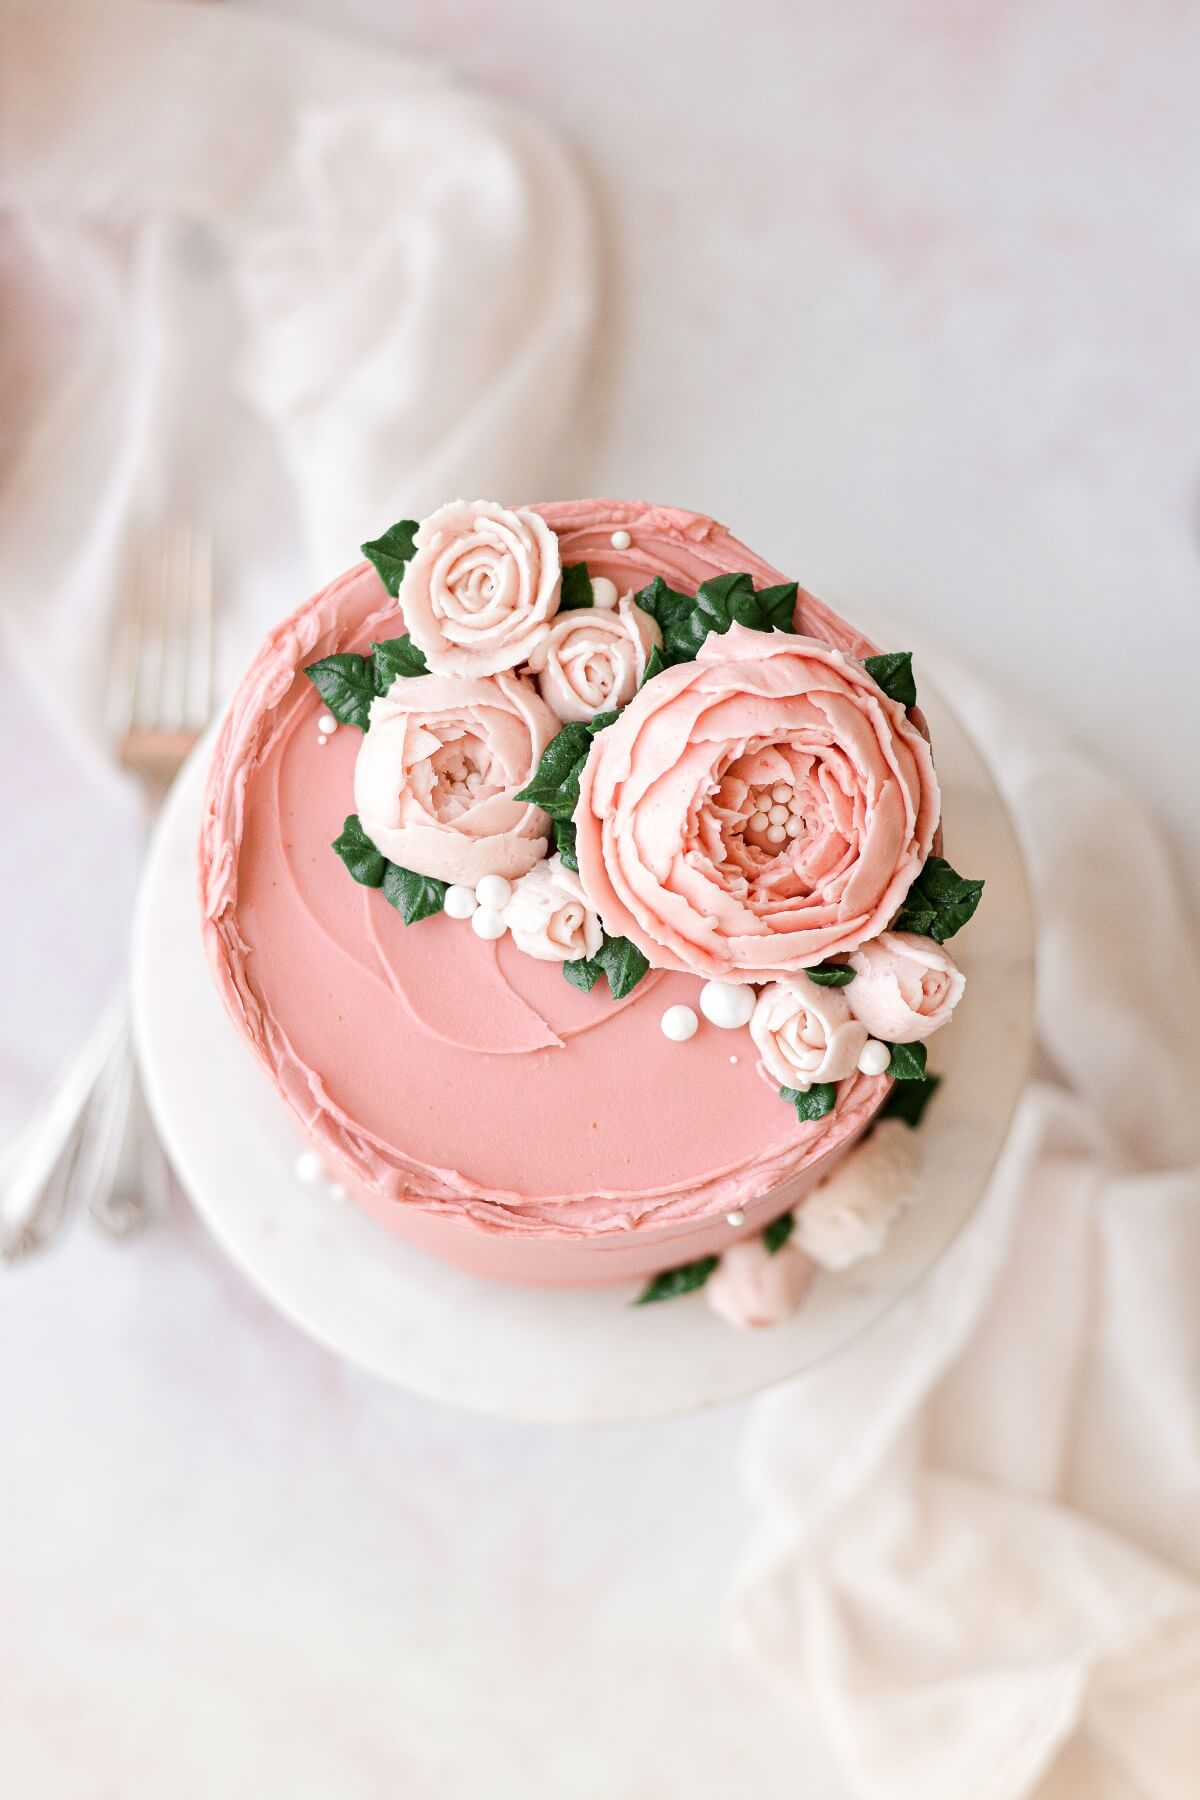
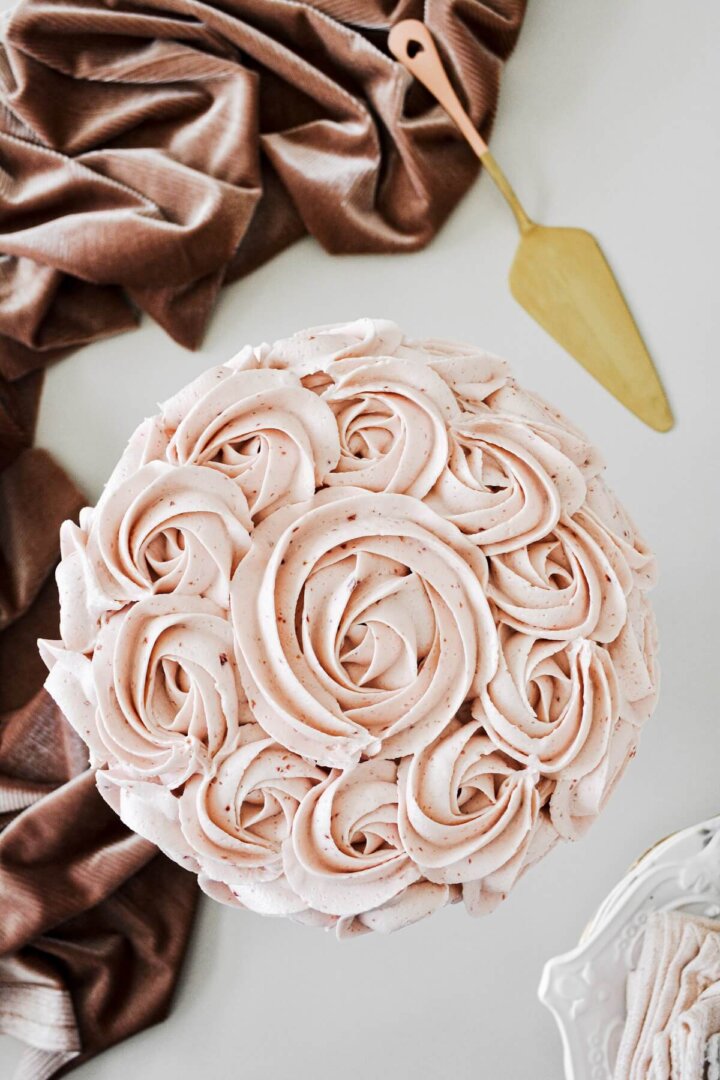
This beautiful cake features three layers of white velvet cake, frosted with pink buttercream, and decorated with piped buttercream flowers. A cake like this would be just stunning for Mother’s Day, an anniversary, or an intimate wedding!
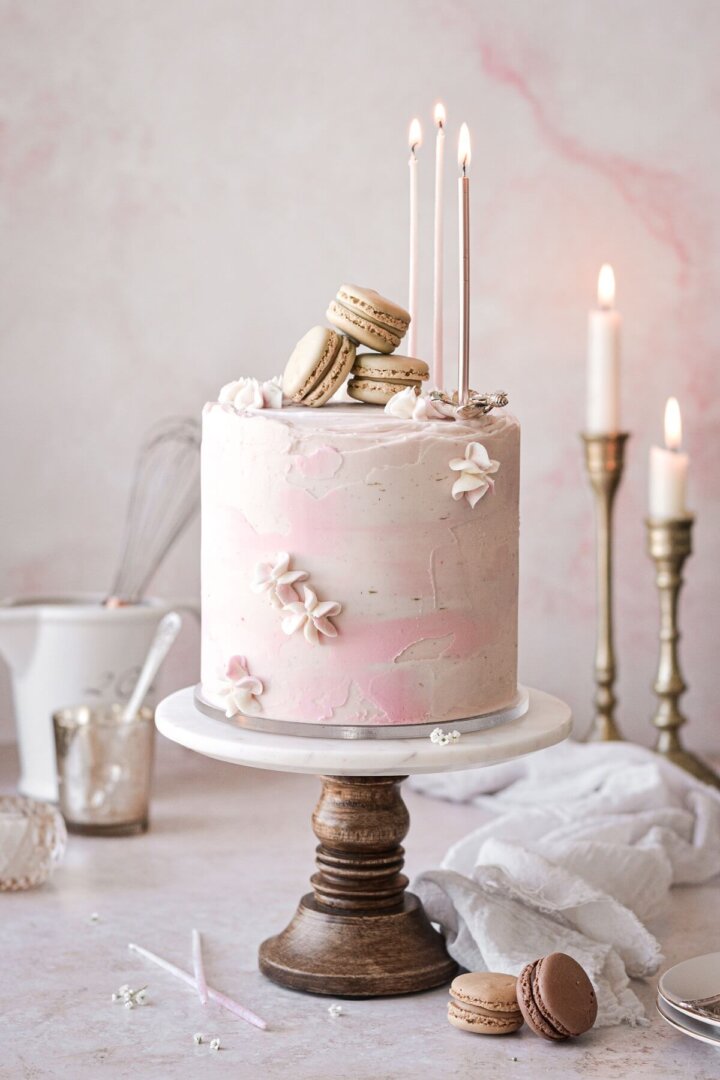
You might also love this textured watercolor buttercream cake, floral painted buttercream hummingbird cake, and DIY almond wedding cake.
This site contains affiliate links. As an Amazon associate, I earn from qualifying purchases. This means that I may make a small commission if you purchase a product using those links. This in no way affects my opinion of those products and services. All opinions expressed on this site are my own.
Piped Buttercream Flowers
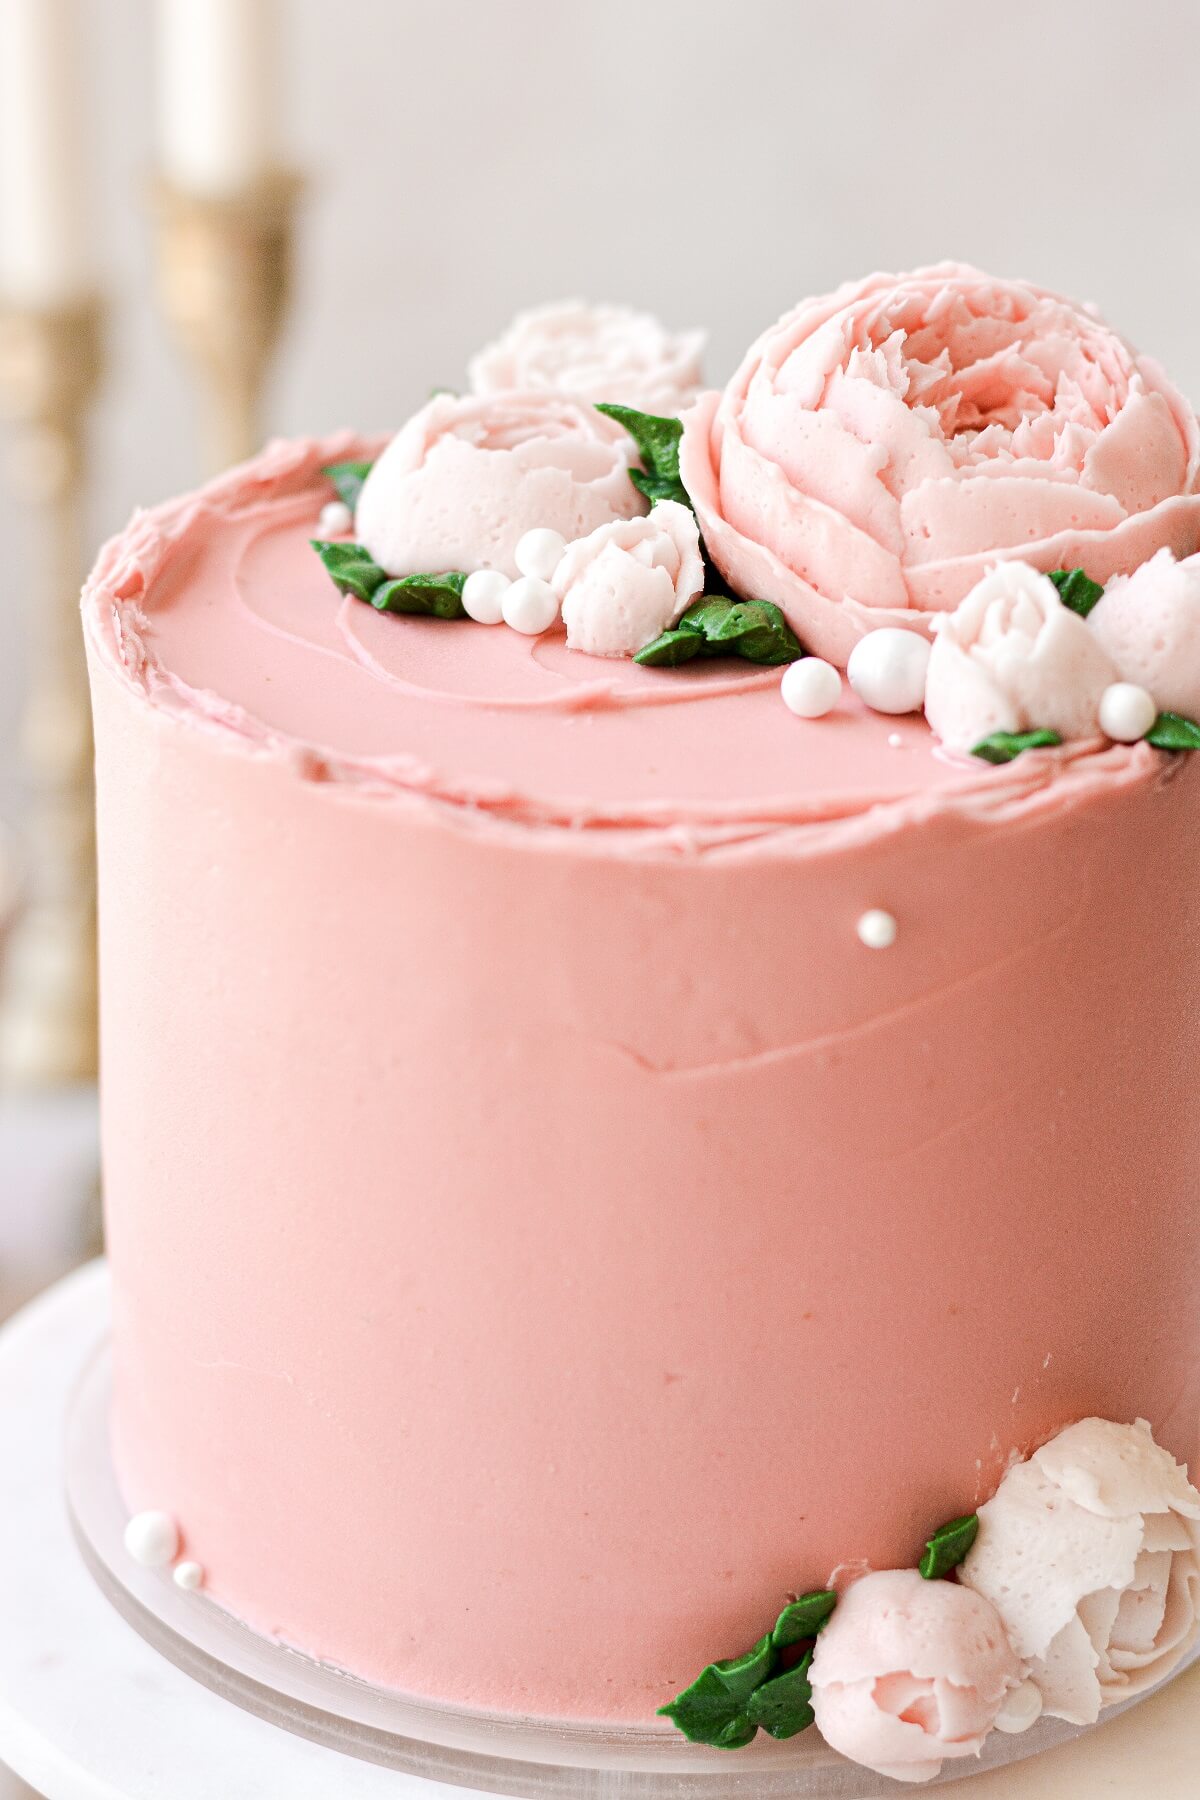
One way to elevate a simple cake is with some gorgeous piped buttercream flowers. I often have extra bits of buttercream left from frosting cakes, which I just freeze to practice with later. There are thousands of tutorials online for piping different types of flowers, and I tried a few from this Wilton tutorial. Some of my flowers looked awful at first, but I just scraped up the ugly ones back into the piping bag and tried again until I got the hang of it. The ones I ended up liking the best were the traditional roses and the ranunculus. On today’s cake, I also experimented with a peony, and I love how it turned out.
Tips and Reminders
- Use a “decorator’s buttercream”. This should be any buttercream that crusts over as it dries (although it stays soft underneath), and is stable and thick enough to hold its shape when piped. My perfect buttercream formula works great for this. I use this buttercream both for frosting cakes and piping decorations, although I will usually make it stiffer with extra powdered sugar when I need to do some piping. I would suggest making it a little stiffer than you think you need so that your flowers don’t droop and melt together as you pipe them. You can always add a tiny amount of milk or water if you need it a bit thinner. For a more stable buttercream, you can use shortening instead of butter.
- Choose a complementary color palette. I love the cakes with a rainbow of flowers, but you will go through a lot of piping bags with too many colors. I decided to limit mine to just a few shades of pink.
- Accept imperfections. Flowers in nature aren’t perfect, and your piping won’t be, either. Don’t worry, they will still look gorgeous! This goes for the color, as well. In fact, they will look far more natural if you don’t keep your color uniform. Let similar shades swirl together a bit for a more realistic look. And if you don’t like your flowers, just scoop them back up into the bag and try again.
- Get your tools ready. There are just a few things you’ll need – piping tips, of course, a flower nail, wax paper and a large baking sheet. Cut a bunch of little pieces of wax paper – you’ll need to place a piece on your flower nail (“glued” on with a dab of buttercream); piping the flowers onto the wax paper allows you to easily transfer them to your baking sheet to freeze.
- Keep frozen until ready to use. You’ll need to freeze and store them in a single layer. After freezing mine on a baking sheet, I transferred them to a few large air-tight containers to keep them fresh until I needed them. I would say you can probably make these a couple of months in advance. It’s kind of a pain having to store them in a single layer, but I don’t know of a good way to stack them, and even frozen, they can still get smushed. Once you have your cake frosted and ready to decorate, use a small icing spatula to slide the frozen flowers off the pieces of wax paper and place on your cake.
Be sure to read all of my BAKING FAQs where I discuss ingredients, substitutions and common questions with cake making, so that you can be successful in your own baking! I also suggest reading these comprehensive posts on making Perfect American Buttercream, How to Stack, Fill, Crumb Coat and Frost Layer Cakes and How to Use Piping Bags.
Related Posts
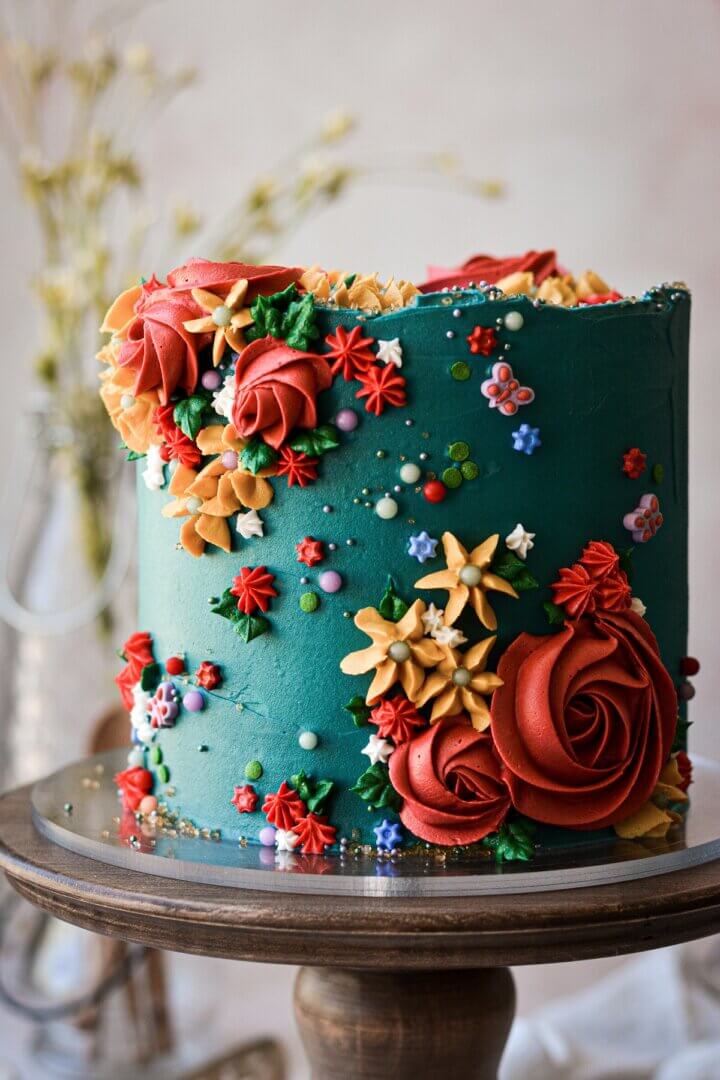
Painted Floral Buttercream Cake
Edible White Chocolate Flower Wedding Cake
You Might Also Like

Please check out my Amazon Shop for a curated collection of some of my favorite cake pans from trusted brands, baking tools, ingredients, pretty things and fashion finds. I recommend products that I buy and use every day!
Your cakes are always so pretty – love your talent!
What color did you use to tint the cake frosting?
I wish I could remember exactly, but I mixed it from a few other batches of buttercream I had leftover, some red, pink, white, and maybe even a little blue, which ended up as the color I used.
Beautiful cake and photography!
May I ask what piping tip you used for the peonies?
Thanks!