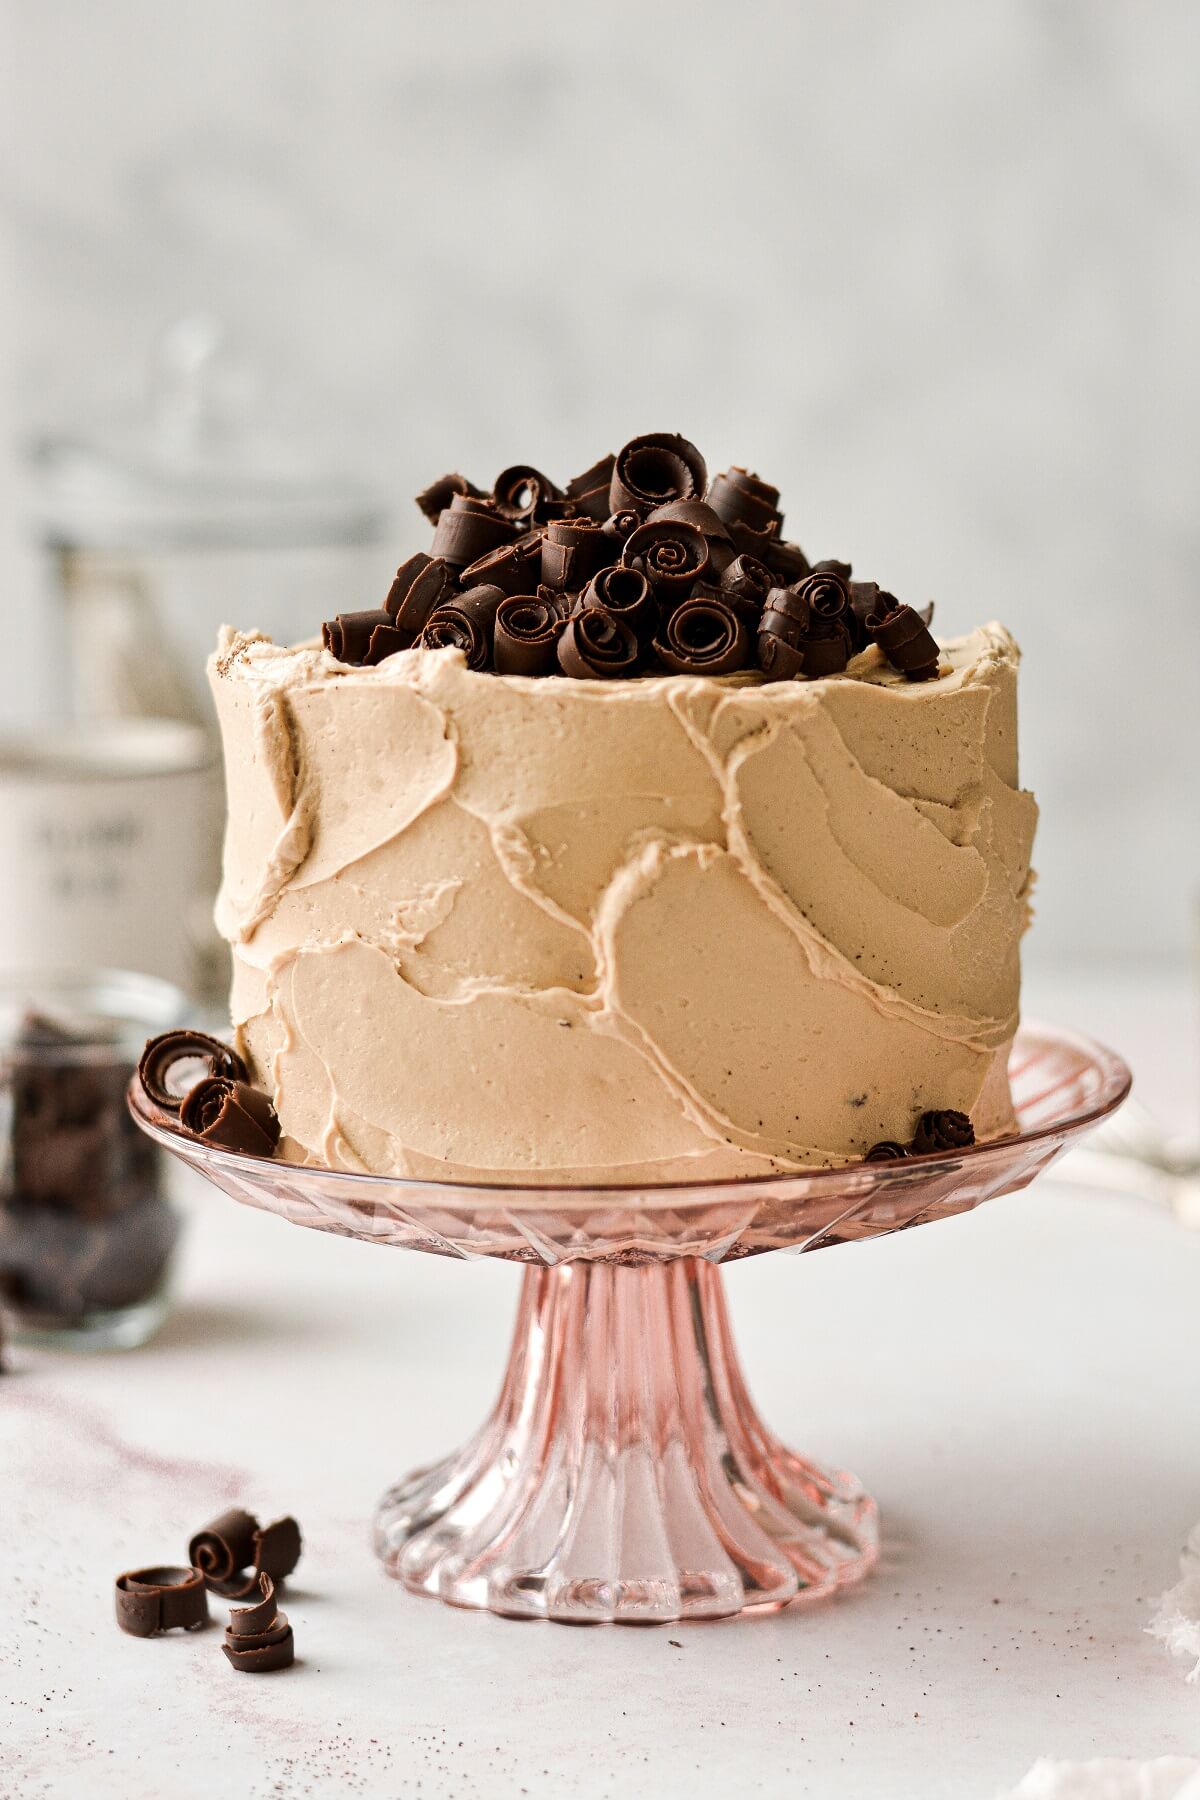
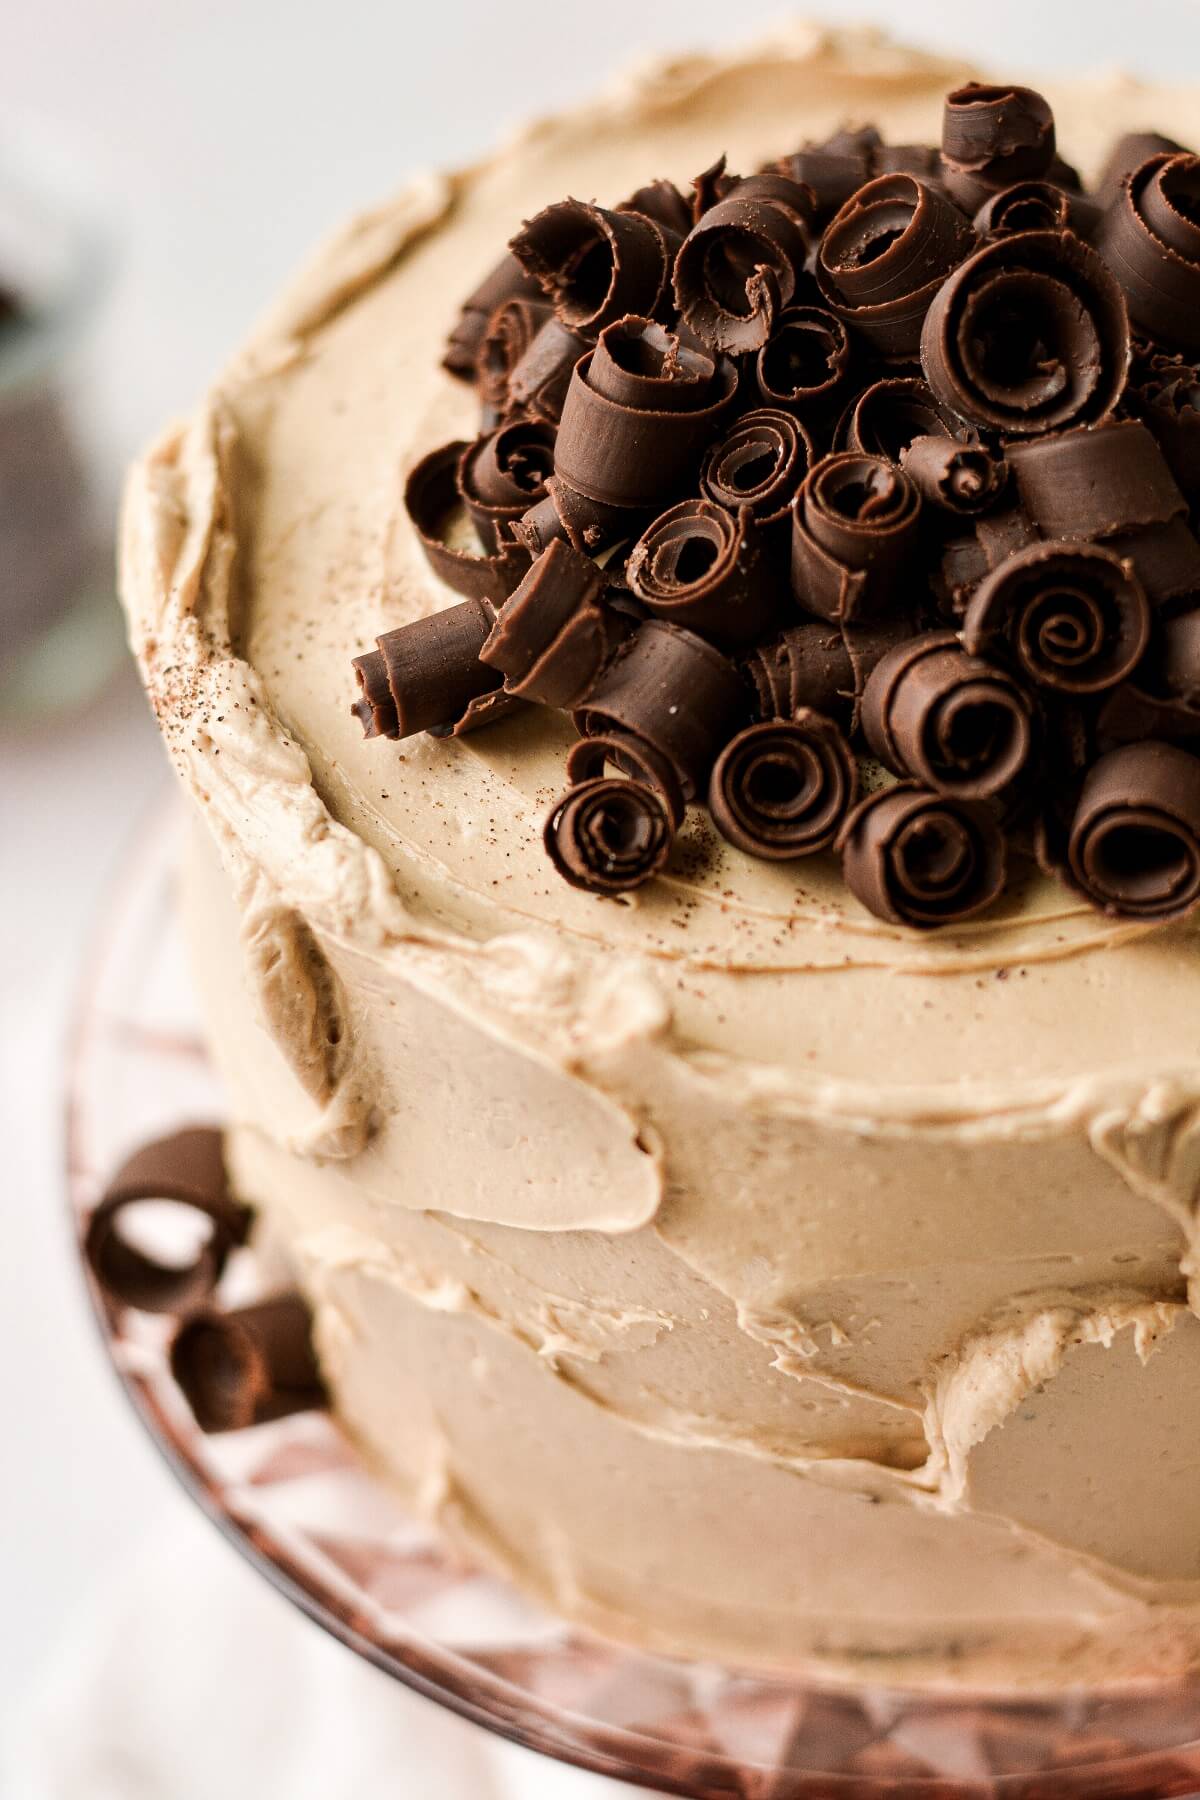
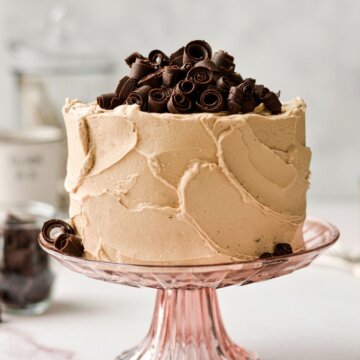
Chocolate and coffee are two of my favorite flavors to put together. A touch of espresso powder in brownies or chocolate cakes enhances the flavor of the chocolate, making it deeper, richer and more chocolatey. Today’s high altitude Chocolate Espresso Cake recipe features a moist and dark chocolate espresso cake, with fluffy coffee buttercream, and beautiful homemade chocolate curls for a gorgeous presentation.
Looking for more high altitude cake recipes? Don’t miss this brown butter carrot cake, hazelnut white chocolate cake, and chocolate truffle cake.
This site contains affiliate links. As an Amazon associate, I earn from qualifying purchases. This means that I may make a small commission if you purchase a product using those links. This in no way affects my opinion of those products and services. All opinions expressed on this site are my own.
Ingredients
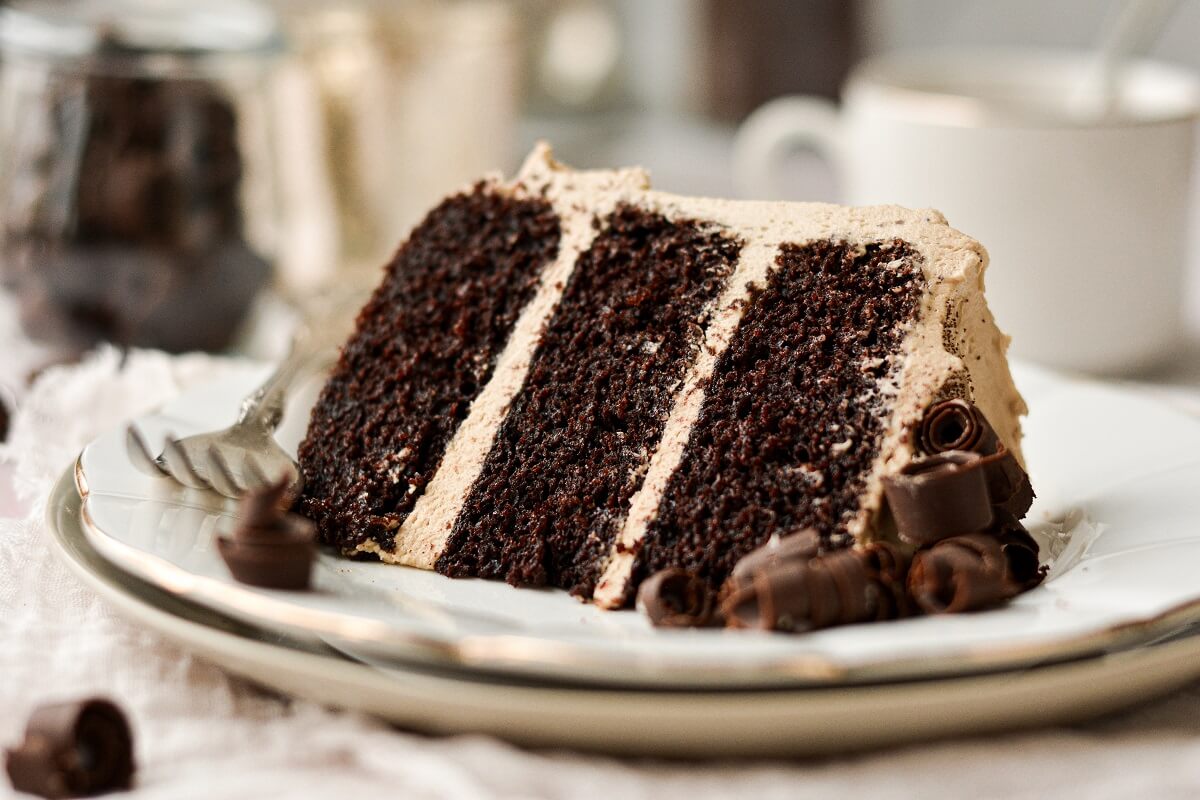
Flour. I prefer to use all-purpose flour, rather than cake flour, for my chocolate cakes. The flour provides structure to the batter.
Granulated Sugar. Adds sweetness and moisture.
Cocoa Powder. Use a good-quality, Dutch-processed (not natural) cocoa powder. Lately I’ve been using Rodelle and Drost for most of my chocolate cakes and brownies, and I used Drost for today’s recipe. It has a rich, deep flavor, and super-fine, soft texture.
Baking Powder + Baking Soda. Leavens the cake, making it rise.
Salt. Enhances the flavor of the chocolate, and balances the sweetness.
Eggs. Add structure and richness.
Milk + Sour Cream. I use a combination of whole milk and sour cream in my chocolate cake. The dairy adds wonderful flavor and richness, and the acid in the sour cream makes a very tender cake crumb.
Vegetable Oil. Moisture.
Vanilla Extract. Flavor. Use a good-quality extract like Nielsen-Massey. Your chocolate espresso cake deserves it.
Espresso Powder. Adds coffee flavor, and deepens the flavor of the cocoa powder. I use Medaglia D’Oro Instant Espresso Coffee, since it’s available at my grocery store. The flavor is great, and it makes a fantastic cup of coffee, too, when I’m in a hurry and just want to make a quick cup.
Instructions
Sift the Dry Ingredients.
First, you should always sift your dry ingredients. I do this simply by placing a mesh strainer over a bowl, and measuring into the strainer my flour, sugar, cocoa powder, baking powder, baking soda and salt. Then whisk it all together until everything is evenly distributed. Sifting and whisking aerates the ingredients, as well as ensures there are no lumps in your flour or cocoa powder which might not get mixed into your batter.
Whisk in the Liquid Ingredients.
Now, add the eggs, milk, sour cream, oil, vanilla and espresso powder, and whisk to combine. Divide the batter between your greased pans.
Bake and Cool.
The cakes will take about 25-30 minutes to bake. Then let them cool completely on a cooling rack, with the pans covered loosely with a clean kitchen towel. Always make sure your cakes are cool before frosting your cake, or you’ll melt your buttercream.
Coffee Buttercream
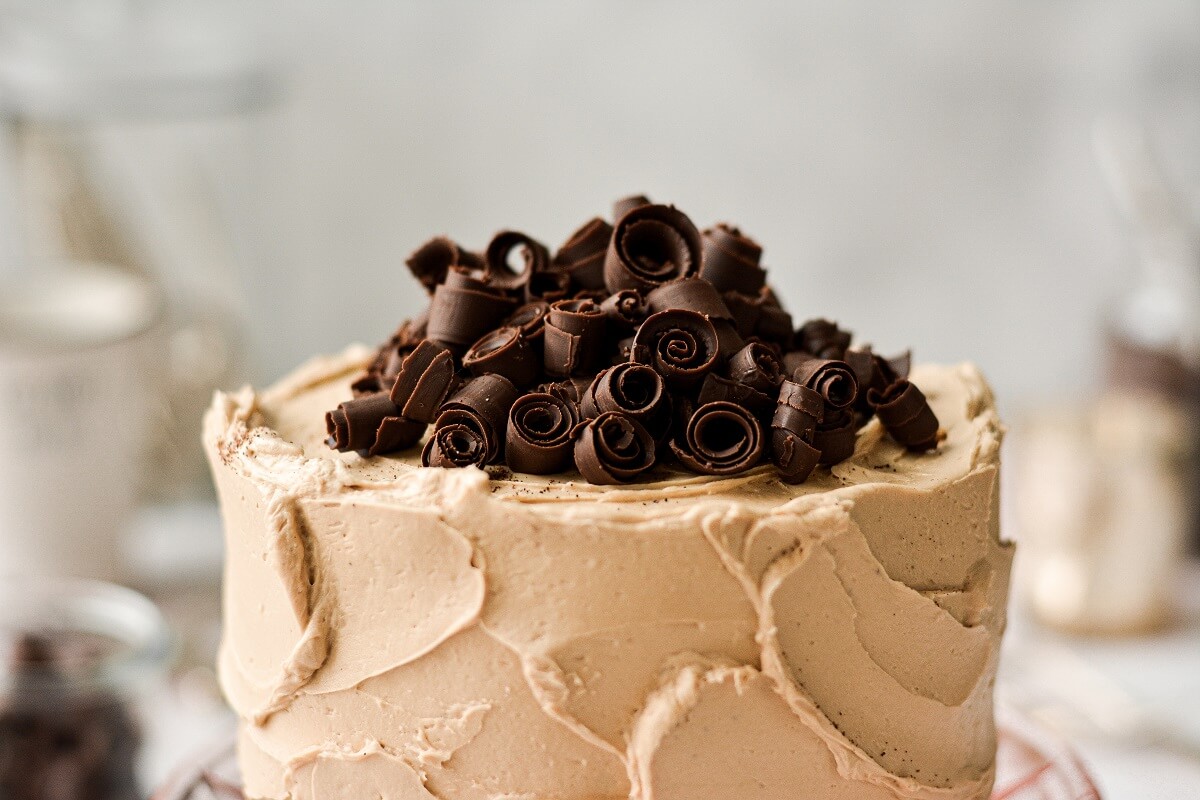
So, although there is espresso powder in the cake, the real coffee flavor in this cake is in the buttercream. If you struggle with making good buttercream, I’d encourage you to read my comprehensive post, How to Make Perfect American Buttercream. I promise I can help you make the best buttercream you’ve ever tasted.
To really infuse the coffee flavor into the buttercream, the espresso powder needs to be dissolved first. If you just add the dry espresso powder right into your buttercream, it will taste good, but you won’t extract all its flavor. So I dissolve the espresso powder in a little milk or cream first, and then add the liquid to my buttercream. It gives this coffee buttercream such a delicious punch of flavor that’s just fantastic with the dark chocolate cake.
How to Make Chocolate Curls
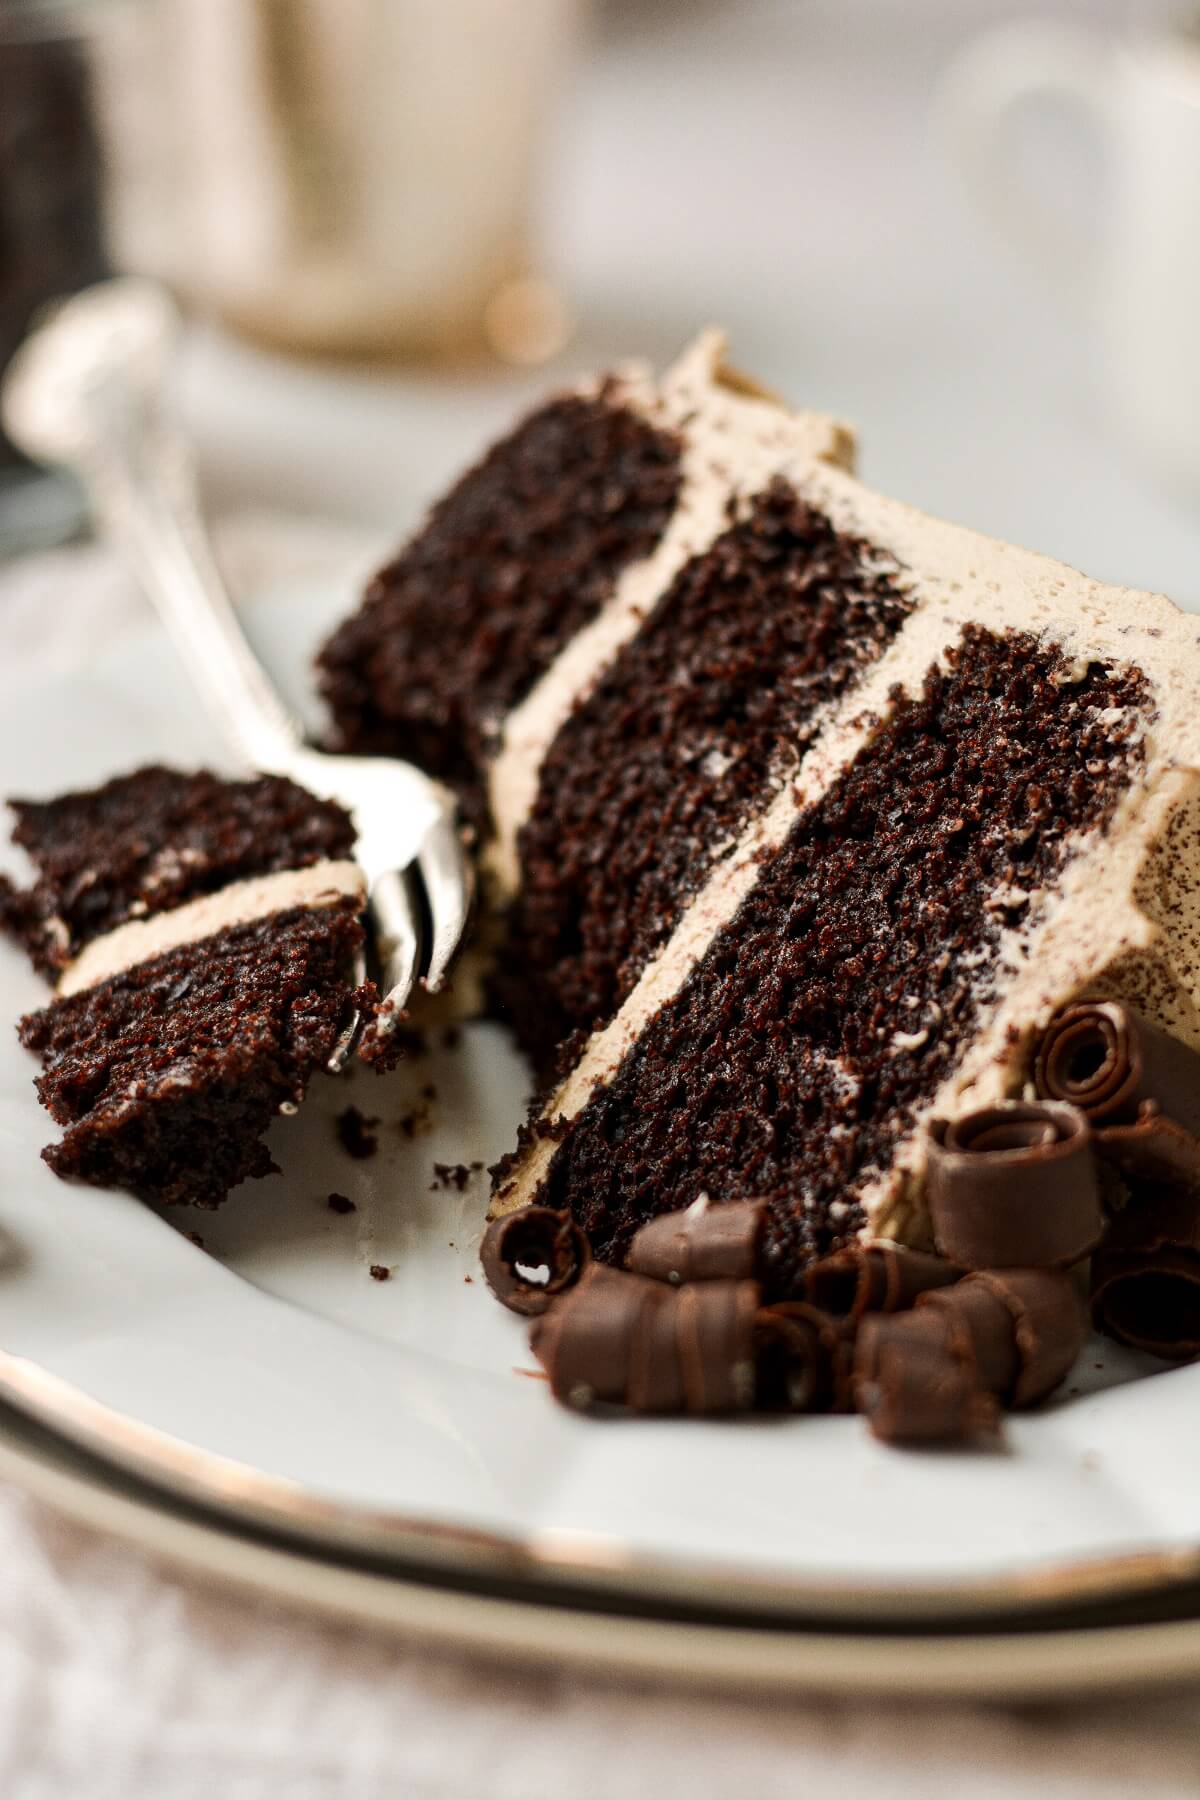
To decorate my chocolate espresso cake, I decided to make some beautiful homemade chocolate curls. If you’ve never made chocolate curls before, there are a few steps that you need to take to make sure that your curls turn out beautifully.
Use Good Quality Chocolate.
- You’ll need to use a good quality, great-tasting chocolate that melts smoothly. It also should be just chocolate (no add-ins like chopped nuts or toffee or caramel, etc). I used Chocolove Dark Chocolate for mine, and it worked beautifully.
- Personally, I wouldn’t recommend using chocolate chips to make chocolate curls. The reason being that they have other additives that prevent them from melting as smoothly. Also, chocolate chips often have chocolate “bloom”, which will appear on your chocolate curls after they set up. You want a good chocolate with no bloom on it.
- When making chocolate curls, you’ll also need to add a little shortening to the melted chocolate. This helps smooth out the chocolate and makes it more pliable for curling.
Use the Right Pan.
- After melting your chocolate, you’ll need to spread it thinly onto a baking sheet or glass pan. I’d caution against metal baking sheets, though. They usually have a coating of some kind, which can scrape off with your chocolate curls. Gross.
- A glass pan, like a 9×13 pan, is the best option, as it’s uncoated.
- I’ve also tried making chocolate curls by placing a sheet of parchment paper on a baking sheet. I made it work, but the problem with parchment paper is that the chocolate has the tendency to not stick to the paper, instead just lifting off in sheets, instead of curling.
Update: After making chocolate curls a few times now, I’ve had the best luck spreading the chocolate directly onto a plastic cutting board. It works perfectly.
Be Patient and Relax.
- Making chocolate curls isn’t difficult, once you get the hang of it. Just expect to take the chocolate in and out of the refrigerator over and over, to get it to the right temperature for curling.
- And remember, if you mess up, you can just melt the chocolate down again and start over.
The Process for Making Chocolate Curls.
- Use a double boiler (a heatproof bowl set on top of a saucepan of simmering water), to melt the chocolate and shortening, stirring until smooth. Remove from the heat.
- Pour the melted chocolate and shortening onto the bottom side of a 9×13 glass baking dish. Use an offset spatula to spread the chocolate out into a thin layer, near the edges.
- Set the pan in the refrigerator and chill for several minutes, just until the chocolate is firm, and you don’t see any wet patches in the center.
- Remove the pan from the refrigerator. Using a putty knife or bench scraper, hold it at a 45 degree angle and push the chocolate away from you, letting it curl up. You can make the curls as wide or as narrow as you like; I made mine about 1/4 – 1/2 inch wide, so that I could pile lots of little curls on top of my chocolate espresso cake.
- When you push against the chocolate, if the chocolate flakes instead of curling, then it’s too cold; wait 20-30 seconds and try again. If the chocolate doesn’t curl, and just pushes up in sheets, then it’s too warm. Place the pan back in the refrigerator for 45-60 seconds, and try again.
- You will need to work quickly, but be patient. You’ll likely need to return the pan to the refrigerator several times throughout the process.
- As you make your curls, use tweezers to transfer them to a container. Cover and refrigerate until needed, then use tweezers to place them on your cake (the heat of your fingers can quickly melt the curls).
Be sure to read all of my BAKING FAQs where I discuss ingredients, substitutions and common questions with cake making, so that you can be successful in your own baking! I also suggest reading these comprehensive posts on making Perfect American Buttercream, How to Stack, Fill, Crumb Coat and Frost Layer Cakes and How to Use Piping Bags.
You Might Also Like
Please check out my Amazon Shop for a curated collection of some of my favorite cake pans from trusted brands, baking tools, ingredients, pretty things and fashion finds. I recommend products that I buy and use every day!
Did you love today’s recipe? Please rate the recipe and let me know in the comments what you thought! Also, be sure to follow Curly Girl Kitchen on Instagram, and tag me when you try one of my recipes so I can see all your delicious creations!
High Altitude Chocolate Espresso Cake with Chocolate Curls
All recipes on Curly Girl Kitchen are developed for high altitude at 5,280 feet. See FAQs for adjusting to higher or lower elevations.
Equipment
- Stand Mixer
Ingredients
Chocolate Cake
- 2 cups all-purpose flour, spooned and leveled
- 1 ¾ cups granulated sugar
- ¾ cup unsweetened Dutch-processed cocoa powder, preferably Drost or Rodelle
- ½ tsp baking powder
- 1 ¼ tsp baking soda
- 1 tsp coarse Kosher salt (if using table salt, use half the amount)
- 4 large eggs
- 1 cup whole milk, room temperature
- 1 cup sour cream, room temperature
- 1 cup vegetable oil
- 2 tsp vanilla extract
- 1 tbsp instant espresso powder
Coffee Buttercream
- 2 cups unsalted butter, softened to room temperature
- 4 cups powdered sugar
- 1 tbsp meringue powder
- 2 tsp vanilla extract
- ¼ cup whole milk or cream
- 2-3 tbsp instant espresso powder
Chocolate Curls
- 3 oz good-quality chocolate, chopped (I used Chocolove Dark Chocolate)
- 1 tbsp vegetable shortening
Instructions
Cake
- Preheat the oven to 350. Spray the bottoms of three 8-inch round cake pans with non-stick spray.
- In a bowl, sift together the flour, sugar, cocoa powder, baking powder, baking soda and salt, then whisk until completely combined.
- In another large bowl, whisk together the eggs, milk, sour cream, oil, vanilla and espresso powder until smooth. Add the dry ingredients to the wet, and whisk for about 30 seconds until well combined and mostly free of lumps.
- Divide the batter between the pans. Tap the pans lightly on the counter a few times to pop any large air bubbles. Bake the cakes on the center rack for about 25-30 minutes, until a toothpick or cake tester comes out clean or with moist crumbs clinging to it, and the tops spring back when gently touched.
- Set the pans on a cooling rack, cover loosely with a clean kitchen towel and cool completely before frosting.
Buttercream
- In the bowl of your stand mixer fitted with the whisk attachment, beat the butter for one minute until smooth.
- With the mixer on low, add the powdered sugar and meringue powder, mixing to combine.
- Separately, stir together the vanilla, cream and espresso powder, until the espresso is completely dissolved, then add to the mixing bowl.
- Whip the buttercream on medium speed for 4-5 minutes, scraping the bowl occasionally, until very light and fluffy.
- Stack and fill the cooled cakes with the buttercream, then frost all over with a thin crumb coat of buttercream. Chill in the refrigerator for 30 minutes, then finish frosting the cake with a final layer of buttercream.
Chocolate Curls
- Use a double boiler (a heatproof bowl set on top of a saucepan of simmering water), to melt the chocolate and shortening, stirring until smooth. Remove from the heat.
- Pour the melted chocolate and shortening onto the bottom side of a 9×13 glass baking dish. Use an offset spatula to spread the chocolate out into a thin layer, near the edges.
- Set the pan in the refrigerator and chill for several minutes, just until the chocolate is firm, and you don't see any wet patches in the center.
- Remove the pan from the refrigerator. Using a putty knife or bench scraper, hold it at a 45 degree angle and push the chocolate away from you, letting it curl up. You can make the curls as wide or as narrow as you like; I made mine about 1/4-1/2 inch wide.
- If the chocolate flakes instead of curling, then it's too cold; wait 20-30 seconds and try again. If the chocolate doesn't curly, and just pushes up in sheets, then it's too warm. Place the pan back in the refrigerator for 45-60 seconds, and try again.
- You will need to work quickly, but be patient, You'll likely need to return the pan to the refrigerator several times throughout the process.
- As you make your curls, use tweezers to transfer them to a container. Cover and refrigerate until needed, then use tweezers to place them on your cake (the heat of your fingers can quickly melt the curls).
Notes
- Make in Advance.
- The baked cakes can be wrapped individually in plastic wrap and frozen until needed. Let thaw overnight at room temperature before frosting your cake.
- Buttercream also freezes very well, if you need to make it in advance. Freeze in a plastic freezer bag, thaw in the refrigerator overnight, then let come to room temperature to frost your cake.
- The chocolate curls should be kept refrigerated until you’re ready to place them on your cake.
- Leftover cake should be stored in an airtight container or cake carrier, at room temperature, for up to 5 days.

This is my family’s new favorite! Everything about this cake is delicious and it comes together so quickly. We are a gluten free family and this worked well using Bobs Gluten Free 1 for 1 Baking flour that I substituted for the AP Flour. Look no further- This is THE recipe you need in your life
Thank you, Amy, I’m thrilled to hear that! 🙂
Hi do you know what the recipe would be in grams ? I’m from the UK and we don’t use cup measurements. Thank you !
Is the meringue powder a necessity since this is a buttercream icing and not a royal icing?
Thank you! I just saw the answer to this question below! My granddaughter requested this cake for her birthday Saturday! Sure hope I don’t disappoint her😍
The meringue powder adds stability, but you can leave it out.
Wondering if you are high altitude or not?
Hi! I live in a non-high altitude state. Do I need to make any adjustments? Thank you, Maggie
Please see my FAQs: https://curlygirlkitchen.com/baking-faqs/
Is there any substitute for meringue powder? I thought I had baking stock of EVERYTHING… I was wrong.
Deb, meringue powder is made of pasteurized egg whites that have been dried and crushed into a fine powder. It’s commonly used in royal icing, but a less common usage is in buttercream, where it works to both stabilize the buttercream and improve the texture. There’s nothing really similar that you could use in buttercream, although you might try a pinch (maybe 1/4 tsp) of cream of tartar instead, which is also sometimes used as a stabilizer, and not just for snickerdoodle cookies. That said, though, the meringue powder is optional, and you can certainly make the buttercream without it!
So this recipe takes 1 cup and 1/4 tsp of baking soda?
Tina, the baking soda is measured all in teaspoons, not cups. The recipe states “1 1/4 teaspoons baking soda” which means 1 teaspoon + 1/4 teaspoon. If it said 1 1/4 cups, that would mean 1 cup plus 1/4 cup.
Hi ya can you use wholemeal flour for this very yummy looking cake thank you x
I wouldn’t recommend using whole wheat flour. That will create a very dense and coarse textured cake.
Hi! I wanted to make this but I don’t have any instant espresso powder and haven’t been able to find it in stores in my country. Do you think I could just use Nescafé’s Espresso Powder instead or is it not a suitable substitute for this recipe? Thanks in advance!
I think it would probably work fine, since it dissolves easily in liquid.
Was asking AMY T THanks.
Hello! Does this cake taste like coffee? I know other recipes use coffee to enhance the chocolate flavor but I am looking for something that actually tastes like coffee!
The cake tastes like chocolate, with the espresso powder enhancing the chocolate flavor. The buttercream can have as strong of a coffee flavor as you like, depending on how much espresso powder you add.
Hello! I’m interested in making this cake but how do I adjust the amount for each ingredient to suit a 3-level six inch cake, instead of an 8” cake? Thanks!!
Grace, you can just make half the cake recipe for a 3-layer 6-inch cake. I do this often. For the buttercream, I would scale it down to 3/4, since half isn’t quite enough to frost a 6-inch cake.
Hi, I would like to make this cake into a 2 level cake. How would I do this. Thank you.
You can use two 9-inch pans instead of three 8-inch pans.
will almond, oat or soy milk work the same in this cake?
I couldn’t say for sure, since I haven’t tested the recipe with those, but they would probably work just fine.
Hello,
How long do the chocolate curls last in the fridge, wanted to make in bulk. Thanks!
They should be fine for at least a couple of months in the refrigerator, in an airtight container.
How do you adjust for regular alititudes?
Please see my FAQs: https://curlygirlkitchen.com/baking-faqs/