
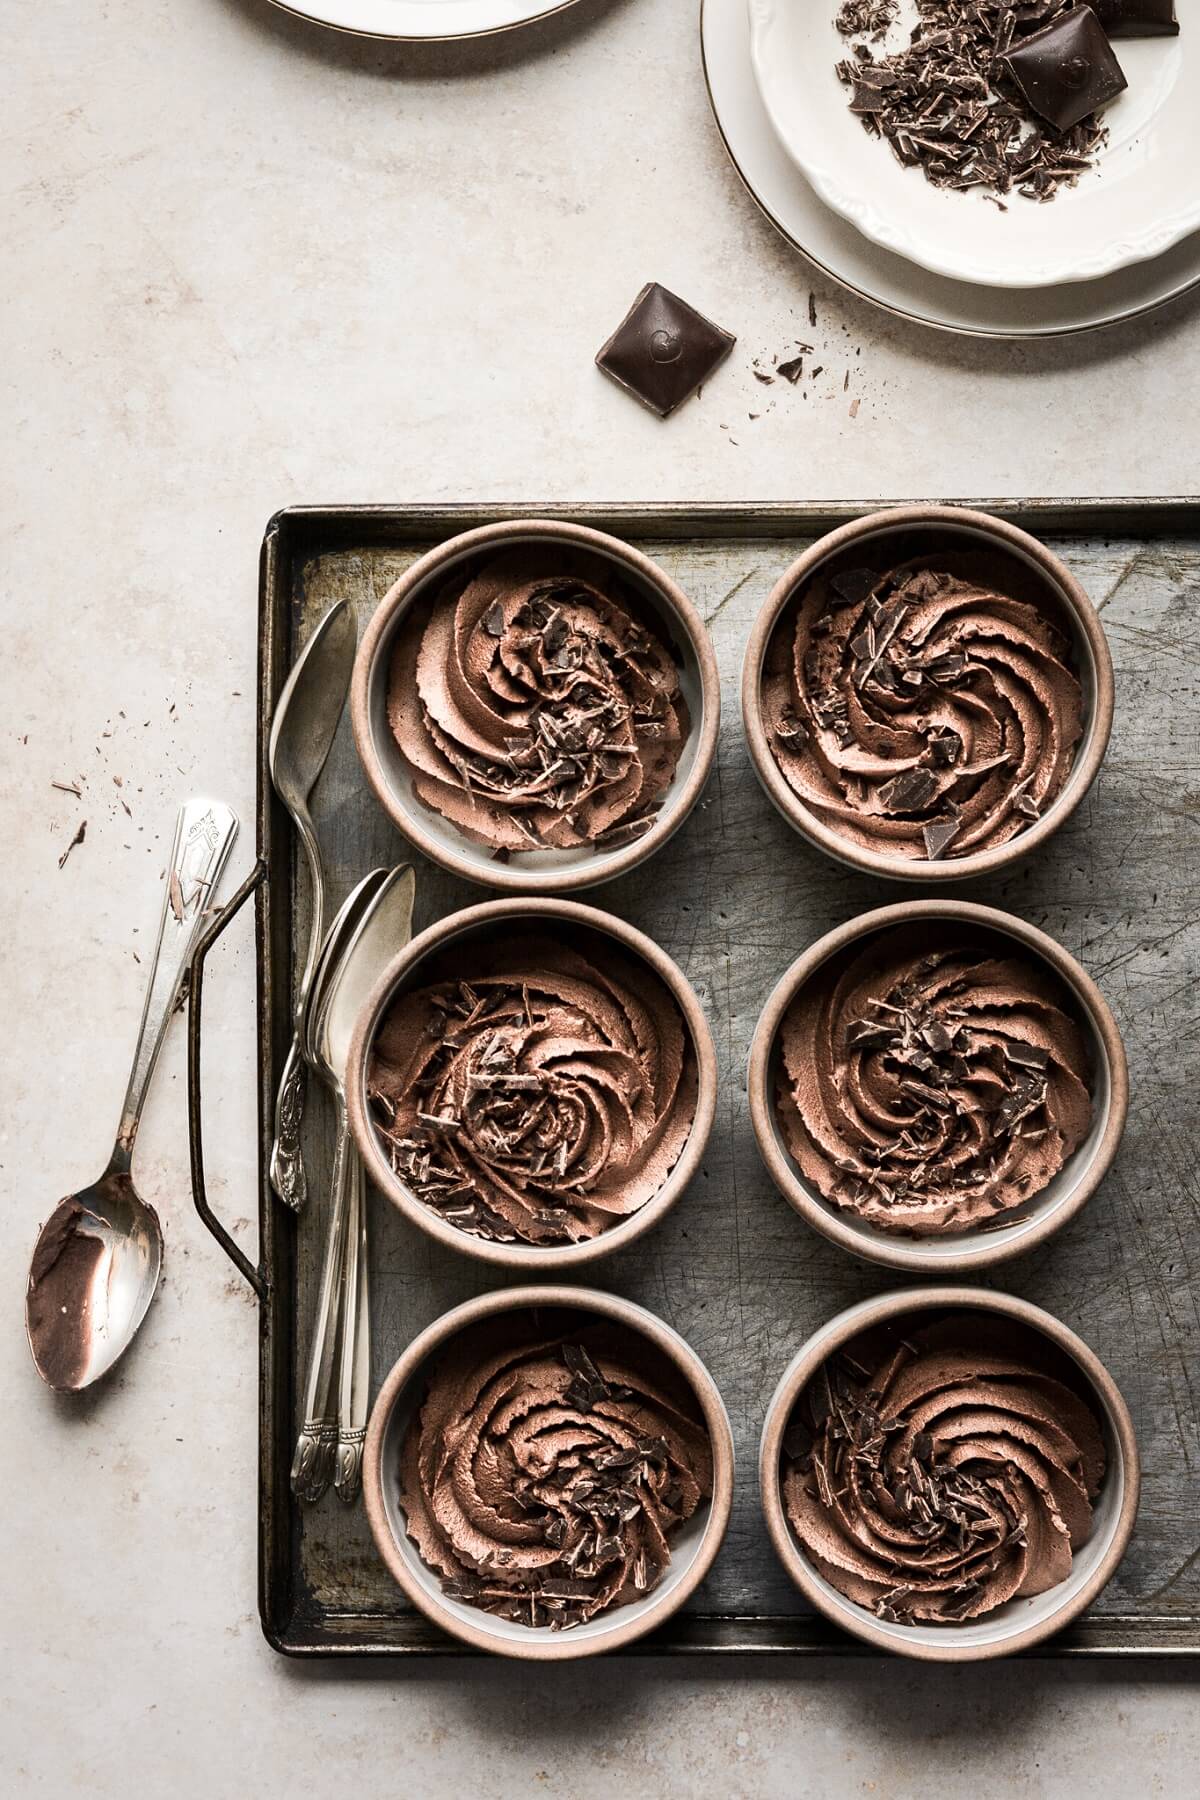
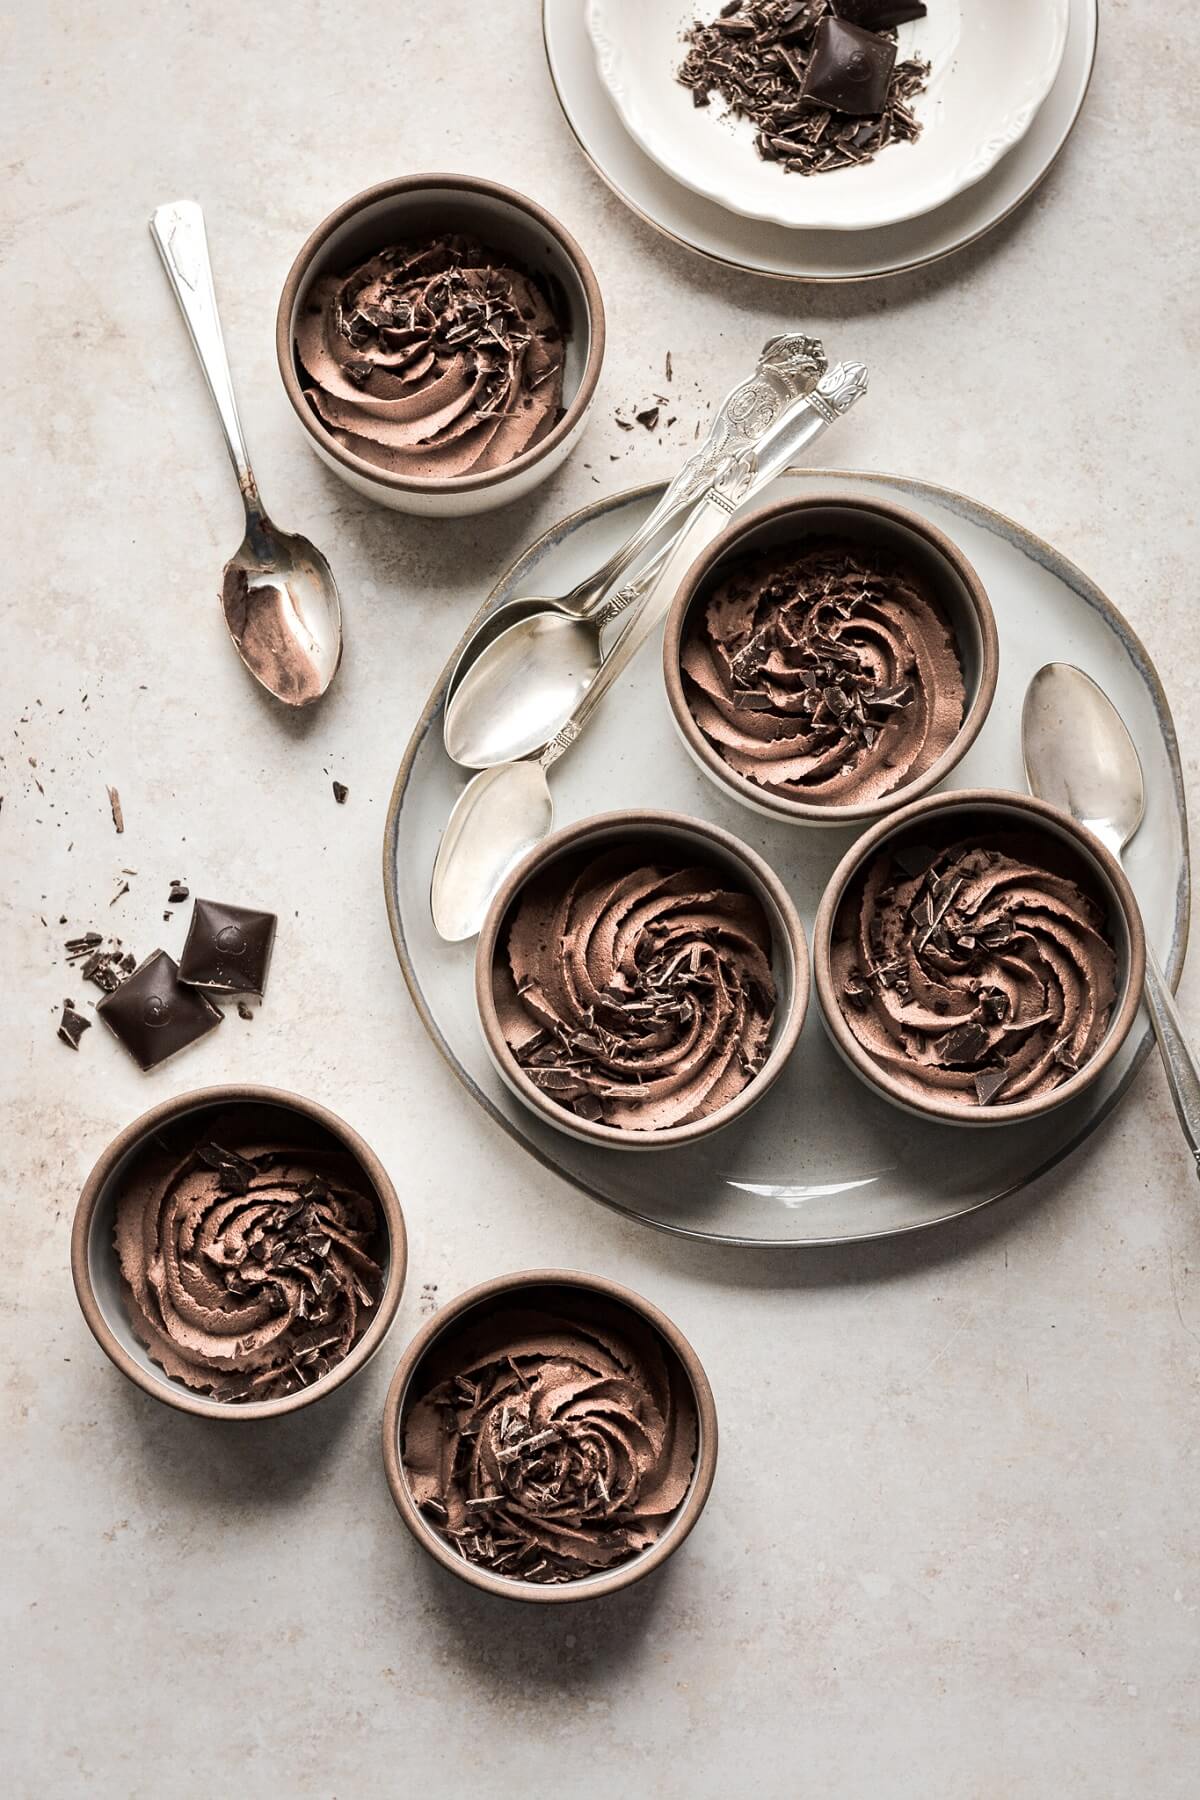
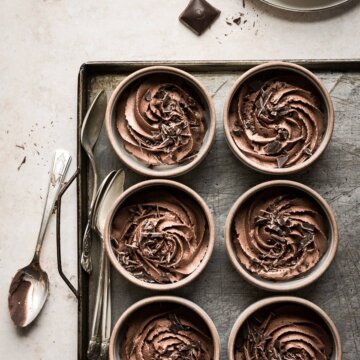
An easy recipe for rich and creamy chocolate espresso mousse, made with just 5 simple ingredients, and no eggs or gelatin. This delicious and classic dessert comes together quickly, and looks so elegant when piped into pretty ramekins and sprinkled with chopped chocolate.
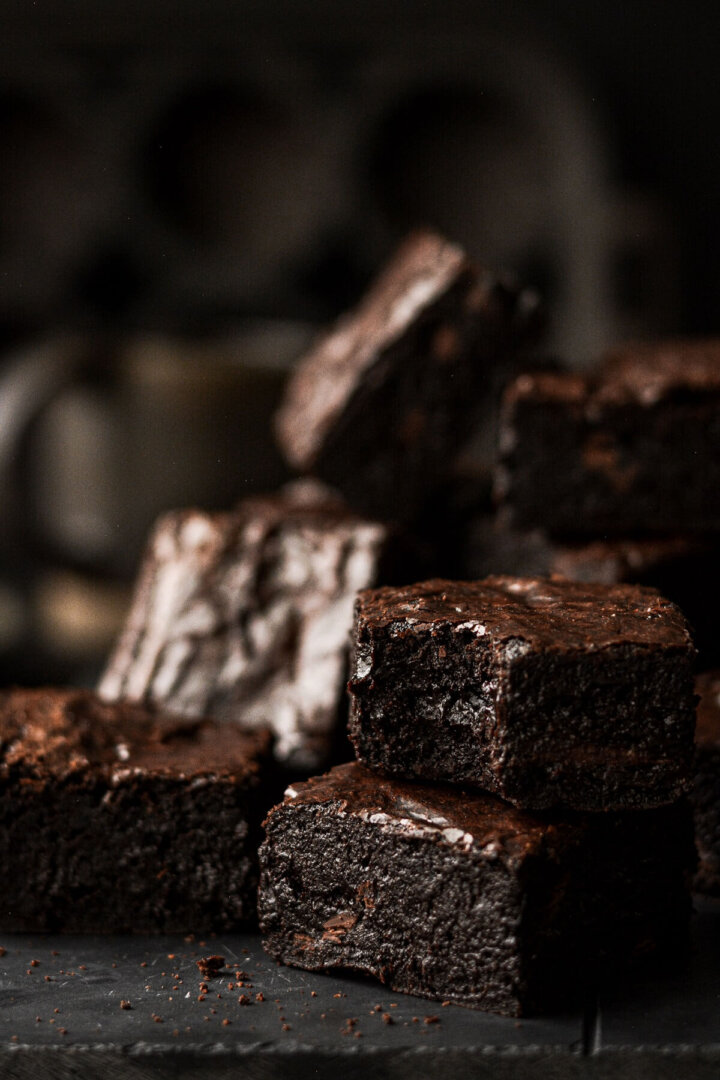
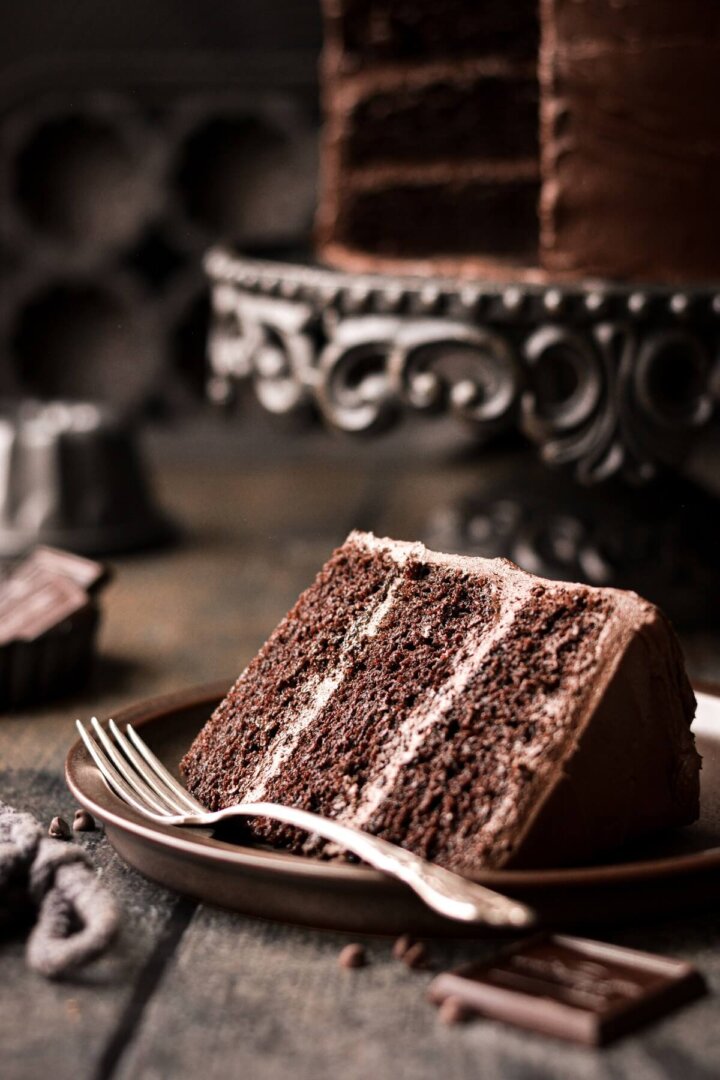
You might also like these recipes for dark chocolate pudding, vanilla bean custard, no churn chocolate hazelnut ice cream, and chocolate espresso cake.
This site contains affiliate links. As an Amazon associate, I earn from qualifying purchases. This means that I may make a small commission if you purchase a product using those links. This in no way affects my opinion of those products and services. All opinions expressed on this site are my own.
Why You’ll Love This Recipe
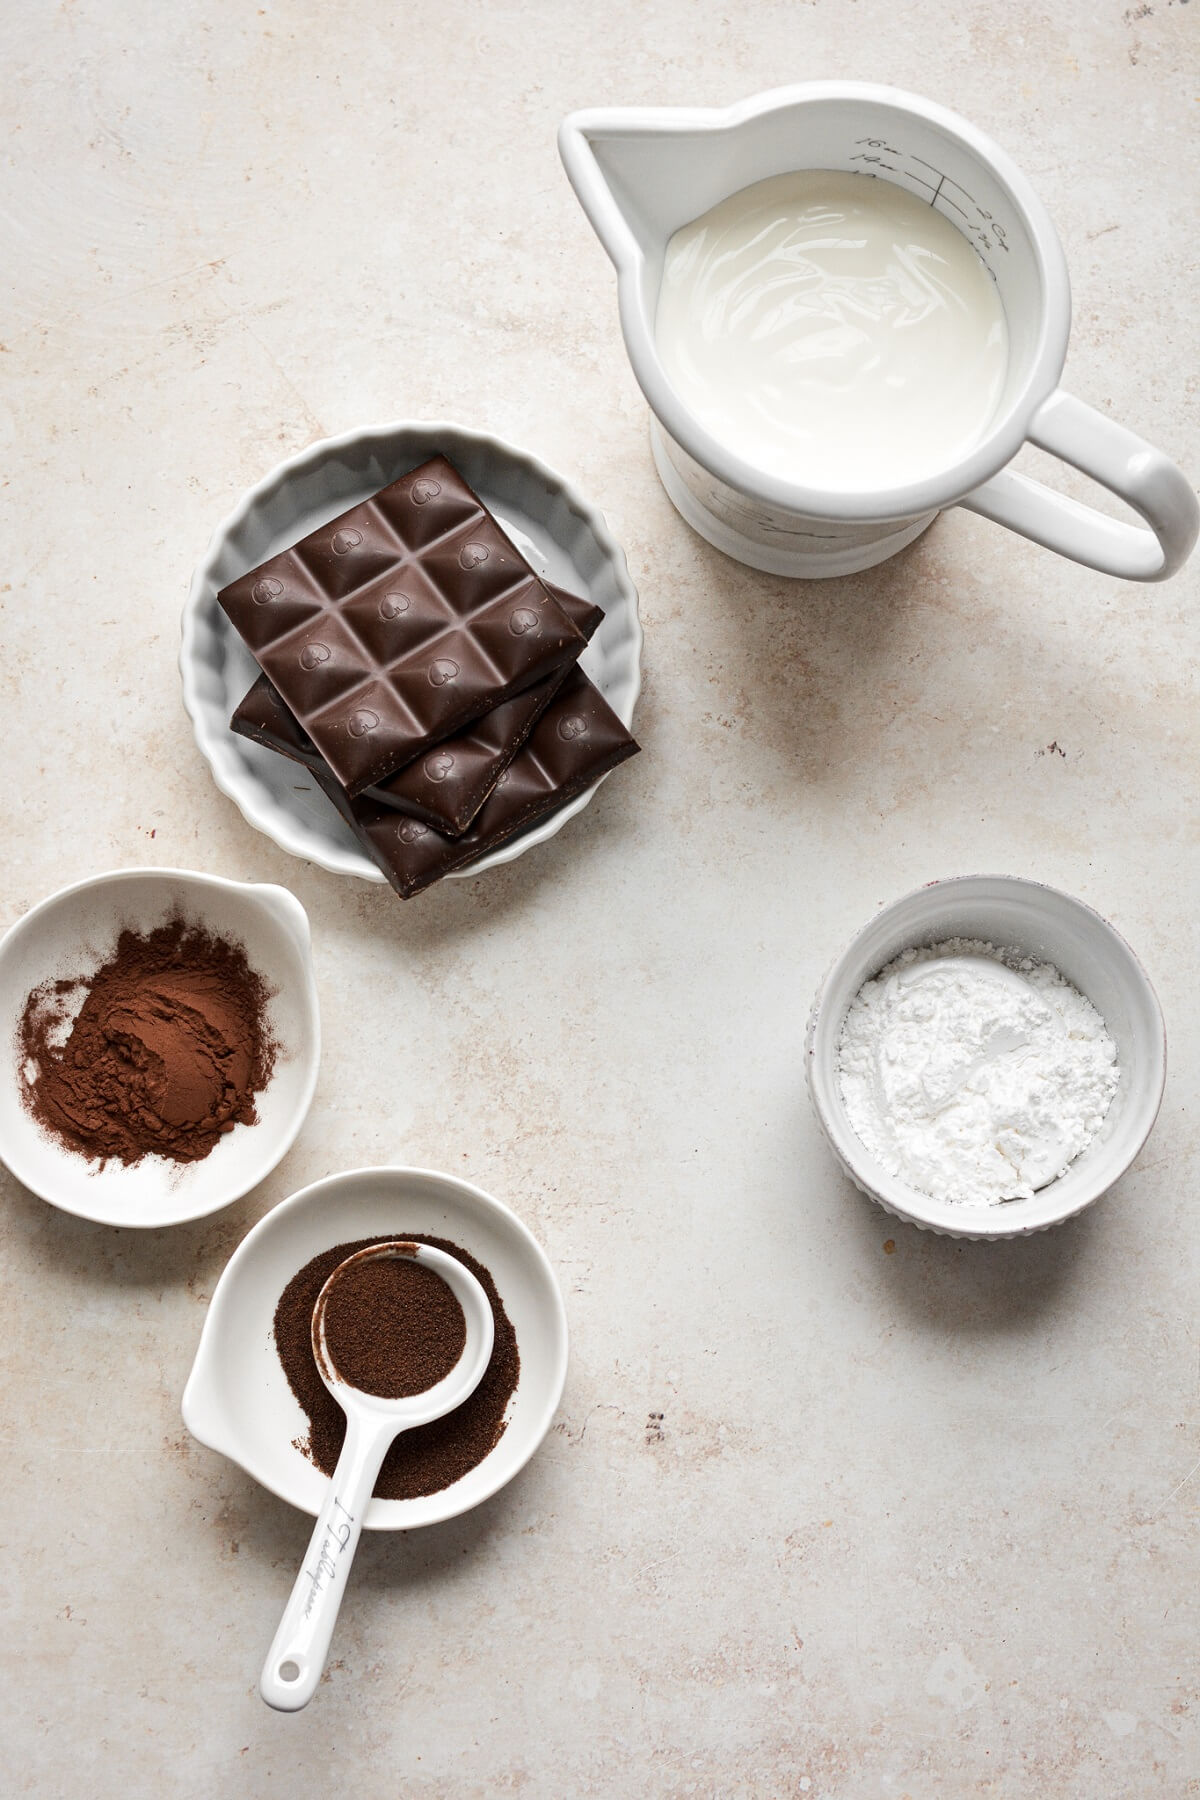
Only 5 Ingredients. You only need cream, chocolate, cocoa powder, espresso powder and powdered sugar for today’s chocolate mousse recipe.
So Quick and Easy. Just a few minutes is all it takes to whip up this decadent and elegant dessert.
Not Too Sweet. If you love the taste of dark chocolate, follow the recipe as is for a delicious chocolate dessert that’s rich, dark and not too sweet. If you like sweeter chocolate, you can add a little more powdered sugar, or use chocolate with a lower percentage of cacao.
Versatile. You can serve chocolate espresso mousse on its own or with a handful of berries, spread it between layers of cake or use it in a trifle. There are so many possibilities!
See the recipe card at the end of the post for the full ingredients list and instructions.
Ingredients
- Heavy Whipping Cream. Not half and half or table cream. You need the high fat content of heavy whipping cream for a light, fluffy texture in your chocolate mousse.
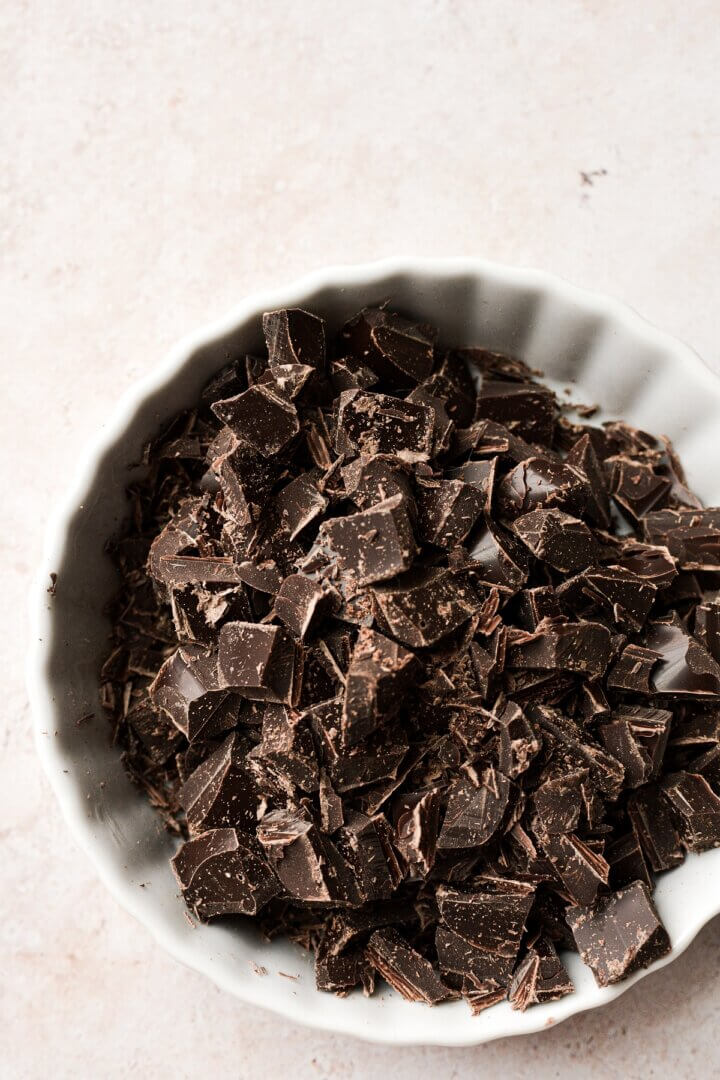
- Chocolate. Choose a good quality chocolate bar, not chocolate chips, around 50-60% cacao.
- Espresso Powder. Adds depth, richness, and the most delicious coffee flavor to complement the chocolate.
- Cocoa Powder. A little Dutch-processed cocoa powder deepens the flavor of the chocolate.
- Powdered Sugar. Adds sweetness.
Instructions
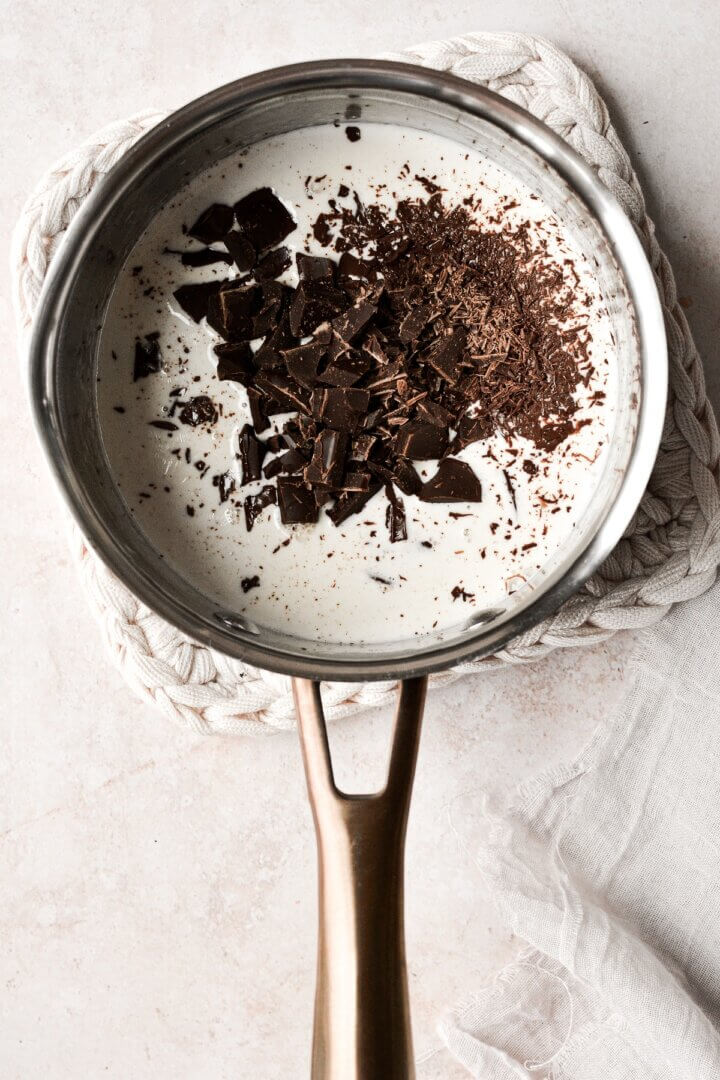
- Pour 4 ounces (1/2 cup) of the cream into a saucepan. Warm over medium low heat, just until hot and beginning to simmer around the edges.
- Meanwhile, finely chop the chocolate and scrape it into a bowl. When the cream is hot, pour the cream over the chopped chocolate, then whisk until it smooths out into a creamy ganache.
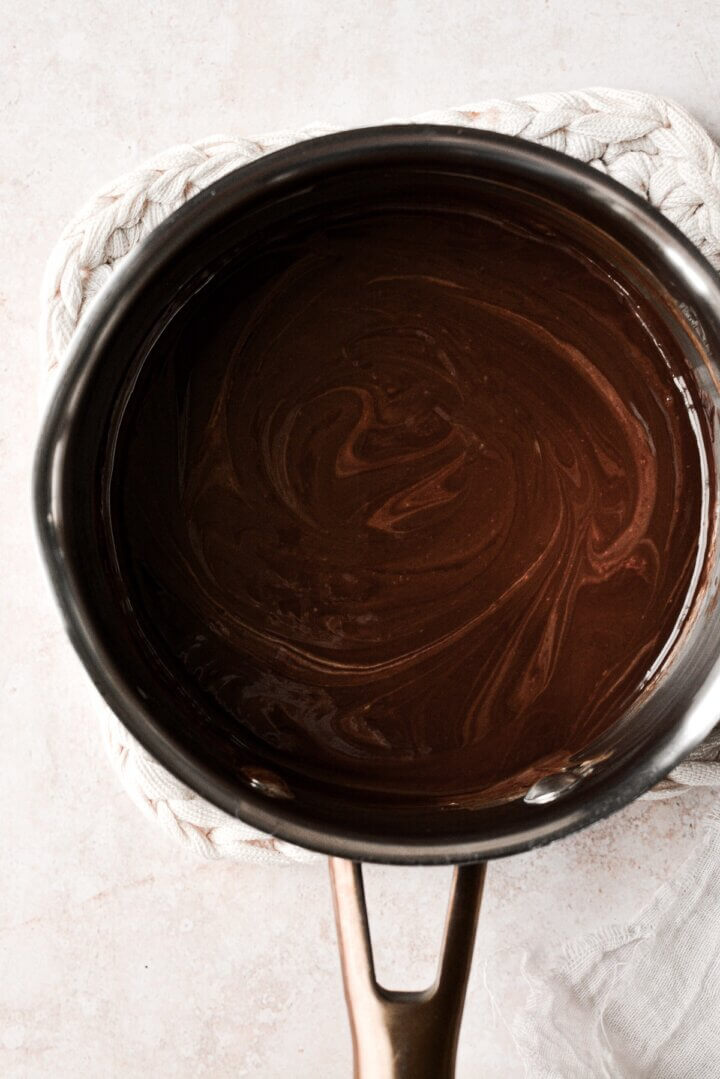
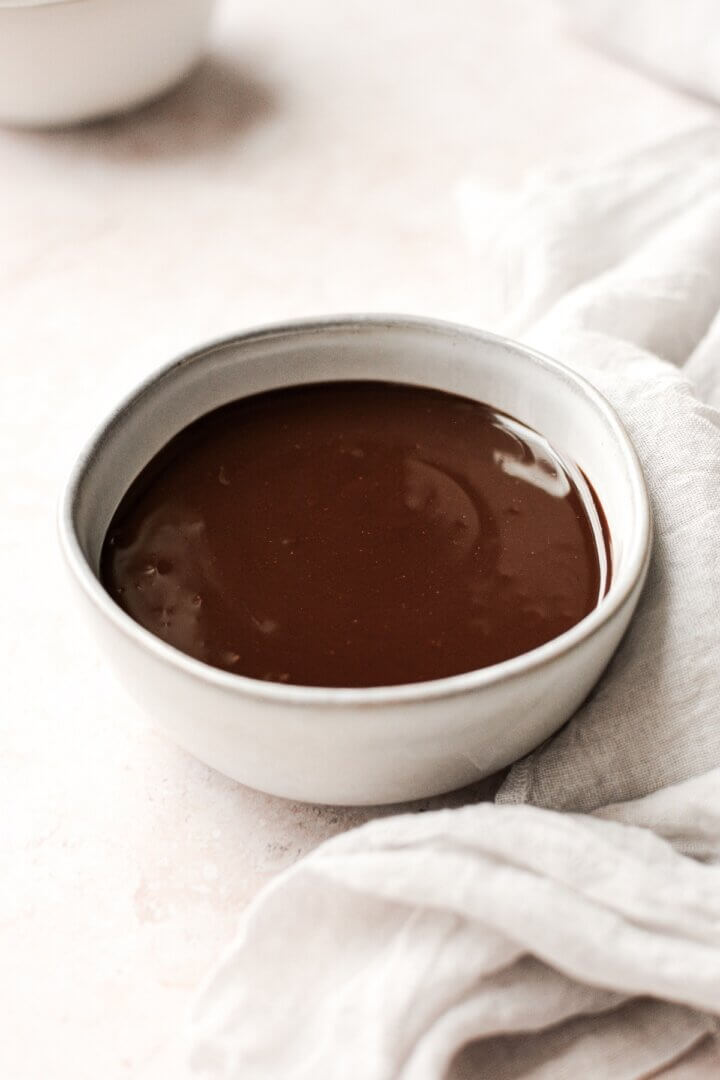
- Place the bowl of ganache in the refrigerator, and chill it for 30 minutes, setting a timer to stir it every 10 minutes. After 30 minutes, it should still be soft and spreadable, but firm enough to hold its shape and not run off a spoon.
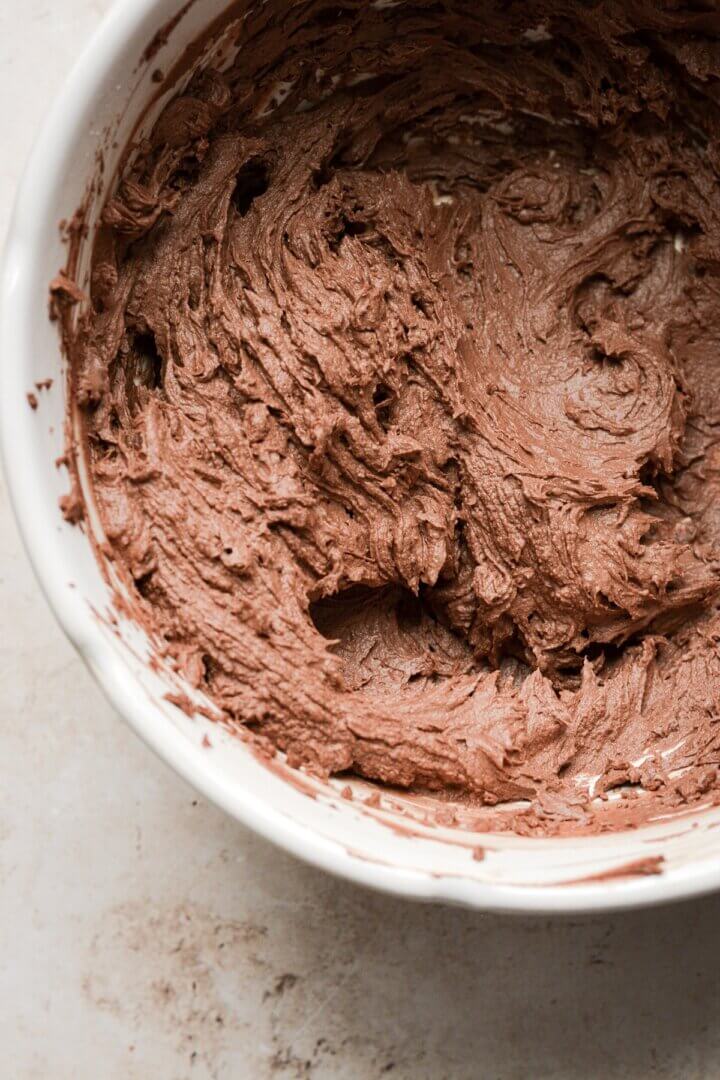
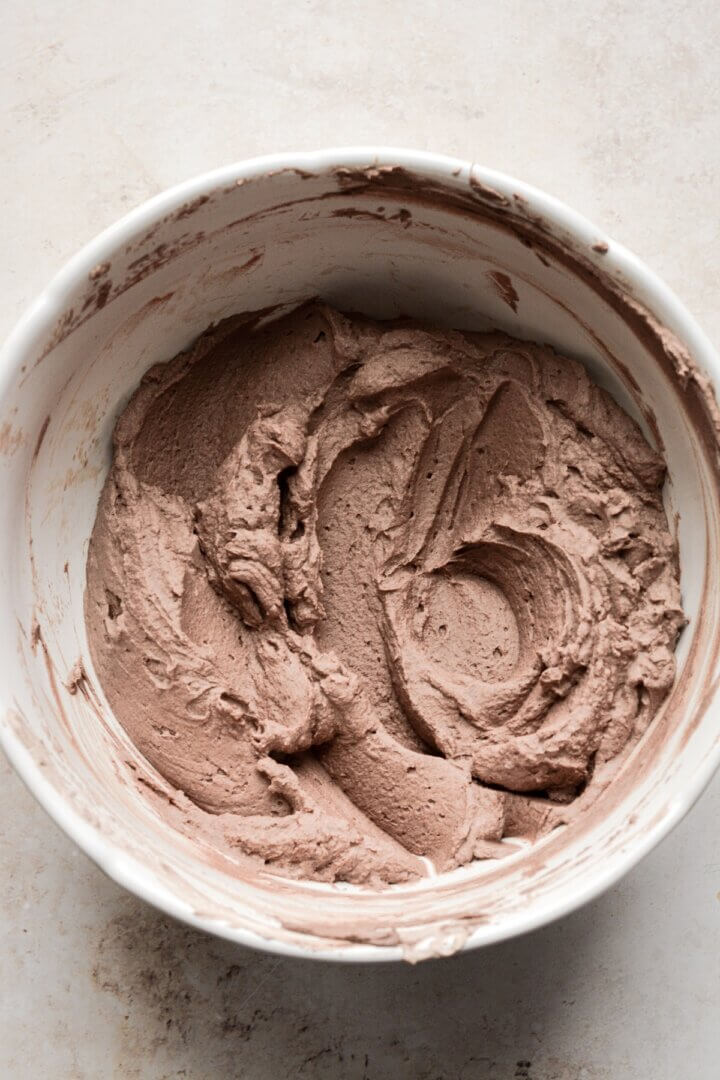
- Use an electric mixer to whip the ganache on medium speed for several minutes, until fluffy and lightened in color. Set the whipped ganache back in the refrigerator until needed.

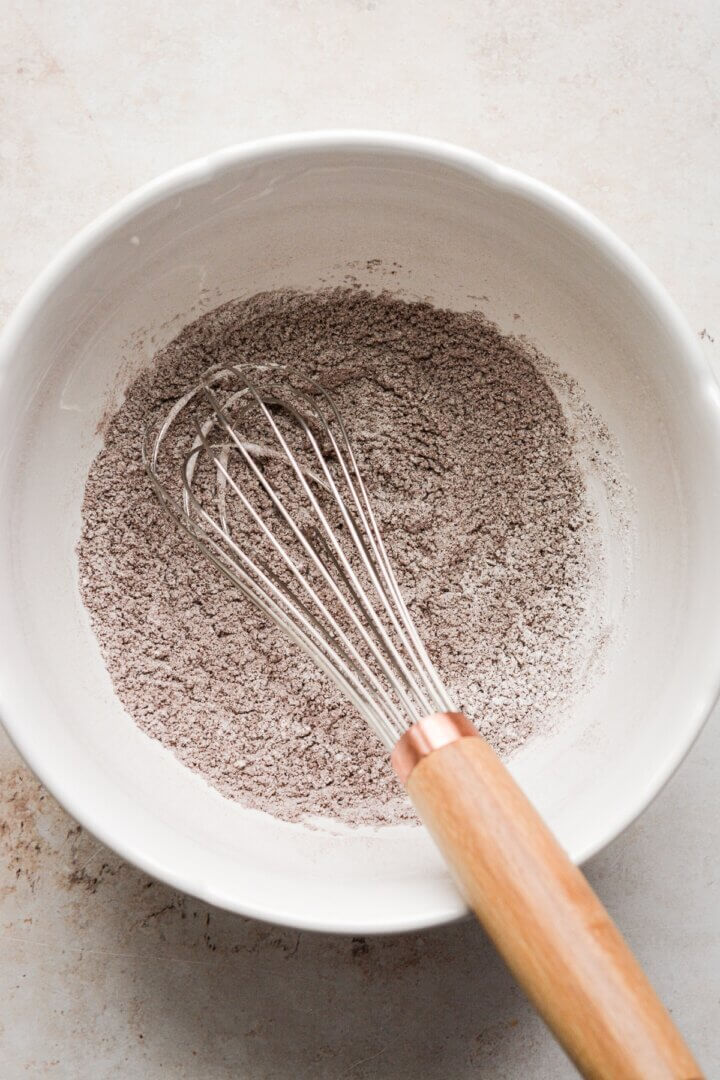
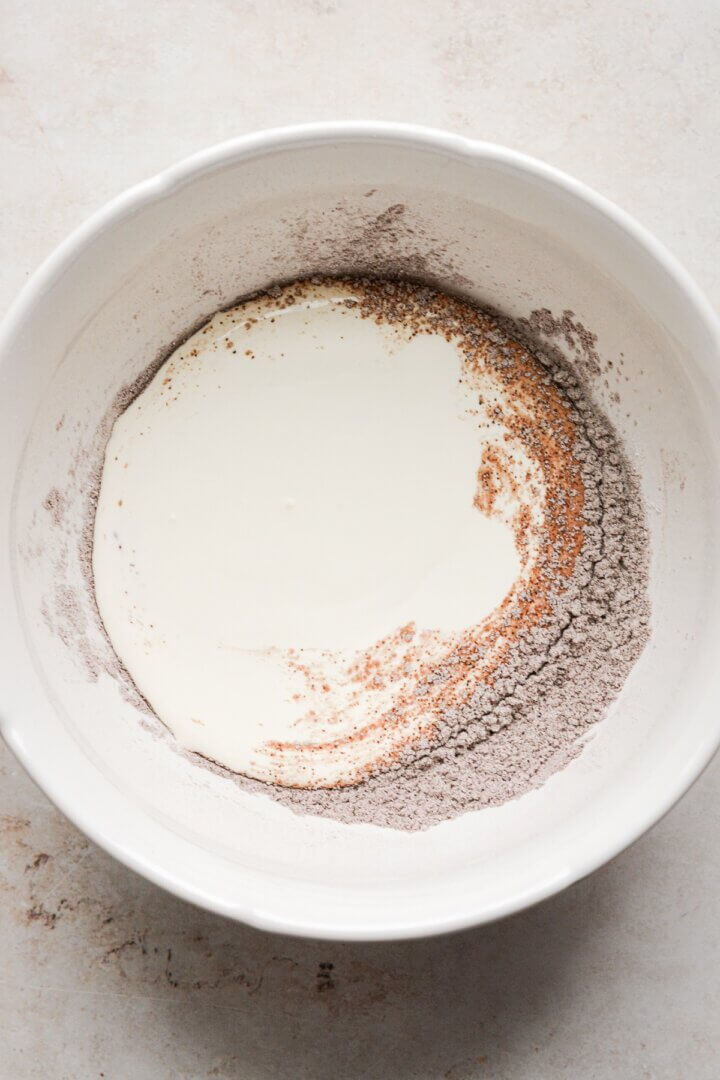
- In a large bowl, sift together the espresso powder, cocoa powder and powdered sugar. Add the remaining 8 ounces (1 cup) cream, and use an electric mixer to beat the cream until soft, fluffy peaks form that hold their shape.


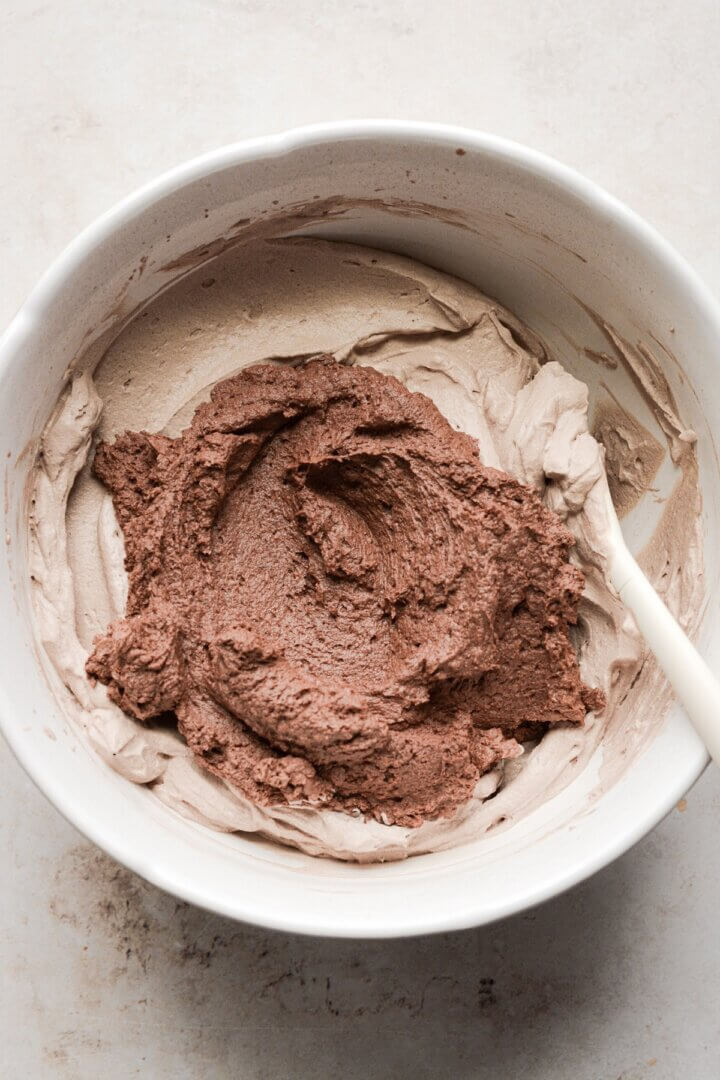
- Add the whipped ganache to the whipped cream and beat for 1-2 more minutes, until well combined, thick and fluffy.
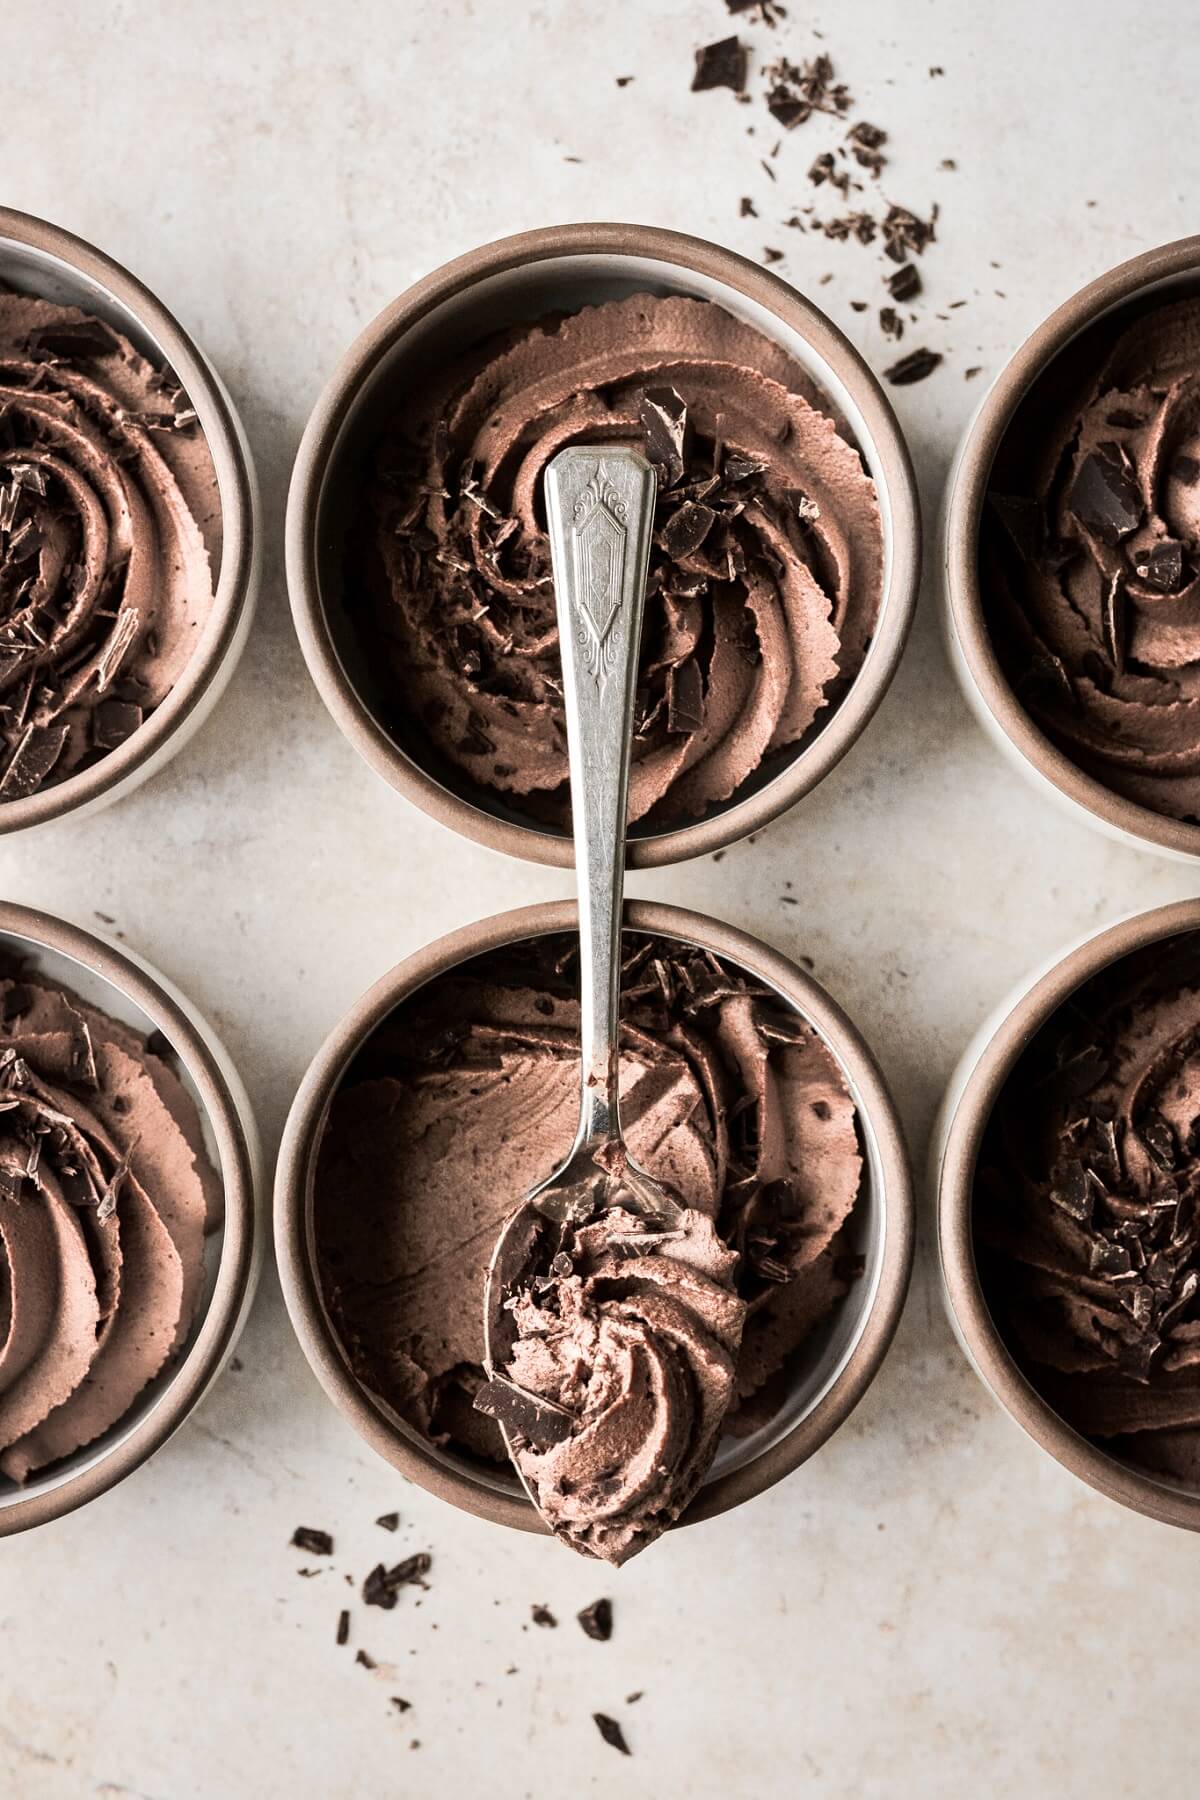
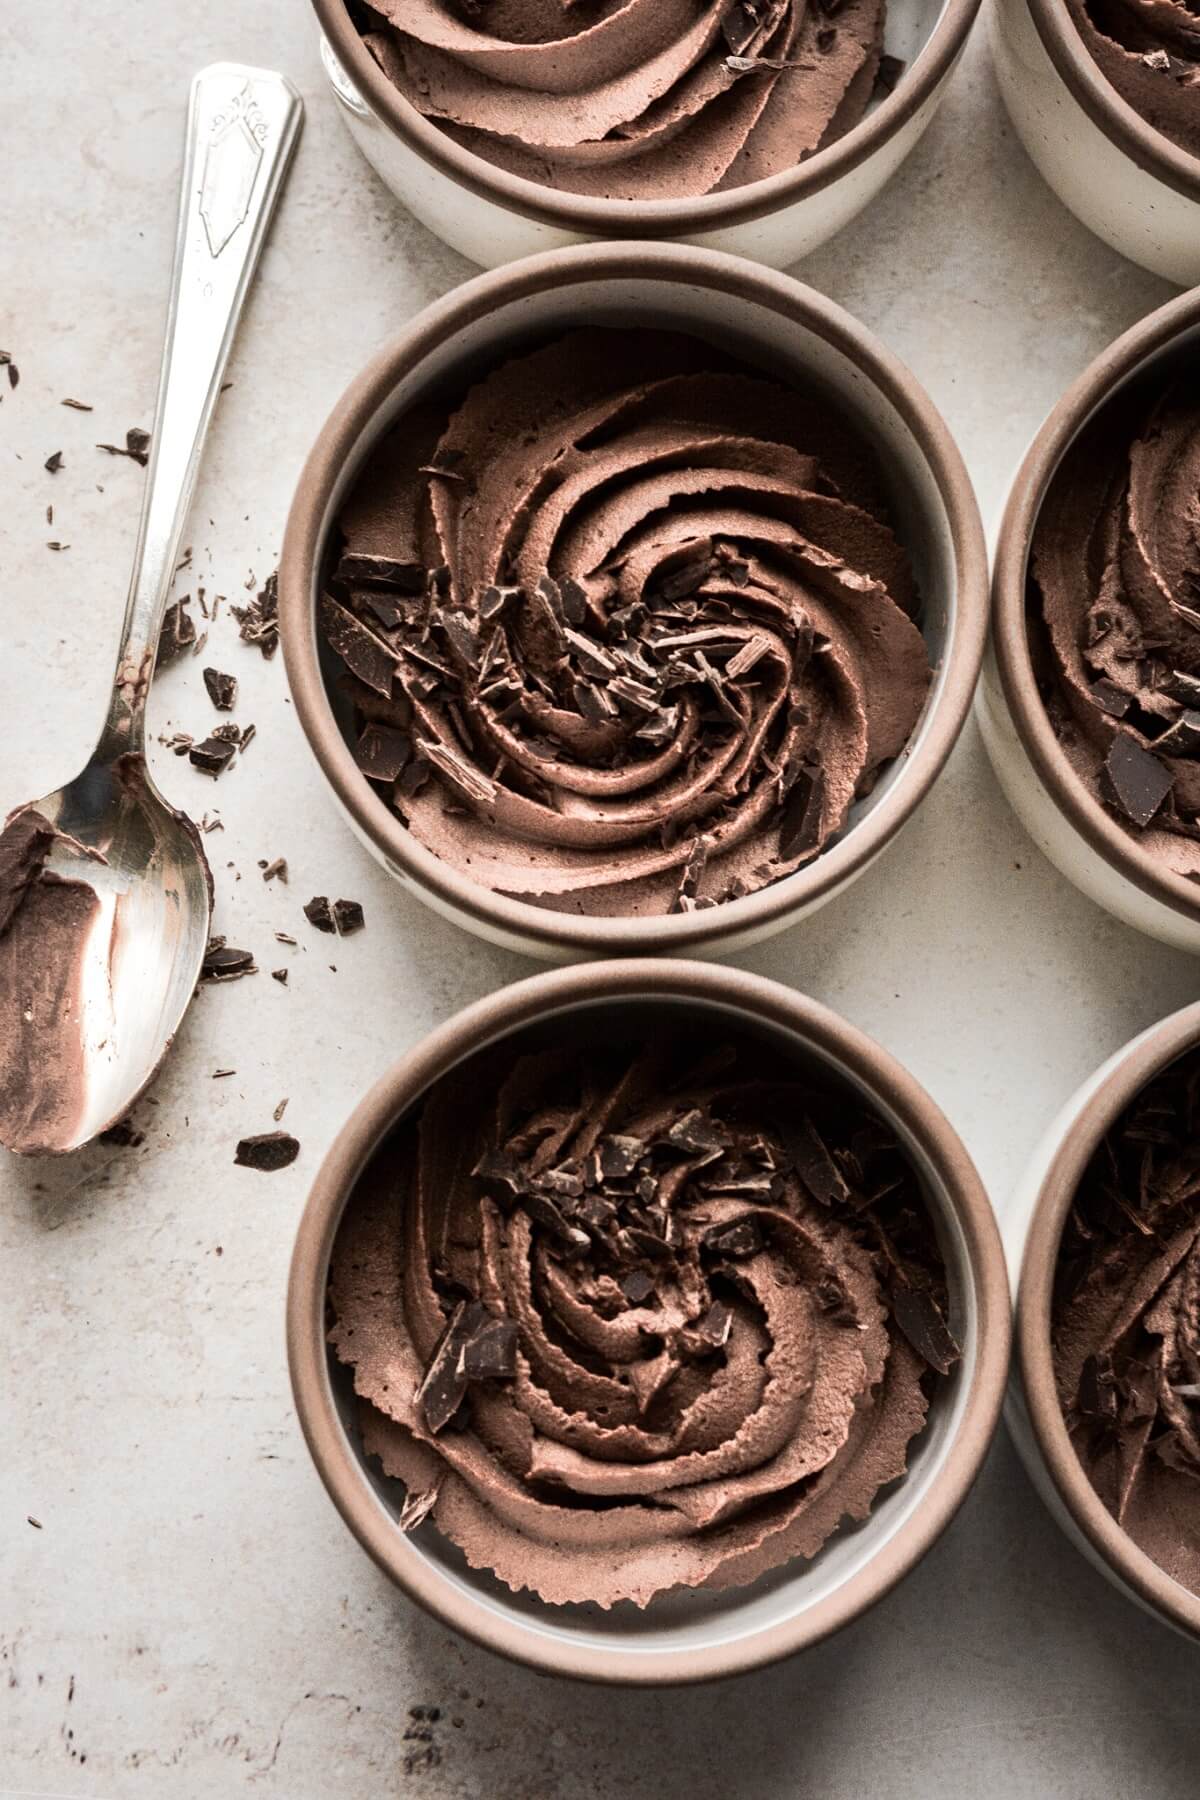
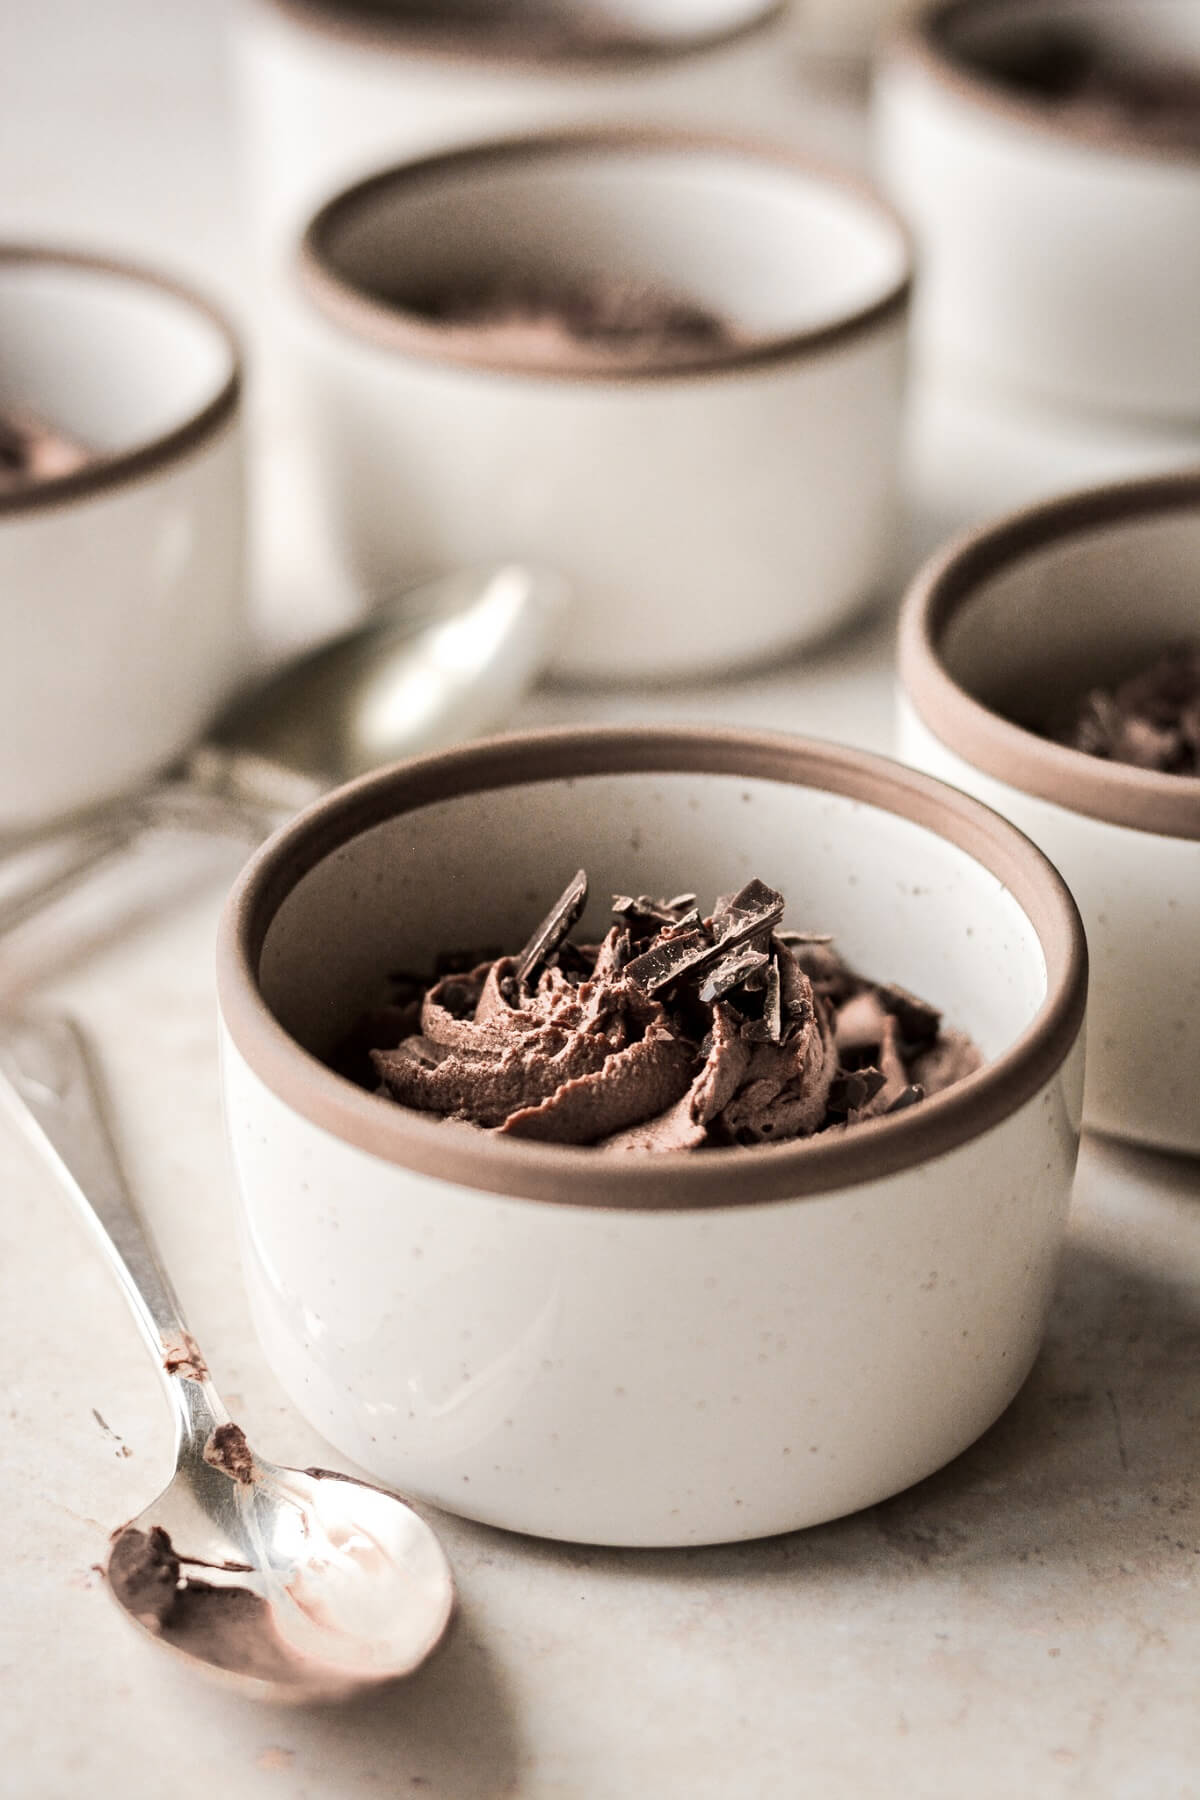
- Fit a 16-inch piping bag with tip 1M, fill with the mousse, and pipe the mousse into 6 small ramekins. Sprinkle the mousse with a little more chopped chocolate.
- Refrigerate the ramekins until ready to serve.
Be sure to read all of my BAKING FAQs where I discuss ingredients, substitutions and common baking questions, so that you can be successful in your own baking!
Frequently Asked Questions
Can I make chocolate mousse in advance?
What’s so great about today’s chocolate espresso mousse is that you can make it days in advance. It’s ready to eat as soon as you whip the mixture, but you can also fill your ramekins or parfait glasses and then refrigerate them for up to 3 days in advance.
Can the mousse be used as a cake filling?
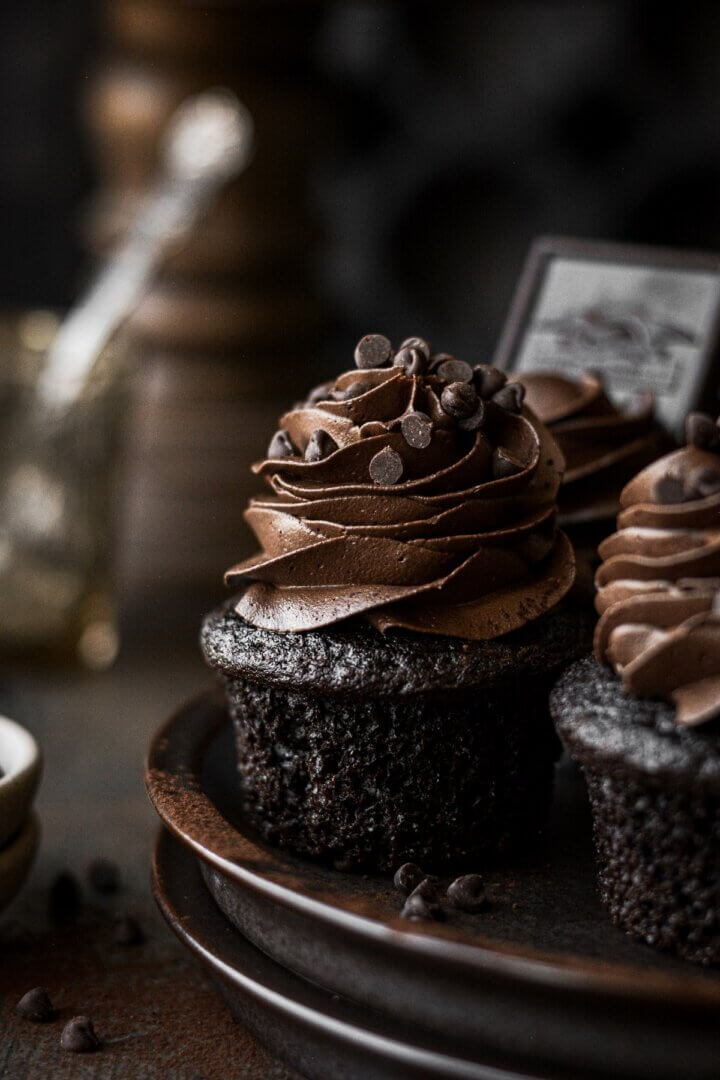
Yes, you can use the mousse as a cake filling (it needs to be kept chilled) or as a layer in a mousse cake.
Where do you buy espresso powder?
I use Medaglia D’Oro Instant Espresso Coffee, which I buy at my local Kroger.
What kind of chocolate do you use?
I love Chocolove brand chocolate, and I used their 55% dark chocolate in today’s recipe. Note that if you use a sweeter or darker chocolate, then you’ll need to adjust the powdered sugar, too. I don’t recommend using chocolate chips, which won’t melt as smoothly for the ganache.
Where did you buy the ramekins?
I found these pretty 4-oz ramekins in cream and brown on Amazon.
Is this an authentic chocolate mousse recipe?
Traditionally, chocolate mousse is made with cream, sugar, chocolate and eggs, which have been separated into yolks and whites, then whipped to achieve a light airy texture. I make my chocolate mousse without eggs, though, so to stabilize it, I start by making chocolate ganache, which is a simple mixture of chocolate and heavy whipping cream. I then whip the cooled ganache until fluffy, and lighten it with a bit more whipped cream that’s lightly sweetened and flavored with espresso powder. The result is a very light, airy mousse-like dessert that’s as good as any authentic chocolate mousse. One could argue that my recipe is basically chocolate whipped cream, and you’re welcome to your opinion. But if you’re looking for a fool proof, quick and easy chocolate mousse recipe without eggs or gelatin, then I think you’ll love today’s recipe.
You Might Also Like
Please check out my Amazon Shop for a curated collection of some of my favorite cake pans from trusted brands, baking tools, ingredients, pretty things and fashion finds. I recommend products that I buy and use every day!
Did you love today’s recipe? Please rate the recipe and let me know in the comments what you thought! Also, be sure to follow Curly Girl Kitchen on Instagram, and tag me when you try one of my recipes so I can see all your delicious creations!
Easy Chocolate Espresso Mousse
All recipes on Curly Girl Kitchen are developed for high altitude at 5,280 feet. See FAQs for adjusting to higher or lower elevations.

Equipment
- Electric Mixer (Stand or Hand-Held)
- 6 Ramekins (4-oz capacity) or Parfait Glasses
Ingredients
- 12 oz (1 1/2 cups) cold heavy whipping cream, divided
- 4 oz good quality chocolate, around 55% cacao, plus extra for garnish
- 1 tbsp instant espresso powder
- 1 tbsp Dutch-processed cocoa powder
- ¼ cup powdered sugar
Instructions
- Pour 4 ounces (1/2 cup) of the cream into a saucepan. Warm over medium low heat, just until hot and beginning to simmer around the edges.
- Meanwhile, finely chop the chocolate and scrape it into a bowl. When the cream is hot, pour the cream over the chopped chocolate, then whisk until it smooths out into a creamy ganache.
- Place the bowl of ganache in the refrigerator, and chill it for 30 minutes, setting a timer to stir it every 10 minutes. After 30 minutes, it should still be soft and spreadable, but firm enough to hold its shape and not run off a spoon.
- Use an electric mixer to whip the ganache on medium speed for several minutes, until fluffy and lightened in color. Set the whipped ganache back in the refrigerator until needed.
- In a large bowl, sift together the espresso powder, cocoa powder and powdered sugar. Add the remaining 8 ounces (1 cup) cream, and use an electric mixer to beat the cream until soft, fluffy peaks form that hold their shape.
- Add the whipped ganache to the whipped cream and beat for 1-2 more minutes, until well combined, thick and fluffy.
- Fit a 16-inch piping bag with tip 1M, fill with the mousse, and pipe the mousse into 6 ramekins (4-oz capacity each). Sprinkle the mousse with a little more chopped chocolate.
- Refrigerate the ramekins until ready to serve.
Notes
 https://curlygirlkitchen.com/
I made this today as a test run. The flavor and texture is amazing but it is a tad thick so I’m having a bit of a hard time piping it out after letting it sit in the fridge for a few hours any suggestions if I plan to make in advance.
Well, it’s probably too thick if you refrigerated it before piping it. Per the instructions, you should pipe it into your serving dishes immediately after whipping it, then refrigerate the dishes until ready to serve.
Thank you Heather that’s what I figured. I was making chocolate cups to serve them in. It ended up working out beautifully
I’m so happy I found your eggless recipe. I will use it for filling between layers of a wedding cutting cake. In your experience would it hold up in for a few hours without being refrigerated? Or does it soften considerably?
When I made it, I kept it refrigerated, so I haven’t tested how it does sitting out for a while.
This is absolutely amazing! I thought it was going to be more complicated but was suprisingly easy. I did over whip the ganache 🙁 but lesson learned. It is so rich tasting but yet very light. Thank you for sharing!