
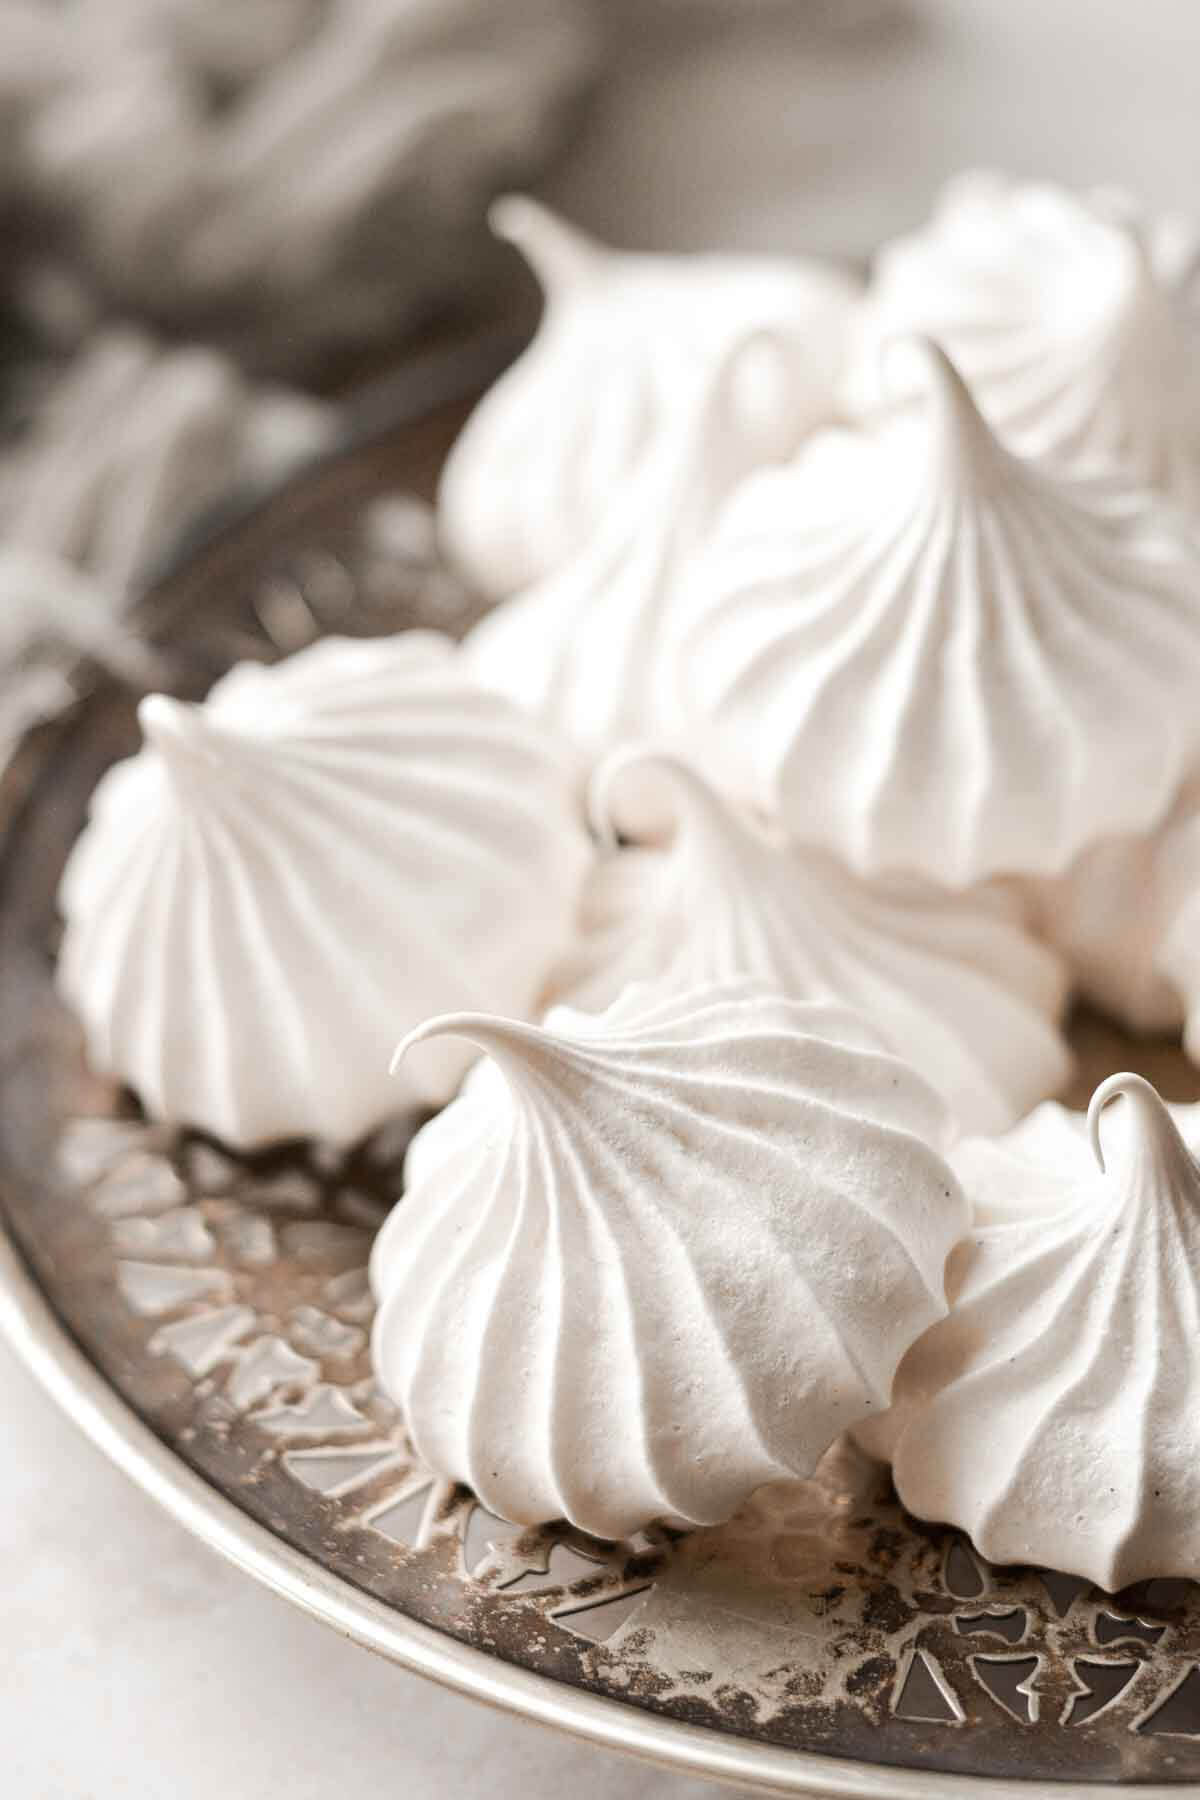
These high altitude tested, classic meringue cookies are sweet and crisp, flavored with real vanilla bean. You can dip these meringues in chocolate, tint them with food coloring, or even add holiday themed sprinkles.
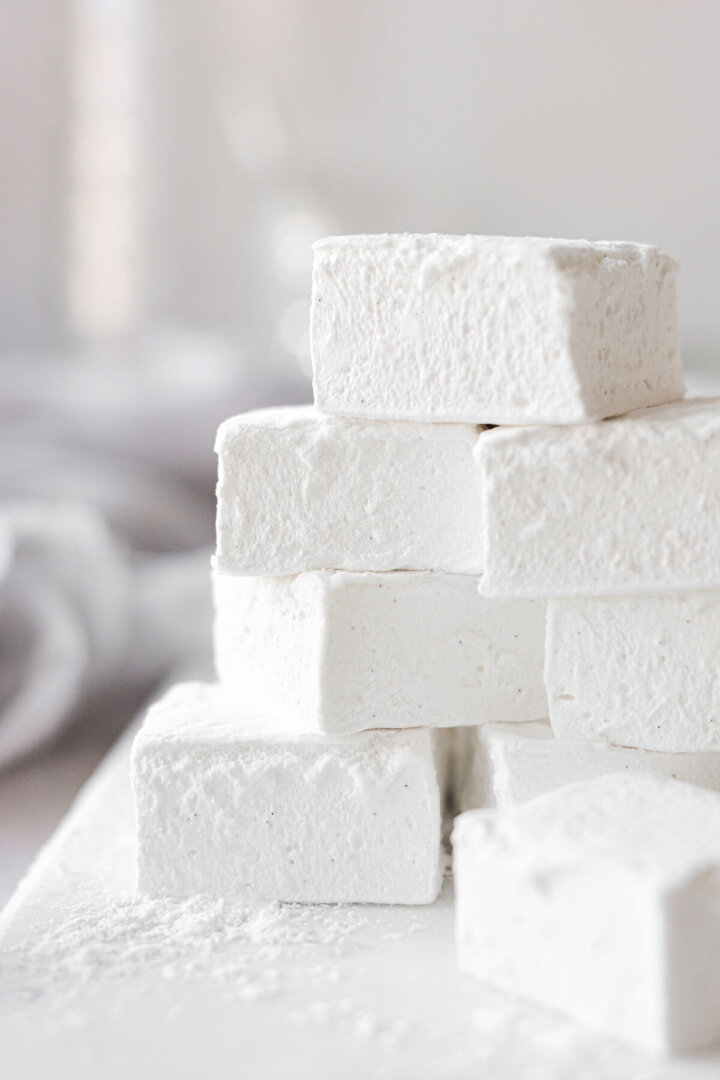
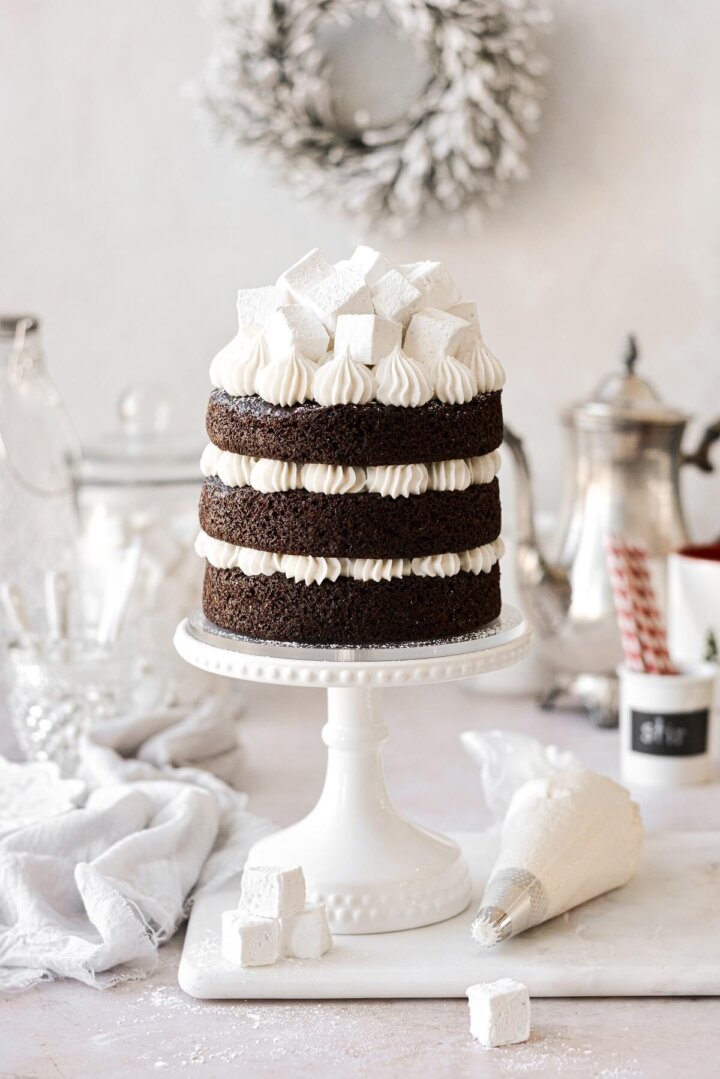
You might also like these homemade vanilla bean marshmallows, hot chocolate cake, and s’mores cookies.
This site contains affiliate links. As an Amazon associate, I earn from qualifying purchases. This means that I may make a small commission if you purchase a product using those links. This in no way affects my opinion of those products and services. All opinions expressed on this site are my own.
What are Meringues?
Meringues could be classified as cookies, candy or just dessert. They’re sometimes associated with French baking, and since they’re made from little more than whipped egg whites and sugar, they’re as sweet as candy and naturally gluten free, as well as fat free. (Although I’d always recommend that anyone with specific dietary restrictions research the additional ingredients of vanilla bean paste and cream of tartar to ensure that what you’re using is, in fact, certified gluten free.)
Today’s recipe uses just 5 ingredients, and is really quite simple to make. After whipping the meringue to stiff peaks, it’s piped onto a baking sheet and baked in the oven. But since meringue cookies are baked at a very low temperature, they simply dry out, rather than browning. The result is a pure white cookie that’s crisp throughout and melts in your mouth when you take a bite. My kids love these cookies, and they call them “crunchy marshmallows”.

Ingredients
- Egg Whites. Let your egg whites come to room temperature before whipping. And for best results, do not use egg whites from a carton, which may not whip to stiff peaks.
- Vanilla. I used vanilla bean paste, but you can also use vanilla extract, or scrape the seeds from a vanilla bean.
- Cream of Tartar. This is an acid, and is used to stabilize the egg whites so they can reach and maintain stiff peaks.
- Granulated Sugar. Adds sweetness, and helps to stabilize the meringue.
- Salt. Just a pinch, to balance the sweetness.

Instructions
Getting Ready
- Preheat the oven to 225 F, and position the racks in the upper and lower thirds of the oven, so that neither rack is too close to the top or bottom heating elements.
- Line two 13×18 inch baking sheets with parchment paper.
- Wipe down your mixing bowl, whisk attachment, spatula, and any other utensils you’ll be using with lemon juice. This gets rid of any traces of grease, which can impede the meringue’s ability to reach stiff peaks.
- Separate the egg whites from the yolks while the eggs are cold, but then let the whites sit at room temperature for about an hour to warm up. Or, you can place the bowl of egg whites inside another bowl filled with very warm water, which will warm them up sufficiently in just a few minutes. Be sure that no trace of broken egg yolk touches the whites.
Whip the Meringue
- In the bowl of your stand mixer fitted with the whisk attachment, add the egg whites, vanilla and cream of tartar. Whip the mixture for several minutes on medium speed, until foamy.
- With the mixer running, slowly sprinkle in the sugar (it should take you about 1 minute to add the sugar) and the salt.
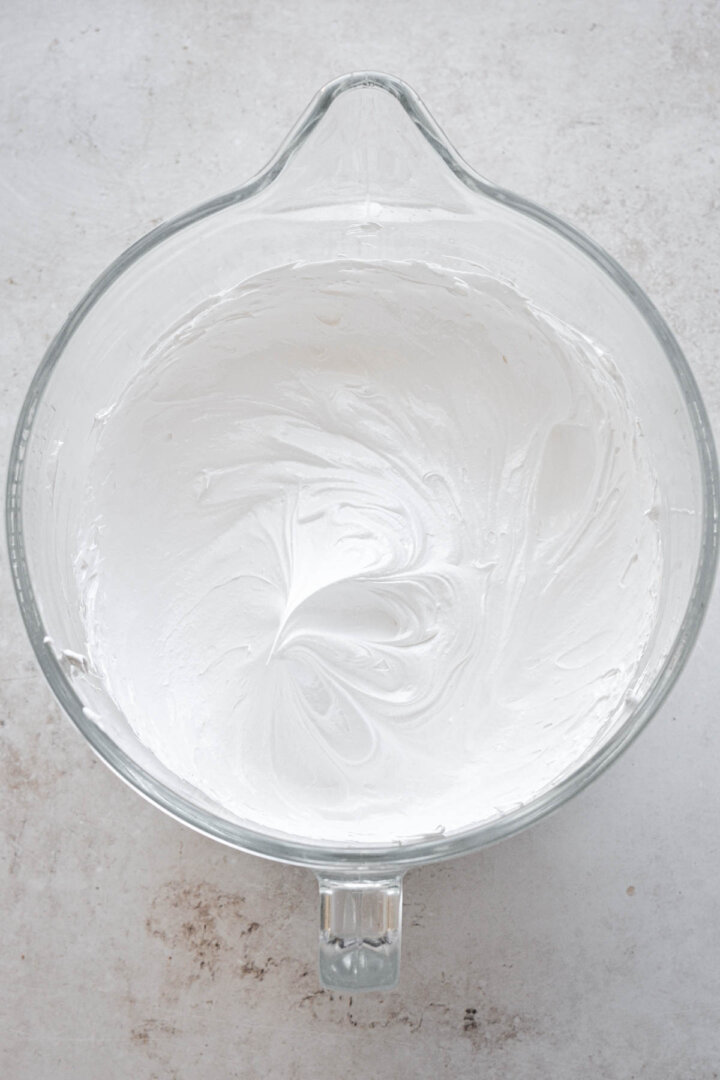
- Whip the meringue on medium high speed for several minutes, until the meringue reaches stiff, glossy peaks. When you dip a spoon into the meringue, it should stand up straight on the spoon, but it’s totally fine if the thin pointed ends of the meringue swoop over.
- If adding other flavorings (such as peppermint or lemon) or gel food coloring, add it now and whip for 1 more minute until well combined.


Pipe the Meringue Cookies
- Fit a 16-inch disposable piping bag with your piping tip (or with a coupler first, if you plan on using multiple piping tips). A large coupler will work with tips like 1M and 2A, but will not work with extra large specialty tips like 8B.
- Scoop half the meringue into the prepared piping bag. You don’t want to over-fill the bag, or it will be difficult to use, so simply refill with the rest of the meringue as needed. See this post on How to Use Piping Bags, Piping Tips and Couplers.
- On your parchment lined baking sheet, pipe the meringue about 1 1/2 – 2 inches wide and high, depending on how large you want your cookies to be. Leave 1 1/2 inches between each piped cookie.
- Use tip 8B to pipe the star shaped “kisses”. I piped these about 1 1/2 – 2 inches in diameter.
- Use tip 1M to pipe the rosettes and the swirls with sprinkles. I piped these about 2 inches in diameter.
- Use tip 2A to pipe the smooth “chocolate kisses”. I piped these about 1 inch in diameter.
- I also used tip 2A to pipe larger mounds of meringue, then swirled these with a spoon to shape individual mini pavlovas. Mine are about 3 inches in diameter, but I’d probably make these bigger next time, about 4-5 inches in diameter.
- If adding sprinkles, go ahead and do that now, before baking.


Bake the Meringues
- Place the pans in the preheated oven. Bake the meringues for 60 minutes, rotating the pans from one rack to the other halfway through.
- After 60 minutes, turn off the oven. Let the meringues rest in the warm oven and continue to dry out, for another 60-90 minutes (or up to 2 hours in more humid climates).
- Take the pans out of the oven, and let the meringues cool completely, then gently peel them off the parchment paper. Take care not to break off the delicate points.


Storage
- Store the cooled meringues in an airtight container at room temperature for up to 1-2 weeks, or in the freezer for up to 2 months.
- To keep the meringues crisp, I recommend adding a couple of tablespoons of uncooked rice to the container to absorb any moisture in the air. This will help no matter where you live, but is especially helpful if you live in a humid climate.

Tips for Making Meringues
- Avoid making meringues on a humid day, as moisture will make them chewy, rather than crisp.
- Always wipe down bowls and utensils with lemon juice or vinegar, to get rid of any traces of fat or grease.
- Separate egg yolks from whites while the eggs are cold, but room temperature egg whites will whip easier and quicker to stiff peaks.
- Do not omit the cream of tartar, as this stabilizes the proteins in the egg whites so they can reach and retain their stiff peaks.
- Thoroughly dry the meringues out in a warm oven, then cool completely before storing in an airtight container. Moisture is the enemy of their crisp texture, so storing them with uncooked rice helps to absorb moisture.


Uses and Recipe Variations
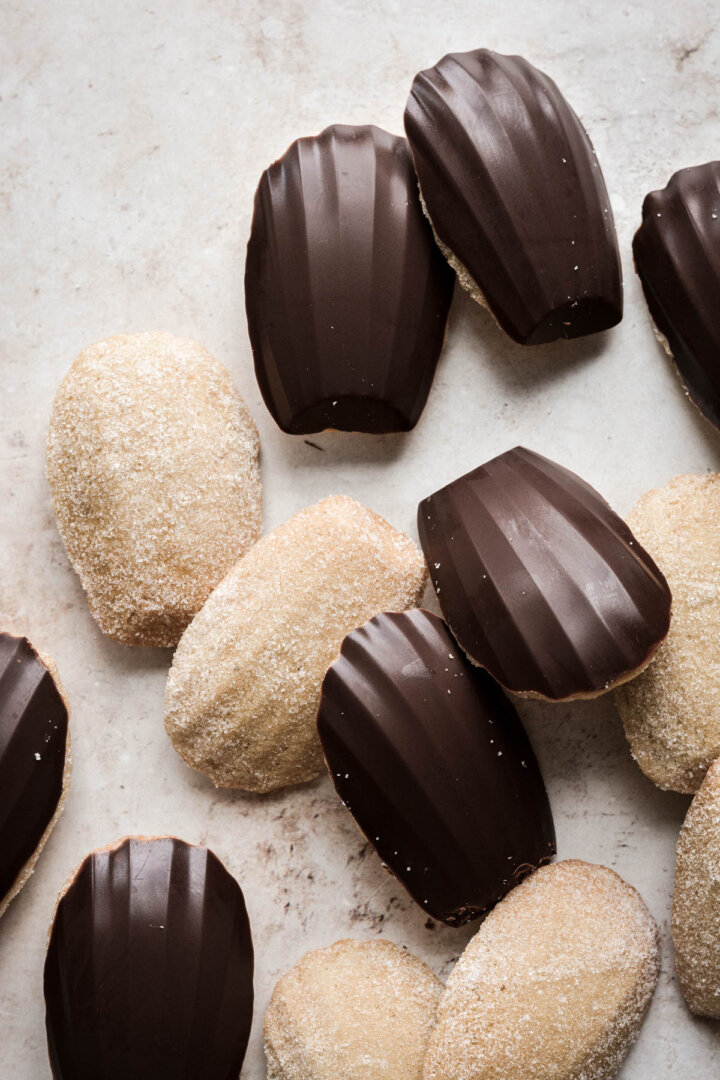
Chocolate Dipped Meringues
After cooling your meringue cookies completely, dip the bottoms in melted chocolate (preferably bittersweet or dark chocolate, to offset the sweetness of the cookies). Set the cookies back onto the parchment paper and let the chocolate harden before storing the cookies. Beware of speeding this process up by placing the pan of meringues in the fridge or freezer, since the humidity will make the meringues sticky.

S’mores Meringues
This was my kids’ idea, as they watched me dip meringues in chocolate. Before the chocolate sets, dip it in crushed graham crackers.
Eton Mess
Eton mess is an English dessert consisting of meringues, strawberries, and whipped cream. It’s sort of like a trifle that’s made with meringues instead of cake. Simply crumble leftover meringue cookies and layer them in individual parfait glasses or bowls with lightly sweetened whipped cream and your choice of berries or fruit.
Hot Chocolate
Instead of serving hot chocolate with whipped cream or store bought marshmallows, drop your homemade meringues into steaming cups of hot chocolate and watch them melt. I drew a template on parchment paper (on the underneath of the paper, so the ink doesn’t transfer to the meringue), and used tip 1M to create stars, trees, and sprinkle topped swirls. These are so cute to serve with a hot chocolate bar at Christmas time.


Sprinkles
You can easily dress up your meringues with sprinkles for any season or holiday. Simply scatter sprinkles (I prefer nonpareils) over the meringues before baking. Meringues with red and green sprinkles would be super cute to serve with hot chocolate at Christmas.

Mini Pavlovas
Use a spoon to swirl mounds of meringue (about 4 inches in diameter and several inches high) onto the baking sheet, then bake as instructed. To serve, top each individual pavlova with berries or lemon curd, and lightly sweetened whipped cream. Instead of fruit, you could also serve them with salted caramel sauce, hot fudge sauce, or chocolate ganache.

Be sure to read all of my BAKING FAQs where I discuss ingredients, substitutions and common baking questions, so that you can be successful in your own baking!
Frequently Asked Questions
You can use a hand-held mixer to whip meringue, but it will take much longer to reach stiff peaks.
Yes, you can add gel food coloring and a variety of flavored extracts. Peppermint and lemon are the most popular flavors, but maple would also be great. Add these after whipping the meringue to stiff peaks.
You can just use a spoon to swirl the meringue onto your baking sheet.

You Might Also Like

Please check out my Amazon Shop for a curated collection of some of my favorite cake pans from trusted brands, baking tools, ingredients, pretty things and fashion finds. I recommend products that I buy and use every day!
Did you love today’s recipe? Please rate the recipe and let me know in the comments what you thought! Also, be sure to follow Curly Girl Kitchen on Instagram, and tag me when you try one of my recipes so I can see all your delicious creations!

High Altitude Vanilla Bean Meringue Cookies (GF)
All recipes on Curly Girl Kitchen are developed for high altitude at 5,280 feet. See FAQs for adjusting to higher or lower elevations.

Equipment
- Stand Mixer with Whisk Attachment
- Baking Sheets + Parchment Paper
- 16-inch Disposable Piping Bag + Piping Tips
Ingredients
- 3 large egg whites, room temperature
- 1 tsp vanilla bean paste (or seeds scraped from 1 vanilla bean)
- ½ tsp cream of tartar
- ½ cup granulated sugar
- ⅛ tsp coarse Kosher salt (if using table salt, use half the amount)
Instructions
Getting Ready
- Preheat the oven to 225 F, and position the racks in the upper and lower thirds of the oven, so that neither rack is too close to the top or bottom heating elements.
- Line two 13×18 inch baking sheets with parchment paper.
- Wipe down your mixing bowl, whisk attachment, spatula, and any other utensils you'll be using with lemon juice. This gets rid of any traces of grease, which can impede the meringue's ability to reach stiff peaks.
- Separate the egg whites from the yolks while the eggs are cold, but then let the whites sit at room temperature for about an hour to warm up. Or, you can place the bowl of egg whites inside another bowl filled with very warm water, which will warm them up sufficiently in just a few minutes. Be sure that no trace of broken egg yolk touches the whites.
Whip the Meringue
- In the bowl of your stand mixer fitted with the whisk attachment, add the egg whites, vanilla and cream of tartar. Whip the mixture for several minutes on medium speed, until foamy.
- With the mixer running, slowly sprinkle in the sugar (it should take you about 1 minute to add the sugar) and the salt.
- Whip the meringue on medium high speed for several minutes, until the meringue reaches stiff, glossy peaks. When you dip a spoon into the meringue, it should stand up straight on the spoon, but it's totally fine if the thin pointed ends of the meringue swoop over.
- If adding other flavorings (such as peppermint or lemon) or gel food coloring, add it now and whip for 1 more minute until well combined.
Pipe the Meringue Cookies
- Fit a 16-inch disposable piping bag with your piping tip (or with a coupler first, if you plan on using multiple piping tips). A large coupler will work with tips like 1M and 2A, but will not work with extra large specialty tips like 8B.
- Scoop half the meringue into the prepared piping bag. You don't want to over-fill the bag, or it will be difficult to use, so simply refill with the rest of the meringue as needed. See this post on How to Use Piping Bags, Piping Tips and Couplers.
- On your parchment lined baking sheet, pipe the meringue about 1 1/2 – 2 inches wide and high, depending on how large you want your cookies to be. Leave 1 1/2 inches between each piped cookie.
- Use tip 8B to pipe the star shaped "kisses". I piped these about 1 1/2 – 2 inches in diameter.
- Use tip 1M to pipe the rosettes and the swirls with sprinkles. I piped these about 2 inches in diameter.
- Use tip 2A to pipe the smooth "chocolate kisses". I piped these about 1 inch in diameter.
- I also used tip 2A to pipe larger mounds of meringue, then swirled these with a spoon to shape individual mini pavlovas. Mine are about 3 inches in diameter, but I'd probably make these bigger next time, about 4-5 inches in diameter.
- If adding sprinkles, go ahead and do that now, before baking.
Bake the Meringues
- Place the pans in the preheated oven. Bake the meringues for 60 minutes, rotating the pans from one rack to the other halfway through.
- After 60 minutes, turn off the oven. Let the meringues rest in the warm oven and continue to dry out, for another 60-90 minutes (or up to 2 hours in more humid climates).
- Take the pans out of the oven, and let the meringues cool completely, then gently peel them off the parchment paper. Take care not to break off the delicate points.
Storage
- Store the cooled meringues in an airtight container at room temperature for up to 1-2 weeks, or in the freezer for up to 2 months.
- To keep the meringues crisp, I recommend adding a couple of tablespoons of uncooked rice to the container to absorb any moisture in the air. This will help no matter where you live, but is especially helpful if you live in a humid climate.
Notes
- Avoid making meringues on a humid day, as moisture will make them chewy, rather than crisp.
- Always wipe down bowls and utensils with lemon juice or vinegar, to get rid of any traces of fat or grease.
- Separate egg yolks from whites while the eggs are cold, but room temperature egg whites will whip easier and quicker to stiff peaks.
- Do not omit the cream of tartar, as this stabilizes the proteins in the egg whites so they can reach and retain their stiff peaks.
- Thoroughly dry the meringues out in a warm oven, then cool completely before storing in an airtight container. Moisture is the enemy of their crisp texture.
 https://curlygirlkitchen.com/
I hope you love this recipe as much as we do!
Hi Heather, I love your page! I live in Park City, 6700 ft. My mom was famous for her meringue mushrooms, which I make every christmas, but they weep while cooling in the oven. She lived in Los Angeles. Should I add meringue powder? How can I make great mushrooms for my youle logs? I usually dust them with cocoa powder before baking, and paint the underside with chocolate to add the meringue stems. I apperciate your advice!
Megan, I’ve never had any issues at all with these weeping, so I don’t think they need any other ingredients to stabilize them if you follow the recipe. I’ve never made them mushroom shaped, or added cocoa powder, but please let me know how it works out!
Would these work for mini pavlovas? If they are piped like a pavola? Or how would they differ? I live at 7600 feet and every recipe I’ve tried of yours so far turns out wonderfully! So I always check your site for any baking recipe I need!
I don’t see why not, although I’ve never actually made a pavlova.
How much vanilla extract if I don’t have vanilla bean?