
A helpful resource on making and storing homemade jam and fruit preserves, with a guide on types of pectin, tips for freezing and canning jam, and links to favorite jam recipes.
Be sure to check out these recipes for seedless cranberry jelly, wild blueberry preserves, and peach apricot jam.
This site contains affiliate links. As an Amazon associate, I earn from qualifying purchases. This means that I may make a small commission if you purchase a product using those links. This in no way affects my opinion of those products and services. All opinions expressed on this site are my own.
Why You’ll Love Making Your Own Jam
Preserves the Fresh Flavors of the Seasons
Even though we can buy berries year ’round, there’s no denying that strawberries and blueberries are best in the spring and summer. And there’s just nothing like sweet red cherries in June, a juicy, sun-ripened peach or apricot in July, and crisp apples and pears in the fall. I look forward to each season and the bounty of fresh fruits and vegetables that are available.
Easy and Versatile
The corn-syrup-laden jams at the grocery store can be pretty one note. Fruit, corn syrup and citric acid are usually what you’ll find on the ingredients list. But when you make your own jam, there’s no limit to what you can do to make each batch flavorful and unique. Combine two different fruits for more depth of flavor, like peaches and apricots, or strawberries and rhubarb. Add a dash of vanilla or a pinch of spices, like ginger, cloves and cardamom. Add a chopped roasted jalapeno for a spicy kick to balance the sweetness. And of course, you can control the amount of sugar, too, to make your jam just as sweet as you like.
Long Shelf Life
If I’m planning on gifting jars of jam that are going to be stored at room temperature (like in a pantry), then I will always process the jars in a water bath to make sure the jars are sealed. This preserves the jam for 1-2 years so it doesn’t spoil. But for jam that my own family will be eating, I simply fill my jars with hot jam, screw on the lids, cool to room temperature, and then store them in my freezer. If you have the freezer space, this is a great option for keeping the jam fresh, without needing to bother with the canning process. By the time next summer rolls around, we’re usually finishing the last few jars of jam from the freezer, and it’s time to make more.
Difference Between Jams, Jellies, Preserves and Marmalades
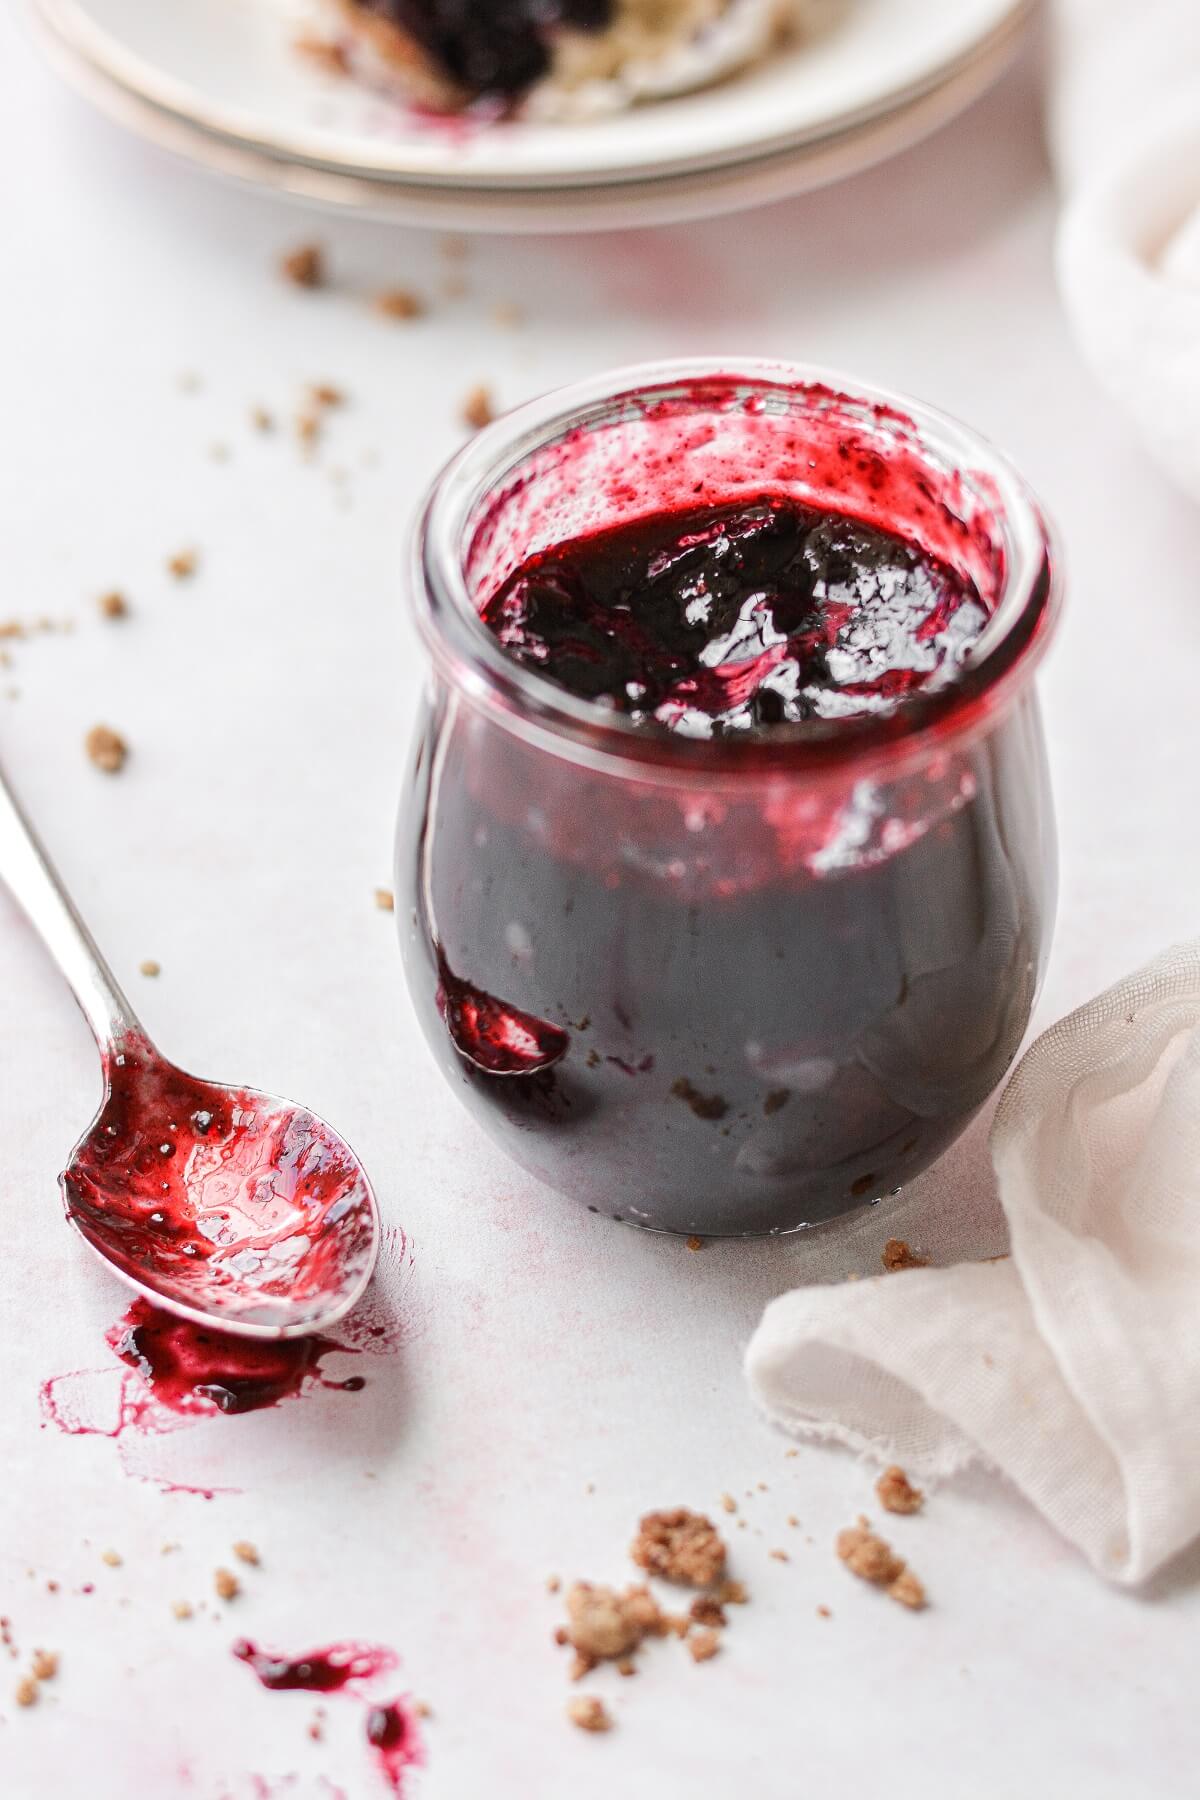
- Jams and Preserves. These two are very similar, although jam tends to have more of a mashed fruit consistency, while preserves contain larger chunks of fruit.
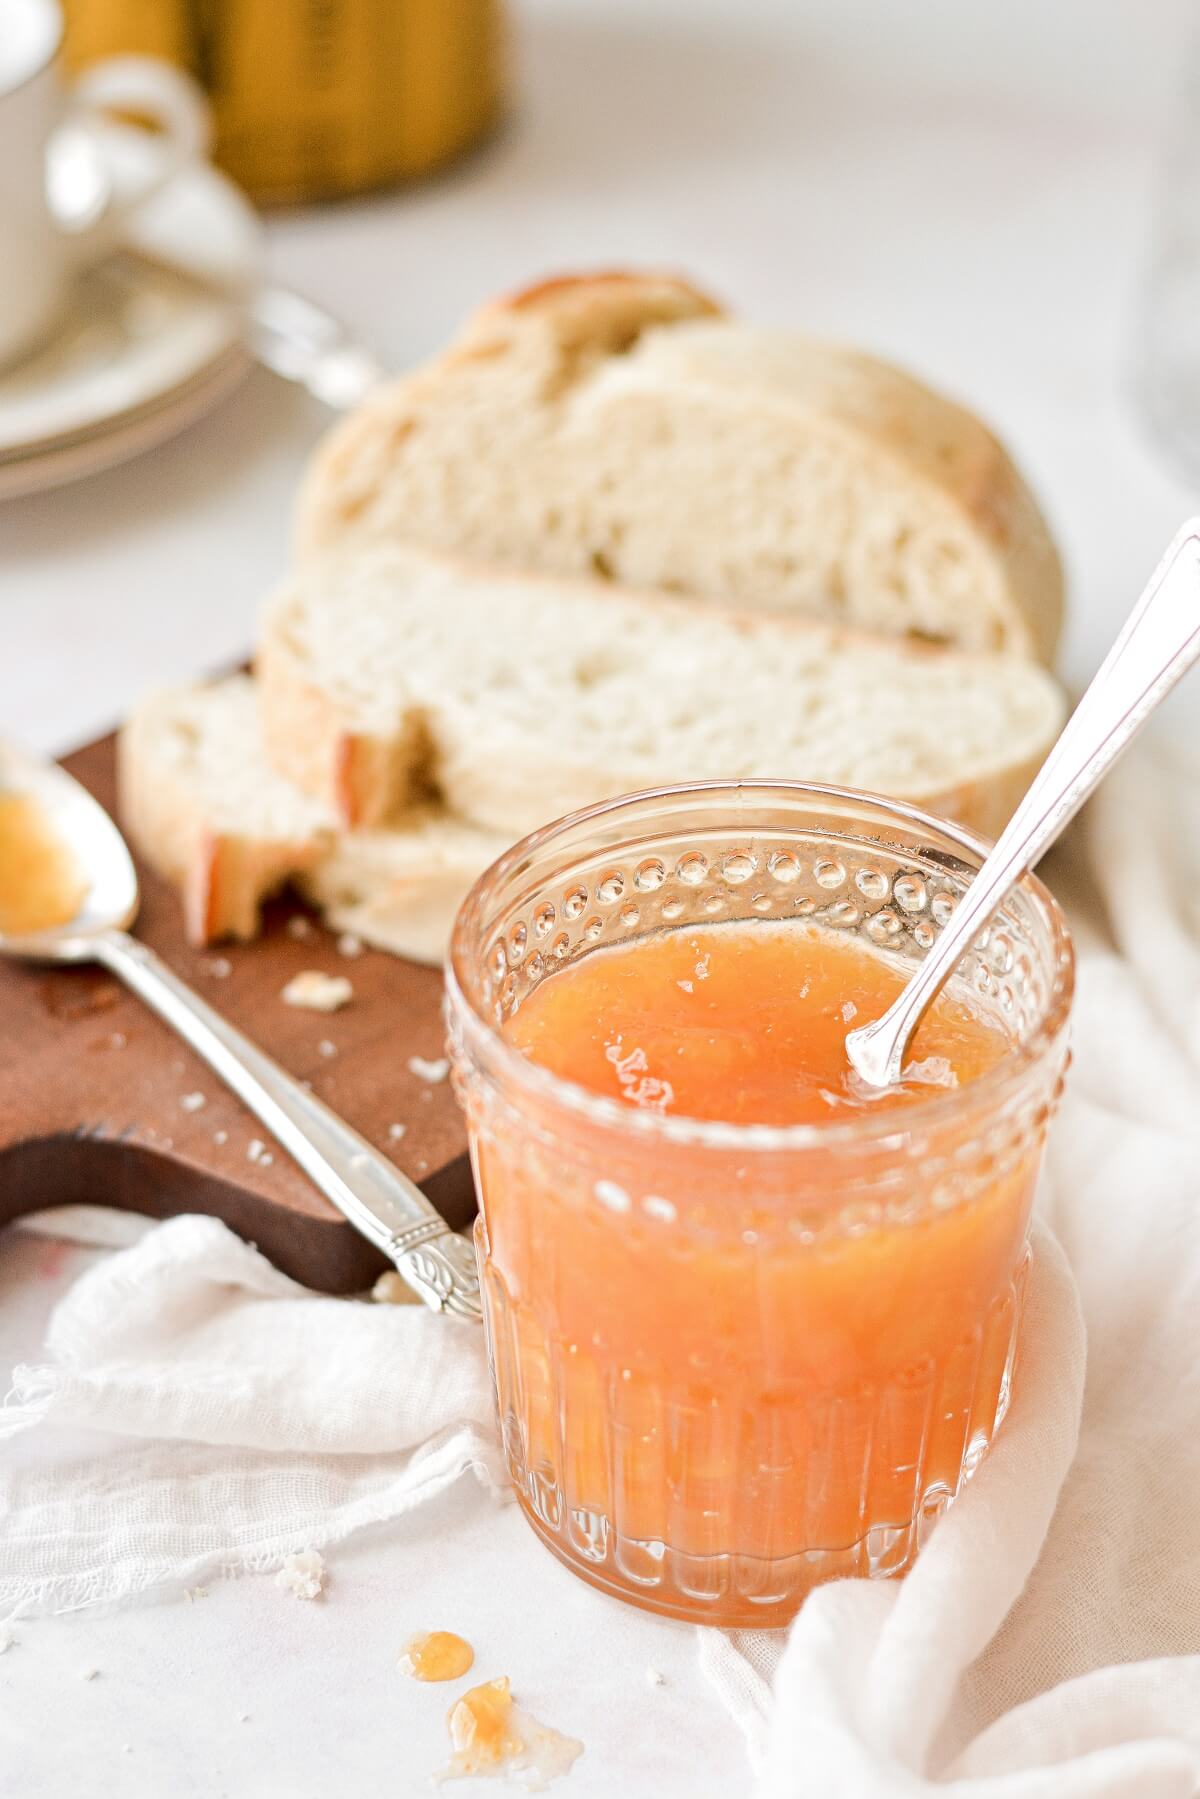
- Jelly. Jellies are made from fruit juice rather than whole fruit. You’ll usually make jelly from fruit that contains seeds or skins and needs to be strained, or doesn’t break down well while cooking, such as grape or apple jelly. While jams and preserves are textured and spoonable, jelly is firm, smooth and clear.
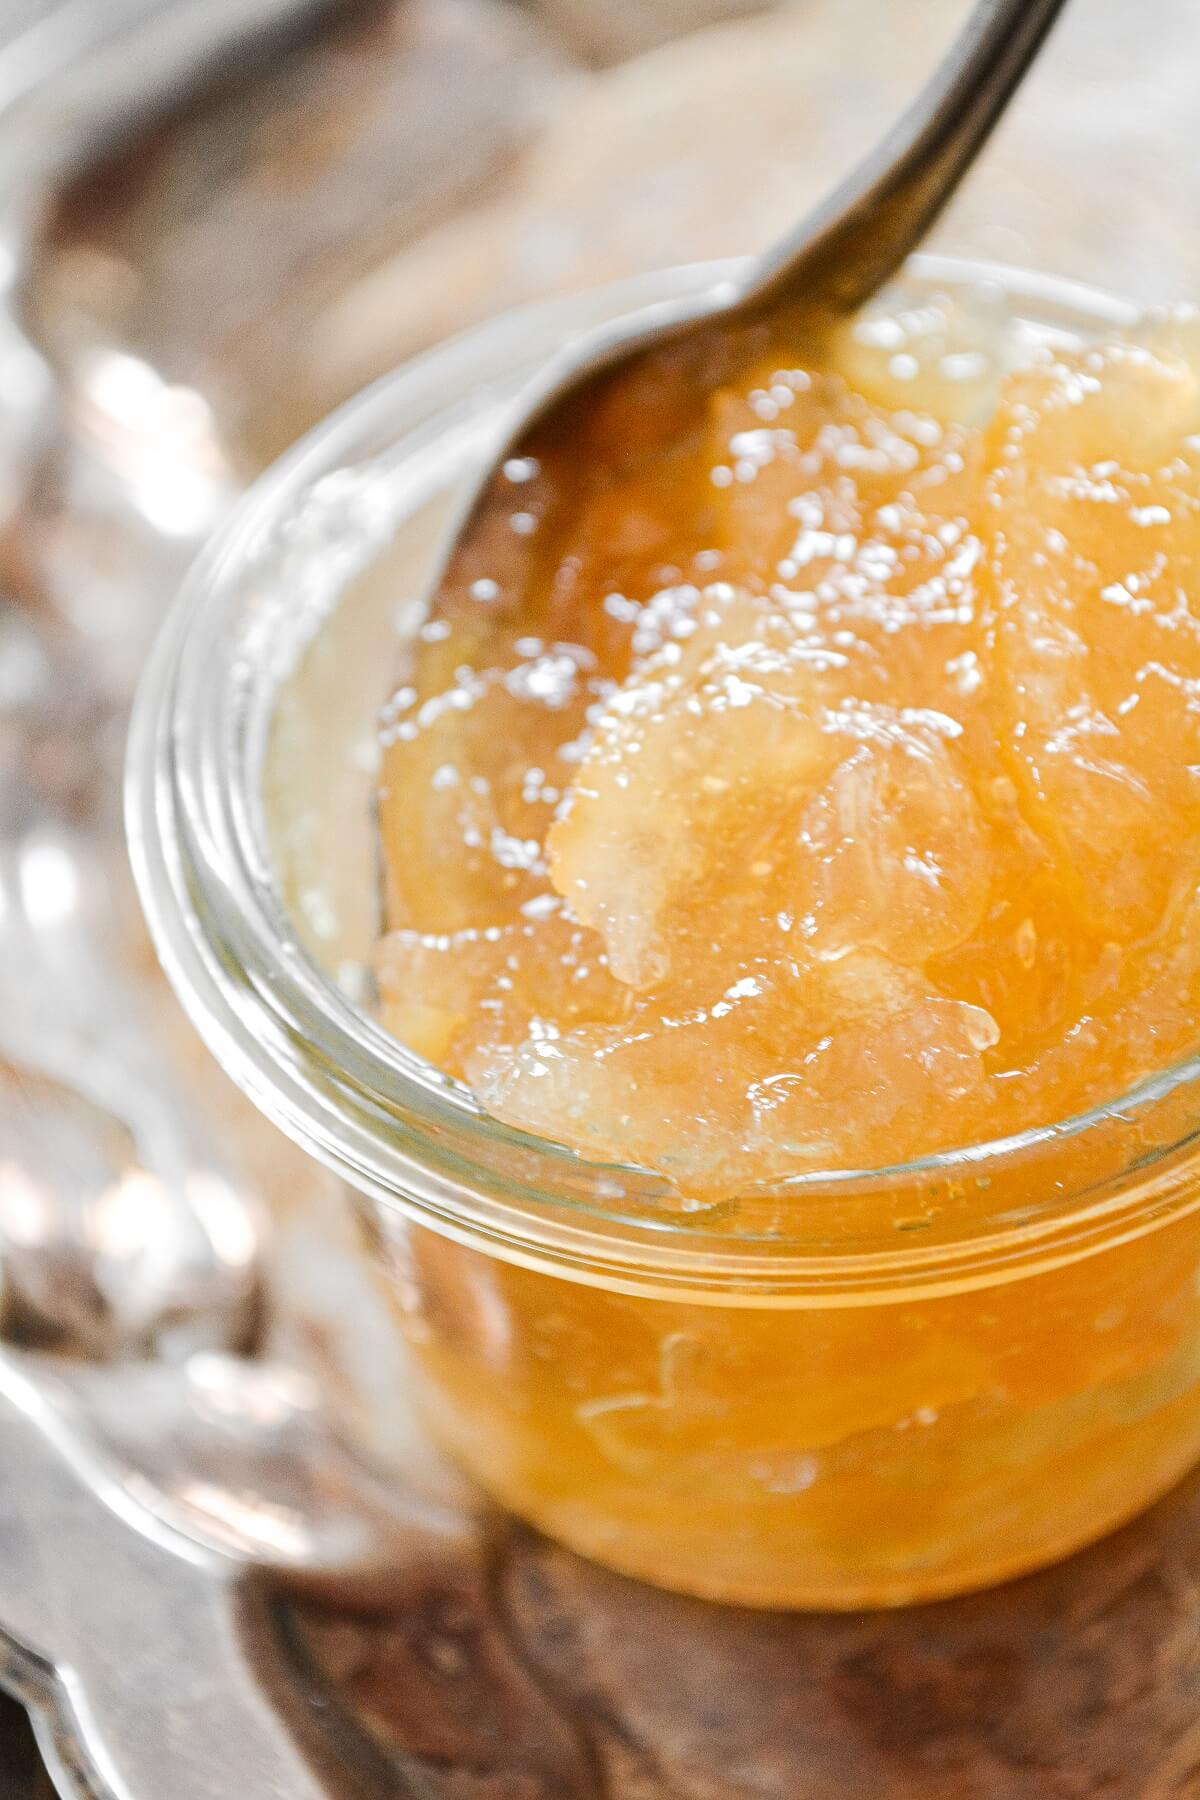
- Marmalade. Marmalade is a preserve, but made from citrus fruit, like orange or lemon marmalade.
Preparing Fruit for Jam
- Choose fresh, high-quality fruit that’s in season. You don’t want mushy, over-ripe, or bruised fruit. Your homemade jam will only taste as good as the fruit you use.
- Wash the fruit well. For delicate fruit like berries, wait to wash them until you’re ready to begin cooking.
- Peel and pit the fruit. You should always peel fruits like apples, peaches and nectarines, as the peel will give the jam an unpleasant texture. Remove the stems, core, pit or seeds, if possible. If the fruit contains lots of seeds like raspberries and blackberries, you’ll have to puree the fruit and strain out the seeds if you want a seedless jam or jelly.
- Cut the fruit. As instructed in the recipe, cut, chop, crush or puree the fruit.
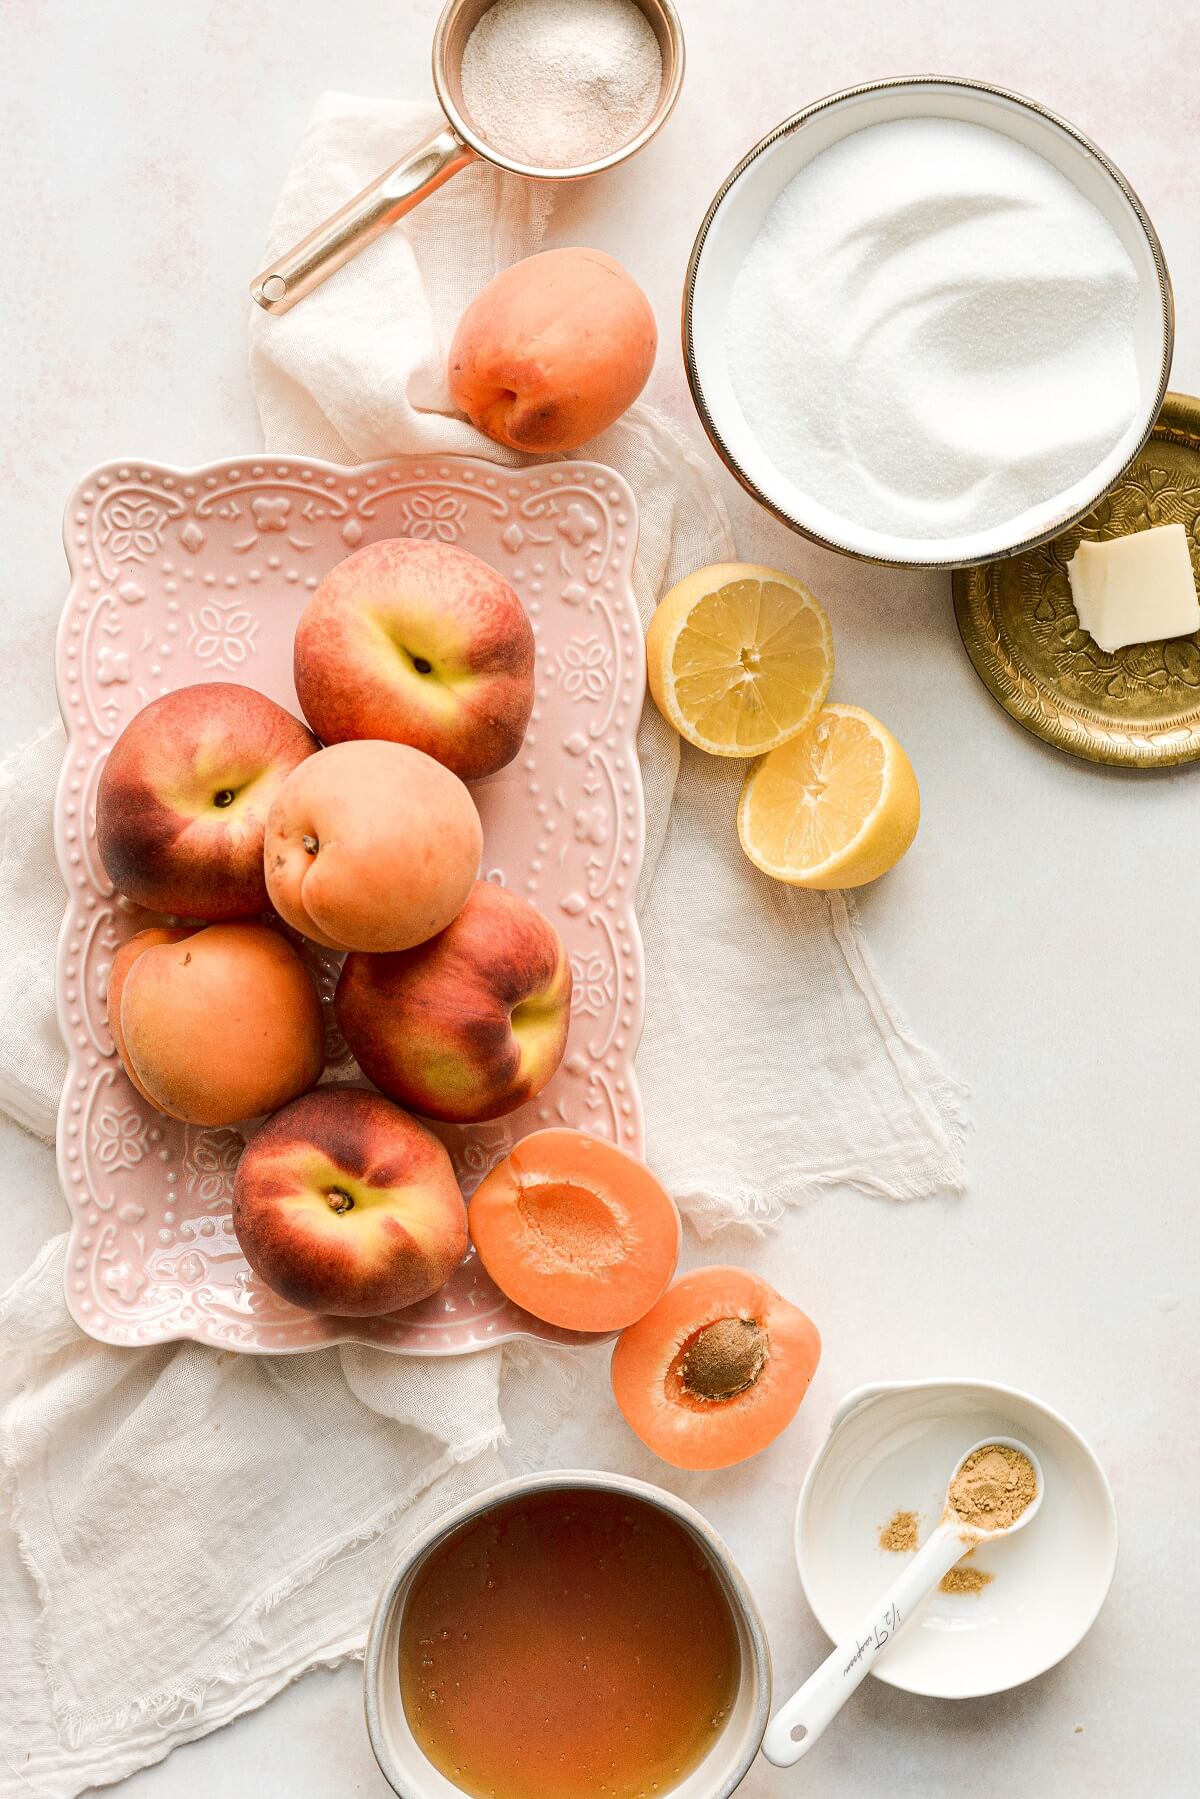
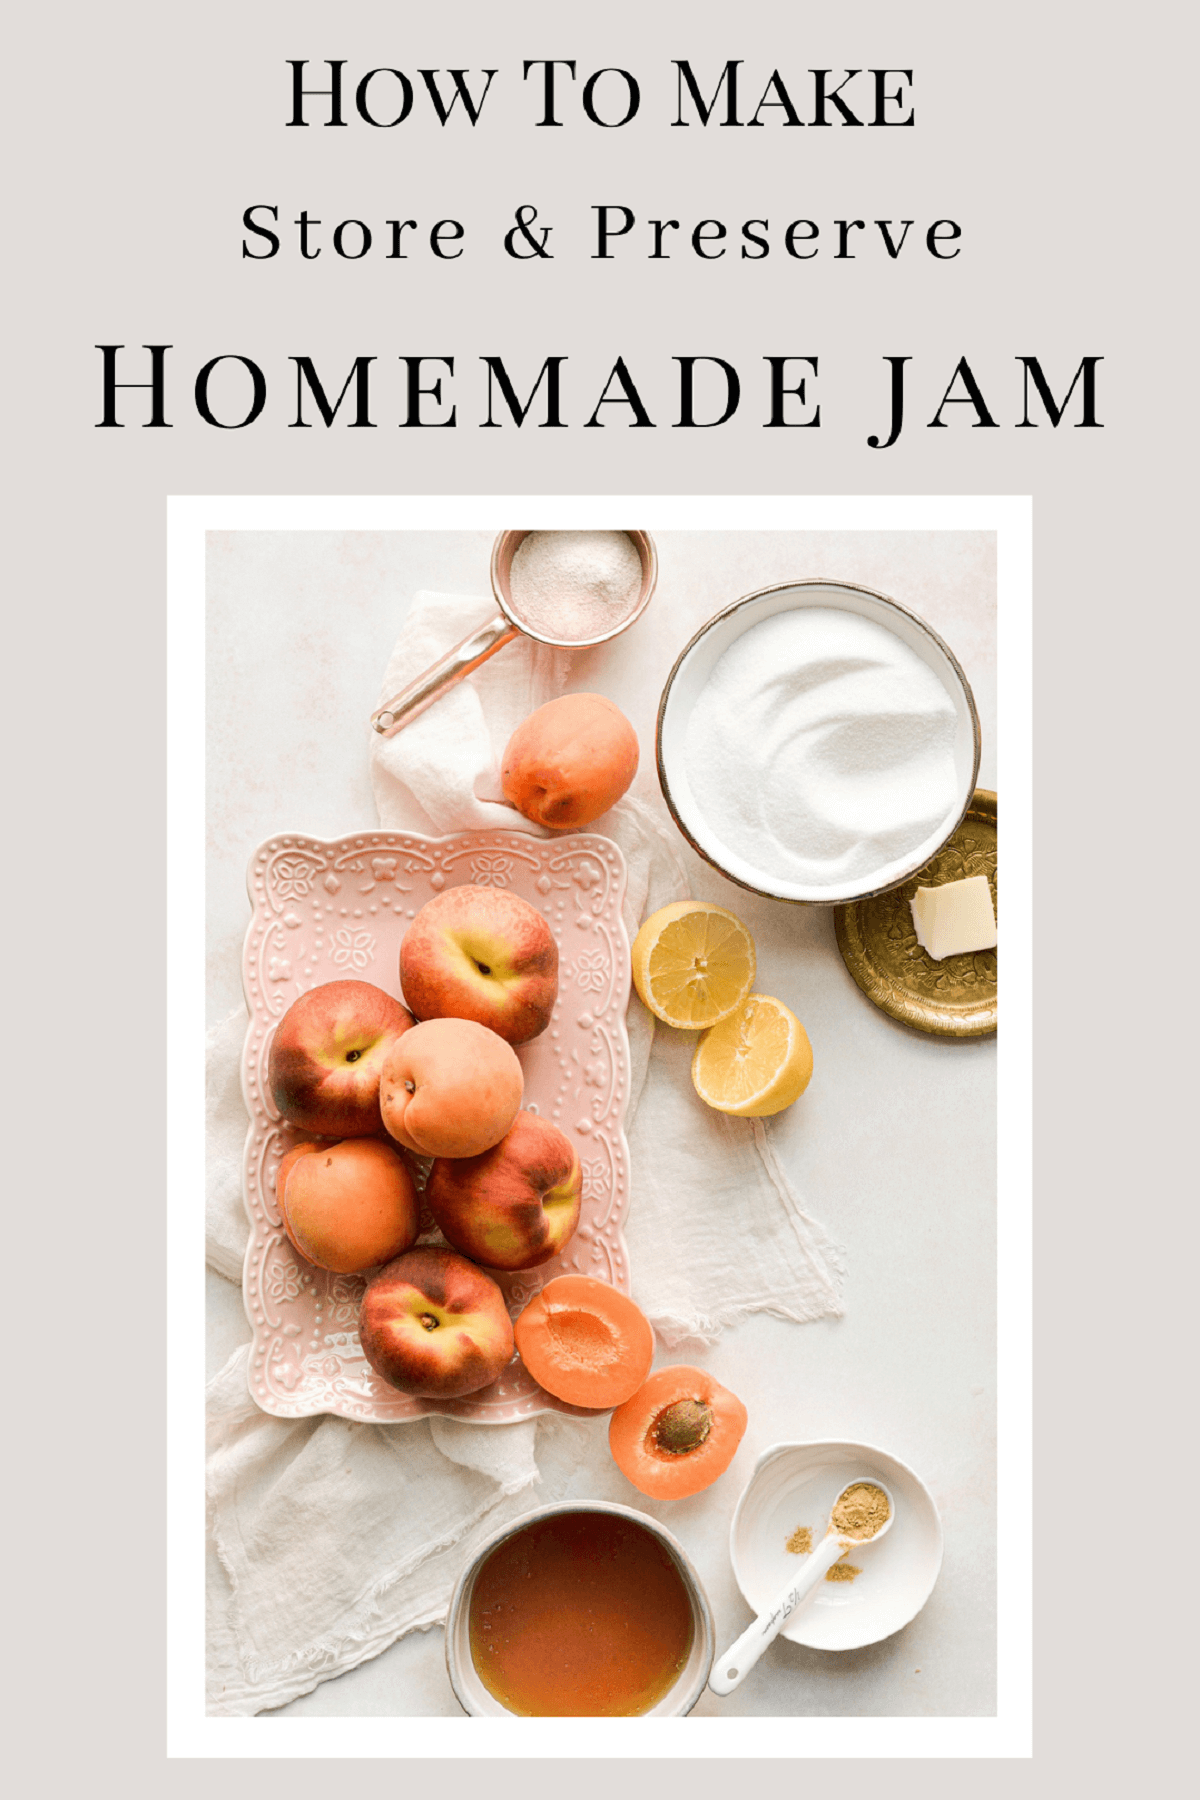
Basic Ingredients
- Fruit. For the best flavor in your jam, use fresh, ripe fruit that’s in season.
- Lemon Juice. The lemon juice adds tartness, to balance the sugar, but it also adds acidity and natural pectin, which helps to “set” your homemade jam.
- Pectin. In all of my homemade jam recipes, I use powdered “classic” pectin, preferably the Ball brand.
- Granulated Sugar. Not only does the sugar add sweetness, but it preserves the fruit as well, maintaining the vibrant color of the fruit and inhibiting mold growth. The sugar also works with the pectin to gel the jam, so that it’s spreadable, rather than runny.
- Butter. The fat in a small amount of butter helps to reduce any foam that gathers on top of the jam while cooking, so that your jam has a pretty, clear color.
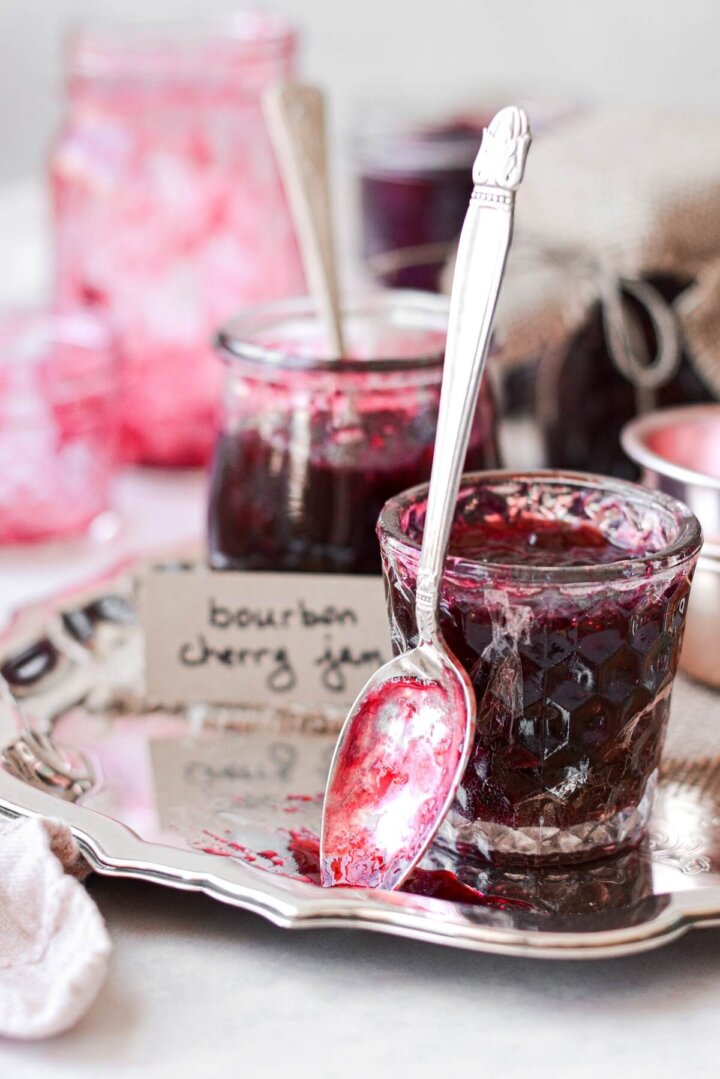
- Other Add-Ins. Try adding complementary spices, a roasted hot pepper, a splash of vanilla, or even bourbon for more depth of flavor.
Basic Instructions
Clean and Sterilize the Jars.
First, make sure your jam jars, lids and rings are clean and sterilized. You can sterilize them in the dishwasher, or by boiling them for a few minutes in a large stock pot.
Prep the Fruit.
Prep the fruit as instructed – this will mean peeling, coring and chopping fruits like peaches and apples, or simply rinsing fruits like blueberries.
Cook the Fruit and Lemon Juice.
Bring the fruit and lemon juice to a simmer over medium heat, until very juicy. Mash the fruit slightly, leaving it as chunky as you’d like. If adding things like spices, you can stir them into the chopped fruit.
Add the Pectin.
Sprinkle the pectin over the fruit and stir it in. Increase heat to medium/high and stir constantly (while wearing oven mitts to protect against splatter burns), and bring to a boil.
Add the Sugar and Boil Hard.
Dump all the sugar in at once. Continue stirring constantly to return to a vigorous boil that can’t be stirred down. Boil hard while stirring for 1 minute. This step activates the pectin and ensures your jam will “set”.
Stir in the Butter.
Remove from the heat and stir in the butter (the fat helps to reduce any foaminess). If adding vanilla extract, you can add it now, too.
Pour into Jars.
Immediately ladle the jam into hot, sterilized jars, leaving a 1/4 inch gap at the top (called “head space”) to allow for expansion. Wipe the rims of the jars with a clean damp cloth. Center the lids on the jars, and screw on the lids “fingertip tight”.
Storing and Preserving
Refrigerate for Immediate Consumption
For jam that you’ll be consuming within 1-2 months, you can simply store the jars in the refrigerator, and the sugar helps to keep the jam from spoiling.
Can in a Water Bath for Longer Preservation
If you’re planning on storing the jam in your pantry or giving jars away as gifts, you should process the hot jars of jam in a water bath according to standard canning procedures to seal the lids. Simply turning the hot jars upside down will not properly seal the lids and could lead to bacterial contamination. Note that when canning at high altitude, the boiling times are longer to seal the jars.
Freeze the Jam
An easy way to store jam for personal consumption is simply to let the jars cool for a few hours and then place them in the freezer. If you have the freezer space, this is a great way to preserve the jam. Every spring and summer, I make large batches of jam, and then freeze the filled jars to enjoy throughout the year. Thaw frozen jars of jam overnight in the refrigerator before using.
Equipment for Jam Making
Large Stock Pot
For cooking the jam, use a large, heavy-bottomed stock pot for larger batches, or a saucepan for a small batch.
For canning the jars of jam in a water bath, you’ll need an even larger induction canner, that can accommodate many jars of jam at a time.
Canning Jars
You need to use heatproof glass jars with sealable lids for storing jam. The jam needs to be hot when you pour it into the jars. As the jam cools, the lid is sucked down like a vacuum, creating a strong seal to protect against mold and bacteria.
Most often, I use these 8-ounce Quilted Jelly Jars. You can process them in a water bath to seal the lids, as well as store them in the freezer. I like that they’re sturdy and don’t break easily. They’re also available at most major grocery stores on or near the baking aisle. There are so many pretty jars available, though. I love the shape of these hexagon jars and and these tulip-shaped Weck jars.
Jar Lifter
When canning jam, you’ll need a jar lifter to safely and securely lift the jars out of the hot water.
Jar Funnel
A jar funnel allows you to easily ladle hot jam into jars without dripping it all over the sides of the jars.
Strainer or Food Mill
When making jelly, you’ll need to remove the seeds and skins of the fruit by using either a strainer or a food mill.
Wooden Spoon
When cooking your jam, use a wooden spoon so it doesn’t leach any chemicals into the jam like a plastic spoon could.
Using Pectin for Jam Making
First, what is pectin? Pectin is a type of starch that’s found naturally in the cell walls of fruits and vegetables. Some fruits are higher in pectin than others, so the amount of pectin called for in a jam recipe will vary greatly, depending on the fruit. Pectin is available commercially in powdered and liquid form, and when combined with sugar and acid, pectin is what causes jam to gel.
There are many types of pectin available, in powdered and liquid form. Some are labeled as “low-sugar” or “freezer” pectins. I haven’t had good experiences with either of these types of pectin. The freezer pectin in particular, which supposedly doesn’t require cooking the fruit, resulted in a jam with a very odd flavor and texture that I disliked.
I only use classic pectin, which comes in powdered form. If you use a different type of pectin in my jam recipes, you should do a little research to determine how much pectin you should use.
Pectin Alternatives
Now, if you prefer to not use pectin in your jam, you have a couple of options for thickening the jam without pectin. Without a thickening agent, you’ll need to simmer the fruit on the stove for a much longer time, letting the liquid reduce down and concentrate until the jam is the thickness and consistency that you like. I’ve done this many times – usually when I happen to be out of pectin and can’t be bothered with a trip to the grocery store. While still delicious, no-pectin jam tends to result in a softer set, runnier jam than the gelled consistency we’re used to from store-bought jam.
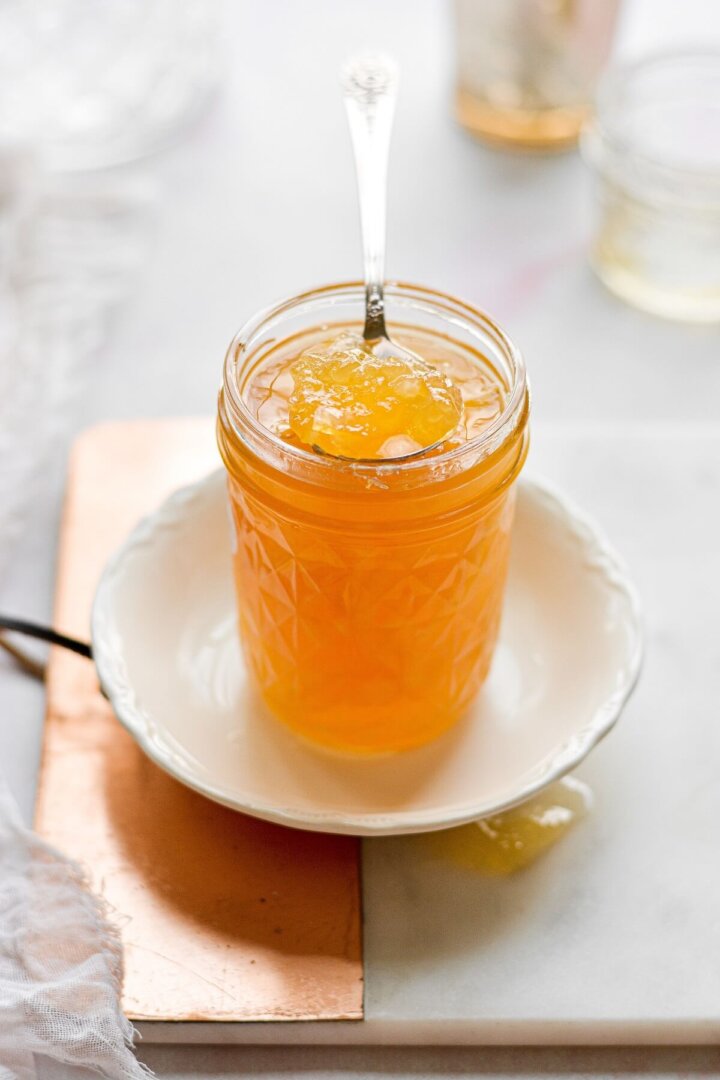
Another option is to add a small amount of fruit that’s high in pectin (such as a green apple), to contribute natural pectin to the jam. Peel and finely dice the apple (so that you don’t get large visible chunks of apple in your jam), and add it to the saucepan to simmer with the fruit. The apple won’t alter the flavor of your jam very much, and should help it to thicken and set. Citrus fruits, especially lemons, are extremely high in natural pectin, so in my lemon marmalade recipe, no pectin is needed and the marmalade still sets with a very thick consistency.
Be sure to read all of my BAKING FAQs where I discuss ingredients, substitutions and common baking questions, so that you can be successful in your own baking!
Frequently Asked Questions
Does jam thicken as it cools, and how can I tell that it’s set?
Yes, jam will be quite runny when it’s hot, and then will thicken and set as it cools. Sometimes it can take 24-48 hours for the pectin to fully set. If you want to make sure your jam sets properly before you portion it into jars, spoon a small amount of hot jam on a plate, and place in the freezer for several minutes, just until chilled, but not frozen. If the jam is thick and jellied, not watery, then it’s set and ready to be stored.
Can I reduce the sugar in a jam recipe?
Not only does the sugar add sweetness, but it preserves the fruit as well, maintaining the vibrant color of the fruit and inhibiting mold growth. The sugar also works with the pectin to gel the jam, so that it’s spreadable, rather than runny. Reducing the sugar will shorten the jam’s shelf life, and may prevent the jam from gelling correctly. But if you plan to only make a small batch to keep in the refrigerator and eat it quickly, then by all means feel free to reduce the sugar if you feel so inclined.
Will a recipe work if I double it for a larger batch?
Jam is best made in small batches, to maintain the flavor of the fruit and properly set the consistency. It’s advised to follow the recipe as instructed.
What if the seal on the lid broke and there’s mold in the jar?
If you’re storing homemade jam in your pantry and you notice that the seal is broken, you should throw that jar away.
How can I use my homemade jam?
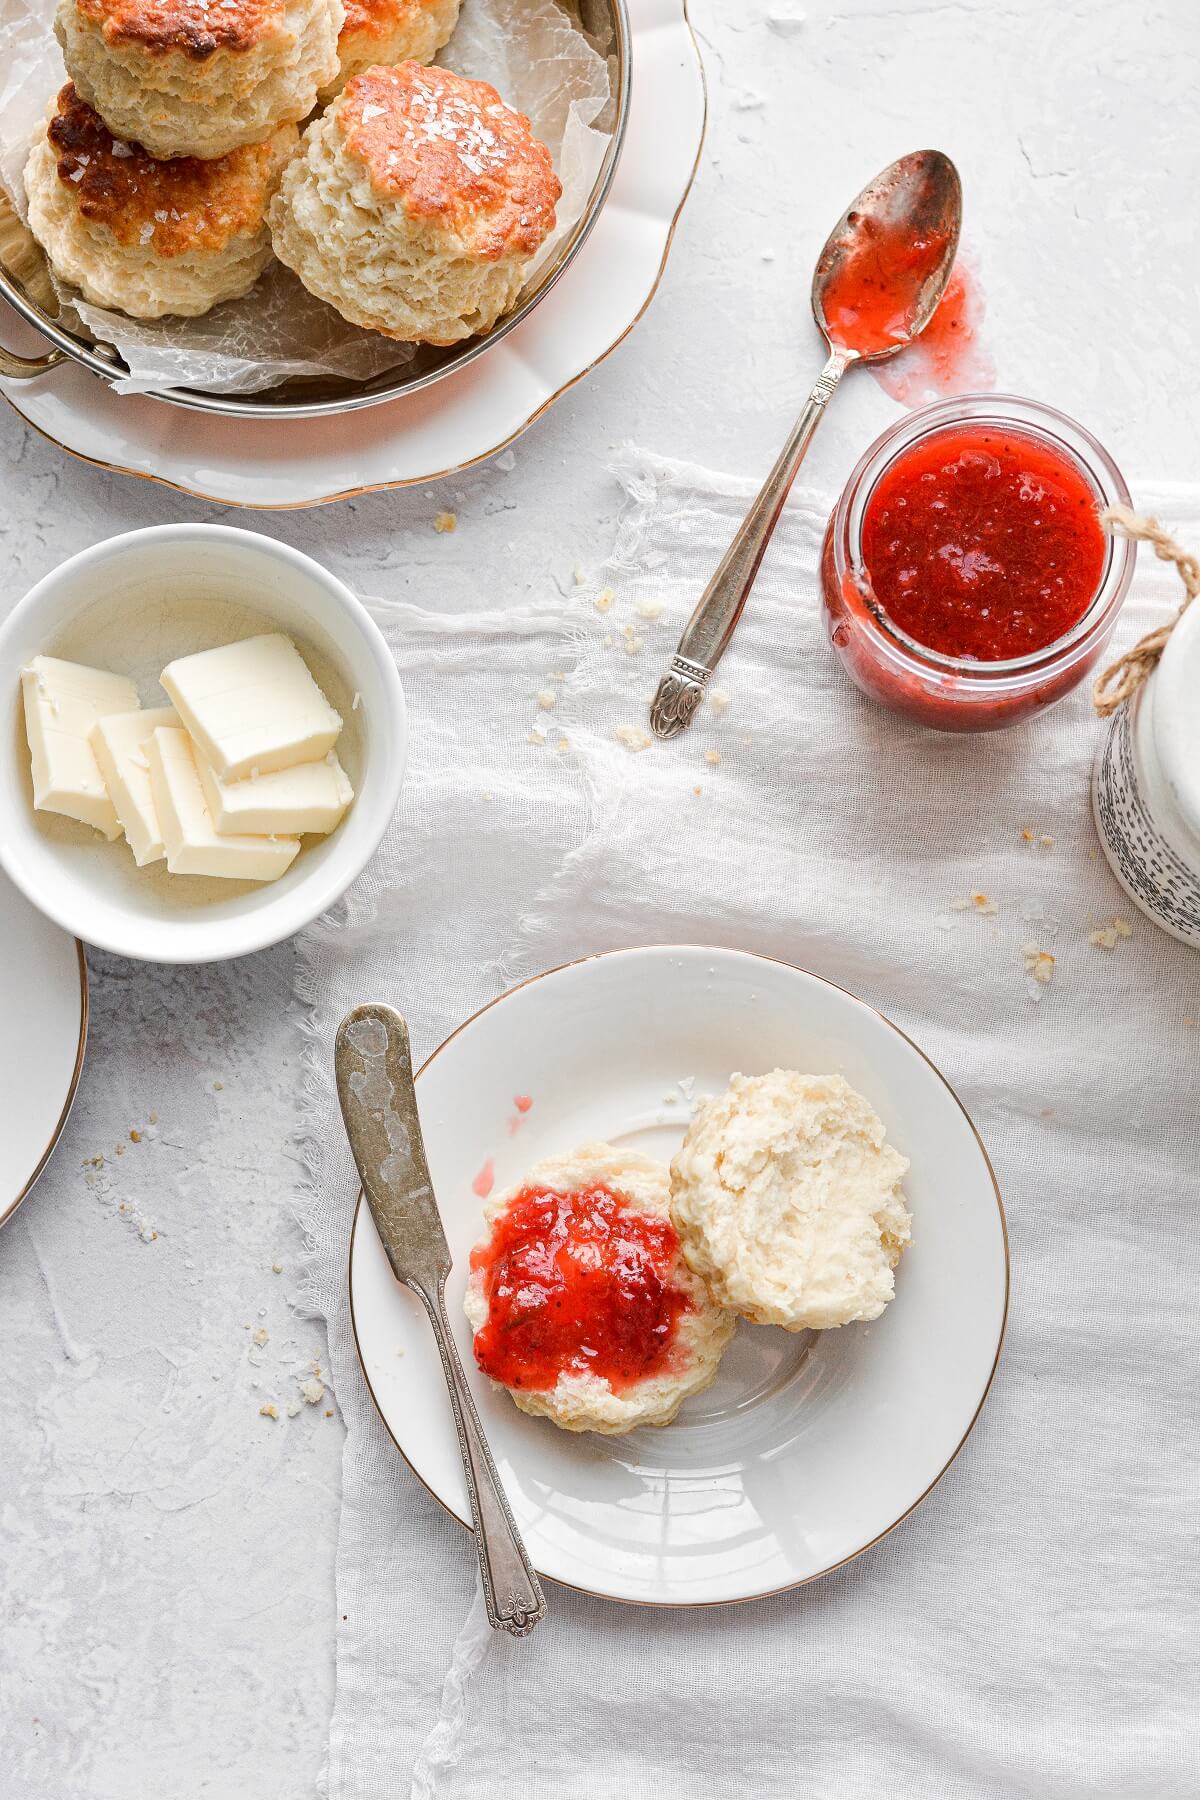
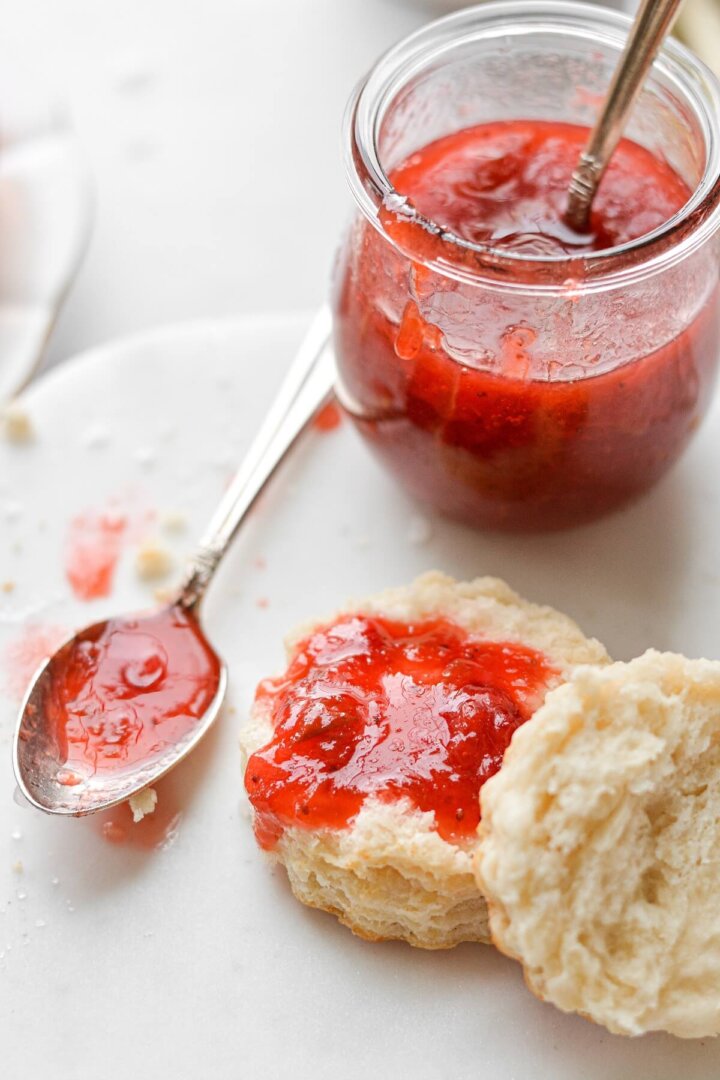
- Spread on toast, biscuits, or peanut butter and jelly sandwiches.
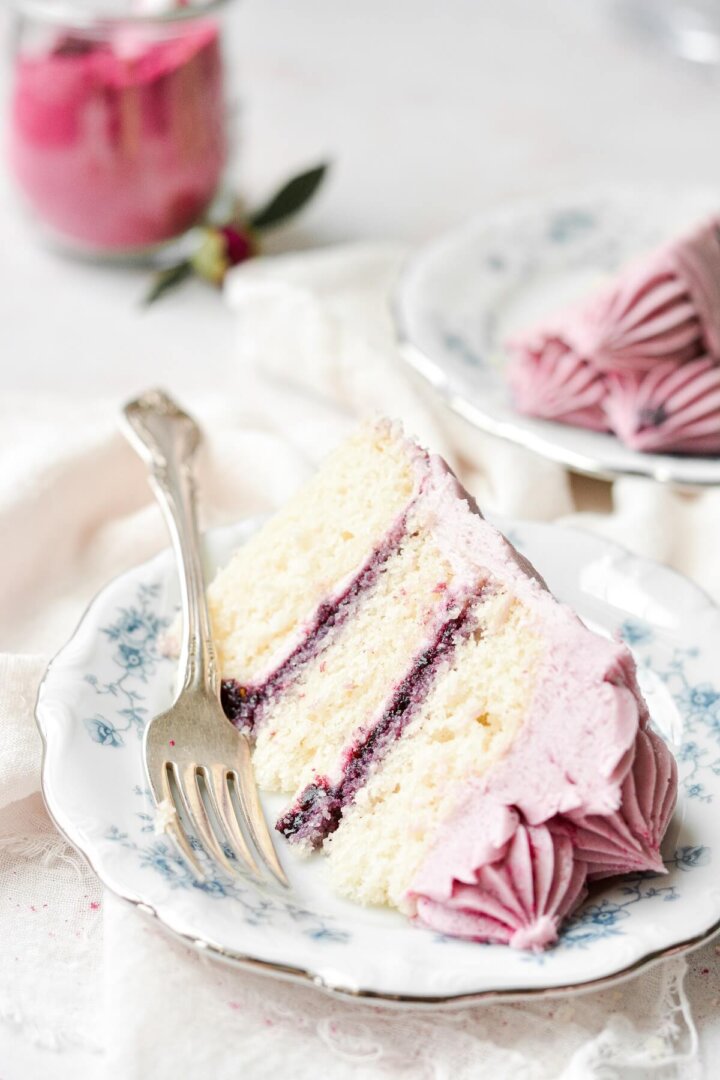
- Use it as a cake or cupcake filling.
- Swirl it into yogurt or ice cream.
- Use it as a filling in homemade pop tarts.
Jam Recipes
- Peach Apricot Jam with Ginger and Honey
- Strawberry Rhubarb Jam
- Cherry Bourbon Jam
- Lemon Marmalade
- Wild Blueberry Preserves
You Might Also Like
Please check out my Amazon Shop for a curated collection of some of my favorite cake pans from trusted brands, baking tools, ingredients, pretty things and fashion finds. I recommend products that I buy and use every day!
nice and helpful but if i am using red/ black currants raspberries (red or black) or blueberries, how much pectin? how limited can the sugar be? I want to limit the added sugar but want to have 3 to 5 years storage in mason jars. I Never done this before but fallen in love with non commercial “home made” / boutique farm craft jams which are vastly better than commercial ones. Availability of these berry jams is limited.
I haven’t included that information because it varies so much depending on what type of pectin you choose to use, as well as simply personal taste. Most packages of pectin will include recommendations for the ratios of fruit to sugar, by weight, and the corresponding amount of pectin. I have quite a few jam recipes on my site if you want to check out what I used in those.
Great info! I really want to recreate St. Dalfour preserves which only uses apple juice as a sweetener and no added sugar. How would this change the recipe, if at all? Thanks, and I’m so excited to start making my own preserves!
Love this recipe and the cute jars you used!