
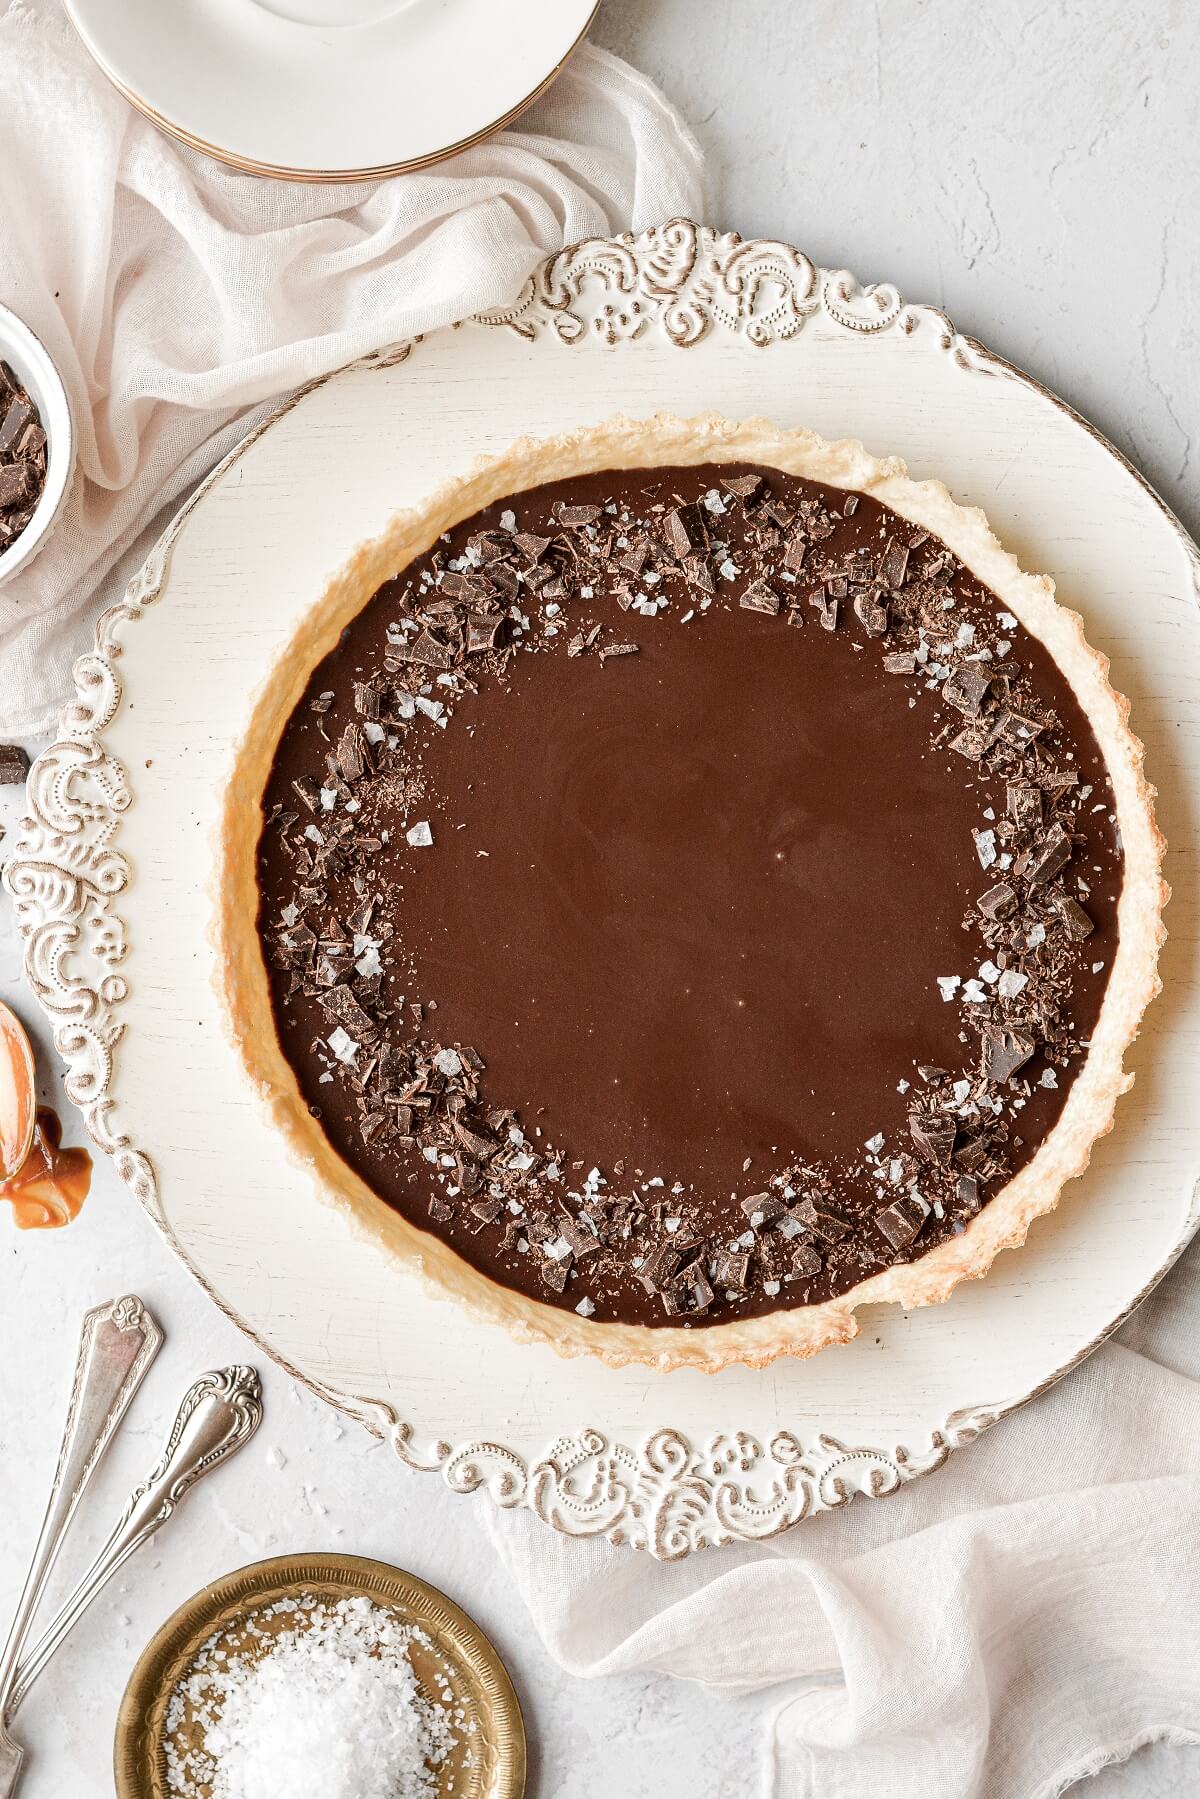
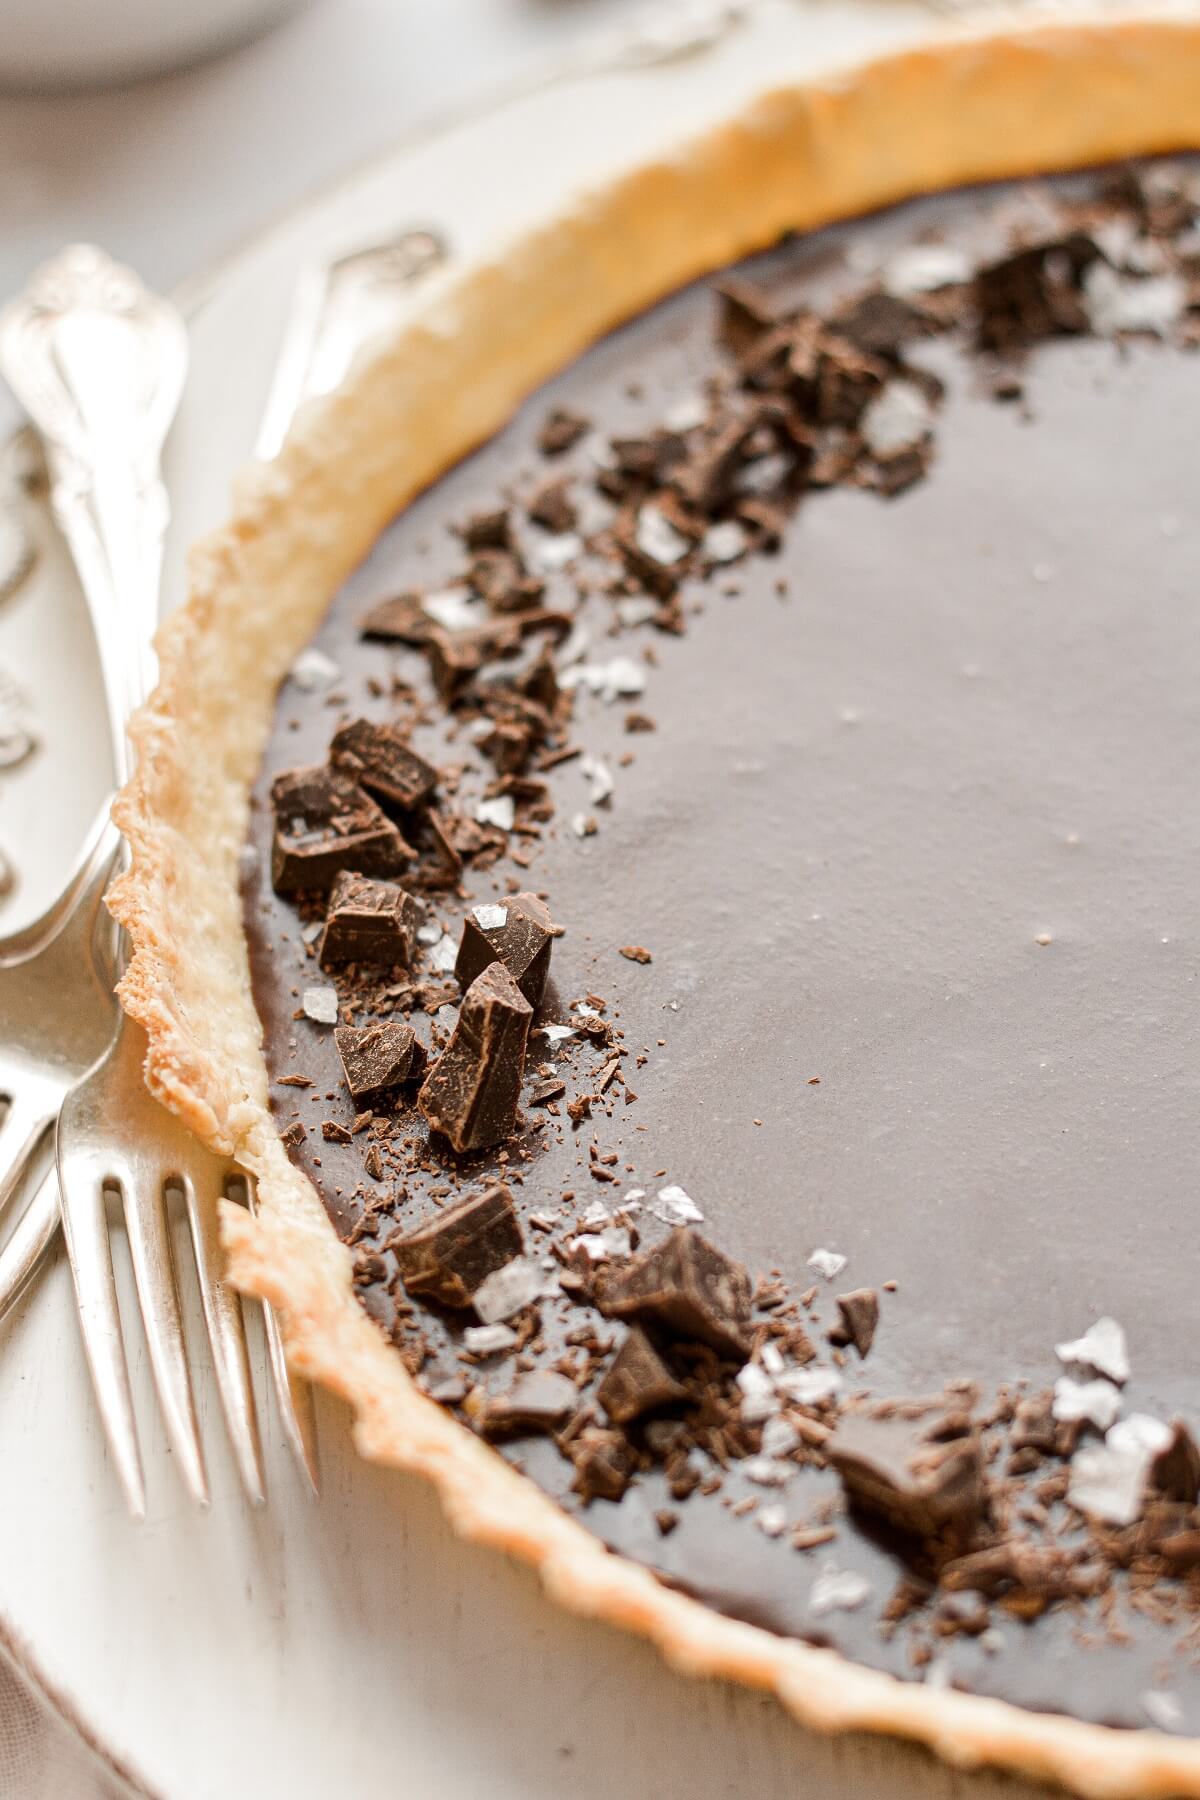
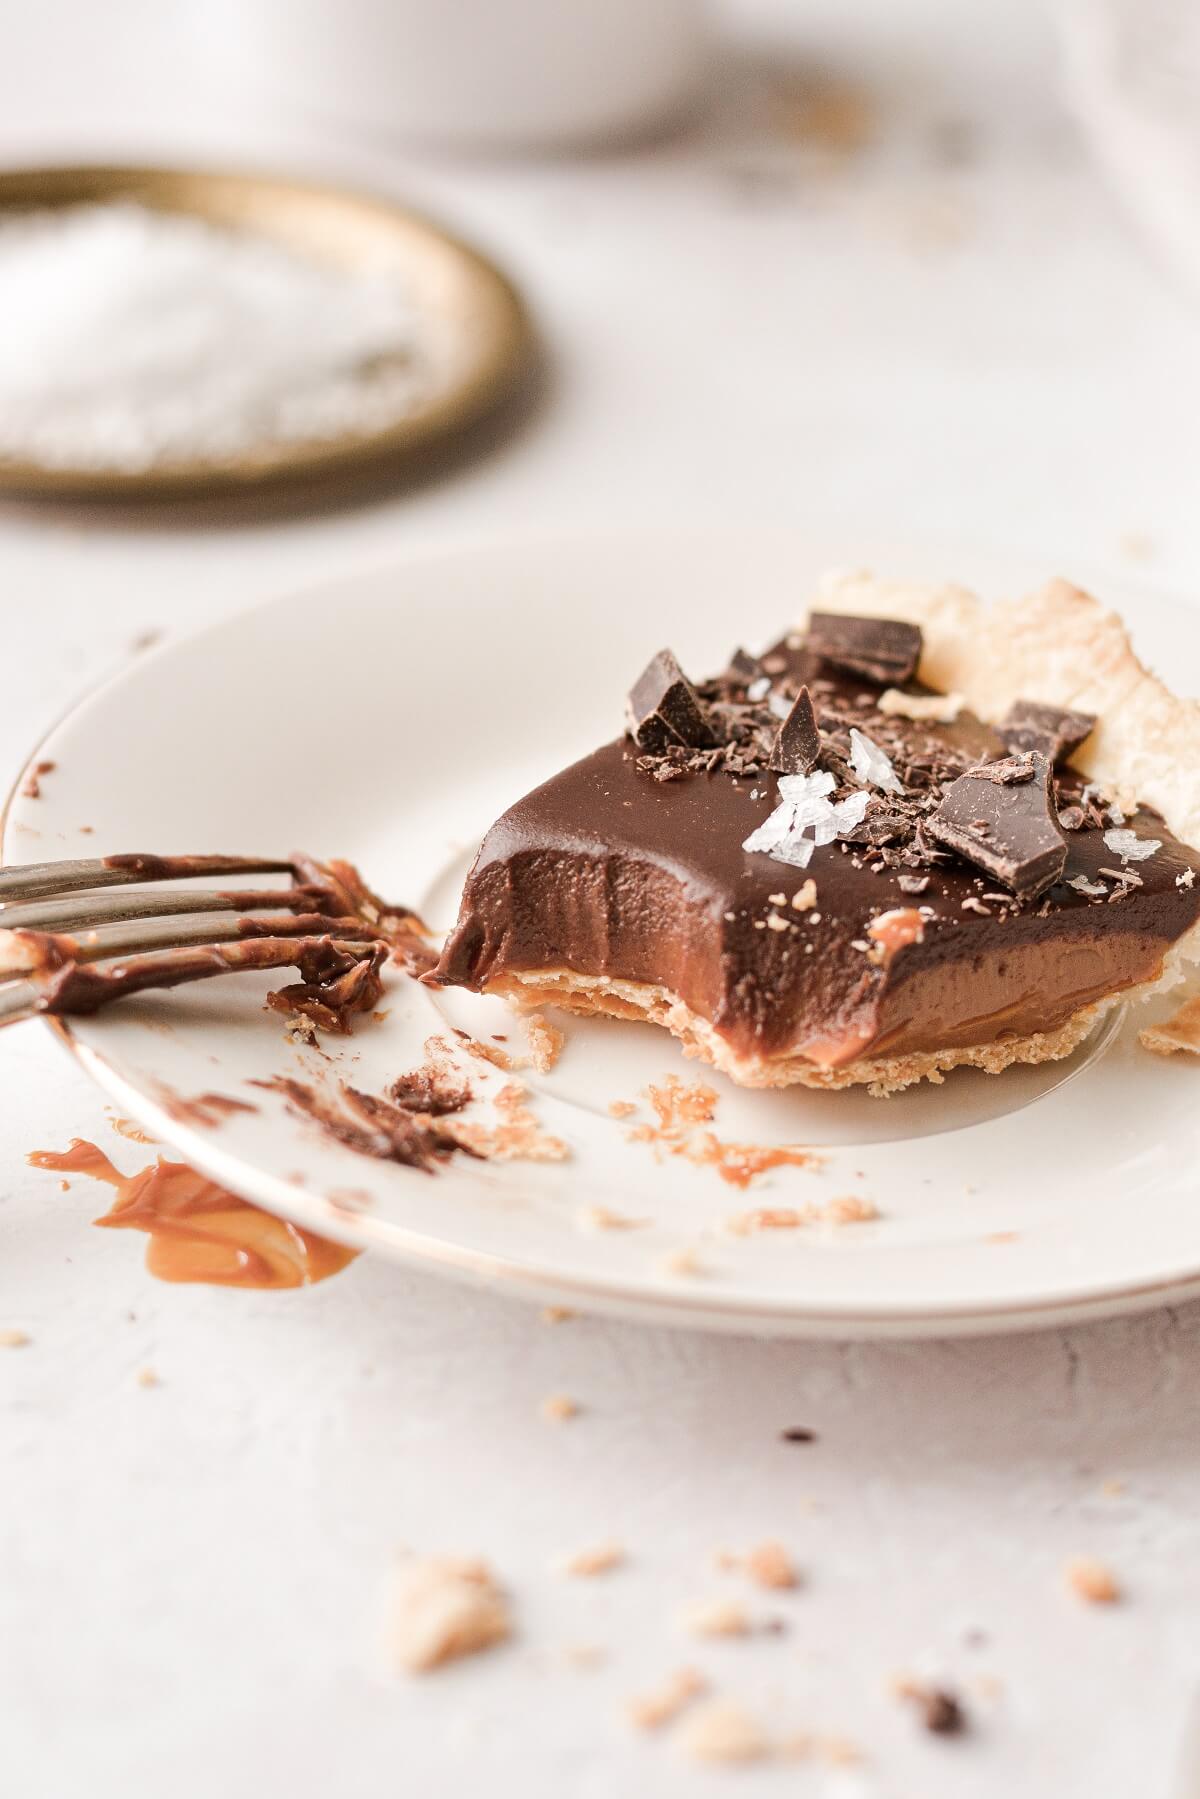
This decadent chocolate caramel tart has layers of dulce de leche and creamy, dark chocolate ganache, in a flaky, buttery pastry crust. The homemade pastry is thin, crisp, delicate and perfectly flaky, the perfect shell for the creamy caramel and rich ganache. If you love chocolate and caramel desserts, you’ll definitely want to try this recipe!
You might also love these caramel stuffed chocolate chip cookies, chocolate truffle salted caramel cupcakes, and vanilla caramel cake.
This site contains affiliate links. As an Amazon associate, I earn from qualifying purchases. This means that I may make a small commission if you purchase a product using those links. This in no way affects my opinion of those products and services. All opinions expressed on this site are my own.
Ingredients
Crust
- 1/2 recipe All-Butter Perfect Pie Dough. This is my recipe for pie dough or pastry dough that bakes up thin, flaky and buttery. It stays crisp even when filled with soft, moist fillings like pastry cream and caramel.
- Egg White. While blind-baking the pastry crust, you’ll brush the dough with egg white to help to seal the crust to keep it crisp.
Filling
- Dulce de Leche. Dulce de leche is a milk-based caramel, and it has a sweet, milky caramel flavor with a thick, creamy consistency.
- Dark Chocolate. Since the caramel layer is so sweet, you should balance the sweetness with a good quality dark chocolate, around 55-60% cacao. I love to use Chocolove Dark Chocolate for my ganache. I reserve some of the chocolate to chop and sprinkle on top of the tart, which looks beautiful and adds texture.
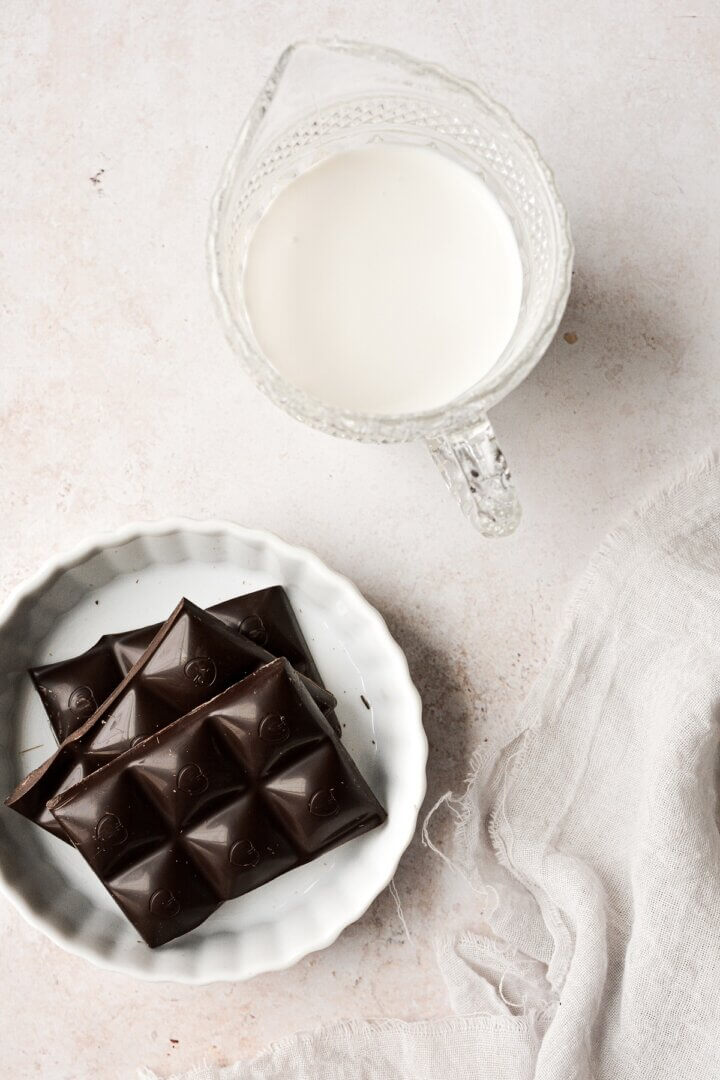
- Heavy Whipping Cream. Ganache is made from a combination of chocolate and heavy whipping cream, and the cream keeps the ganache smooth, rich and creamy.
- Flaky Sea Salt. Enhances the flavors of the caramel and chocolate and balances the sweetness.
See the recipe card at the end of the post for the full ingredients list and instructions.
Instructions
Make the dough.
- Prepare 1/2 recipe All-Butter Perfect Pie Dough. This recipe will make a thin, flaky pastry crust. Alternatively, for a thicker, buttery, cookie-like shortbread crust, prepare and pre-bake the shortbread crust as instructed in this Shortcrust Pastry Recipe
- Once your pie dough is ready to roll out, line a baking sheet with a piece of parchment paper. Set your tart pan with removable bottom on the baking sheet.
- On a floured surface, roll out the dough thinly, to almost 1/8 inch thick.
- Transfer the dough to the tart pan, and fit it against the bottom and up the sides of the pan, pressing gently against the sides. You don’t want to stretch or pull the dough, but allow enough slack in the dough so you can fit it snugly down into the edge of the pan.
- Use a sharp knife or scissors to trim the edge of the dough, allowing about 1/2 inch overhang. Keeping this overhang will allow for shrinkage as it bakes, and then you’ll finish trimming the dough even with the top of the pan after baking the crust.
- Use a fork to lightly prick all over the bottom of the crust (not pressing so hard that you poke holes through the dough to the pan). This is called “docking the dough”, which allows steam to escape as the pastry bakes so that that the crust doesn’t puff up.
Bake the crust.
- Preheat the oven to 400 F, and freeze the crust in the pan for 20 minutes while the oven is pre-heating.
- Spray a piece of aluminum foil lightly with non-stick spray, and fit the foil, greased side down, against the frozen crust. Fill the foil with dried beans or pie weights.
- Bake the crust, covered with the foil and dried beans, for 15 minutes.
- Remove the pan from the oven, scoop the beans out of the foil, then gently peel the foil off the crust.
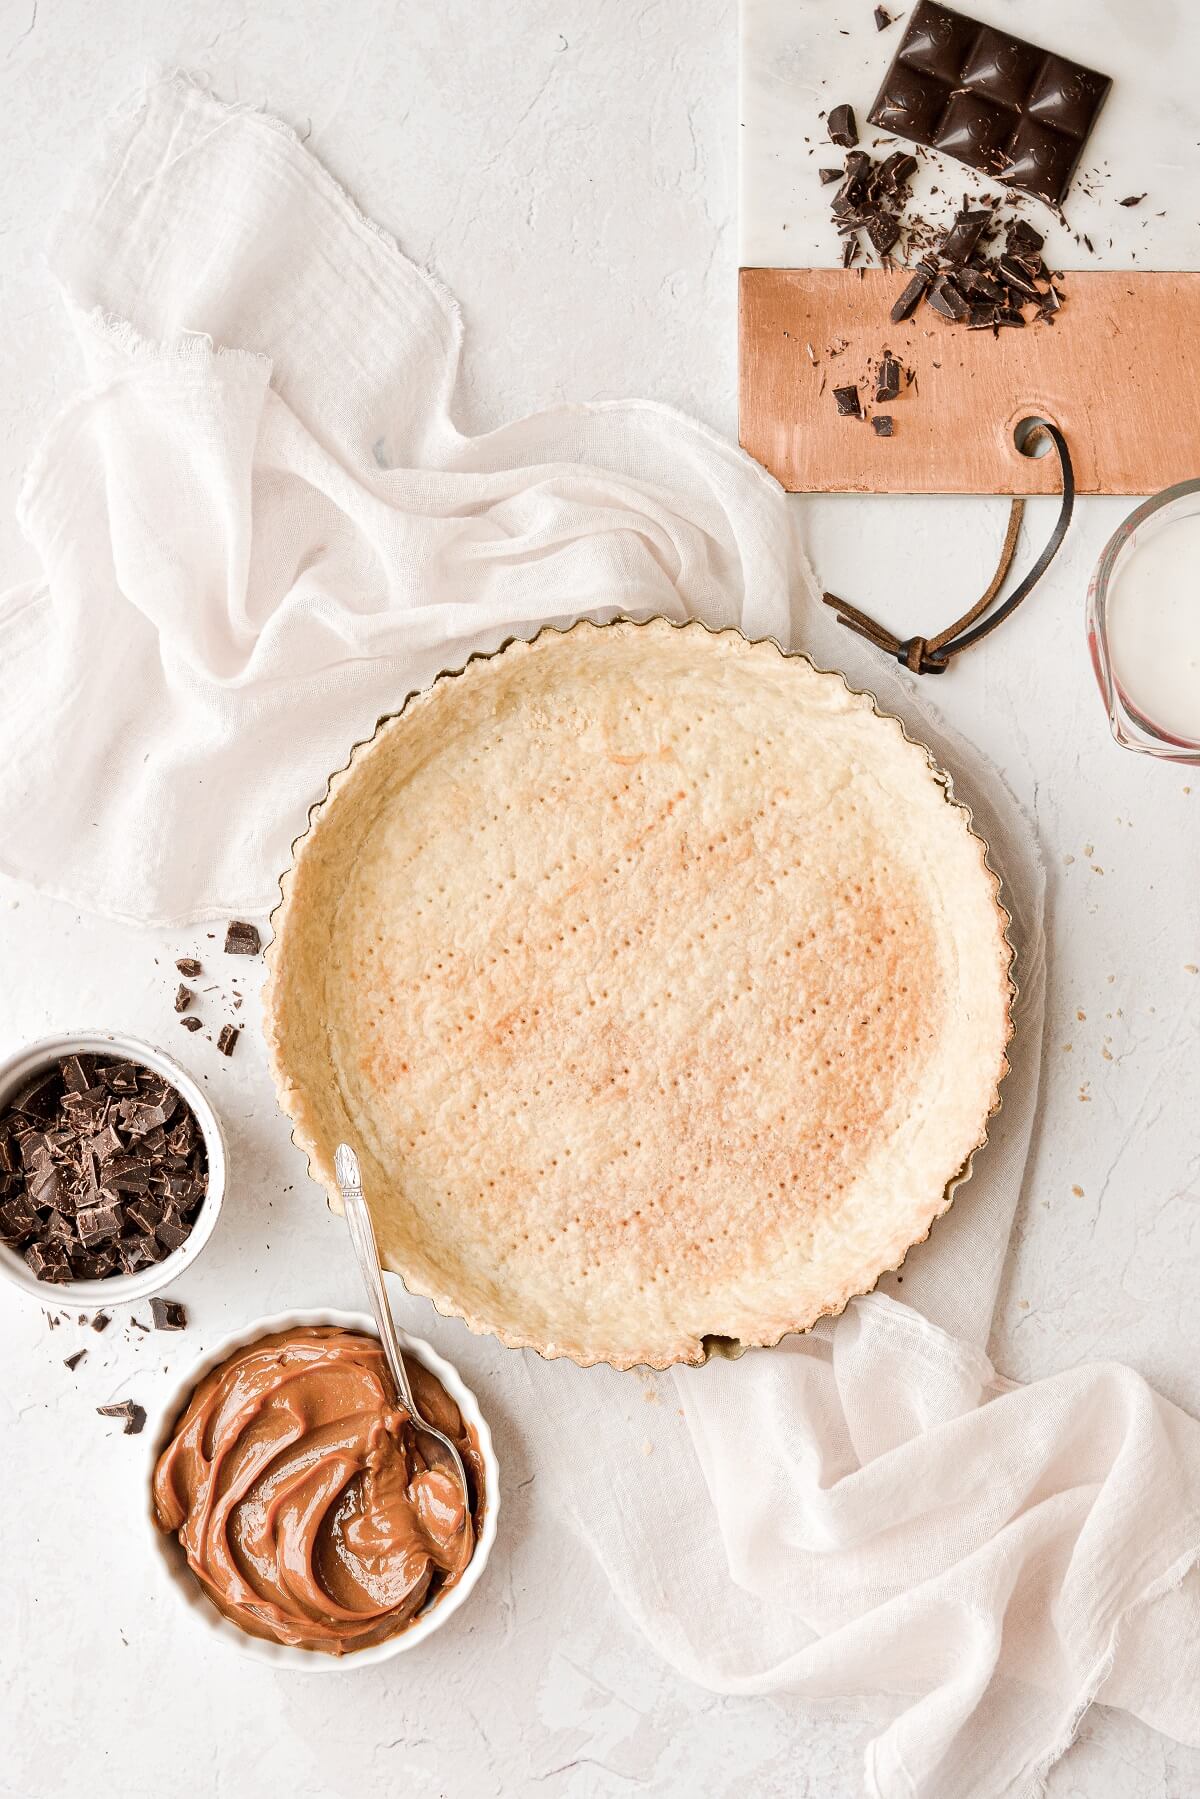
- Brush the egg white over the bottom and sides of the crust. Return the pan to the oven, and bake, uncovered, for an additional 12-15 minutes, just until the crust is baked through and starting to turn a pale golden brown.
- Remove from the oven. Immediately use a sharp knife to trim the edge of the crust so it’s perfectly even with the top of the pan. Let cool for 10 minutes.
Fill the baked tart shell.
- If the dulce de leche is too thick, warm it in the microwave for about 90 seconds on 50% power. Obviously, do not microwave it in the metal can.
- Spread the dulce de leche evenly over the bottom of the baked pastry crust.
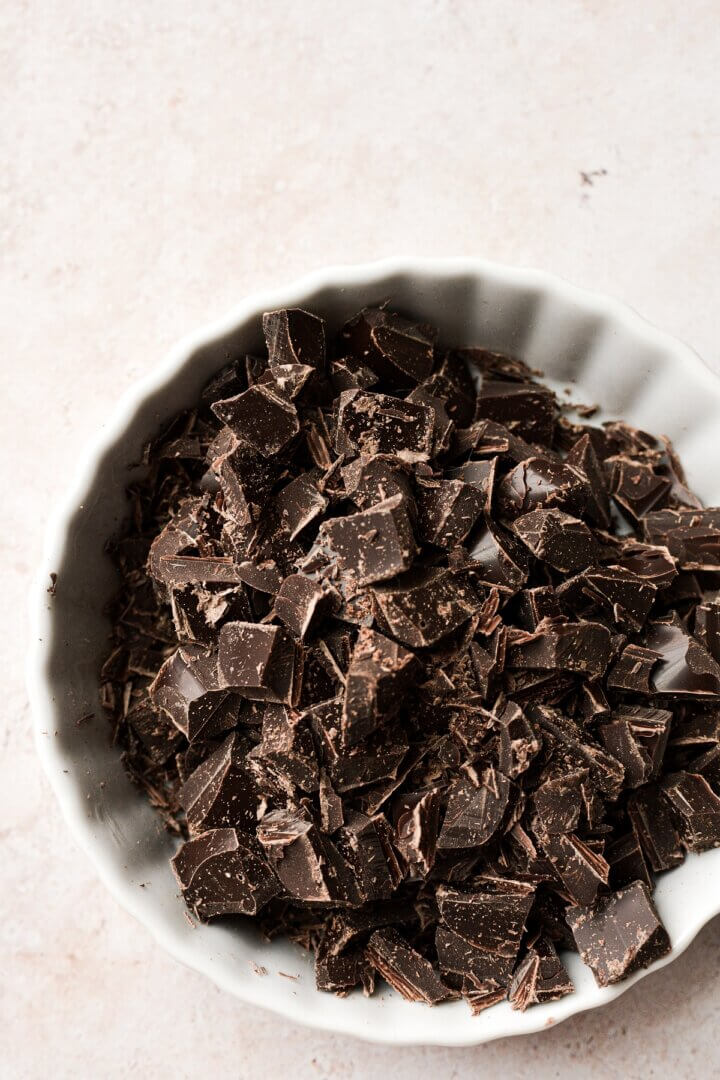
- Roughly chop the chocolate and scrape into a bowl. Reserve 2 tablespoons to garnish the top of the tart.
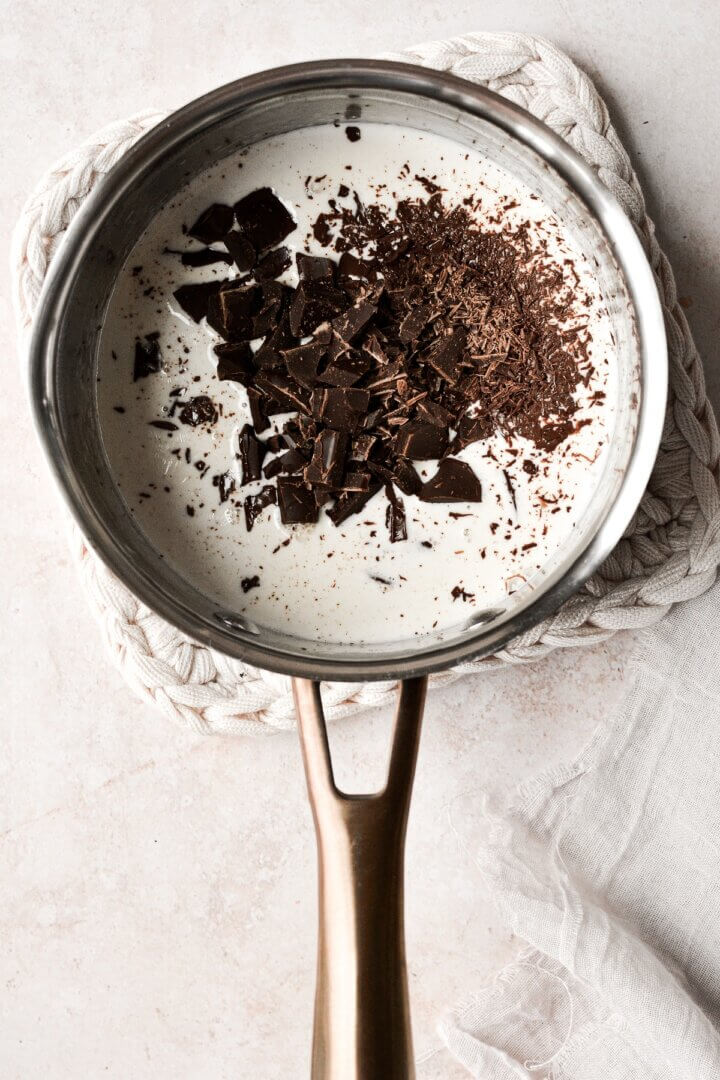
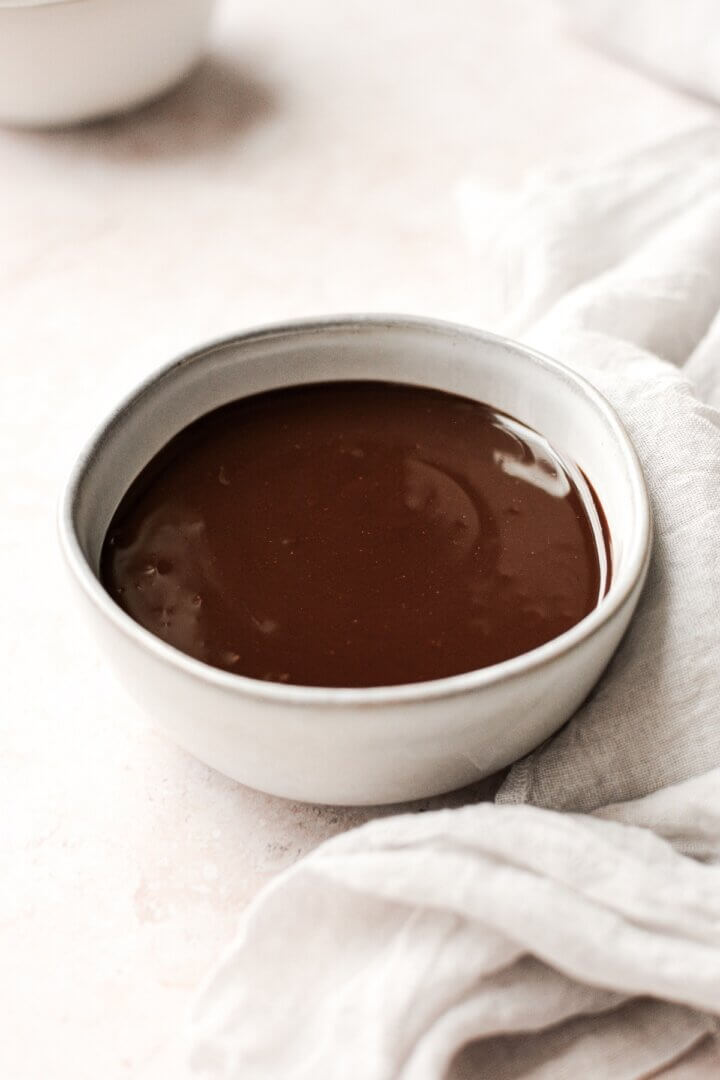
- Measure the heavy whipping cream into a saucepan, and warm gently over medium low heat, just until it’s steaming and the edges are beginning to simmer. Pour the hot cream over the chopped chocolate, and stir with a spatula until the chocolate is melted and you have a smooth, luxurious chocolate ganache.
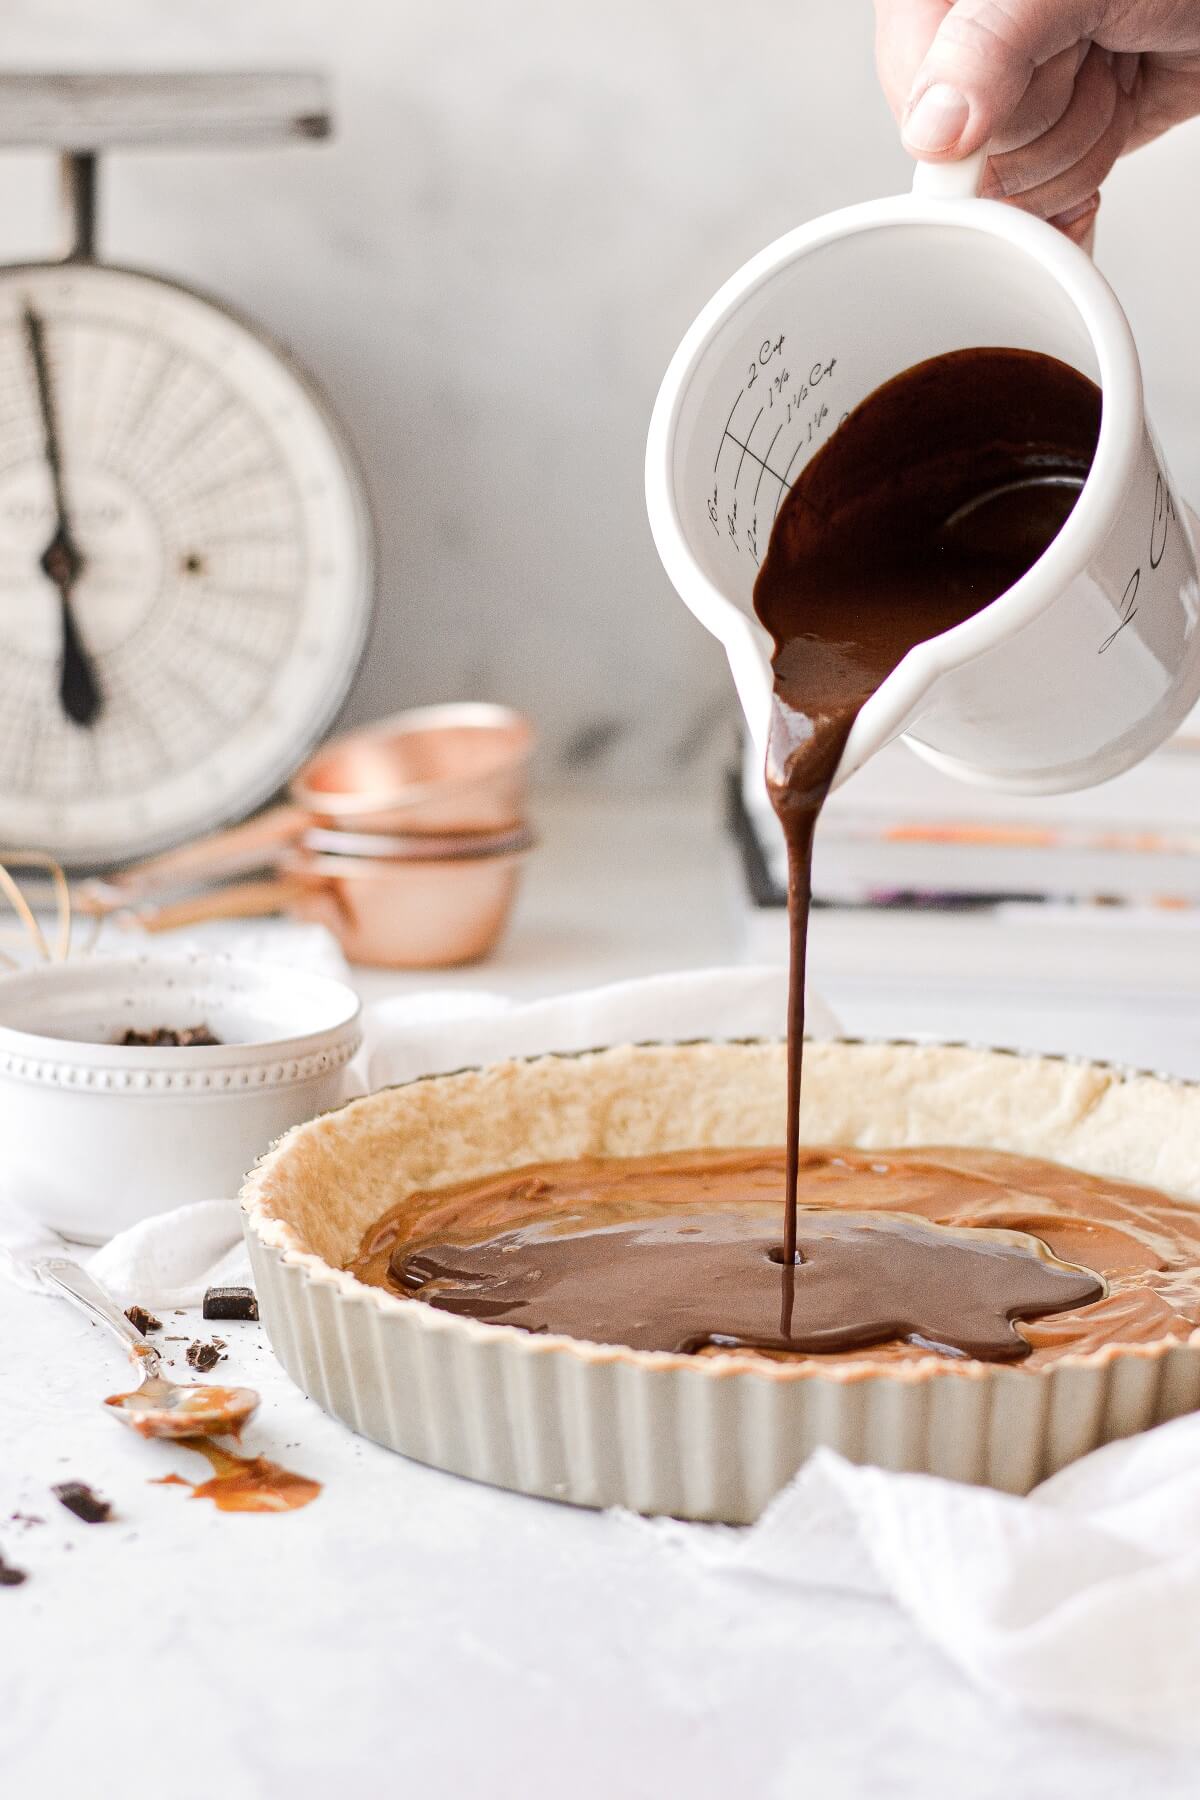
- Pour the ganache over the dulce de leche. Let the tart sit at room temperature for 30 minutes, then transfer to the refrigerator. Chill for about 2 hours, until the ganache is set and firm enough to slice.
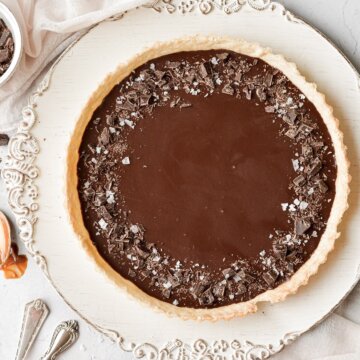
- Remove the sides of the tart pan and place the tart on a serving plate. Decorate the top of the tart with the reserved chopped chocolate and a pinch of flaky salt.
Be sure to read all of my BAKING FAQs where I discuss ingredients, substitutions and common baking questions, so that you can be successful in your own baking!
Frequently Asked Questions
Can I use a store-bought crust?
If you must, you can use a store bought pie crust, but seriously, the taste isn’t even comparable to that of a homemade pastry crust. And honestly, it doesn’t save that much time, because once you’ve practiced making pie dough a few times, you’ll be whipping it up in mere minutes.
Is dulce de leche the same as caramel?
They are similar, but dulce de leche is made from sweetened condensed milk, so it has a milky caramel flavor. Whereas caramel is made by caramelizing sugar and water, and tends to have a deeper caramel flavor. For a homemade caramel filling for your chocolate caramel tart, I’d recommend using the caramel filling recipe and technique in my millionaire’s shortbread bars.
What kind of chocolate should I use for the ganache?
Since the caramel layer is so sweet, you should balance the sweetness with a good quality dark chocolate, around 55-60% cacao. I love to use Chocolove Dark Chocolate for my ganache. I reserve some of the chocolate to chop and sprinkle on top of the tart, which looks beautiful and adds texture.
Do I need to use a tart pan?
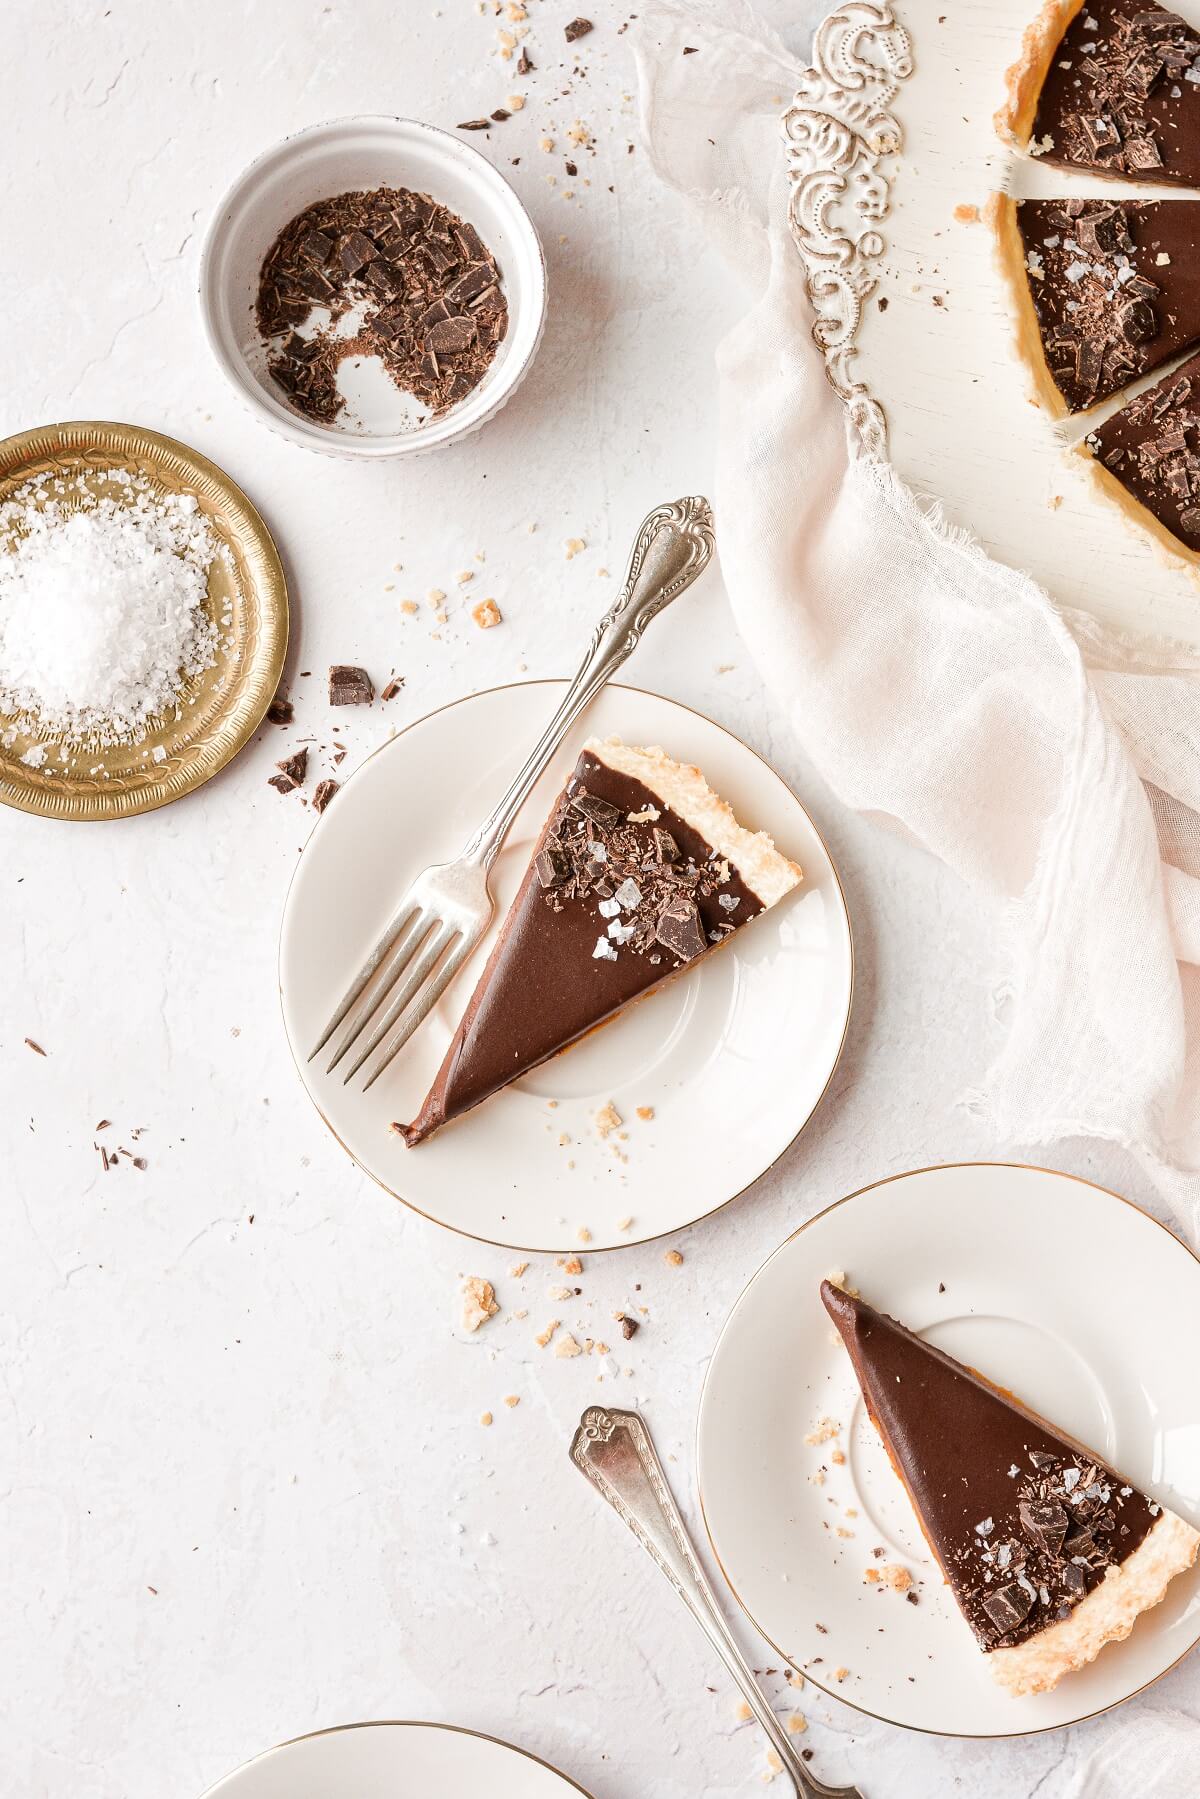
Technically, you could make this chocolate caramel tart in a pie pan. But a tart pan with a removable bottom lets you show off the beautiful fluted edges of the pastry crust, and makes it easier to cut small slices since this tart is so rich.
How long does this tart stay fresh?
Loosely cover the leftover tart and refrigerate for up to 5 days.
You Might Also Like


Please check out my Amazon Shop for a curated collection of some of my favorite cake pans from trusted brands, baking tools, ingredients, pretty things and fashion finds. I recommend products that I buy and use every day!
Did you love today’s recipe? Please rate the recipe and let me know in the comments what you thought! Also, be sure to follow Curly Girl Kitchen on Instagram, and tag me when you try one of my recipes so I can see all your delicious creations!
Chocolate Caramel Tart
All recipes on Curly Girl Kitchen are developed for high altitude at 5,280 feet. See FAQs for adjusting to higher or lower elevations.

Equipment
- Pie Weights or Dried Beans
Ingredients
Crust
- ½ recipe All-Butter Perfect Pie Dough
- 1 egg white
Filling
- 13.4 oz (1 can) dulce de leche, or homemade soft caramel
- 6 oz dark chocolate, around 55-65% cacao
- 6 oz heavy whipping cream
- flaky sea salt
Instructions
Crust
- Prepare 1/2 recipe All-Butter Perfect Pie Dough. This recipe will make a thin, flaky pastry crust.Alternatively, for a thicker, buttery, cookie-like shortbread crust, prepare and pre-bake the shortbread crust as instructed in this Maple Tart recipe.
- Once your pie dough is ready to roll out, line a baking sheet with a piece of parchment paper. Set your tart pan with removable bottom on the baking sheet.
- On a floured surface, roll out the dough thinly, to almost 1/8 inch thick.
- Transfer the dough to the tart pan, and fit it against the bottom and up the sides of the pan, pressing gently against the sides. You don't want to stretch or pull the dough, but allow enough slack in the dough so you can fit it snugly down into the edge of the pan.
- Use a sharp knife or scissors to trim the edge of the dough, allowing about 1/2 inch overhang. Keeping this overhang will allow for shrinkage as it bakes, and then you'll finish trimming the dough even with the top of the pan after baking the crust.
- Use a fork to lightly prick all over the bottom of the crust (not pressing so hard that you poke holes through the dough to the pan). This is called "docking the dough", which allows steam to escape as the pastry bakes so that that the crust doesn't puff up.
- Preheat the oven to 400 F, and freeze the crust in the pan for 20 minutes while the oven is pre-heating.
- Spray a piece of aluminum foil lightly with non-stick spray, and fit the foil, greased side down, against the frozen crust. Fill the foil with dried beans or pie weights.
- Bake the crust, covered with the foil and dried beans, for 15 minutes.
- Remove the pan from the oven, scoop the beans out of the foil, then gently peel the foil off the crust.
- Brush the egg white over the bottom and sides of the crust. Return the pan to the oven, and bake, uncovered, for an additional 12-15 minutes, just until the crust is baked through and starting to turn a pale golden brown.
- Remove from the oven. Immediately use a sharp knife to trim the edge of the crust so it's perfectly even with the top of the pan. Let cool for 10 minutes.
Filling
- If the dulce de leche is too thick, warm it in the microwave for about 90 seconds on 50% power. Obviously, do not microwave it in the metal can.
- Spread the dulce de leche evenly over the bottom of the baked pastry crust.
- Roughly chop the chocolate and scrape into a bowl. Reserve 2 tablespoons to garnish the top of the tart.
- Measure the heavy whipping cream into a saucepan, and warm gently over medium low heat, just until it's steaming and the edges are beginning to simmer. Pour the hot cream over the chopped chocolate, and stir with a spatula until the chocolate is melted and you have a smooth, luxurious chocolate ganache.
- Pour the ganache over the dulce de leche. Let the tart sit at room temperature for 30 minutes, then transfer to the refrigerator. Chill for about 2 hours, until the ganache is set and firm enough to slice.
- Remove the sides of the tart pan and place the tart on a serving plate. Decorate the top of the tart with the reserved chopped chocolate and a pinch of flaky salt.
Notes
 https://curlygirlkitchen.com/
♥