
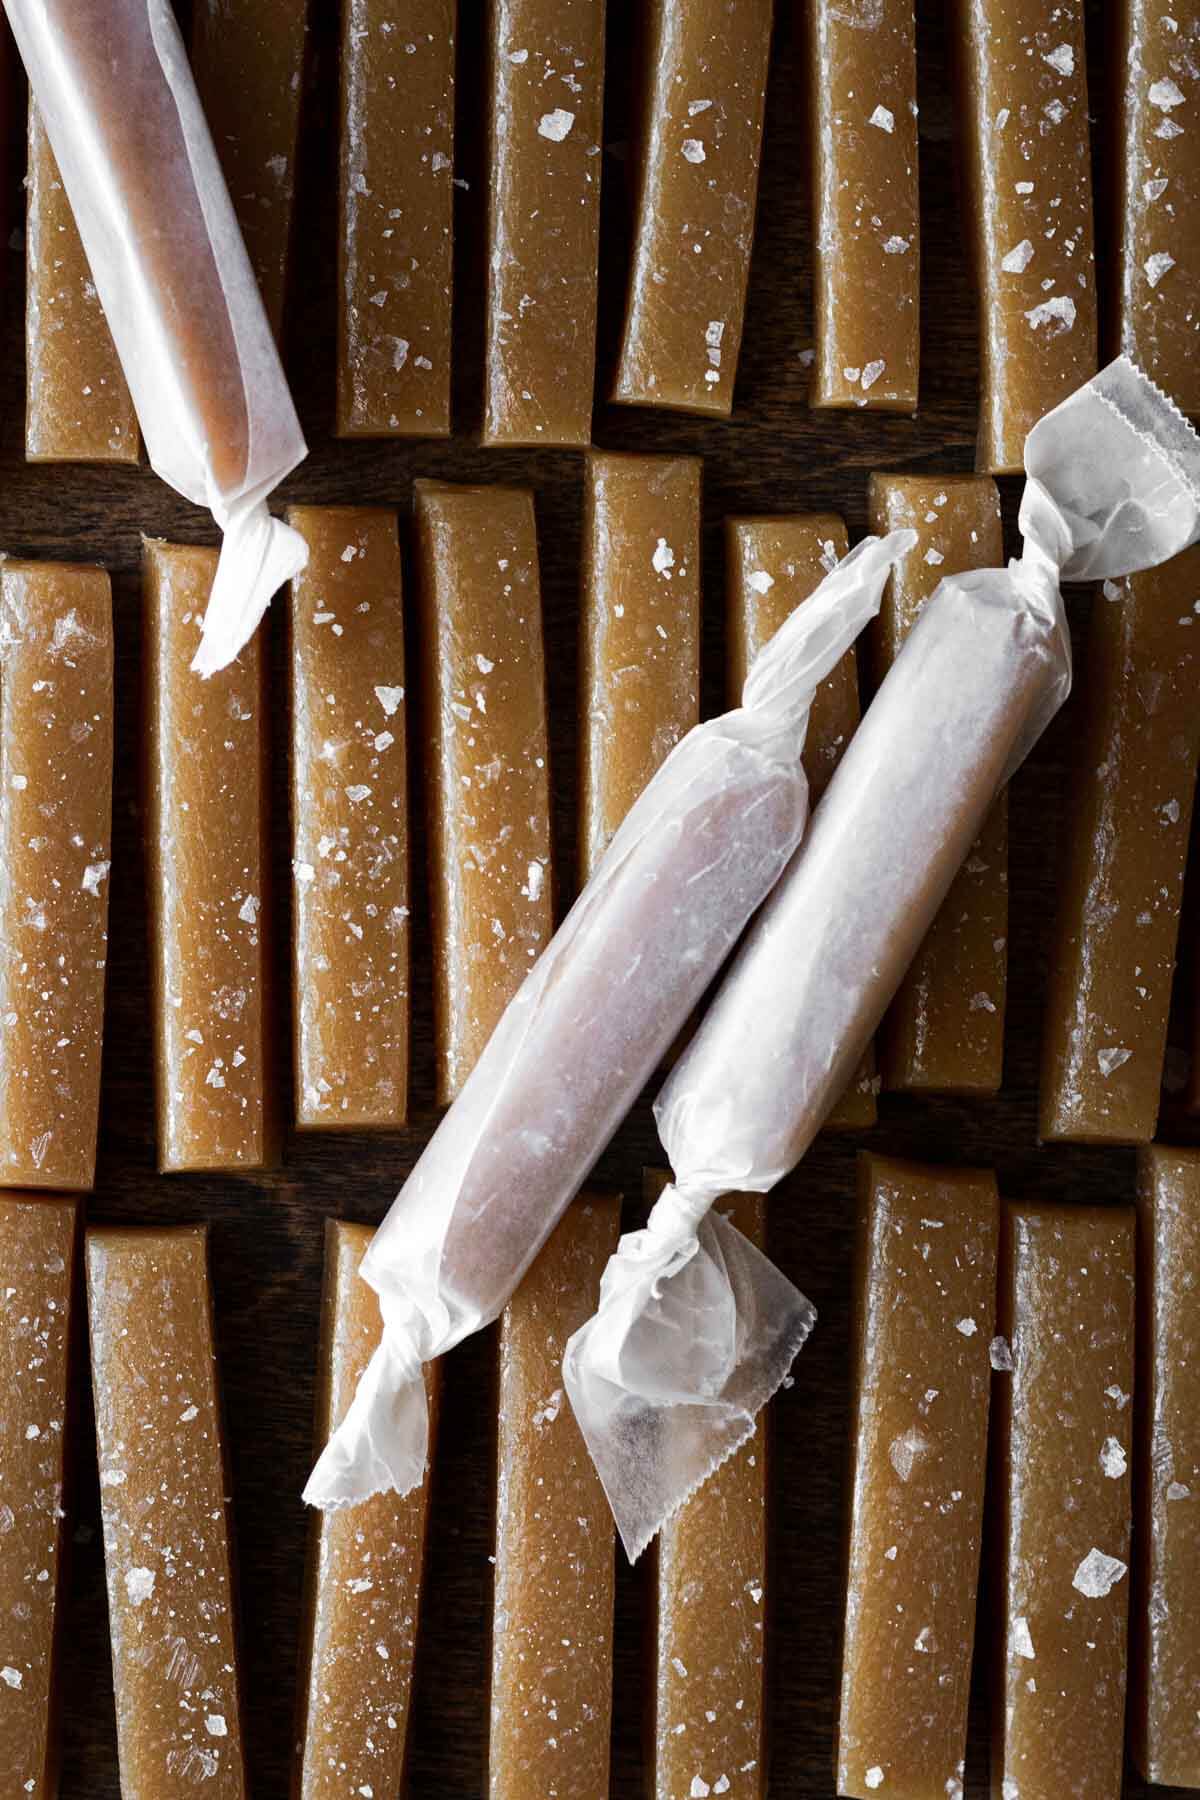
An easy high altitude tested recipe for soft salted vanilla caramels that cook quickly in the microwave instead of on the stove. These homemade salted caramels are so soft, chewy and buttery – the perfect homemade candy.
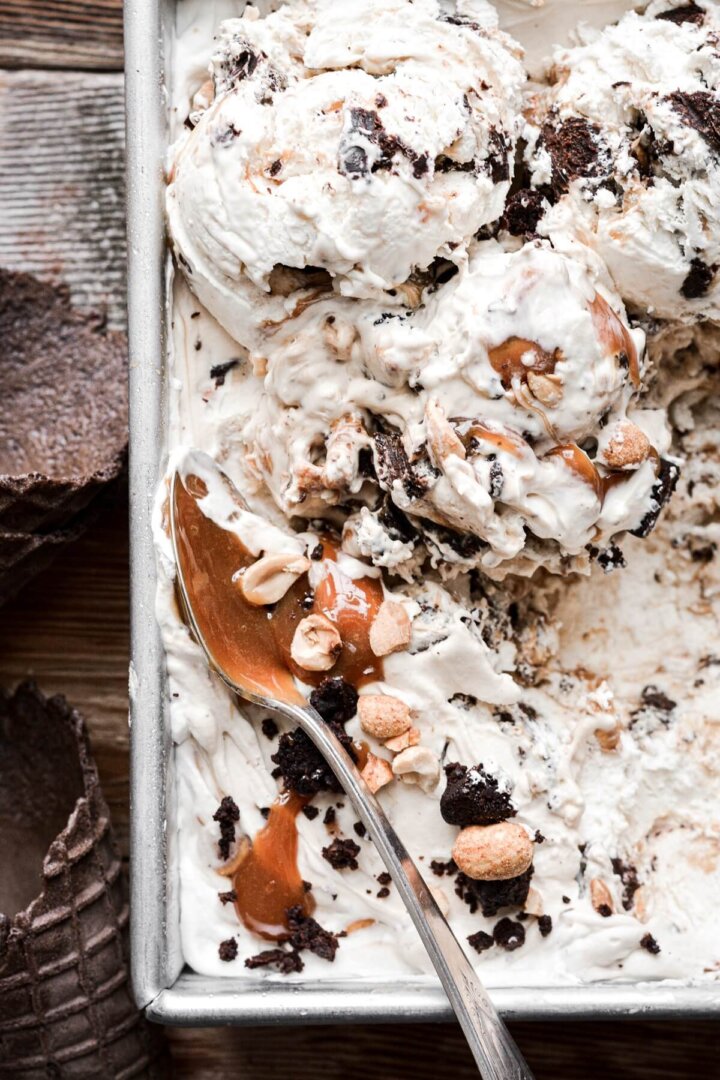
You might also love these caramel stuffed chocolate chip cookies, homemade caramel popcorn, salted caramel ice cream, and caramel vanilla cake.
This site contains affiliate links. As an Amazon associate, I earn from qualifying purchases. This means that I may make a small commission if you purchase a product using those links. This in no way affects my opinion of those products and services. All opinions expressed on this site are my own.
Why You’ll Love This Recipe
Perfect for Gifting. Everyone who tastes these soft salted caramels begs me for the recipe! And the best part is how easy they are to make. Making these soft and chewy salted vanilla caramels every Christmas has become a yearly tradition in my kitchen. They look so beautiful wrapped up in wax paper, and they make wonderful homemade Christmas gifts for friends, family, neighbors and coworkers.
So Easy to Make. Homemade salted caramels can be quite a labor of love. But with my recipe, you don’t need to stand over a hot stove, constantly stirring caramel for an hour (or longer), worrying about it scorching, seizing or turning into a grainy, crystallized mess. These creamy, buttery soft caramels are made quickly, easily and effortlessly in the microwave.
Simple Pantry Ingredients. The two main ingredients of soft caramels are butter and sugar, and we’ll be adding the sugar through a variety of sweeteners and sweet ingredients.
High Altitude Tested. I develop all the recipes on my site for Denver’s altitude of 5,280 feet. If you’re at a lower or higher elevation, please see my FAQs for guidance on adjusting recipes for your altitude.

See the recipe card at the end of the post for the full ingredients list and instructions.
Ingredients
- Unsalted Butter. The butter adds richness and flavor, as well as keeps the caramel soft and creamy.
- Light Corn Syrup. The reason corn syrup is a common ingredient in many candy recipes because it is an invert sugar. Invert sugar inhibits the formation of sugar crystals and provides a smooth texture to candy, caramel, and other cooked sweets. In short, it helps maintain a smooth and creamy texture, rather than a grainy caramel.
- Granulated Sugar + Dark Brown Sugar. A variety of sugars in these soft caramels makes them sweet, of course, but adds a nuance of flavor.
- Sweetened Condensed Milk. A concentrated mixture of milk and sugar, sweetened condensed milk contributes to the rich, smooth and creamy texture of the caramels.
- Coarse Kosher Salt. All the sugar needs to be balanced with some salt.
- Vanilla. I often use vanilla bean paste in my soft caramels, but if I’m out, then I’ll use vanilla extract. The flavor of the paste and the extract is prominent, so use a great-quality extract like Rodelle for the best flavor.
- Bourbon. This is totally optional, but a splash of bourbon adds delicious flavor to these caramels.
- Flaky Finishing Salt. Lastly, we’ll finish these by sprinkling them with pretty flaky salt, such as Maldon Sea Salt.

Instructions
Prepare Your Pan.
Line an 8×8 square baking dish with parchment paper so that the paper hangs over the edges. Some people will butter the dish so the caramel doesn’t stick, but using parchment paper (which is non stick) is much easier and cleaner.
Whisk Together the Ingredients.
Start with a large, microwaveable bowl. I use a glass Pyrex bowl with a 2.5 quart capacity to make my caramels. Whisk together the melted butter, corn syrup, granulated sugar, dark brown sugar, sweetened condensed milk, and coarse Kosher salt until smooth.
Cook the Caramel in the Microwave.
Now microwave the mixture on high for 6 minutes, then stir and check the temperature with a digital instant read thermometer (I use a probe-style meat thermometer). You’re aiming for 240 degrees Fahrenheit, but anywhere between 238-242 degrees is just fine. If the caramel isn’t hot enough yet, continue to microwave in 15 second increments, checking the temperature each time.
Depending on the power of your microwave, and the temperature of your ingredients when you start cooking the caramel, it may take more or less time. Each time I make this, mine is done at around 6 1/2 – 7 minutes, and I have a 1000-watt microwave. If you have a much higher wattage microwave, start off with less time, so you don’t burn your caramel or make it too hard.
Stir in the Vanilla.
Stir in the vanilla extract or vanilla bean paste with a spatula (if adding bourbon, stir it in now, too). The caramel will bubble and hiss a little.
Pour the Caramel into the Pan.
Immediately pour the caramel into the parchment-lined baking dish. Let stand at room temperature for about 15 minutes, then sprinkle the top with flaky Maldon salt or another flaky finishing salt. If you don’t have any, just sprinkle with more coarse Kosher salt.
Chill Until Firm.
Refrigerate the pan of caramel until firm, about an hour. Once it’s firm, lift the slab of caramel out by the paper, and set it on a cutting board. The caramel is ready to cut!


How to Cut Caramels
- Lift the chilled slab of caramel out of the pan by the paper, and set it on a cutting board, then peel the paper off.
- Use a large, sharp chef’s knife for cutting the caramel. When you cut it, it should be firm enough to cut cleanly, but not so cold that it’s brittle. If it got too firm in the refrigerator, let the caramel sit at room temperature for a few minutes before cutting.
- If you like, you can trim off the uneven edges (and eat the scraps while you wrap the caramels!), but this is just an aesthetic preference. For the long “tootsie roll” shape of the caramels pictured here, cut the slab of caramel into thirds, then cut each third into 15 pieces. Or you can cut them into squares, if you prefer.


Wrapping and Storing
- Rip 15 strips of wax paper, measuring about 4 1/2 inches wide each. Then cut the strips into thirds so you have 45 squares of wax paper. Wrap each piece of caramel tightly in the wax paper and twist the ends to secure.
- Wrapped soft caramels should be stored in an airtight container at room temperature for up to 2 weeks. After that time, they won’t be quite as soft and fresh tasting. But they probably won’t last longer than 2 weeks, since they’re so tempting!


Recipe Variations
- Bourbon or other Liqueur. After cooking the caramel, and when you’re stirring in the vanilla, add a splash (1 tablespoon) of good quality bourbon, spiced rum, whiskey, or another favorite liqueur.
- Extracts. While vanilla extract is commonly added to caramels, vanilla bean paste makes them even more special. But you can experiment with other complementary extract flavors, too, such as maple, rum, or even pumpkin spice.
- Spices. If you like a little spice, you can certainly add some to these soft salted caramels! A bit of freshly grated nutmeg or cloves would be delicious.
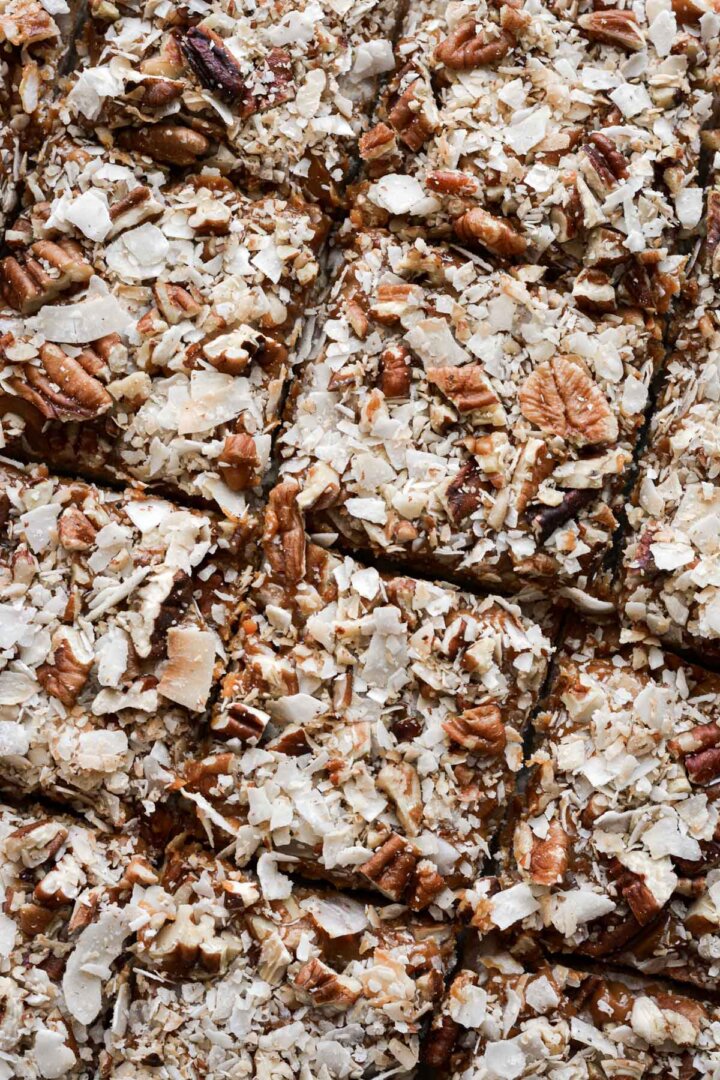
- Nuts. For a little crunch, try adding a handful of chopped nuts, such as pecans, walnuts, hazelnuts, macadamia nuts, or pistachios. You can stir them right into the caramel (at the same time you stir in the vanilla), or spread them evenly over the bottom of the pan and pour the hot caramel over the nut layer. This will give you a pretty, crunchy layer of nuts at the bottom of each caramel.
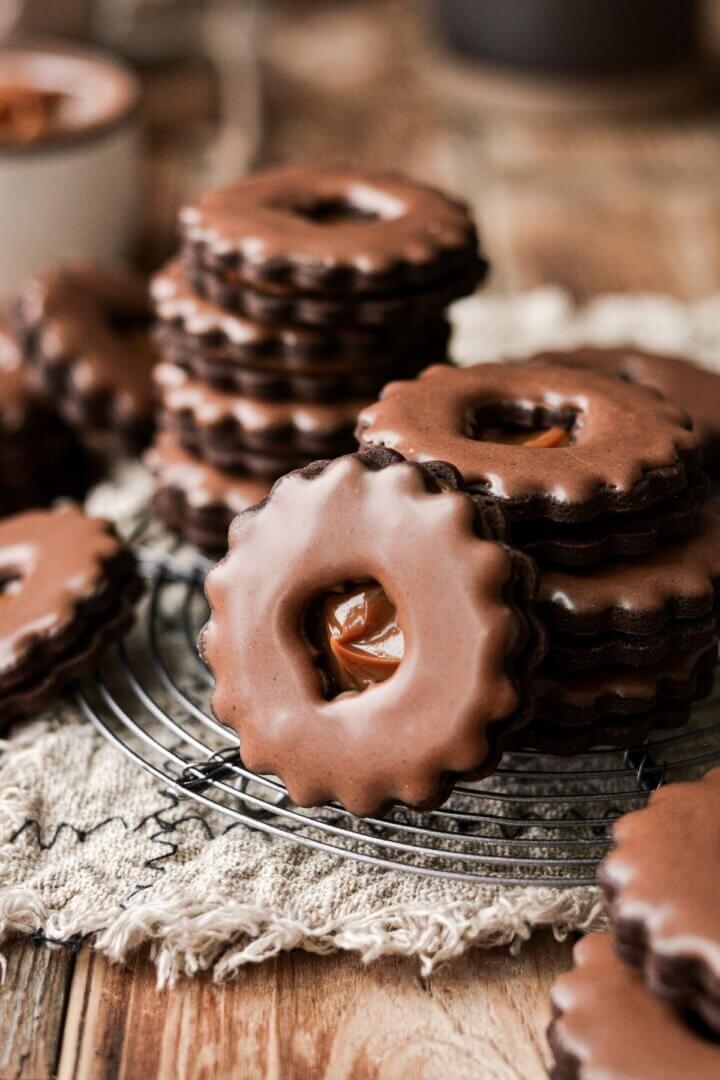
- Chocolate. For a really decadent treat, try dipping the caramels in tempered dark chocolate.

Be sure to read all of my BAKING FAQs where I discuss ingredients, substitutions and common baking questions, so that you can be successful in your own baking!
Frequently Asked Questions
If you’re not able to find light corn syrup, Lyle’s Golden Syrup is the best substitute (it’s a very light molasses syrup or “treacle” with a buttery caramel flavor).
Yes, you can double the recipe and cool the caramels in a 9×13 pan. Note that a double batch will take longer in the microwave to reach the correct temperature. Make sure your bowl is big enough that the caramel doesn’t boil over.
Soft caramels can also be frozen, too, if you want to make them in advance. Just place the wrapped caramels in an airtight freezer bag and freeze for 3-6 months. Let thaw at room temperature until soft. Caramels can absorb other odors from the refrigerator and freezer, so it’s important to keep them well sealed and protected from both odors and moisture during cold storage.
You Might Also Like

Please check out my Amazon Shop for a curated collection of some of my favorite cake pans from trusted brands, baking tools, ingredients, pretty things and fashion finds. I recommend products that I buy and use every day!
Did you love today’s recipe? Please rate the recipe and let me know in the comments what you thought! Also, be sure to follow Curly Girl Kitchen on Instagram, and tag me when you try one of my recipes so I can see all your delicious creations!

Soft Salted Vanilla Caramels
All recipes on Curly Girl Kitchen are developed for high altitude at 5,280 feet. See FAQs for adjusting to higher or lower elevations.

Equipment
- Digital Instant Read Thermometer
- Microwaveable Glass Bowl
- 8×8" Baking Dish
- Parchment Paper
- Wax Paper
Ingredients
- ½ cup unsalted butter, melted
- ½ cup light corn syrup
- ½ cup granulated sugar
- ½ cup light or dark brown sugar, lightly packed
- ½ cup sweetened condensed milk
- ⅛ tsp coarse Kosher salt (if using table salt, use half the amount)
- 1 ½ tsp vanilla bean paste or vanilla extract
- ¼ tsp flaky finishing salt (such as Maldon)
Instructions
Cooking the Caramel
- Line an 8×8 square baking dish with parchment paper so that the paper hangs over the edges.
- In a large, microwaveable bowl (I recommend a glass Pyrex bowl with a 2.5 quart capacity), melt the butter. Whisk in the corn syrup, sugars, sweetened condensed milk and coarse Kosher salt until smooth.
- Microwave on high for 6 minutes. Check the temperature by stirring the caramel a bit with the thermometer – it should read between 238-242 degrees to reach the soft caramel stage. If it needs more time, continue to microwave on high in 15-second increments, checking the temperature after each increment.Depending on the power of your microwave, and the temperature of your ingredients when you start cooking the caramel, it may take more or less time. Each time I make this, mine is done at around 6 1/2 – 7 minutes, and I have a 1000-watt microwave. If you have a much higher wattage microwave, start off with less time, so you don't burn your caramel or make it too hard.
- Remove the bowl from the microwave – use oven mitts as the bowl will be hot. Stir in the vanilla extract or vanilla bean paste with a spatula. The caramel will bubble and hiss a little.
Cooling and Cutting the Caramels
- Immediately pour the hot caramel into the parchment-lined baking dish. Let stand at room temperature for about 15 minutes, then sprinkle the top with flaky Maldon salt or another flaky finishing salt. If you don't have any, just sprinkle with more coarse Kosher salt.
- Refrigerate the pan of caramel until firm, about 1-2 hours. Lift the slab of caramel out by the paper, set it on a cutting board, and peel off the paper.
- Use a large, sharp chef's knife for cutting the caramel. When you cut it, it should be firm enough to cut cleanly, but not so cold that it's brittle. If it got too firm in the refrigerator, let sit at room temperature for a few minutes before cutting. Cut the slab of caramel into thirds, then cut each third into 15 pieces.
- Rip 15 strips of wax paper, measuring about 4 1/2 inches wide each. Then cut the strips into thirds so you have 45 squares of wax paper. Wrap each piece of caramel tightly in the wax paper and twist the ends to secure.
- Store the wrapped caramels in an airtight container for up to 2 weeks.
Notes
- The corn syrup is a necessary component as the combination of the different structure of the sugars in corn syrup and the other sugars prevent crystallization in caramel. Don’t leave it out. You can, however, use another type of invert sugar, such as Lyle’s Golden Syrup or Lyle’s Butterscotch Syrup.
- This recipe can be doubled, and I have done it, but be sure your bowl is large enough as this bubbles up quite a bit in the microwave. It will also take longer to reach the correct temperature.
- Homemade caramels should be stored, individually wrapped, in an airtight container. They will keep at room temperature for up to 2 weeks – if they last that long! You can also make and wrap them in advance, place in a freezer bag, and freeze for 3-6 months.
 https://curlygirlkitchen.com/
hi, This seems like a great recipe, really want to try it!! However, I live in the Netherlands and corn syrup is not easily available, is there anything that I can substitute it with?
Thanks in advance!
While I haven’t personally tried these substitutions in this caramels recipe, there are a few things that you can substitute for the light corn syrup. Lyle’s Golden Syrup would probably be the best (it’s a very light molasses syrup or “treacle” with a buttery caramel flavor). Also, maple syrup (pancake syrup that’s made from corn syrup, not pure maple syrup) or brown rice syrup might work also. Of course, these will all affect the flavor of the caramels. I don’t think honey or agave nectar would work for caramel making. If you do try one, please let me know how it goes!
Hi Heather, this morning I made the caramels with lyle’s golden syrup, it worked great!! Thank you so much for your tip, everybody in my family loves the caramels 😀
I’m so glad! Happy Holidays!
Are there stove top instructions? We don’t have a microwave.
I’ve only made these in the microwave, but if you want to try them on the stove, I recommend cooking the caramel in a large heavy-bottomed pot over medium to medium low heat. Gently stir until it reaches the specified temperature. Good luck!
Hi I was wondering would this recipe also work using a silicone candy molds instead of a 8×8 pan?
Thank you for this recipe – will try today. I love caramel in brownies. Do you think these would melt right into the batter or hold up as a thin layer.
Thanks again.
I’m really not sure. I’ve never baked these into other recipes, but they would probably hold their shape somewhat, I would guess.
Ohh I can’t wait to try
I think I’m going to dip them in dark chocolate and put the salt on top of chocolate yum!!
That sounds great! I would be sure to use tempered chocolate, otherwise the chocolate might bloom and look splotchy.
Hi, I’m making these caramels for Christmas and the flavor is unbeatable! However, my slab of caramel stuck to the parchment paper and it was impossible to remove the paper from the bottom of the caramels. Do you have any advice for this or tricks to keep the caramel from sticking? I’m excited to give these as gifts, but I’m afraid my friends and family will be picking parchment paper out of their teeth.
Thank you!
Jayde, that’s just so odd, because parchment paper is nonstick, and I can’t say that I’ve ever had anything stick to it, not even sticky caramel. I use Reynolds brand, if that makes a difference. If your paper is sticking, you might have to grease it with butter or non-stick baking spray before you pour in the caramel
I had the same problem! My caramels stuck to the parchment. I wanted to pass them out at Christmas. Such a bummer because it tasted so good!
What brand of parchment paper do you use?
I’ve made these caramels many times! My family and friends love them! I’ve only made the recipe as is, but would like to double it if possible. What size pan would you recommend if I double the recipe?
Stacey, I’m so glad to hear that! When I double this recipe, I let the caramel cool in a 9×13 pan. It does take a bit longer to reach the correct temperature, though, since there’s more volume, and you’ll need to make sure your bowl is big enough so it doesn’t boil over in the microwave.
I’ve made this a few times now over the past 6 months. It is sooooo delicious and very easy to make. It’s been a huge crowd pleaser!
Hi, can’t wait to make this recipe but I’m wondering if I can make it with the stove instead of a microwave if I monitor and temperature check it like other caramel recipes
I haven’t made this recipe on the stove, but please let me know if it works out for you! Just be sure to monitor the heat, so it doesn’t cook too quickly and scorch.
Just made this recipe and didn’t have quite enough corn syrup. I subbed a couple of tablespoons of molasses (I love molasses). They turned out amazing. Thank you!
Hi! I was hoping to put this inside chocolate in a silicone mold. Can I just make the caramel and stop at a lower temperature so it stays softer? If so, what temperature should I stop at? Thanks for the assistance!
Angelina, you might check out this article. I hope that helps!
https://foodsmartcolorado.colostate.edu/food-safety/safe-preparation-handling-and-storage/candy-making-at-high-elevation/
Made them and love them! Any tips on how to get them to firm up a little more? Mine are very soft and the edges aren’t staying sharp after cutting, even having left them in the fridge for awhile. Maybe I should have cooked them for longer? They reach 240 degrees after 5.5 minutes so I took them out of the microwave then. Thanks in advance!
I would check your thermometer to make sure it’s calibrated correctly. Mine always keep their shape after cutting.
Can I use organic brown sugar?