
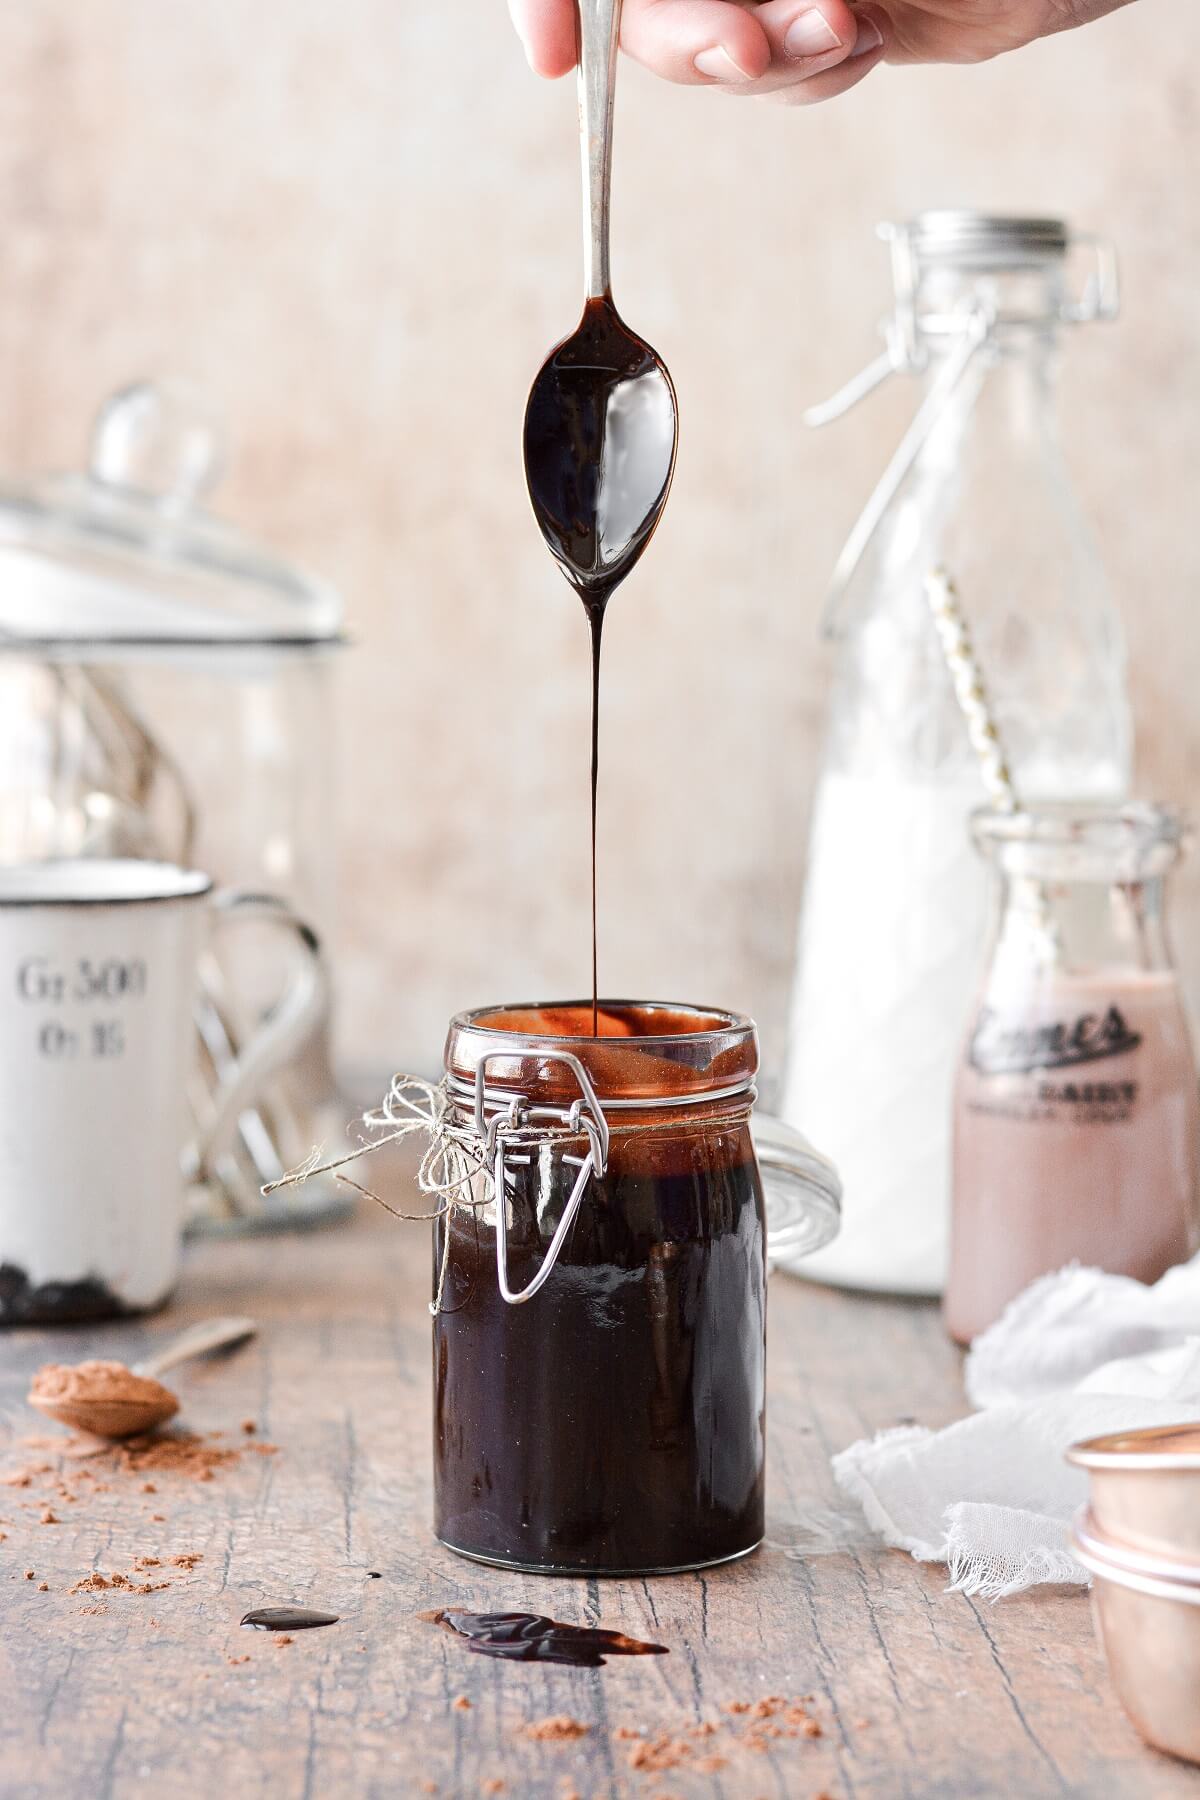
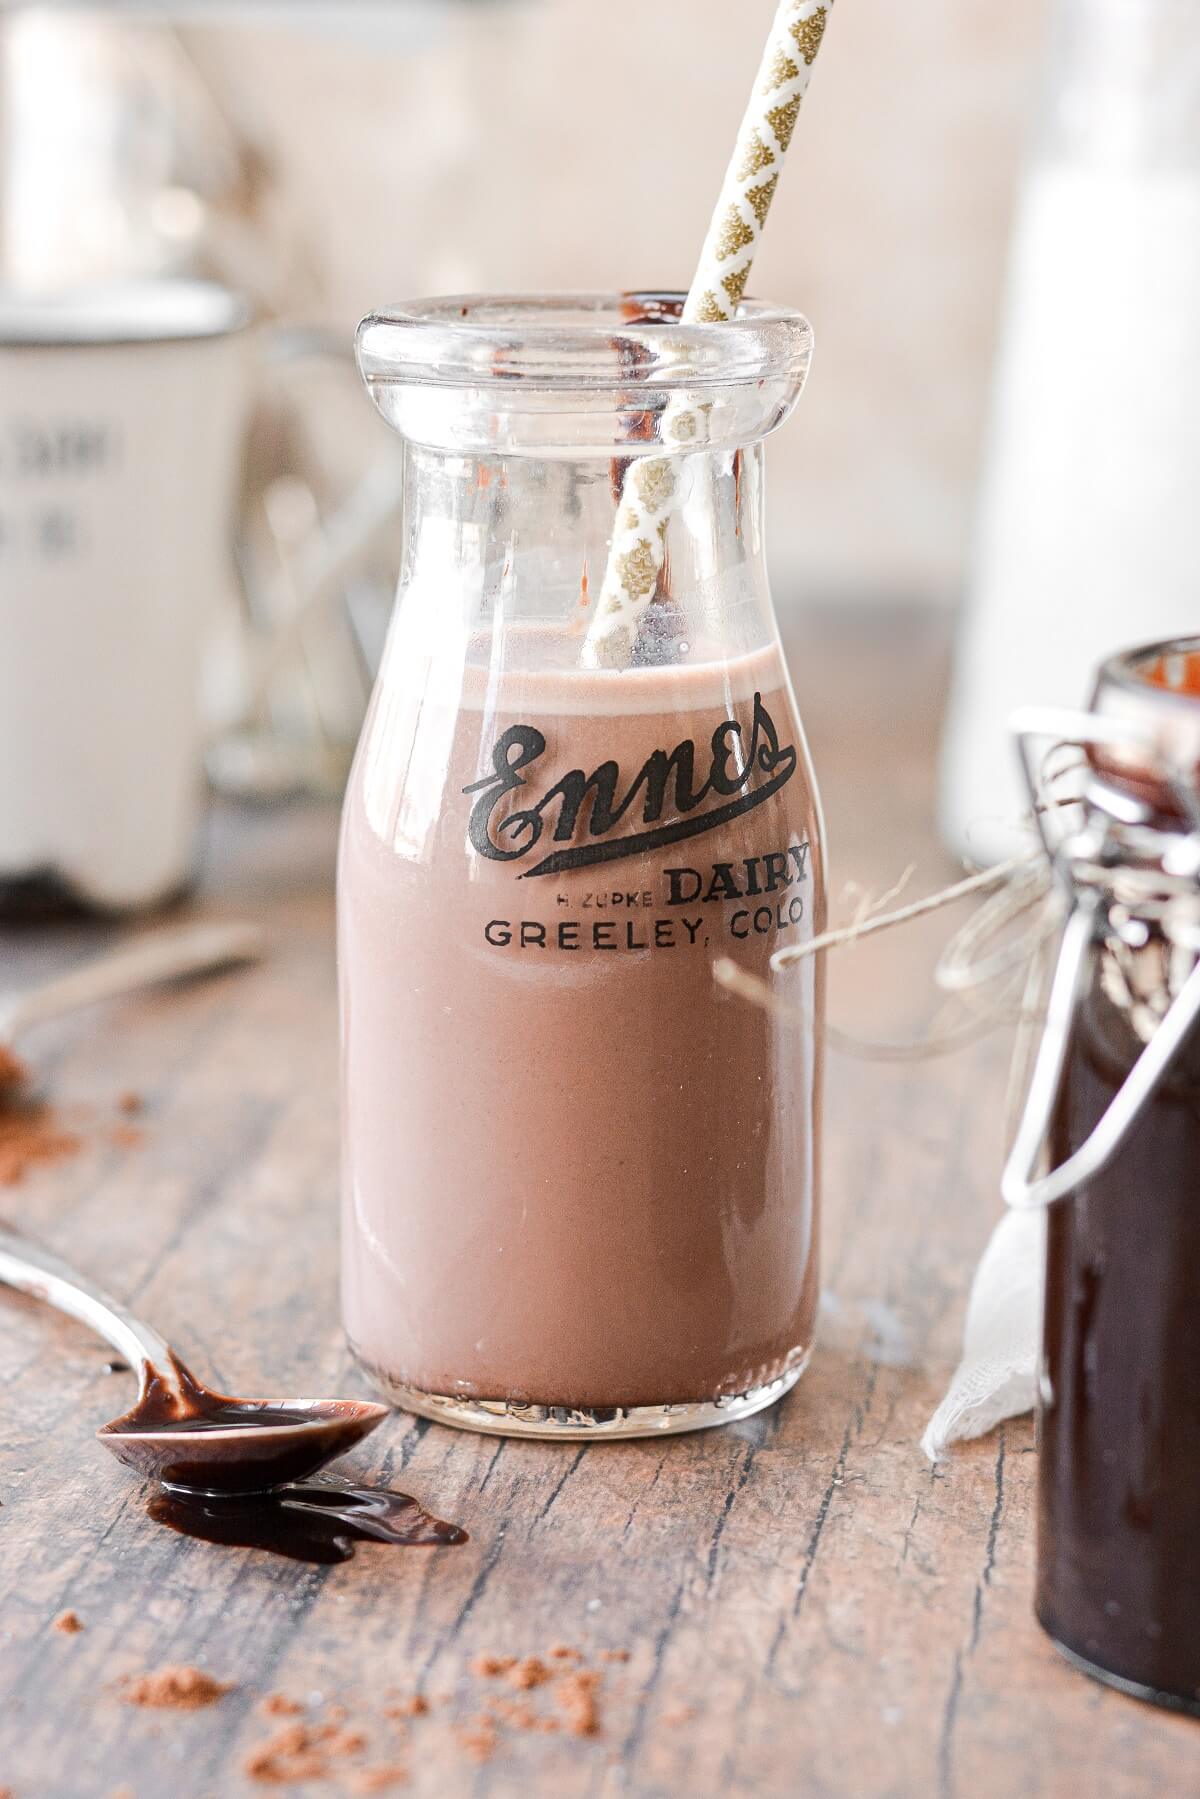
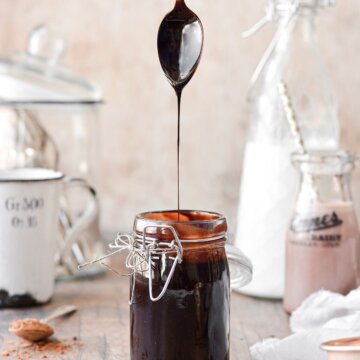
What’s not to love about chocolate syrup? If you grew up with a bottle of Hershey’s syrup in your refrigerator for making chocolate milk or to drizzle over ice cream, you’ll love this homemade chocolate syrup. It’s dark, chocolatey, just sweet enough, and so quick and easy to make. And with just a few simple ingredients from your pantry, this chocolate sauce doesn’t contain any high fructose corn syrup, making it a healthier option than store bought chocolate syrup. It’s ready in minutes, and is a delicious staple to have on hand for a quick chocolate treat.
You might also love these chocolate chip oatmeal cookie bars, double chocolate muffins, and chocolate fudge cake.
This site contains affiliate links. As an Amazon associate, I earn from qualifying purchases. This means that I may make a small commission if you purchase a product using those links. This in no way affects my opinion of those products and services. All opinions expressed on this site are my own.
Ingredients
- Cocoa Powder. Use a good-quality unsweetened cocoa powder with a great flavor, but whether you use natural cocoa powder or Dutch-processed cocoa powder won’t affect the chemistry of the chocolate syrup.
- Granulated Sugar. Sweetens the syrup.
- Coarse Kosher Salt. Balances the sweetness and enhances the flavor of the chocolate.
- Water. Dissolves the sugar and thins the syrup to a pourable consistency.
- Dark Corn Syrup. Since corn syrup is an invert sugar, it helps to stabilize the sugars in homemade chocolate syrup, preventing any sugar crystals from forming when the syrup is stored in the refrigerator which can cause a grainy texture. Note that the dark and light corn syrup available at grocery stores is not the same thing as high fructose corn syrup.
- Vanilla Extract. Complements the flavor of the cocoa powder.
See the recipe card at the end of the post for the full ingredients list and instructions.
Instructions
- In a saucepan, whisk together the cocoa powder, sugar and salt, making sure there are no lumps. Whisk in the water and corn syrup.
- Set the saucepan over medium heat and bring to a simmer, while whisking constantly. The bubbles may be subtle, so watch the surface of the syrup for tiny bubbles, and don’t let it boil too hard or too long. It should only take a couple of minutes to come to a simmer. Simmer for about 30 seconds, or for 1 minute if you want it a bit thicker, then remove from the heat.
- Whisk in the vanilla, and pour the syrup into a lidded glass jar.
- Serve your homemade chocolate sauce warm or chilled. The syrup will thicken more as it cools, but will remain pourable even chilled. If you cook it for too long and it gets too thick, just thin it with a little more water.
- Refrigerate the syrup for 2-4 weeks.
- It’s normal for the cocoa solids to settle to the bottom of the jar a little as the syrup sits in the refrigerator. Just stir it back up and enjoy.
Be sure to read all of my BAKING FAQs where I discuss ingredients, substitutions and common baking questions, so that you can be successful in your own baking!
Frequently Asked Questions
Can I use a sugar substitute like Splenda or Stevia?
Honestly, I’m not sure. If you do experiment, be sure to let me know!
What does the corn syrup do in this recipe?
Since corn syrup is an invert sugar, it helps to stabilize the sugars in homemade chocolate syrup, preventing any sugar crystals from forming when the syrup is stored in the refrigerator which can cause a grainy texture. The corn syrup keeps it nice and smooth.
Can I give homemade chocolate sauce as gifts?
You can, but since the sauce isn’t not shelf-stable, you’ll need to make it immediately before gifting, and the recipient will need to refrigerate and use it right away.
Will this syrup work as a chocolate drip on cakes?
No, for a chocolate drip, I’d stick with a classic chocolate ganache.
Can I add espresso powder to chocolate sauce?
Certainly, I do this often. A teaspoon or two of espresso powder or instant coffee powder adds wonderful coffee flavor to the chocolate sauce.
What’s the best way to serve the syrup?
Any way you like! Make chocolate milk, drizzle it on ice cream or brownies, or serve it on the side of pound cake or angel food cake.

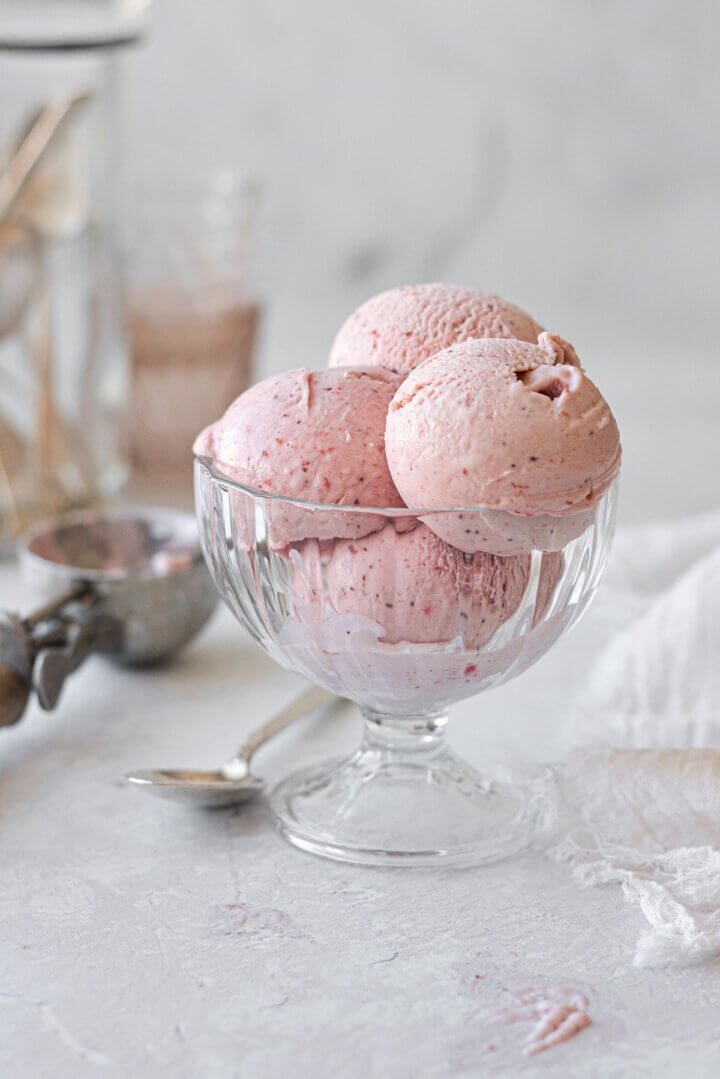
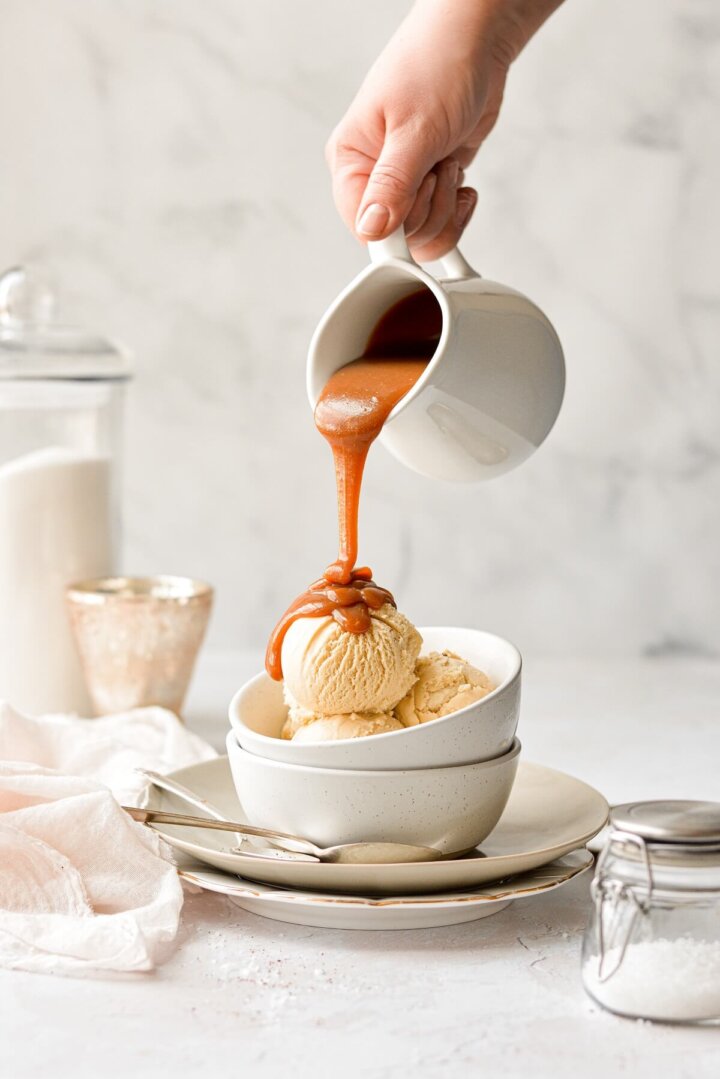
You Might Also Like

Please check out my Amazon Shop for a curated collection of some of my favorite cake pans from trusted brands, baking tools, ingredients, pretty things and fashion finds. I recommend products that I buy and use every day!
Did you love today’s recipe? Please rate the recipe and let me know in the comments what you thought! Also, be sure to follow Curly Girl Kitchen on Instagram, and tag me when you try one of my recipes so I can see all your delicious creations!
Homemade Chocolate Syrup
All recipes on Curly Girl Kitchen are developed for high altitude at 5,280 feet. See FAQs for adjusting to higher or lower elevations.

Ingredients
- ½ cup unsweetened cocoa powder, either Dutch-processed or natural
- ¾ cup granulated sugar
- ¼ tsp coarse Kosher salt (if using table salt, use half the amount)
- ½ cup water
- 1 tbsp dark corn syrup, optional
- 1 ½ tsp vanilla extract
Instructions
- In a saucepan, whisk together the cocoa powder, sugar and salt, making sure there are no lumps. Whisk in the water and corn syrup.
- Set the saucepan over medium heat and bring to a simmer, while whisking constantly. The bubbles may be subtle, so watch the surface of the syrup for tiny bubbles, and don't let it boil too hard or too long. It should only take a couple of minutes to come to a simmer. Simmer for about 30 seconds, or for 1 minute if you want it a bit thicker, then remove from the heat.
- Whisk in the vanilla, and pour the syrup into a lidded glass jar. Serve warm or chilled. The syrup will thicken more as it cools, but will remain pourable even chilled. If you cook it for too long and it gets too thick, just thin it with a little more water.
- Refrigerate the syrup for 2-4 weeks.
Notes
 https://curlygirlkitchen.com/
Oh man, talk about dangerously delicious! That looks so great!
I would definitely be slathering this all over everything! Sounds so good =)
The perfect gift for my secret sister! Thank You for sharing!