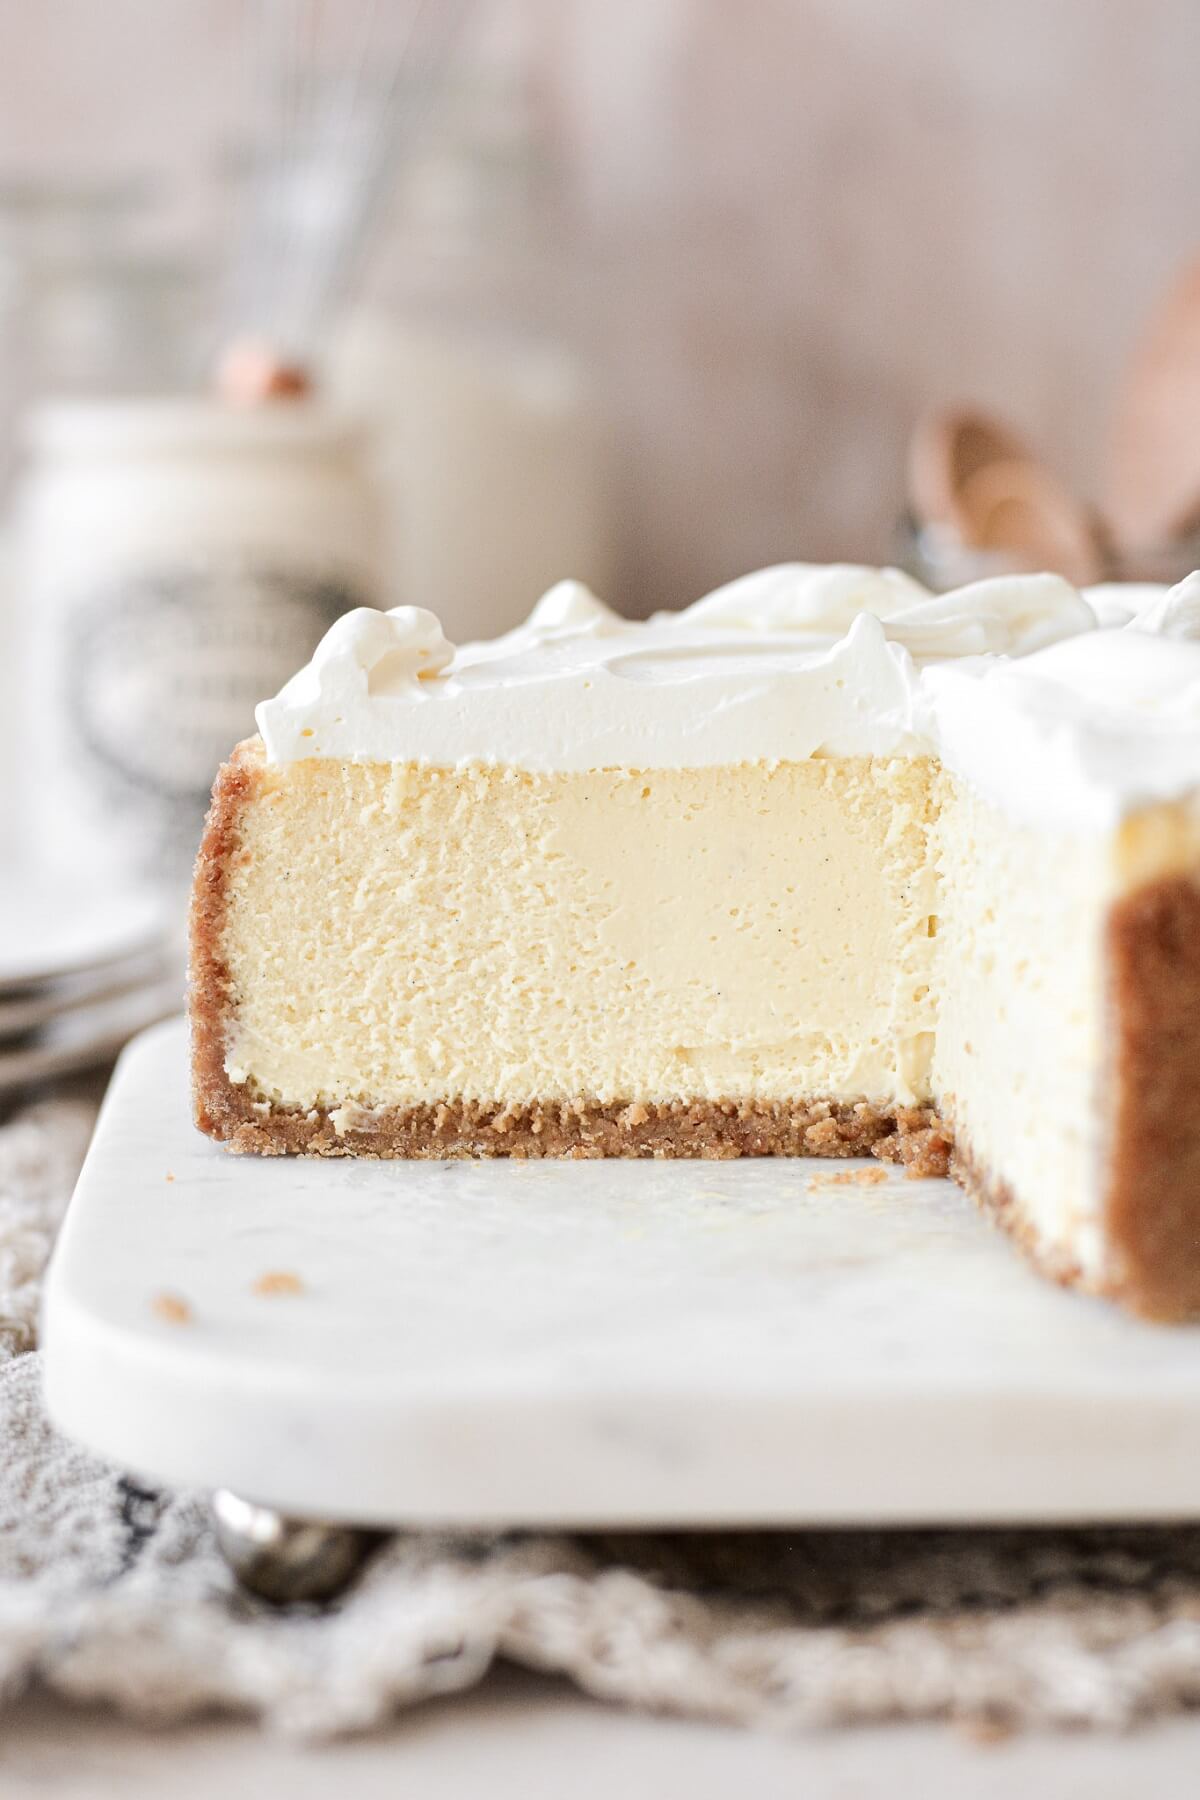
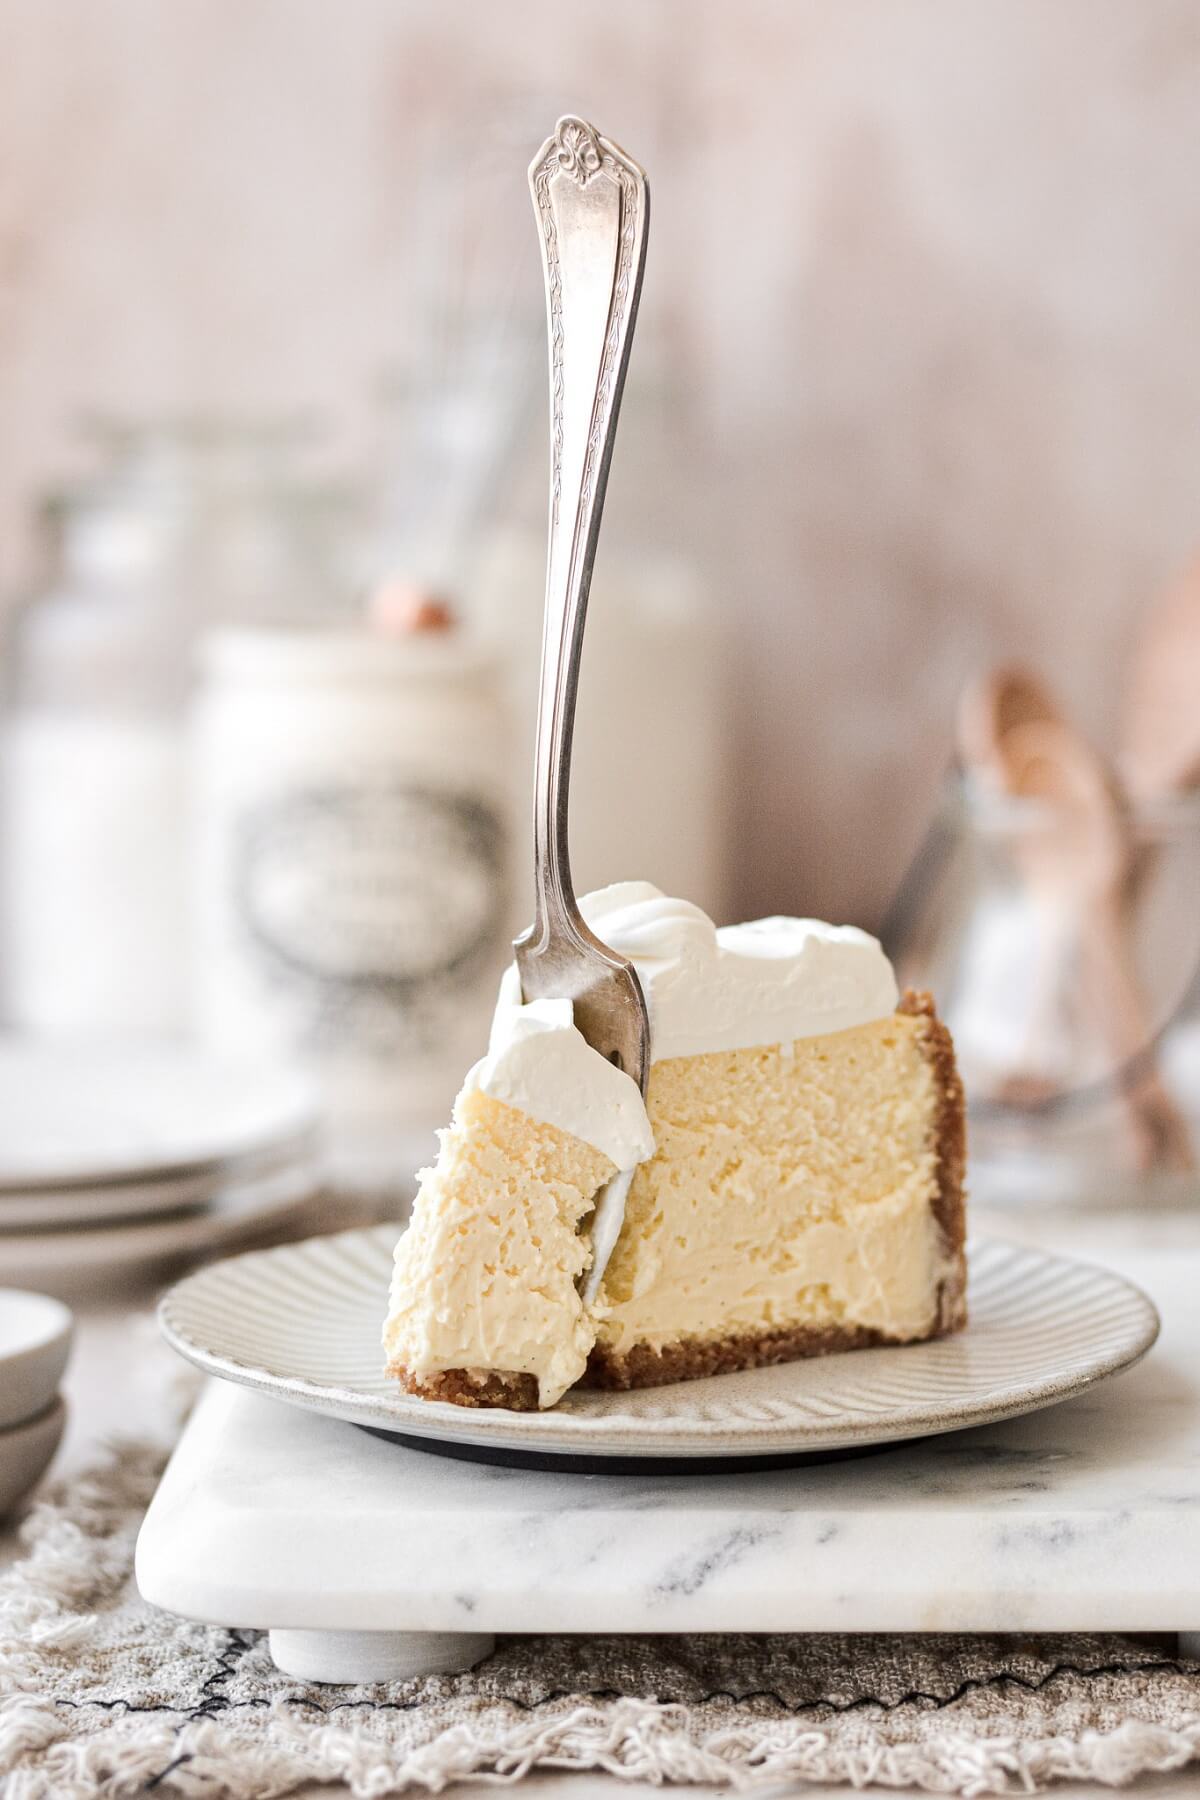
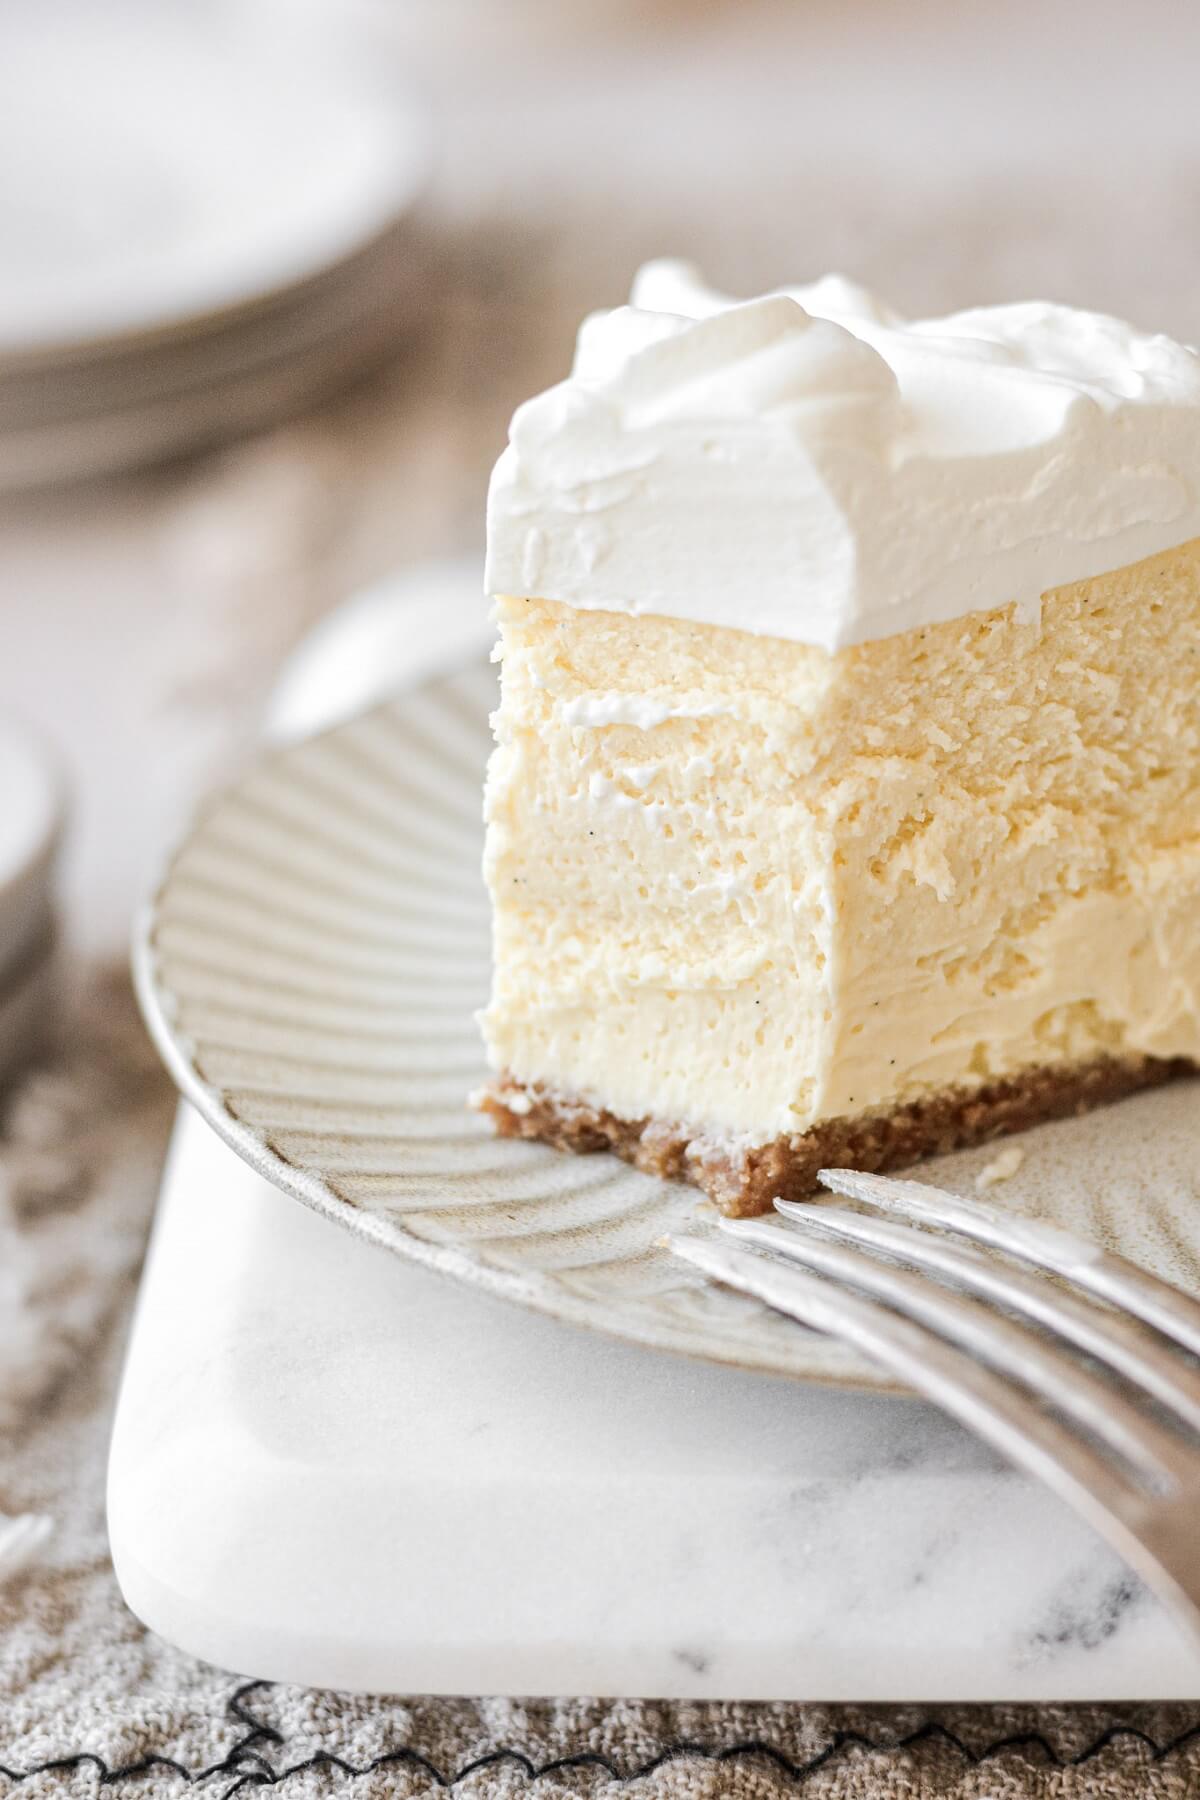
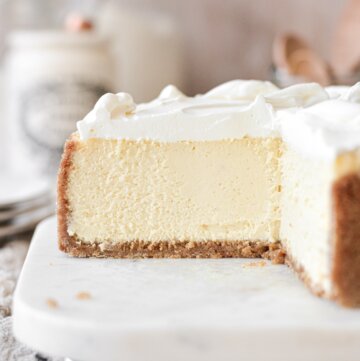
The best high altitude vanilla cheesecake recipe, with a perfectly light and creamy filling, flavored with real vanilla bean. With a few best practices, this tall and creamy cheesecake bakes beautifully at high altitude, with no sinking, no cracking and no browning. Add a simple topping of sweetened whipped cream or your favorite cheesecake topping.
You might also love these reader favorite high altitude recipes for vanilla bean cream cheese pound cake, snickerdoodle bundt cake, and chocolate layer cake.
This site contains affiliate links. As an Amazon associate, I earn from qualifying purchases. This means that I may make a small commission if you purchase a product using those links. This in no way affects my opinion of those products and services. All opinions expressed on this site are my own.
Why You’ll Love This Recipe
Real Vanilla Bean. This vanilla bean cheesecake is flecked with beautiful black specks of vanilla bean that give it the most lovely, natural flavor. To get the most out of your vanilla bean, rub the seeds into the sugar before mixing up the filling.
No Sinking, No Cracking, No Browning. Be sure to read the whole post today for lots of tips on how to bake a cheesecake perfectly, even in the mountains and foothills where it seems that anything that can go wrong with your baking will.
Endless Topping Options. Vanilla bean cheesecake goes with any topping you want to add. See the section below for ideas and recipes for chocolate ganache, lemon curd, salted caramel, whipped cream, toffee sauce, cherry, blueberry, or strawberry sauce!
High Altitude Tested. I develop all the recipes on my site for Denver’s altitude of 5,280 feet. If you’re at a lower or higher elevation, please see my FAQs for guidance on adjusting recipes for your altitude. Baked here in the mile high city, my high altitude cheesecake truly is a mile high cheesecake!
See the recipe card at the end of the post for the full ingredients list and instructions.
Ingredients
Crust
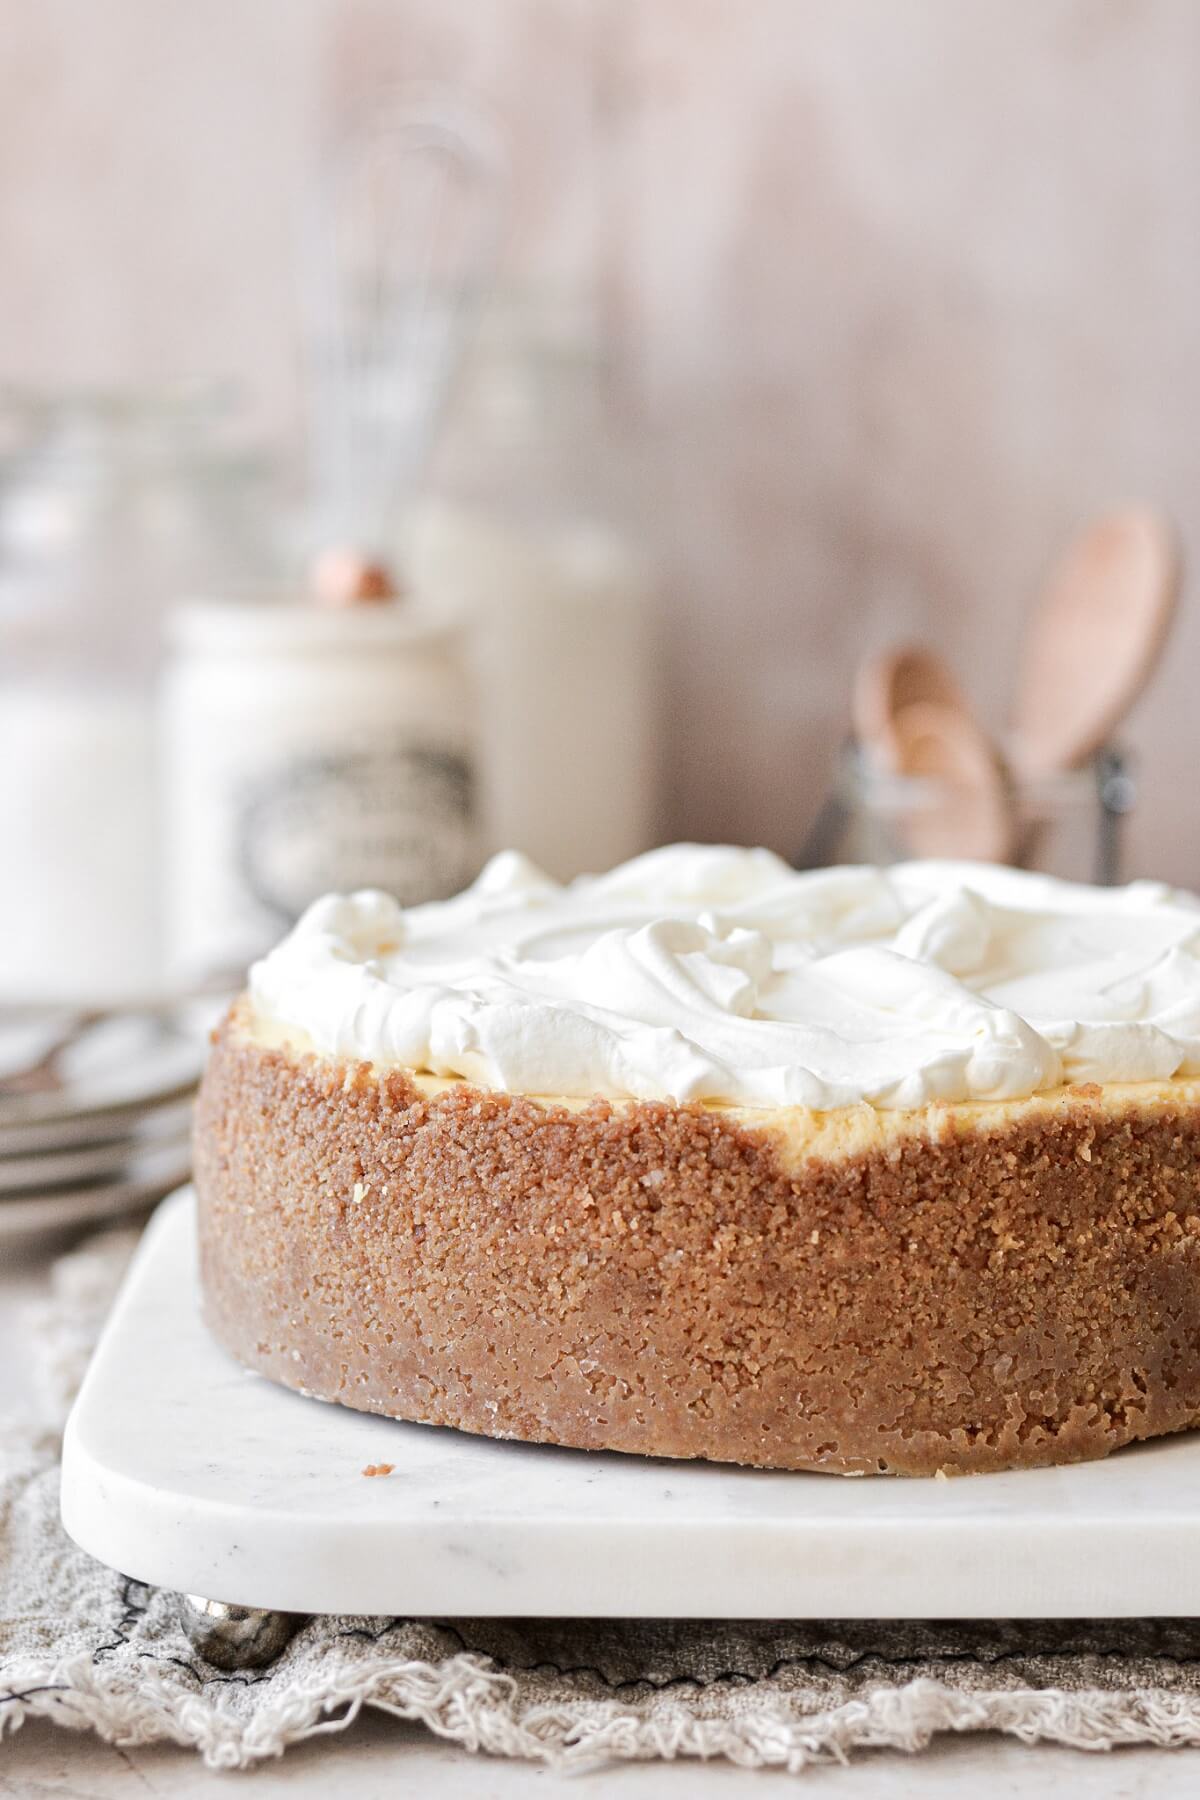
- Graham Crackers. You can use any flavor of graham crackers that you like. If you’re not able to find graham crackers, digestive biscuits are a good substitute.
- Granulated Sugar. Adds a touch of sweetness.
- Salt. Balances the sweetness and enhances the flavor of the cheesecake.
- Unsalted Butter. Moistens the crust and binds it together.
Filling
- Granulated Sugar. Sweetens the filling.
- Vanilla Bean. I like to use a real vanilla bean in cheesecake, but you could also use vanilla bean paste or vanilla extract.
- Cream Cheese. You’ll need to use blocks of full fat cream cheese, not tubs of cream cheese “spread”.
- Eggs. The eggs add richness to the filling, as well as structure. Vanilla cheesecake filling is essentially a “custard”, and eggs are important to the structure, helping it to set as it chills.
- Heavy Whipping Cream. Adds richness, and helps to lighten the filling a bit, so it’s not quite as dense as a New York cheesecake, which is heavier on the cream cheese. If you want a little more of a tangy flavor, you can replace up to half of the heavy whipping cream with full fat sour cream.
Tools and Equipment
- Stand Mixer with Paddle Attachment. You could probably get away with a hand mixer, but personally, I wouldn’t use one for this recipe. You’ll need a mixer to beat the cream cheese with the sugar, for a perfectly smooth filling.
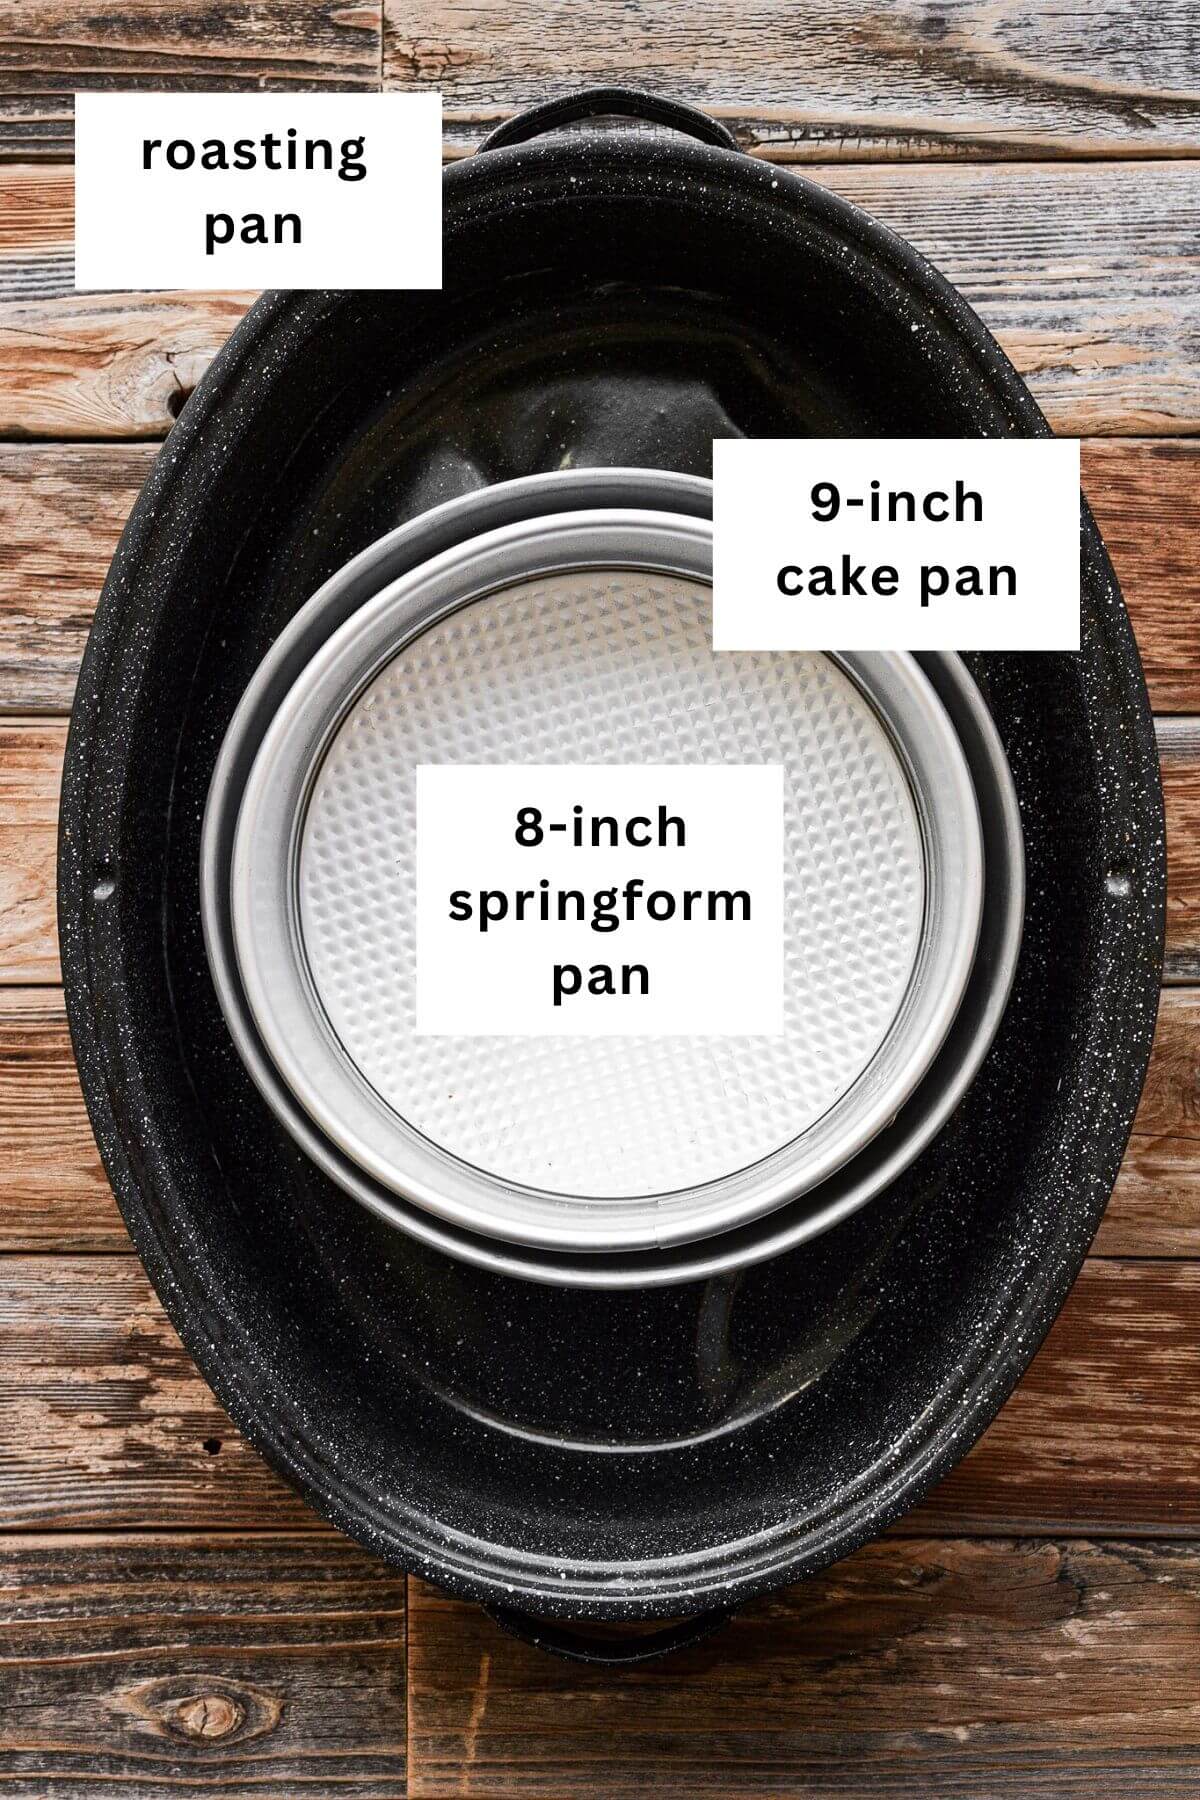
- Large Roasting Pan. This will hold the boiling water for the water bath.
- 8-Inch Springform Pan. Your pan will need to have a depth of 3 inches, since a 2 inch depth will not be tall enough for the volume of batter. A springform pan allows you to release the sides of the pan to unmold the cheesecake, something you cannot do with a traditional cake pan.
- 9 Inch Round Cake Pan (OR wide, heavy duty aluminum foil). Even if your springform pan says it’s “leakproof”, don’t trust the claim. Springform pans are notorious for leaking, and nothing will ruin your cheesecake faster than water from the water bath soaking into the crust. I found it easiest to simply set my springform pan into a 9 inch round cake pan. The cake pan insulates and protects the springform pan from the water. You can also wrap the springform pan in foil. But if you use foil, you need several layers of wide, heavy duty foil. Just a tiny tear in the foil can let water in and will ruin your cheesecake.
Instructions
Getting Ready
- Preheat the oven to 300 F, and position a rack in the center of the oven. Bring some water to a boil.
- Lightly spray the bottom and sides of an 8-inch springform pan with a 3-inch depth with non-stick baking spray. Line the bottom of the pan with a circle of parchment paper.
- You’ll need a 9-inch round cake pan with a 3-inch depth to set the springform pan inside of, to act as a barrier and to keep the water from leaking into the cheesecake. If you don’t have a 9-inch round cake pan, wrap the bottom and sides of the springform pan with several layers of wide, heavy duty aluminum foil. The foil needs to be wide enough to reach all the way up to the top edge of the springform pan on all sides, to prevent water from leaking in and ruining the crust.
- You’ll also need a large roasting pan, to set the other pans inside of.
Make the Graham Cracker Crust
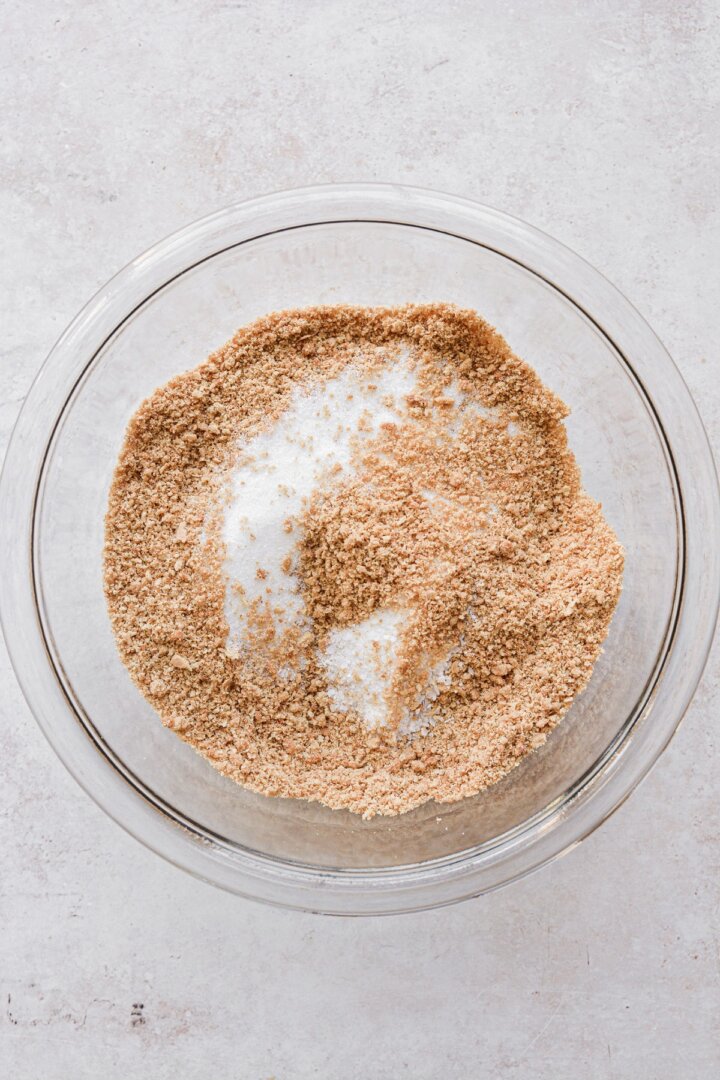
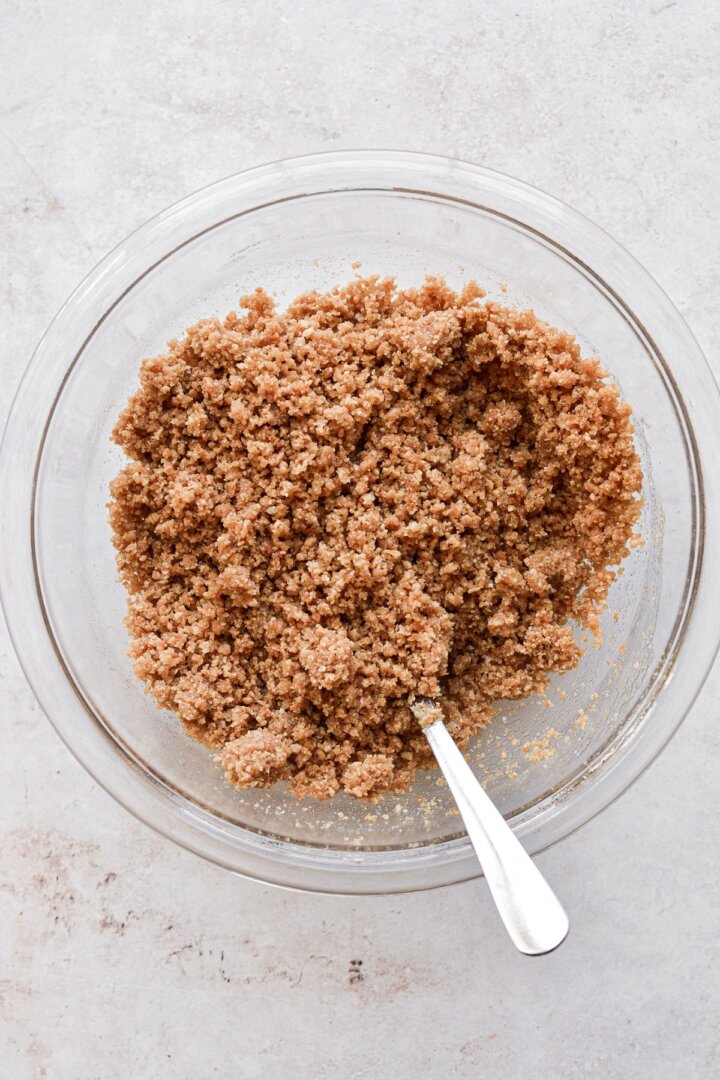
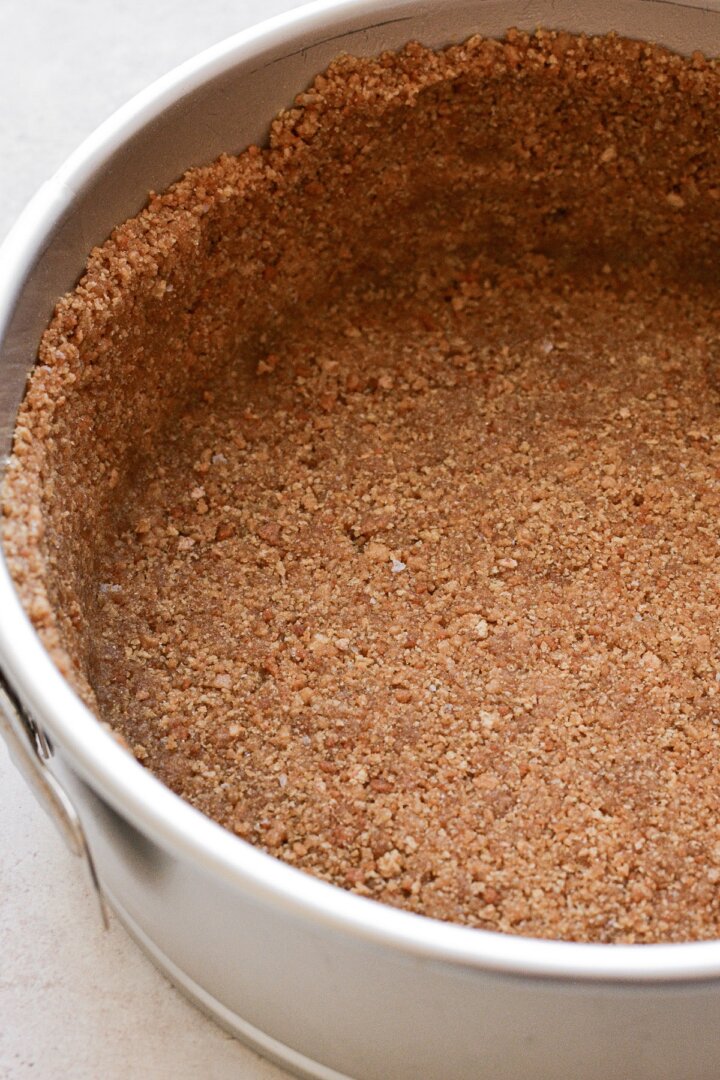
- In a bowl, combine the crushed graham crackers, sugar and salt. Add the melted butter and stir until evenly moistened.
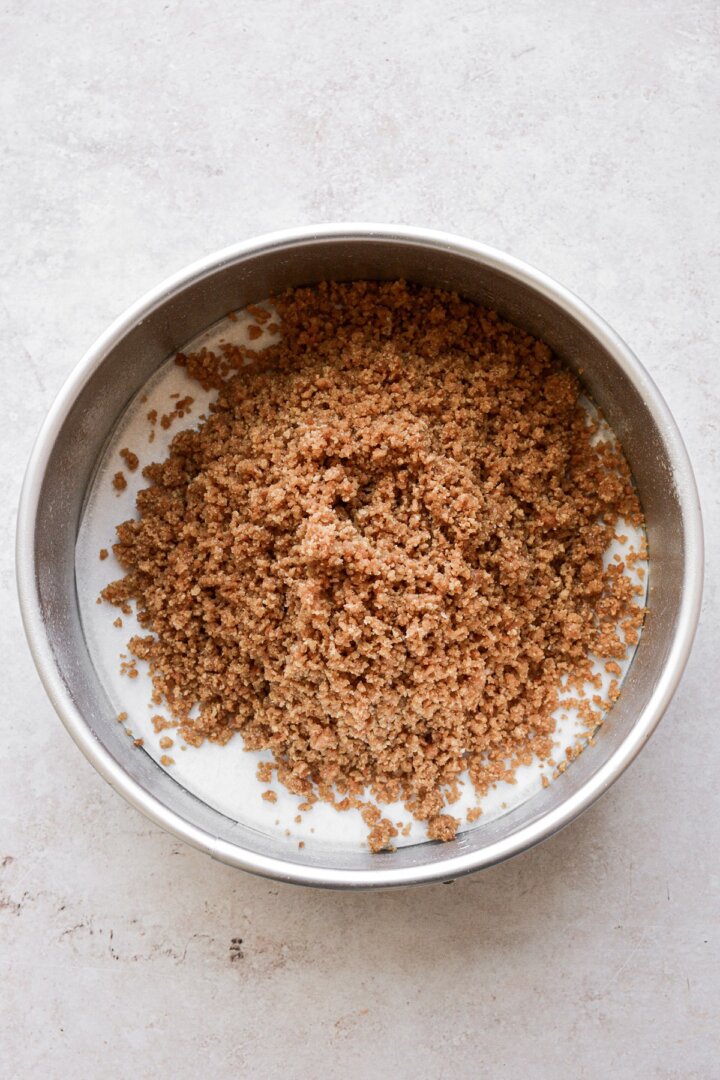
- Dump the crumbs into the prepared springform pan. Press the crumbs in a firm, even layer against the bottom and up the sides of the pan, nearly to the top. Set aside.
Make the Cheesecake Filling
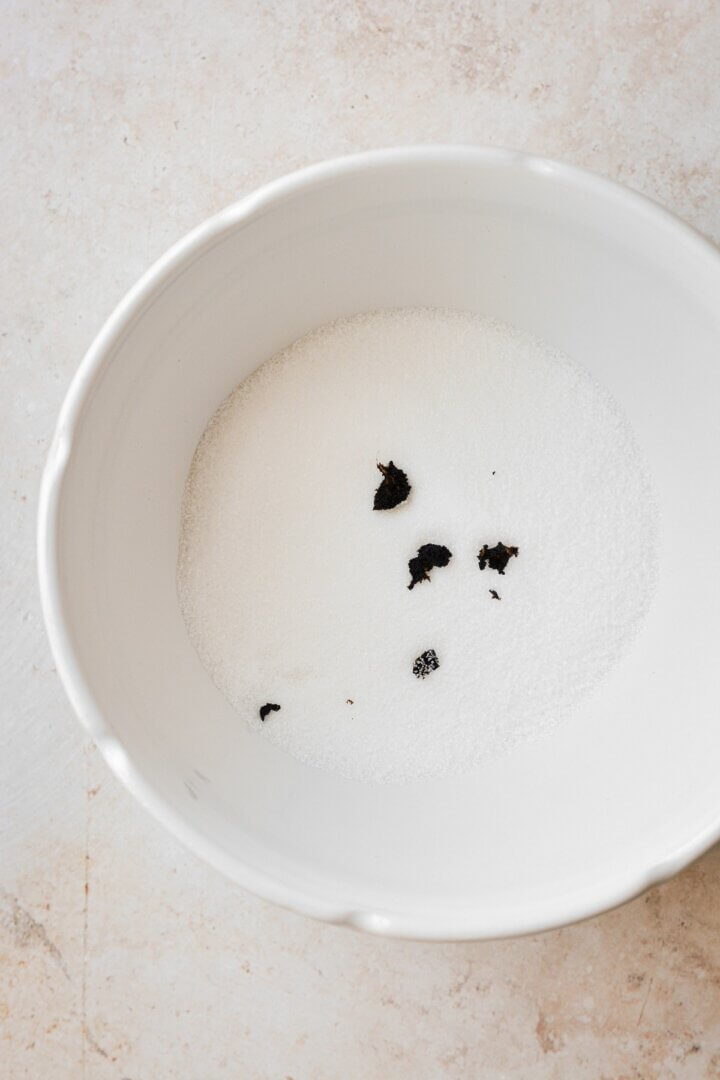
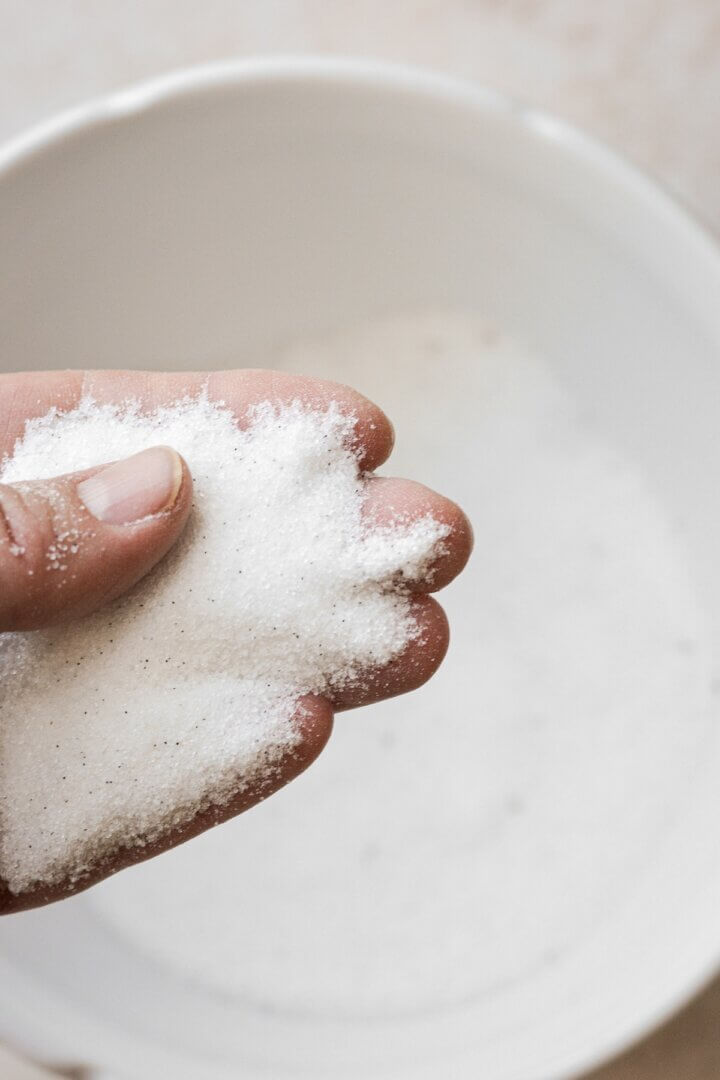
- In a bowl, combine the sugar with the vanilla bean seeds scraped from a vanilla bean. Use your fingers to rub the vanilla into the sugar, until fragrant.
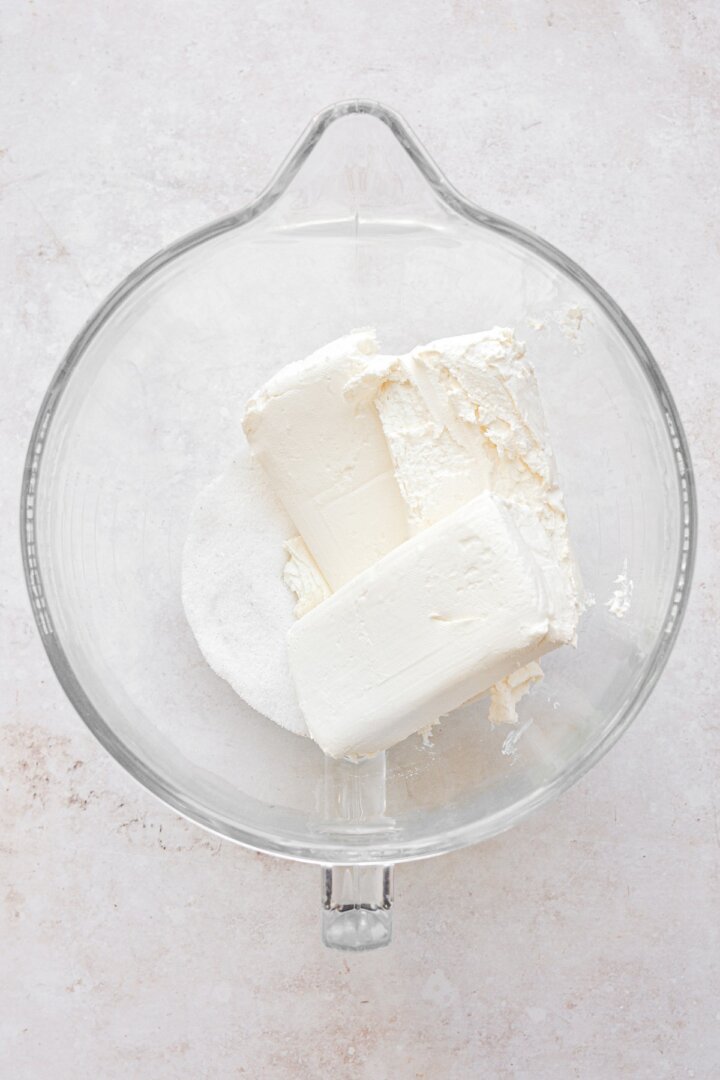
- In the bowl of your stand mixer fitted with the paddle attachment, beat the vanilla sugar with the softened cream cheese for 3 minutes, on medium speed. Scrape the bowl down.
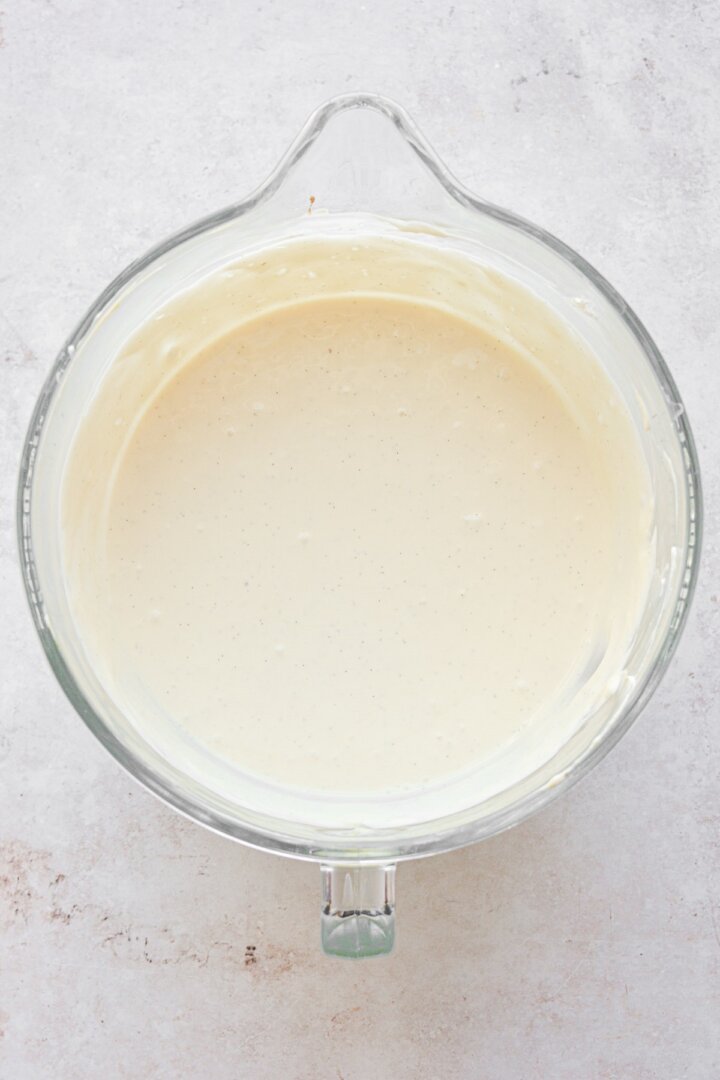
- Beat in the eggs on medium low speed, one at a time, mixing each for 10 seconds before adding the next. Scrape the bowl down and make sure the mixture is perfectly smooth, with no lumps of cream cheese.
- Add the cream, and mix just until smooth and combined.
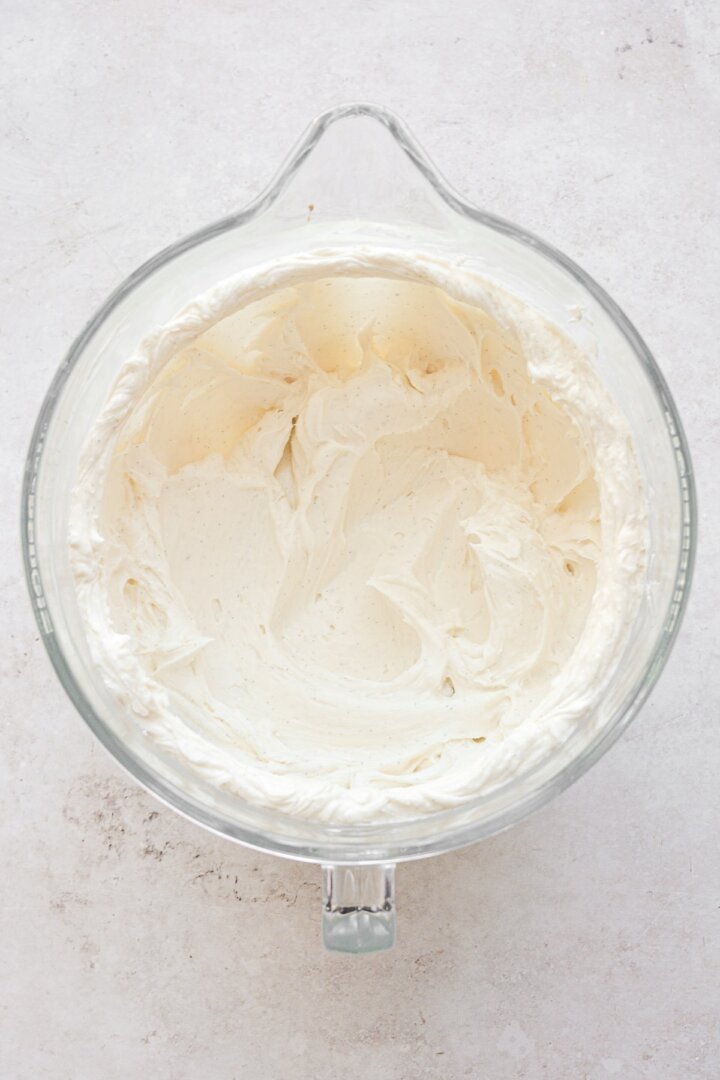
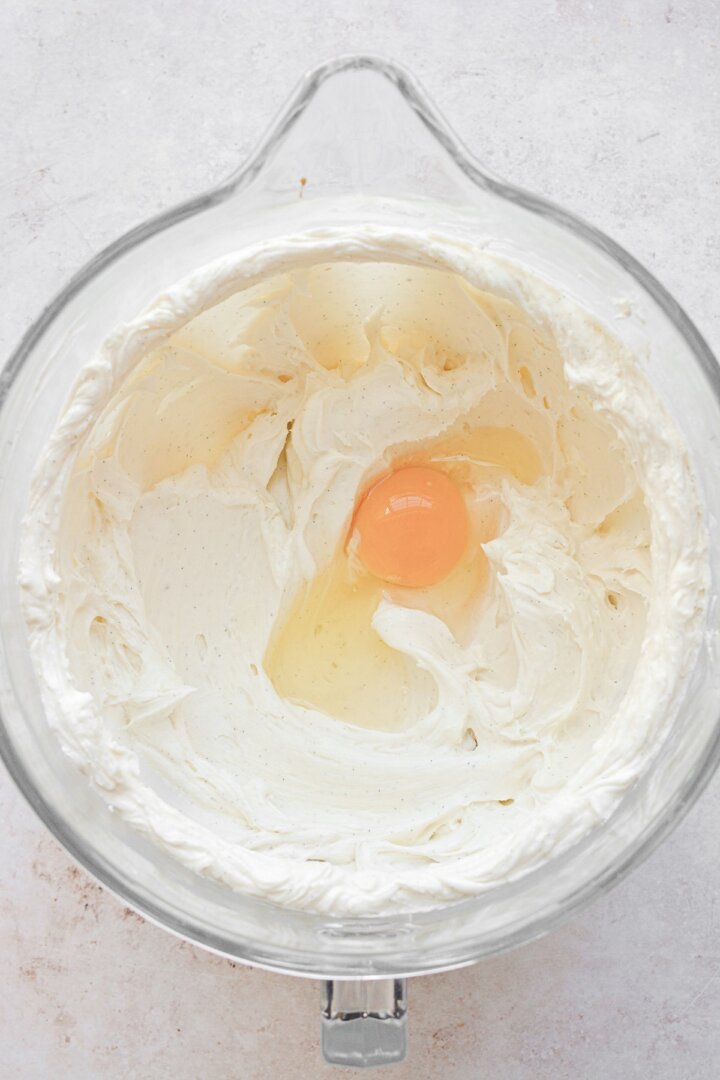
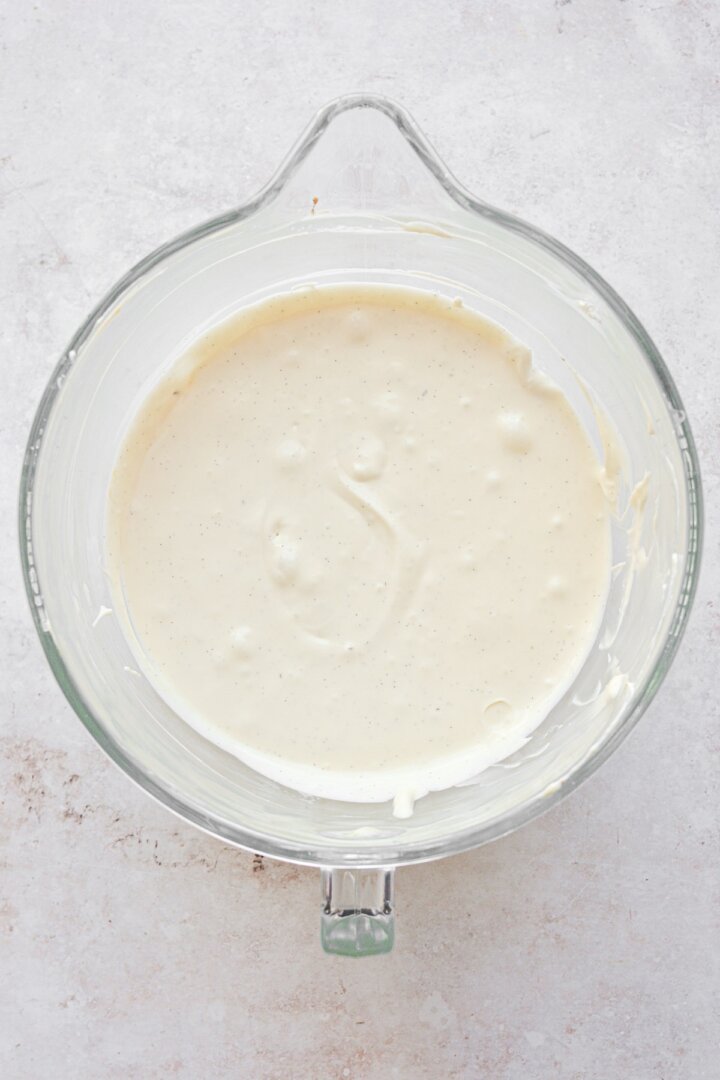
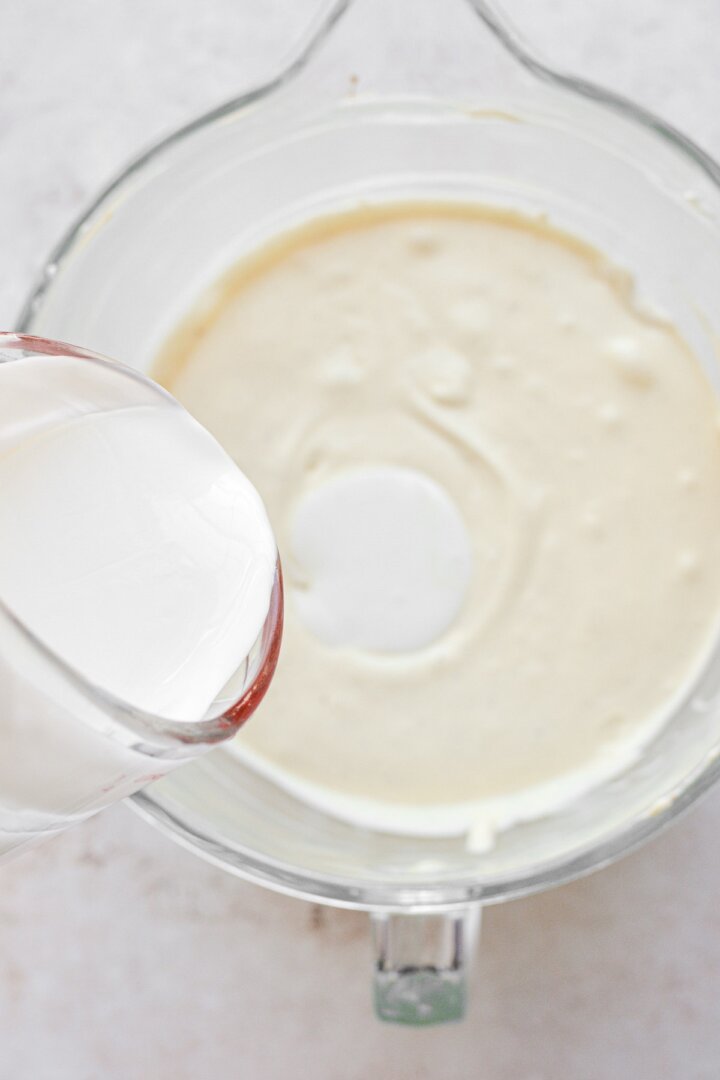
- Pour the batter into the crust in your springform pan. Lightly tap the pan against the counter, then use a toothpick to pop any air bubbles that rise to the surface.
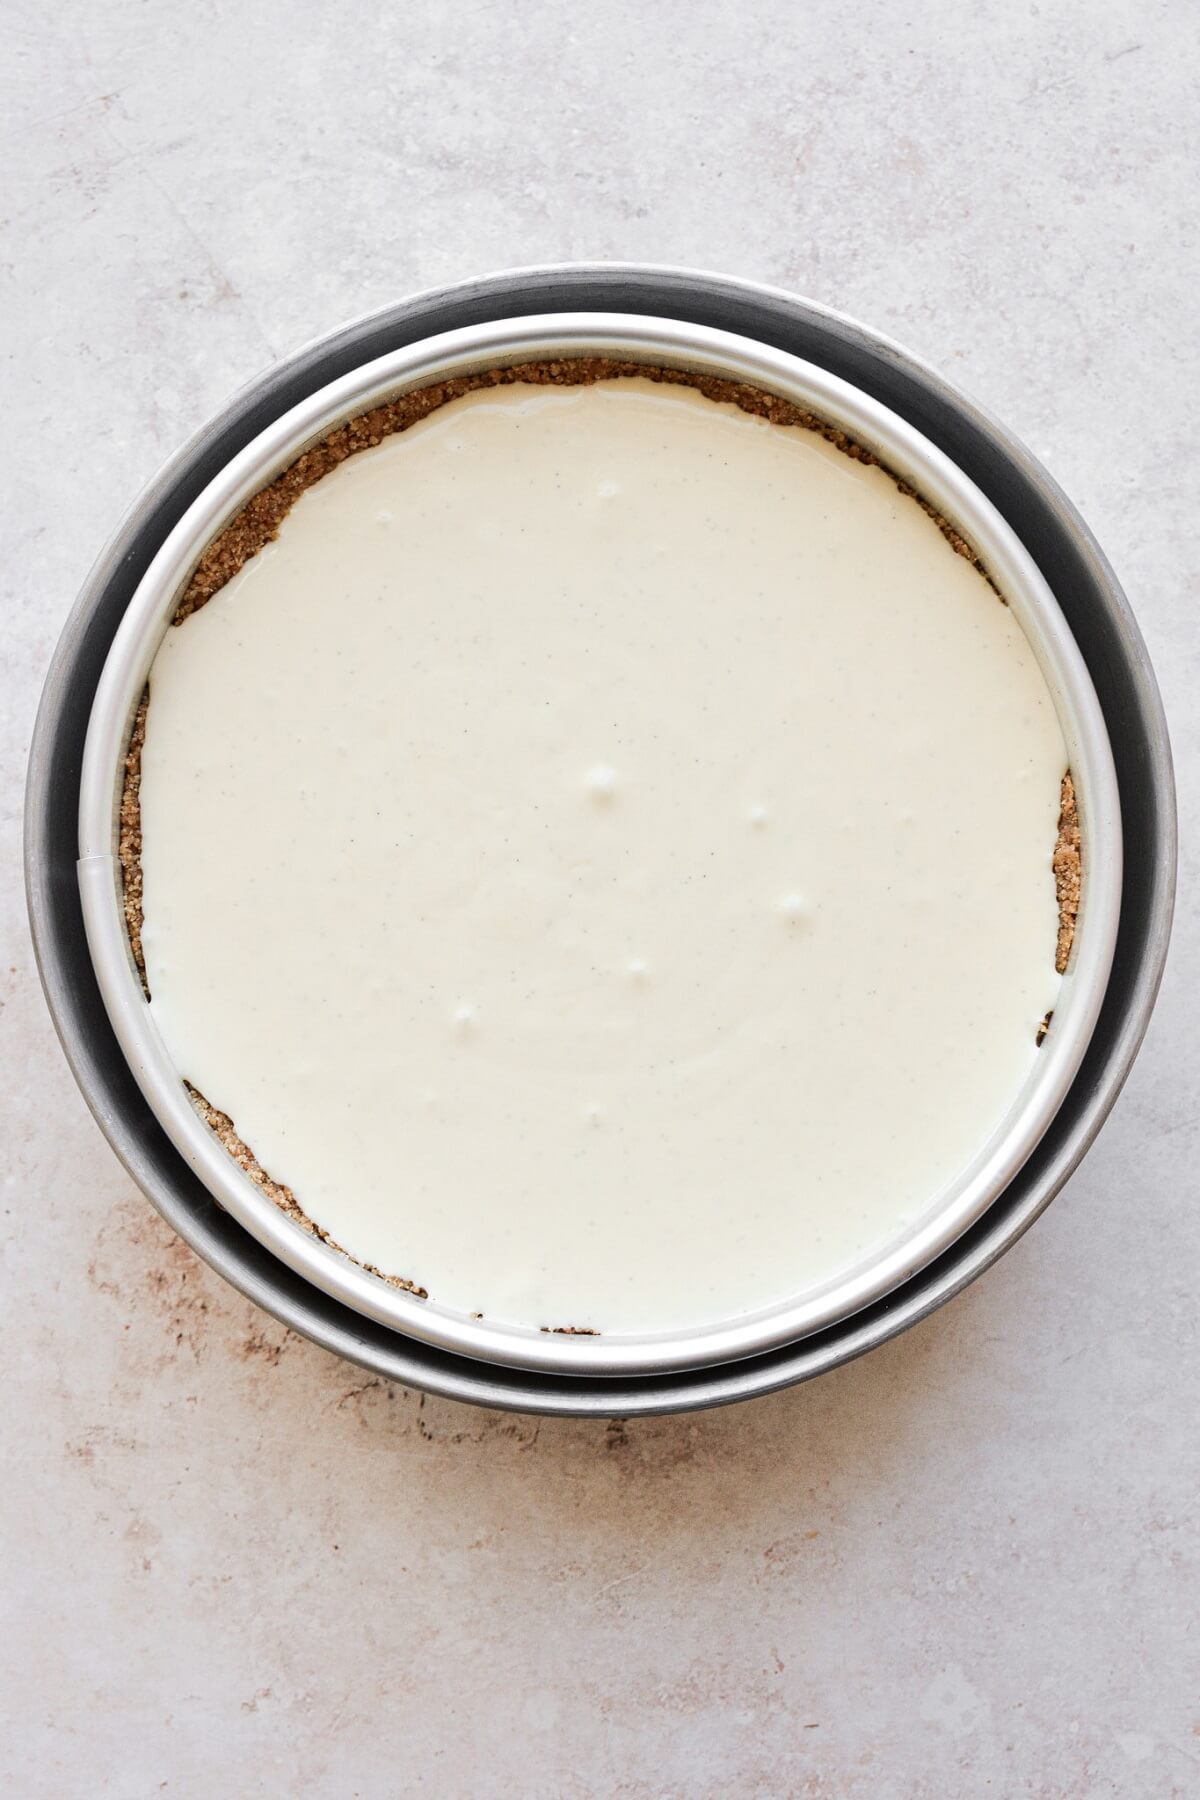
- Set the springform pan inside the cake pan, then set both pans inside the roasting pan. Add boiling water to the roasting pan, so that it comes halfway up the side of the cake pan. Take care not to pour any water into the cake pan or the cheesecake.
Bake the Cheesecake
- Bake the cheesecake on the center oven rack for 80 minutes. Resist the urge to open the oven door to check on the cheesecake until it’s baked for at least an hour. At around 80 minutes, the top of the cheesecake should look more matte than shiny, and if you give the pan a slight shake, the edges should appear to be set while the center will still be wobbly.
- Turn the oven off, close the oven door again, and leave the cheesecake in the steamy oven for another 60 minutes to gradually cool down and finish baking.
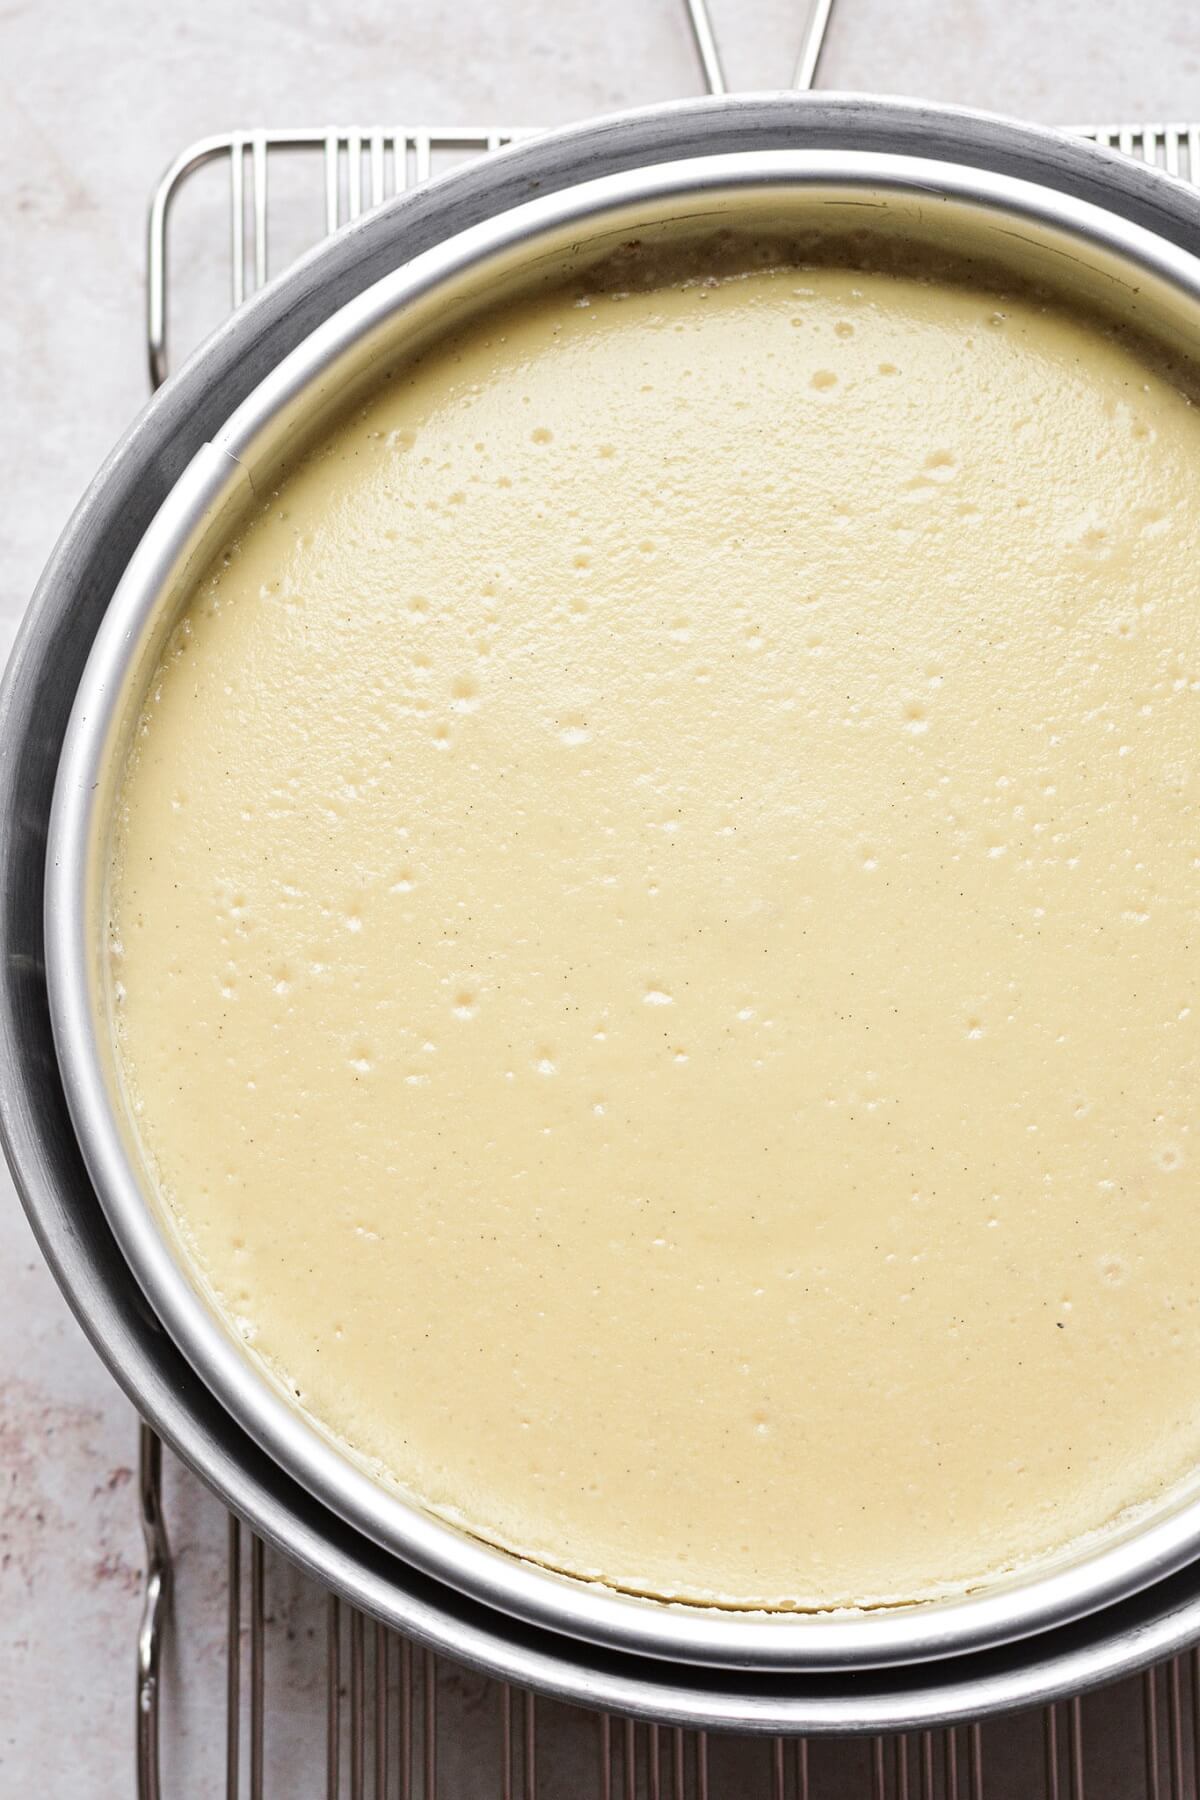
- Take the cheesecake out of the oven, remove the pan from the water bath, and set it on a cooling rack. The center of the cheesecake will still be a bit wobbly. Please see this YouTube Short video that I created to see exactly what my cheesecake looked like at this point.
- Take a sharp knife and run it around the sides of the pan to loosen the crust from the pan. It’s important to do this, because as the cheesecake cools, it can shrink a little. Loosening the crust from the pan will help to prevent the cheesecake from cracking as it cools and shrinks.
- Let the cheesecake cool at room temperature for 2 hours.
Chill the Cheesecake
- Now set the cheesecake in the refrigerator to let it chill for 5-6 hours before serving.
- Since cheesecake needs so long to cool and chill, you should bake it first thing in the morning, if you’re planning on serving it that same evening. Otherwise, you can bake it in the afternoon/evening, then let it chill overnight.
Serve the Cheesecake
- Loosen the collar from the pan to unmold the cheesecake from the pan. If you lined the bottom of the pan with parchment paper, it should be easy to slide a cake lifter or spatula gently between the paper and the pan, in order to transfer the cheesecake to a serving plate.
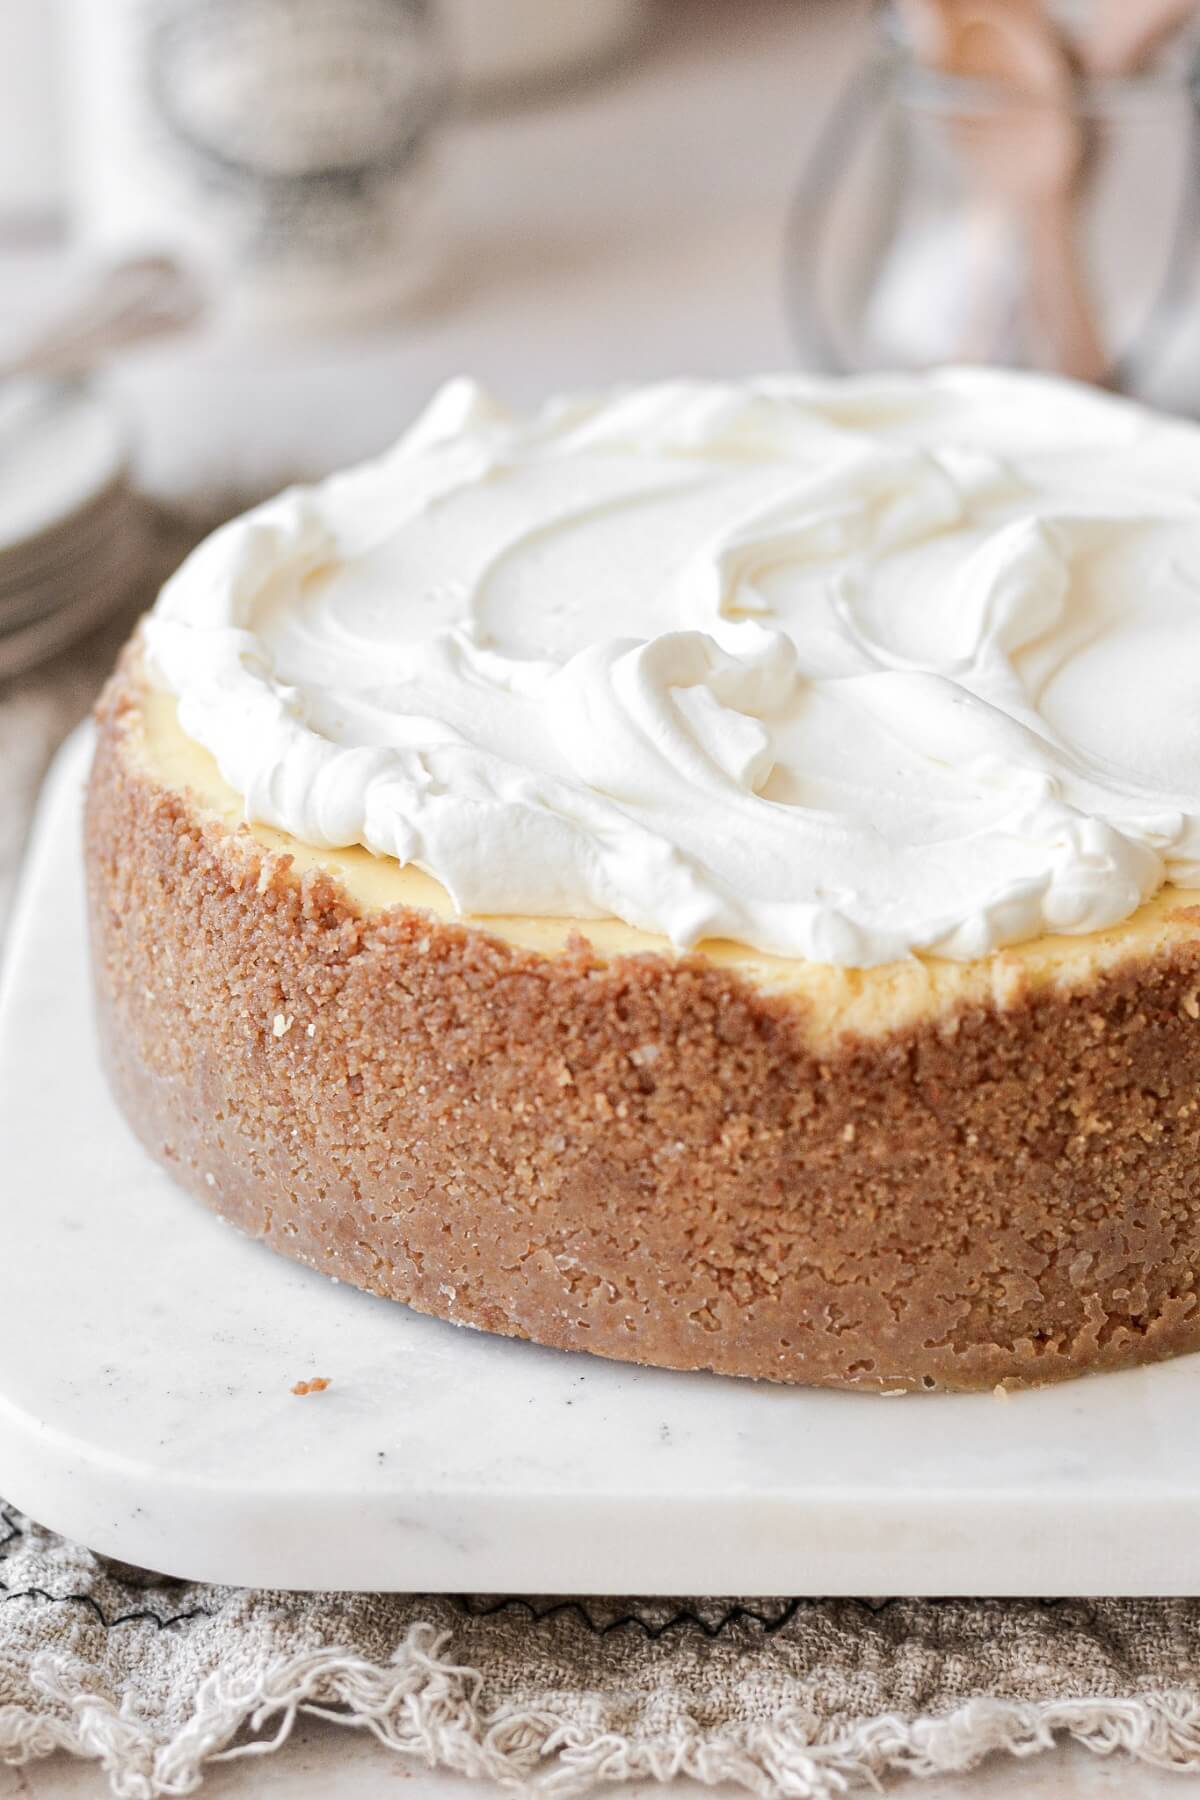
- Serve the cheesecake with your favorite toppings, on the side, or right on top.
Tips for Perfectly Baked Cheesecake
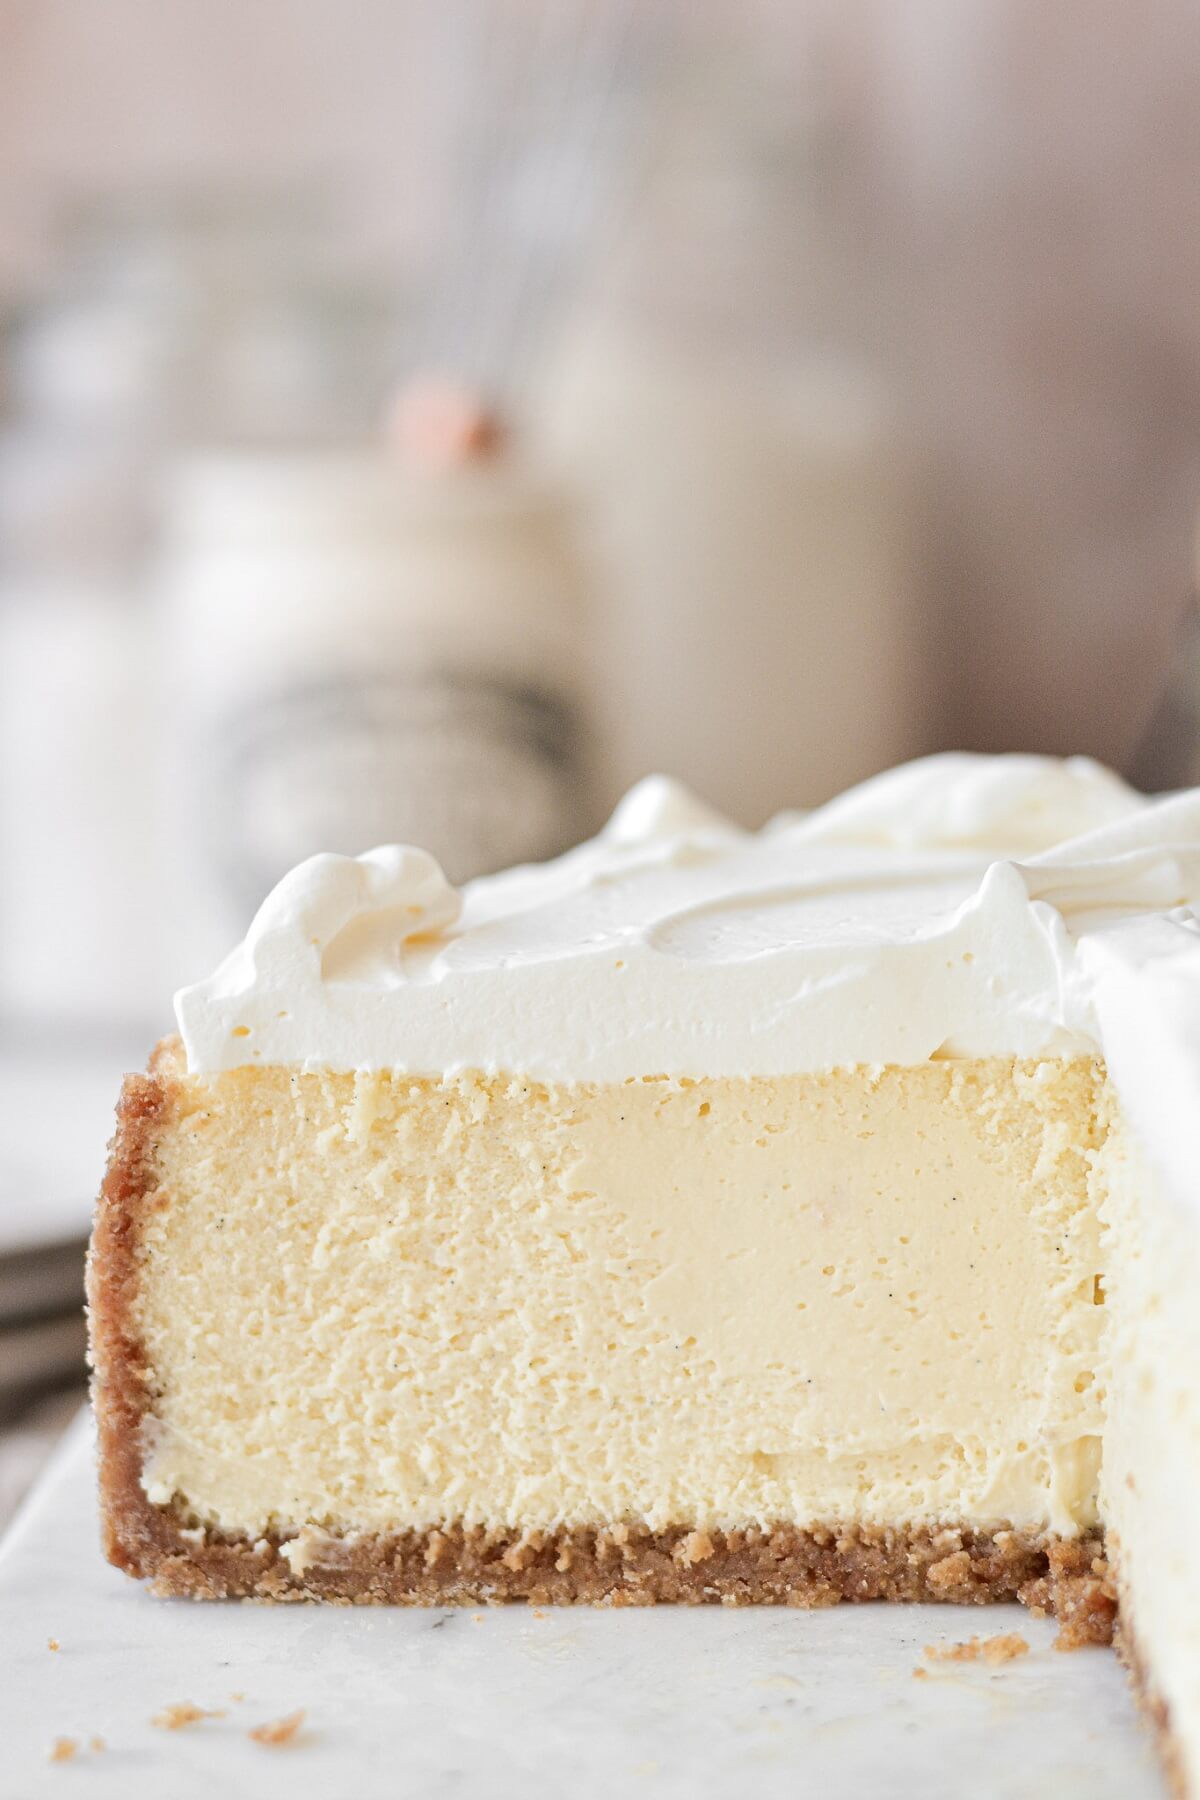
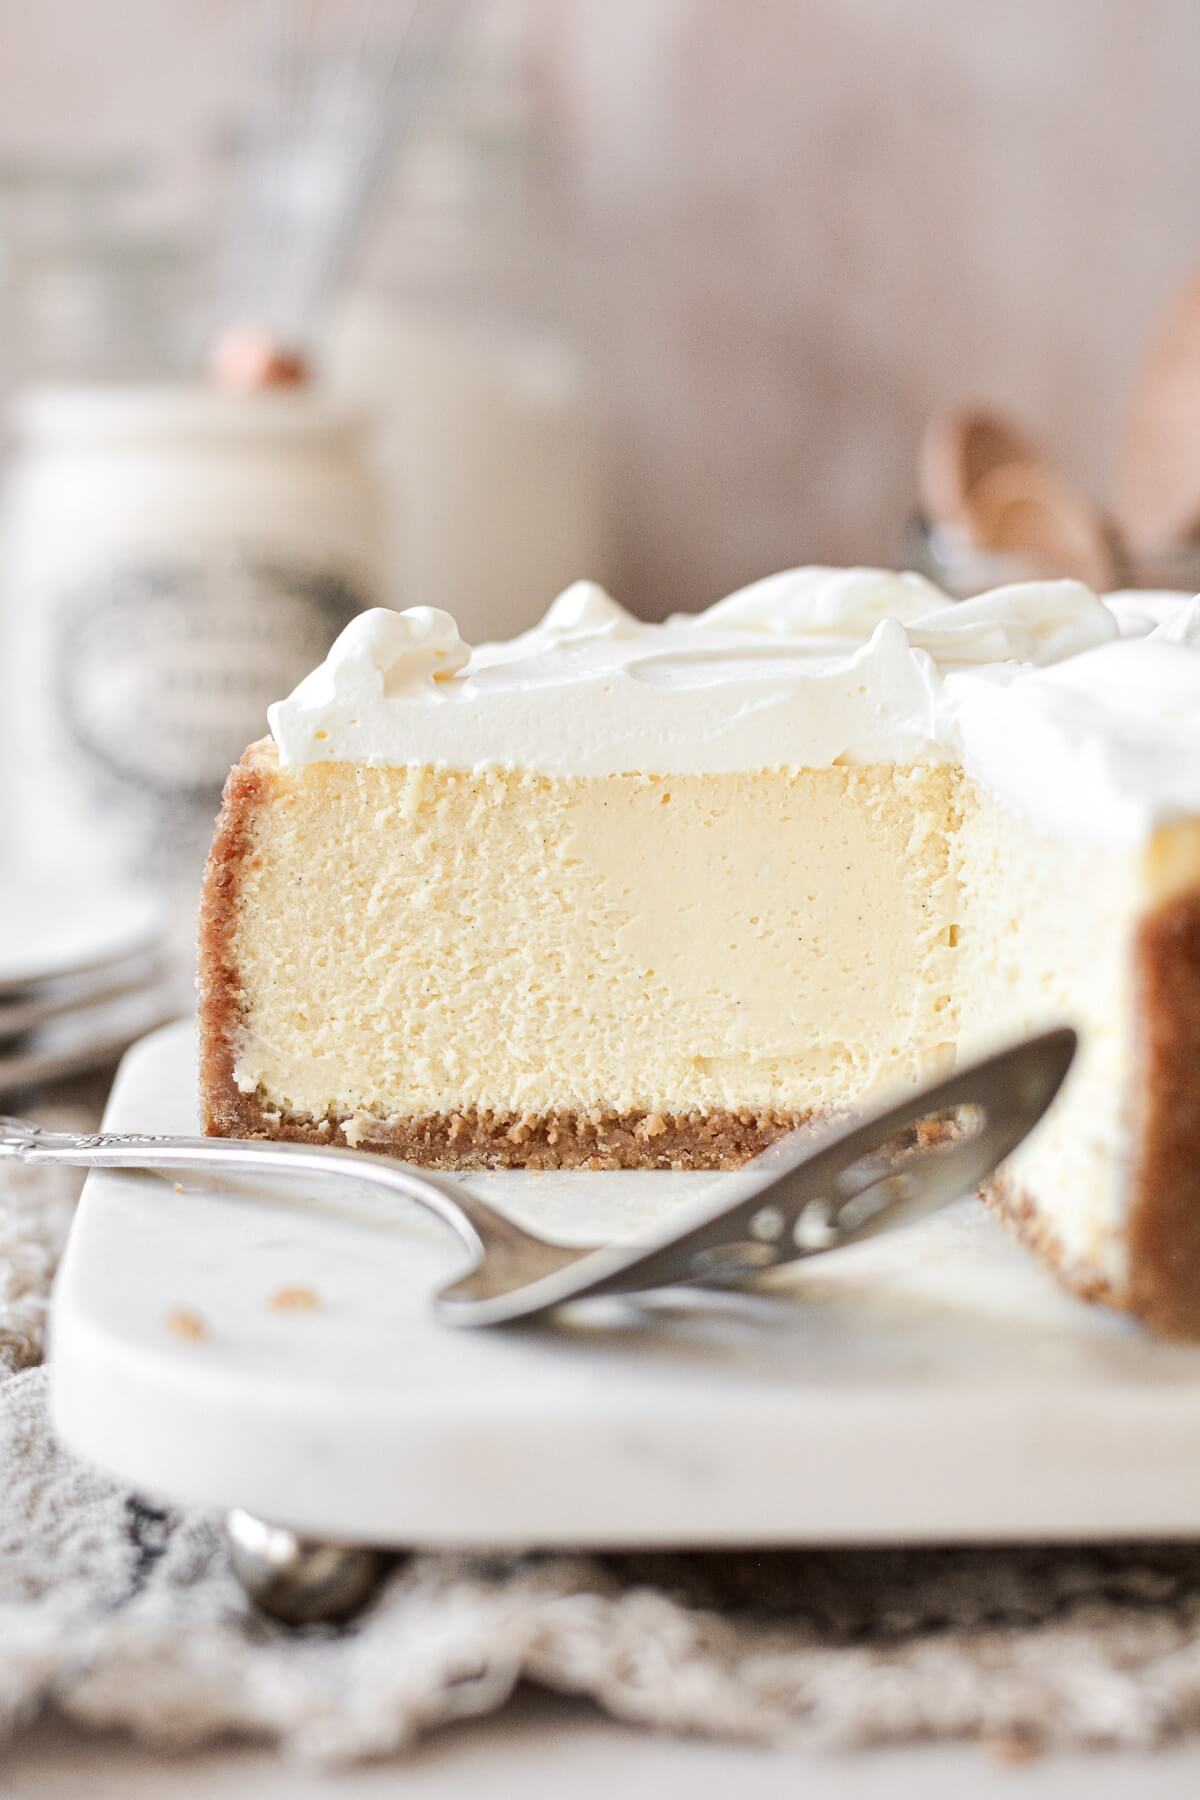
This classic vanilla cheesecake recipe will bake beautifully if you follow a few best practices. These are my best tips for avoiding cracks, sinking, browning, and uneven baking in your baked vanilla cheesecake.
- Room Temperature Ingredients. Your cream cheese needs to be softened to room temperature to ensure a smooth and creamy filling that doesn’t contain lumps. The eggs, too, shouldn’t be cold from the fridge. Let them sit out for a bit so that they easily emulsify with the cheesecake batter.
- Use a Water Bath. A water bath, or a bain-marie, is a method of cooking that provides slow, gentle, consistent heat when baking delicate custards, pots de creme and cheesecakes. To bake a cheesecake in a water bath, your cheesecake pan will need to be insulated and protected either with aluminum foil or another cake pan, then placed into a large roasting pan. The roasting pan is filled with boiling water, then the whole setup is placed into the oven. The hot water creates steam in the oven, keeping the cheesecake moist, and allowing it to cook slowly and evenly.
- Don’t Over-Mix the Batter. If you beat in too much air, the cheesecake can rise too quickly and then collapse. The batter really only needs a few minutes of mixing, just to ensure it’s smooth.
- Don’t Over-Bake the Cheesecake. Expect your cheesecake to still be wobbly in the center after baking for the time stated in the recipe card. It will continue to set up as it cools and chills. An over-baked cheesecake can be dry, dense and crumbly, instead of soft, light and creamy.
- Let the Cheesecake Cool Gradually. By avoiding sudden temperature changes, you can prevent cracking in your cheesecake. This is why it’s important to let the cheesecake sit in the oven in the water bath after baking, then cool at room temperature for a while, and then, finally, chill in the refrigerator. You would never want to place a hot cheesecake directly into a cold environment.
Favorite Cheesecake Toppings
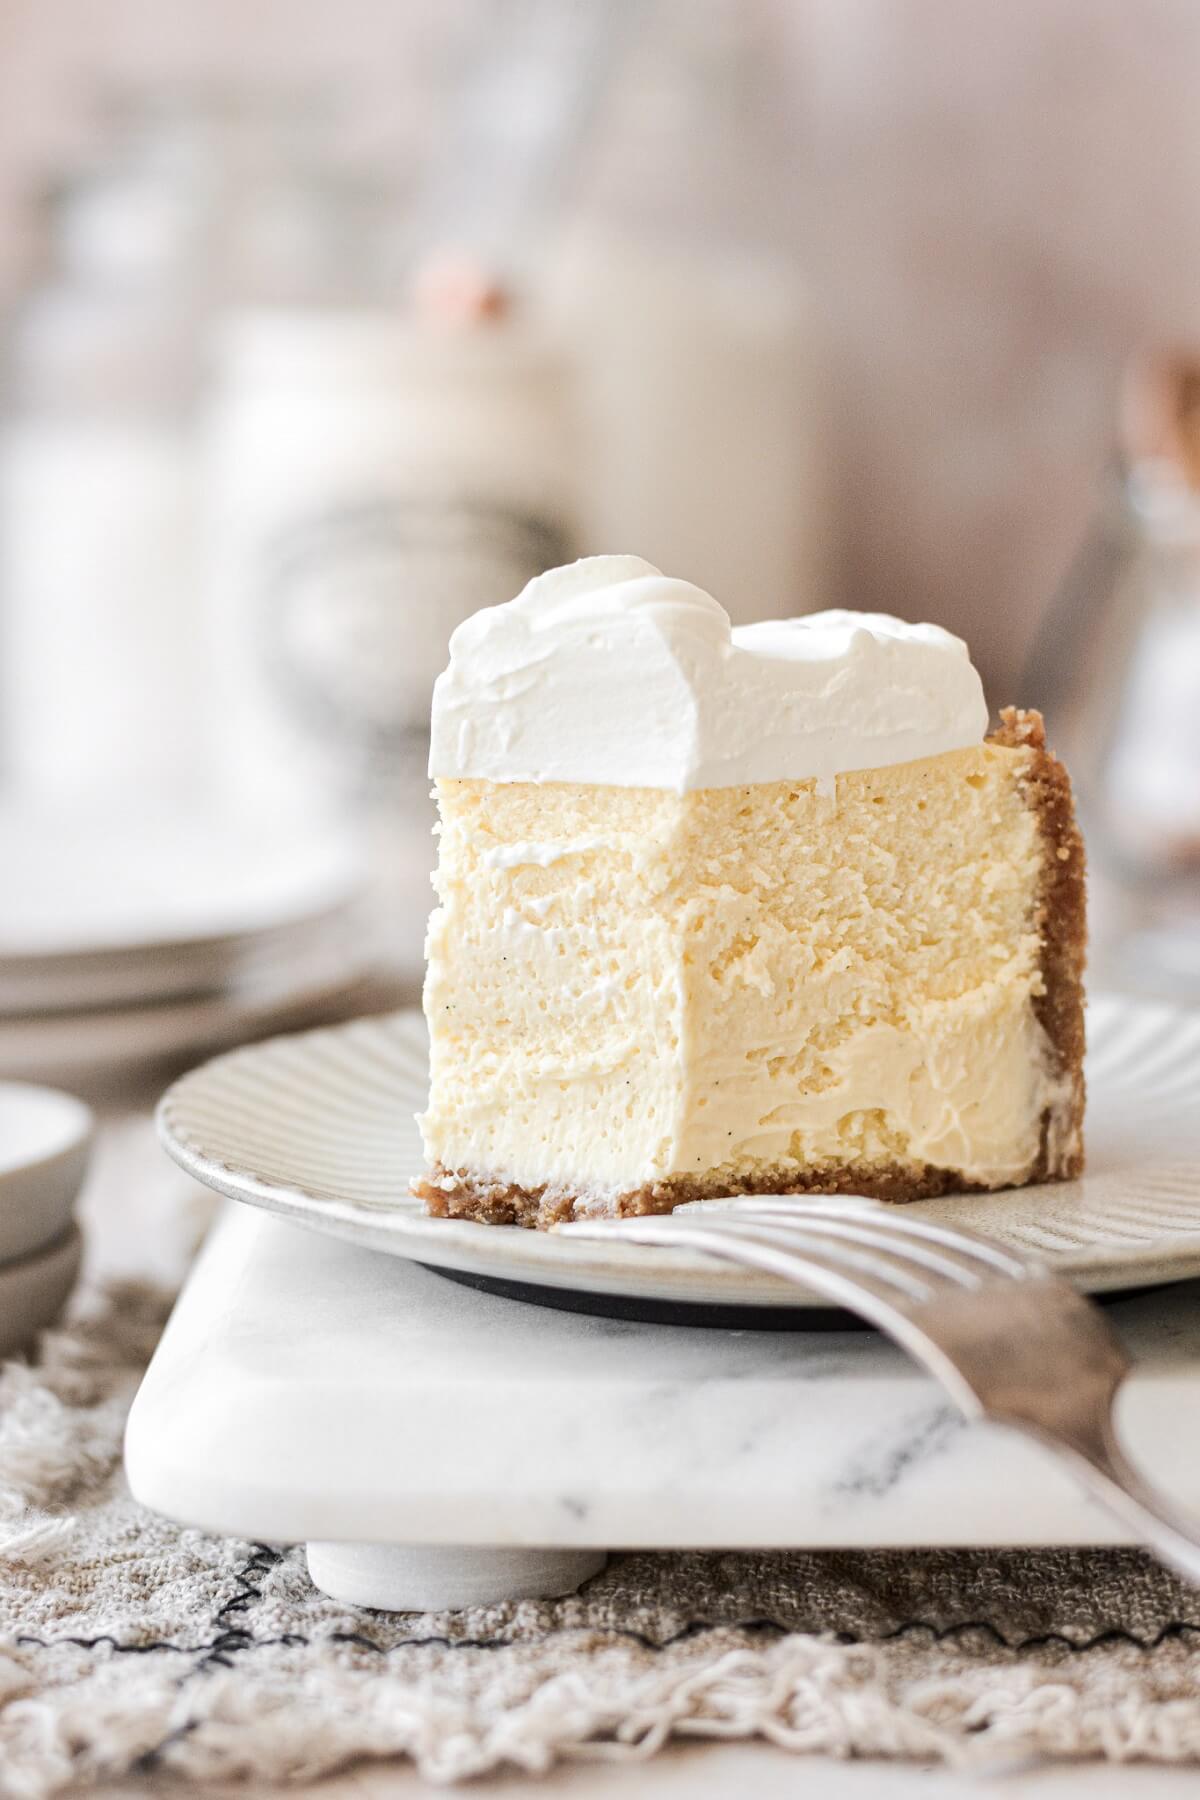
- Whipped Cream. For the simple whipped cream topping featured on today’s vanilla cheesecake, use an electric mixer to whip 1/2 cup cold heavy whipping cream with 1 tablespoon powdered sugar, until fluffy peaks form that hold their shape.
- Chopped Chocolate or Chocolate Curls. Chop up a bar of good quality chocolate and sprinkle it over the chilled cheesecake. Or make some beautiful chocolate curls for a stunning presentation.
- Toffee Bits. The caramel notes and crunch of toffee bits are fantastic with cheesecake. Sprinkle toffee over the chilled cheesecake, and serve with toffee sauce.
- Cherry Sauce Recipe
- Blueberry Sauce Recipe
- Strawberry Sauce Recipe
- Salted Caramel Sauce Recipe
- Bourbon and Brown Sugar Toffee Sauce Recipe
- Chocolate Ganache Recipe
- Lemon Curd Recipe
Be sure to read all of my BAKING FAQs where I discuss ingredients, substitutions and common baking questions, so that you can be successful in your own baking!
Frequently Asked Questions
What springform pan did you use?
I used a Wilton pan, probably purchased locally at Michaels. It’s 8 inches in diameter with a 3 inch depth. This Fat Daddio Aluminum Springform Pan has the same interior dimensions, although it has a wider base that will not fit inside a 9-inch cake pan, so it would need to be wrapped with foil.
I’m also intrigued by this cheesecake pan, which does not have a spring release, but rather just a removable bottom to push the cheesecake up and out of the pan.
Will this recipe work in a 9 inch springform pan?
Yes, you can use a 9 inch springform pan with a 2 or 3 inch depth, and your baked vanilla cheesecake will be a little thinner (remember, the larger the springform pan you use, the larger the cake pan you’ll need to insulate it from the water bath). If you still want a tall cheesecake, use a 9 inch springform pan with a 3 inch depth, and increase the filling recipe to these amounts:
- 1 1/3 cups granulated sugar
- 1 vanilla bean, seeds scraped
- 2 lbs (4 blocks) full fat cream cheese, softened to room temperature
- 4 large eggs, room temperature
- 1 1/3 cups cold heavy whipping cream
How long can cheesecake be refrigerated?
Refrigerate leftover cheesecake, loosely covered, for up to 3 days.
Can baked vanilla cheesecake be frozen?
Cheesecake freezes extremely well. You can freeze the entire cheesecake, or individual slices, wrapped in several layers of plastic wrap, for up to 3-6 months. Let thaw overnight in the refrigerator.
You Might Also Like
Please check out my Amazon Shop for a curated collection of some of my favorite cake pans from trusted brands, baking tools, ingredients, pretty things and fashion finds. I recommend products that I buy and use every day!
Did you love today’s recipe? Please rate the recipe and let me know in the comments what you thought! Also, be sure to follow Curly Girl Kitchen on Instagram, and tag me when you try one of my recipes so I can see all your delicious creations!
Perfectly Creamy High Altitude Vanilla Cheesecake
All recipes on Curly Girl Kitchen are developed for high altitude at 5,280 feet. See FAQs for adjusting to higher or lower elevations.
Equipment
- Stand Mixer with Paddle Attachment
- Large Roasting Pan
- 9 Inch Round Cake Pan (OR wide, heavy duty aluminum foil)
Ingredients
Crust
- 2 cups finely crushed graham cracker crumbs (about 9 oz / 17 full graham cracker "sheets")
- 2 tbsp granulated sugar
- ¾ tsp coarse Kosher salt (if using table salt, use half the amount)
- ½ cup unsalted butter, melted
Filling
- 1 cup granulated sugar
- 1 vanilla bean, seeds scraped
- 1 ½ lbs (3 blocks) full fat cream cheese, softened to room temperature
- 3 large eggs, room temperature
- 1 cup cold heavy whipping cream
Instructions
Getting Ready
- Preheat the oven to 300 F, and position a rack in the center of the oven. Bring some water to a boil.
- Lightly spray the bottom and sides of an 8-inch springform pan with a 3-inch depth with non-stick baking spray. Line the bottom of the pan with a circle of parchment paper.
- You'll need a 9-inch round cake pan with a 3-inch depth to set the springform pan inside of, to act as a barrier and to keep the water from leaking into the cheesecake. If you don't have a 9-inch round cake pan, wrap the bottom and sides of the springform pan with several layers of wide, heavy duty aluminum foil. The foil needs to be wide enough to reach all the way up to the top edge of the springform pan on all sides, to prevent water from leaking in and ruining the crust.
- You'll also need a large roasting pan, to set the other pans inside of.
Make the Graham Cracker Crust
- In a bowl, combine the crushed graham crackers, sugar and salt. Add the melted butter and stir until evenly moistened.
- Dump the crumbs into the prepared springform pan. Press the crumbs in a firm, even layer against the bottom and up the sides of the pan, nearly to the top. Set aside.
Make the Cheesecake Filling
- In a bowl, combine the sugar with the vanilla bean seeds scraped from a vanilla bean. Use your fingers to rub the vanilla into the sugar, until fragrant.
- In the bowl of your stand mixer fitted with the paddle attachment, beat the vanilla sugar with the softened cream cheese for 3 minutes, on medium speed. Scrape the bowl down.
- Beat in the eggs on medium low speed, one at a time, mixing each for 10 seconds before adding the next. Scrape the bowl down and make sure the mixture is perfectly smooth, with no lumps of cream cheese.
- Add the cream, and mix just until smooth and combined.
- Pour the batter into the crust in your springform pan. Lightly tap the pan against the counter, then use a toothpick to pop any air bubbles that rise to the surface.
- Set the springform pan inside the cake pan, then set both pans inside the roasting pan. Add boiling water to the roasting pan, so that it comes halfway up the side of the cake pan. Take care not to pour any water into the cake pan or the cheesecake.
Bake the Cheesecake
- Bake the cheesecake on the center oven rack for 80 minutes. Resist the urge to open the oven door to check on the cheesecake until it's baked for at least an hour. At around 80 minutes, the top of the cheesecake should look more matte than shiny, and if you give the pan a slight shake, the edges should appear to be set while the center will still be wobbly.
- Turn the oven off, close the oven door again, and leave the cheesecake in the steamy oven for another 60 minutes to gradually cool down and finish baking.
- Take the cheesecake out of the oven, remove the pan from the water bath, and set it on a cooling rack. The center of the cheesecake will still be a bit wobbly. Please see this YouTube Short video that I created to see exactly what my cheesecake looked like at this point.Take a sharp knife and run it around the sides of the pan to loosen the crust from the pan. It's important to do this, because as the cheesecake cools, it can shrink a little. Loosening the crust from the pan will help to prevent the cheesecake from cracking as it cools and shrinks.
- Let the cheesecake cool at room temperature for 2 hours.
Chill the Cheesecake
- Now set the cheesecake in the refrigerator to let it chill for 5-6 hours before serving.
- Since cheesecake needs so long to cool and chill, you should bake it first thing in the morning, if you're planning on serving it that same evening. Otherwise, you can bake it in the afternoon/evening, then let it chill overnight.
Serve the Cheesecake
- Loosen the collar from the pan to unmold the cheesecake from the pan. If you lined the bottom of the pan with parchment paper, it should be easy to slide a cake lifter or spatula gently between the paper and the pan, in order to transfer the cheesecake to a serving plate.
- Serve the cheesecake with your favorite toppings, on the side, or right on top.

Do I make the same recipe adjustments for higher altitude for cheesecake as I do for sponge cakes?
You won’t need to adjust the ingredients at all if you’re at a higher altitude. With cheesecake, it’s more about the method of baking it slowly and gently in a water bath and not overmixing the batter. Good luck!
Worked perfectly, thank you so much! It’s been years since I’ve made a cheesecake that didn’t crack in the middle, I’m so excited!
I’m so glad you love it! I have plans to work on a chocolate version soon, too.
Have you ever tried this with lactose free cream cheese? Not the vegan stuff, just lactose free.
I have not.
The ingredient list says 4 eggs but the filling ingredient list calls for 3 eggs. Can you provide clarification? I live at 8600 ft and am excited to try this recipe 🙂
Thank you!
I’m not sure I understand your question. The recipe card states 3 eggs. There’s also an option to scale the recipe up to a larger sized pan in the FAQ section.
The fat daddios 8 inch springform will not fit inside a 9inch cake pan, because the bottom of the springform is 11inches. Keep that in mind if you are using this product. You need a springform that is the same diameter on the top as it is on the bottom.
That’s a good point, thanks! The interior dimensions are the same, but not the outside. Fat Daddios does have some cheesecake pans I also linked to, though, that would fit inside a 9 inch cake pan, since they don’t have the wide base.
Fantastically smooth and gorgeous cheesecake. Denver baker
Loved this recipe! I make cheesecakes a few times a year, but when I found your website, had to try this out. Took it to a dinner, providing lingonberries for the topping, and people loved it. Thanks!
The flavor was fantastic and no cracking, but the consistency was more custard like then cheesecake. Any idea what might have been the issue?
Sounds a little under-baked if it wasn’t firm enough.