
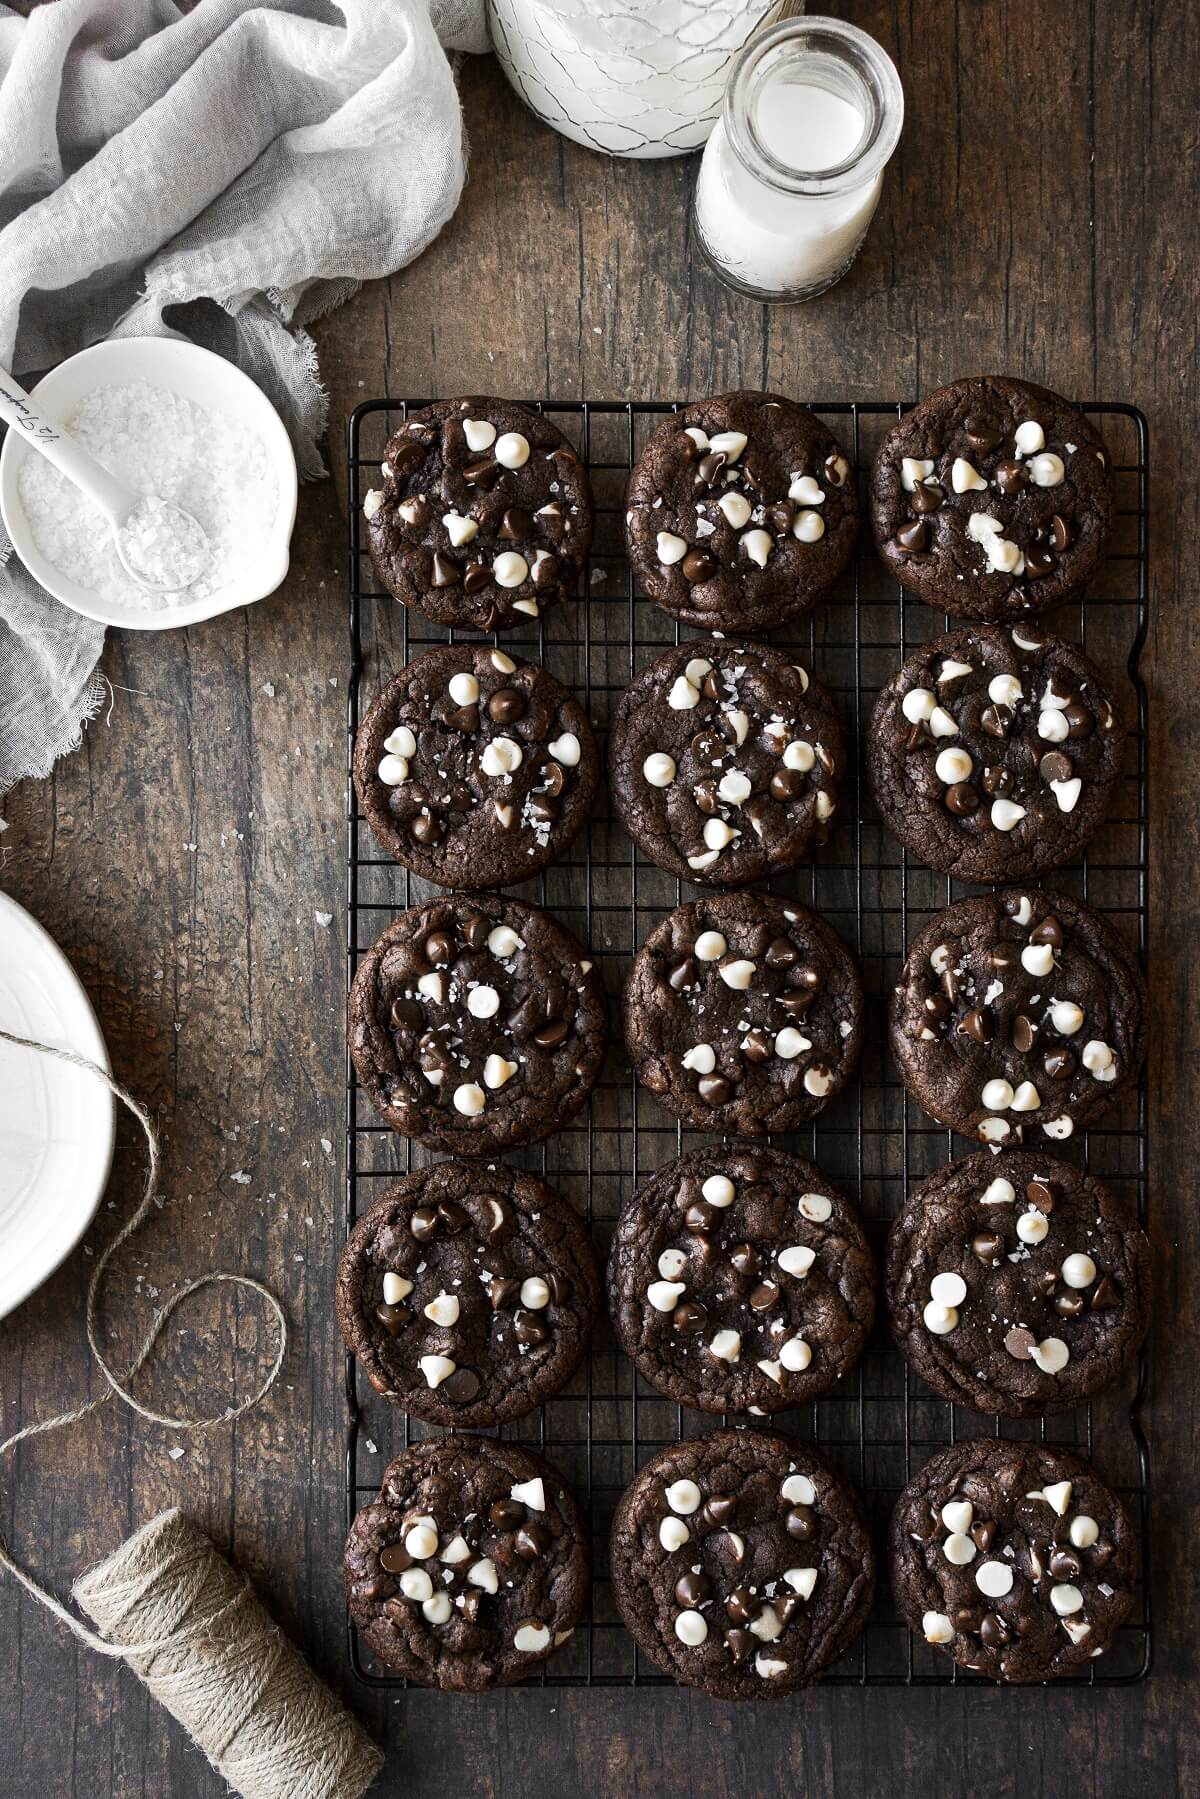
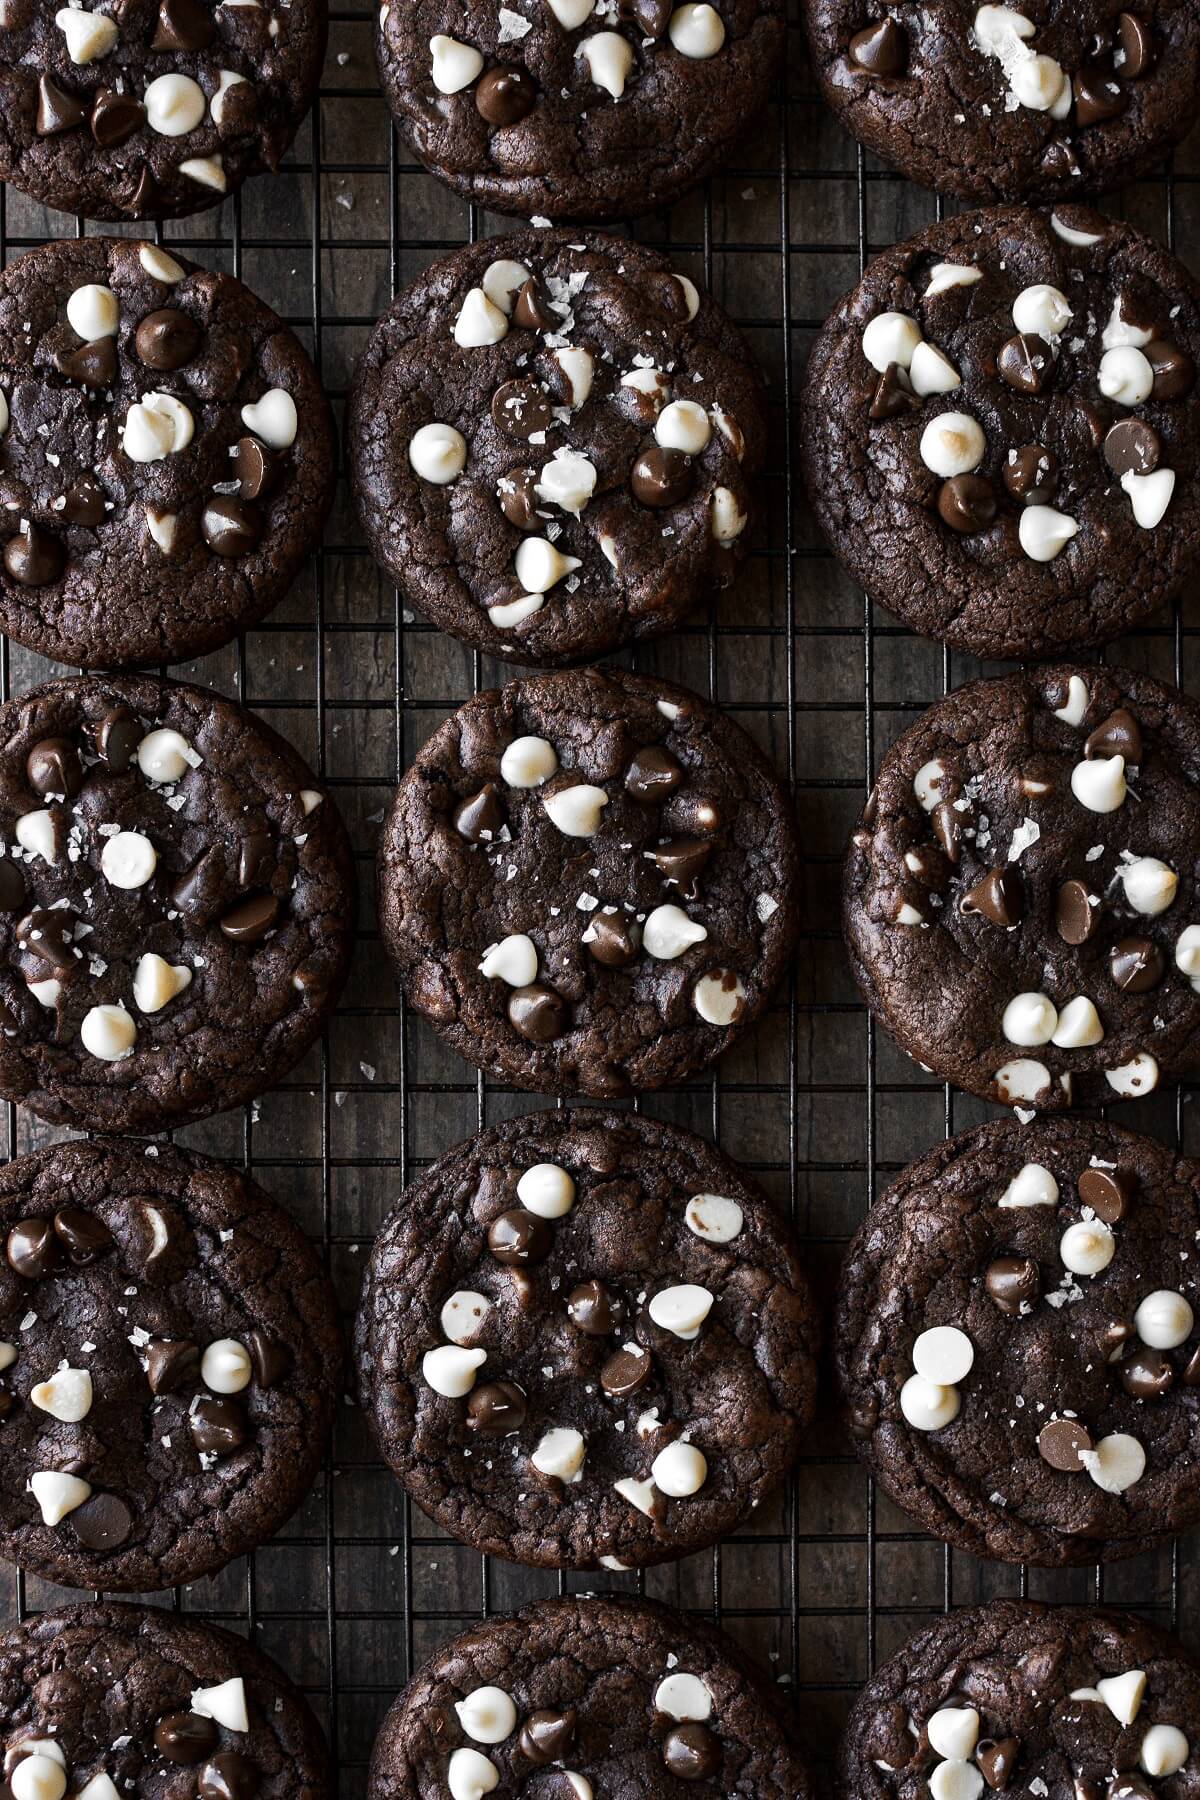
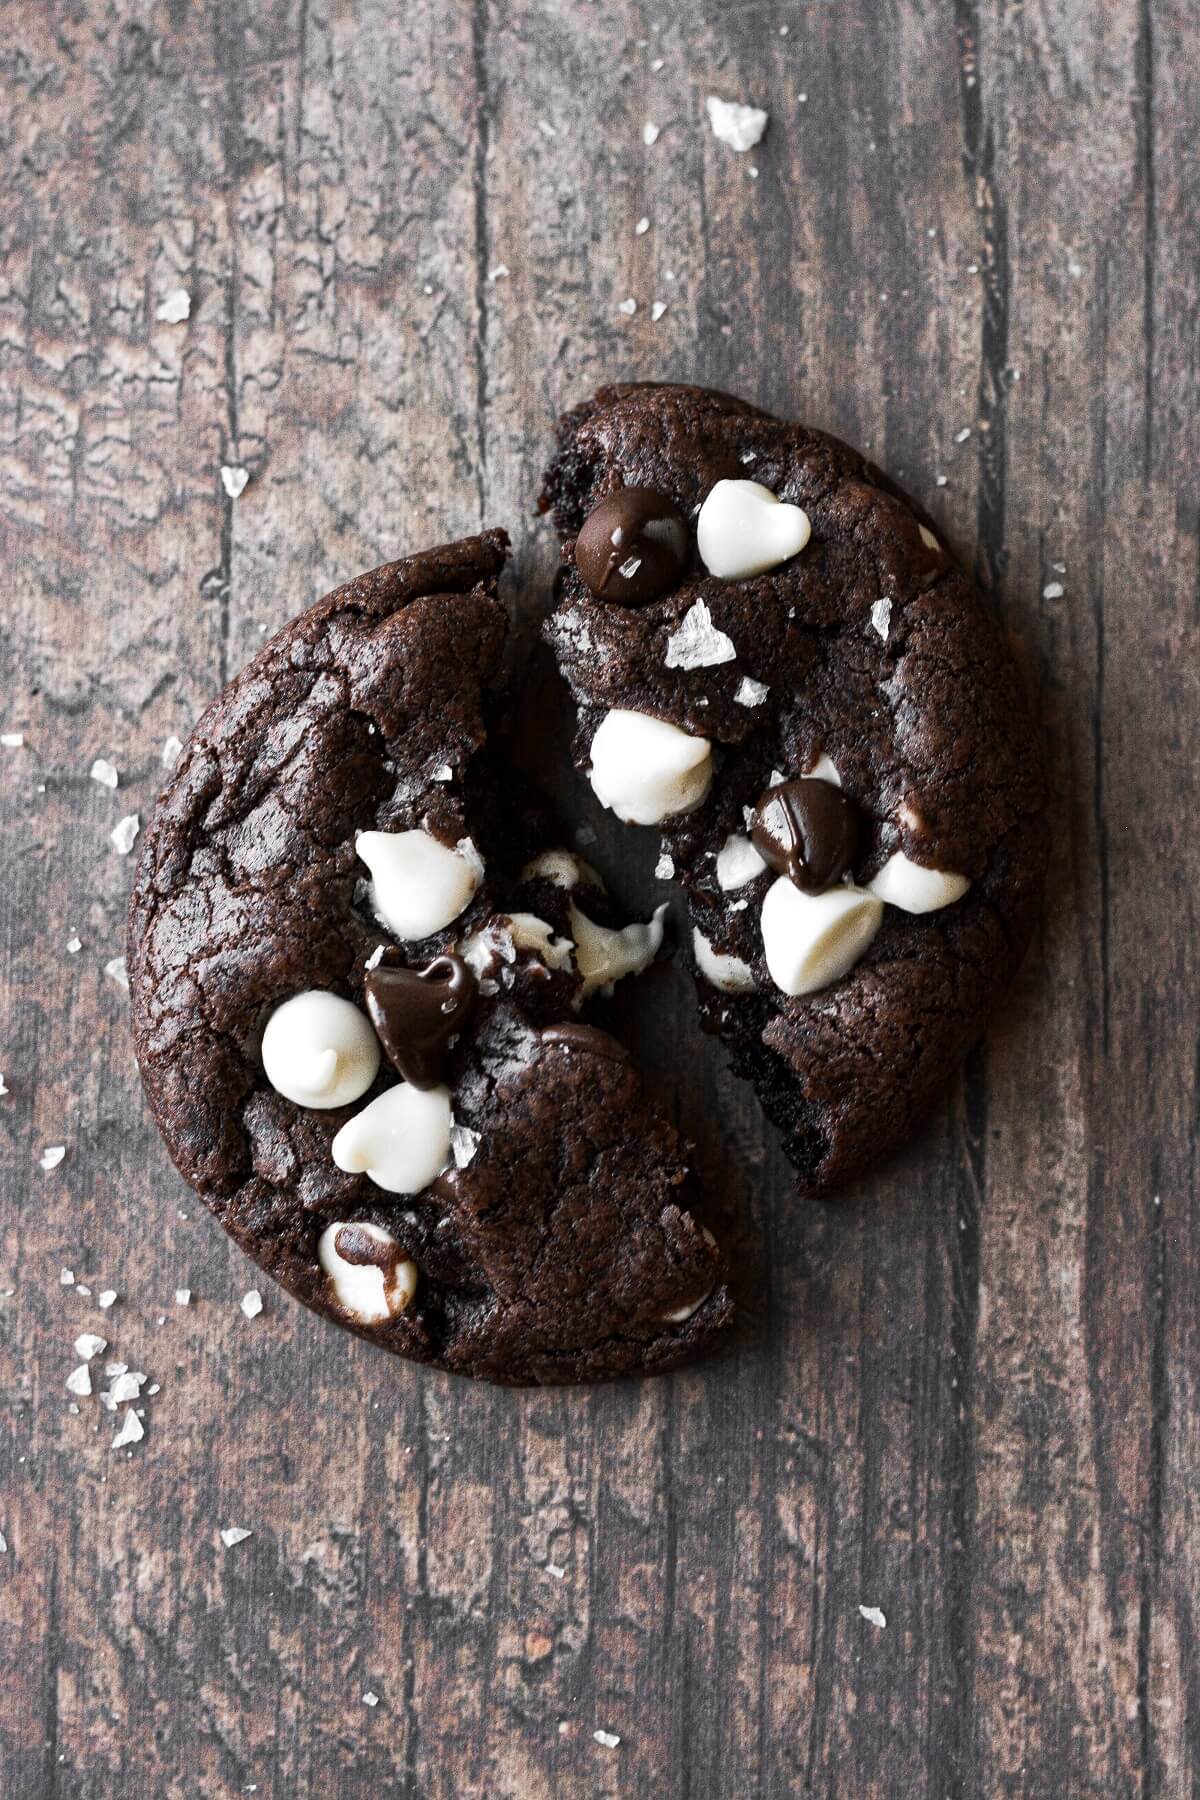
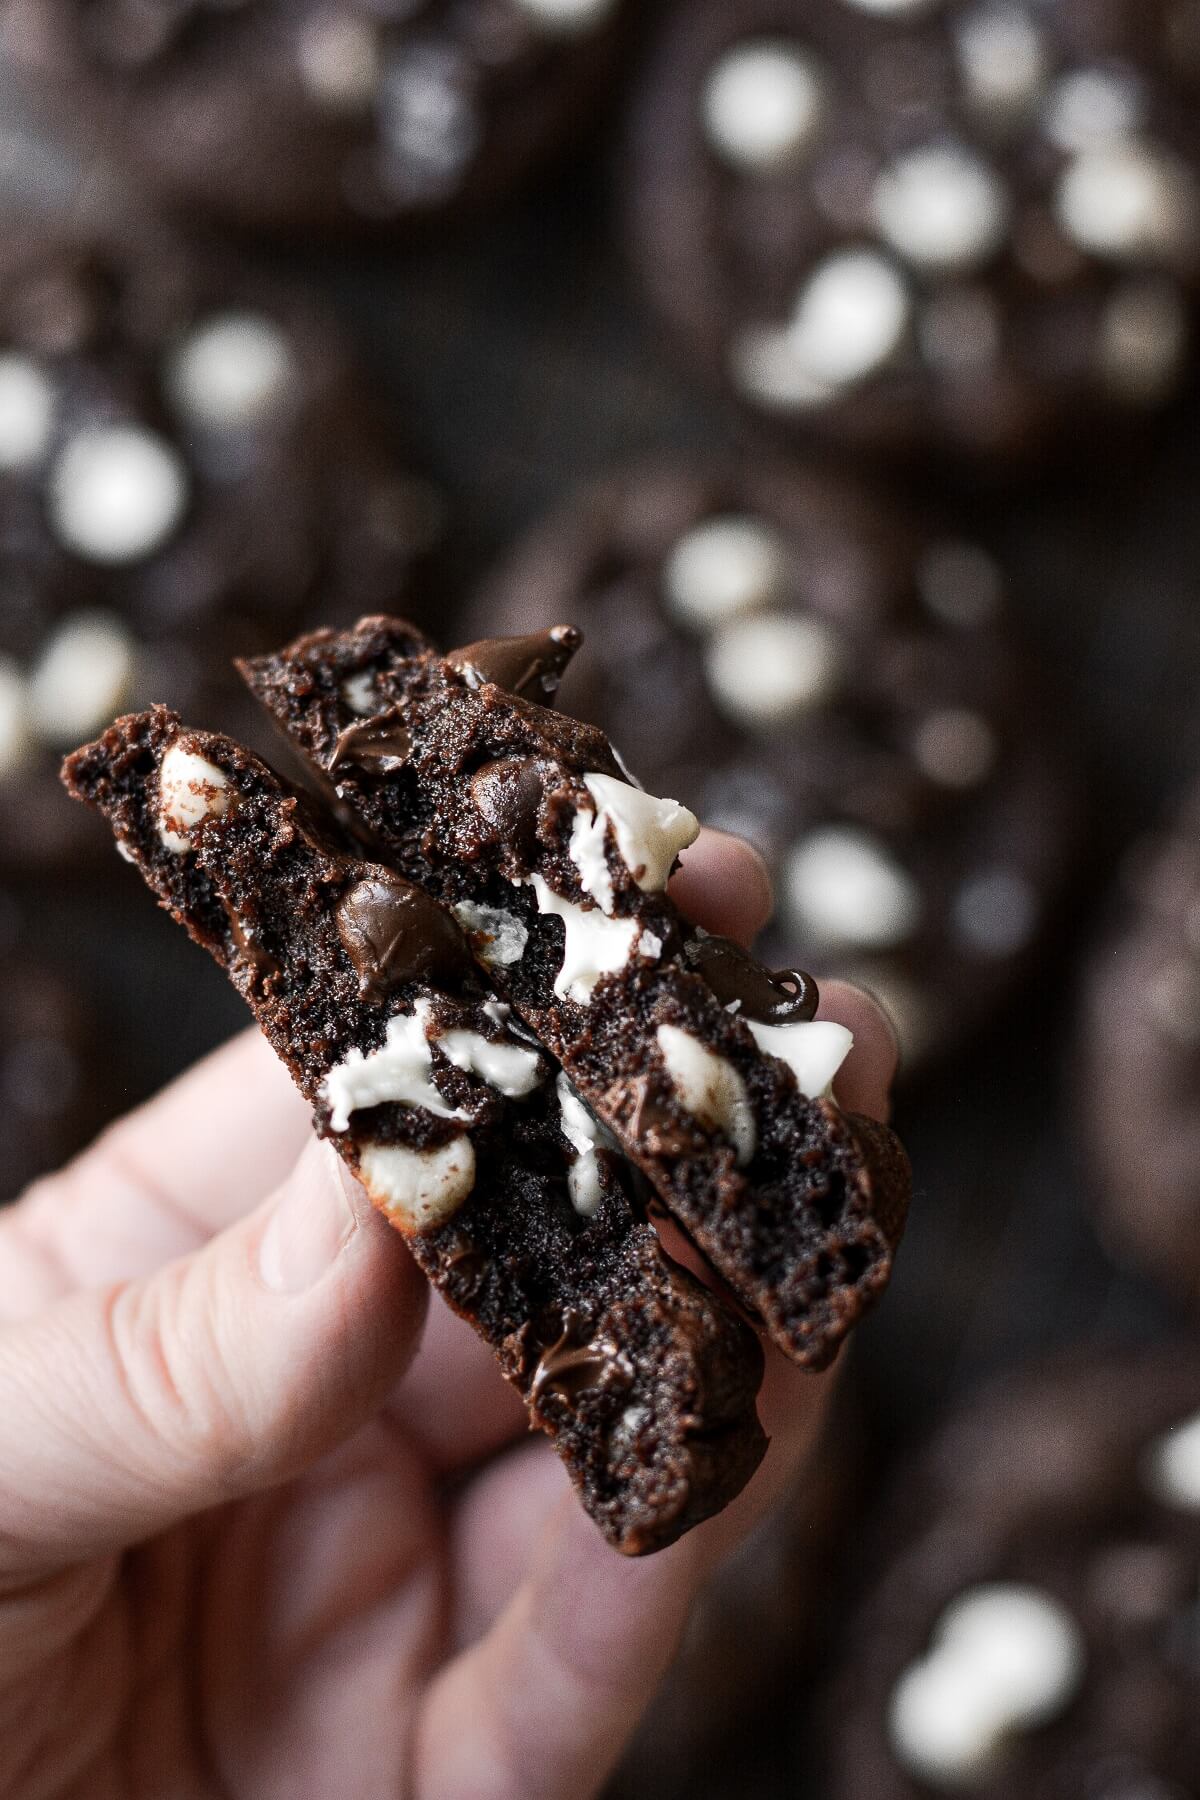
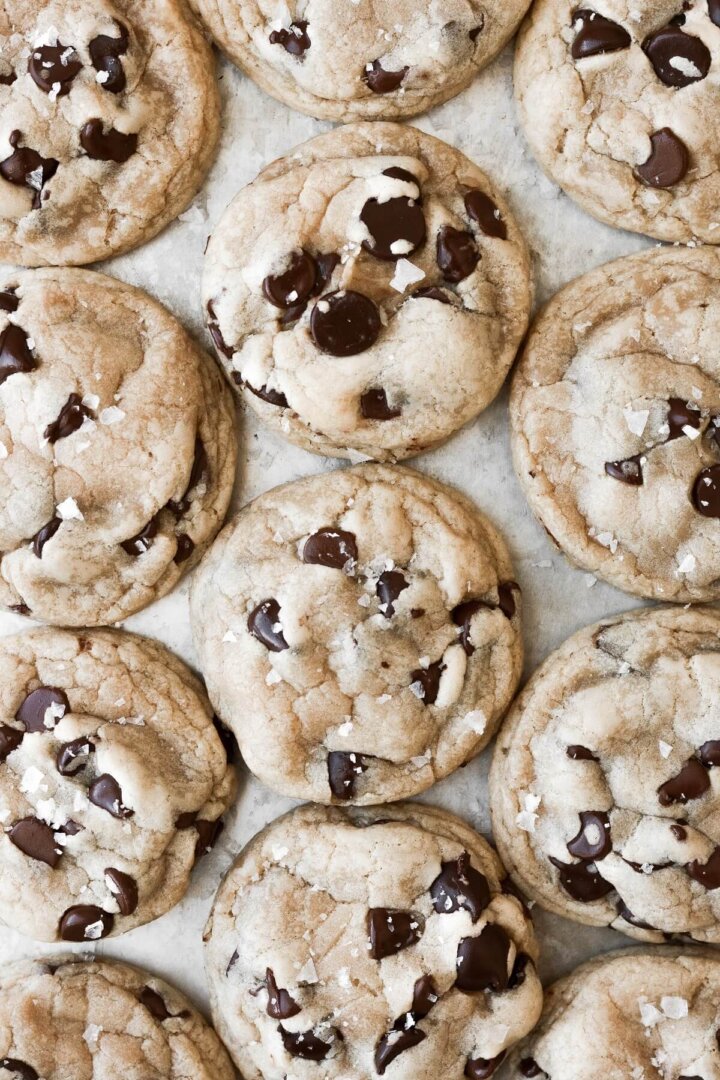
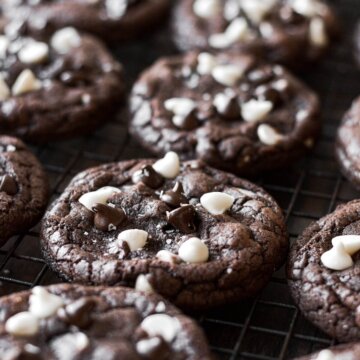
These thick and chewy high altitude chocolate white chocolate chip cookies have a rich chocolate flavor from Dutch-processed cocoa powder, and they’re loaded with both dark and white chocolate chips. They have crisp edges with soft and chewy, brownie-like centers. White chocolate chips add a nice sweetness to balance the bitterness of the cocoa, and a sprinkling of flaky salt is the perfect finish. This is a quick and easy, high altitude chocolate cookie recipe, with no chill time and no mixer required!
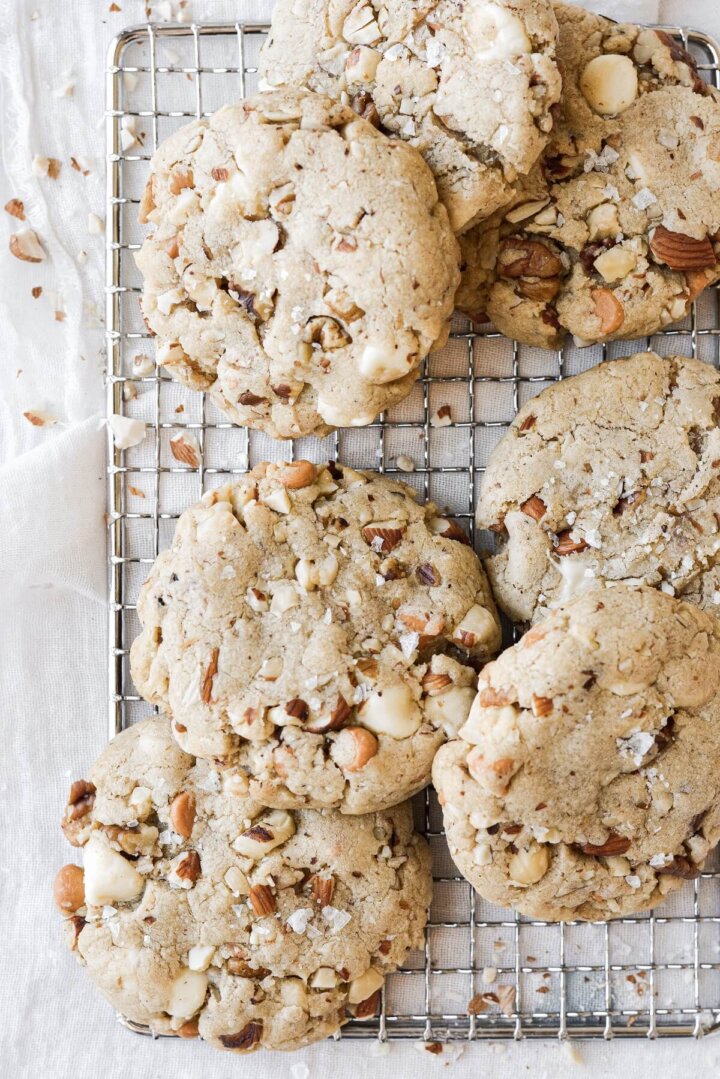
Looking for more high altitude cookie recipes? You’ll love these classic soft and chewy chocolate chip cookies, brown butter chocolate chip cookies, and nutty white chocolate chip butterscotch cookies.

This site contains affiliate links. As an Amazon associate, I earn from qualifying purchases. This means that I may make a small commission if you purchase a product using those links. This in no way affects my opinion of those products and services. All opinions expressed on this site are my own.
Why You’ll Love These Cookies
Super Quick and Easy. With no mixer and no chill time required, you can enjoy hot, delicious chocolate cookies studded with white chocolate chips in under an hour.
Perfect for Gifting. Wrap up a pretty treat box full of these cookies for the chocolate lover in your life!
Tested for High Altitude. I carefully test all of my recipes at Denver’s high altitude of 5,280 feet to avoid common pitfalls like flat cookies that spread all over the baking sheet. These cookies are perfectly thick, soft and chewy!
See the recipe card at the end of the post for the full ingredients list and instructions.
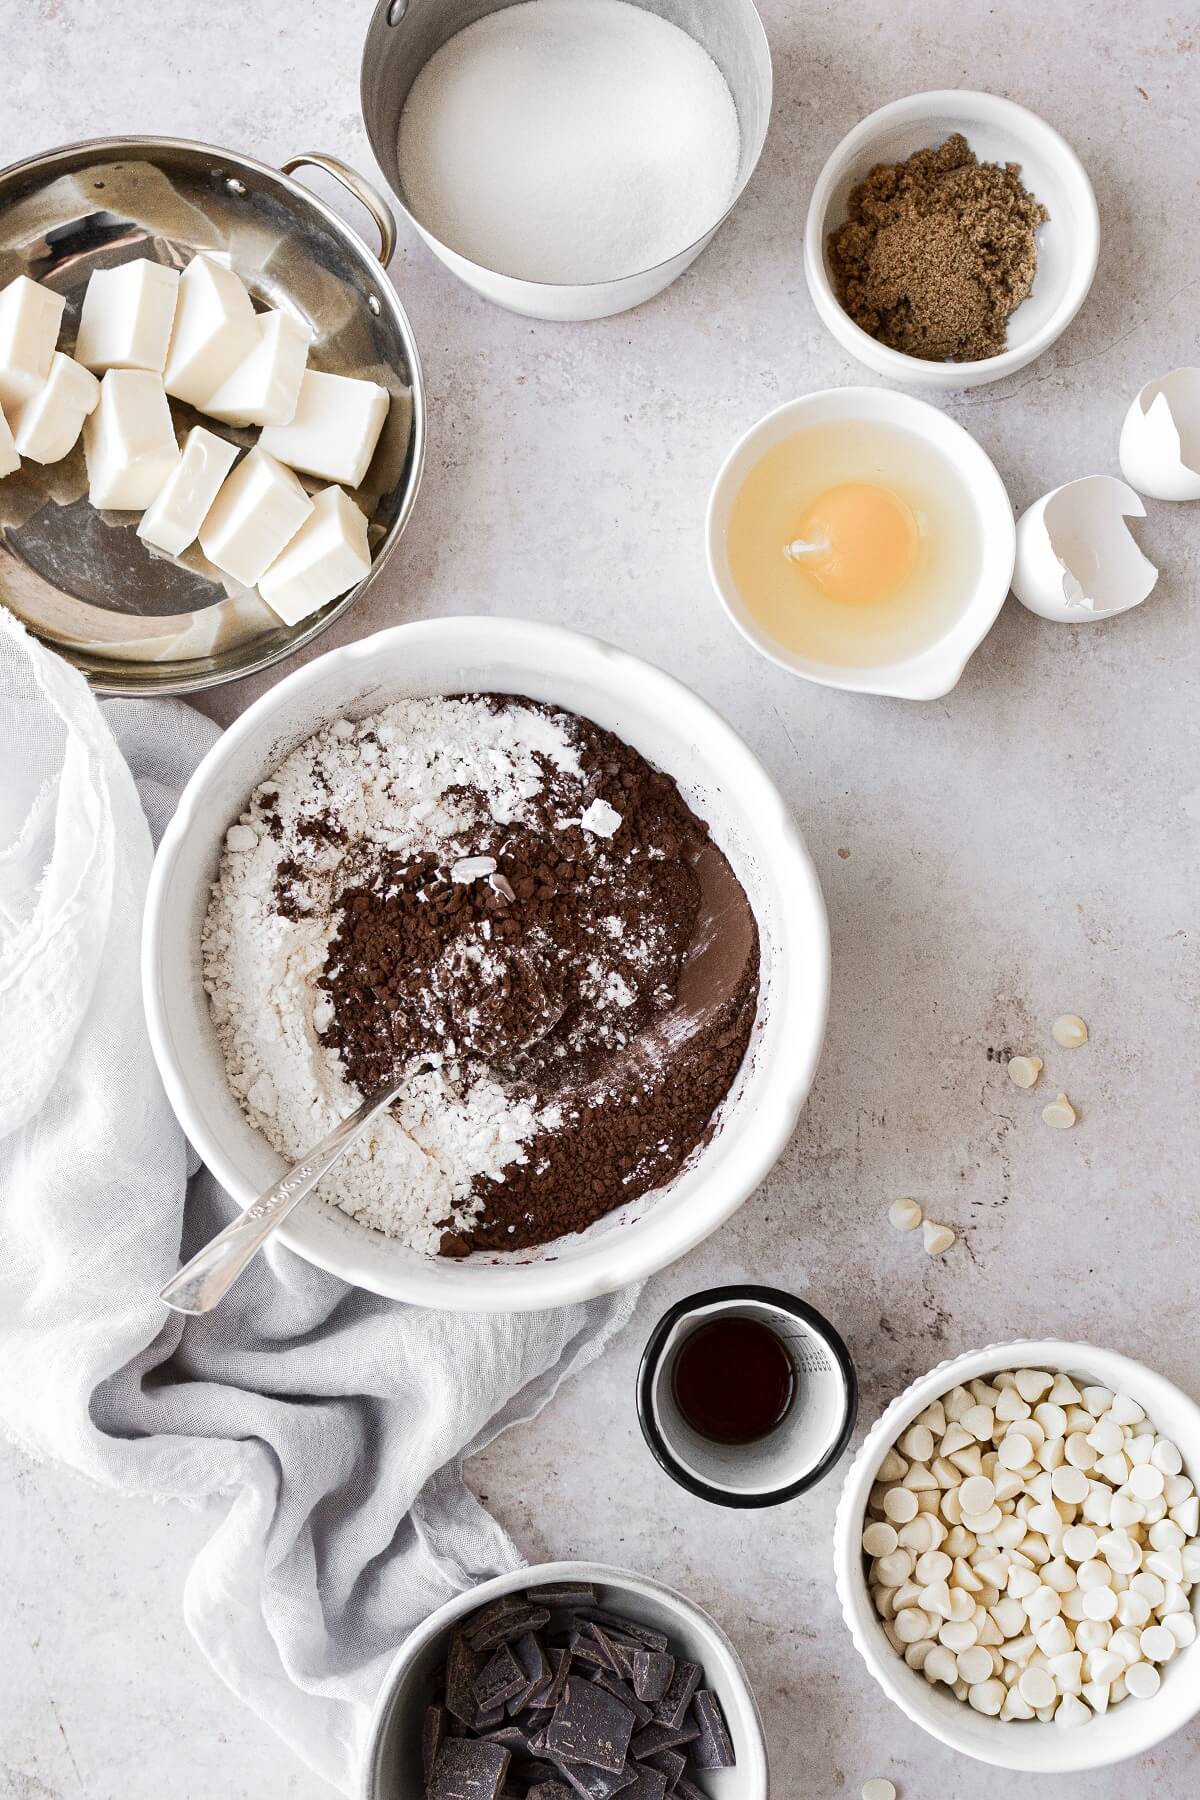
Ingredients
- Butter. I use unsalted butter in all of my baking. If you use salted butter, be sure to omit the extra salt in the recipe.
- Sugar. Granulated sugar, as well as a little brown sugar, gives the cookies sweetness and moisture.
- Vanilla Extract. Flavor.
- Eggs. Eggs give cookies structure and strength so that they’re chewy, rather than crumbly. Since cocoa powder tends to absorb moisture and dry out cookies, an extra egg yolk provides added moisture and a chewy texture.
- Flour. All-purpose flour gives the cookies structure and strength. A perfect flour-sugar-liquid ratio ensures the cookies spread just enough as they bake, without spreading too much.
- Cocoa Powder. Use a good quality, Dutch-processed cocoa powder for the best flavor and a rich, dark color.
- Corn Starch. Gives the cookies a more chewy, tender texture.
- Baking Soda. Leavens the cookies so they aren’t too flat.
- Salt. Balances the sweetness of the white chocolate chips and enhances the flavor of the chocolate.
- Chocolate Chips. Both white and dark chocolate chips add nuances of flavor.
Instructions
Make the cookie dough.
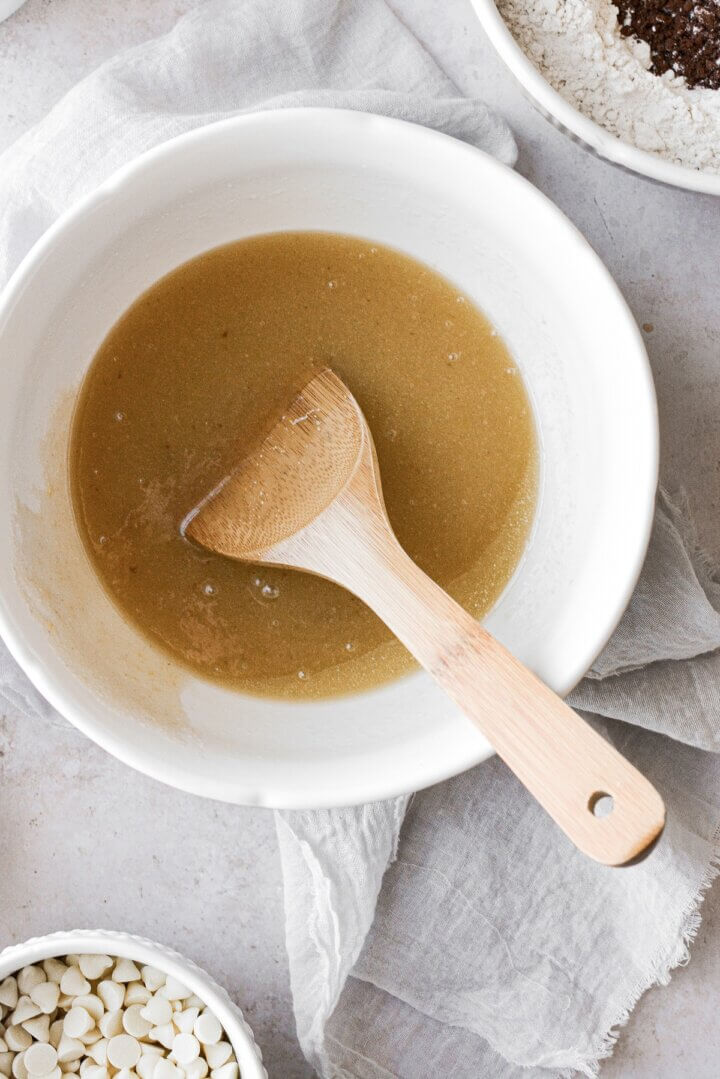
- In a saucepan, melt the butter over medium heat, then remove from the heat.
- Pour the melted butter into a large bowl. Add the granulated sugar, brown sugar, vanilla extract, egg and egg yolk, and whisk until smooth.
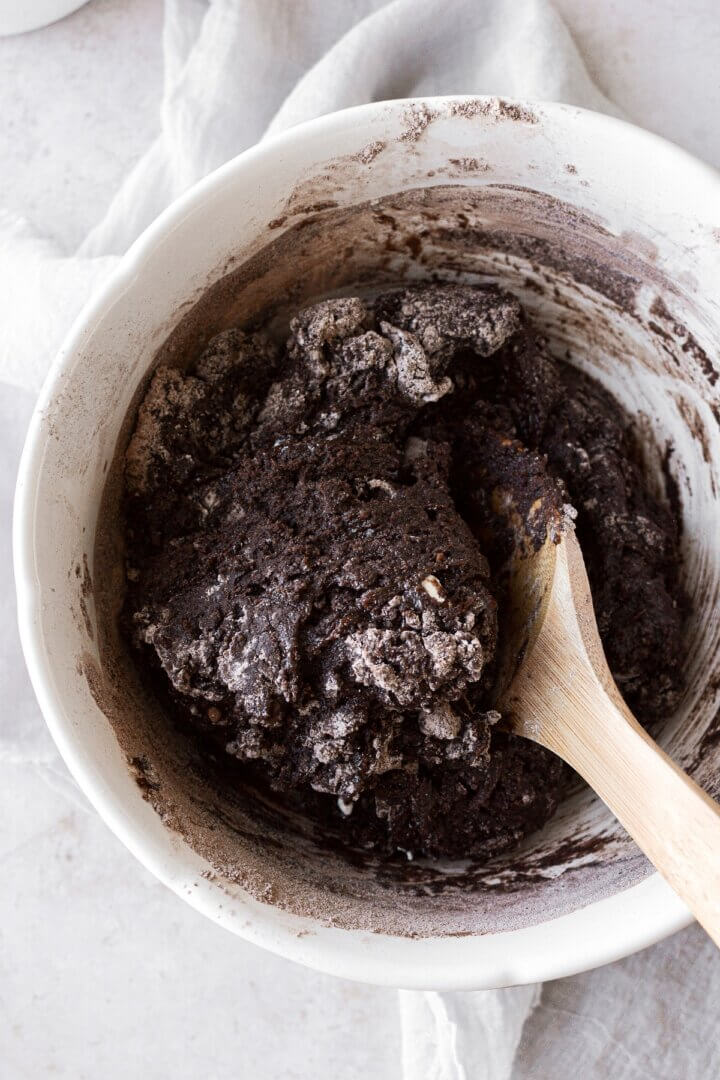
- In a separate bowl, combine the flour, cocoa powder, corn starch, baking soda and salt.
- Add the dry ingredients to the liquid ingredients, using a wooden spoon to stir the dough together just until all the flour is incorporated. Let cool for 10 minutes.
TIP: Since you’re making the cookie dough with hot, melted butter, the dough needs to cool before you add the chocolate chips, or the chips can melt and make a mess.
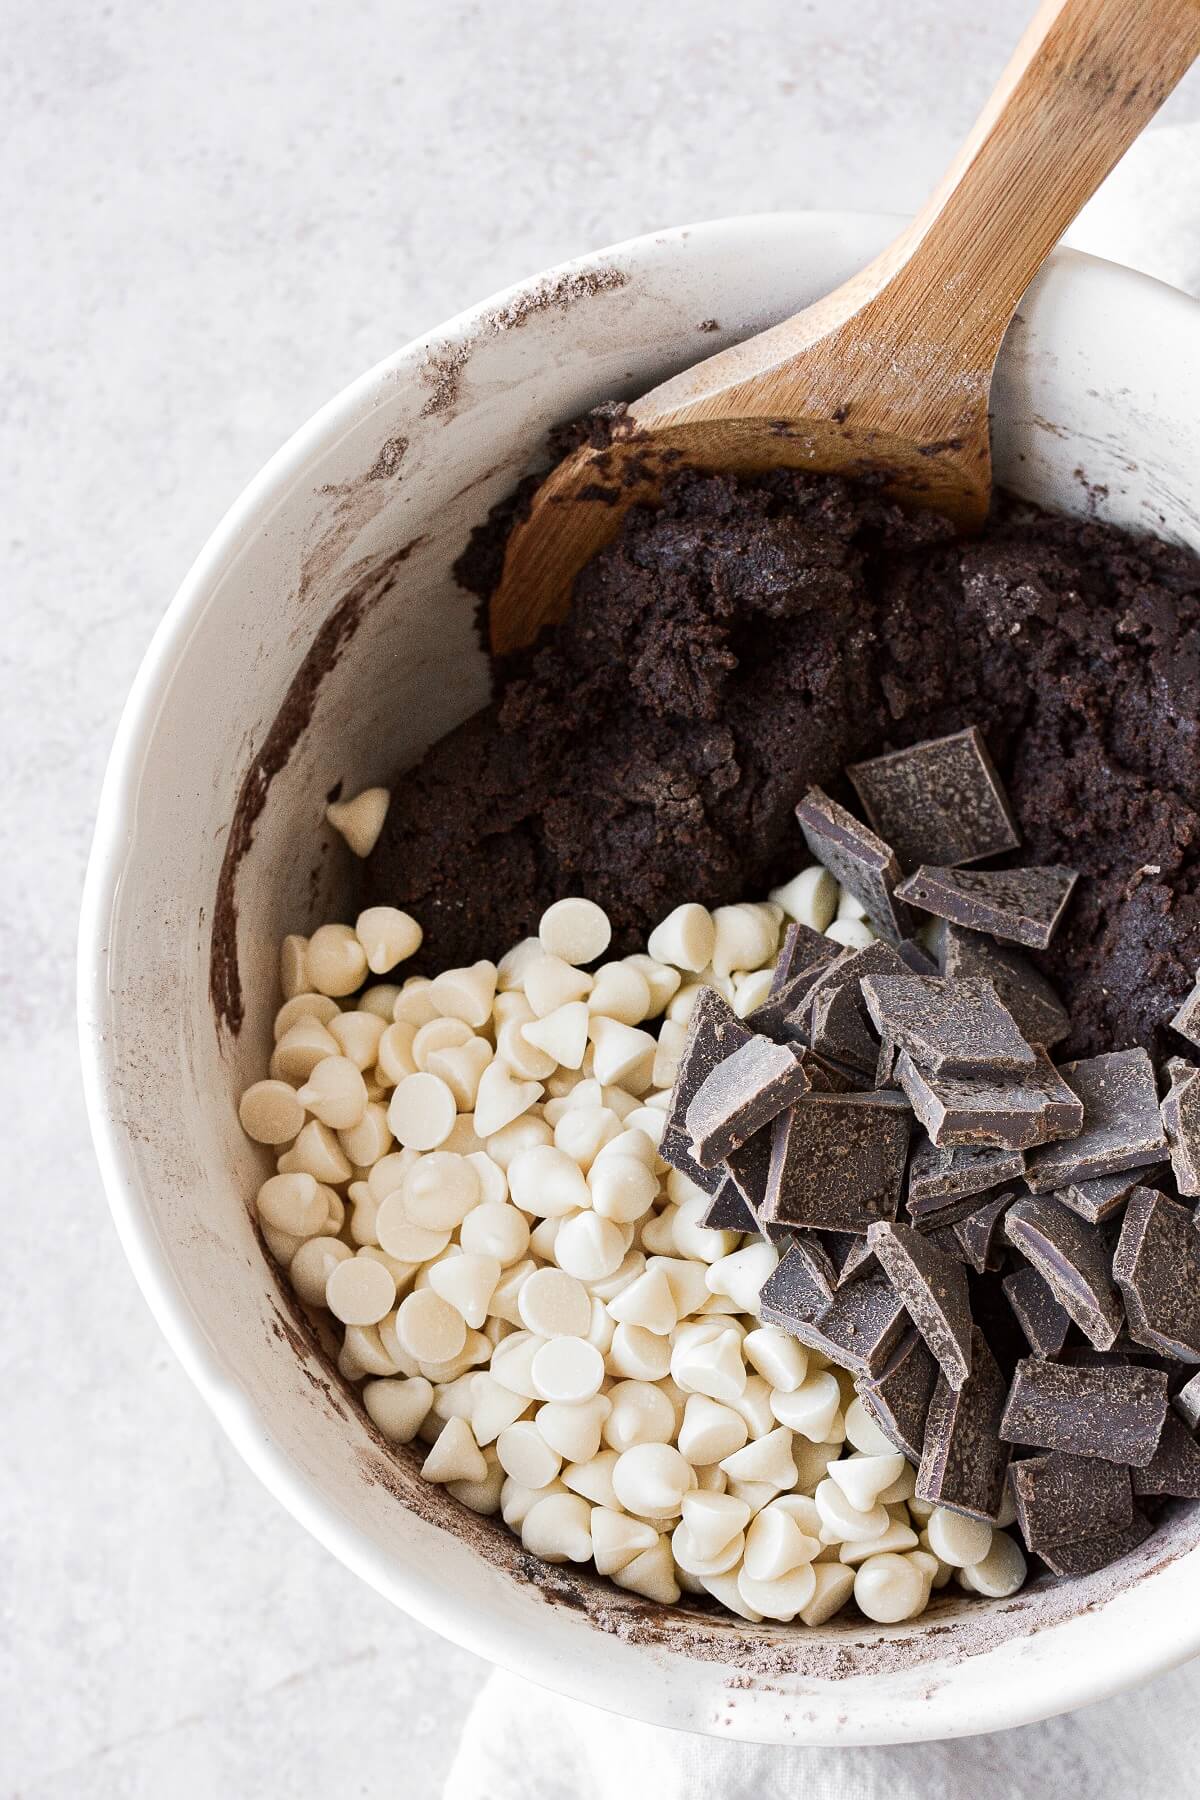
Add the chocolate chips.
- Stir the white and dark chocolate chips into the cooled dough. It will be stiffer now than before, and you may need to use your hands to get all the chocolate chips worked in.
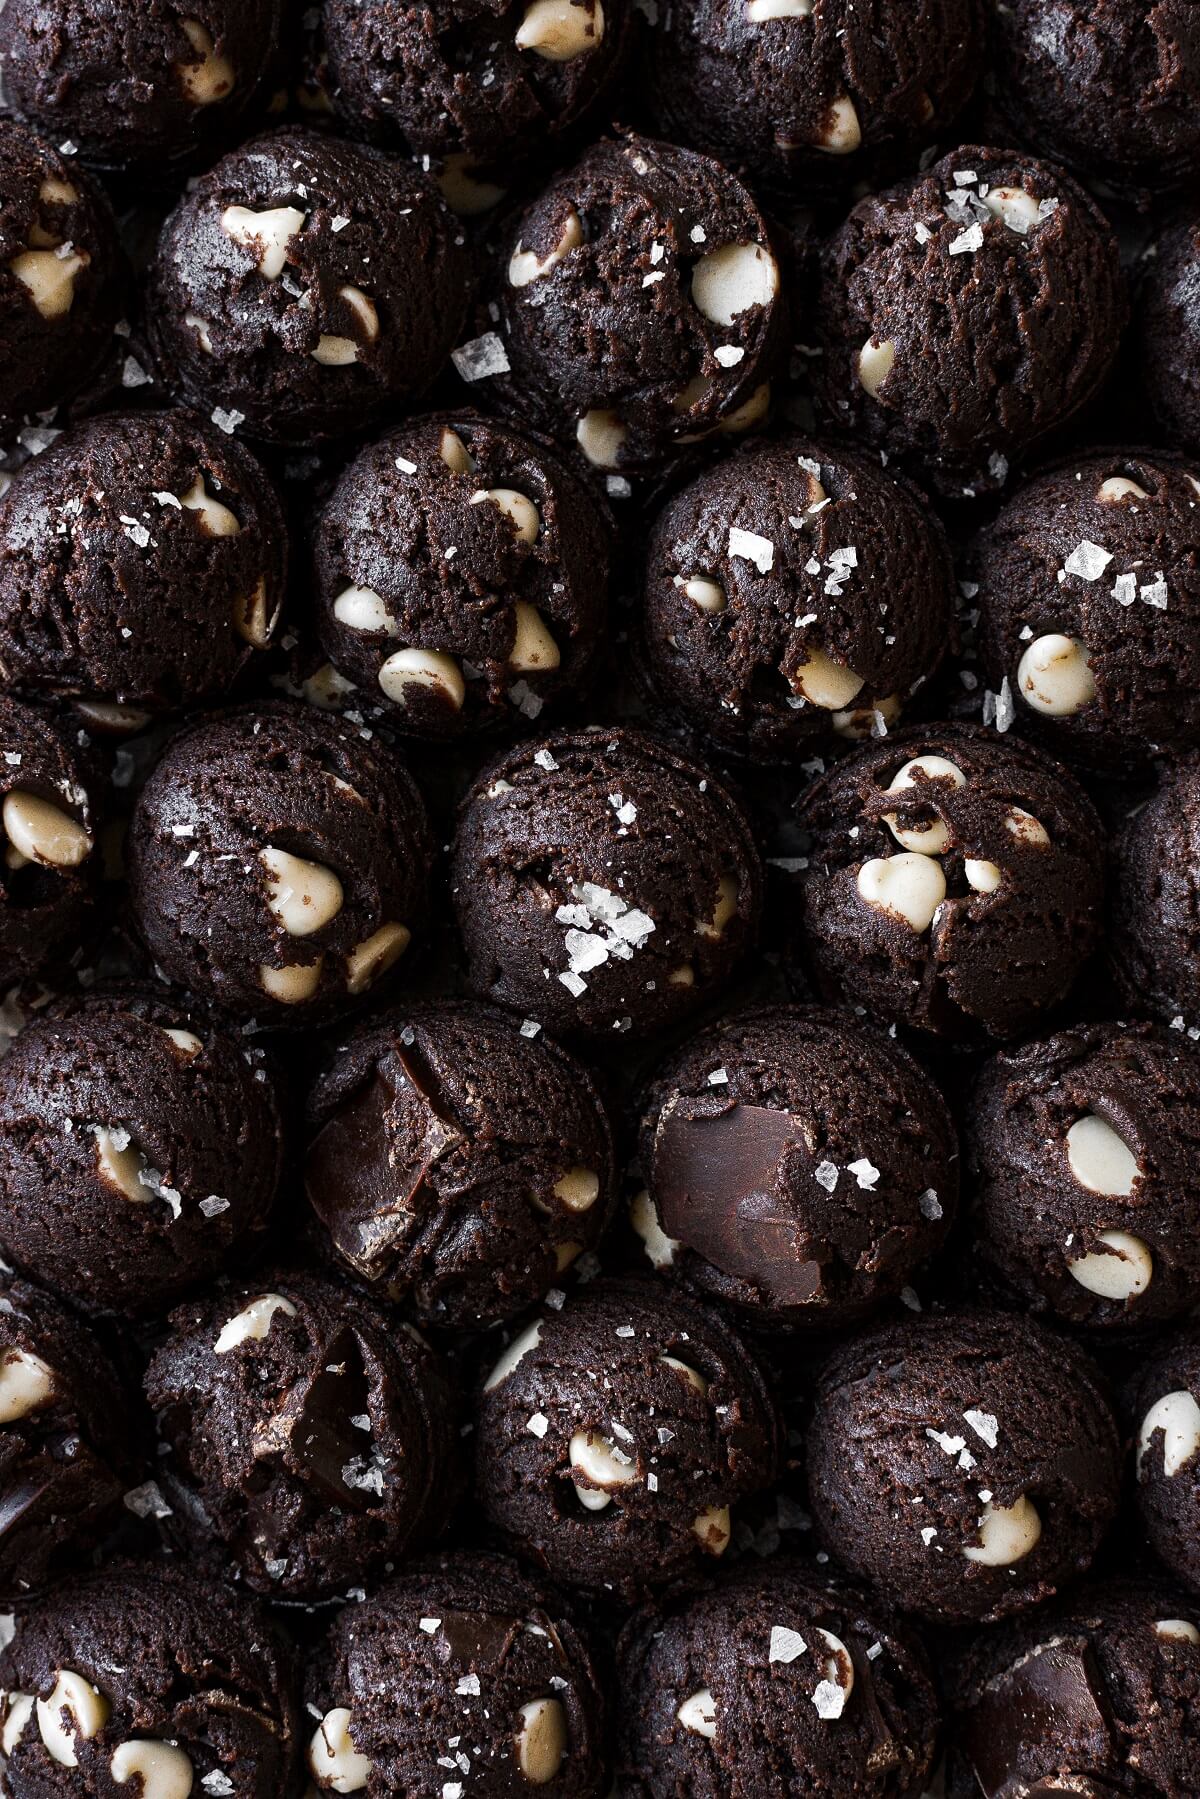
Portion the dough and bake the cookies.
- Use a cupcake/ice cream scoop with a release lever to portion the dough into 18 equal portions.
- Roll each portion of cookie dough into a ball, then flatten slightly between your hands into round disks about 1/2-3/4 inch thick. Cover the dough with a piece of plastic wrap to keep it moist while waiting to bake.
TIP: Do not over-bake these cookies. Chocolate cookies become very dry and crumbly when they’re over-baked.
- Preheat the oven to 350 F, and position a rack in the center of the oven. Line a large baking sheet with parchment baking paper.
- Bake 6 cookies at a time, leaving three inches between each on the baking sheet. Bake the cookies for 8 minutes. They should be just set around the edges, with the centers still underdone. Cool on the pan for 2 minutes, then transfer to a cooling rack to cool completely. If you like, add a few more chocolate chips to the tops of the hot cookies, for a pretty finish.
- Finish baking the remainder of the cookie dough. Cool the cookies completely, then store in an airtight container at room temperature for up to 3 days, or in the freezer for up to 3-6 months.
TIP: For perfectly round cookies, immediately after taking the pan of cookies out of the oven, use a round cookie cutter (one that’s larger than the baked cookies), and “scoot” it around the hot cookies. This pulls in the uneven edges for a beautifully round cookie. You have to do this quickly, before the edges fully set.
Be sure to read all of my BAKING FAQs where I discuss ingredients, substitutions and common baking questions, so that you can be successful in your own baking!
Frequently Asked Questions
How do you make your cookies perfectly round?
For perfectly round cookies, immediately after taking the pan of cookies out of the oven, use a round cookie cutter (one that’s larger than the baked cookies), and “scoot” it around the hot cookies. This pulls in the uneven edges for a beautifully round cookie. You have to do this quickly, before the edges fully set.
What kind of cocoa powder did you use?
I used Rodelle Dutch-processed cocoa powder.
Would this recipe work with nuts?
Absolutely. I’d recommend adding a handful of chopped macadamia nuts.
How long should I bake smaller cookies?
This recipe makes 18 medium/large cookies. You can make smaller cookies, but I don’t recommend it, as the chocolate cookie dough dries out faster when you bake small cookies.
Why didn’t my cookies spread out when I baked them?
You didn’t chill the dough, right? This is a no-chill recipe, and chilling the dough before baking will keep the cookies from spreading. You can certainly refrigerate or freeze the dough, but you should let it come to room temperature before baking.
Did you flatten the dough balls as instructed? If you don’t flatten the balls, the cookies may not spread very much as they bake.
Can I make this recipe if I don’t live at high altitude?
You’ll probably need to make a few adjustments, such as decreasing the flour a little and adding more sugar. I suggest reading this article for guidance on adjusting ingredients for high altitude.
You Might Also Like
Please check out my Amazon Shop for a curated collection of some of my favorite cake pans from trusted brands, baking tools, ingredients, pretty things and fashion finds. I recommend products that I buy and use every day!
Did you love today’s recipe? Please rate the recipe and let me know in the comments what you thought! Also, be sure to follow Curly Girl Kitchen on Instagram, and tag me when you try one of my recipes so I can see all your delicious creations!
High Altitude Chocolate White Chocolate Chip Cookies
All recipes on Curly Girl Kitchen are developed for high altitude at 5,280 feet. See FAQs for adjusting to higher or lower elevations.

Ingredients
- ¾ cup unsalted butter
- 1 cup granulated sugar
- 2 tbsp dark brown sugar
- 2 tsp vanilla
- 1 large egg (both yolk and white)
- 1 large egg yolk (save the extra white for another use)
- 2 cups all-purpose flour, spooned and leveled
- 6 tbsp Dutch-processed cocoa powder
- 1 ½ tsp corn starch
- ¾ tsp baking soda
- ¾ tsp coarse Kosher salt (if using table salt, use half the amount)
- 1 cup white chocolate chips (plus a few extra to sprinkle on top)
- ½ cup dark or semi-sweet chocolate chips (plus a few extra to sprinkle on top)
Instructions
- In a saucepan, melt the butter over medium heat, then remove from the heat.
- In a large bowl, whisk together the melted butter with the granulated sugar, brown sugar, vanilla extract, egg and egg yolk, until smooth.
- In a separate bowl, combine the flour, cocoa powder, corn starch, baking soda and salt.
- Add the dry ingredients to the liquid ingredients, using a wooden spoon to stir the dough together just until all the flour is incorporated. Let cool for 10 minutes.Since you're making the dough with hot, melted butter, the dough needs to cool before you add the chocolate chips, or the chips can melt and make a mess.
- Stir the white and dark chocolate chips into the cooled dough – it will be stiffer now than before, and you may need to use your hands to get all the chocolate chips worked in.
- Use a cupcake/ice cream scoop with a release lever to portion the dough into 18 equal portions. Roll each portion of cookie dough into a ball, then flatten slightly between your hands into round disks about 1/2-3/4 inch thick. Cover the dough with a piece of plastic wrap to keep it moist while waiting to bake.
- Preheat the oven to 350 F, and position a rack in the center of the oven. Line a large baking sheet with parchment baking paper.
- Bake 6 cookies at a time, leaving three inches between each on the baking sheet. Bake the cookies for 8-9 minutes. They should be just set around the edges, with the centers still underdone. Do not over-bake these cookies, as chocolate cookies become very dry and crumbly when they're over-baked. Cool on the pan for 2 minutes, then transfer to a cooling rack to cool completely. If you like, add a few more chocolate chips to the tops of the hot cookies, for a pretty finish.TIP: For perfectly round cookies, immediately after taking the pan of cookies out of the oven, use a round cookie cutter (one that's larger than the baked cookies), and "scoot" it around the hot cookies. This pulls in the uneven edges for a beautifully round cookie. You have to do this quickly, before the edges fully set.
- Finish baking the remainder of the cookie dough. Cool the cookies completely, then store in an airtight container at room temperature for up to 3 days, or in the freezer for up to 3-6 months.
Notes
 https://curlygirlkitchen.com/
These are a show stopper. So delicious and pretty. Great texture! Follow the recipe! Take them out at 8 minutes even if you don’t think they are done. Give them 2 minutes on the pan and they are perfect.
Thank you so much for these, and for all the tips and details you include in all your recipes! <3 I scaled this one down to only make 6 instead of 18, and for that reason I substituted salted butter for unsalted + kosher salt. Baked for exactly 8min. Topped with the extra chips when they came out of the oven as you suggested, and I used your (ingenious!) trick for making them perfectly round. And the end result: I almost cried when I tasted them! They're that delicious! 😀
Is there a substitution for the corn starch or do I need to get it? Thank you 🙂
This recipe works best with the addition of the corn starch.