
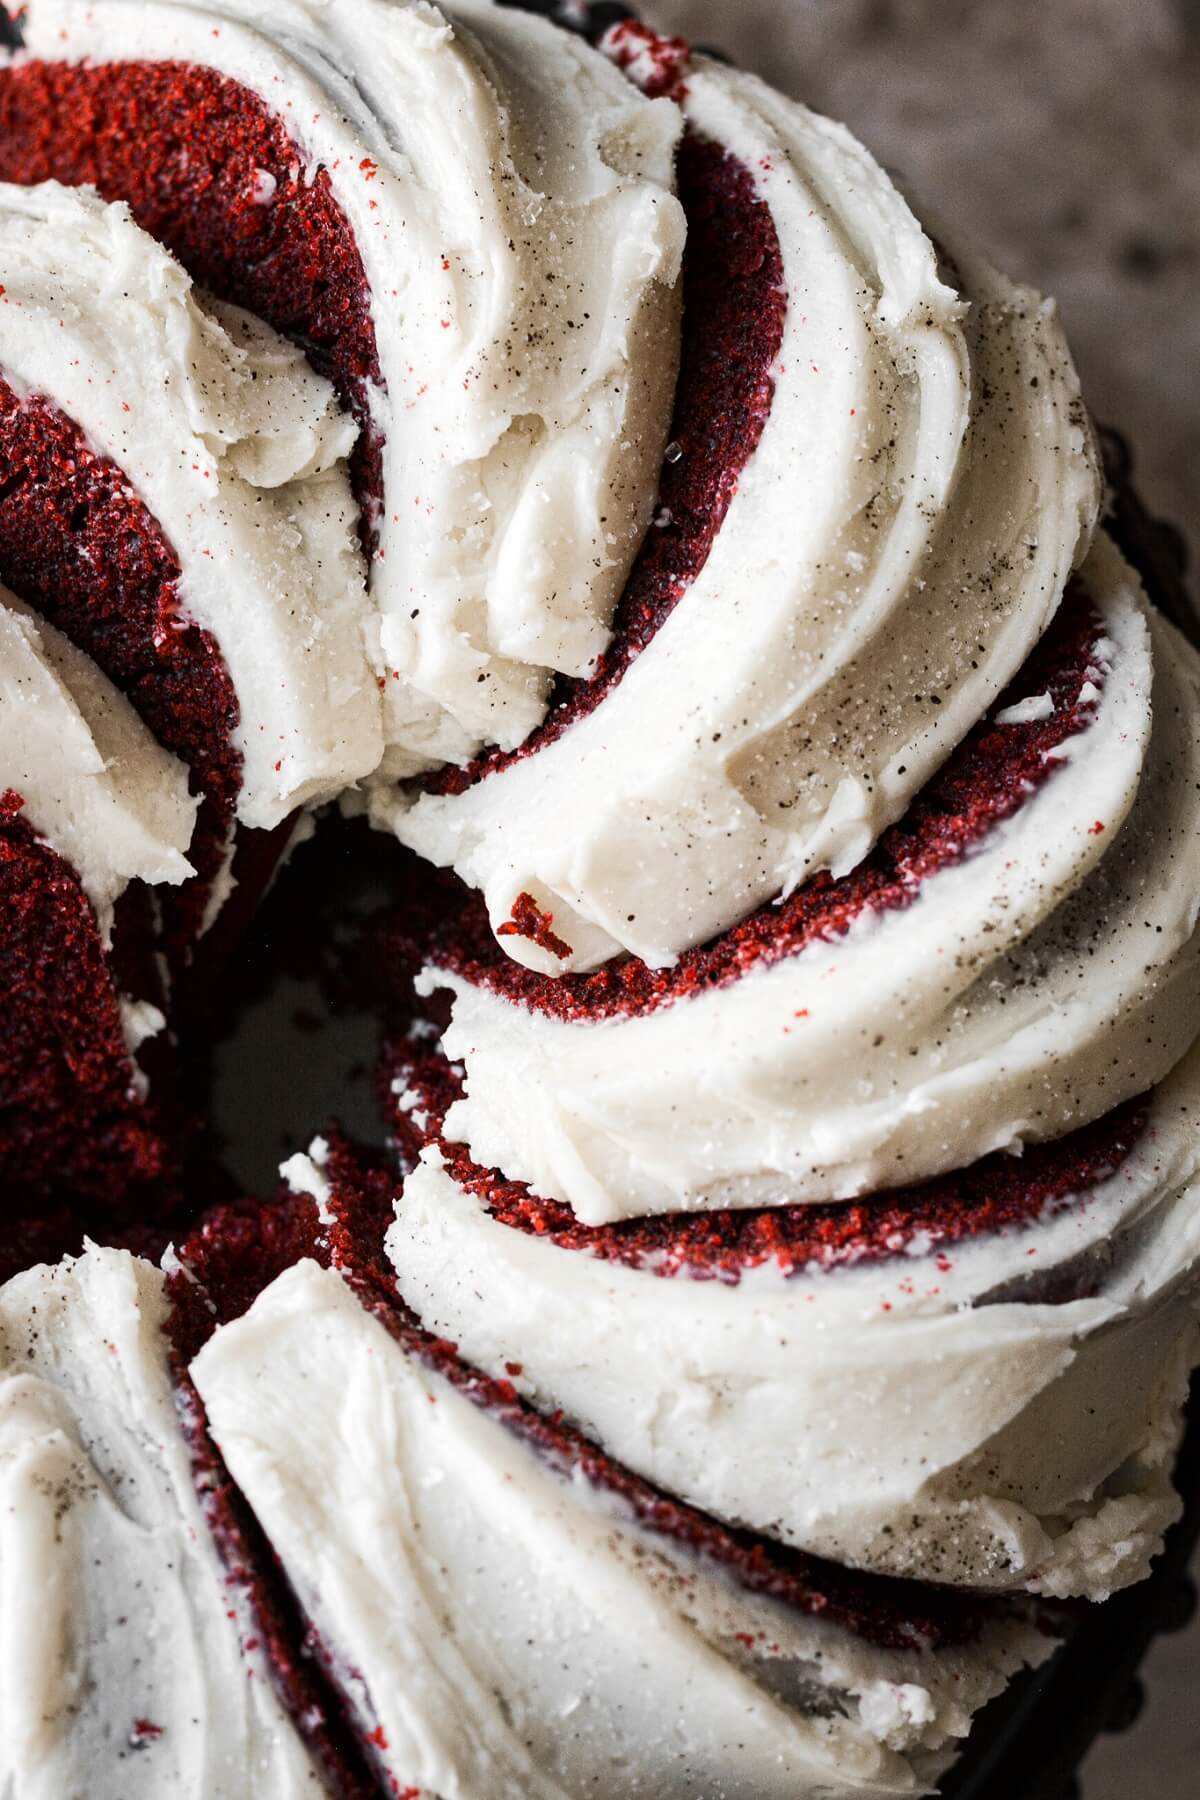
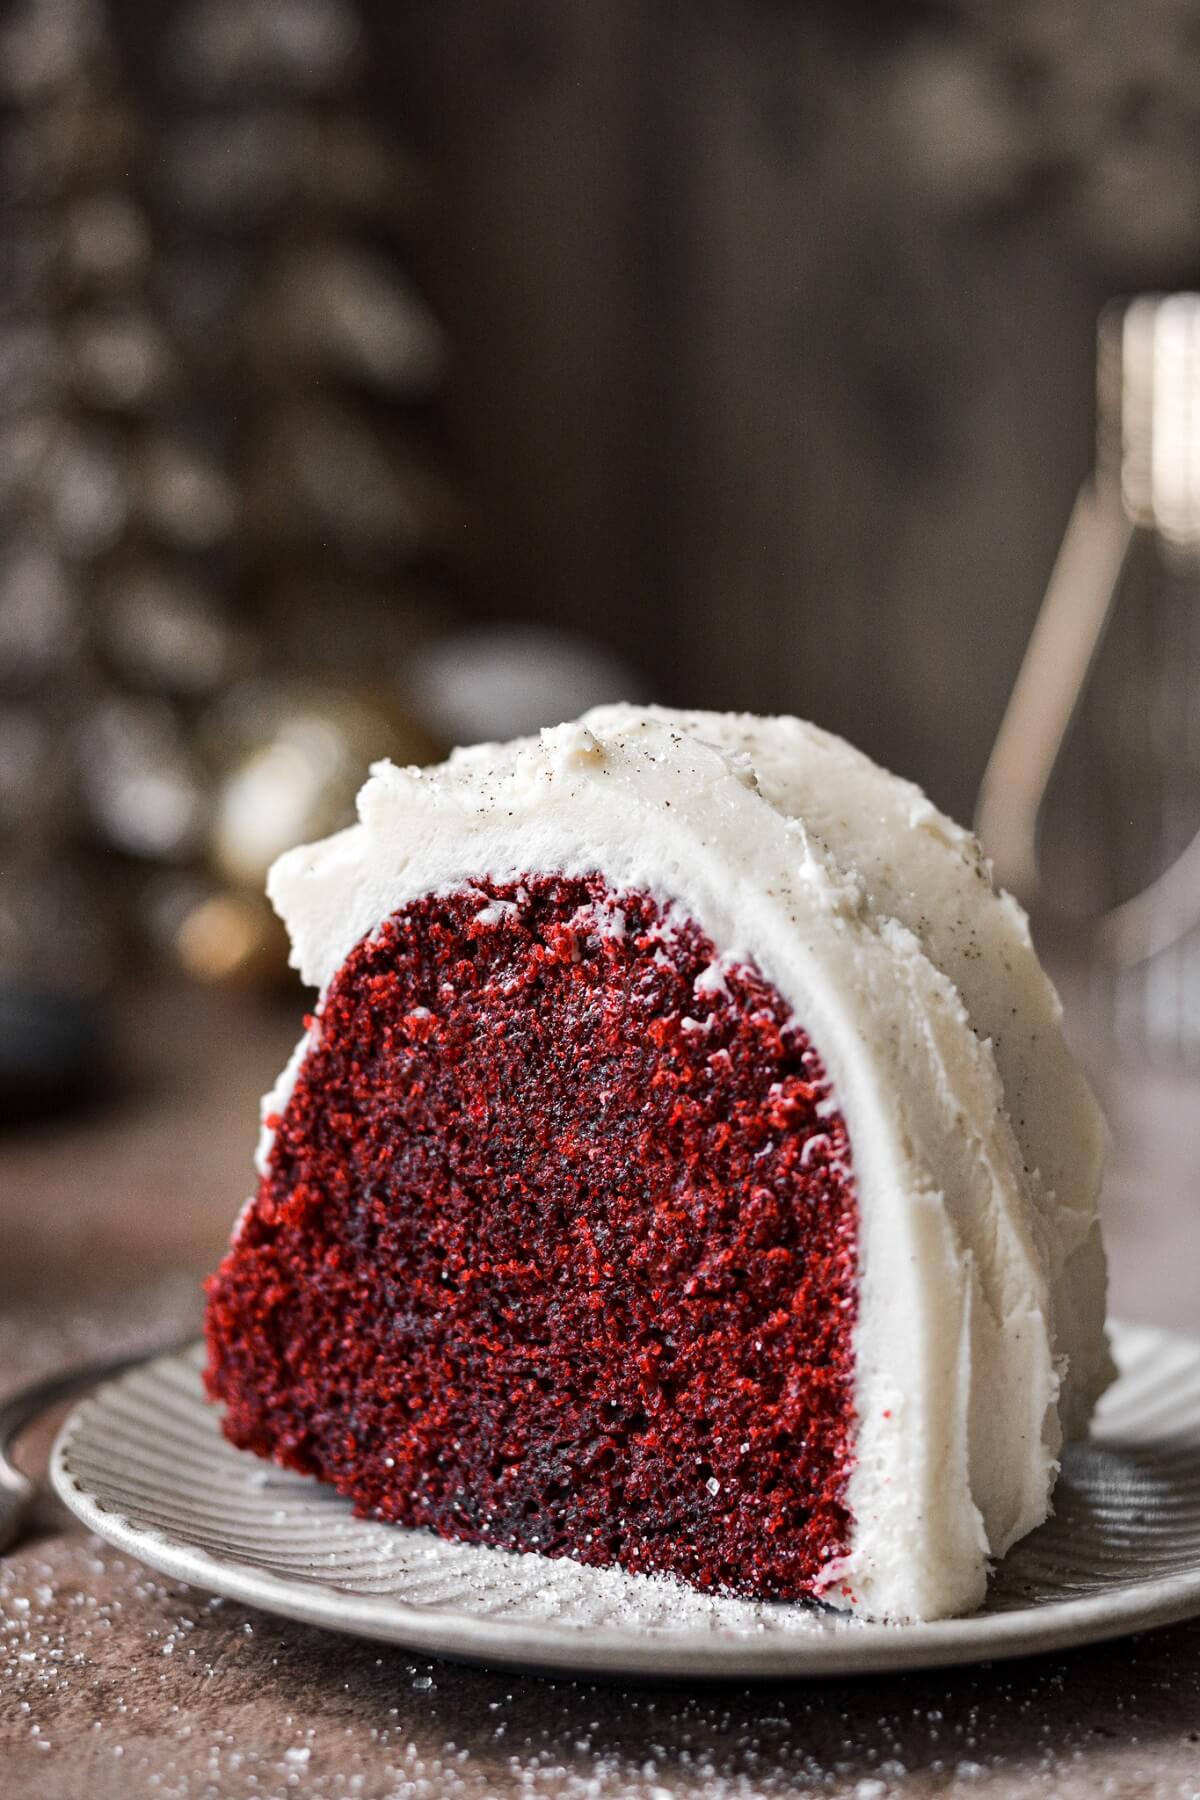
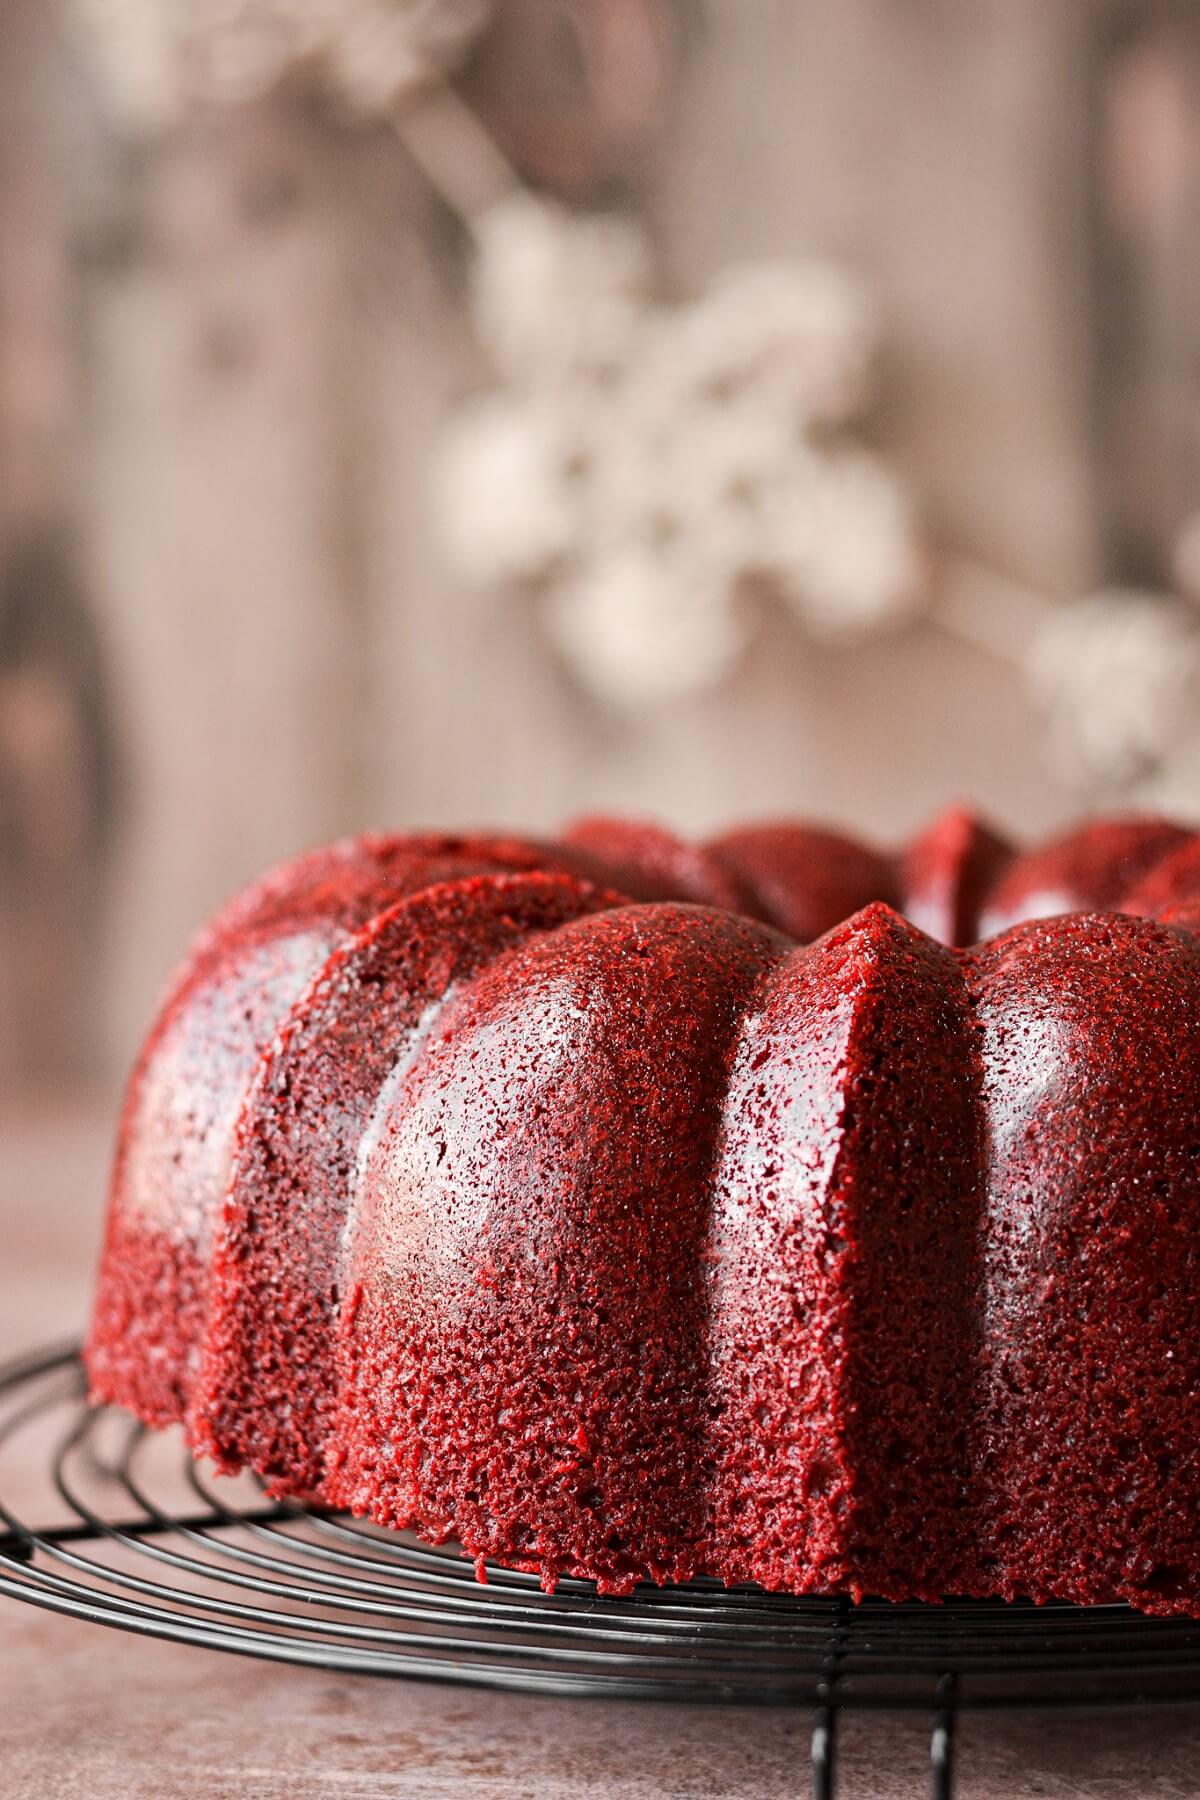
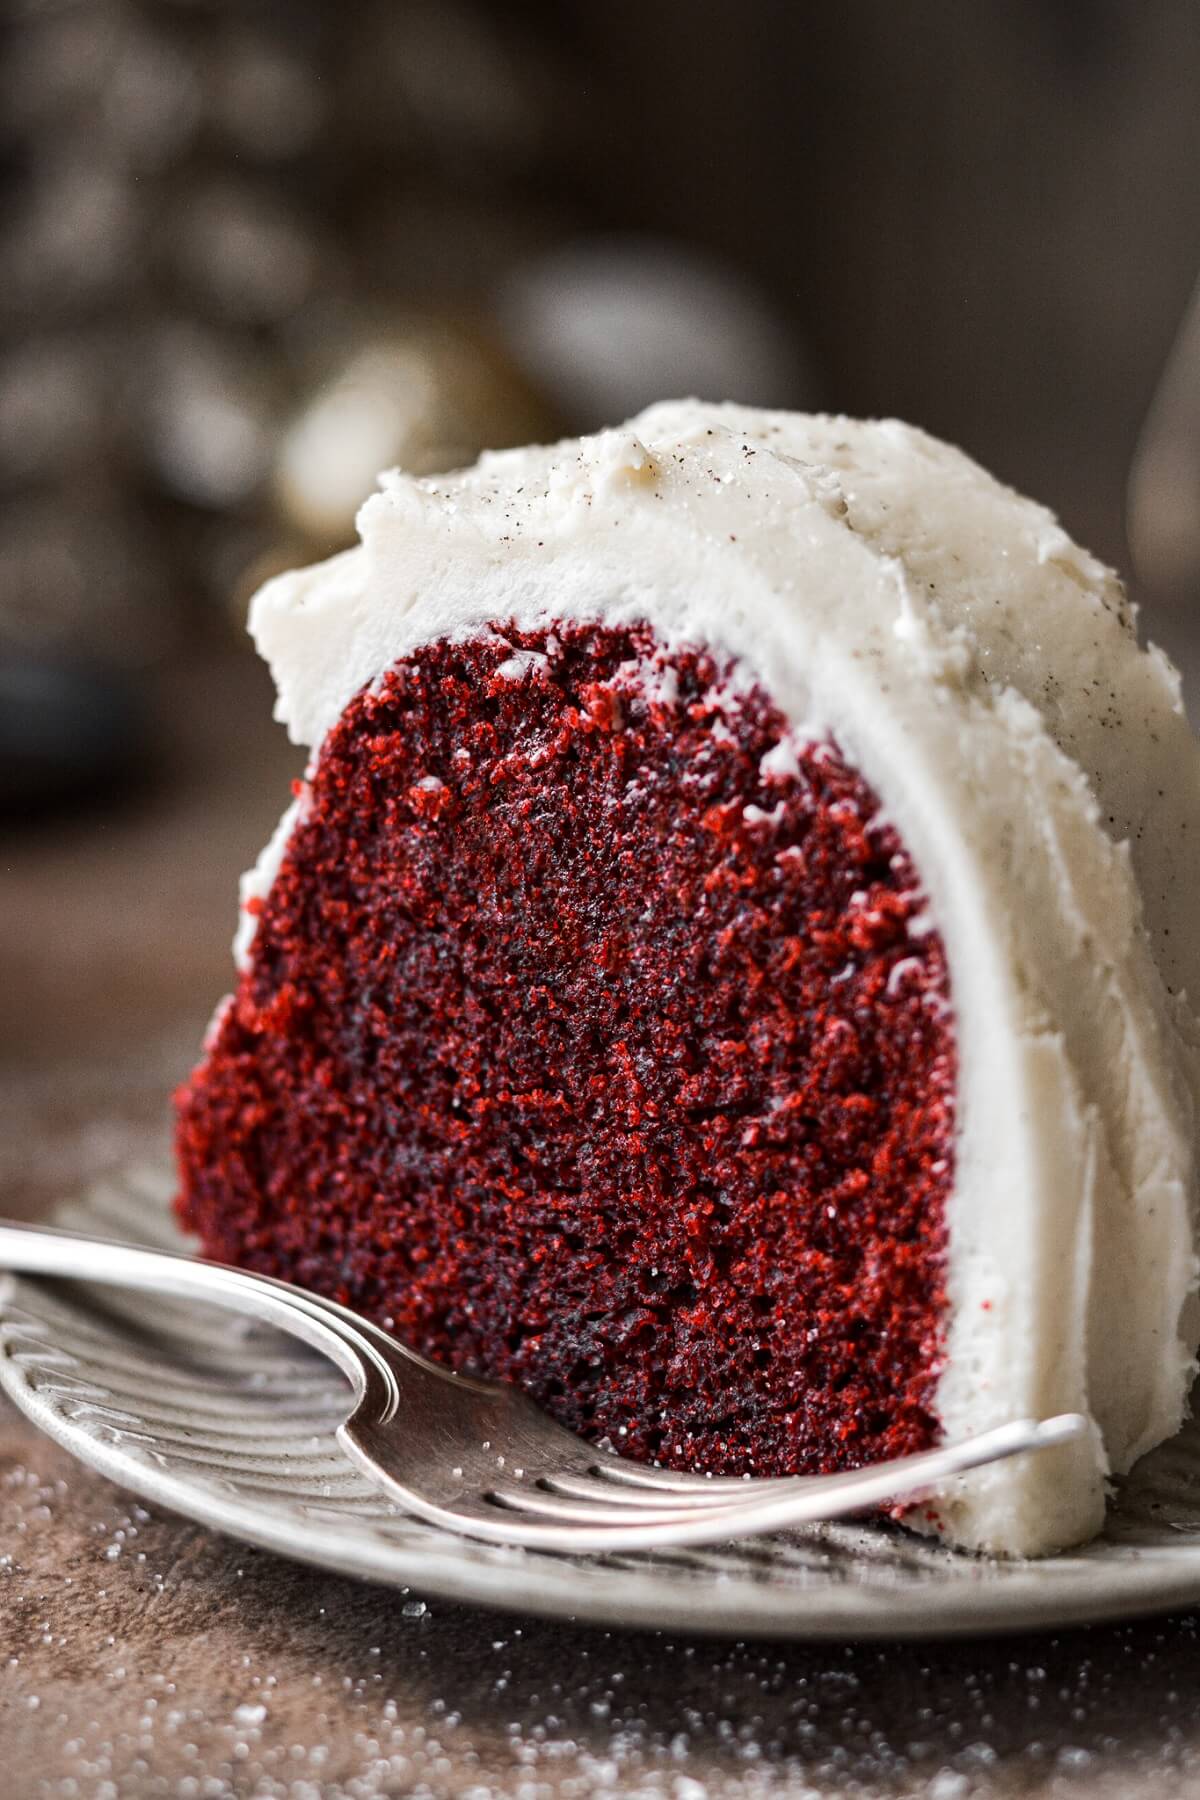
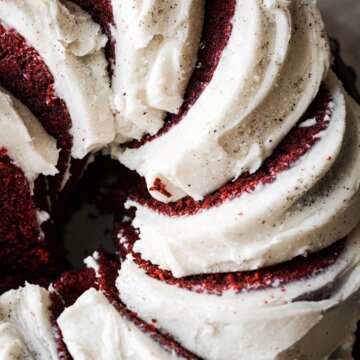
This high altitude red velvet bundt cake is easy to make, soft and moist with a subtle cocoa flavor, and frosted with tangy and sweet vanilla bean cream cheese buttercream. With the striking contrast of red cake and white frosting, this makes a beautiful Christmas cake for the holiday season.
You might also love these high altitude layer cake recipes for red velvet cake, white velvet cake, and black velvet cake.
This site contains affiliate links. As an Amazon associate, I earn from qualifying purchases. This means that I may make a small commission if you purchase a product using those links. This in no way affects my opinion of those products and services. All opinions expressed on this site are my own.
Why You’ll Love This Recipe
Quick and Easy to Make. Red velvet cake batter is one of the quickest cake batters you’ll ever make. Just whisk it up in a bowl and pour it into the pan to bake. I also love the ease of a bundt cake, since there’s no fussing with stacking and frosting multiple layers of cake.
High Altitude Tested. Today’s red velvet bundt cake recipe is based on my popular high altitude red velvet layer cake, which I’ve tested a dozen times over the years. I develop all the recipes on this site for Denver’s altitude of 5,280 feet.
Perfect for the Holidays. In my opinion, Christmas and Valentine’s Day is the best time of year to make red velvet cake. It’s a simple cake that’s still so festive with the pretty red cake and white frosting.
See the recipe card at the end of the post for the full ingredients list and instructions.
Ingredients
Cake
- Cake Flour. You could use all-purpose flour, if you like, but I love the lightness of cake flour in this cake.
- Granulated Sugar. Adds sweetness and moisture.
- Cocoa Powder. I use Dutch processed cocoa powder, and really love the Rodelle brand. It adds a subtle cocoa flavor, but the cake does not taste strongly of chocolate.
- Salt. I use coarse Kosher salt in all my baking. The salt balances the sweetness.
- Baking Soda. Leavens the cake, reacting with the acid in the vinegar and buttermilk, causing the cake to rise.
- Eggs. Add structure and richness.
- Vegetable Oil. Moisture.
- Buttermilk. Flavor, moisture and acid.
- Vinegar. Use white distilled vinegar. The extra acid gives the leavening a little boost for a good rise in this cake.
- Vanilla Extract. Flavor.
- Red Gel Food Coloring. To make the cake red, of course. Without the food coloring, the cake will be a light tan color.
Buttercream
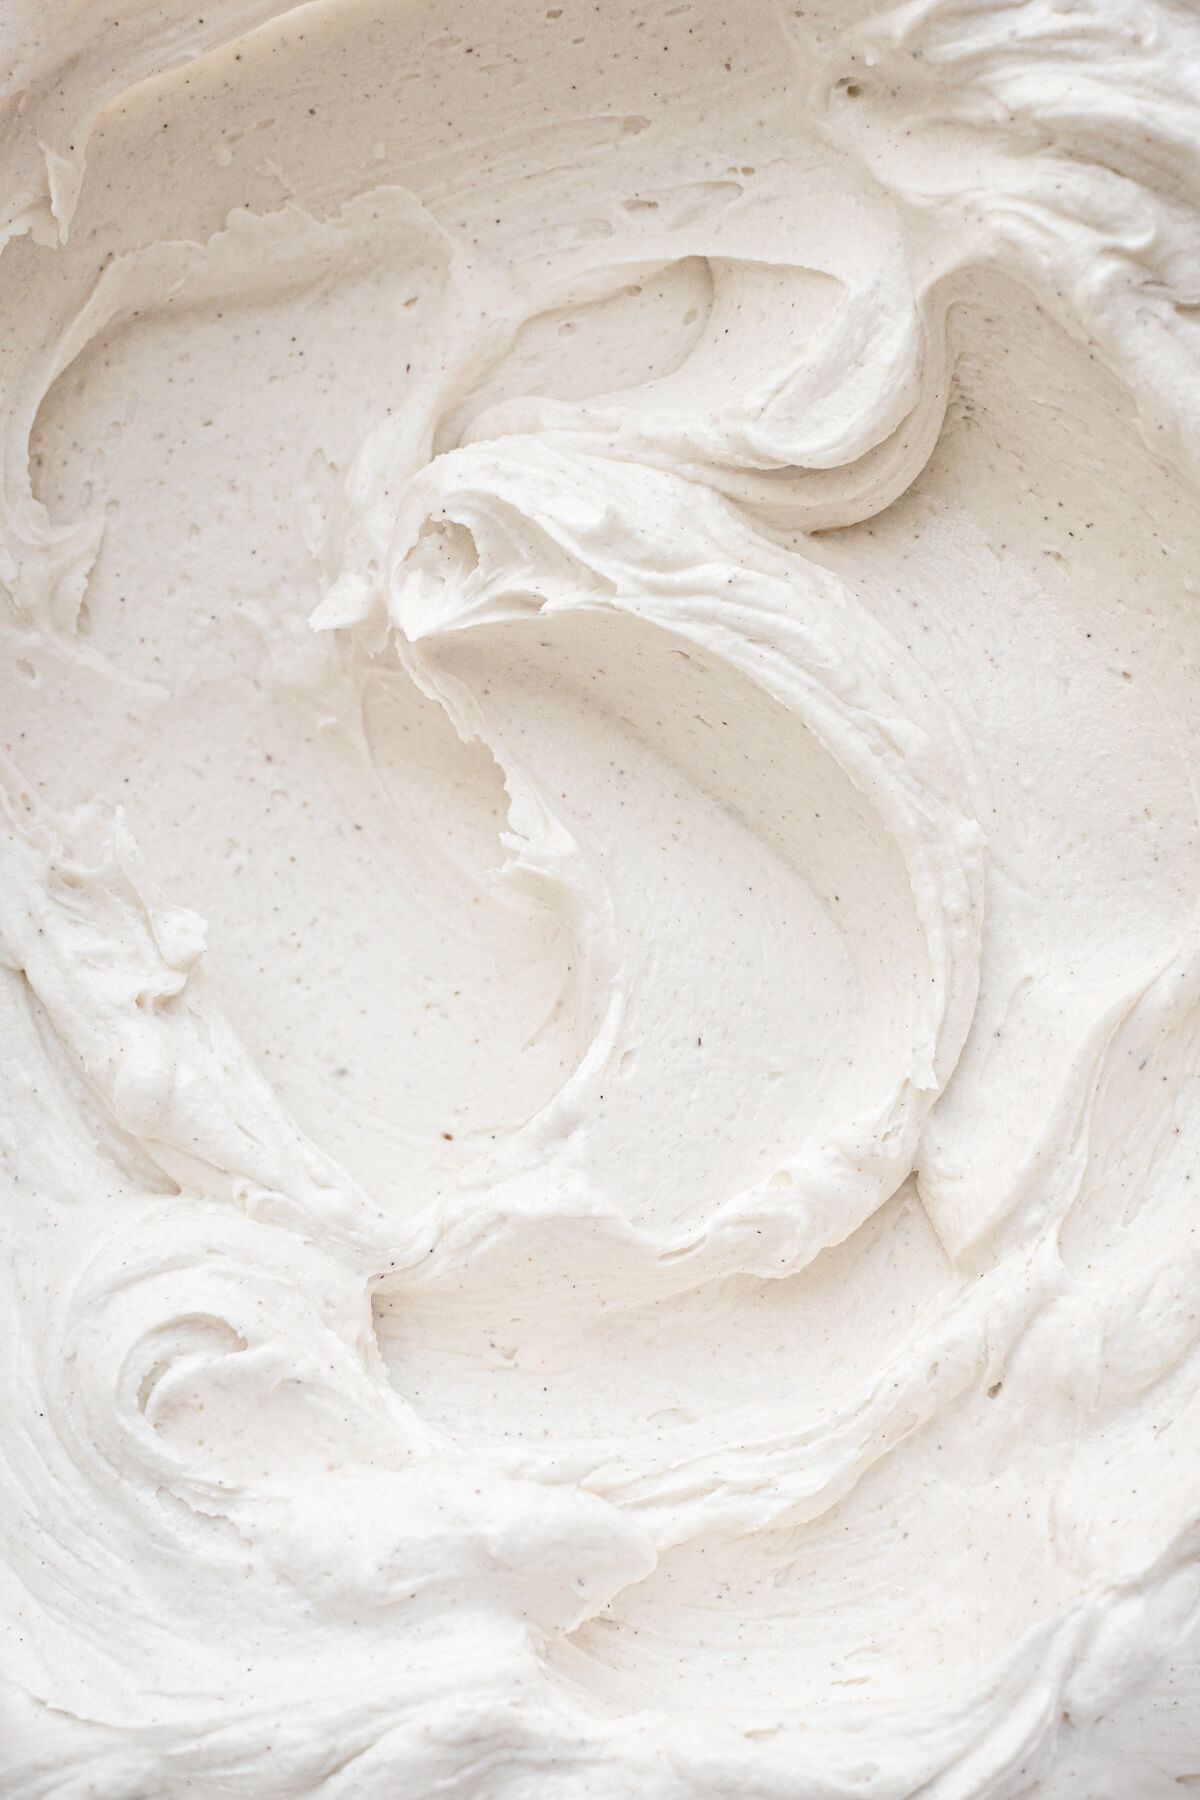
- Butter + Cream Cheese + Shortening. Cream cheese frosting has a reputation of being softer and less stable than buttercream. But if you use a combination of butter, cream cheese and vegetable shortening, you’ll get a more stable frosting, as well as a pretty white color. If you don’t want to use the shortening, simply increase the butter and cream cheese by the same amount to use half of each.
- Powdered Sugar. Sweetens and thickens the frosting.
- Meringue Powder. Adds stability.
- Salt. Balances the sweetness.
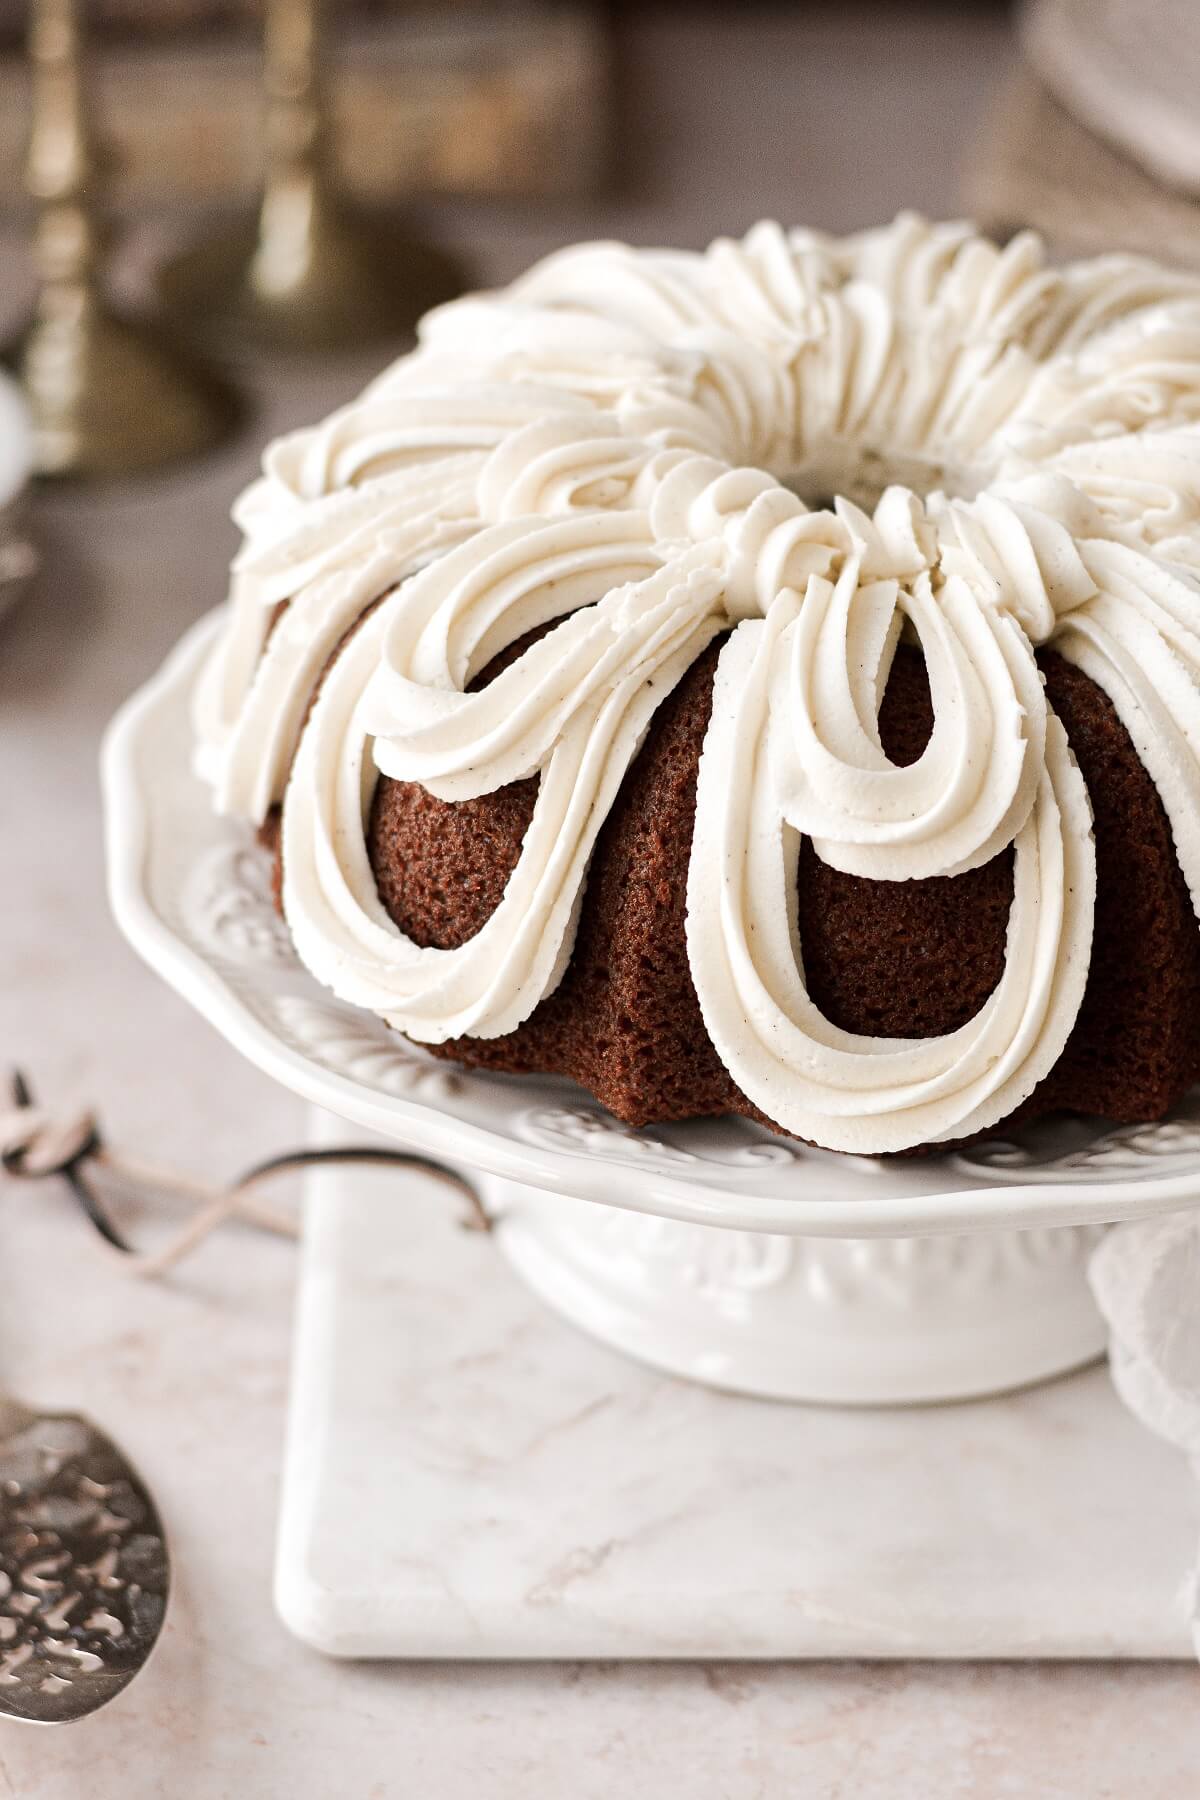
- Vanilla. I like to use vanilla bean paste to add a strong vanilla flavor and pretty black specks throughout the frosting.
Instructions
Cake
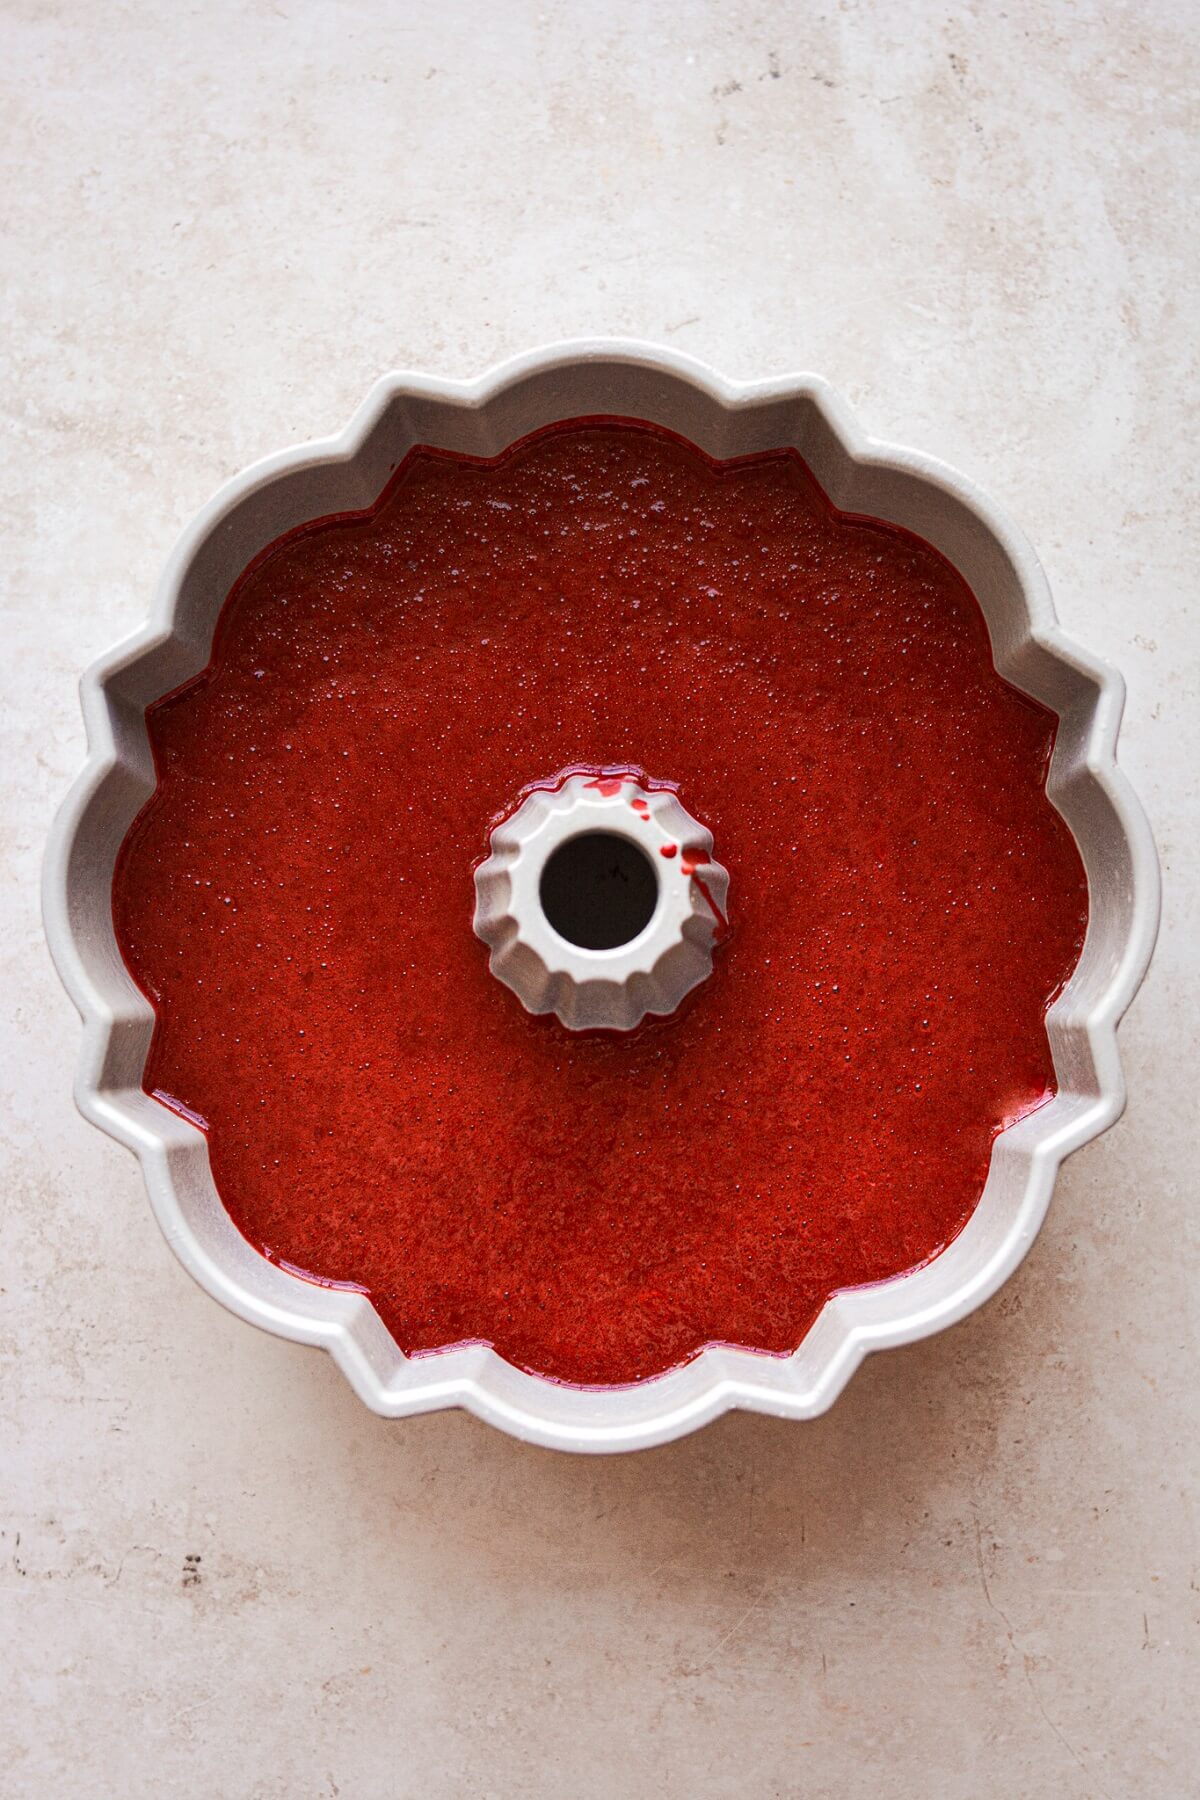
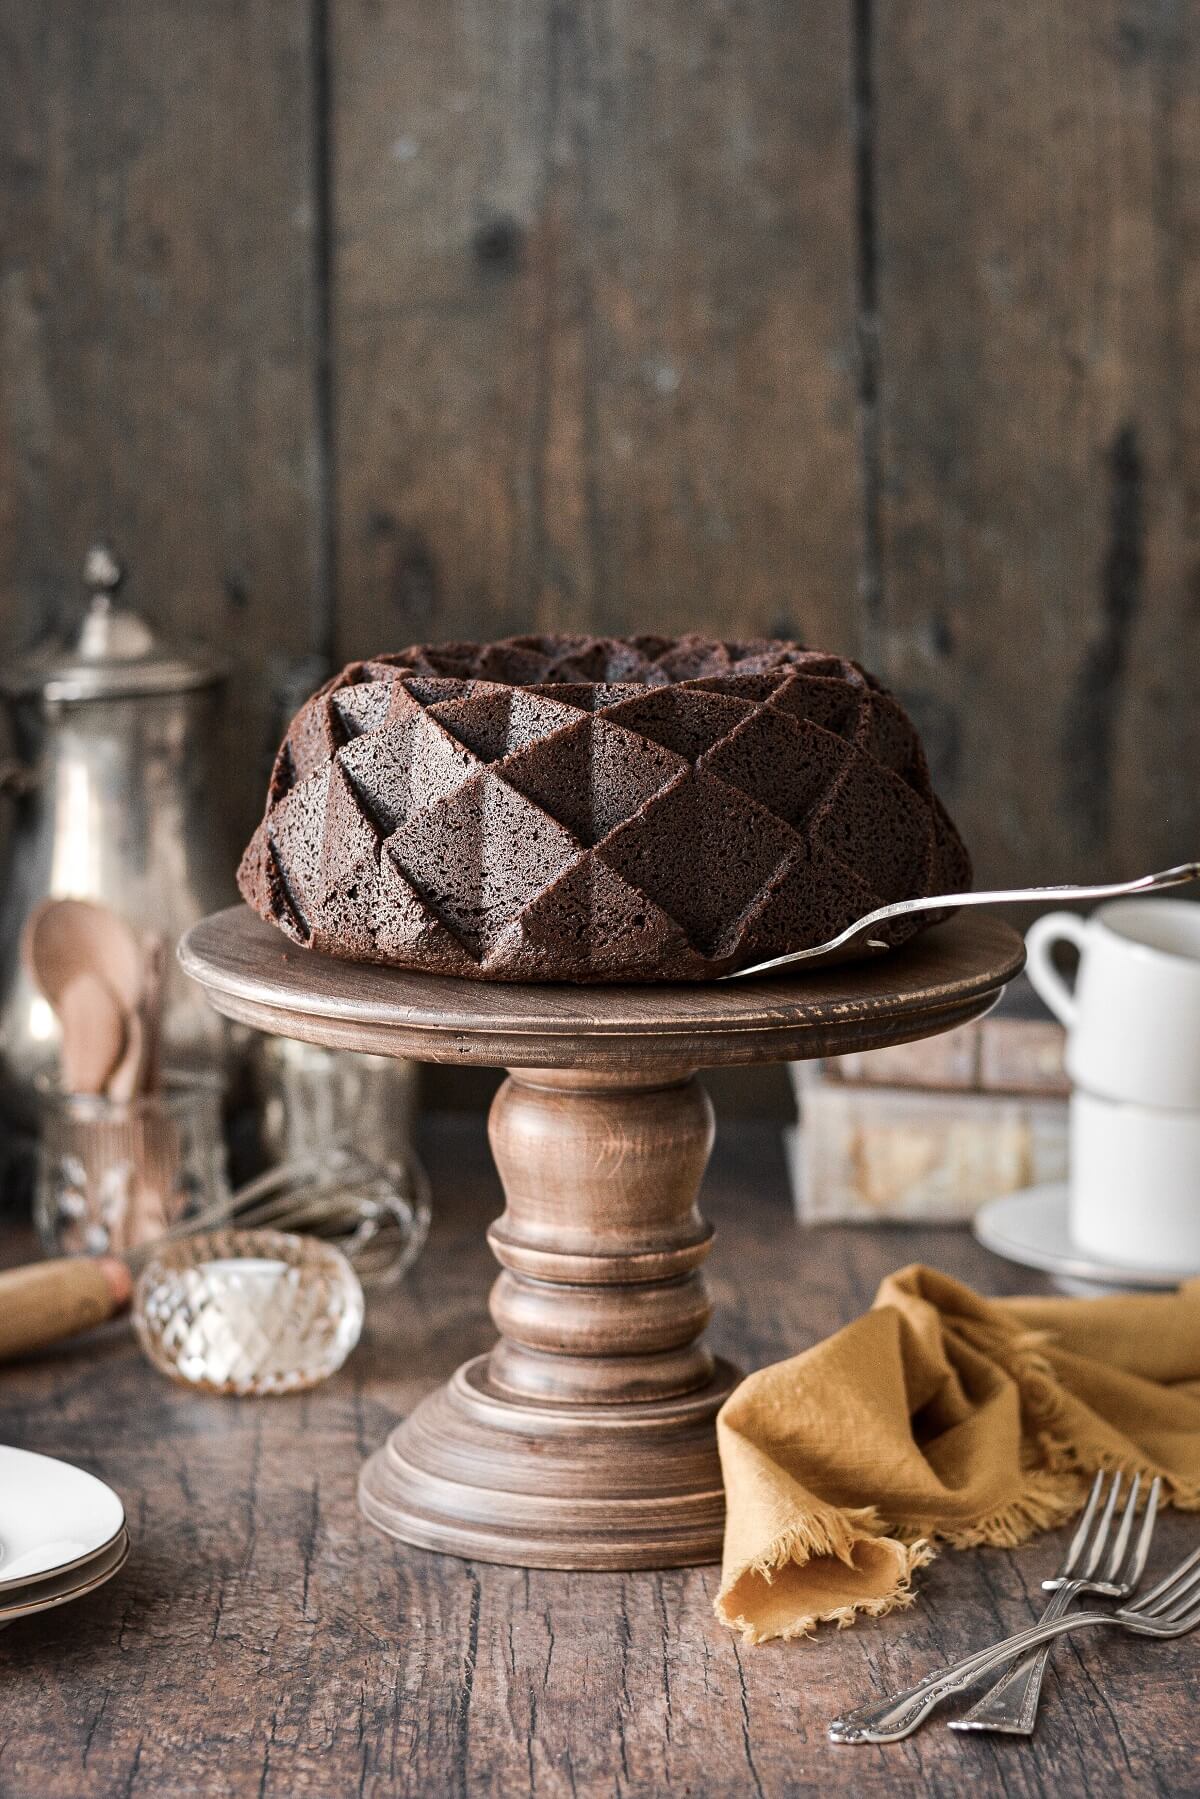
- Preheat the oven to 325 F, and position a rack in the center of the oven. Thoroughly grease a standard 12-cup bundt pan with non-stick baking spray.
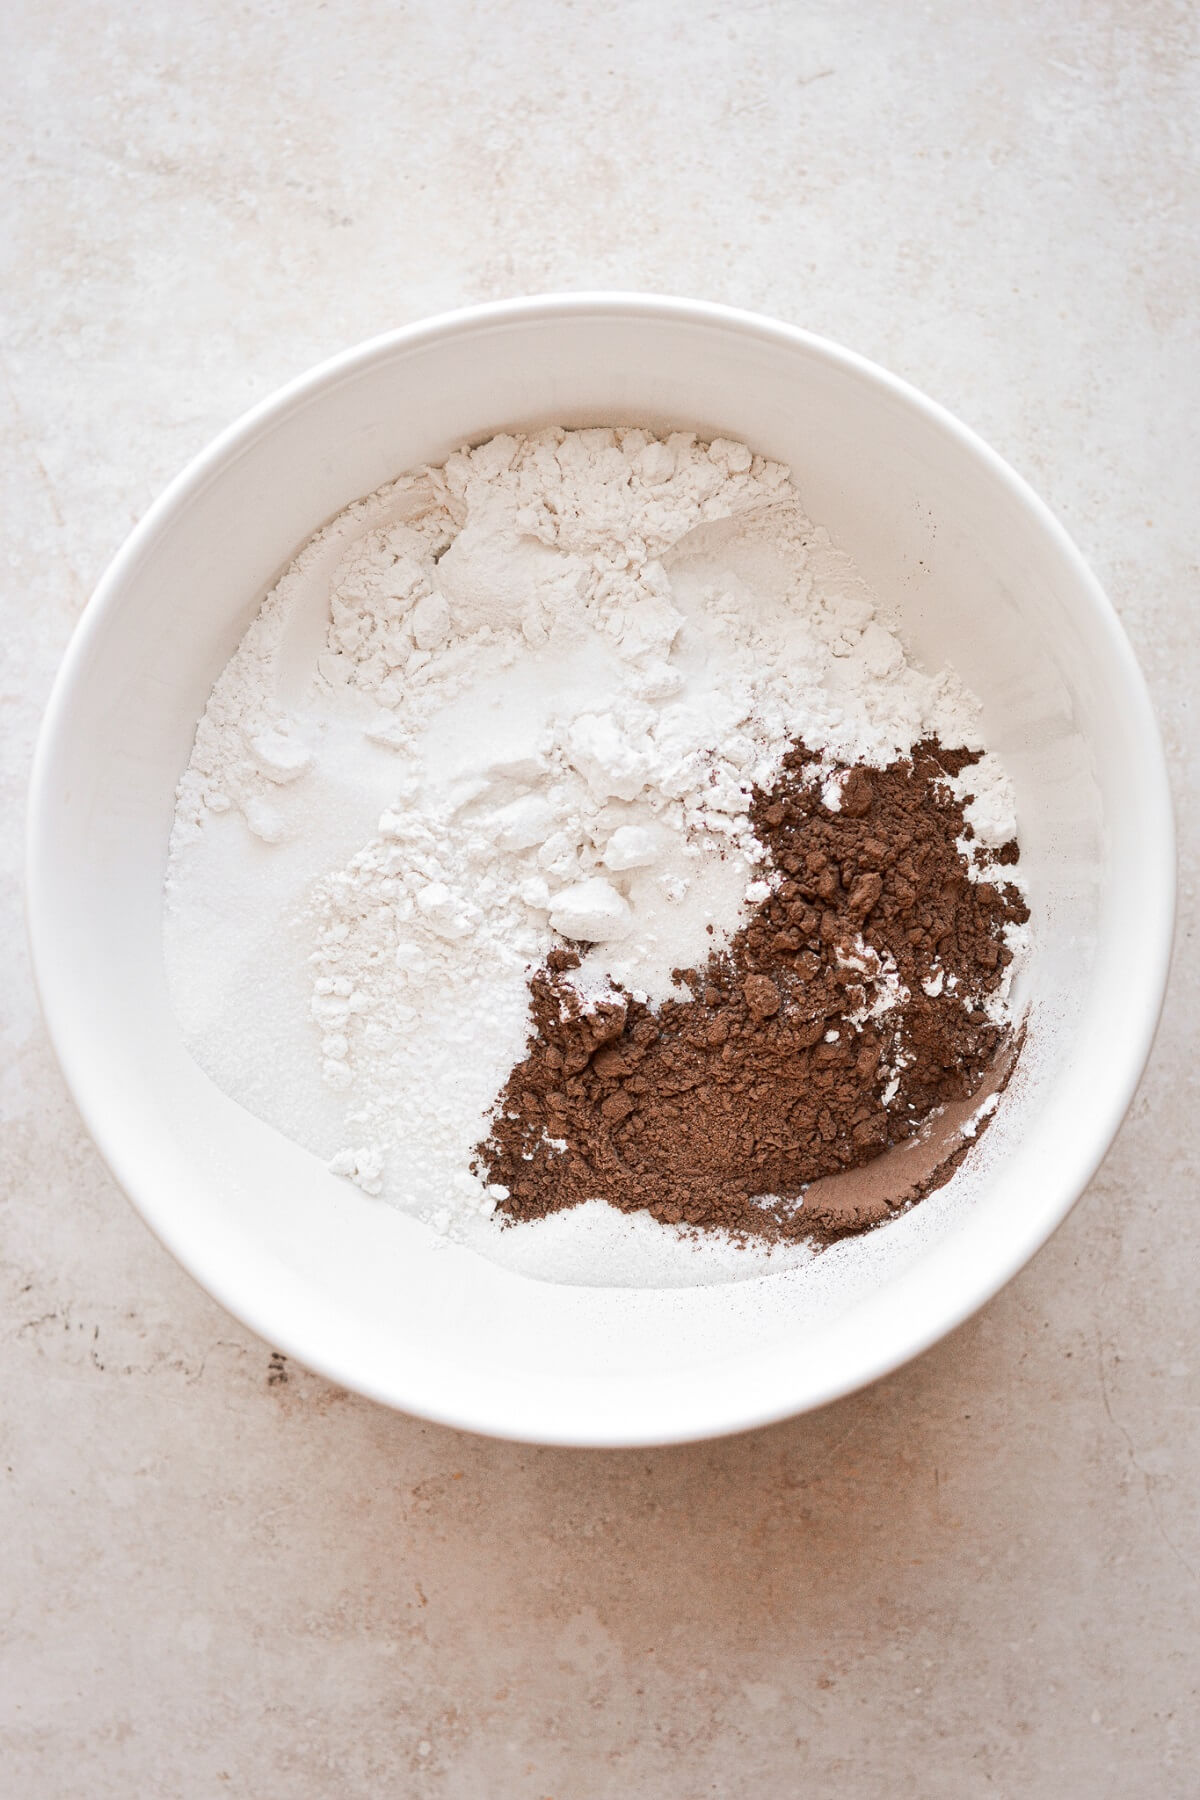
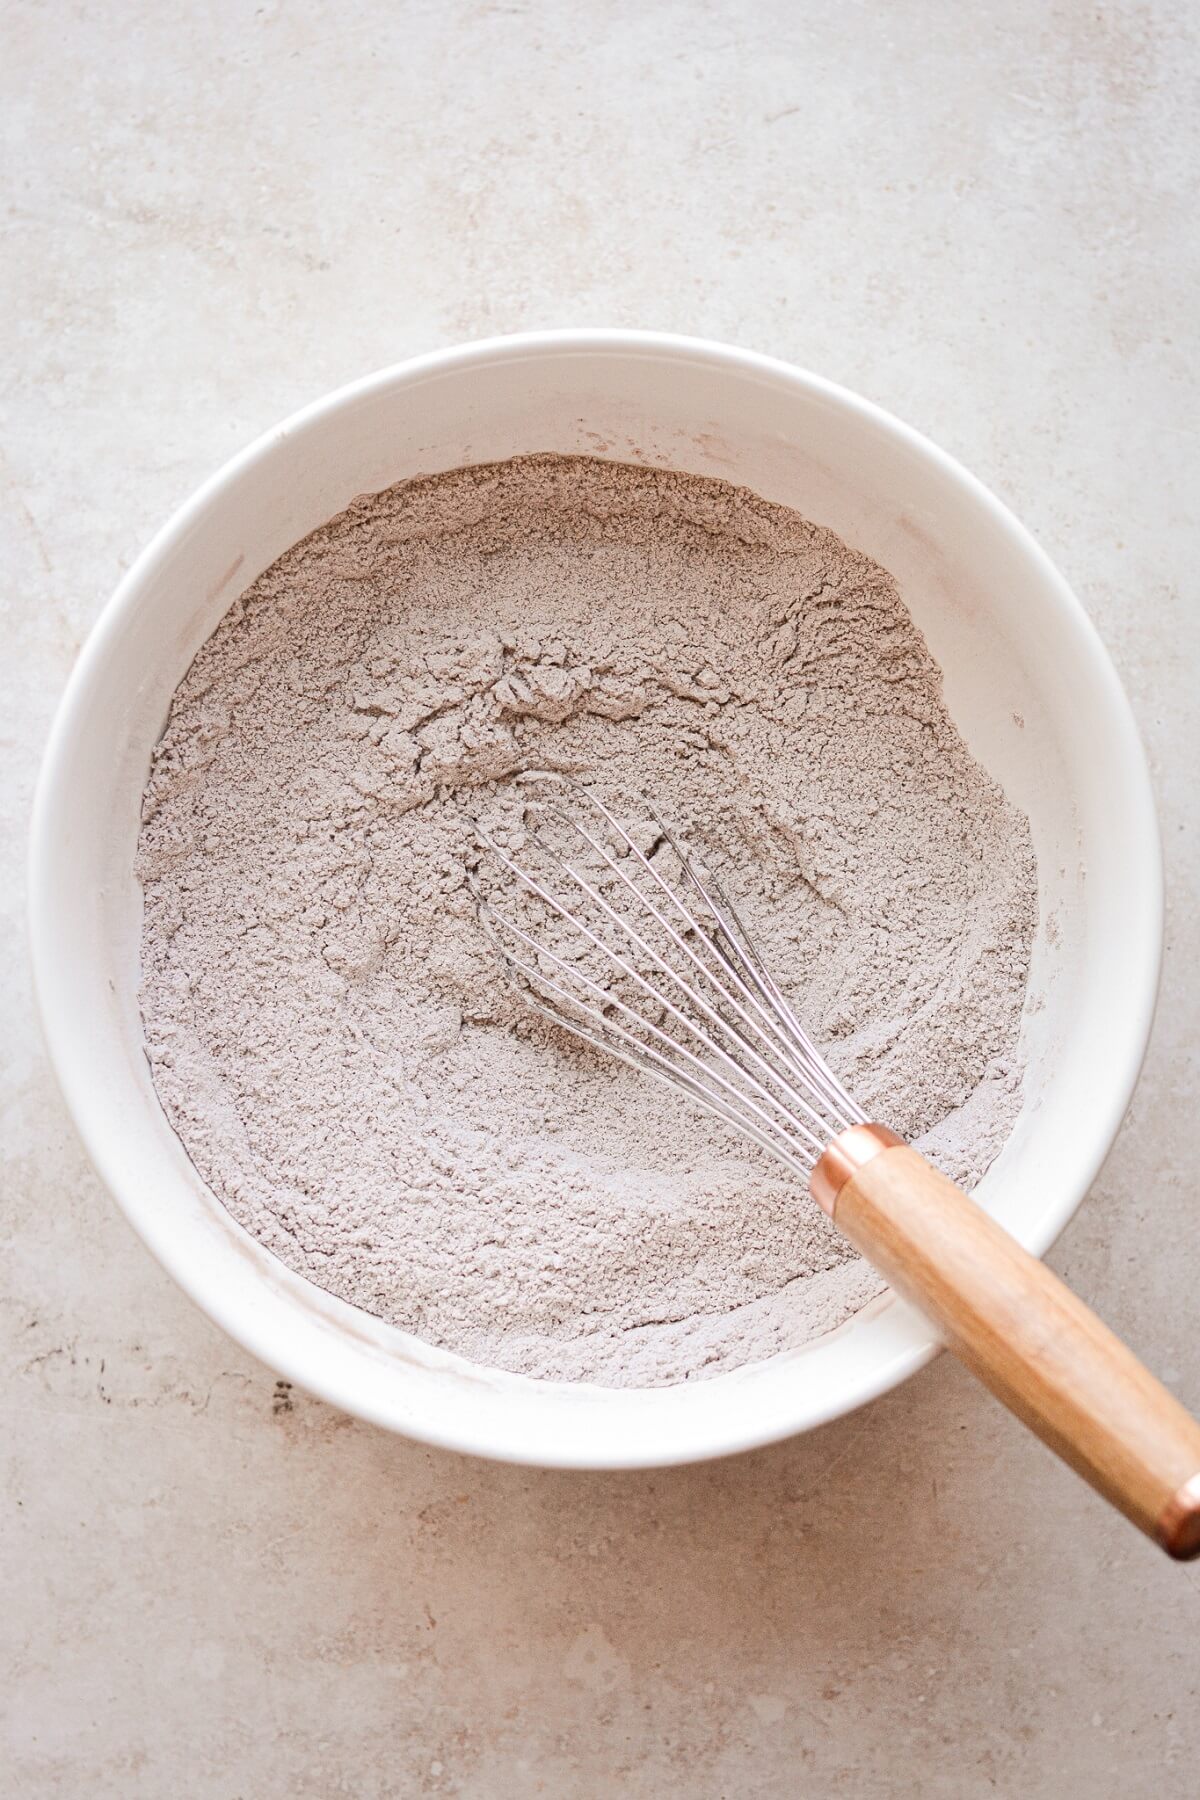
- In a bowl, sift together the flour, sugar, cocoa powder, salt and baking soda.
- In a separate large bowl, whisk together the eggs, oil, buttermilk, vinegar, vanilla and super red gel food coloring.
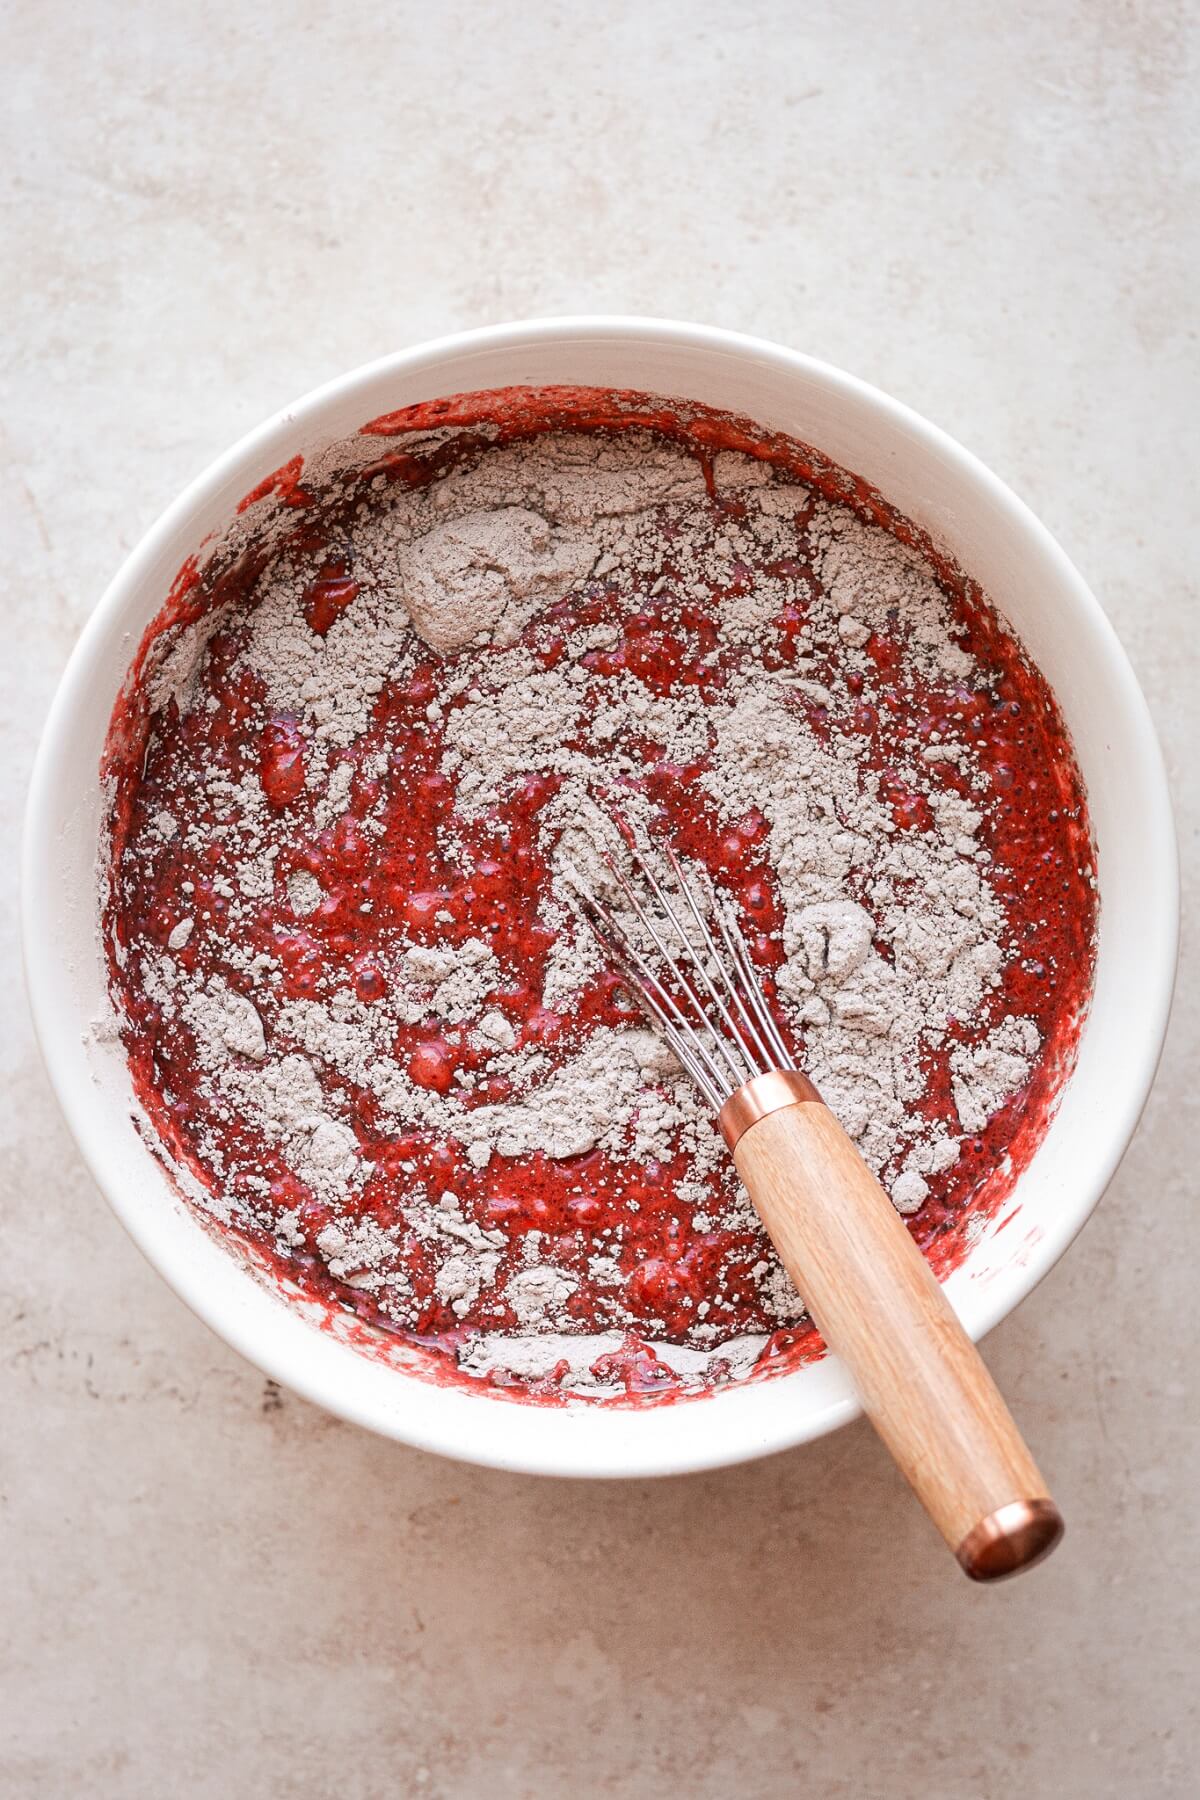
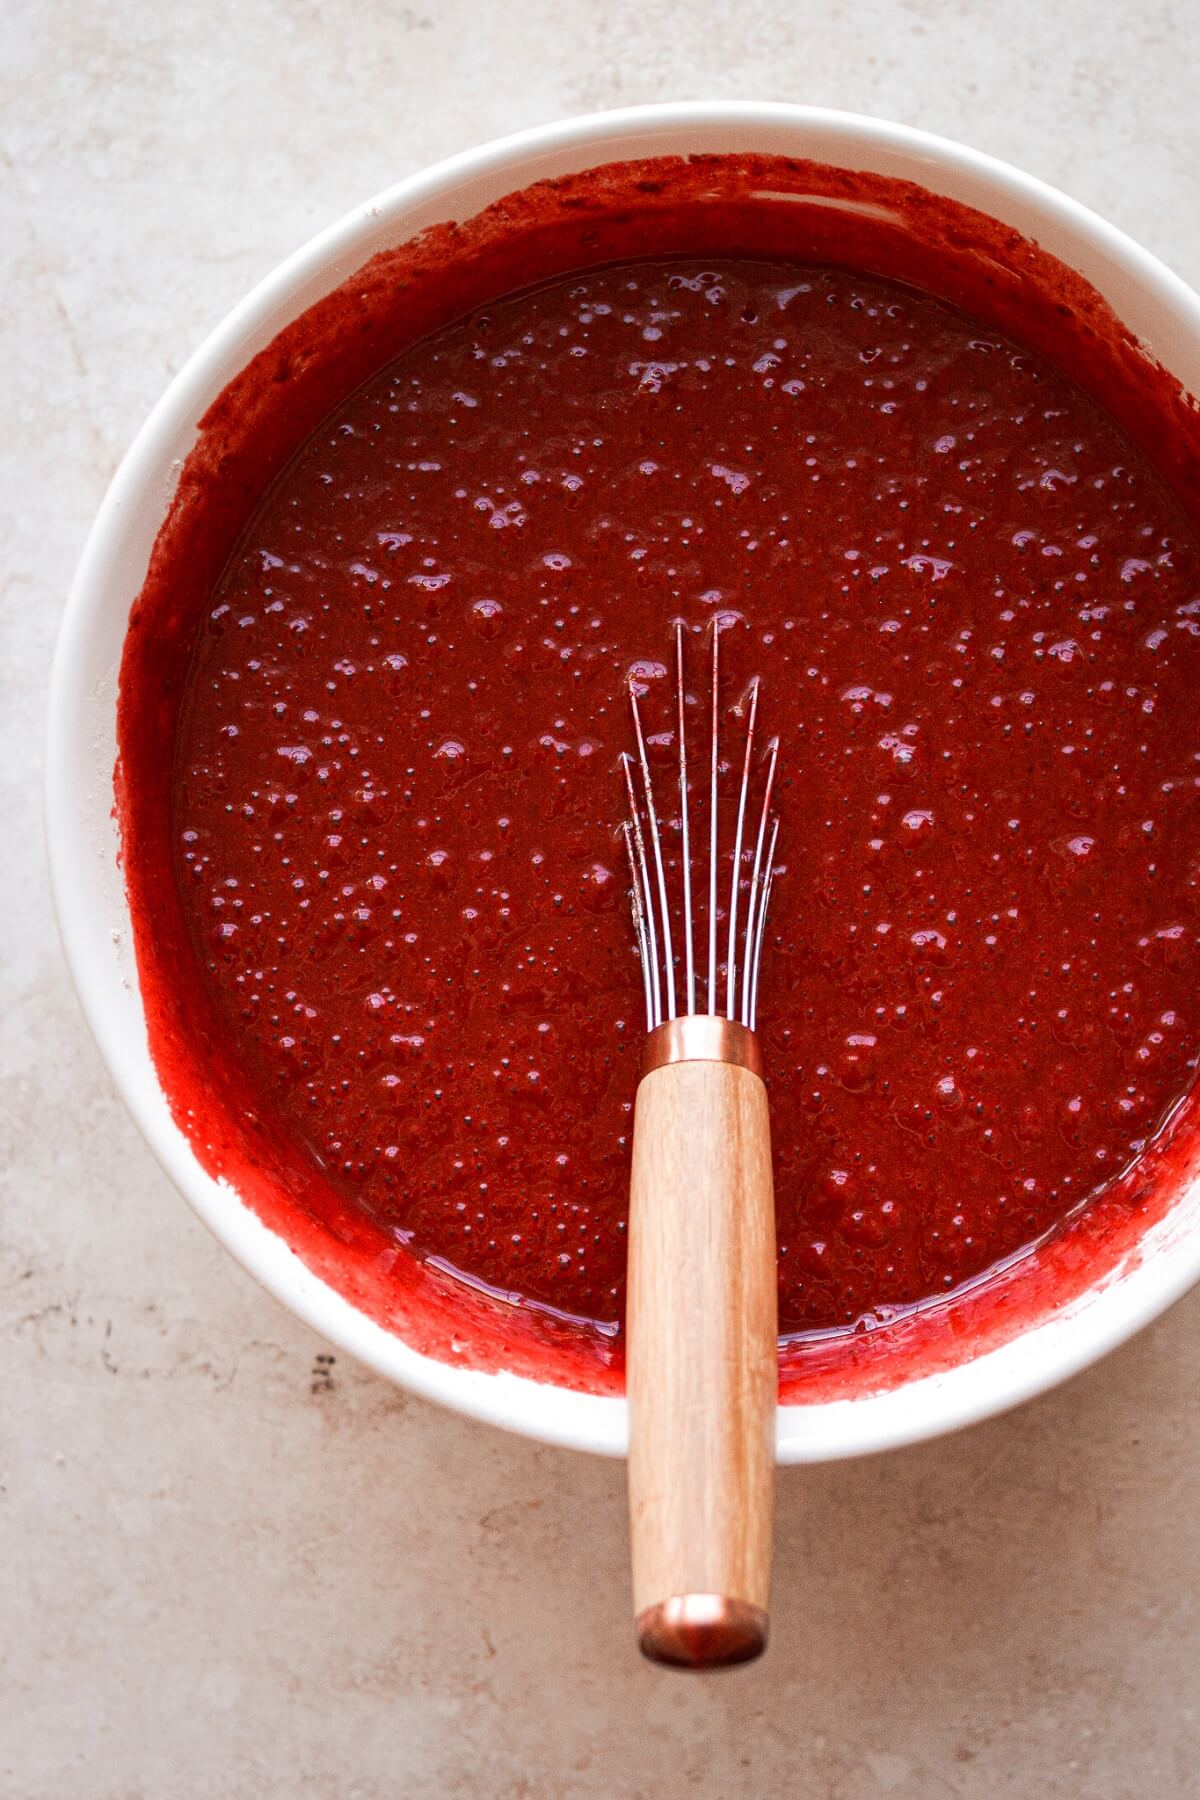
- Add the wet ingredients to the dry, and whisk briefly, just until combined and smooth; don’t over-mix.
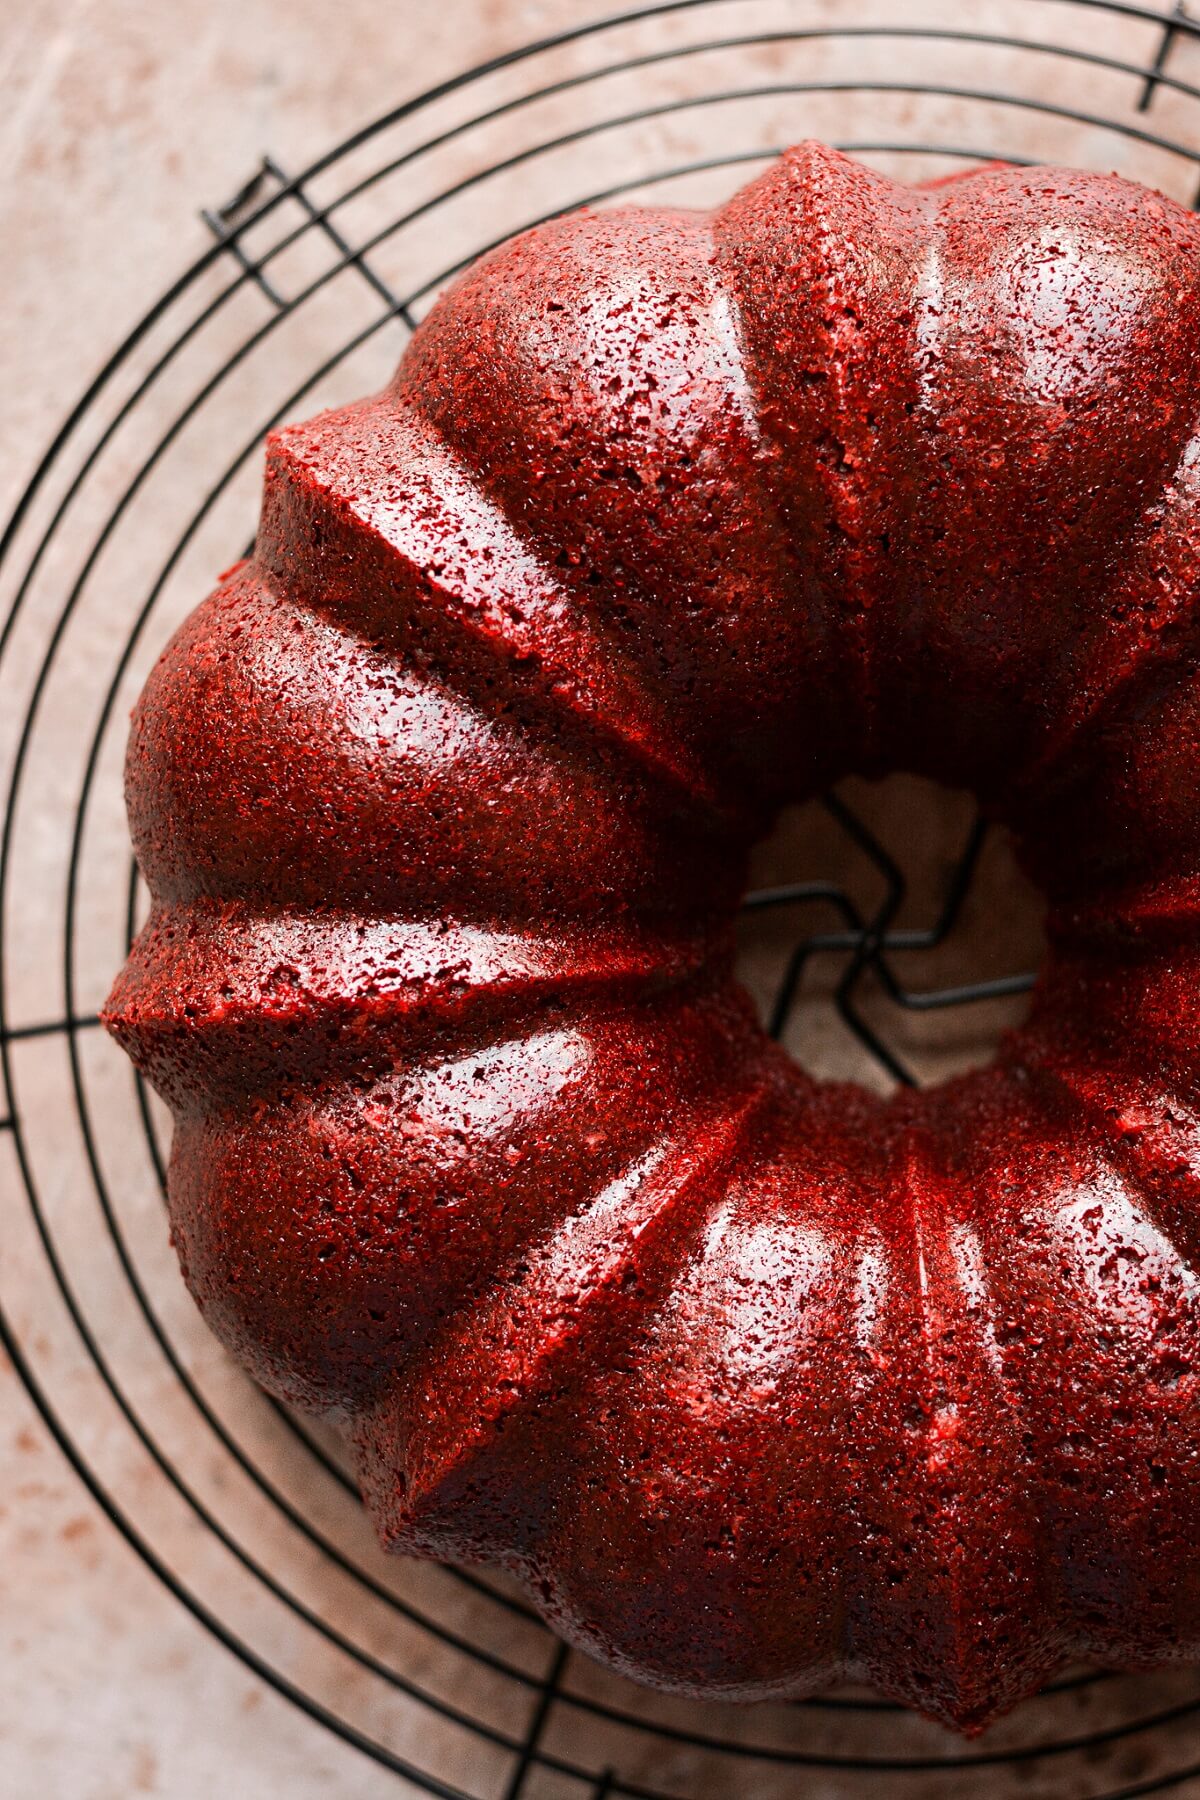
- Pour the batter into the prepared pan. Bake for about 55-60 minutes, until a cake tester or sharp knife inserted comes out clean.
- Set the pan on a wire cooling rack, and cool for exactly 15 minutes. Invert the pan onto the cooling rack, remove the pan, and cover the cake loosely with a clean kitchen towel to cool completely before frosting.

Buttercream
- In the bowl of your stand mixer fitted with the whisk attachment, whip the butter, cream cheese and shortening for several minutes until smooth.
- Add the powdered sugar and meringue powder by spoonfuls, mixing on low to combine. Add the salt and vanilla, and whip on medium speed for 3-4 minutes, scraping the bowl occasionally, until very light and fluffy. If the frosting is too stiff, add a small amount of milk, 1 tablespoon at a time, but be careful not to thin the frosting too much, as cream cheese buttercream is softer than all-butter buttercream.
- Place the cooled cake on a serving plate or cake stand, and frost with the buttercream.
TIP: If you want to get a little fancy with the frosting, see this sweet potato bundt cake for ideas on piping buttercream onto bundt cakes. This design would look really pretty with the contrasting red and white.
Be sure to read all of my BAKING FAQs where I discuss ingredients, substitutions and common baking questions, so that you can be successful in your own baking!
Frequently Asked Questions
Does cream cheese frosting need to be refrigerated?
This is really up to your own discretion. There’s quite a lot of sugar in the frosting, which helps to prevent spoilage of dairy products. Personally, I’ll let a cake with cream cheese frosting sit at room temperature all day (in an airtight container), and then refrigerate it overnight. The next day, I’ll take it back out again to let it warm up, since most cakes are best eaten at room temperature instead of cold.
What bundt pan did you use?
I used this Nordic Ware Original Bundt Pan with a 12-cup capacity.
Will this recipe work with other bundt pans?
You’ll need to check the capacity if you’re using another bundt pan. This Nordic Ware Heritage Bundt Pan only holds 6 cups of batter, so you’ll need to cut today’s cake recipe in half. This Nordic Ware Elegant Party Bundt Pan holds 10 cups of batter, so you’ll have a little extra cake batter that you can bake in a 6-inch cake pan and freeze for another day. I also adore the Nordic Ware Jubilee Bundt Pan, which holds 10 cups of batter. I’ve used the jubilee pan for my chocolate bundt cake and vanilla bean pound cake, and it makes a gorgeous design.
What kind of food coloring do you use?
I use Americolor Super Red Gel Food Coloring. You don’t need more than a teaspoon or so for a strong red color in this red velvet bundt cake.
You Might Also Like

Please check out my Amazon Shop for a curated collection of some of my favorite cake pans from trusted brands, baking tools, ingredients, pretty things and fashion finds. I recommend products that I buy and use every day!
Did you love today’s recipe? Please rate the recipe and let me know in the comments what you thought! Also, be sure to follow Curly Girl Kitchen on Instagram, and tag me when you try one of my recipes so I can see all your delicious creations!
High Altitude Red Velvet Bundt Cake
All recipes on Curly Girl Kitchen are developed for high altitude at 5,280 feet. See FAQs for adjusting to higher or lower elevations.

Equipment
- Stand Mixer with Paddle Attachment
Ingredients
Cake
- 3 cups cake flour, spooned and leveled
- 1 ¾ cups granulated sugar
- ¼ cup unsweetened Dutch processed cocoa powder (Rodelle)
- 1 tsp coarse Kosher salt (if using table salt, use half the amount)
- 1 tsp baking soda
- 4 large eggs, room temperature
- 1 cup vegetable oil
- 1 ⅔ cups whole buttermilk, room temperature
- 1 tbsp white distilled vinegar
- 2 tsp vanilla extract
- 1 tsp "super red" gel food coloring
Buttercream
- 4 oz (1/2 cup) unsalted butter, softened to room temperature
- 4 oz (1/2 block) cream cheese, softened to room temperature
- ¼ cup vegetable shortening
- 3 – 3 ¼ cups powdered sugar
- 1 tbsp meringue powder, optional
- ⅛ tsp coarse Kosher salt (if using table salt, use half the amount)
- 1 tsp vanilla bean paste or vanilla extract
Instructions
Cake
- Preheat the oven to 325 F, and position a rack in the center of the oven. Thoroughly grease a standard 12-cup bundt pan with non-stick baking spray.
- In a bowl, sift together the flour, sugar, cocoa powder, salt and baking soda.
- In a separate large bowl, whisk together the eggs, oil, buttermilk, vinegar, vanilla and super red gel food coloring.
- Add the wet ingredients to the dry, and whisk briefly, just until combined and smooth; don’t over-mix.
- Pour the batter into the prepared pan. Bake for about 55-60 minutes, until a cake tester or sharp knife inserted comes out clean.
- Set the pan on a wire cooling rack, and cool for exactly 15 minutes. Invert the pan onto the cooling rack, remove the pan, and cover the cake loosely with a clean kitchen towel to cool completely before frosting.
Buttercream
- In the bowl of your stand mixer fitted with the whisk attachment, whip the butter, cream cheese and shortening for several minutes until smooth.
- Add the powdered sugar and meringue powder by spoonfuls, mixing on low to combine. Add the salt and vanilla, and whip on medium speed for 3-4 minutes, scraping the bowl occasionally, until very light and fluffy. If the frosting is too stiff, add a small amount of milk, 1 tablespoon at a time, but be careful not to thin the frosting too much, as cream cheese buttercream is softer than all-butter buttercream.
- Place the cooled cake on a serving plate or cake stand, and frost with the buttercream.
 https://curlygirlkitchen.com/
Thanks!! Do you have a substitute for “vegetable oil”?
You could use a neutral tasting olive oil, or melted butter, but the oil will make a more moist cake than butter will in this recipe.
Where you live. What is your altitude?
Thanks Heathar
Please see my FAQs: https://curlygirlkitchen.com/baking-faqs/
Absolutely perfect and delicious as usual. Thank you so much for the recipe! I added an extra half cup of flour and I used full fat sour cream instead of oil 55 minutes at 325°. 8500 ft.
Thank you Heather for another wonderful recipe. Made this one for my mom’s birthday and it did not disappoint. Followed recipe with one exception, had to use low fat buttermilk (could not find whole buttermilk). Cake was moist but I’d Iike to try again with whole buttermilk to compare the result. Really liked the frosting as well – wasn’t too sweet which we prefer. WIll definitely be making this one again. Made at 5280.
Eeek this was an utter fail! I followed your directions exactly and didn’t substitute ingredients. The cake literally boiled in the oven. It has a very spongy texture. What went wrong?
What altitude are you at?