
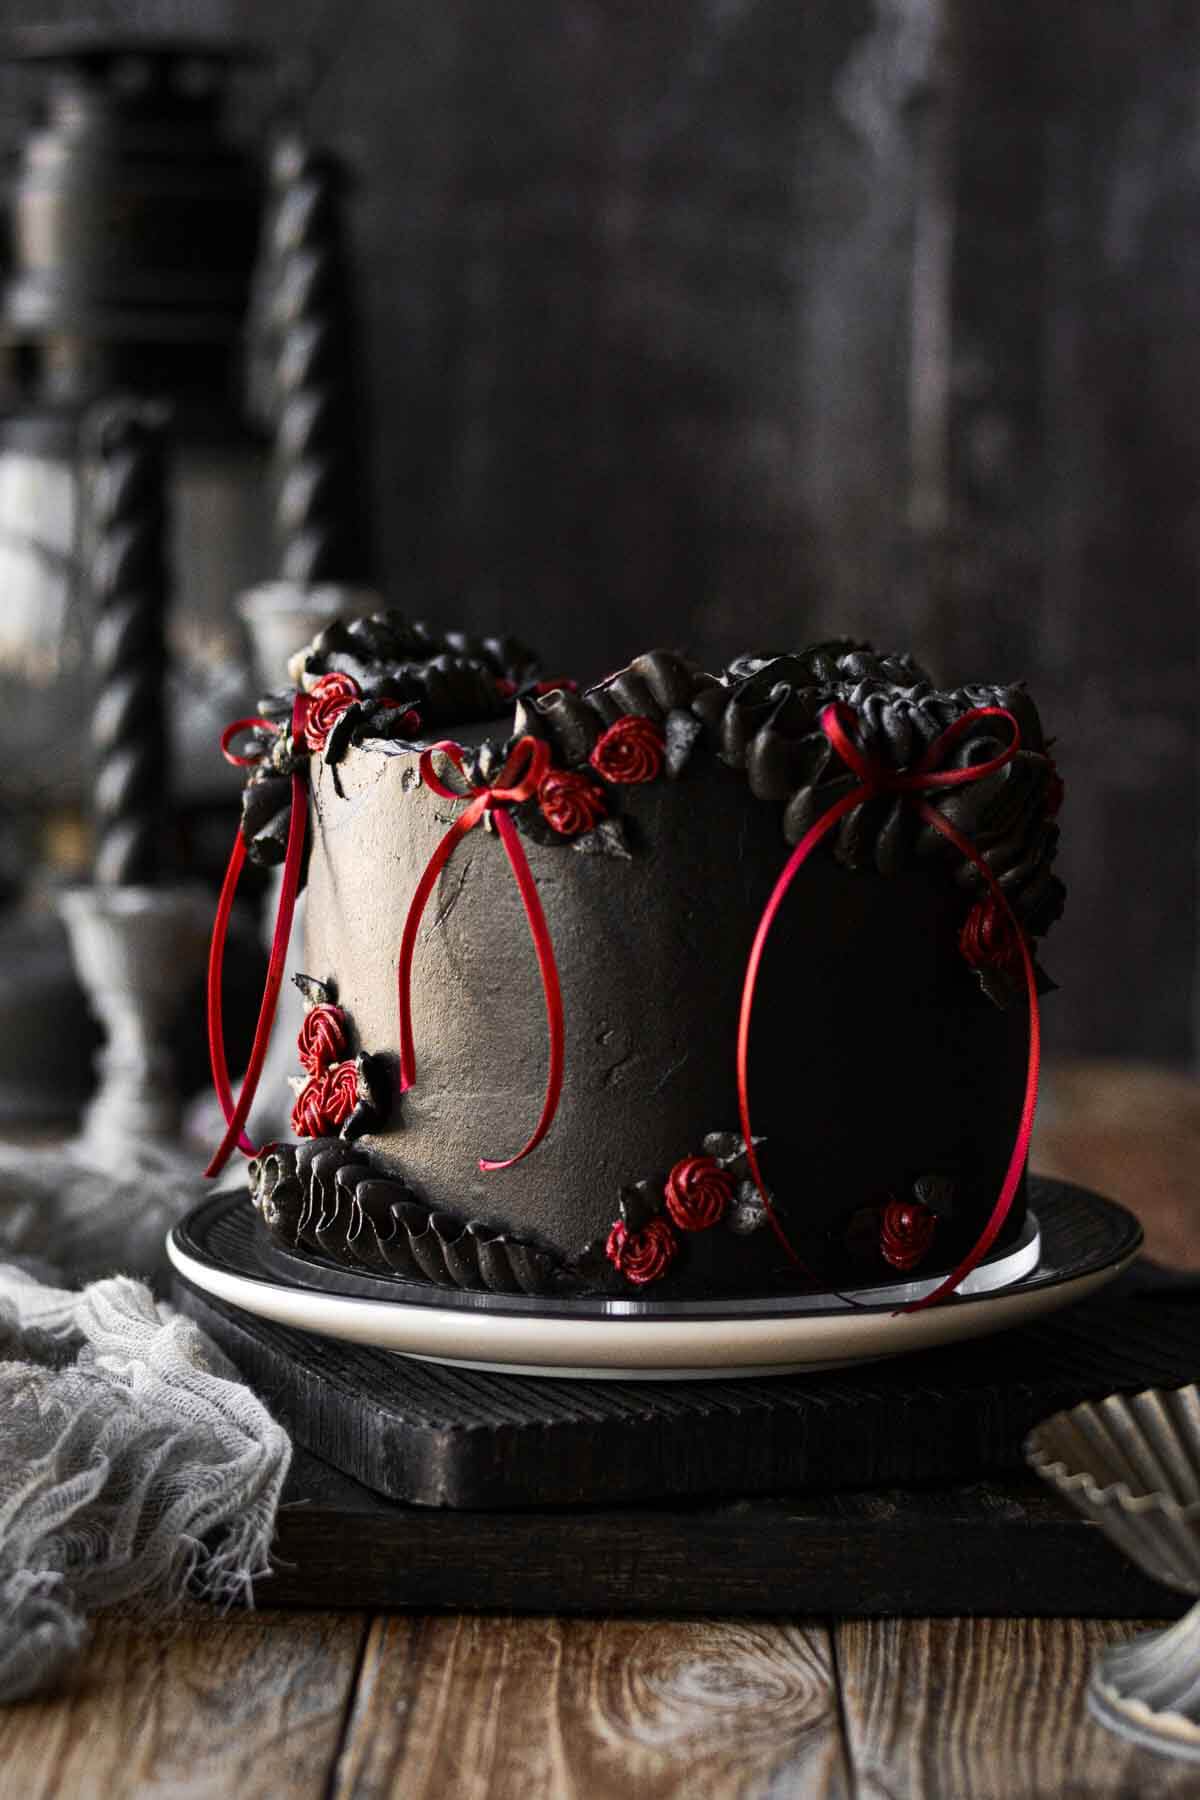
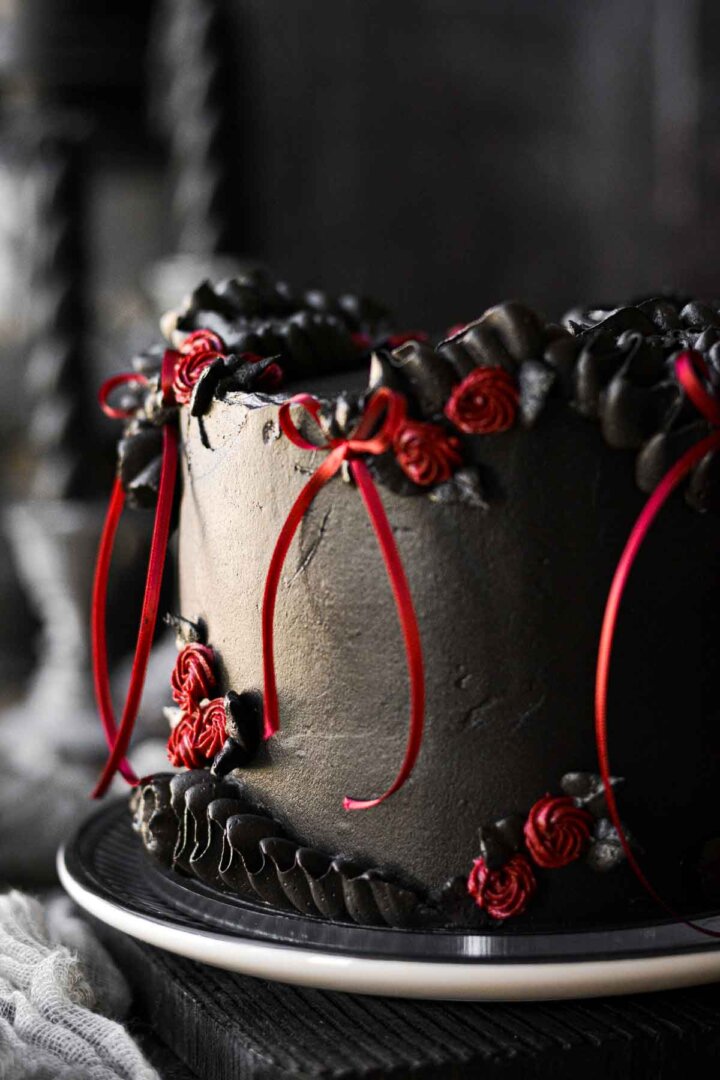
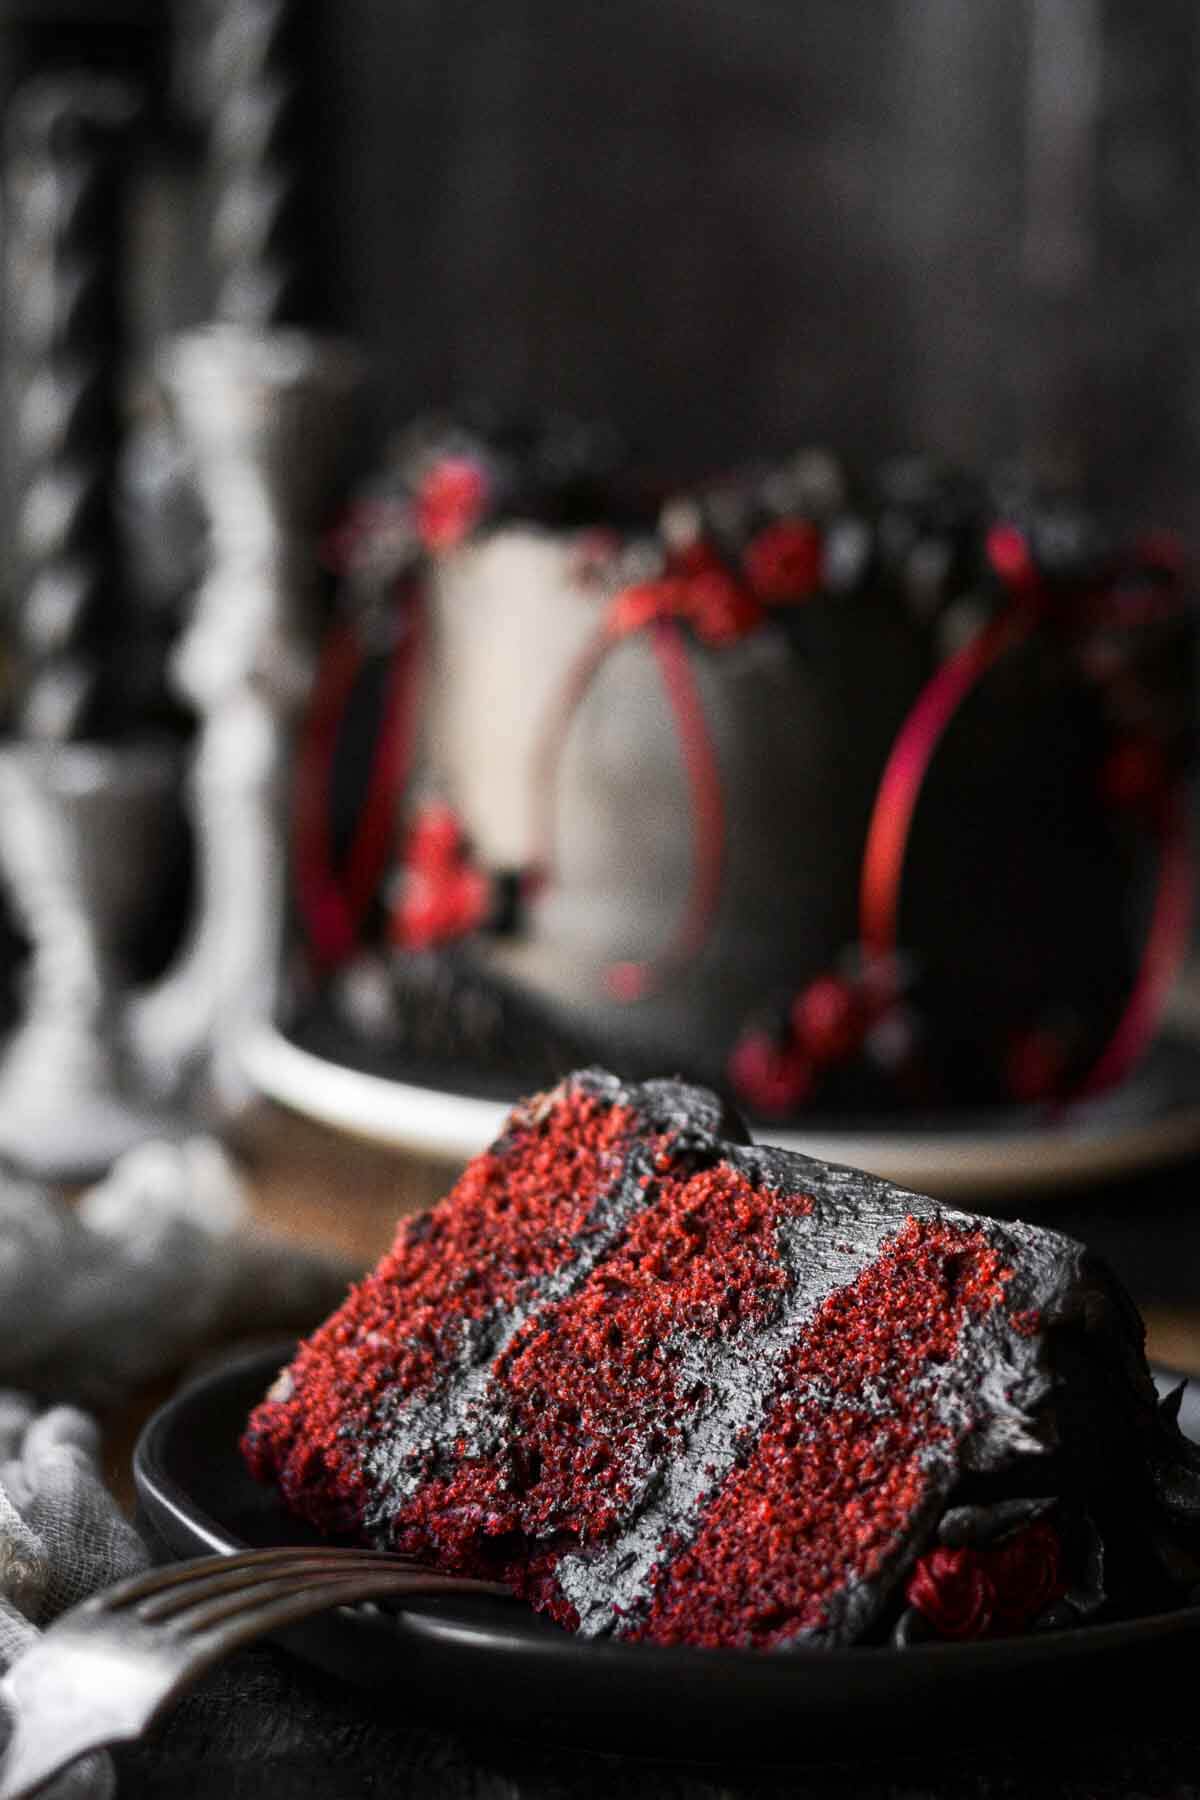
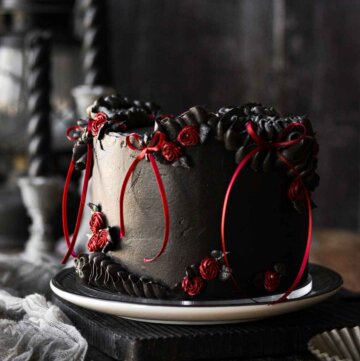
This high altitude red velvet Halloween cake is frosted with black cocoa buttercream and decorated with red ribbons and buttercream piping for a moody, gothic look that’s perfect for this month’s spooky season and holiday parties.
You might also love these recipes for Halloween cupcakes, black velvet cake, and my favorite Halloween cookie recipes.
This site contains affiliate links. As an Amazon associate, I earn from qualifying purchases. This means that I may make a small commission if you purchase a product using those links. This in no way affects my opinion of those products and services. All opinions expressed on this site are my own.
Why You’ll Love This Recipe
Perfect for Halloween. This cake is dark, moody and gothic, but also so elegant for a Halloween party.
High Altitude Tested. I develop all the recipes on my site for Denver’s altitude of 5,280 feet. If you’re at a lower or higher elevation, please see my FAQs for guidance on adjusting recipes for your altitude.
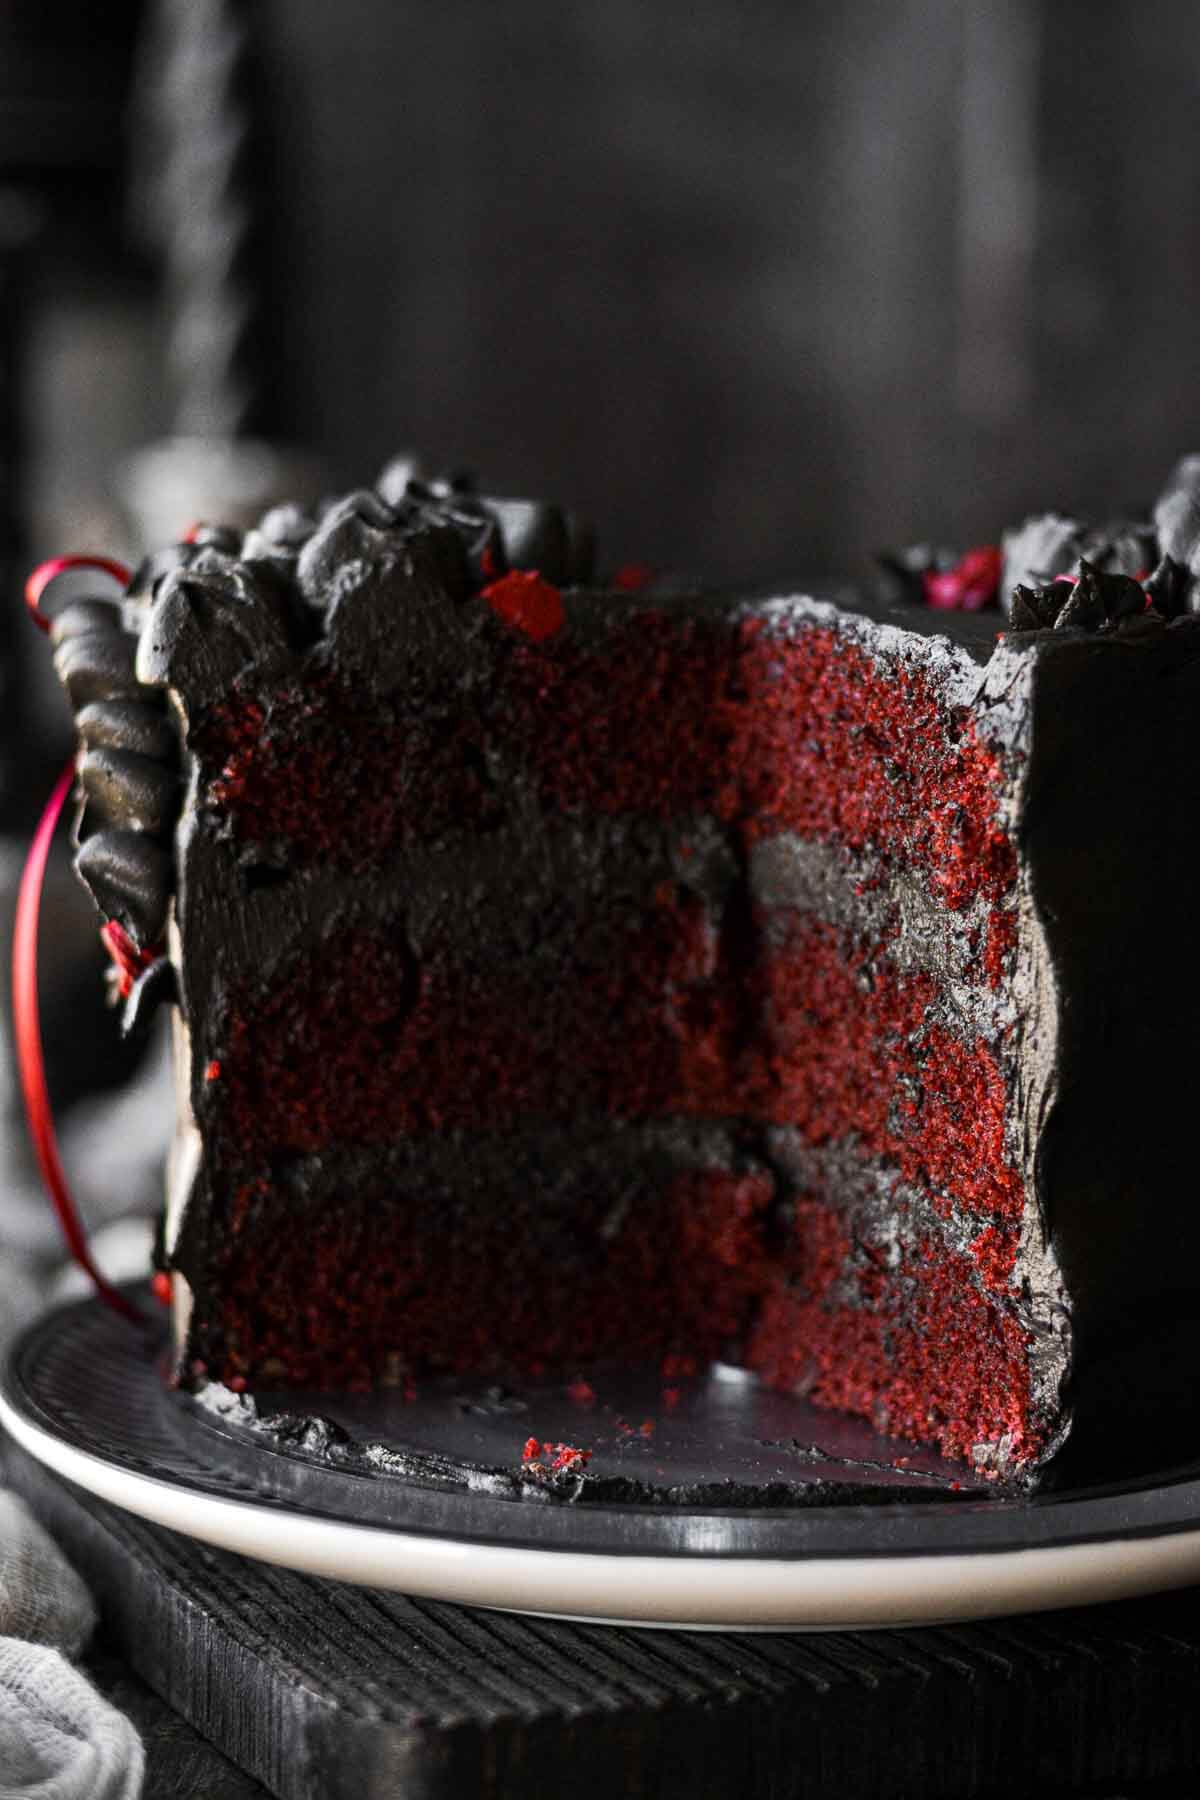
See the recipe card at the end of the post for the full ingredients list and instructions.
Ingredients
- Cake Flour. You could use all-purpose flour, if you like, but I love the lightness of cake flour in this cake.
- Cocoa Powder. I use Dutch processed cocoa powder, which adds a subtle cocoa flavor, but the cake does not taste strongly of chocolate. Traditionally, the cocoa powder reacted with acids in the cake to produce the classic red color. But these days, the cake gets most of its color from red gel food coloring.
- Black Cocoa Powder. For the dark color in the buttercream, you’ll need black cocoa powder. You can read all about various types of cocoa powder in my recipe post for black velvet cake. I like to use The Cocoa Trader black cocoa powder.
- Black Food Coloring. I added a few drops of “super black” gel food coloring to the buttercream to deepen the color, but most of the black color comes naturally from the black cocoa powder.
- Red Food Coloring. I recommend “super red” gel food coloring for the cake.
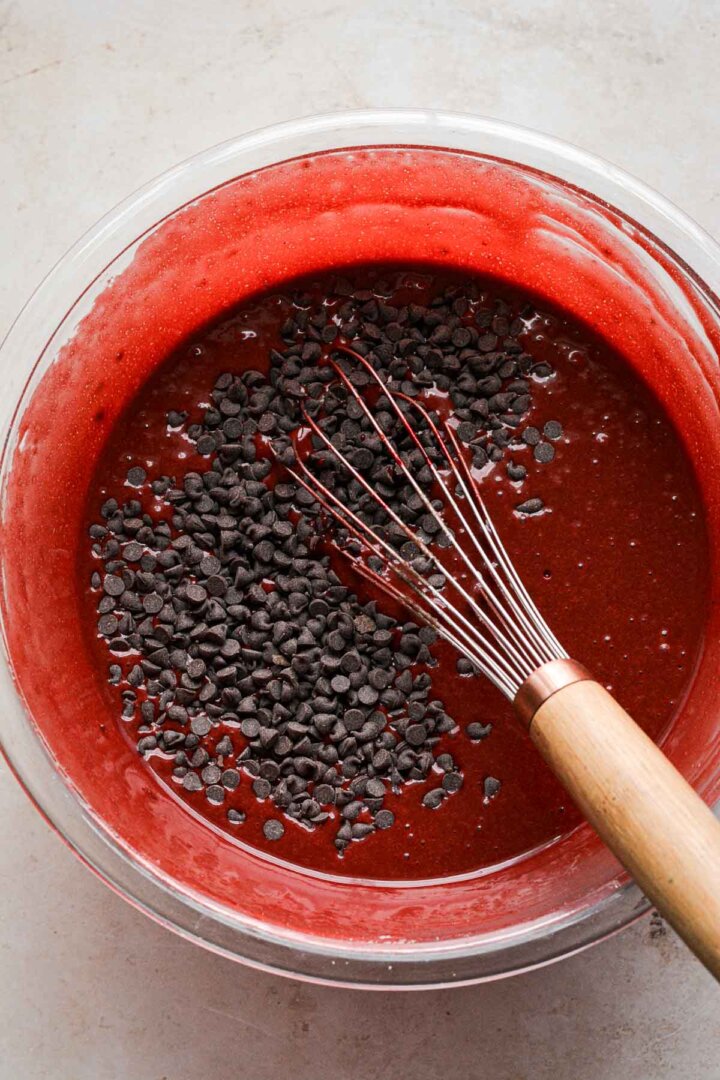
- Chocolate Chips. I added mini chocolate chips to the cake batter; however, the batter is fairly thin and the chocolate tends to sink to the bottom of the pans. Be sure to line your pans with parchment paper so that the chocolate doesn’t stick to the pans.
Instructions
Cake
- Preheat the oven to 350 F, and position a rack in the center of the oven. Lightly spray the bottoms of three 8-inch cake pans with non-stick baking spray, and line the bottoms of the pans with circles of parchment paper.
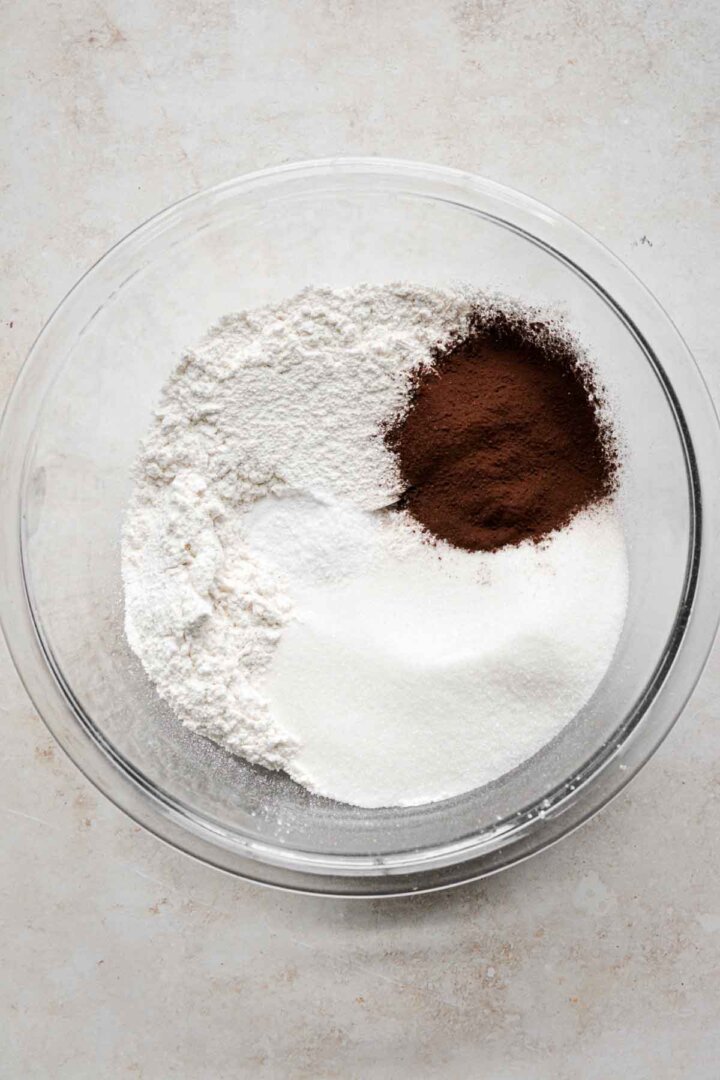
- In a bowl, sift together the flour, sugar, cocoa powder, salt and baking soda.
- In a separate large bowl, whisk together the eggs, oil, buttermilk, vinegar, vanilla and a few drops of red gel food coloring.
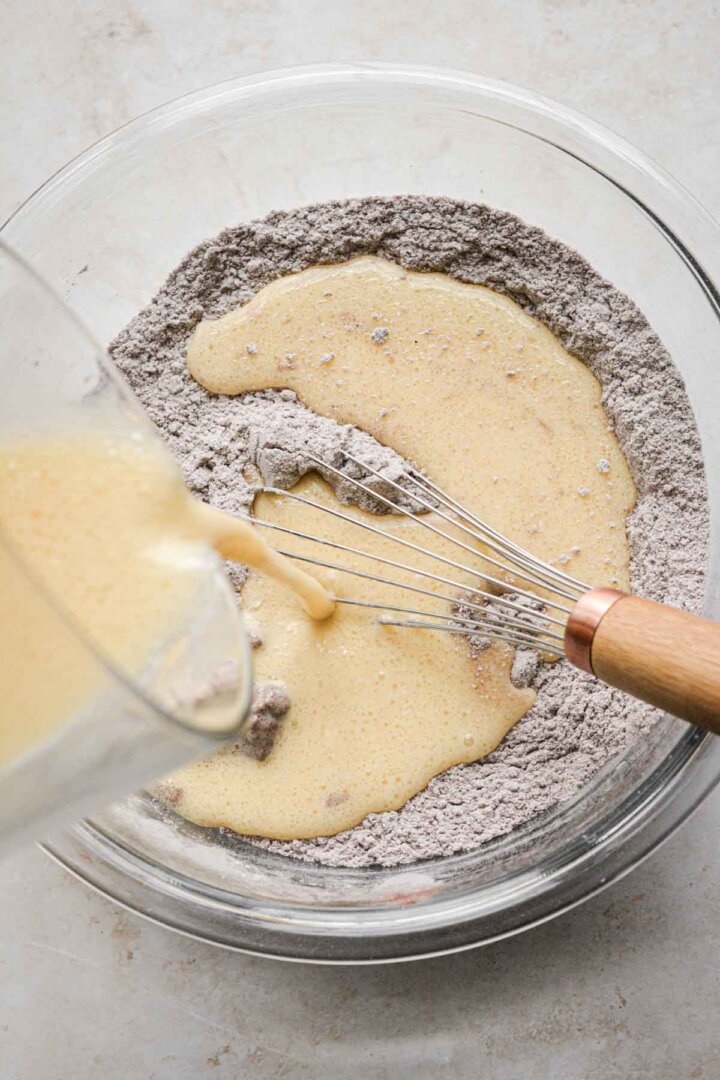
- Add the wet ingredients to the dry, and whisk briefly, just until combined and smooth; don’t over-mix. If adding mini chocolate chips, you can fold them in now.
- Divide the batter between the pans and bake on the middle rack in the oven for about 25-28 minutes, until a cake tester inserted into the center of the cakes comes out clean and the tops spring back when gently touched.
- Set the cakes on a wire rack, cover loosely with a clean kitchen towel and cool completely before frosting.
Buttercream
- In the bowl of your stand mixer fitted with the paddle attachment, beat the butter on medium speed for several minutes until smooth.
- In a separate bowl, combine the powdered sugar, cocoa powder, meringue powder, and salt. Add the sugar mixture to the butter by spoonfuls, mixing on low to combine. Add the vanilla and milk (add the milk only if needed to slightly thin the buttercream), and whip on medium speed for 4-5 minutes, scraping the bowl occasionally, until very light and fluffy.
- Add the black food coloring, only if the color doesn’t seem dark enough. Note that the color of the buttercream will become deeper and darker as it sits, so you may want to make the buttercream several hours in advance, and keep it covered until needed, to check the color before frosting your cake.
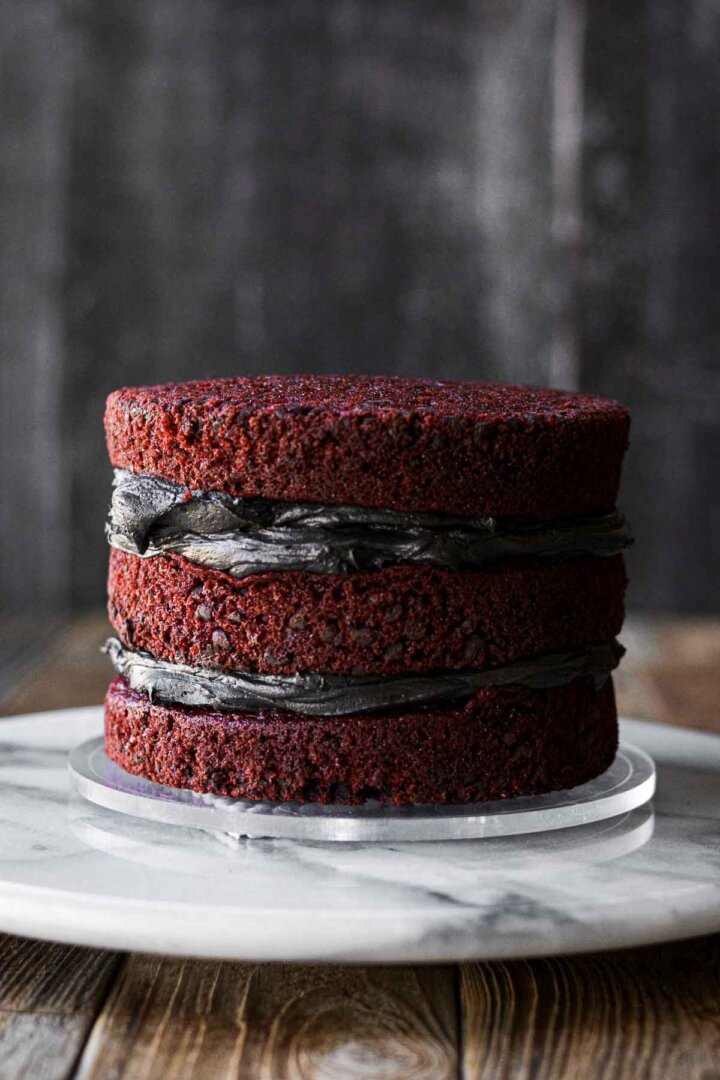
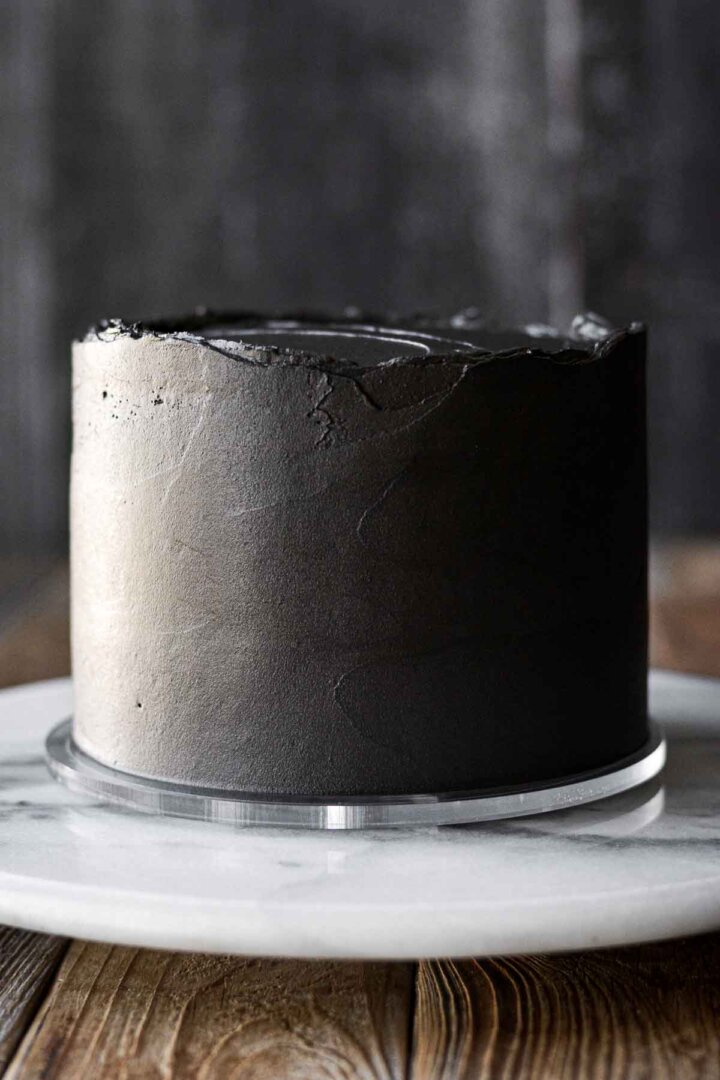
- Fill and stack the cake layers with the buttercream, then frost all over with a very thin crumb coat of buttercream; chill for 30 minutes. Frost the cake all over with a final smooth coat of buttercream
Decorating
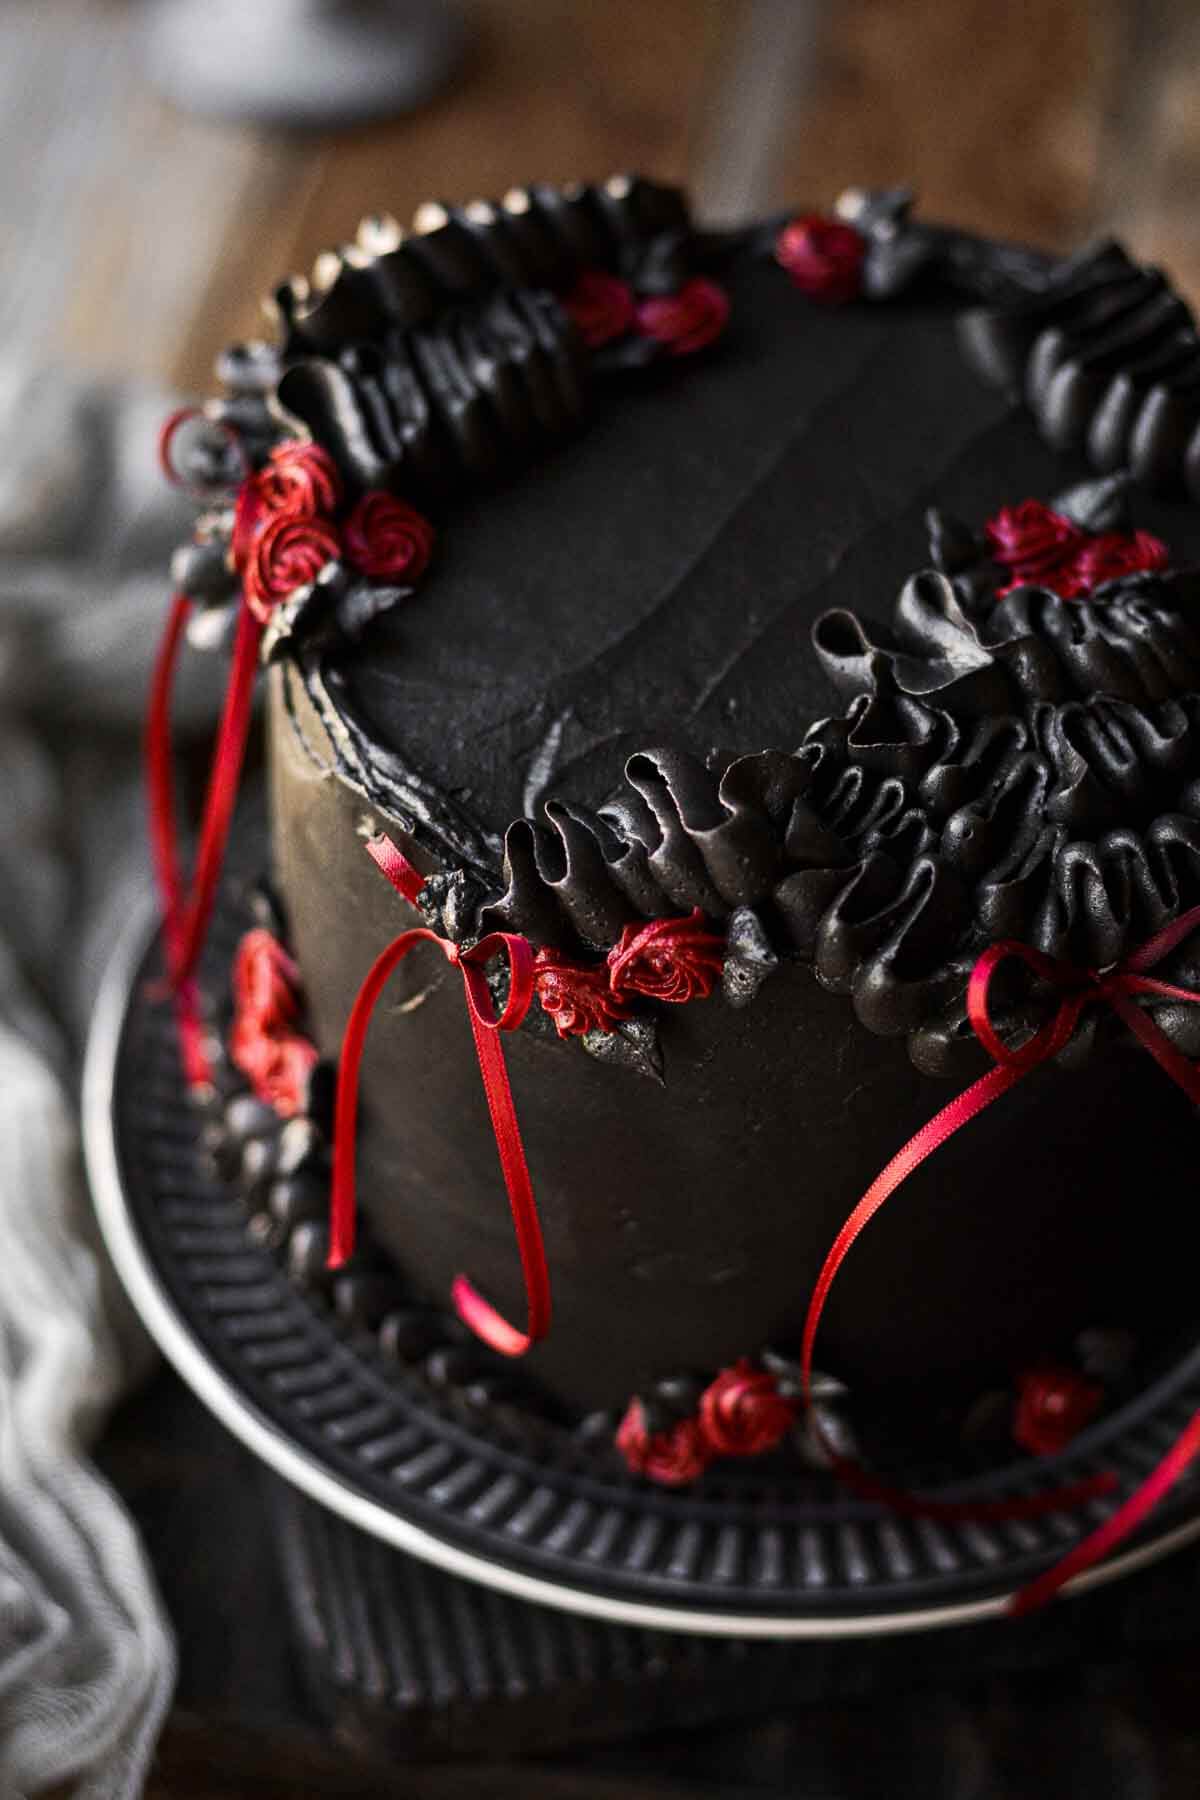
- To decorate my cake, I used tip #104 to pipe some random ribbons or squiggles on the top and sides of the cake.
- Then I used a small amount of vanilla buttercream I had on hand, tinted with super red gel food coloring and a small amount of the black buttercream to deepen the red color, and used tip #18 to pipe some small red rosettes onto the cake.
- I then used tip #352 to add a few black buttercream leaves around the flowers.
- Lastly, I decorated the cake with red ribbons. (See this post for instructions on how to attach ribbons to a cake.)
Other Halloween Cake Decorating Ideas
Dark and Moody Cakes
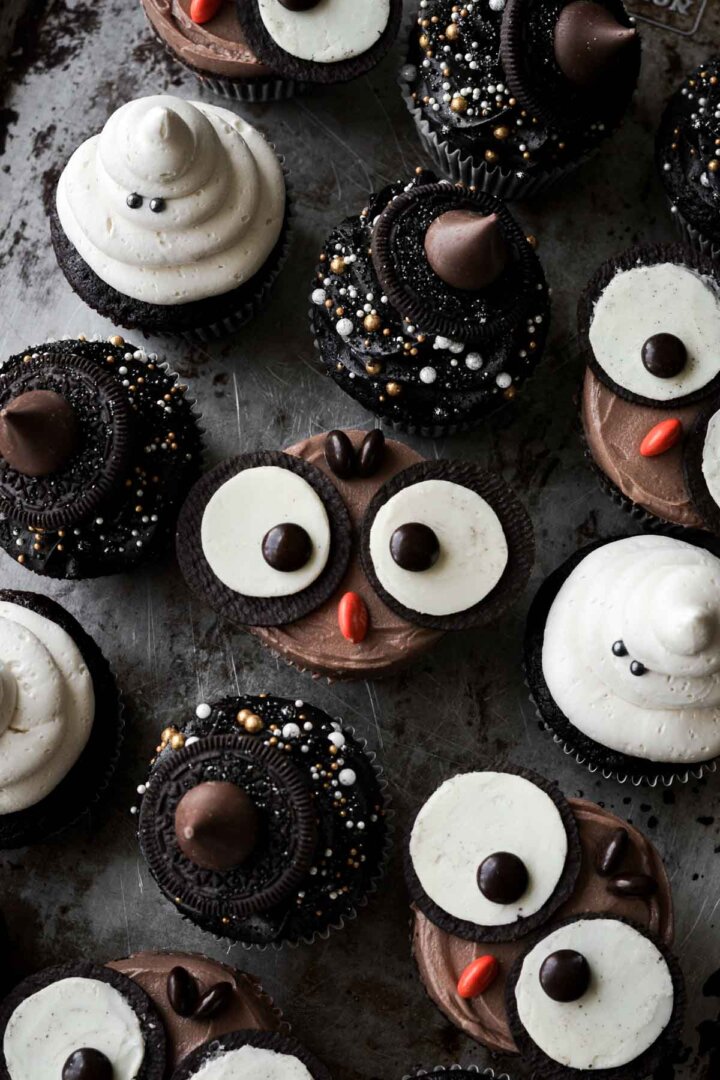
- Halloween Cupcakes. This is a fun assortment of cupcakes that are easy to make. You’ll find instructions for owls, ghosts, and witch hats.
- Black Velvet Cake. A deep, dark chocolate cake, using black cocoa powder in both the cake and buttercream.
- Mini Black Velvet Cake. A mini version of black velvet cake, that serves just four people.
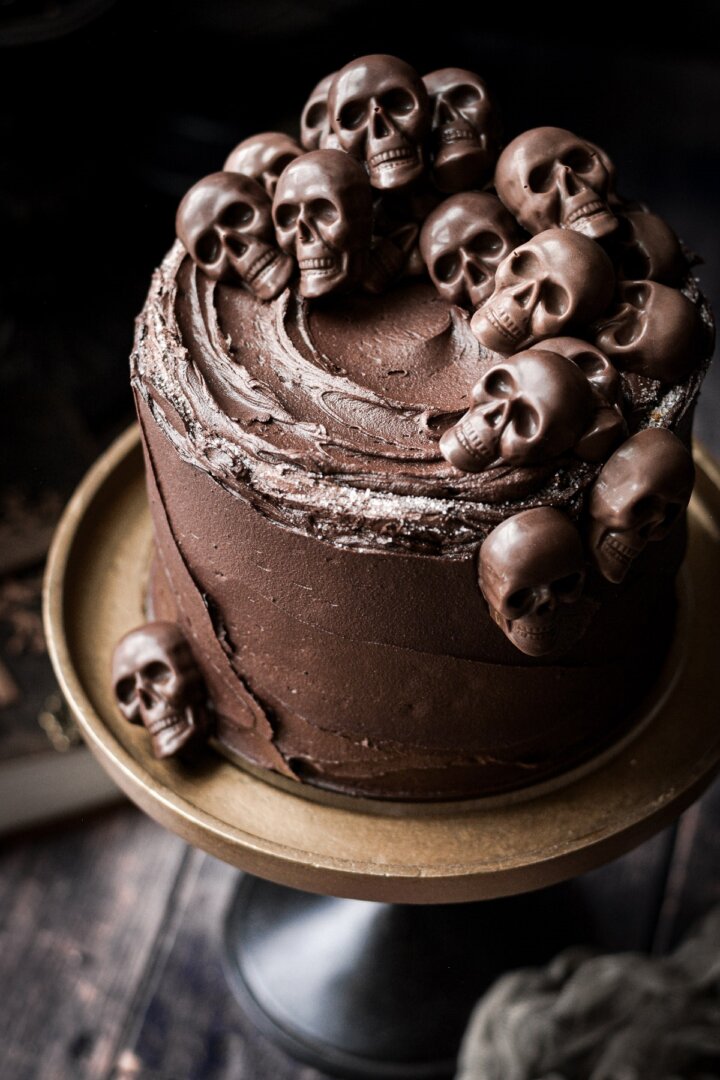
- Chocolate Skull Cake. Ginger spiced cake with chocolate buttercream, decorated with chocolate skulls.
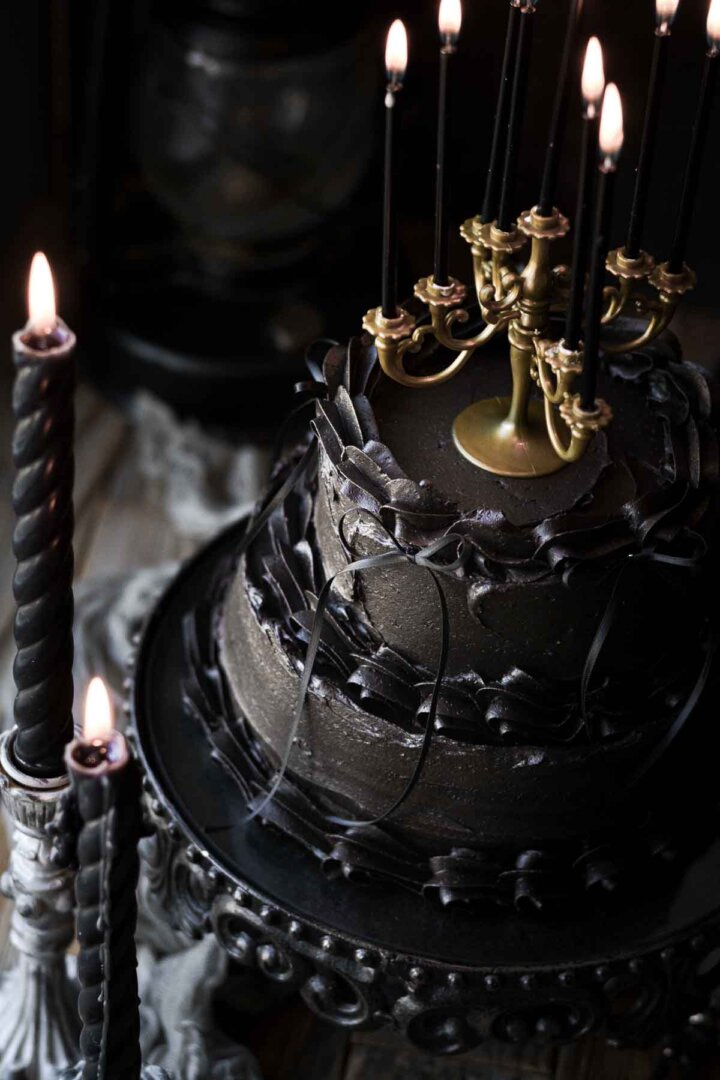
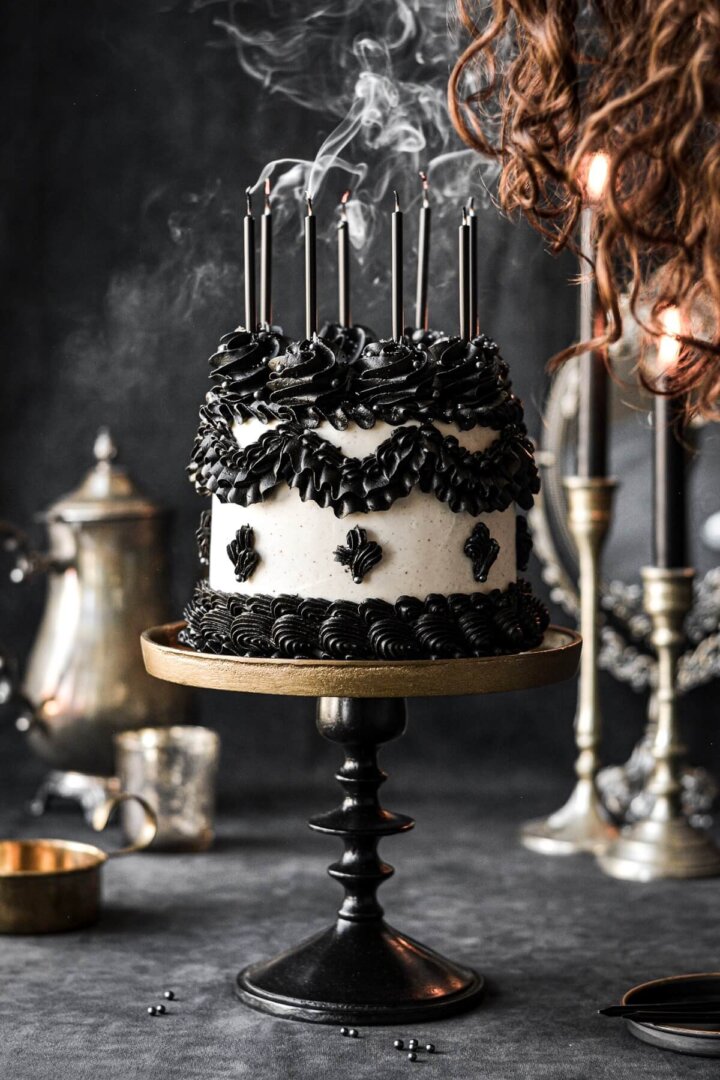
- Black and White Lambeth Style Cake. A tutorial on decorating a cake with the elaborate Lambeth style of buttercream piping.
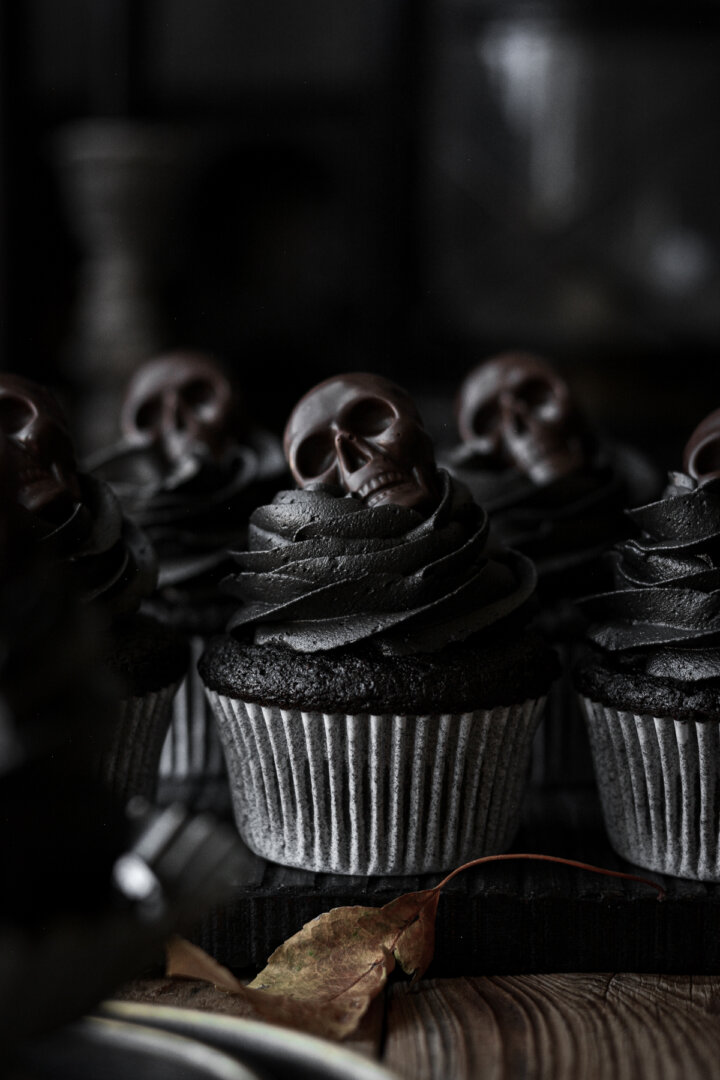
- Black Velvet Cupcakes. Dark chocolate cupcakes made with black cocoa powder, topped with chocolate skulls.
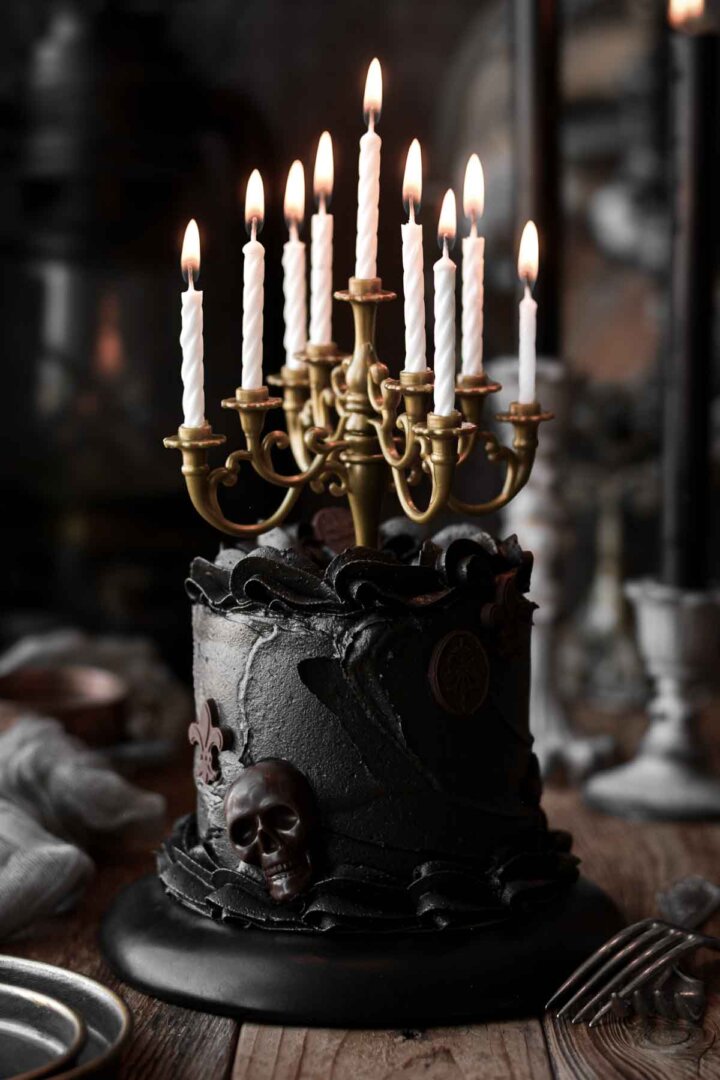
Whimsical Pumpkin Cakes
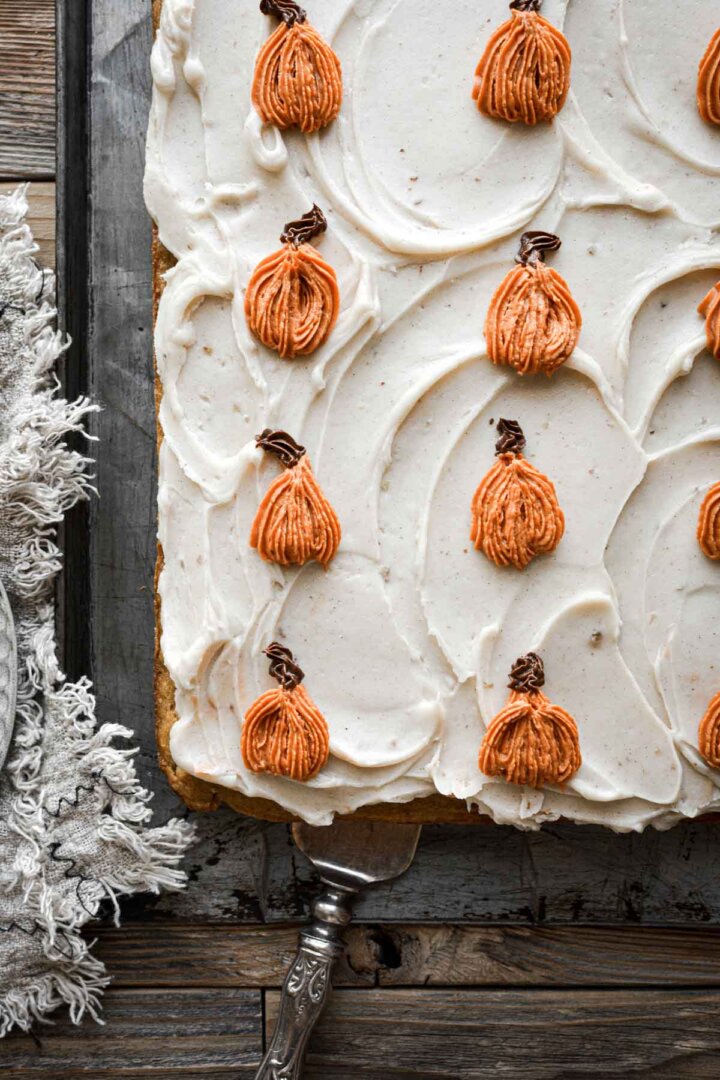
- Frosted Pumpkin Blondies. Soft pumpkin blondies with warm spices and chopped walnuts, frosted with buttercream and piped pumpkins.
- Pumpkin Bundt Cake. This pumpkin shaped bundt cake is soft, moist and tender, rich with nutty brown butter and warm fall spices. Frosted with spiced cream cheese buttercream and decorated with a chocolate stem and chocolate leaves, this cake makes a gorgeous centerpiece for a Thanksgiving dinner dessert table or a Halloween party.
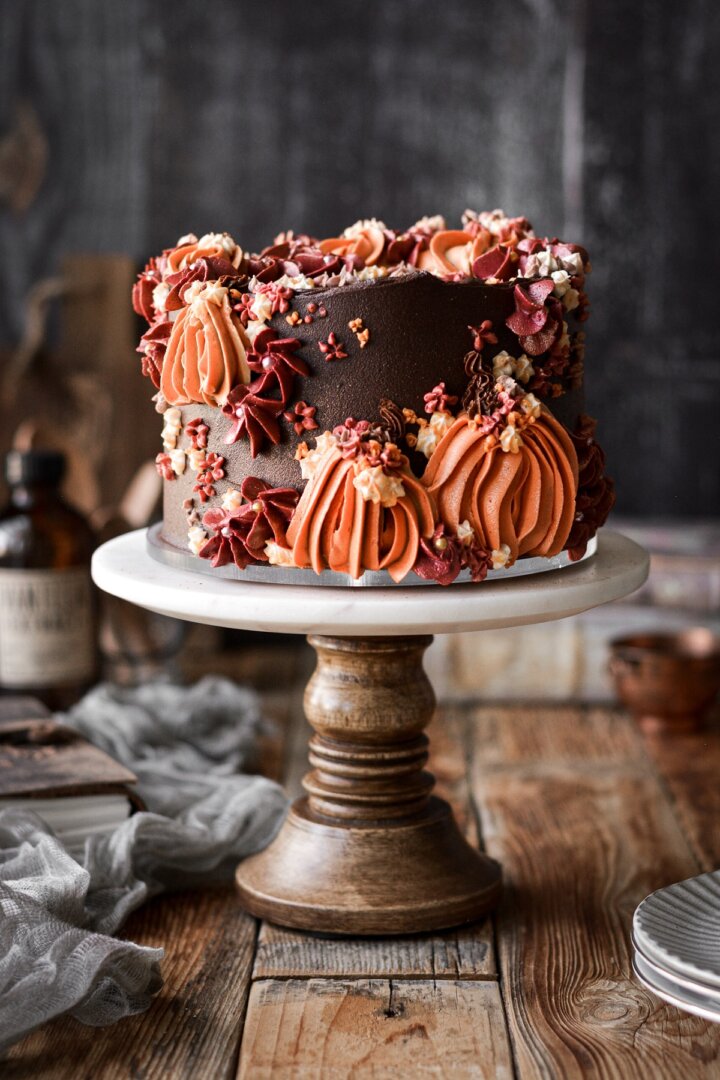
- Autumn Pumpkin Cake. A cake decorating tutorial for the most beautiful Autumn cake with buttercream pumpkins and flowers. This fall themed cake features spiced pumpkin cake frosted with chocolate buttercream, and decorated in rich, moody fall colors of oranges, reds, pinks and browns.
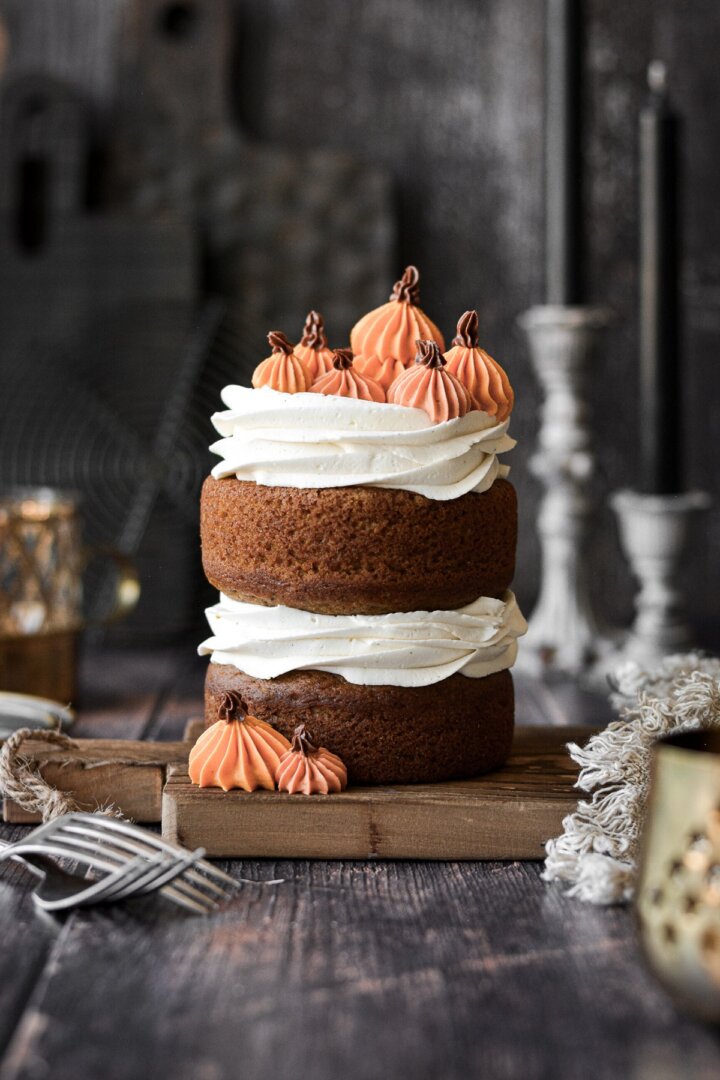
- Mini Pumpkin Cake. The most delicious and moist mini pumpkin cake with vanilla buttercream, in a small size that’s just enough for 2-4 people.
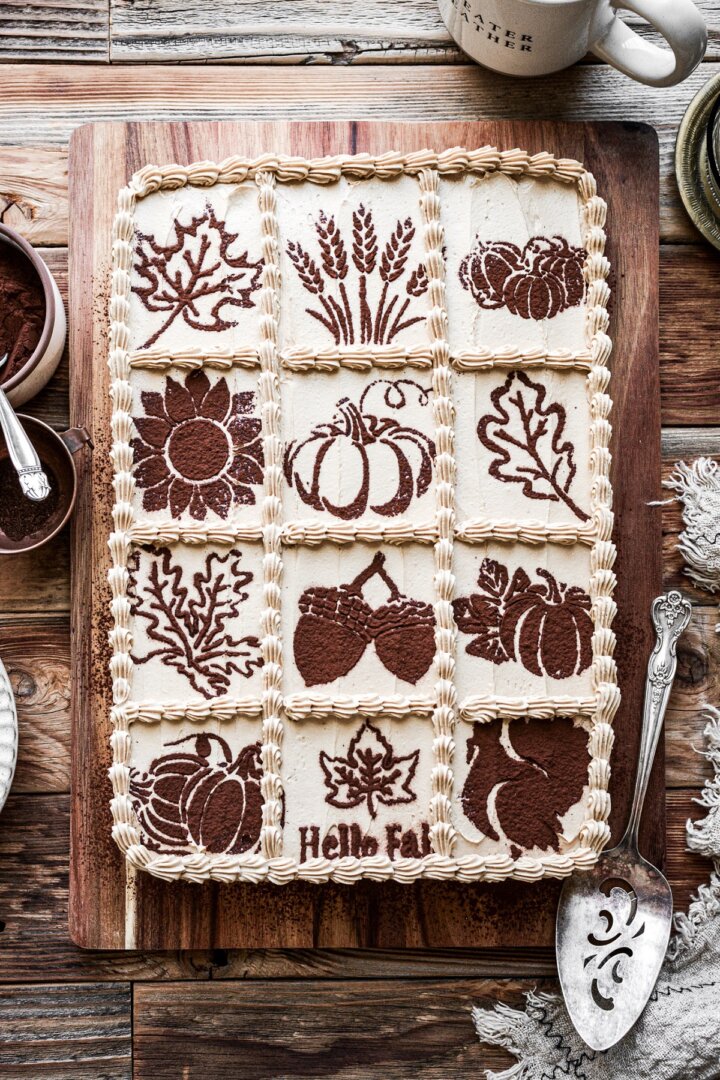
- Chai Pumpkin Sheet Cake. Incredibly moist chai pumpkin sheet cake full of warm spices and brown butter, with fluffy coffee buttercream, decorated with cocoa powder stencils.
- Brown Butter Pumpkin Layer Cake. The best pumpkin cake made with brown butter, cozy fall spices, and sweet and tangy cream cheese vanilla bean buttercream.

Be sure to read all of my BAKING FAQs where I discuss ingredients, substitutions and common questions with cake making, so that you can be successful in your own baking! I also suggest reading these comprehensive posts on making Perfect American Buttercream, How to Stack, Fill, Crumb Coat and Frost Layer Cakes and How to Use Piping Bags.
Frequently Asked Questions
Store the leftover cake in an airtight container at room temperature for up to 3 days.
I buy black cocoa powder on Amazon.
You Might Also Like


Please check out my Amazon Shop for a curated collection of some of my favorite cake pans from trusted brands, baking tools, ingredients, pretty things and fashion finds. I recommend products that I buy and use every day!
Did you love today’s recipe? Please rate the recipe and let me know in the comments what you thought! Also, be sure to follow Curly Girl Kitchen on Instagram, and tag me when you try one of my recipes so I can see all your delicious creations!
High Altitude Red Velvet Cake with Black Cocoa Buttercream
All recipes on Curly Girl Kitchen are developed for high altitude at 5,280 feet. See FAQs for adjusting to higher or lower elevations.
Equipment
- Stand Mixer with Paddle Attachment
- 8-inch cake pans (x3)
Ingredients
Cake
- 3 cups cake flour, fluffed, spooned, and leveled
- 1 ¾ cups granulated sugar
- ¼ cup unsweetened Dutch processed cocoa powder
- 1 tsp coarse Kosher salt (if using table salt, use half the amount)
- 1 tsp baking soda
- 4 large eggs
- 1 cup vegetable oil
- 1 ⅔ cups whole buttermilk
- 1 tbsp white distilled vinegar
- 2 tsp vanilla extract
- red gel food coloring
- ¾ cup mini semi sweet chocolate chips, optional (see notes)
Buttercream
- 2 cups unsalted butter, softened to room temperature
- 3 cups powdered sugar
- ½ cup unsweetened Dutch processed cocoa powder
- ½ cup black cocoa powder
- 1 tbsp meringue powder, optional
- ¼ tsp coarse Kosher salt (if using table salt, use half the amount)
- 2 tsp vanilla extract
- 2-4 tbsp milk, only if needed for consistency
- ½ tsp "super black" gel food coloring, optional
Instructions
Cake
- Preheat the oven to 350 F, and position a rack in the center of the oven. Lightly spray the bottoms of three 8-inch cake pans with non-stick baking spray, and line the bottoms of the pans with circles of parchment paper.
- In a bowl, sift together the flour, sugar, cocoa powder, salt and baking soda.
- In a separate large bowl, whisk together the eggs, oil, buttermilk, vinegar, vanilla and a few drops of red gel food coloring.
- Add the wet ingredients to the dry, and whisk briefly, just until combined and smooth; don’t over-mix. If adding mini chocolate chips, you can fold them in now.
- Divide the batter between the pans and bake on the middle rack in the oven for about 25-28 minutes, until a cake tester inserted into the center of the cakes comes out clean and the tops spring back when gently touched.
- Set the cakes on a wire rack, cover loosely with a clean kitchen towel and cool completely before frosting.
Buttercream
- In the bowl of your stand mixer fitted with the paddle attachment, beat the butter on medium speed for several minutes until smooth.
- In a separate bowl, combine the powdered sugar, cocoa powder, meringue powder, and salt. Add the sugar mixture to the butter by spoonfuls, mixing on low to combine. Add the vanilla and milk (add the milk only if needed to slightly thin the buttercream), and whip on medium speed for 4-5 minutes, scraping the bowl occasionally, until very light and fluffy.
- Add the black food coloring, only if the color doesn't seem dark enough. Note that the color of the buttercream will become deeper and darker as it sits, so you may want to make the buttercream several hours in advance, and keep it covered until needed, to check the color before frosting your cake.
- Fill and stack the cake layers with the buttercream, then frost all over with a very thin crumb coat of buttercream; chill for 30 minutes. Frost the cake all over with a final smooth coat of buttercream
Decorating
- To decorate my cake, I used tip #104 to pipe some random ribbons or squiggles on the top and sides of the cake.
- Then I used a small amount of vanilla buttercream I had on hand, tinted with super red gel food coloring and a small amount of the black buttercream to deepen the red color, and used tip #18 to pipe some small red rosettes onto the cake.
- I then used tip #352 to add a few black buttercream leaves around the flowers.
- Lastly, I decorated the cake with red ribbons. (See this post for instructions on how to attach ribbons to a cake.)
Notes
 https://curlygirlkitchen.com/
Leave a Reply