
I hope you all had a wonderful Christmas! We spent the holiday at home, and it was a quiet week for us (at least, as quiet as things can be when you have 1 and 3 year old boys who are so excited to wake up and discover that Santa brought presents the night before). We played outside, did a little more baking, watched Christmas movies, ate cookies, and just enjoyed time with our boys. We had a simple Christmas dinner of prime rib with cabbage rolls and kale salad, and chocolate cream pie for dessert. And, this “Going Home for Christmas” cake. Isn’t home the best place to be for the holidays?
This site contains affiliate links. As an Amazon associate, I earn from qualifying purchases. This means that I may make a small commission if you purchase a product using those links. This in no way affects my opinion of those products and services. All opinions expressed on this site are my own.
Home for the Holidays
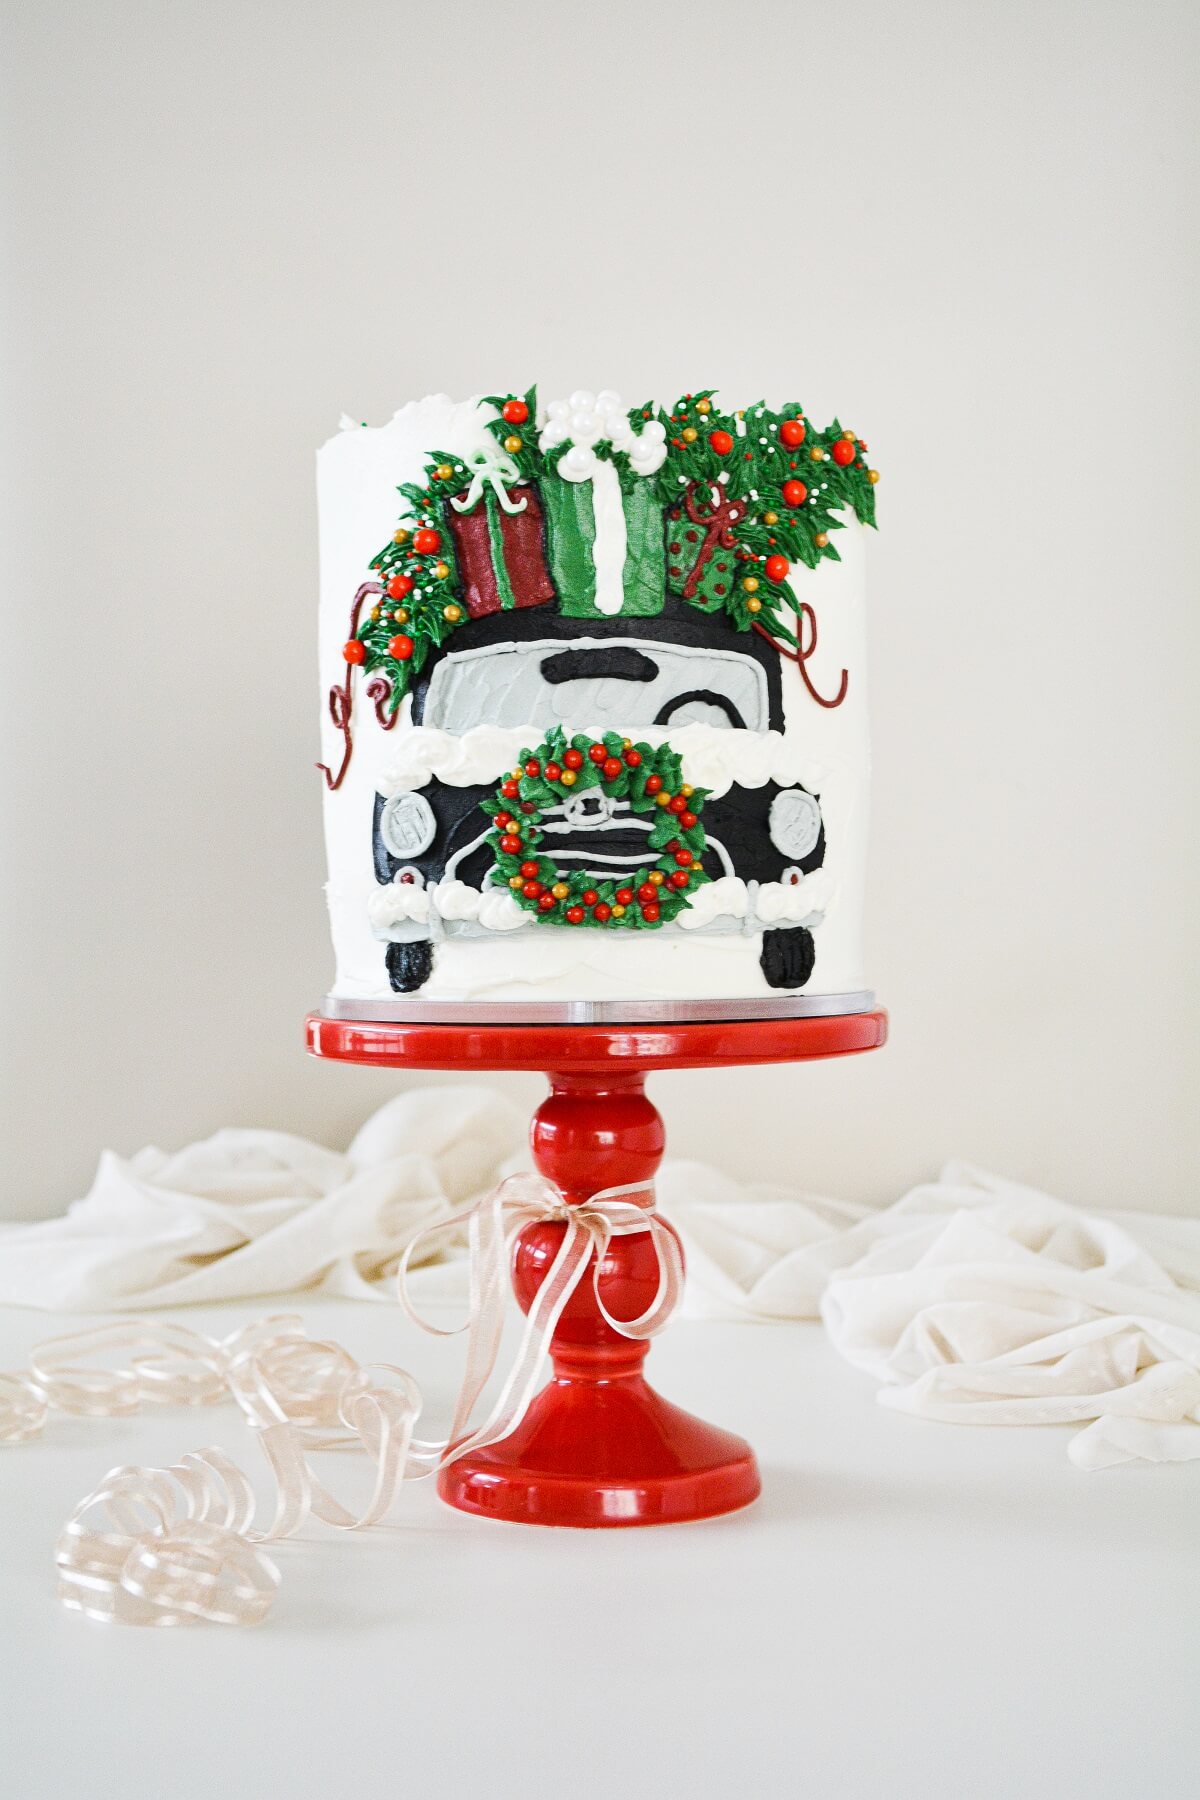
I just love everything about this Christmas cake design. To me, this says “home for the holidays”. I can picture a vintage car piled with presents and a Christmas tree, traveling along snowy, tree-lined country roads. People heading home to see family and friends, looking forward to drinking hot chocolate by a warm fire while the snow drifts outside, and eating too much apple pie and ginger molasses cookies.
Painting in Buttercream
It’s very hard for me each year to decide on just a few designs for our Christmas cakes. There are so many beautiful and creative cakes that I’d love to make. I usually decorate one cake for my husband’s work party and one for our own Christmas, and two cakes just isn’t enough for all the ideas I have! So it’s with difficulty that I have to reign in my ideas and choose a theme. I had recently bought a gift box that had such a cute image of a vintage car loaded haphazardly with presents and a tree, and so I decided to try to re-create the image in buttercream.
Making a design like this in just buttercream requires a combination of both piping and spreading to sort of “paint” the design onto your cake, and takes a bit of patience as you have to work in several phases and let the frosting chill before you start the next layer. And since I rarely take the time to photograph a cake design throughout the process of decorating (and have no video skills) – not to mention, I took several days to finish this one with long breaks in between, finishing the details at night after my boys were in bed – I’ll just describe the steps for you, should you want to give it a try. And I hope you do!
Instructions
- Bake the Cake. To begin, bake your cake! Any flavor will do. I wanted my cake to be very tall, so I baked my recipe for Spice Cake in four 6-inch cake pans.
- Make the Buttercream. You’ll need a cake that’s frosted in a “crusting” buttercream (most American buttercreams are crusting buttercreams, but Swiss and Italian meringue buttercreams are not). I filled and frosted the cake with my Perfect American Buttercream, flavored with vanilla and orange extracts. Because it’s so tall, I added a supportive cardboard cake circle between the 2nd and 3rd layers, with a wooden skewer down the center to ensure it wouldn’t try to topple as I moved it from the counter to the refrigerator. You’ll also want to make more frosting that you might think you’ll need. I made 6x my buttercream formula, since I was going to be dividing and coloring portions of it, and wanted to make sure I wouldn’t run out. You can always freeze all the leftover bits of buttercream to layer between sandwich cookies or spread over brownies or cupcakes.
- Chill the Cake. After filling, stacking, crumb-coating and frosting the cake, you’ll need to chill it – thoroughly. I let mine chill overnight so that I could start the decorating the next morning, but 3-4 hours is sufficient. You just need to buttercream to be firm enough so that when you pipe and spread more buttercream on top of it, it won’t all squish and blend together. Your base coat of buttercream is your blank canvas, and it needs to be firm.
- Outline the Car. The next step was to make the car. With a toothpick, I traced an outline of the car onto the chilled buttercream, just to have a basic idea of the proportions and where everything would go. Then I filled a piping bag with black buttercream, fitted it with a small round tip and piped on the outline. Continuing to use the piping bag, I filled in the body of the car and the tires. Once all the frosting was on the cake, I switched to a small icing spatula and gently spread and smoothed the frosting out. It doesn’t have to be perfectly smooth – after all, this is buttercream and not fondant, so it’s perfectly all right to be able to see the texture of the frosting. Once the body of the car was done, I put the cake back in the fridge to let the black buttercream firm up.
- Divide and Tint the Buttercream. While the cake was chilling, I divided and tinted the rest of the buttercream and filled piping bags so that everything was ready to go.
- Add the Details. Using the “pipe-then-spread” method, I added the grey of the windshield, headlights and bumper. I piped on the black steering wheel and rear-view mirror. I piped on the grey lines of the front grill on the car. I piped the snow onto the car in big swirls, and gently spread that around a bit with the icing spatula. Continuing to “pipe-then-spread”, I made the presents on top of the car.
- Add the Final Touches. For the wreath, things got a bit more fun, and I switched to a small leaf tip to pipe on leaves to make the wreath on the front of the car. Then I switched to a small star tip and piped the branches of the Christmas tree, as though it were tied onto the top of the car behind the presents. I used a small round tip to pipe on the red ribbons flowing from either side.
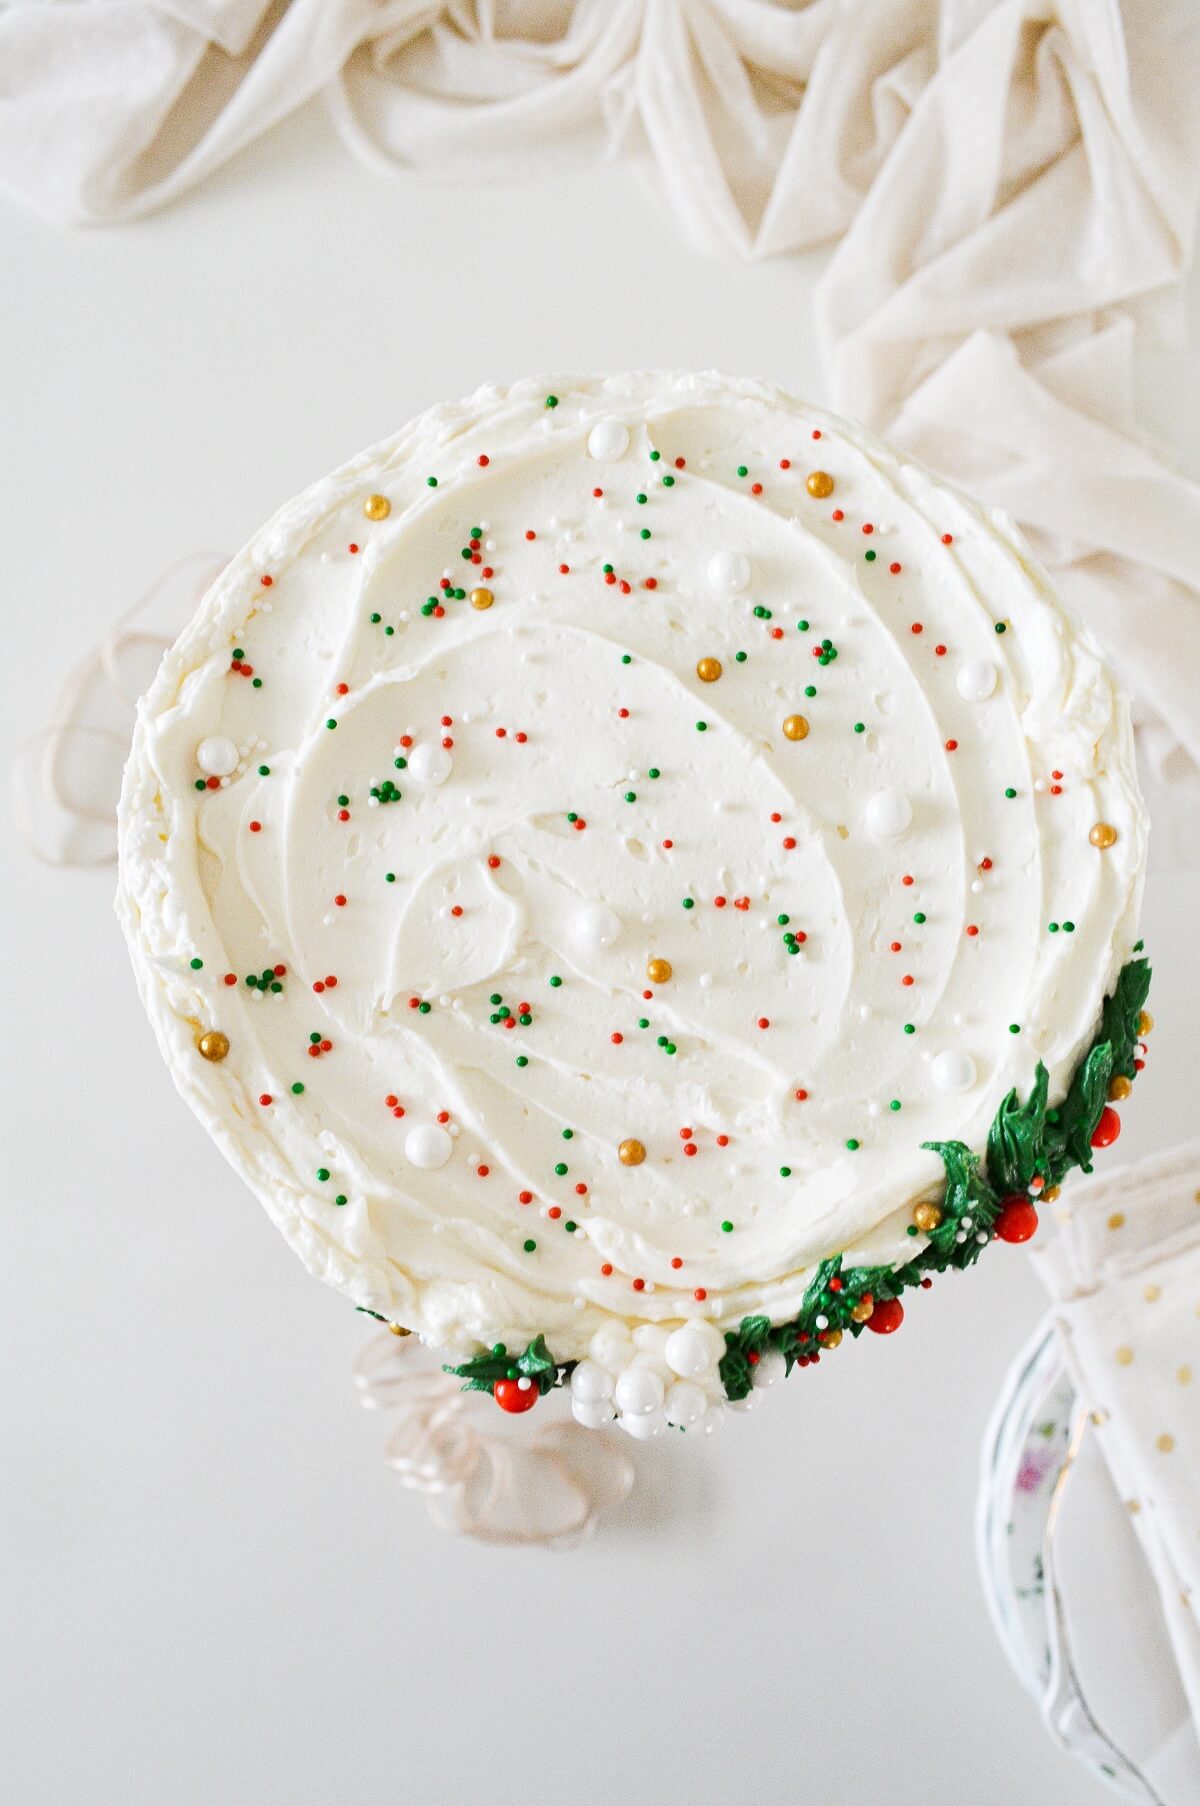
- Sprinkles and Sugar Pearls. And lastly, for a bit of dimension and to really make the design pop, I added red and gold sugar pearls to the tree and wreath, and tossed a few small sprinkles onto the tree.
I hope this cake fills you with a love for Christmas and family time, and inspires you to try your own buttercream design!
Be sure to read all of my BAKING FAQs where I discuss ingredients, substitutions and common questions with cake making, so that you can be successful in your own baking! I also suggest reading these comprehensive posts on making Perfect American Buttercream, How to Stack, Fill, Crumb Coat and Frost Layer Cakes and How to Use Piping Bags.
You Might Also Like
Please check out my Amazon Shop for a curated collection of some of my favorite cake pans from trusted brands, baking tools, ingredients, pretty things and fashion finds. I recommend products that I buy and use every day!
You are one of a kind 🙂 So cute!