
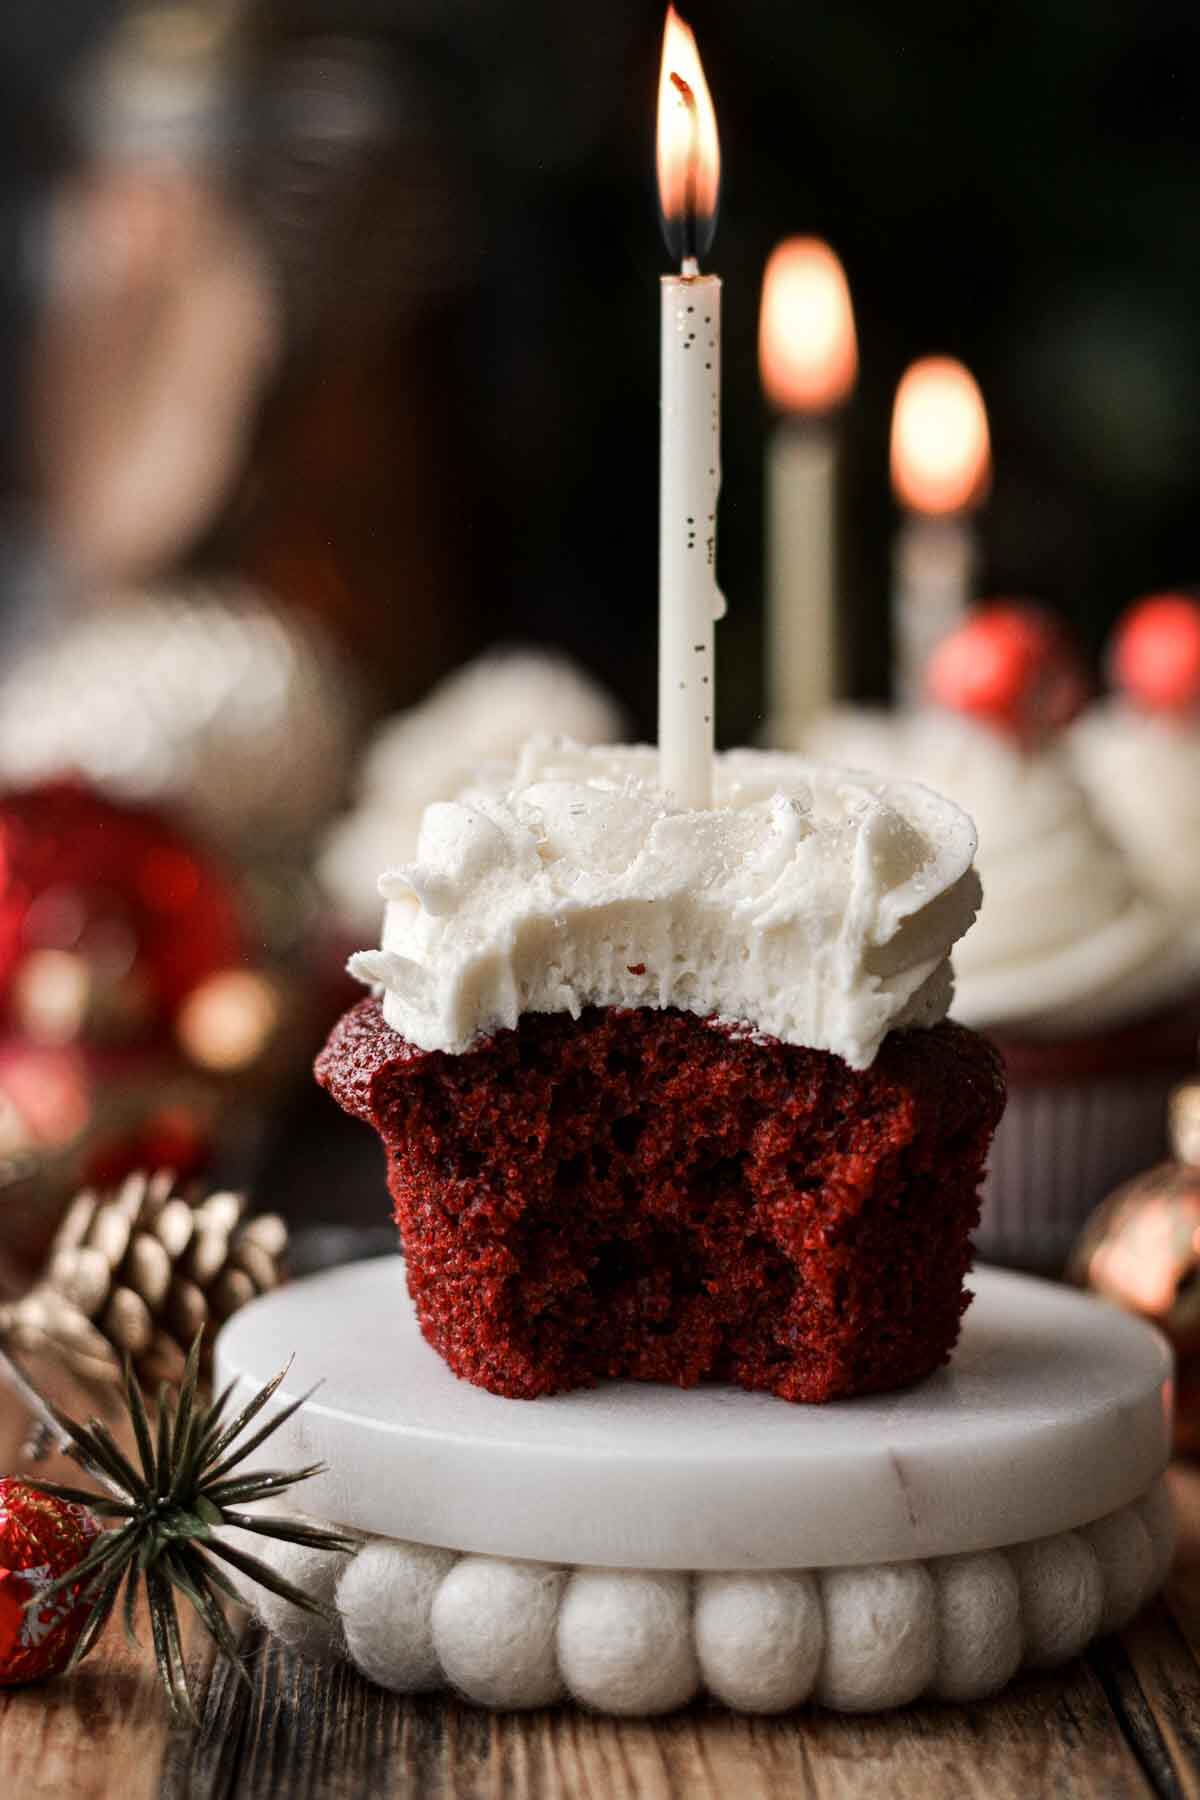
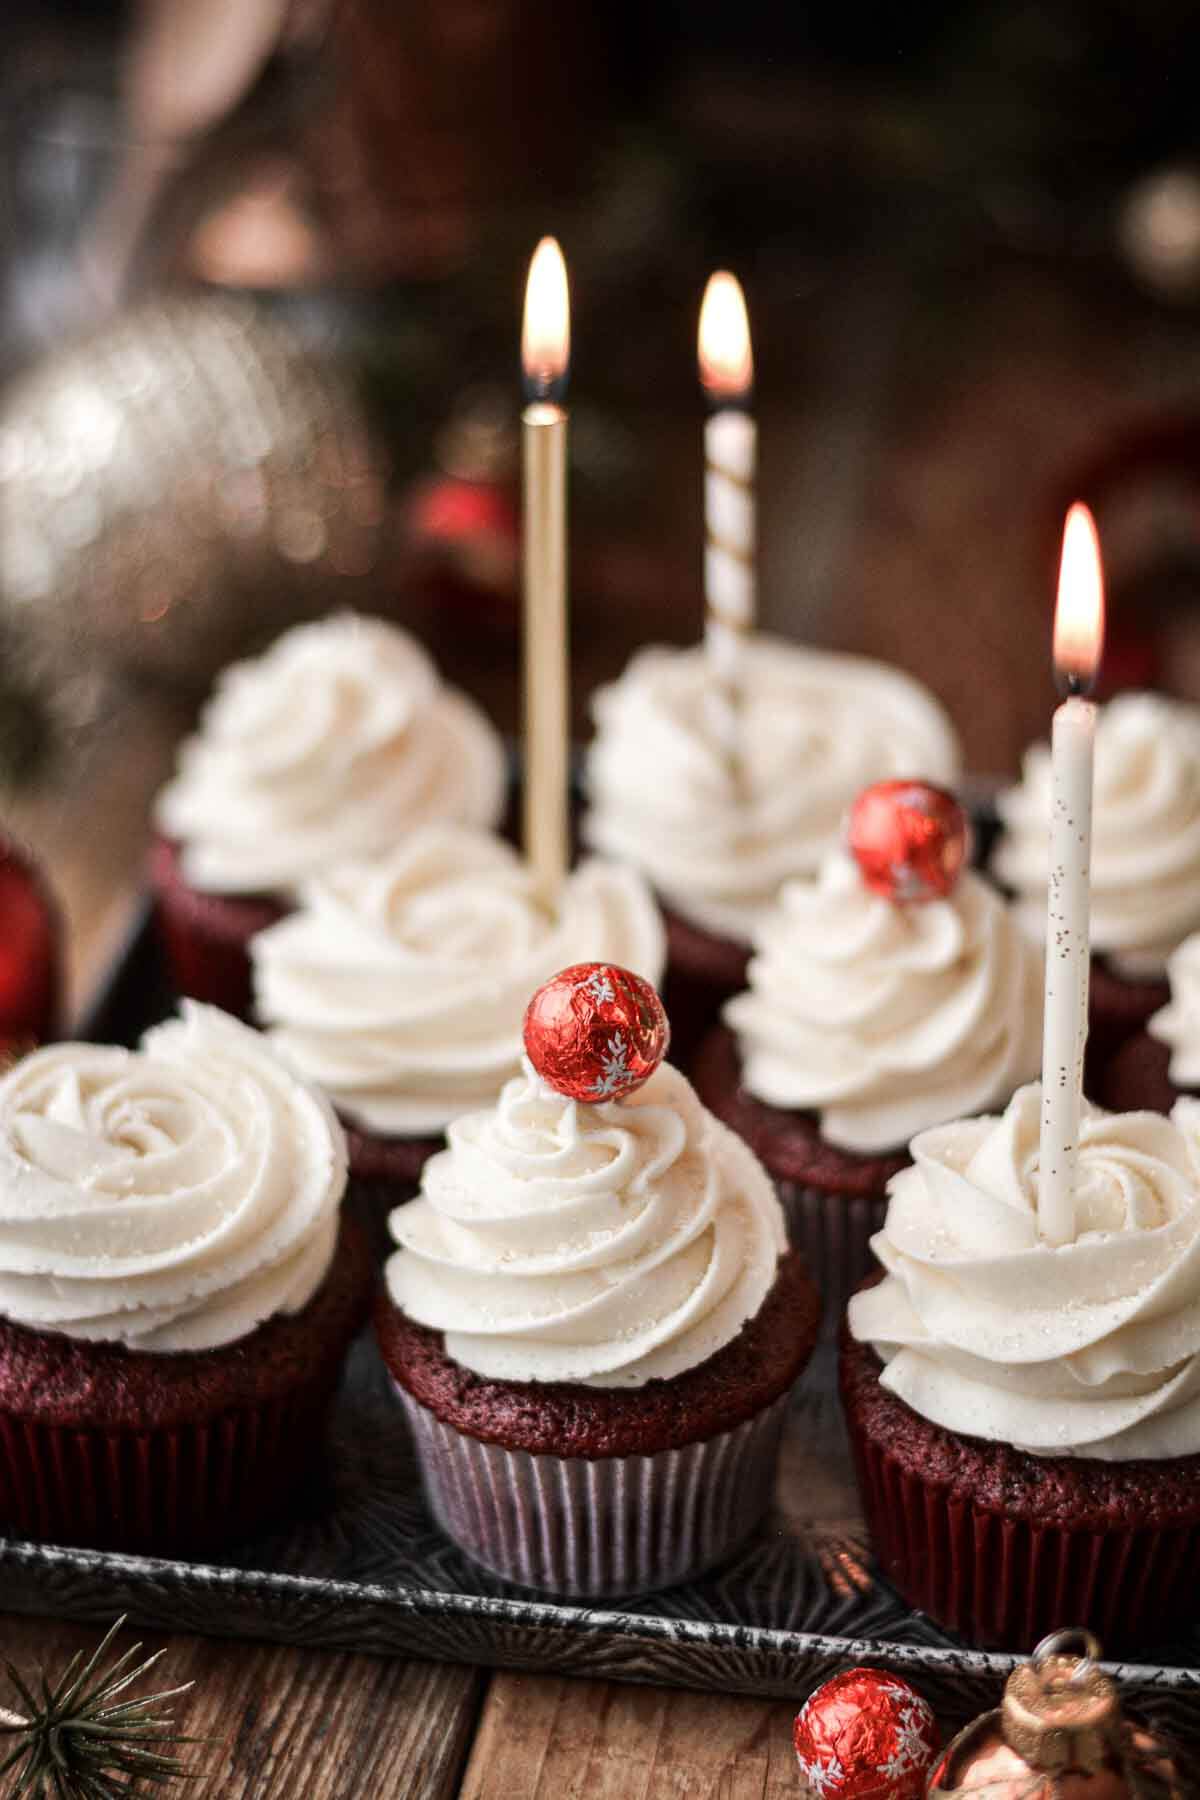
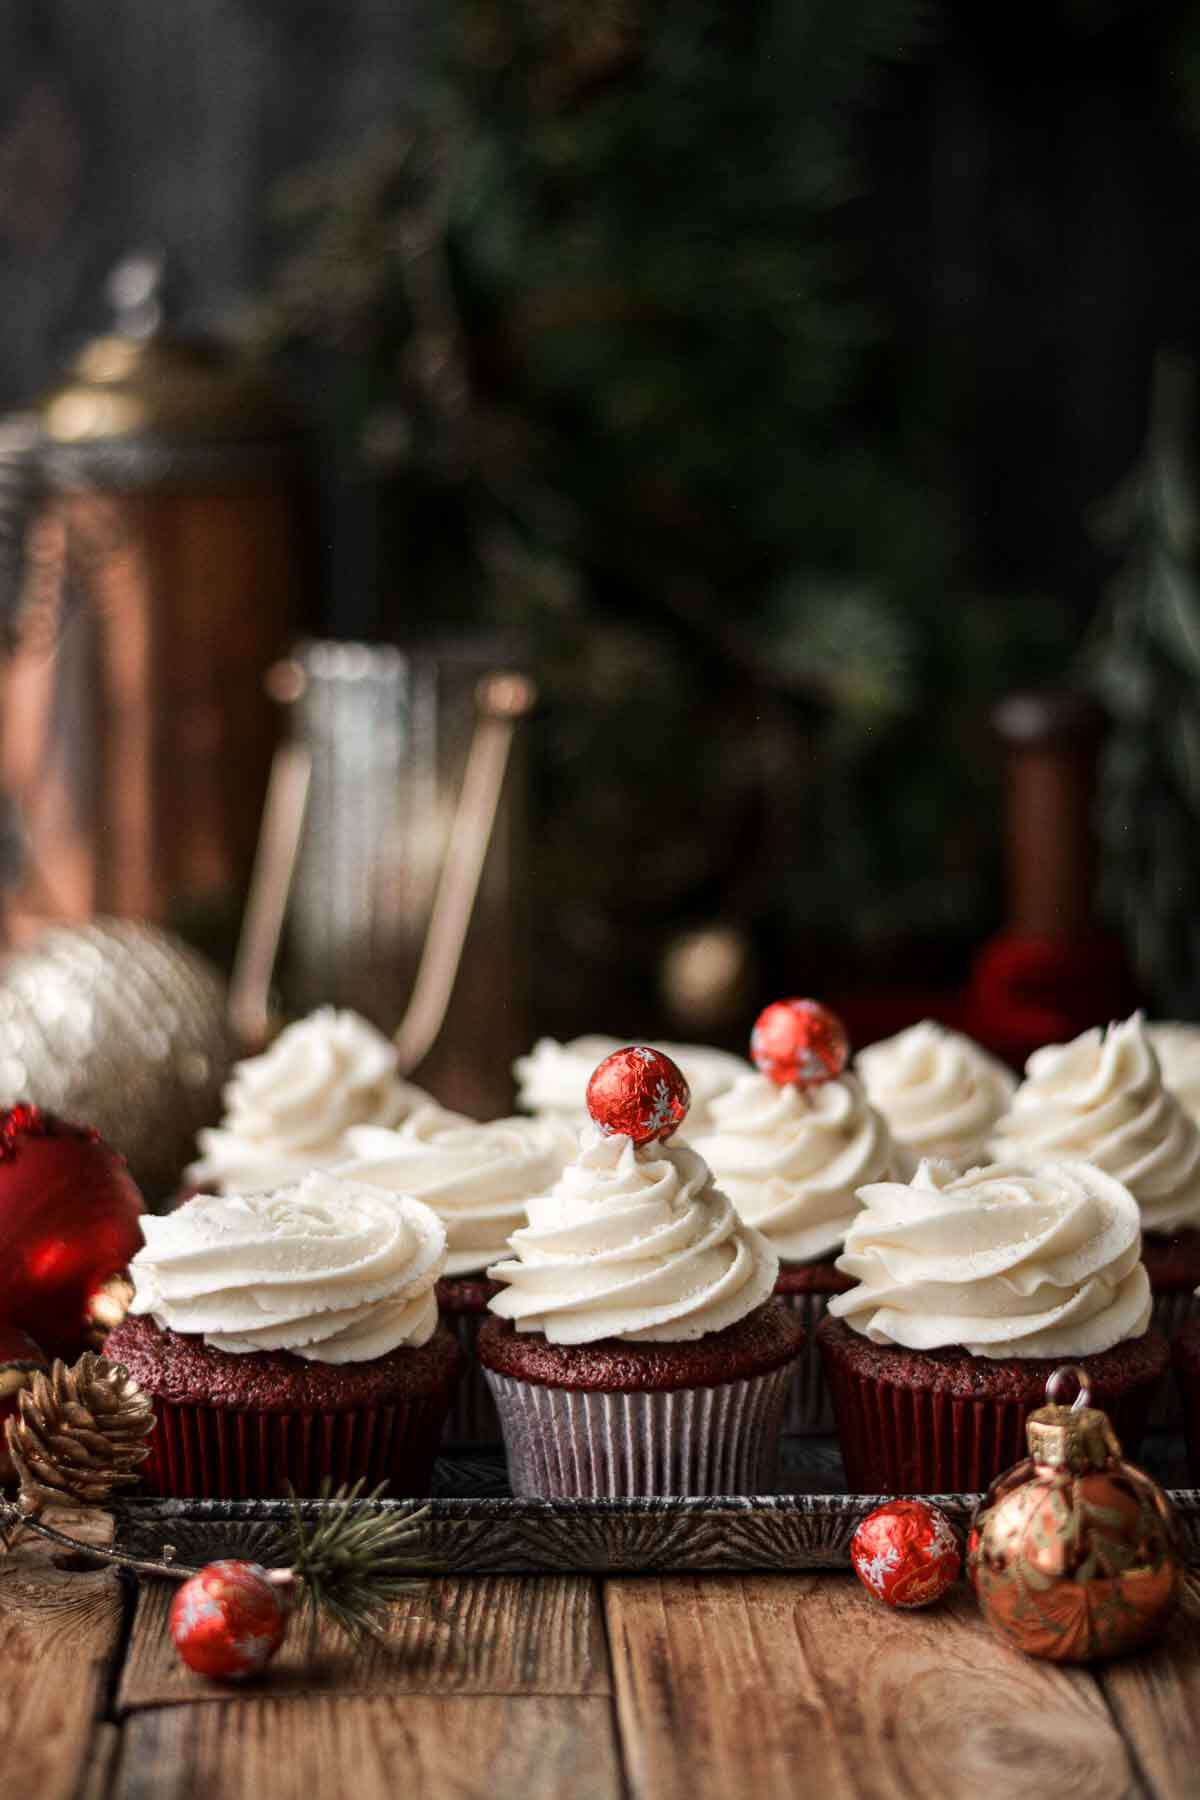
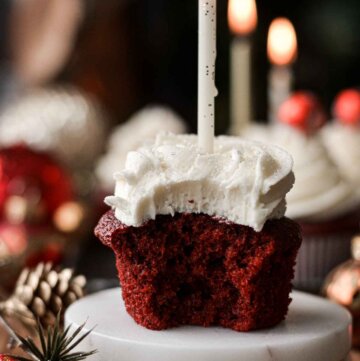
These high altitude red velvet cupcakes are so soft and moist, with sweet and tangy cream cheese buttercream. Classic red velvet cupcakes have a hint of cocoa in the cake, and the striking contrast of the red cake with the white frosting is just beautiful for Christmas or Valentine’s Day.
You’ll also love these high altitude recipes for spiced peach vanilla cupcakes, chocolate coconut cupcakes, and cookies and cream cupcakes.
This site contains affiliate links. As an Amazon associate, I earn from qualifying purchases. This means that I may make a small commission if you purchase a product using those links. This in no way affects my opinion of those products and services. All opinions expressed on this site are my own.
Why You’ll Love This Recipe
Flavorful and Moist. Red velvet cupcakes are buttermilk-based cupcakes that have a moist, fine “velvety” crumb and a flavor that subtly hints at chocolate, but not overwhelmingly so. And the sweet and tangy cream cheese buttercream is perfectly complementary to the soft cake.
Beautiful for any Holiday. Christmas and Valentine’s Day is when I usually make red velvet cakes and cookies, because I just love the rich, deep red color contrasting with the snowy buttercream.
High Altitude Tested. I develop all the recipes on my site for Denver’s altitude of 5,280 feet. If you’re at a lower or higher elevation, please see my FAQs for guidance on adjusting recipes for your altitude.

See the recipe card at the end of the post for the full ingredients list and instructions.
Ingredients
- Cake Flour. Cake flour makes for a more tender red velvet cupcake than all-purpose flour, and gives the cake structure and strength.
- Granulated Sugar. Sweetness and moisture.
- Cocoa Powder. A little unsweetened, Dutch-processed cocoa powder adds a hint of chocolate flavor. Traditionally, the acid in the cocoa powder is what turned red velvet cupcakes red.
- Coarse Kosher Salt. Balances the sweetness.
- Baking Soda. Leavens the cupcakes, making them rise.
- Buttermilk. Moisture and acidity.
- Vinegar. A little extra acidity from the vinegar makes these cupcakes even more tender and light.
- Vegetable Oil. Moisture. Oil-based cupcakes tend to be lighter and fluffier than butter-based cakes and cupcakes.
- Eggs. Adds structure to the cake batter.
- Vanilla Extract. Flavor.
- Red Food Coloring. Use a “super red” gel food coloring for concentrated color.
Instructions
Cupcakes
- Preheat the oven to 350 F, and position a rack in the center of the oven. Line your muffin pans with 15 paper cupcake liners.
- In a large bowl, sift together the flour, sugar, cocoa powder, salt and baking soda to remove any lumps. Whisk until well combined.
- Separately, whisk together the buttermilk, vinegar, oil, eggs, vanilla and red gel food coloring. The red color will darken once you mix it with the dry ingredients.
- Add the wet ingredients to the dry, and whisk for about 15-20 seconds until mostly smooth. The batter will be thin.


- Measure a scant 1/4 cup of batter into each of the cupcake liners, being careful not to overfill them – they should be about 2/3 full.
- Bake the cupcakes on the center oven rack for 18-20 minutes, until a toothpick comes out clean and the tops of the cupcakes spring back when gently touched.
- Cool the cupcakes in the pans for several minutes, then use a spoon to gently lift them out. Set the cupcakes on a cooling rack to cool completely before frosting.


Buttercream
- In the bowl of your stand mixer fitted with the whisk attachment, beat the cream cheese and butter for 1 minute until smooth.
- With the mixer on low, gradually add the powdered sugar, meringue powder, corn starch and salt, mixing to combine. Add the vanilla. Increase the speed to medium and whip the buttercream for 3-4 minutes until light and fluffy, scraping the bowl occasionally.
- Spread or pipe the buttercream onto the cooled cupcakes. I used tip 1M to frost my cupcakes.
Be sure to read all of my BAKING FAQs where I discuss ingredients, substitutions and common questions with cake making, so that you can be successful in your own baking! I also suggest reading these comprehensive posts on making Perfect American Buttercream, How to Stack, Fill, Crumb Coat and Frost Layer Cakes and How to Use Piping Bags.
Frequently Asked Questions
Traditionally, red velvet cake and cupcakes didn’t contain any food coloring. Natural, non-alkalized cocoa powder (not Dutch-processed) reacted with the acid in the buttermilk and vinegar to create a red hue and velvety texture. These days, most people help the color along with a few drops of red gel food coloring. You don’t have to use it, but your cupcakes will not be a vivid red without some food coloring. There are many natural food dyes available, though, made from plants and beet powder. I use and recommend Americolor Super Red Gel Food Coloring.
The reaction between the cocoa powder and the acidity in the buttermilk contributes to the red color of these cupcakes. Red velvet isn’t meant to taste like chocolate, so it contains very little cocoa powder. However, I’ve found that I prefer a bit more cocoa powder in mine, so I use slightly more than what you’ll find in other peoples’ recipes. This small difference adds a really beautiful depth of flavor to the cake, as well as masks the flavor of the food coloring, without transforming it into a chocolate cake.
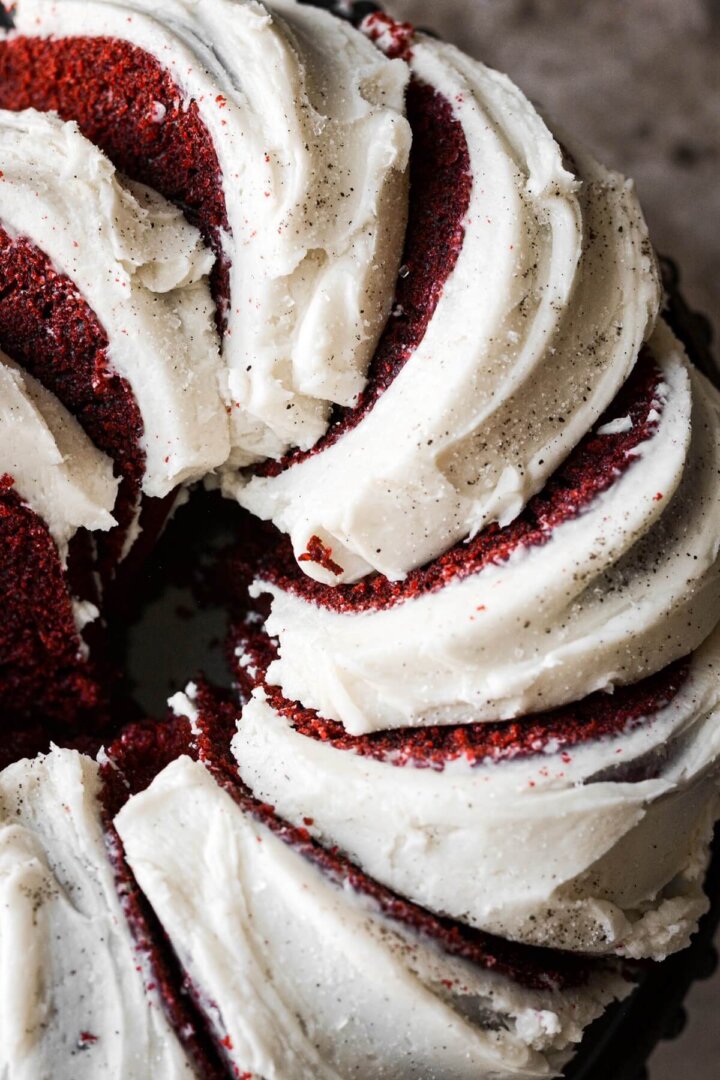
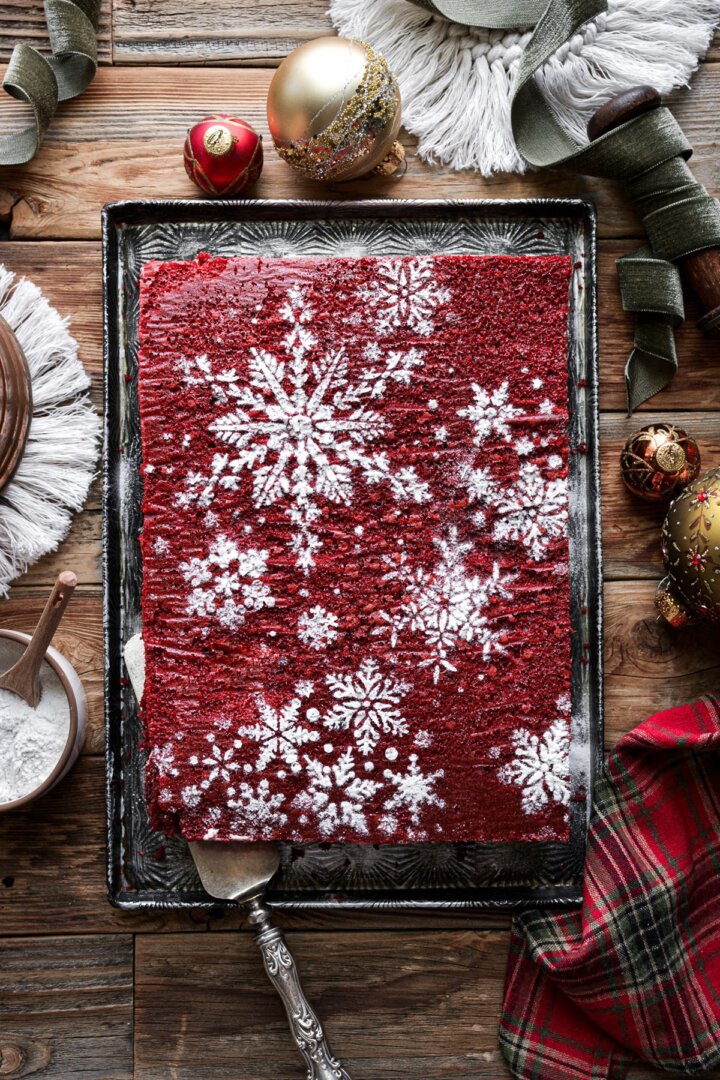
Please see these posts for red velvet cake and red velvet sheet cake.
Tip 1M. See this post on How to Frost Cupcakes for decorating ideas.
Since there’s cream cheese in the buttercream, you should store leftover cupcakes in the refrigerator, in an airtight container. Let come to room temperature for about 1 hour before serving.

You Might Also Like

Please check out my Amazon Shop for a curated collection of some of my favorite cake pans from trusted brands, baking tools, ingredients, pretty things and fashion finds. I recommend products that I buy and use every day!
Did you love today’s recipe? Please rate the recipe and let me know in the comments what you thought! Also, be sure to follow Curly Girl Kitchen on Instagram, and tag me when you try one of my recipes so I can see all your delicious creations!
High Altitude Red Velvet Cupcakes
All recipes on Curly Girl Kitchen are developed for high altitude at 5,280 feet. See FAQs for adjusting to higher or lower elevations.

Equipment
- Stand Mixer with Paddle Attachment
Ingredients
Cupcakes
- 1 ½ cups cake flour, fluffed, spooned and leveled
- ¾ cup + 2 tbsp granulated sugar
- 2 tbsp unsweetened, Dutch-processed cocoa powder
- ½ tsp coarse Kosher salt (if using table salt, use half the amount)
- ½ tsp baking soda
- ¾ cup buttermilk or whole milk
- 1 ½ tsp white distilled vinegar
- ½ cup vegetable oil
- 2 large eggs
- 1 tsp vanilla extract
- 1 tsp "super red" red gel food coloring
Buttercream
- 4 oz cream cheese, cold
- 4 oz (1/2 cup) unsalted butter, softened to room temperature
- 2 ½ cups powdered sugar
- ½ tbsp meringue powder
- 1 tbsp corn starch
- ⅛ tsp coarse Kosher salt (if using table salt, use half the amount)
- 1 tsp vanilla
Instructions
Cupcakes
- Preheat the oven to 350 F, and position a rack in the center of the oven. Line your muffin pans with 15 paper cupcake liners.
- In a large bowl, sift together the flour, sugar, cocoa powder, salt and baking soda to remove any lumps. Whisk until well combined.
- Separately, whisk together the buttermilk, vinegar, oil, eggs, vanilla and red gel food coloring. The red color will darken once you mix it with the dry ingredients.
- Add the wet ingredients to the dry, and whisk for about 15-20 seconds until mostly smooth. The batter will be thin.
- Measure a scant 1/4 cup of batter into each of the cupcake liners, being careful not to overfill them – they should be about 2/3 full.
- Bake the cupcakes on the center oven rack for 18-20 minutes, until a toothpick comes out clean and the tops of the cupcakes spring back when gently touched.
- Cool the cupcakes in the pans for several minutes, then use a spoon to gently lift them out. Set the cupcakes on a cooling rack to cool completely before frosting.
Buttercream
- In the bowl of your stand mixer fitted with the whisk attachment, beat the cream cheese and butter for 1 minute until smooth.
- With the mixer on low, gradually add the powdered sugar, meringue powder, corn starch and salt, mixing to combine. Add the vanilla. Increase the speed to medium and whip the buttercream for 3-4 minutes until light and fluffy, scraping the bowl occasionally.
- Spread or pipe the buttercream onto the cooled cupcakes. I used tip 1M to frost my cupcakes.
Notes
 https://curlygirlkitchen.com/
I didn’t used to like red velvet cake, but these cupcakes are perfect! Delicious, moist, fantastic crumb. The cream cheese frosting is incredible. I made a half recipe of cupcakes and frosting, and I got 16 cupcakes but was a little short on the frosting using a large open star tip.
Hello
Could you please give me the right amount of ingredients for the red
Velvet cupcakes for 3500 elevation
I live in Twain Harte California
Thank you for much
Mary Ann Smiley
Mary, please see my FAQs for guidance on adjusting recipes for various altitudes: https://curlygirlkitchen.com/baking-faqs/
Made these at 6900 ft elevation exactly as is and they turned out delicious and rose beautifully!
Thank you so much! I think I just found my go to spot for my recipes.
🫶🏼☺️
Hi! Can I use all purpose flour for these?
My cupcakes turned out beautifully! Thank you for always having amazing recipes! I have made several of yours so far and everyone has been perfection.
LOVE,LOVE,LOVE this recipe for it’s delicious and not overly sweet taste and structure of the cake. I am adding this to my other Curly Girl recipe files along with all of the CG amazing baking recipes which always work for me, as written, where I live in Arizona at approximately 6,000 ft. elevation. Just spectacular!
do you have a suggestion on how to make this dairy free? just replace the buttermilk with non dairy milk and vinegar?