
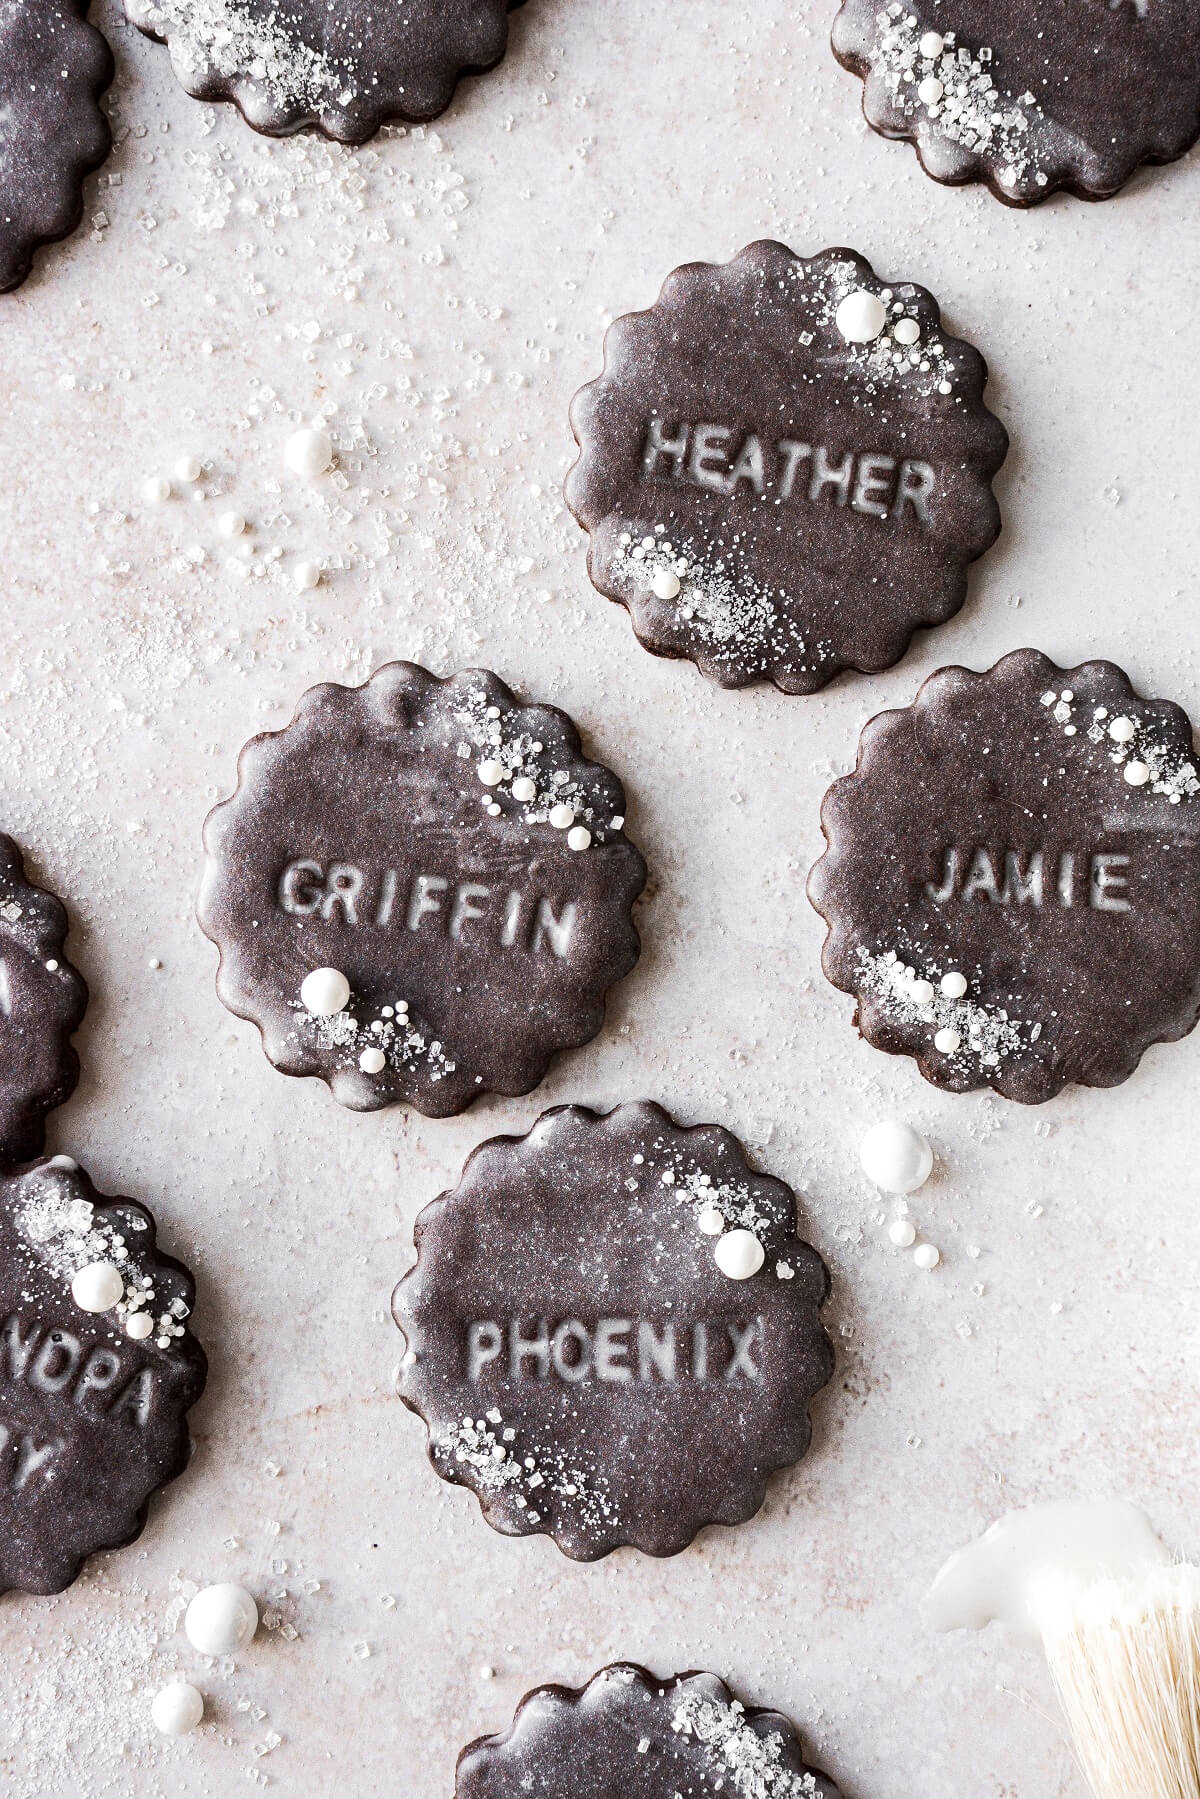
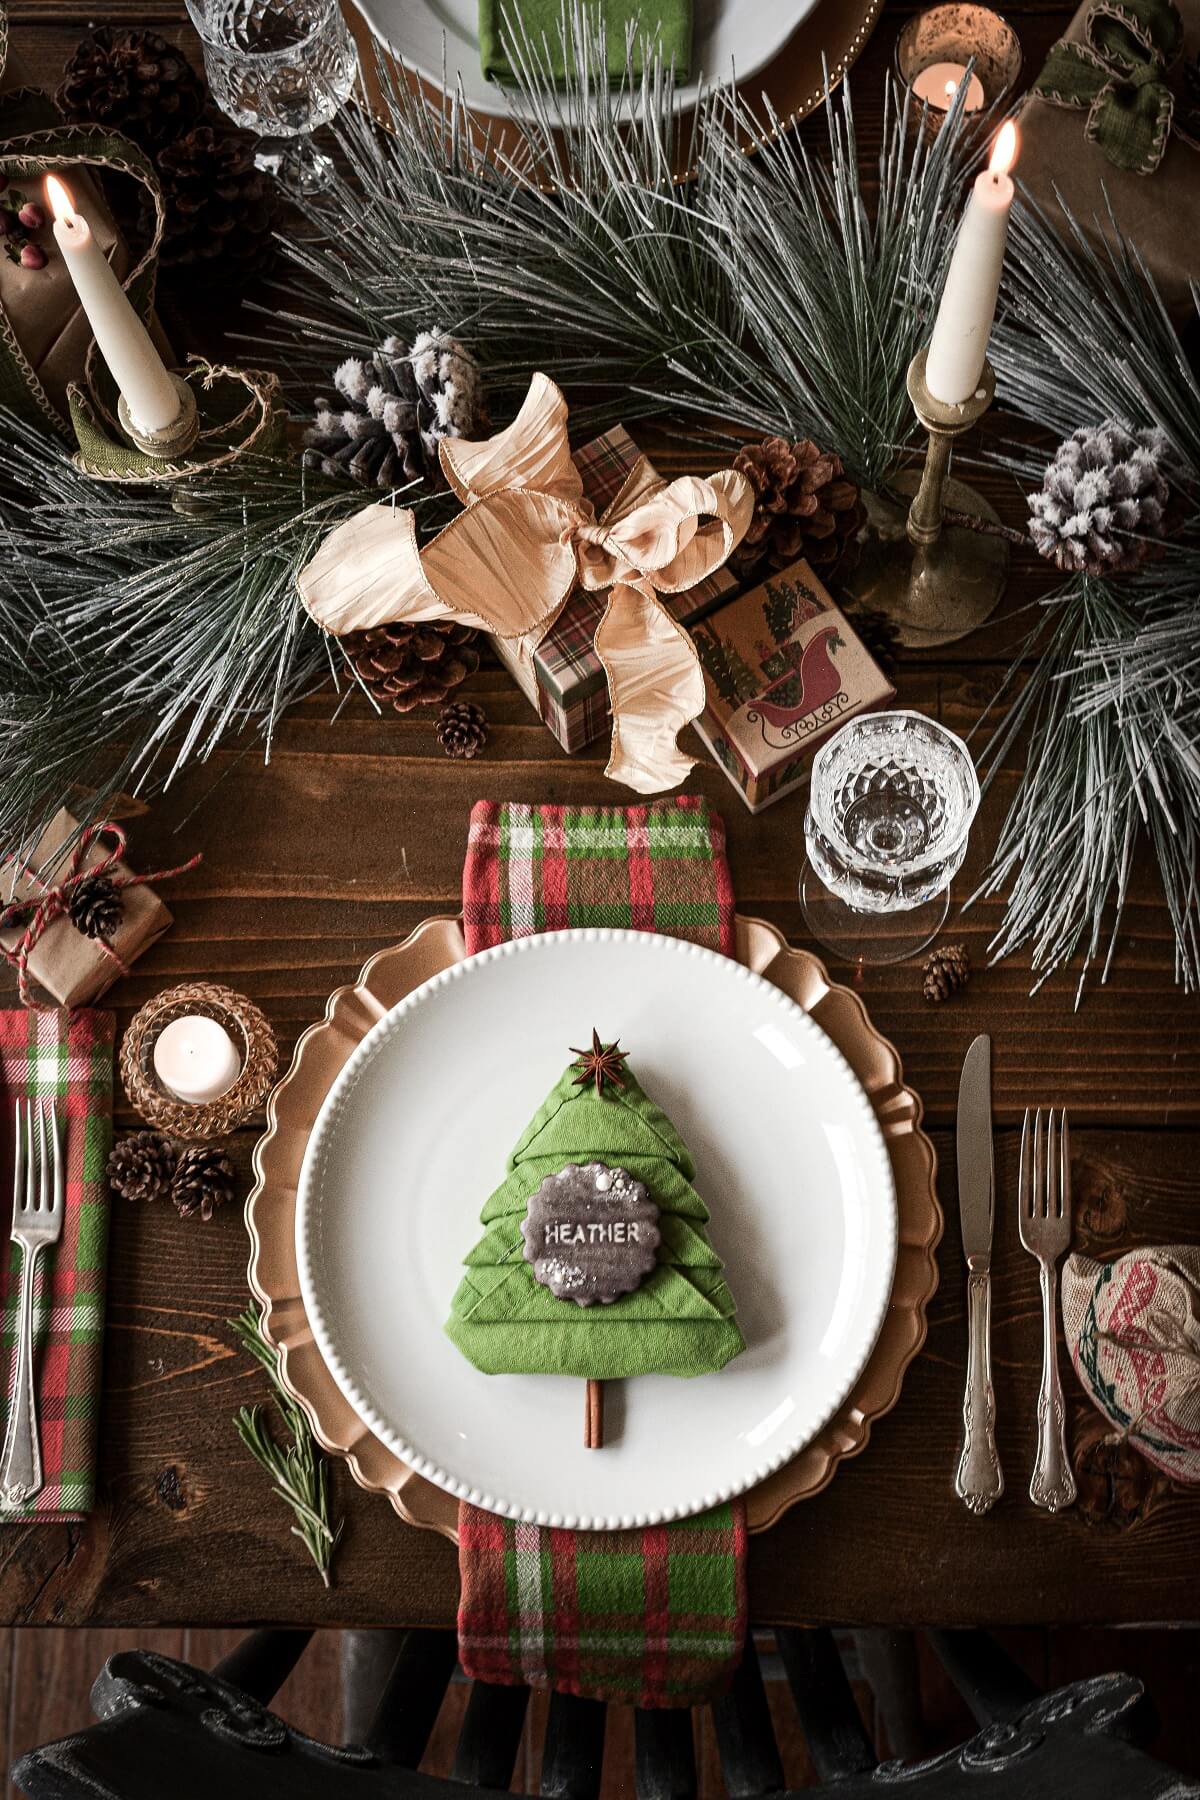
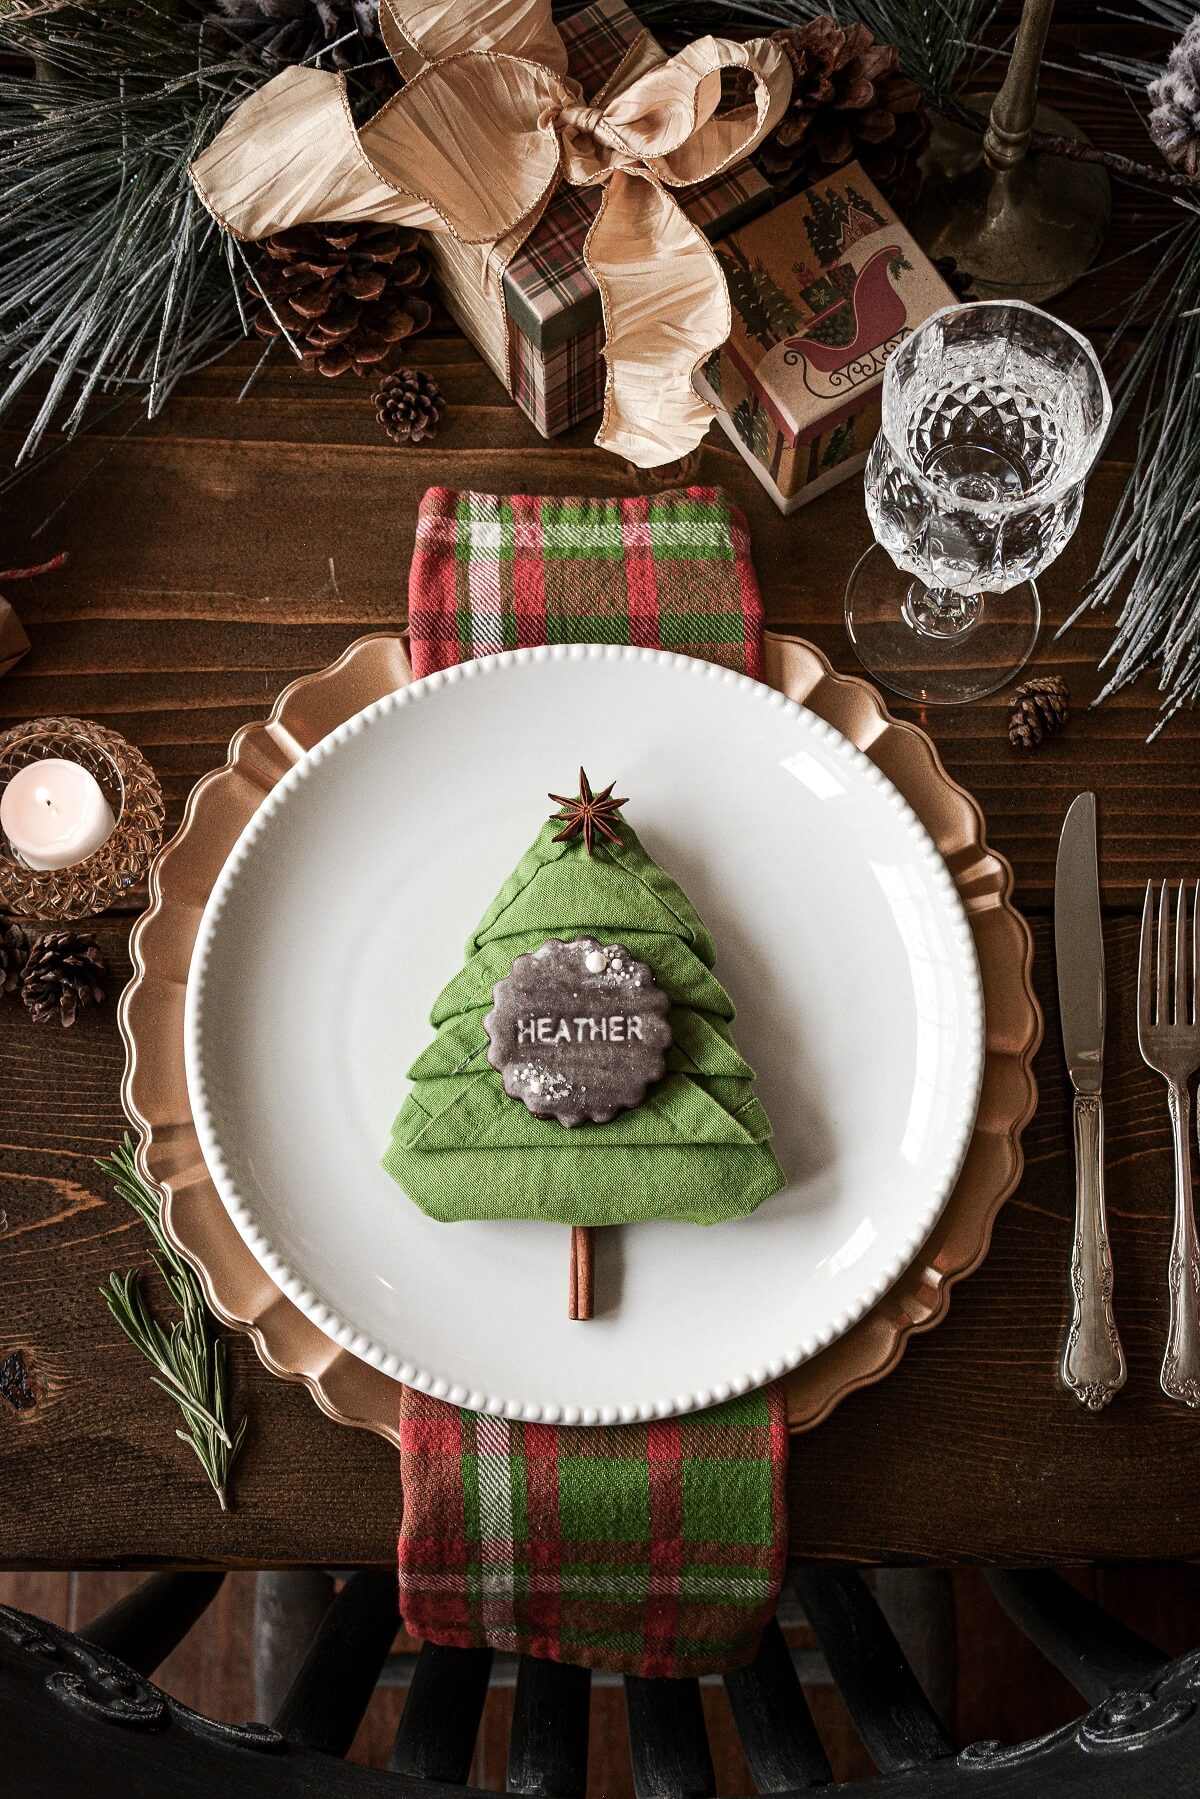
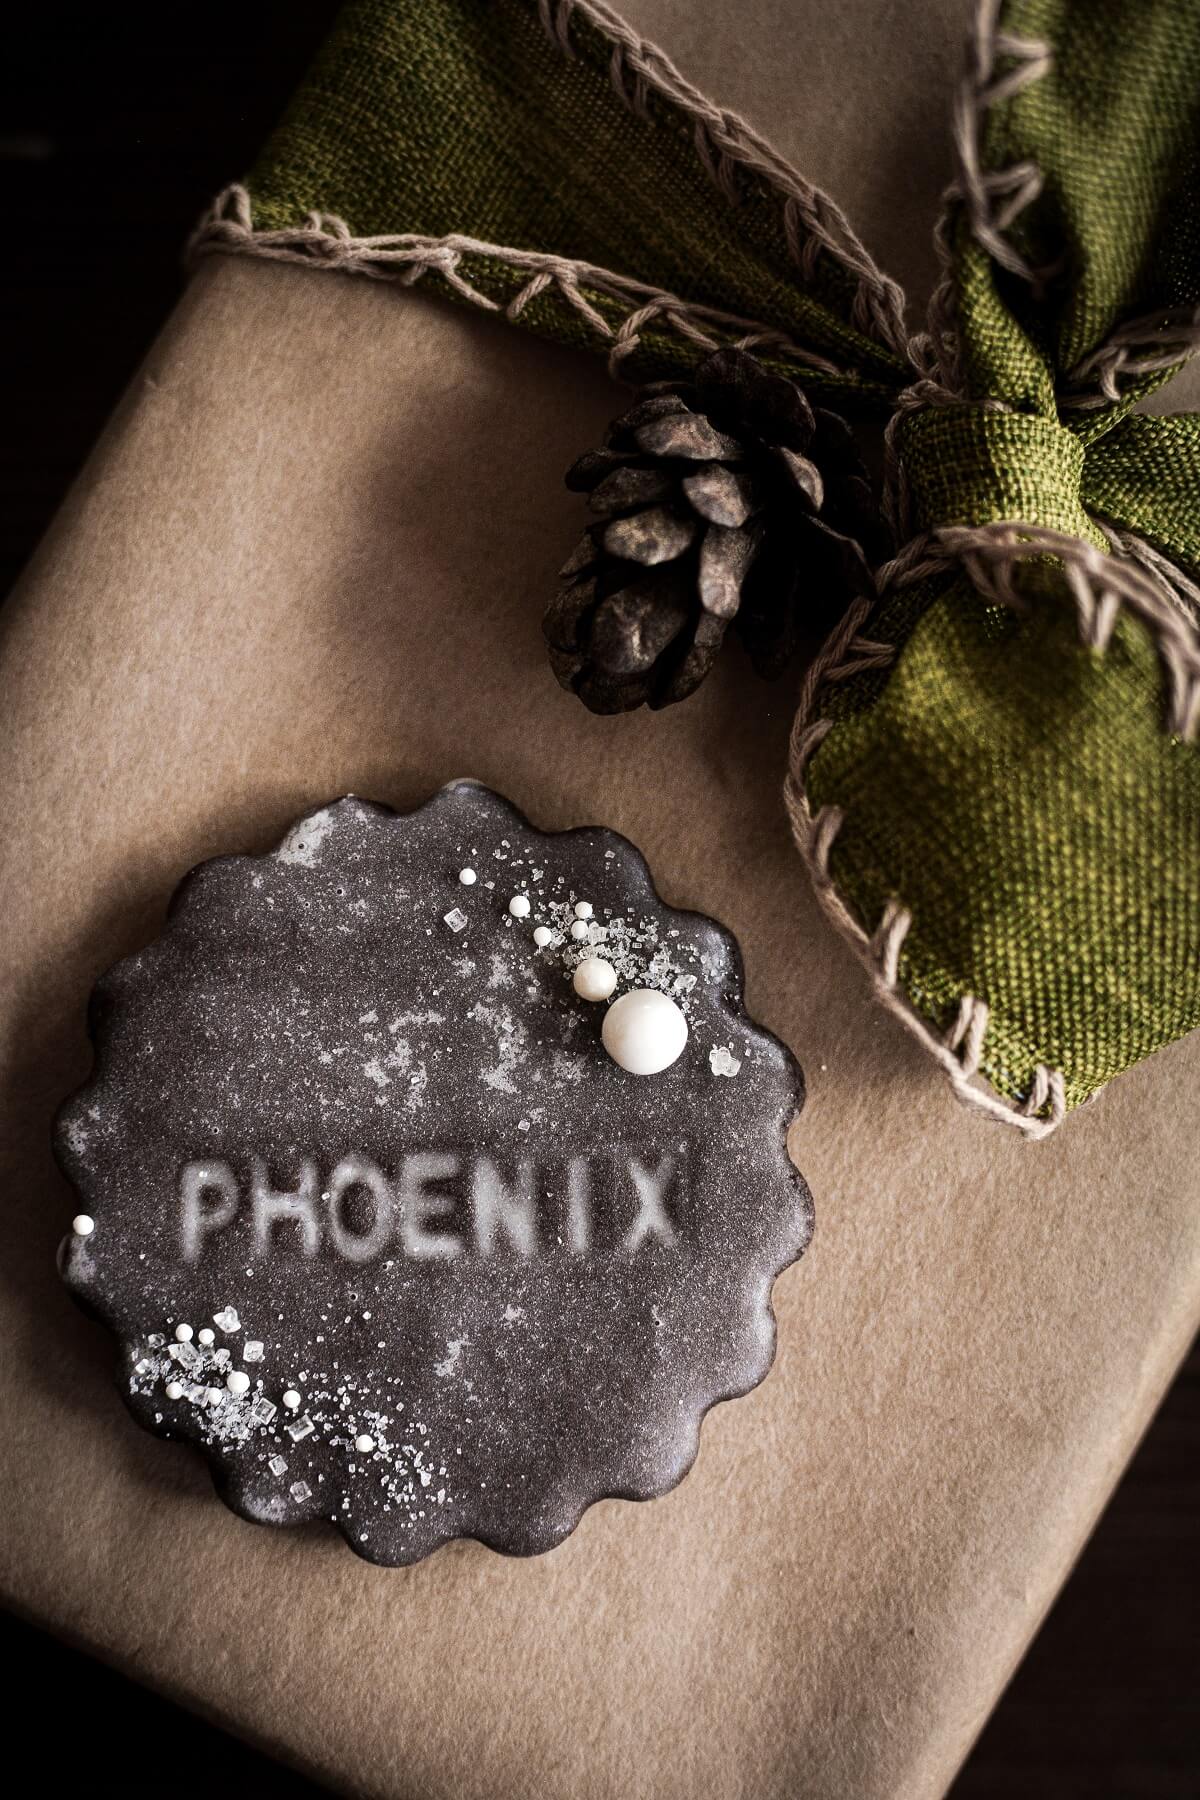
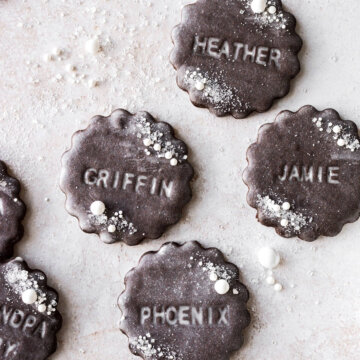
These place card cookies are easy to make with no-spread chocolate sugar cookies stamped with the names of your friends, family and loved ones, then glazed with vanilla icing. The embossed cookies look so beautiful placed on each place setting for Christmas, weddings, or any special occasion!
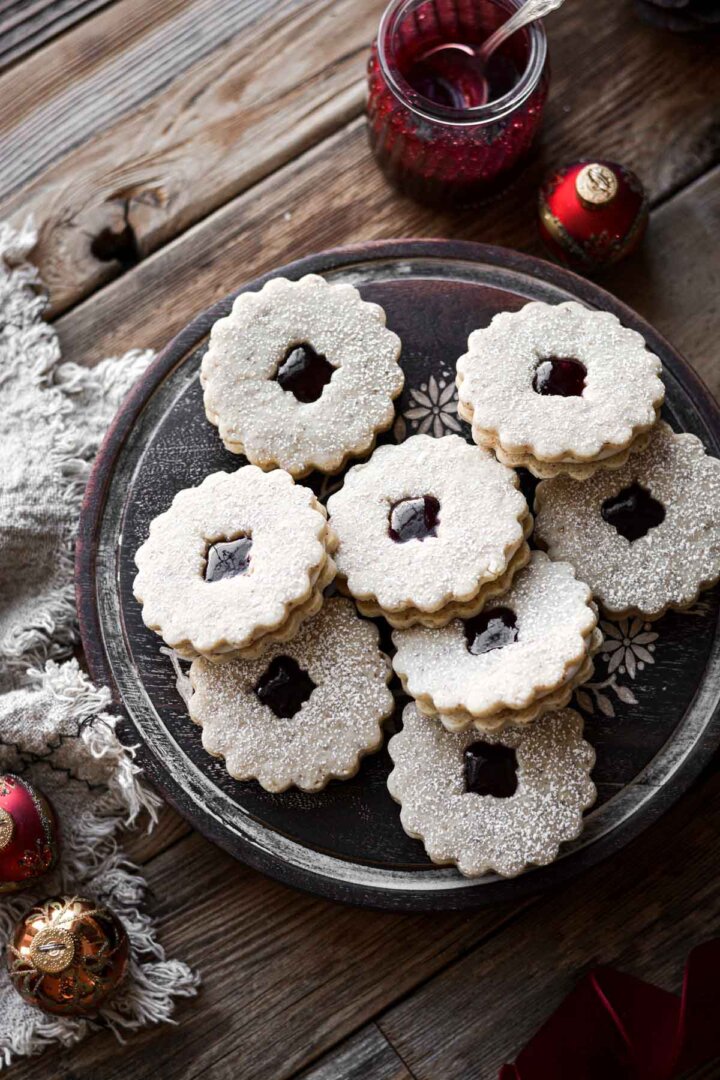
You might also love these Christmas tree sugar cookies with buttercream, a chocolate-themed Christmas cookie box, and classic Linzer cookies with bourbon cherry jam.
This site contains affiliate links. As an Amazon associate, I earn from qualifying purchases. This means that I may make a small commission if you purchase a product using those links. This in no way affects my opinion of those products and services. All opinions expressed on this site are my own.
Why You’ll Love These Cookies
Personalized. Everyone loves a personal touch. So having a beautiful place card cookie that was made just for you makes a holiday or special event that much more meaningful for all the people gathering together.
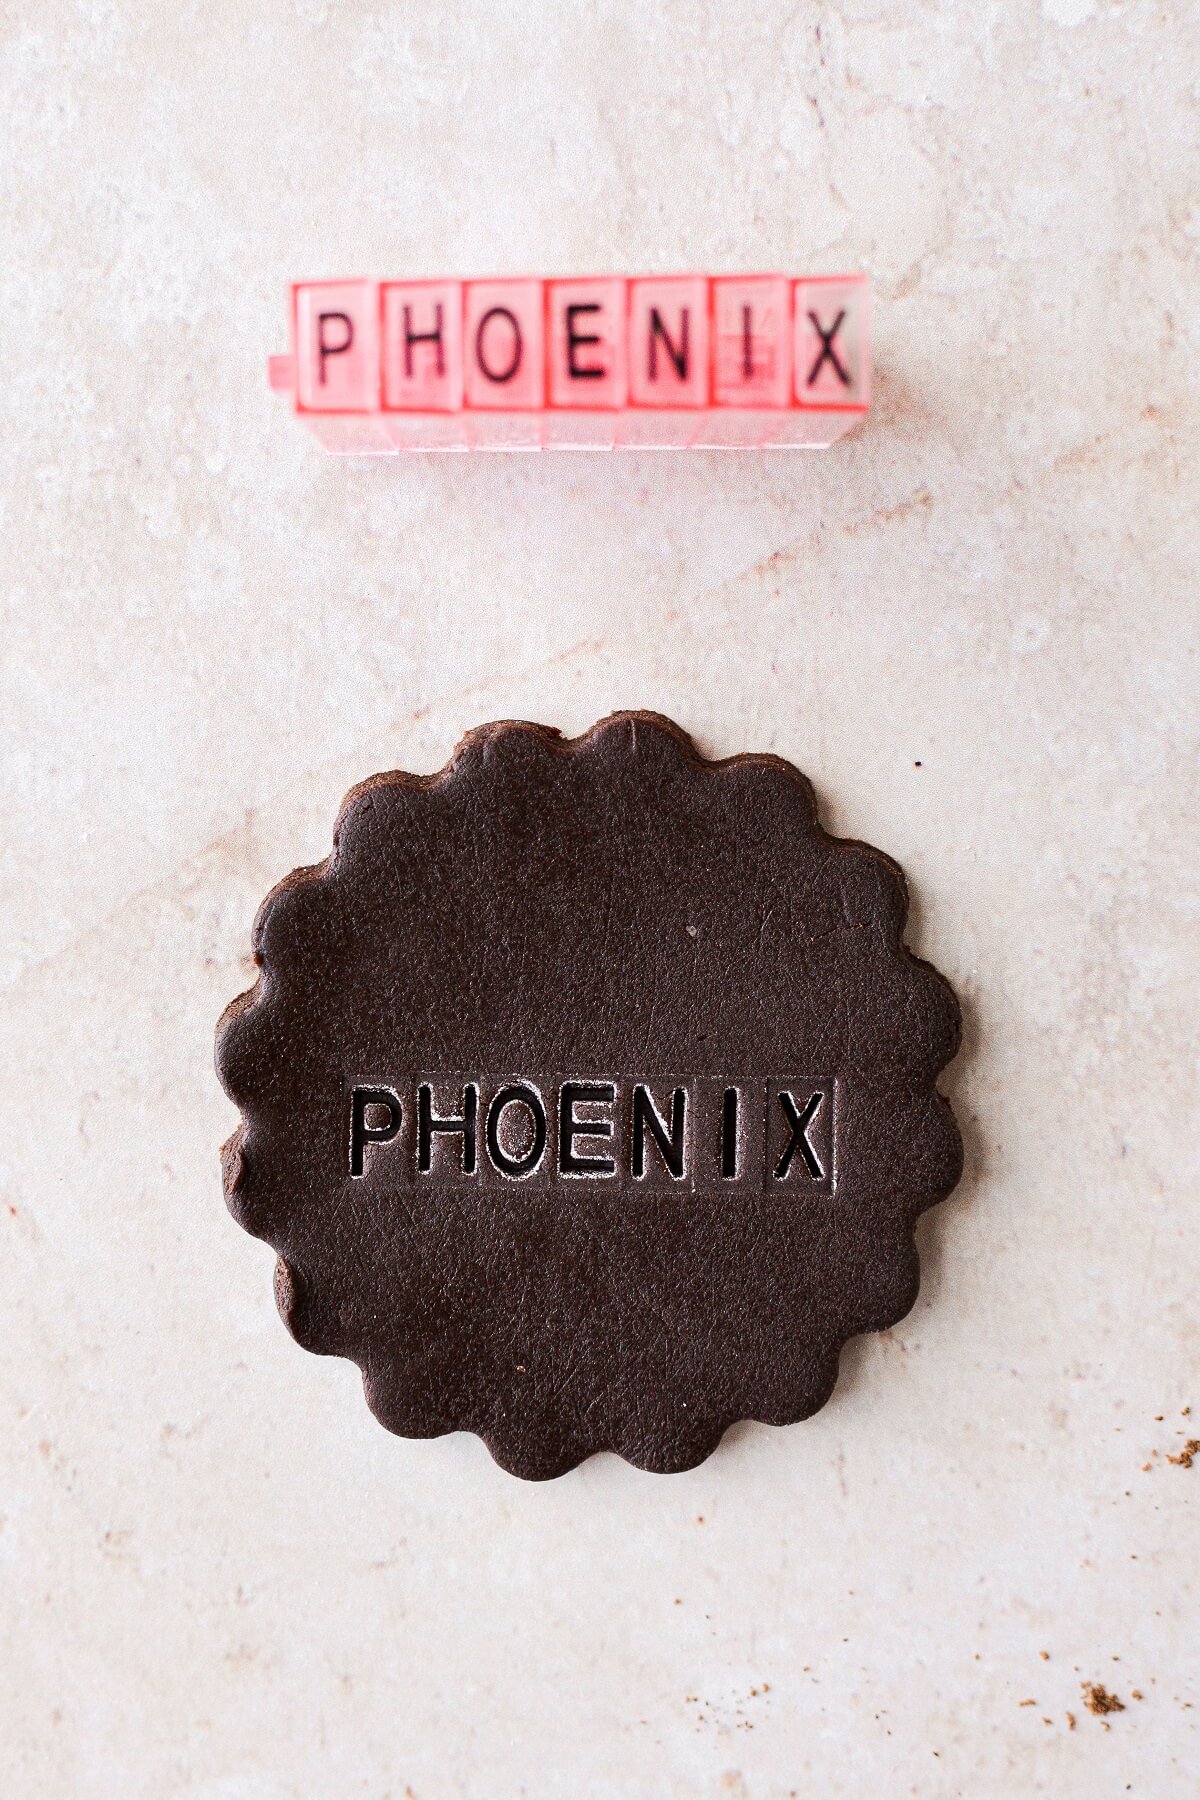
Customizable. The mini snap together letter embossers I used are great because you can spell out any name or phrase that you’d like. There is even a set of numbers if you want to add a date.
Delicious. A cookie that’s both pretty, and yummy? You get both with this delicious chocolate cookie recipe that’s not too sweet.
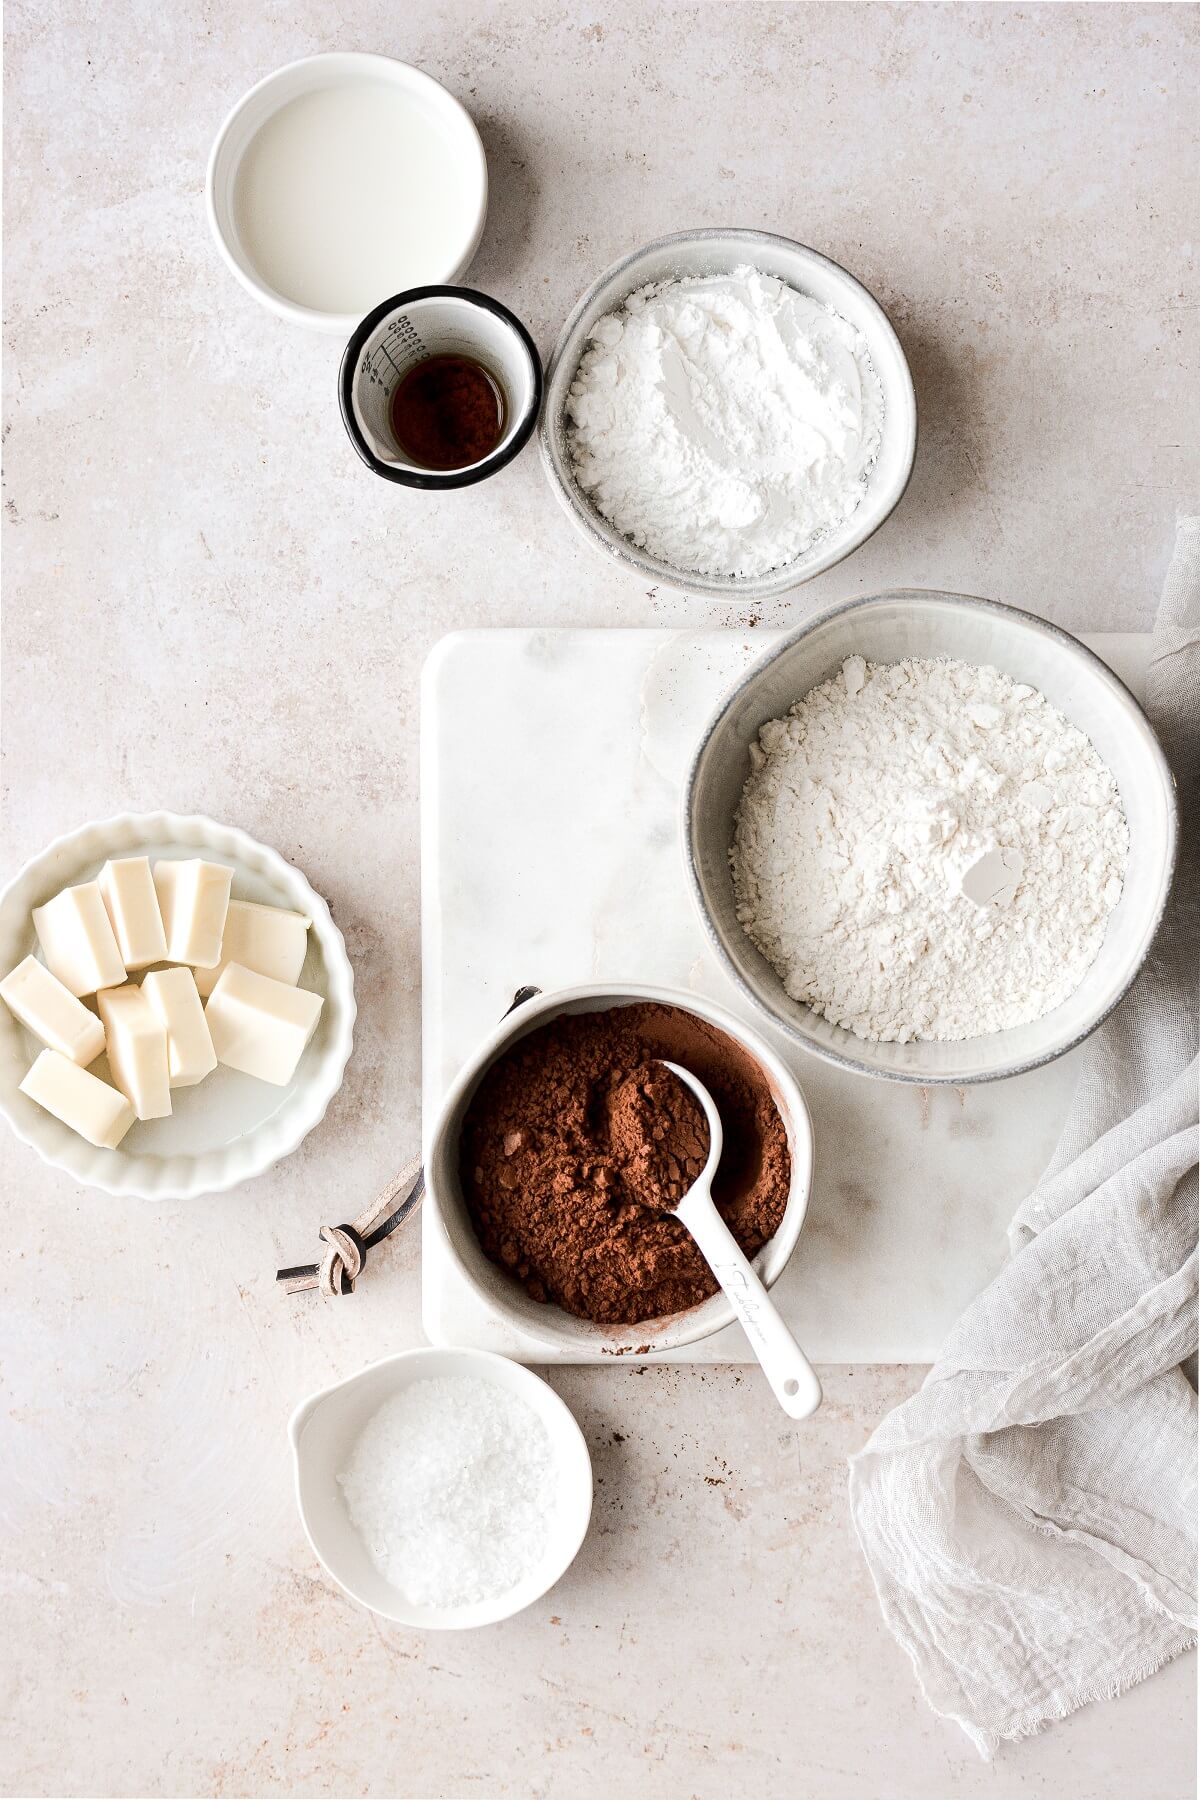
Ingredients and Tools
- No Spread Chocolate Cookie Dough + Vanilla Icing. You can get the cookie dough recipe in this post, as well as the icing to glaze on top after baking. This is a wonderful no-spread recipe, so the shape of the place card cookies and the embossed letters will be perfectly preserved after baking.
- Mini Snap-Together Letter Embossers. The small size of this set of alphabet letter embossers is perfect for fitting someone’s name, or a short phrase on these place card cookies.
- Food Processor or Pastry Cutter. The cookie dough is a breeze to make in a food processor, but if you don’t have one, you can use a pastry cutter instead.
- Rolling Pin. I like a large, French-style rolling pin like this beautiful walnut rolling pin.
- Cookie Cutters. Any shape or size of cookie cutter will work. I used a 2 1/2 inch fluted round cookie cutter, but if the names or phrases you want to stamp or longer, then you’ll need to cut bigger cookies to fit all the letters on.
Instructions
Make the cookie dough.
- First, make the chocolate cookie dough as instructed in this stamped cookies post.
- You can wrap the dough well and refrigerate it for up to 5 days, or freeze it for up to 3-6 months. Let the cold dough warm up to room temperature so that it’s still cool, but pliable enough to roll out without difficulty.
Roll out the dough and cut the cookies.
- Prep a large baking sheet with a piece of parchment paper or baking paper.
- On a lightly floured surface, roll the dough out to an even thickness of 1/4 inch, using a little more flour as needed to keep the dough from sticking. Don’t roll the dough thinner, or the cookies will be too delicate.
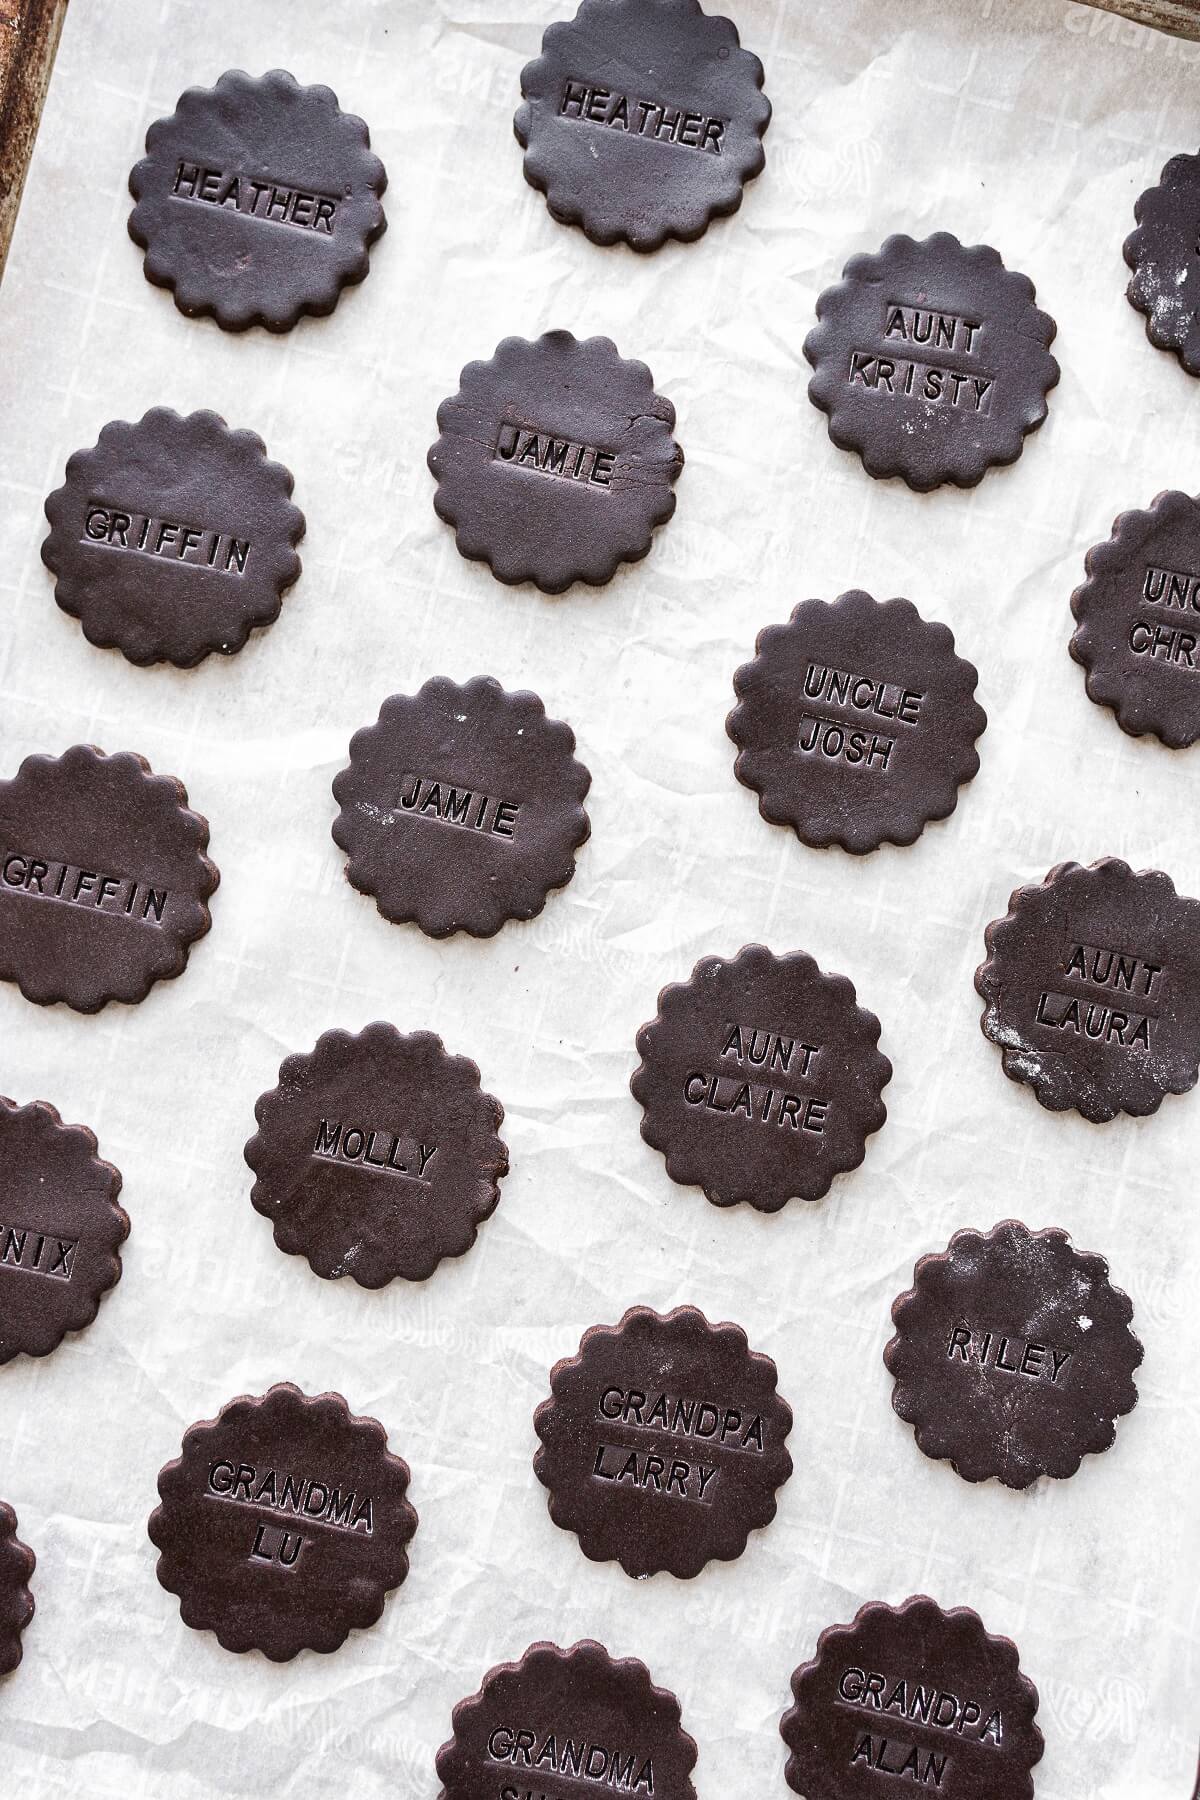
- Using any shape cookie cutter, cut as many cookies as you can, and place them 1-2 inches apart on the baking sheet. Gather up the scraps, roll them out again, and continue cutting cookies. Using a 2 1/2 inch round fluted cookie cutter, I was able to cut 20 cookies.
TIP: The letter embossers don’t really “snap” together tightly, so you do need to hold them together while stamping your cookies. The easiest way to do this is just to hold both ends to hold the letters together, then press straight down onto the cookie dough.
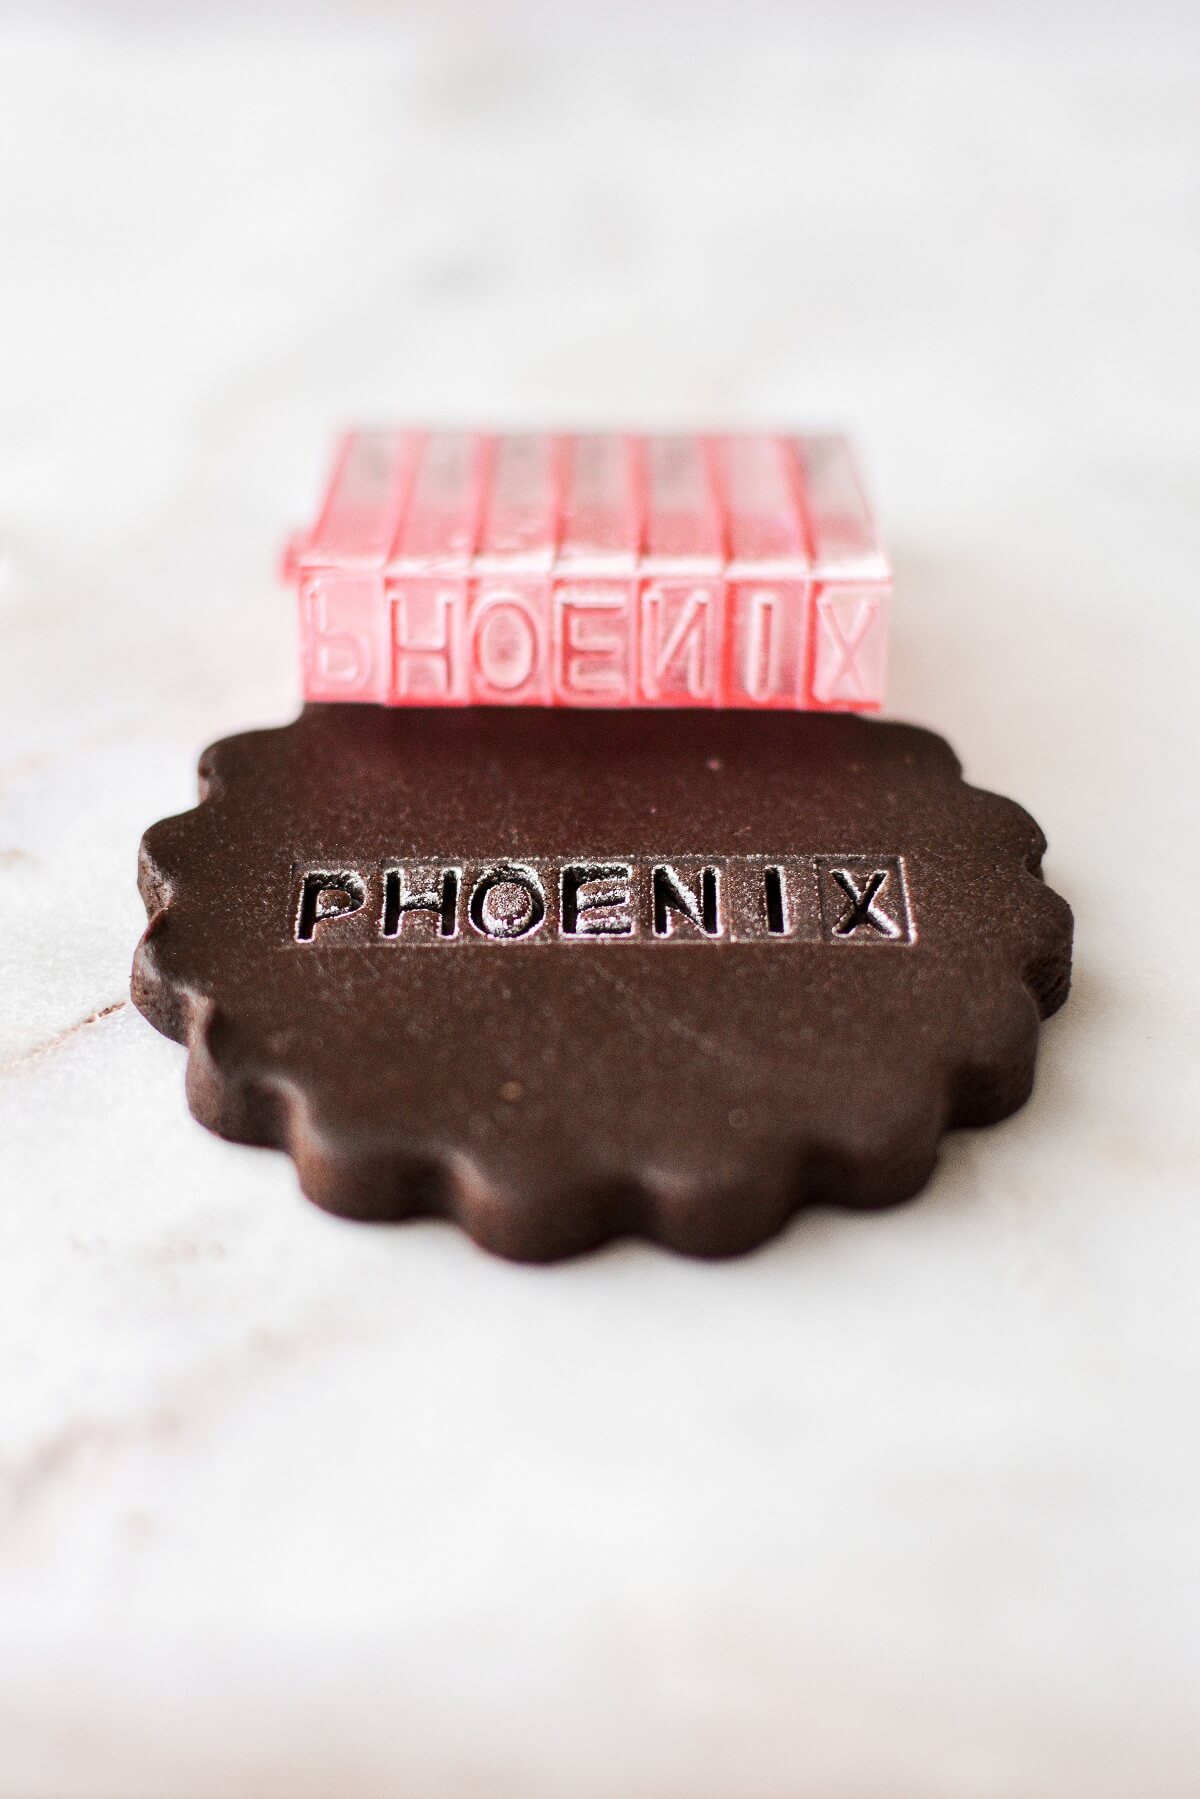
Stamp the cookies.
- Now organize your snap together letter embossers, and gather the letters you need for the names you’re spelling. Be sure to check that you’re spelling everything correctly.
- When you’re ready to stamp the cookies, dip the letter embossers in flour and tap off the excess. Press down on the cookies just deep enough to leave a clear impression, but don’t press so hard that you press through to the other side.
- Don’t worry about a little excess flour on the surface of the cookie – it will disappear after they bake.
TIP: If you’re making cookies for a small group, consider making two of each name. This way if you drop or break one, you’ll have an extra, just in case.
Bake the cookies.
- Place the baking sheet in the refrigerator and chill for 1 hour before baking.
- Preheat the oven to 350 F. Bake the cookies on the center oven rack for about 12 minutes (if your cookies are larger or smaller, they may take more or less time to bake).
- Cool the cookies on the baking sheet for 5 minutes, then gently transfer to a cooling rack.
TIP: As the cookies bake, the water will evaporate from the butter, and the steam will create flaky pockets of air. When you take the cookies out of the oven, you may see a few puffed areas on the surface of the cookies. While the cookies are hot, simply press down gently with the back of a spatula to press out the air and flatten the cookies.
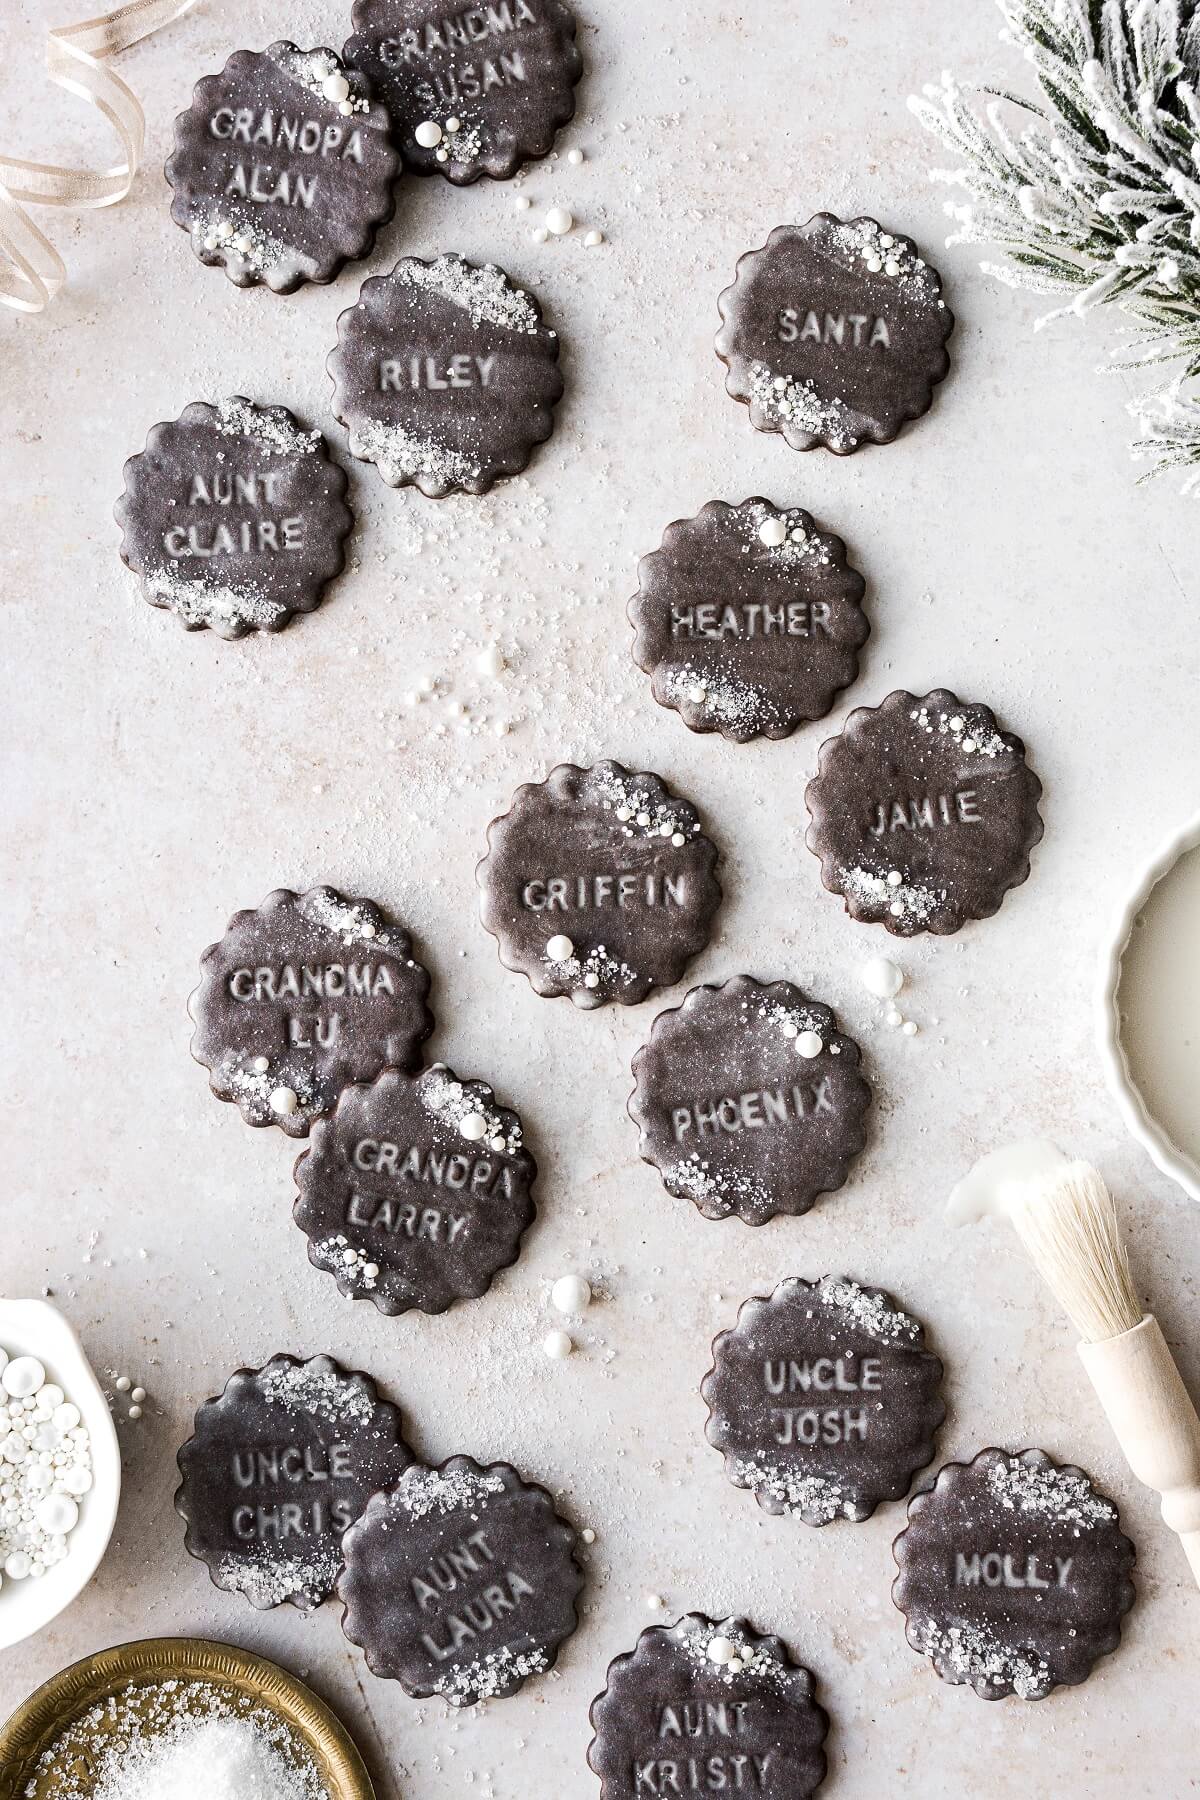
Glaze with the icing.
- While the cookies are warm, whisk together the icing ingredients until smooth, then use a pastry brush to brush a thin layer of icing over the cookies, being sure to get enough into the embossed letters. Before the icing sets (it sets and dries very quickly), you can add a few sprinkles or sparkling sugar.
- Let the cookies cool and dry completely before storing in an airtight container.
Be sure to read all of my BAKING FAQs where I discuss ingredients, substitutions and common baking questions, so that you can be successful in your own baking!
Frequently Asked Questions
Can I make these with vanilla sugar cookies instead of chocolate?
Yes, you sure can, although the contrast of the chocolate sugar cookie dough with the vanilla icing makes the names stand out more than if you use vanilla cookies with vanilla icing.
Do I have to add the icing?
You don’t have to add the icing, and the cookies look beautiful even plain. You can see an example of stamped cookies without icing in this pumpkin spice shortbread cookie recipe.
Why is there cream of tartar in the icing?
The cream of tartar helps to stabilize the sugar in the icing so it doesn’t crystallize.
Can I make the dough or the cookies in advance?
- Cookie Dough. You can wrap the dough well and refrigerate it for up to 5 days, or freeze it for up to 3-6 months. Let the cold dough warm up to room temperature so that it’s still cool, but pliable enough to roll out without difficulty.
- Cookies. After baking and cooling the cookies, you can store them (without icing) in an airtight container and freeze them for up to 3-6 months. Let them thaw and warm up before brushing on the icing.
- Icing. The icing looks best freshly applied, and will turn whiter and more matte the longer the cookies are stored. I recommend icing the cookies no more than 1-2 days before you plan on serving them. If you’re icing the cookies after they’ve completely cooled, you may need to make the icing slightly thinner, so it glazes smoothly over the cookies.
What’s the best way to store the cookies?
Once the icing has set, you can keep the cookies in an airtight container at room temperature for up to 2 weeks. These cookies are delicious with a cup of coffee.
Where do you get the alphabet letter embossers?
You can get the alphabet letter embossers and number embossers on Amazon.
You Might Also Like


Please check out my Amazon Shop for a curated collection of some of my favorite cake pans from trusted brands, baking tools, ingredients, pretty things and fashion finds. I recommend products that I buy and use every day!
Did you love today’s recipe? Please rate the recipe and let me know in the comments what you thought! Also, be sure to follow Curly Girl Kitchen on Instagram, and tag me when you try one of my recipes so I can see all your delicious creations!
Place Card Cookies
All recipes on Curly Girl Kitchen are developed for high altitude at 5,280 feet. See FAQs for adjusting to higher or lower elevations.

Equipment
- Mini Snap-Together Letter Embossers
- Food Processor or Pastry Cutter
- Rolling Pin
- Cookie Cutters
Ingredients
- 1 recipe No-Spread Chocolate Cookie Dough
- 1 recipe Vanilla Icing
Instructions
- Make the chocolate cookie dough as instructed in this stamped cookies post.
- Prep a large baking sheet with a piece of parchment paper or baking paper.
- On a lightly floured surface, roll the dough out to an even thickness of 1/4 inch, using a little more flour as needed to keep the dough from sticking.
- Using any shape cookie cutter, cut as many cookies as you can, and place them 1-2 inches apart on the baking sheet. Gather up the scraps, roll them out again, and continue cutting cookies.Using a 2 1/2 inch round fluted cookie cutter, I was able to cut 20 cookies.
- Now organize your snap together letter embossers, and gather the letters you need for the names you're spelling. Be sure to check that you're spelling everything correctly.When you're ready to stamp the cookies, dip the letter embossers in flour and tap off the excess. Press down on the cookies just deep enough to leave a clear impression, but don't press so hard that you press through to the other side.
- Place the baking sheet in the refrigerator and chill for 1 hour before baking.
- Preheat the oven to 350 F. Bake the cookies on the center oven rack for about 12 minutes (if your cookies are larger or smaller, they may take more or less time to bake).
- Cool the cookies on the baking sheet for 5 minutes, then gently transfer to a cooling rack.
- While the cookies are warm, whisk together the icing ingredients until smooth, then use a pastry brush to brush a thin layer of icing over the cookies, being sure to get enough into the embossed letters. Before the icing sets (it sets and dries very quickly), you can add a few sprinkles or sparkling sugar.
- Let the cookies cool and dry completely before storing in an airtight container.
 https://curlygirlkitchen.com/
Leave a Reply