
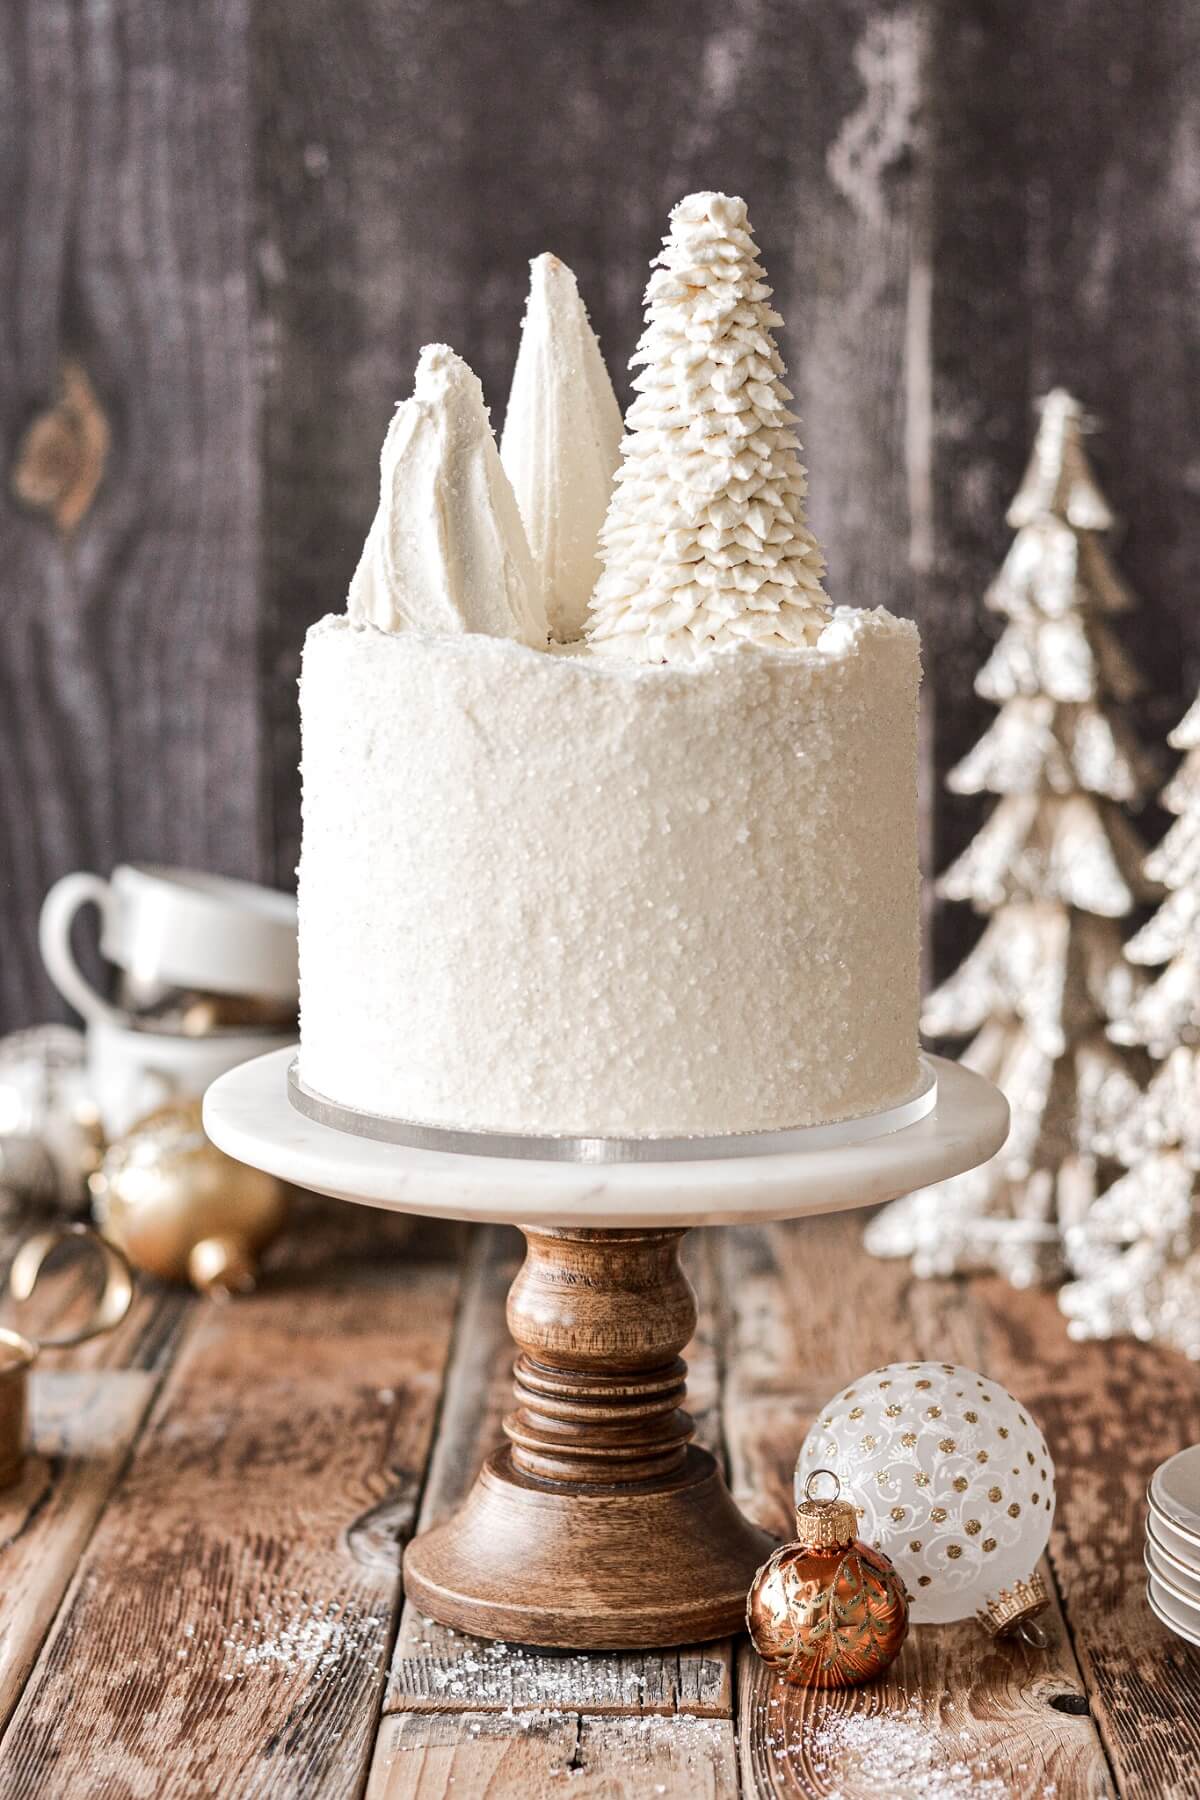
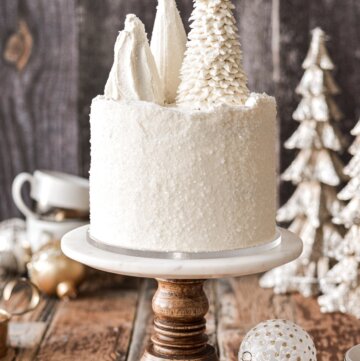
An easy cake decorating tutorial for a white Christmas cake covered in sparkling sugar and topped with ice cream cone Christmas trees. This pretty cake is simple to put together, and all you need is some buttercream, sugar cones and sparkling sugar to make the ice cream cone tree cake toppers.
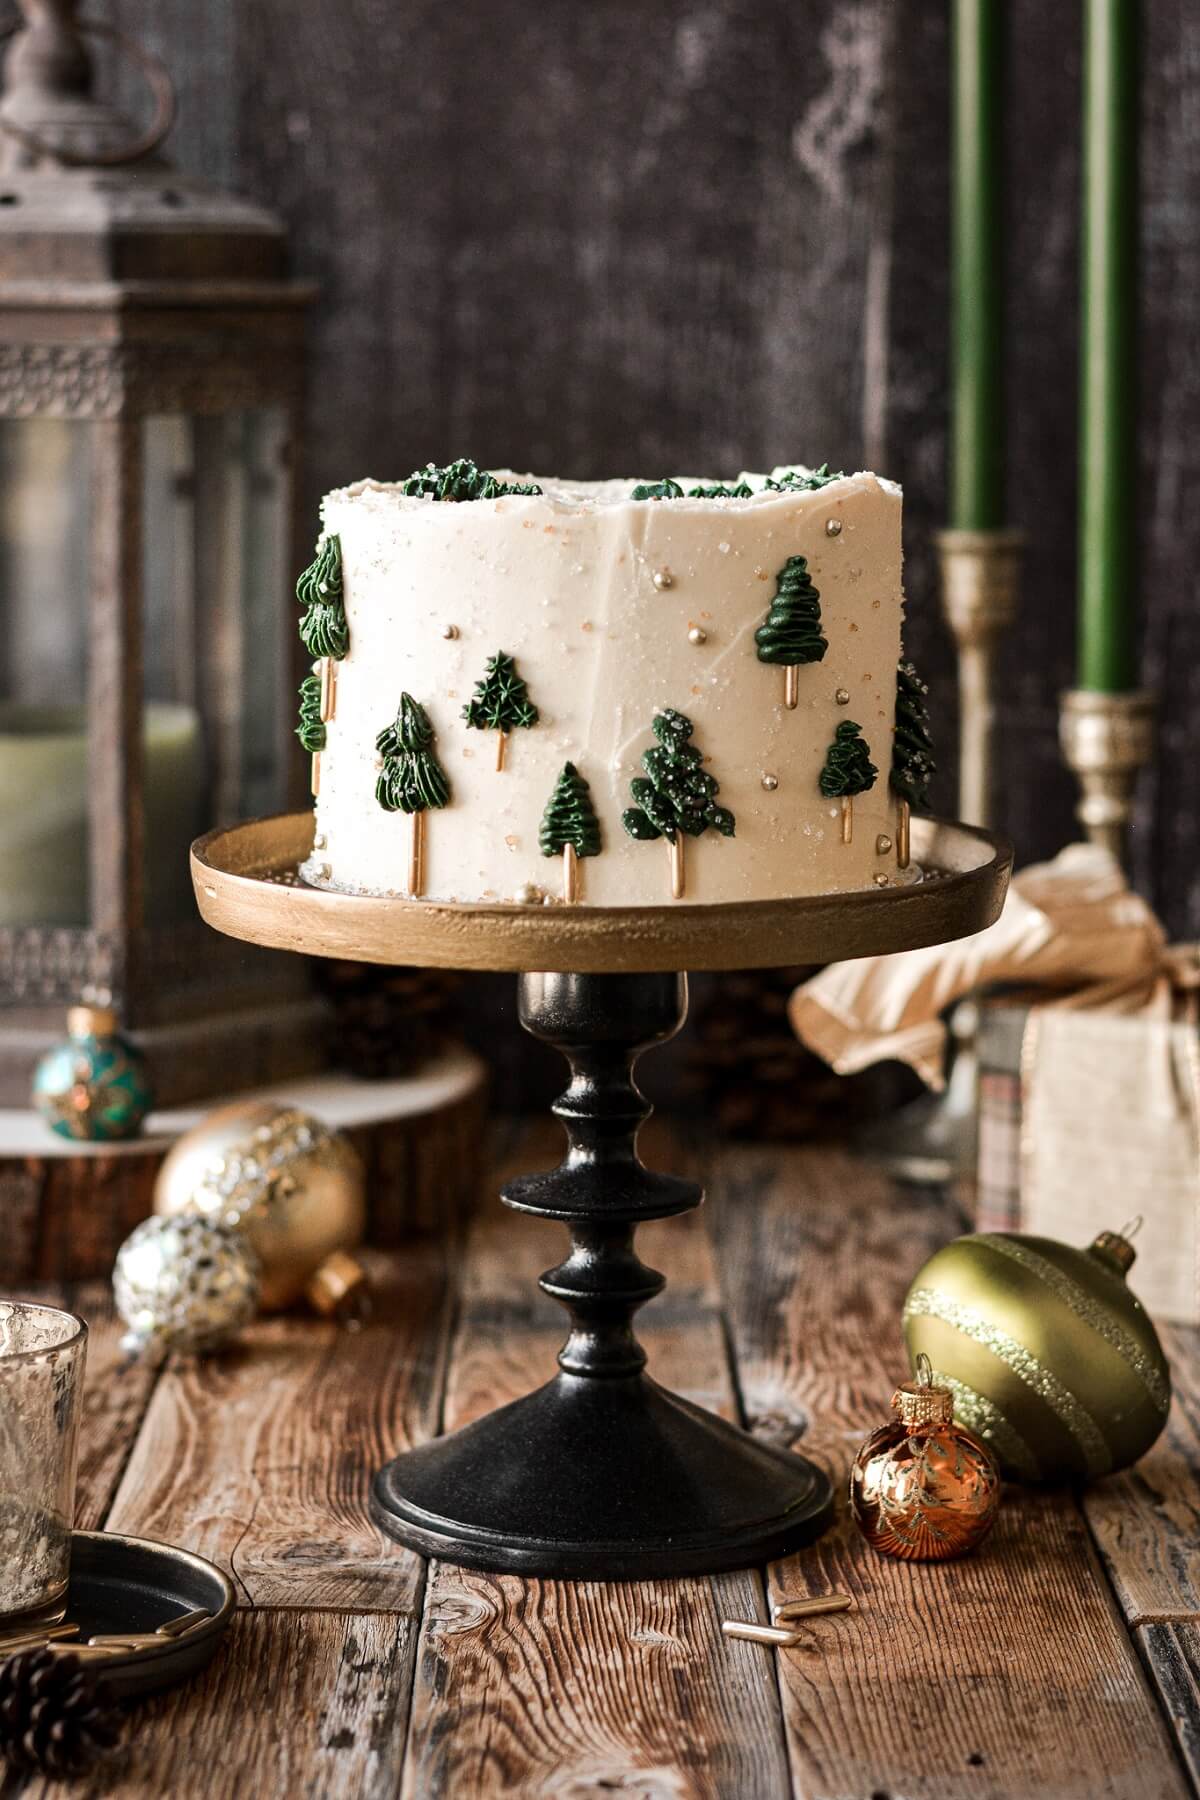
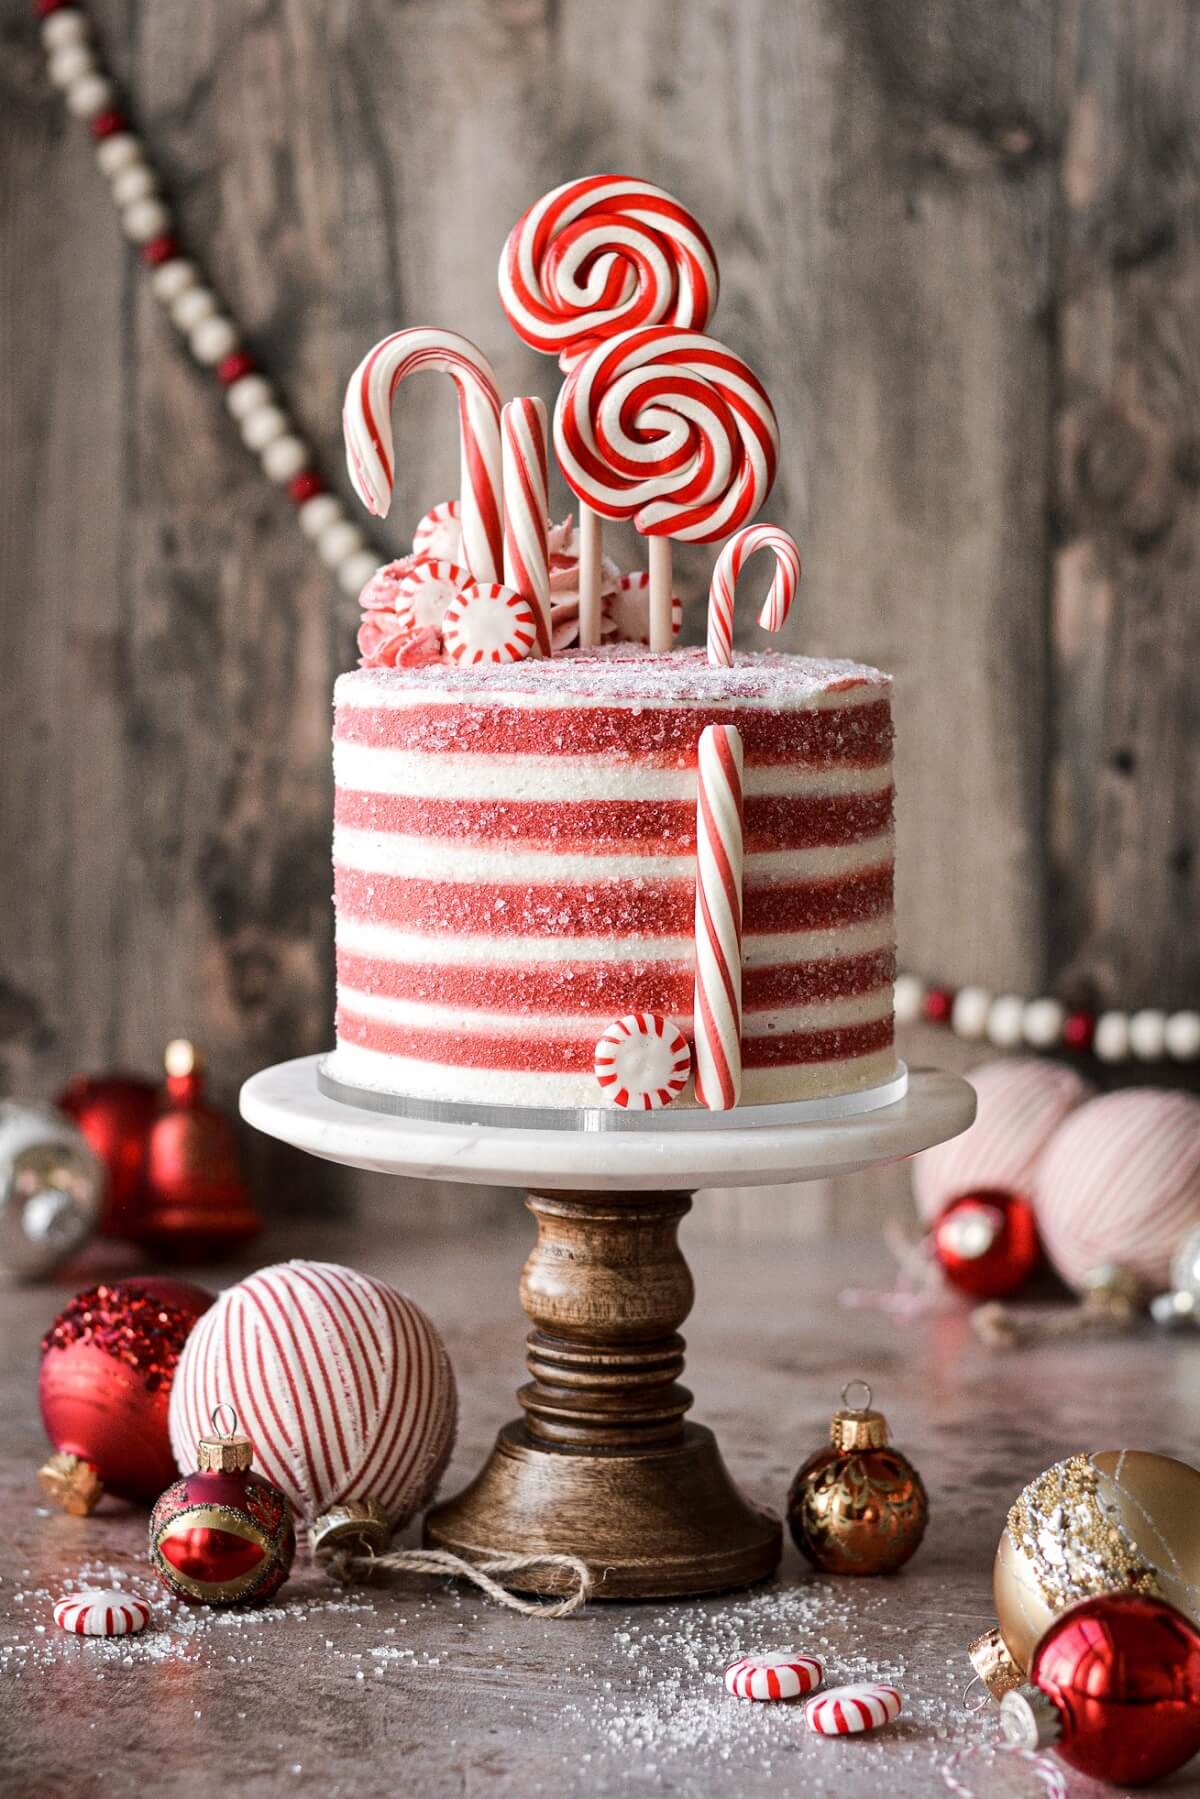
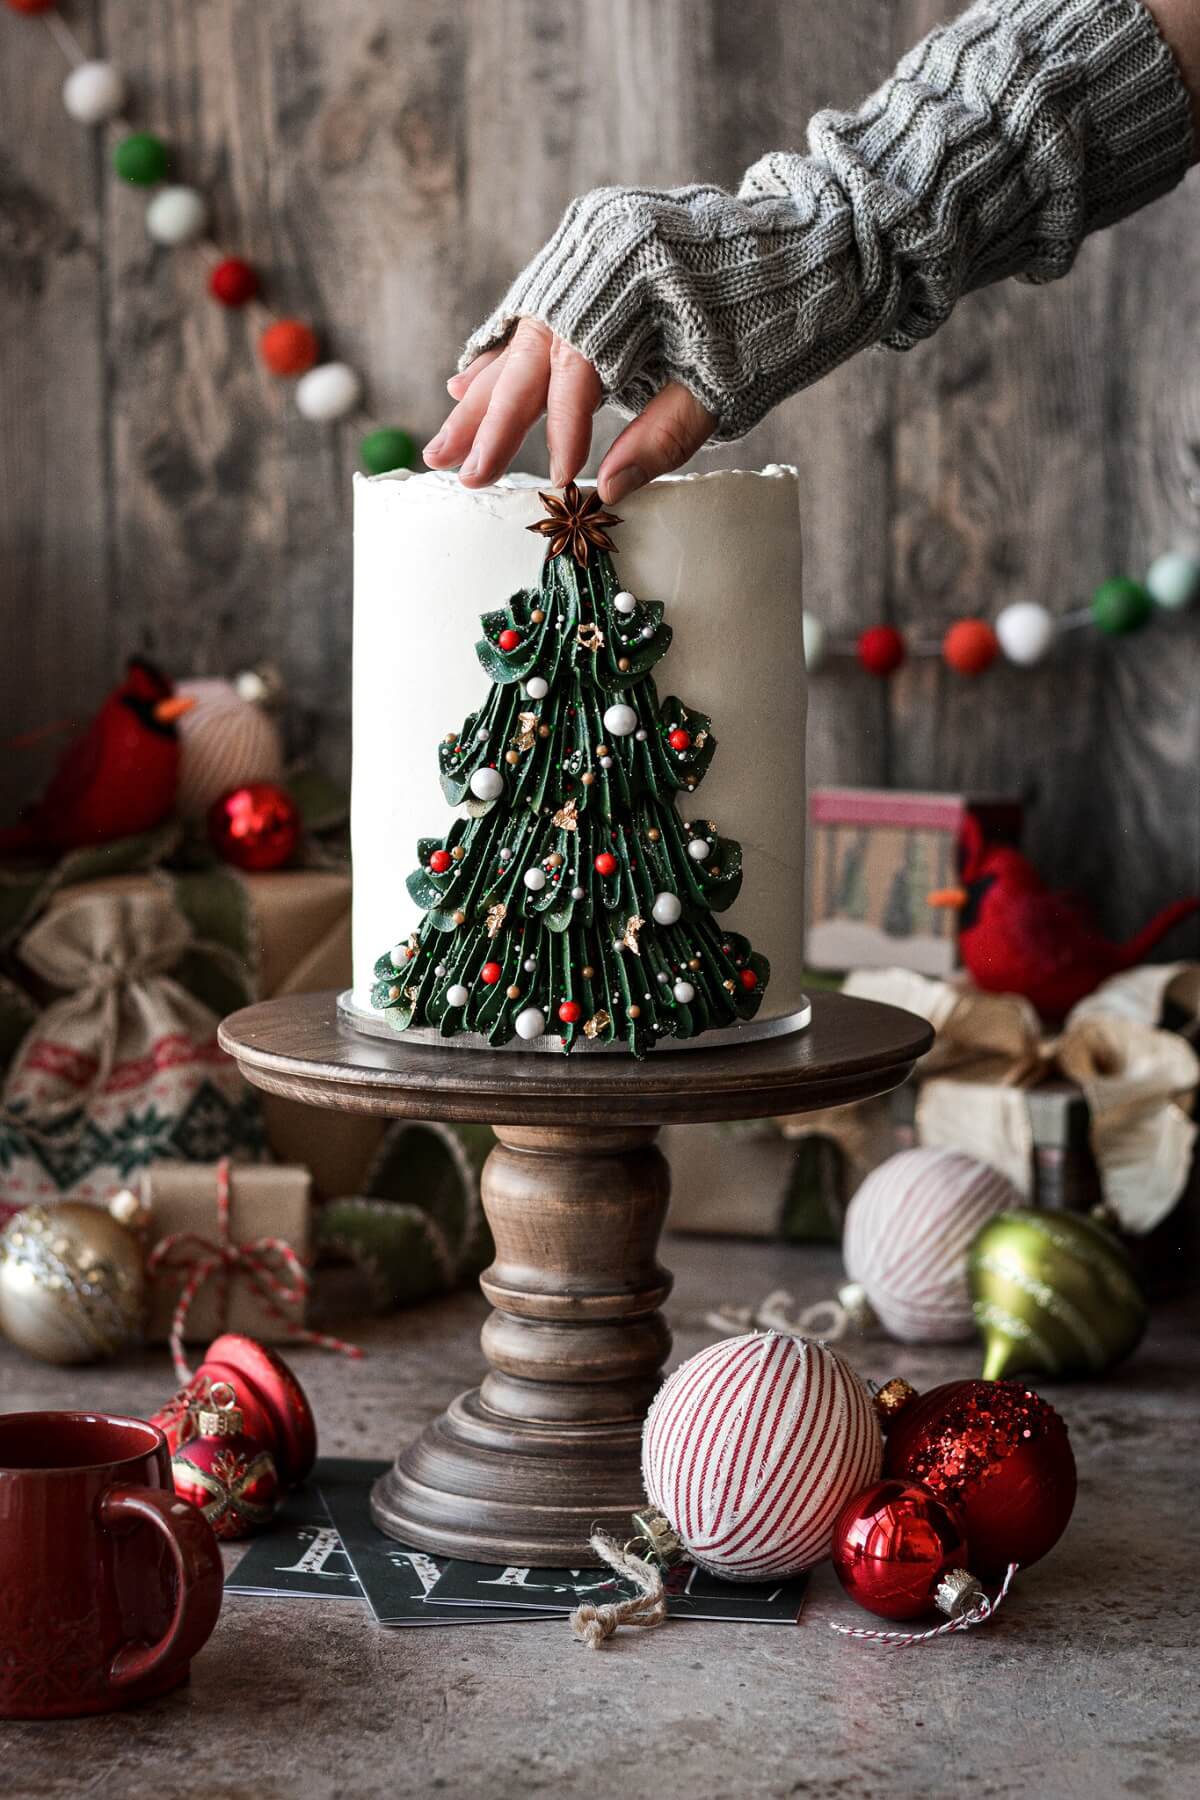
You might also love this candy cane Christmas cake, gold and green Christmas trees cake, and this buttercream Christmas tree cake tutorial.
This site contains affiliate links. As an Amazon associate, I earn from qualifying purchases. This means that I may make a small commission if you purchase a product using those links. This in no way affects my opinion of those products and services. All opinions expressed on this site are my own.
Why You’ll Love This Cake
So Simple. This is a super easy cake to decorate, with just a few simple ingredients and tools.
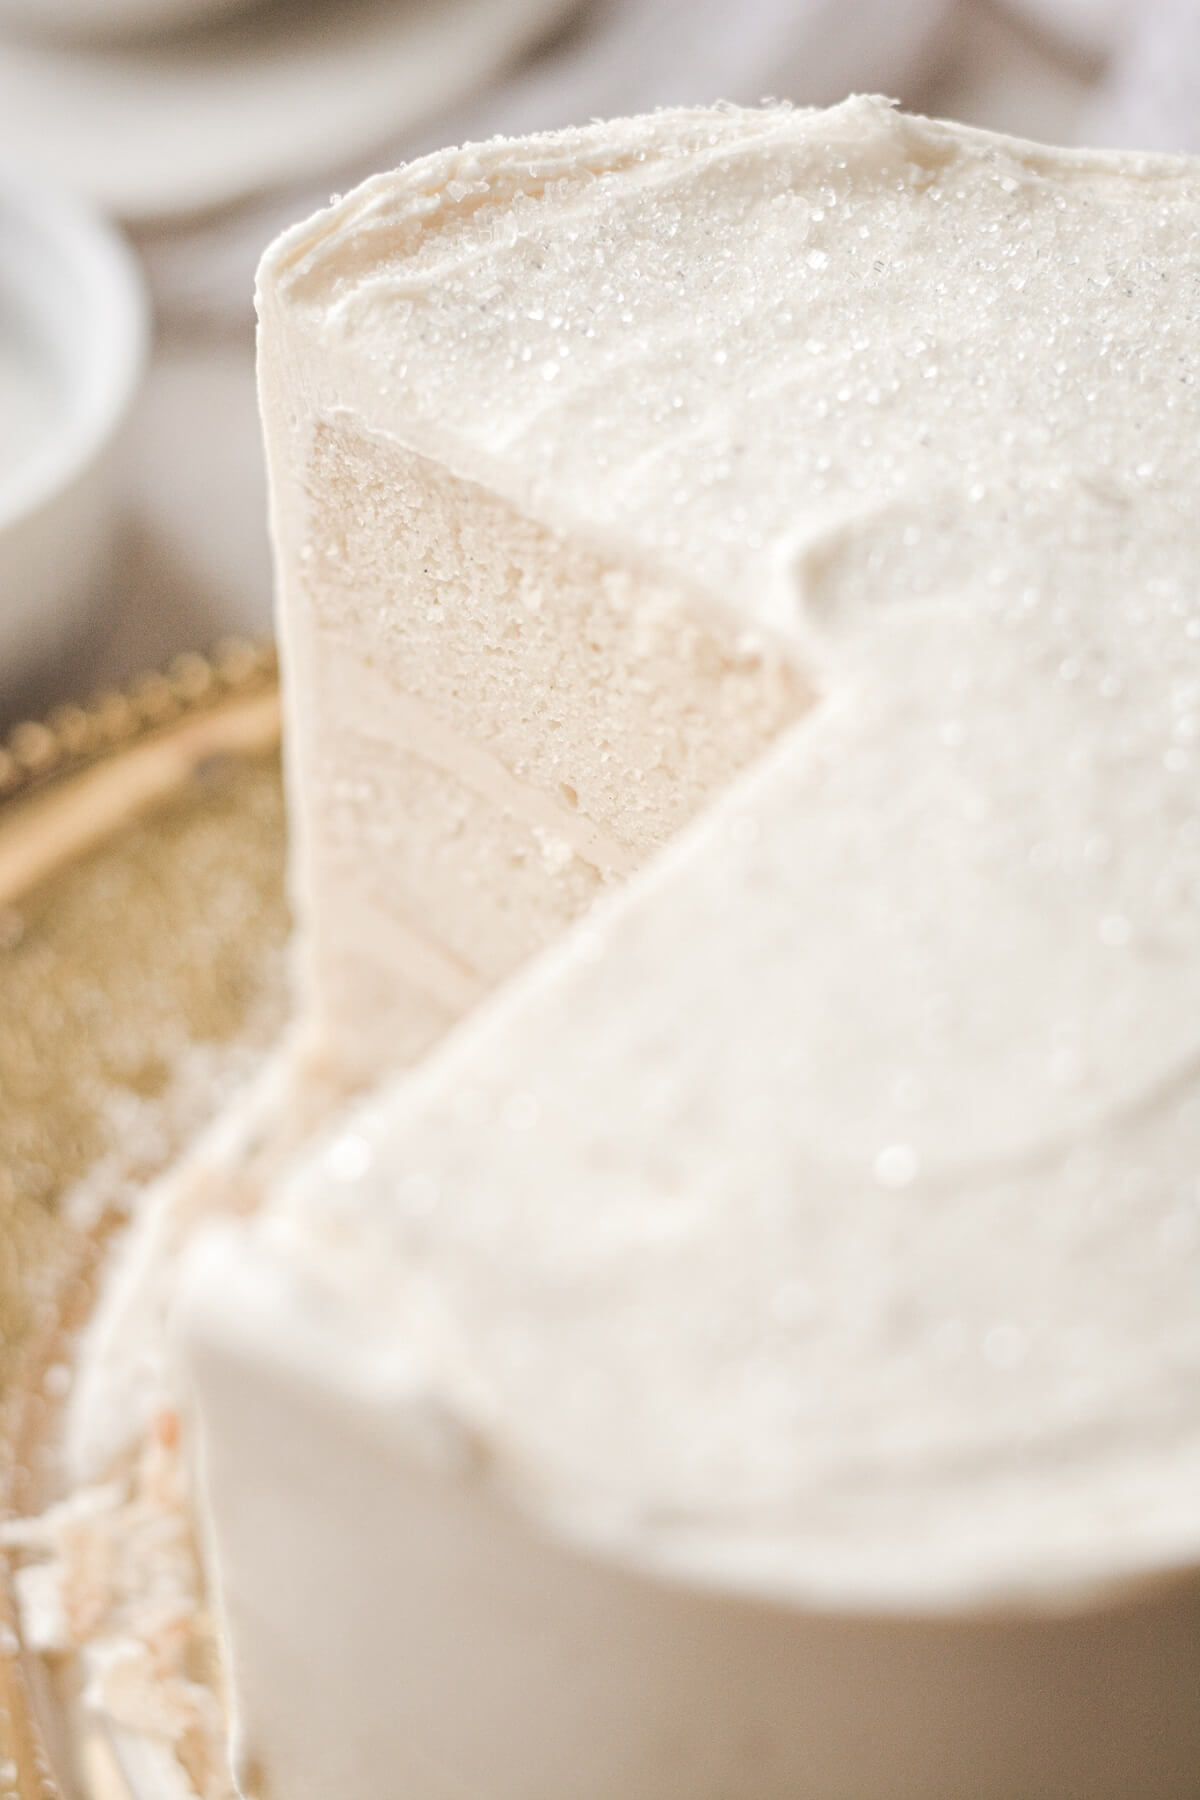
Pretty and White. This cake gives me all of the I’m Dreaming of a White Christmas vibes, and I just love it.
Versatile Decorating Options. You can pipe or spread the buttercream onto the cones, keep them simple with just sparkling sugar, or decorate them more elaborately with sugar pearls, sprinkles and nonpareils. And instead of an all white Christmas cake, you can use a deep green buttercream for your trees.
See the recipe card at the end of the post for the full ingredients list and instructions.
Equipment
- 12-inch Piping Bag + Coupler. You’ll need this if you choose to pipe some of the leaves onto the ice cream cone trees, rather than spreading the frosting on with a spatula.
- Piping Tip #352. This is a leaf tip, and will form the leaves or branches on the trees.
- Small Icing Spatula. For spreading the frosting onto the ice cream cones.
See the recipe card at the end of the post for the full ingredients list and instructions.
Ingredients
- Frosted Cake. I made 1/2 my vanilla cake recipe, so I could make a smaller 6-inch 3-layer cake. If you make the full recipe, it will make an 8-inch 3-layer cake.
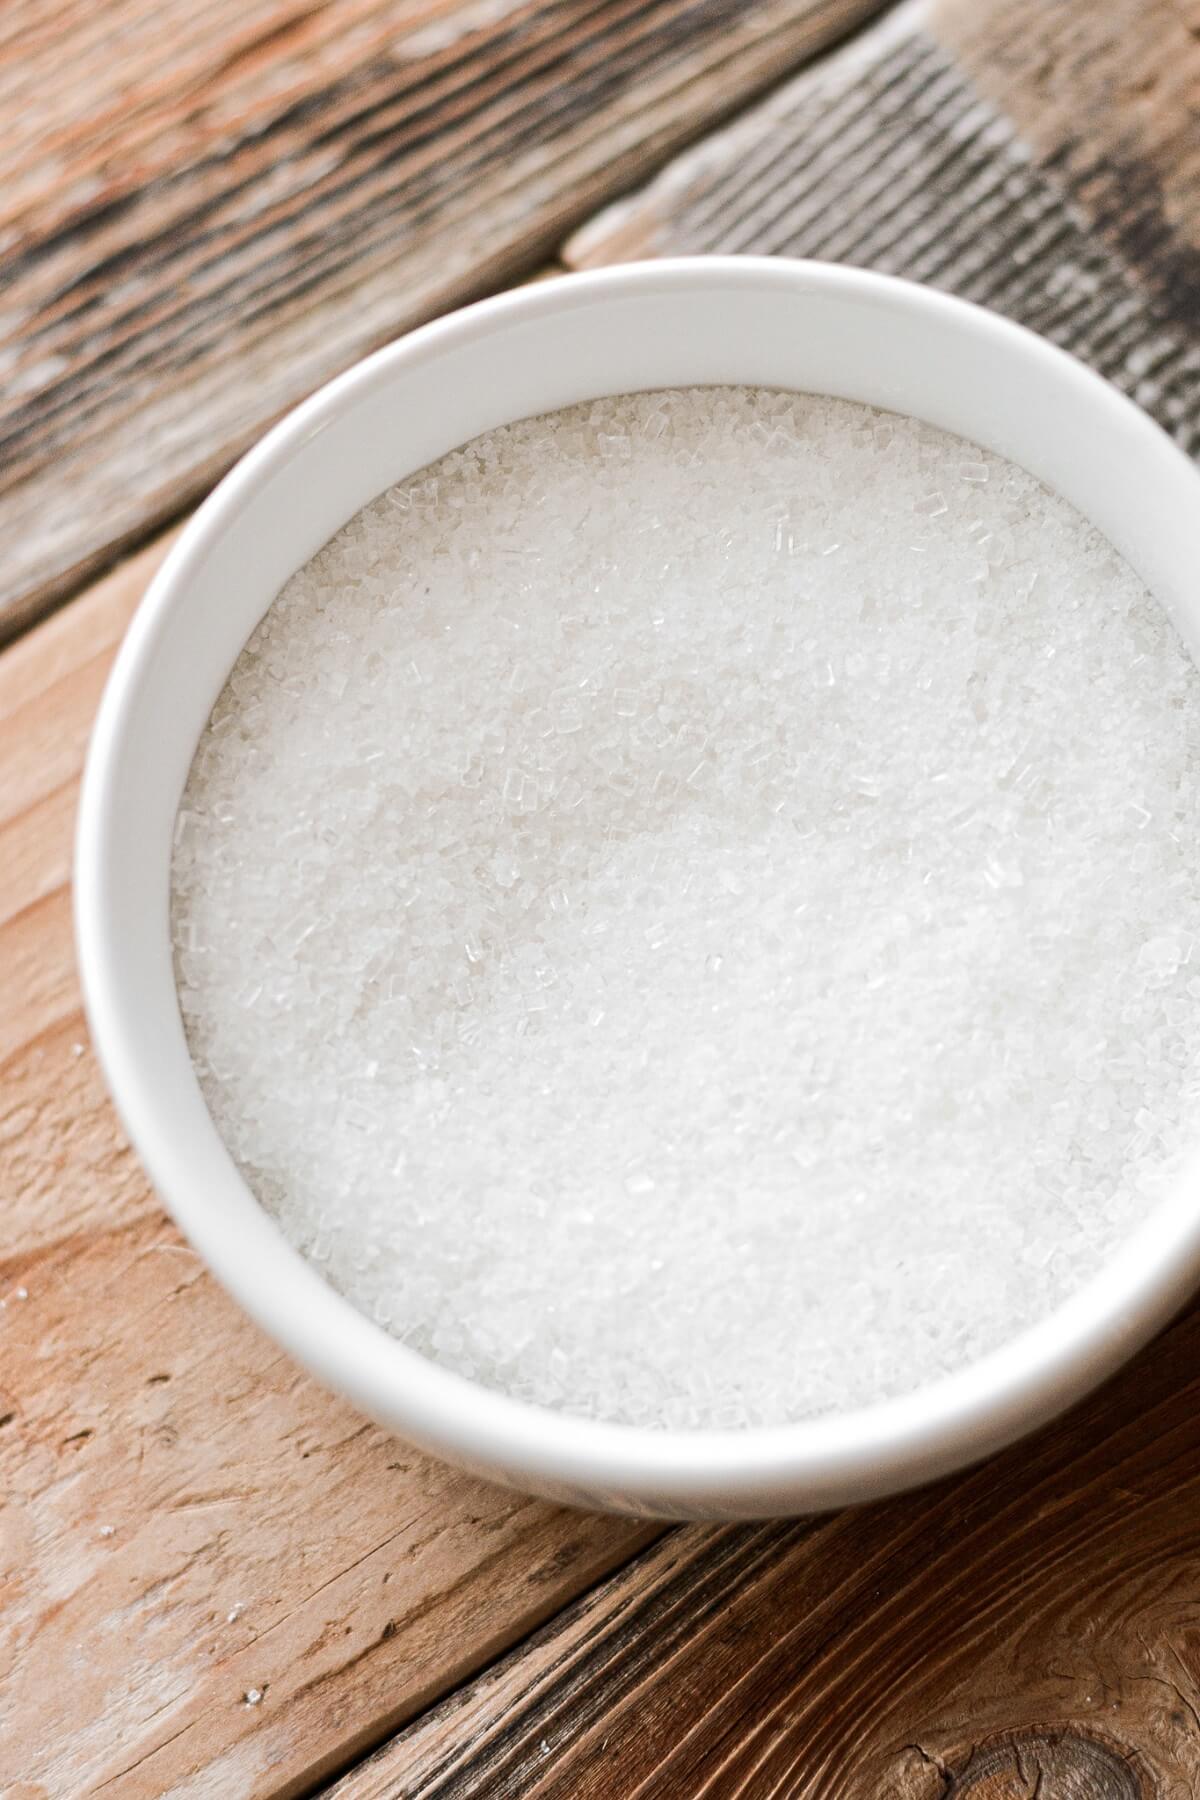
- Sugar. I used a combination of granulated sugar and coarse white sparkling sugar to sprinkle over the frosted cake and onto the ice cream cone trees.
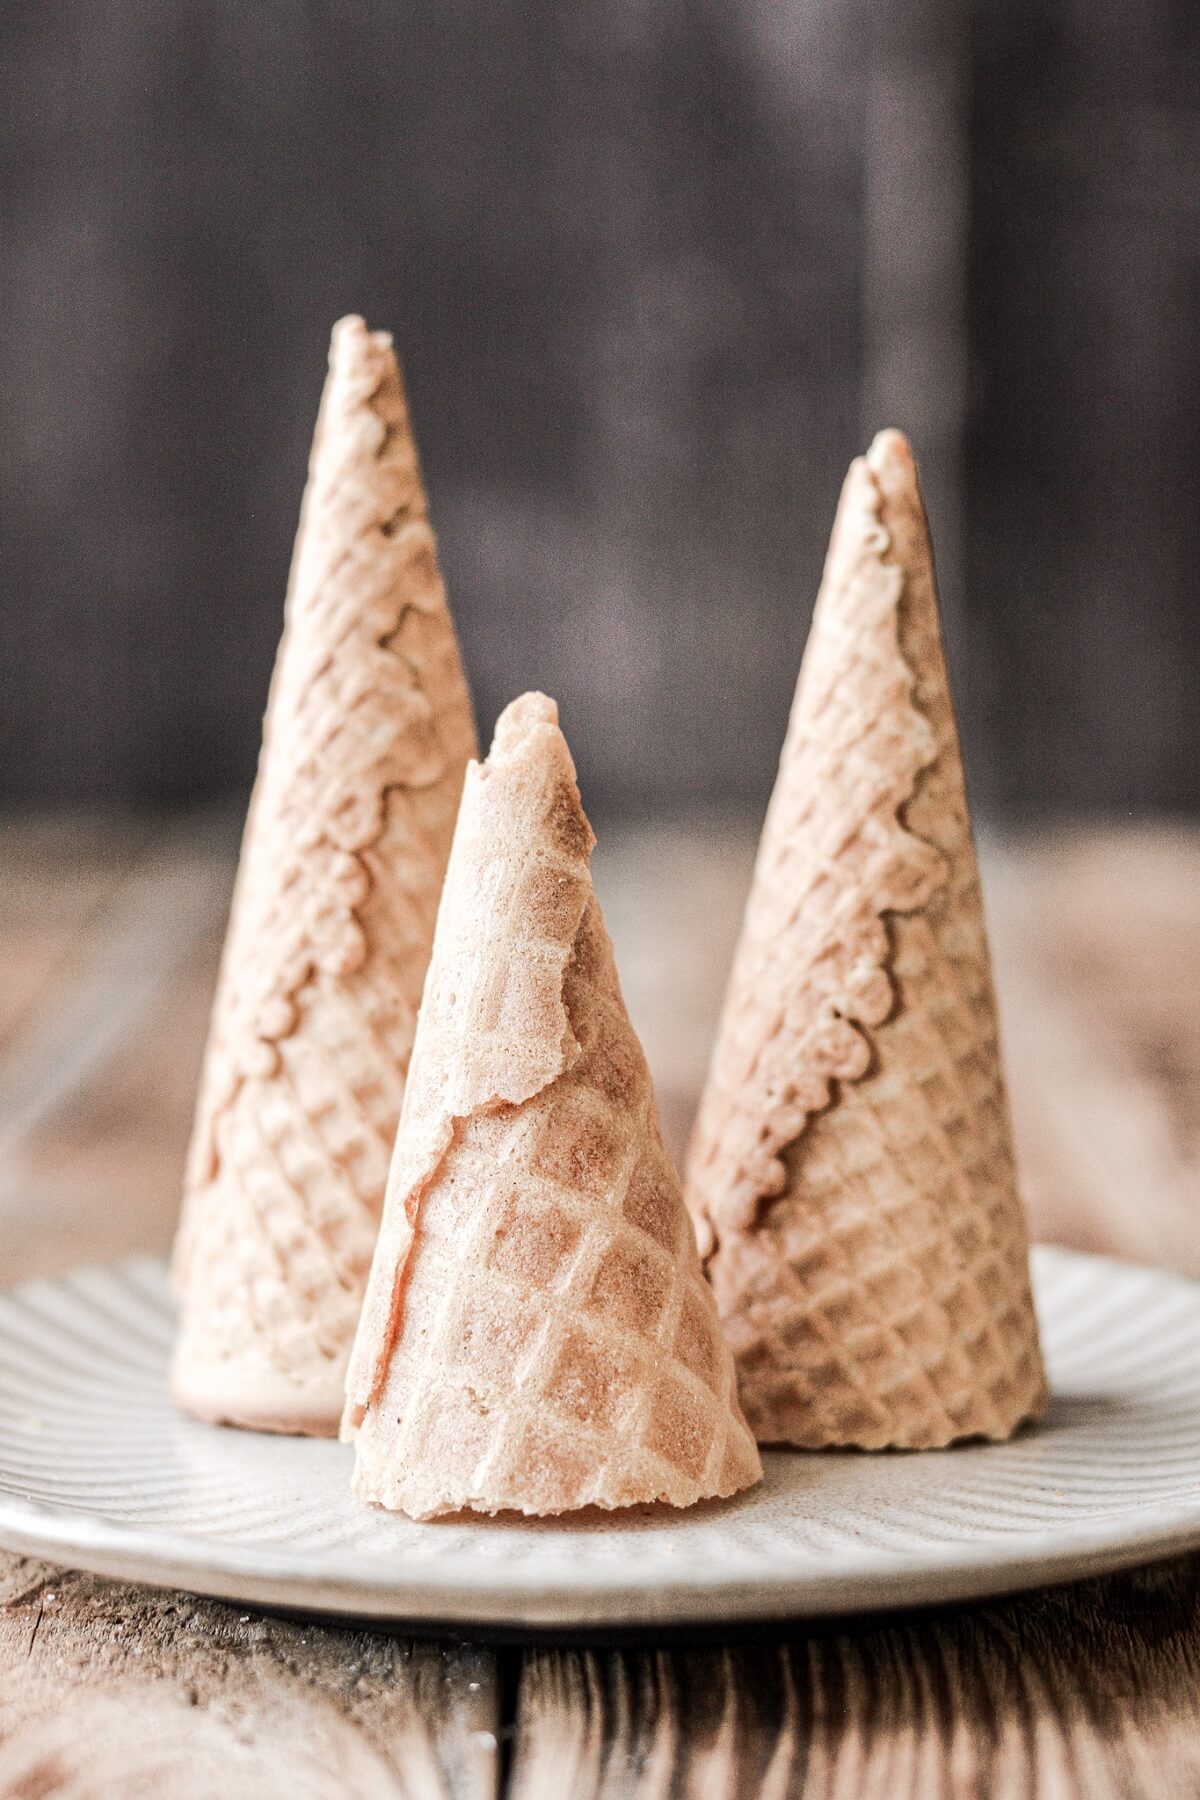
- Sugar Cones. You’ll need sugar cones (not cake cones) for making the trees. You could also use waffle cones, but they’re bigger, and you’ll have to break off more of the cone to make it a more manageable size.
- Vanilla Buttercream. When you frost your cake, plan on making about 1 cup of extra buttercream for decorating your trees. I recommend my American buttercream recipe for today’s project.
Instructions
Bake and frost the cake.
- Bake, cool and frost your cake, using any recipe or flavor you like. I used 1/2 the recipe for my vanilla cake to make a 6-inch 3-layer cake. The full recipe will make an 8-inch 3-layer cake.
- For the buttercream, I recommend American Buttercream, using half shortening and half butter for a nice white color.
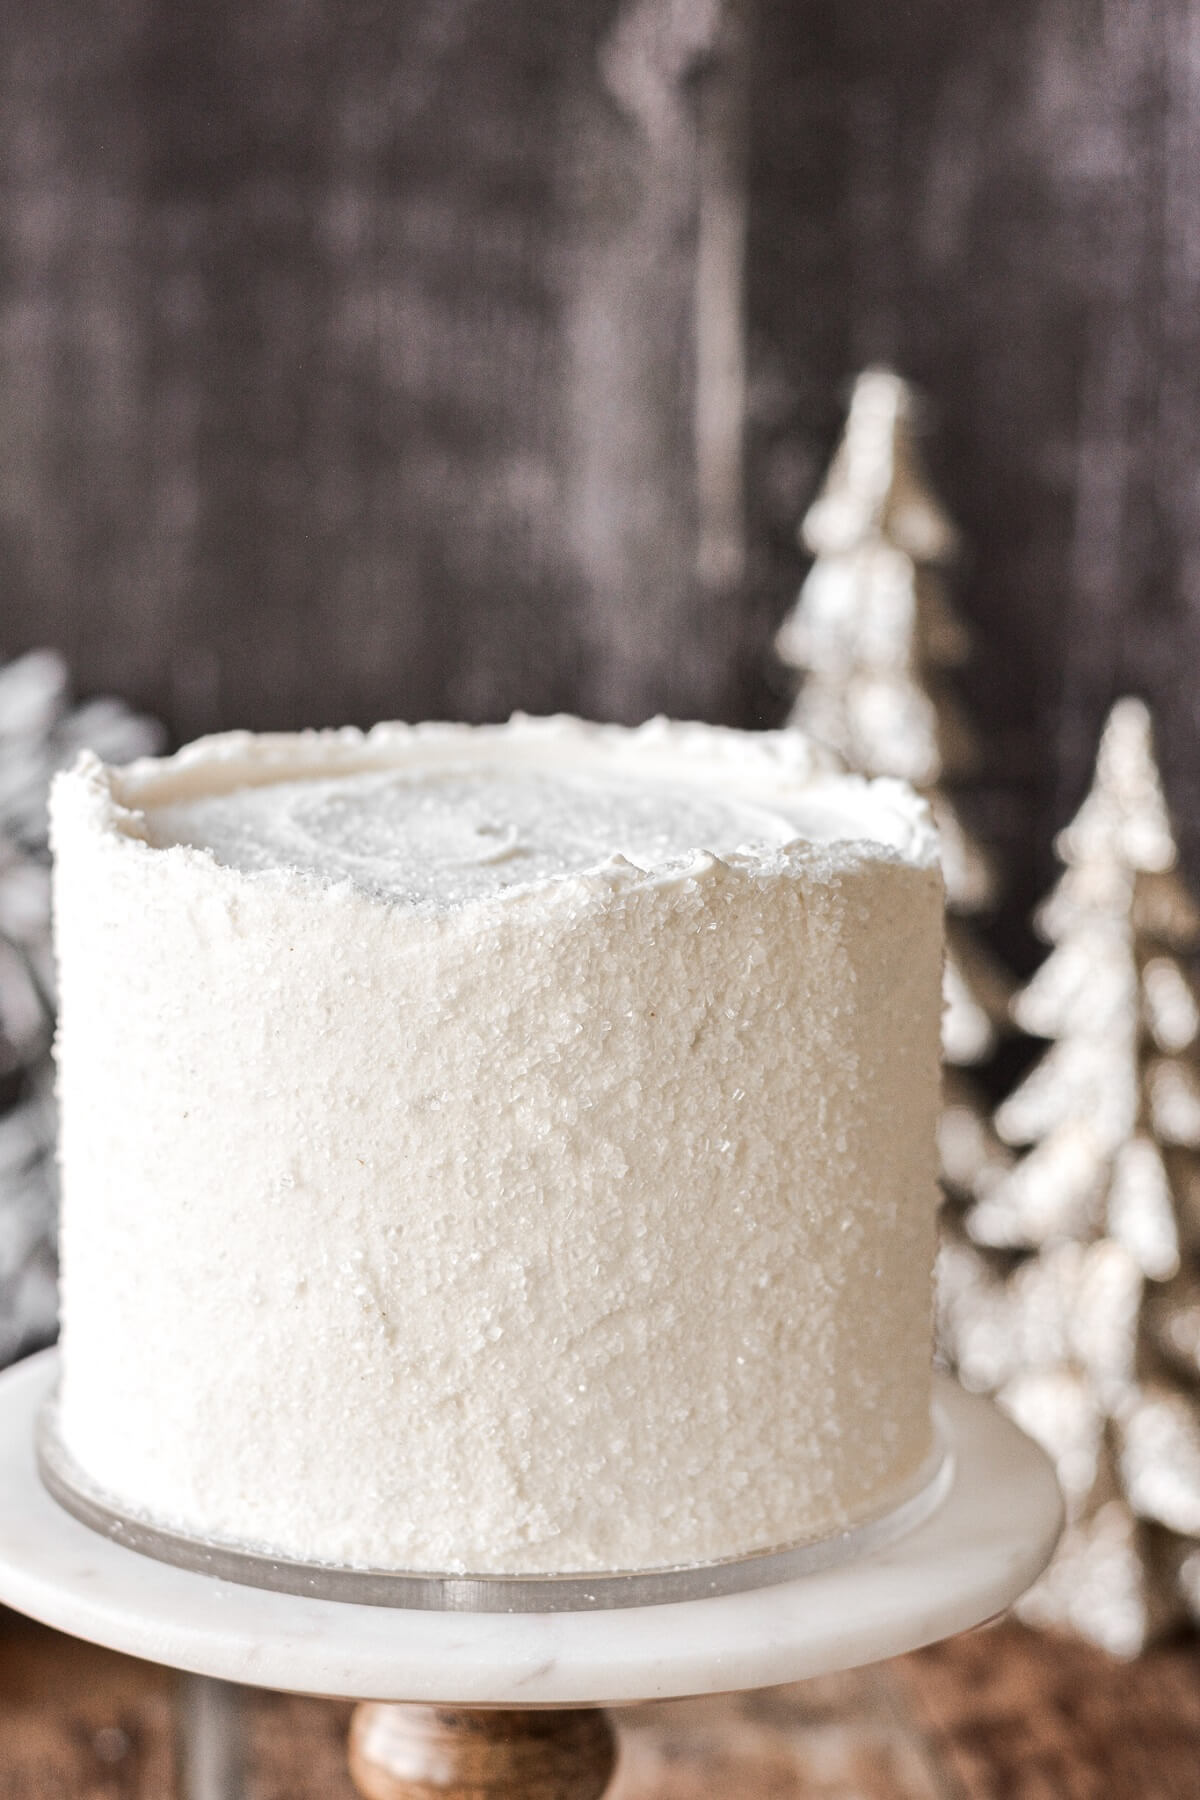
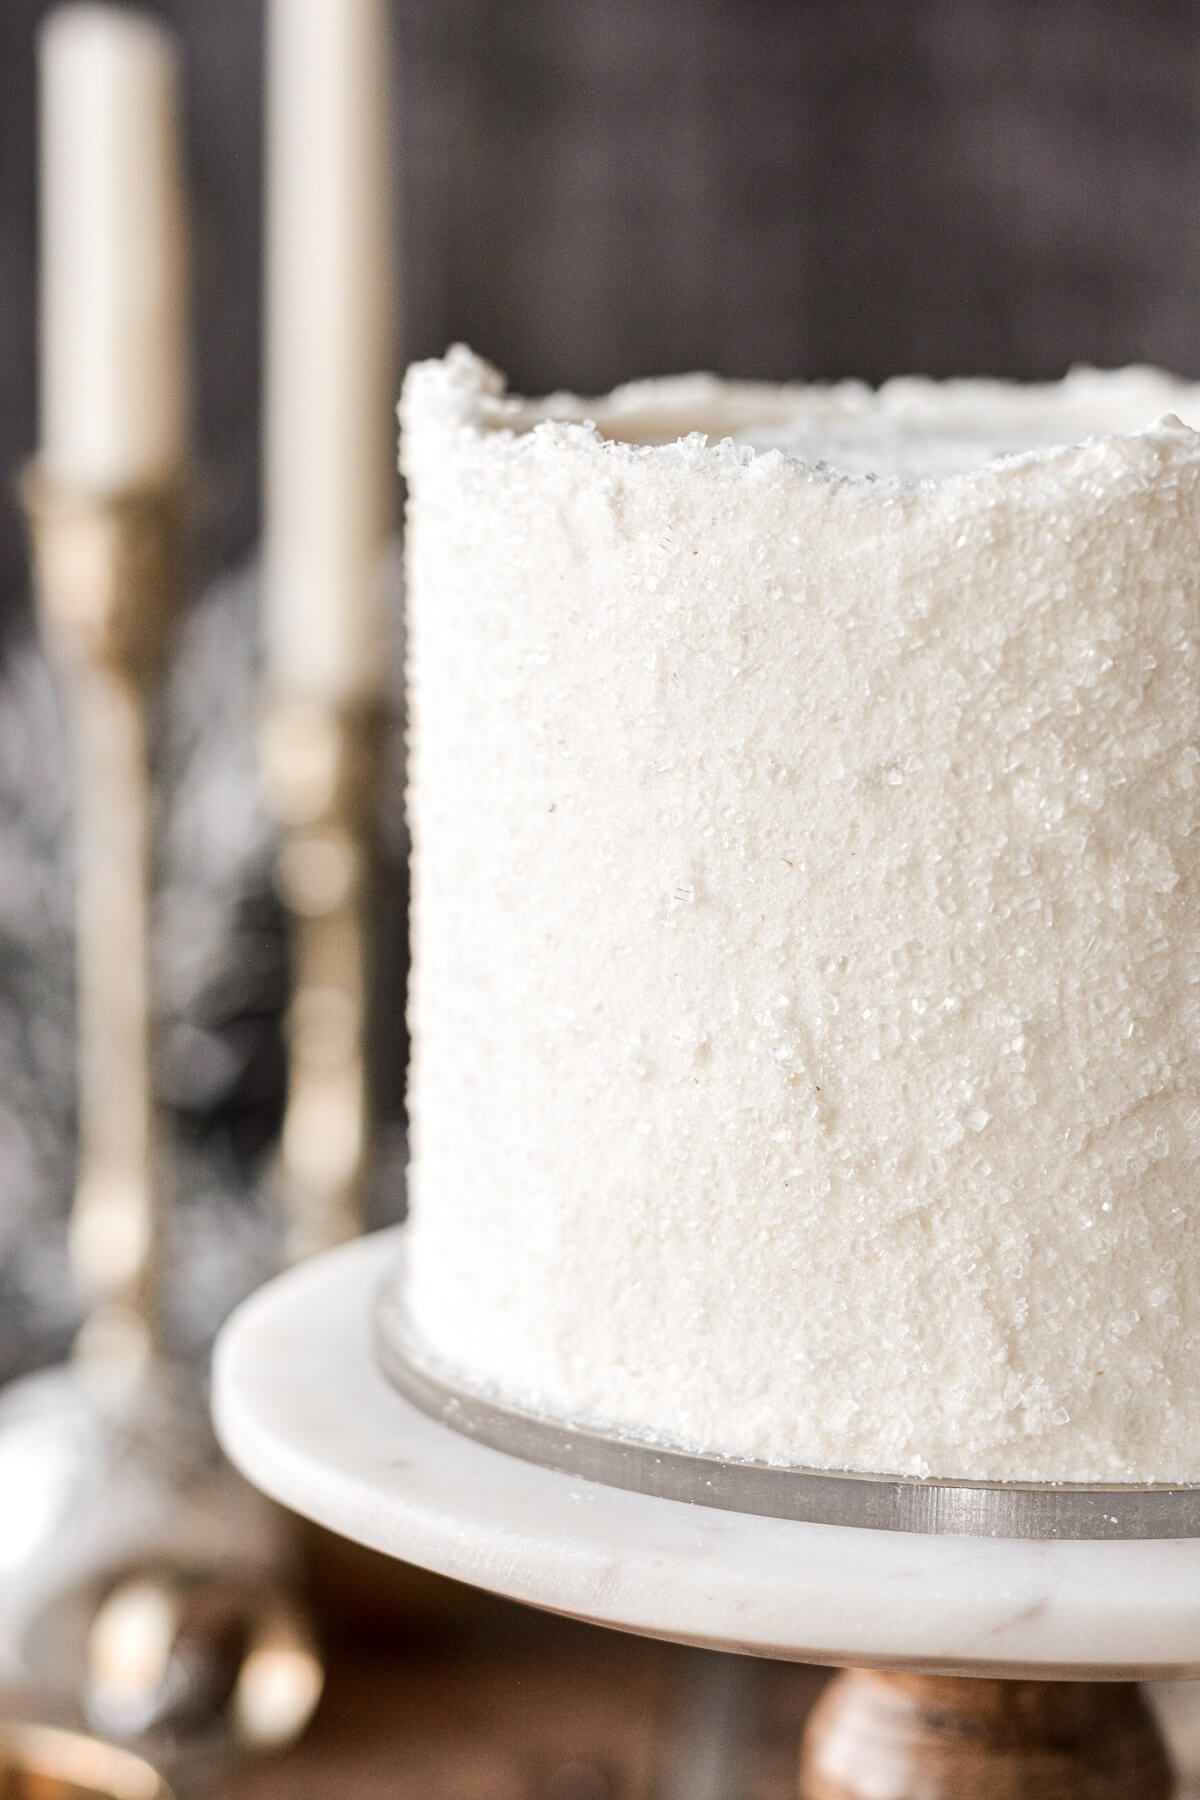
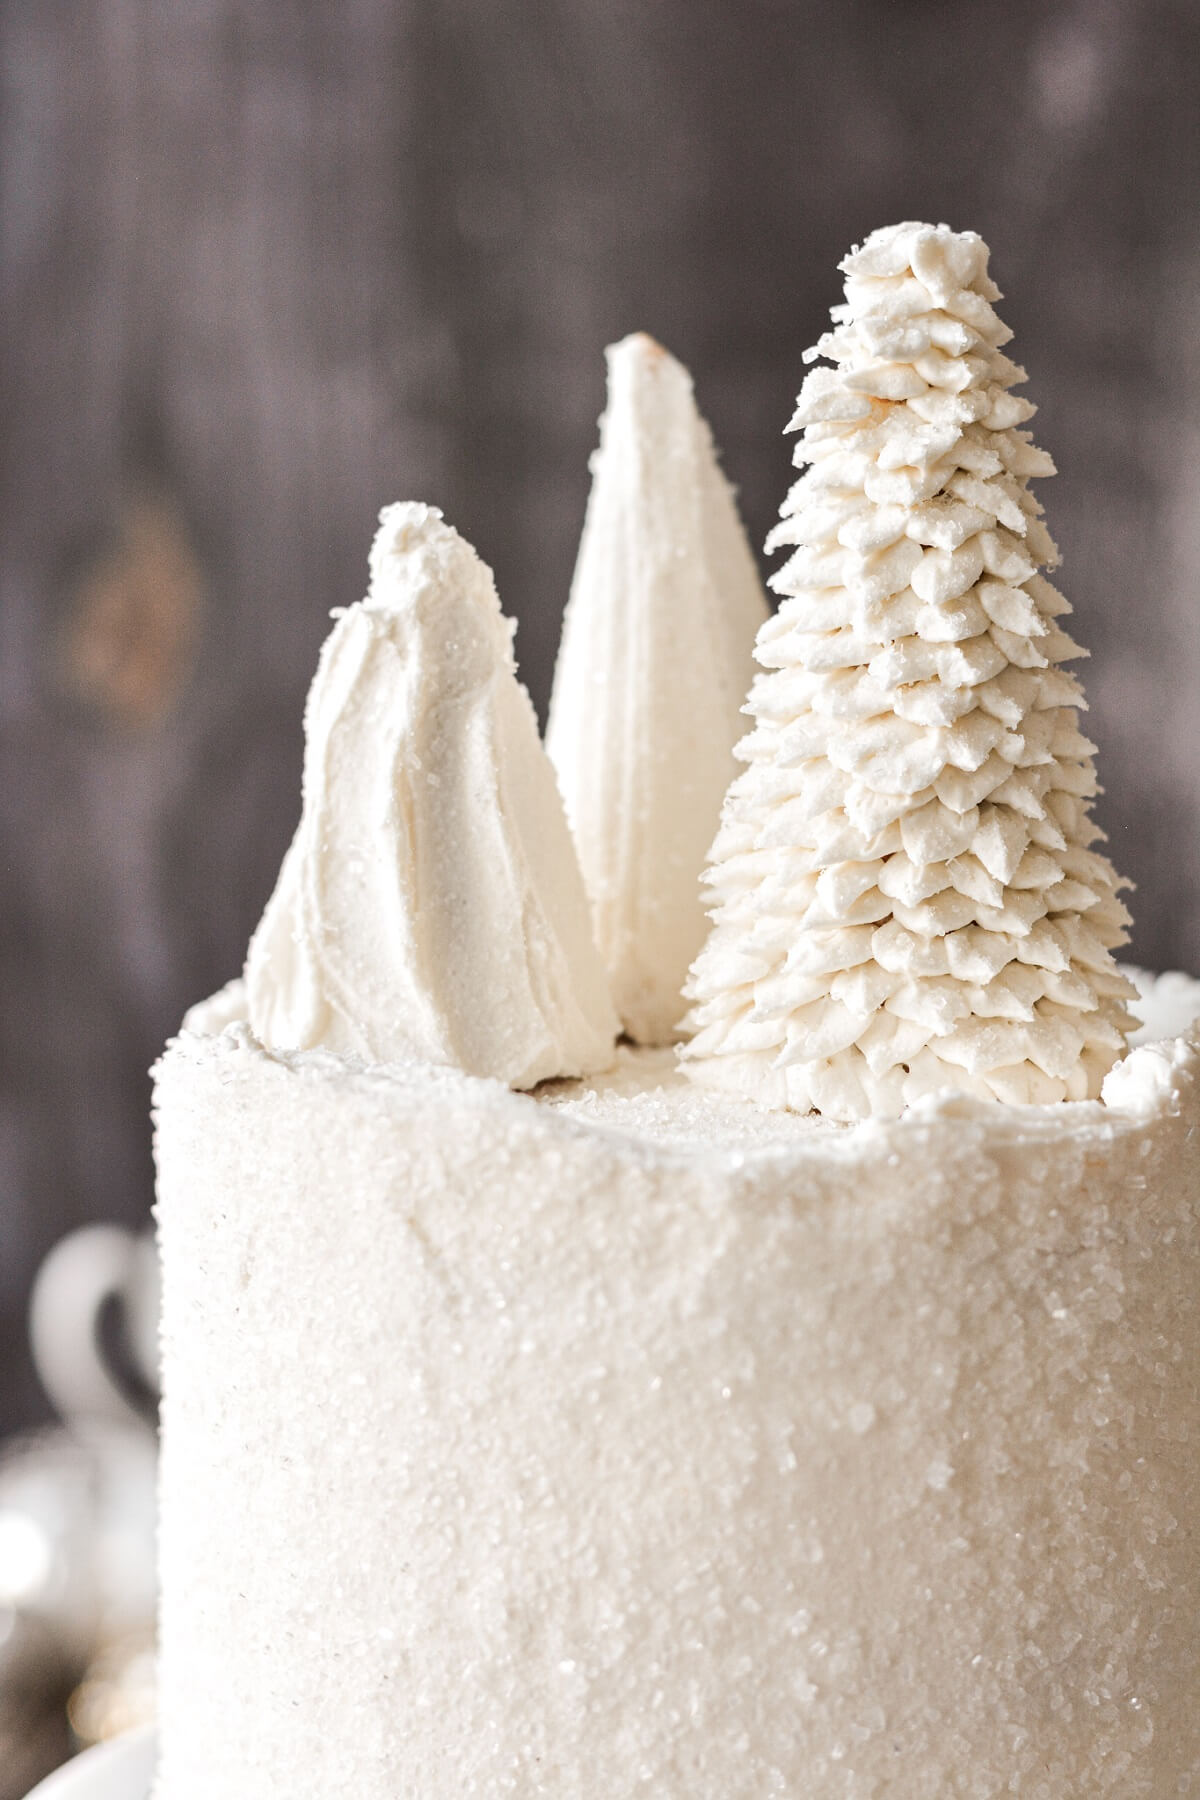
- In a bowl, combine the granulated sugar and coarse sparkling sugar. Before the buttercream on the cake crusts over, scatter sugar over the top and sides of the cake. You can use your hand or a pastry brush to scoop up the sugar and gently press it against the sides of the cake, gathering up what falls off to use again.
- If you want the ice cream cone trees to be different heights, you’ll need to use your fingers to gently break pieces off two of the cones to shorten them, so you have one tall, one medium and one short tree. Don’t try to cut them shorter with a knife, as this will just break and crush the cones.
Frost the ice cream cones.
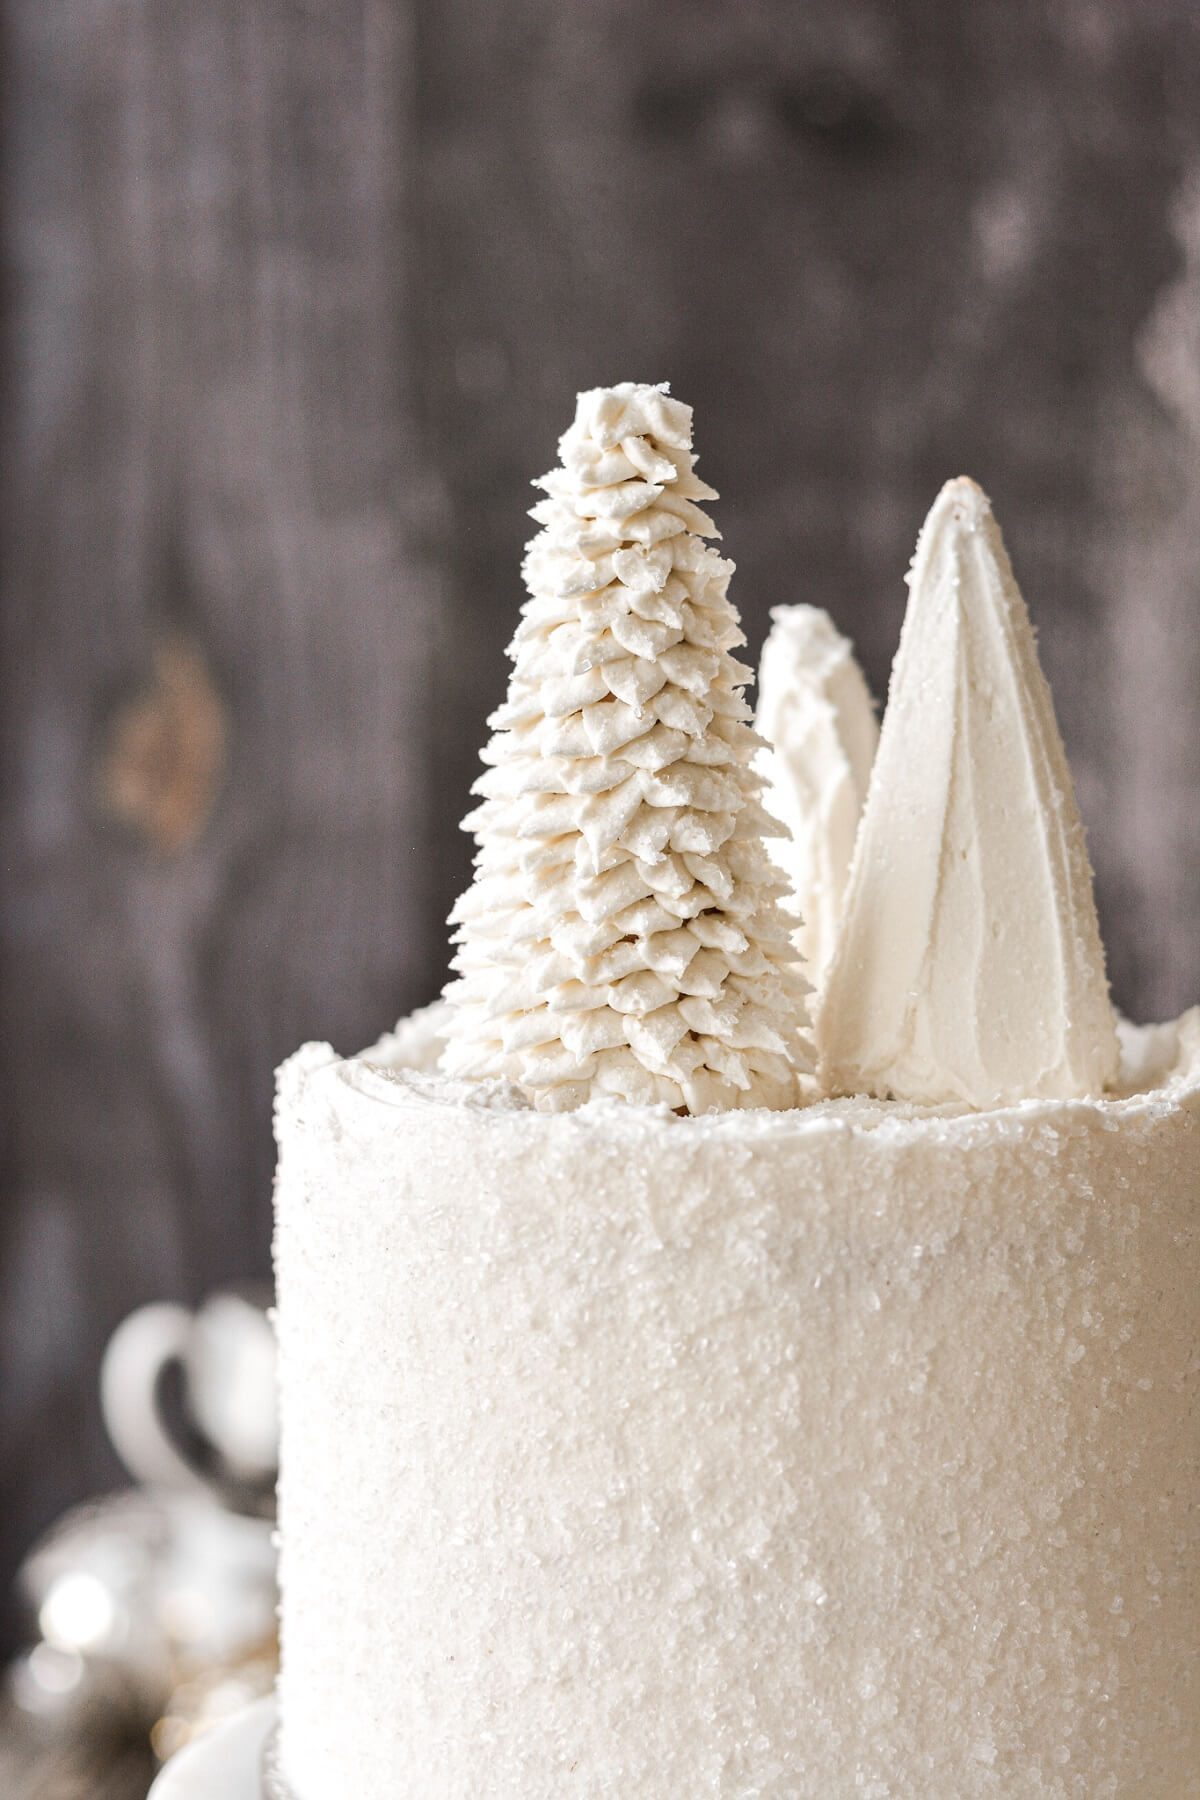
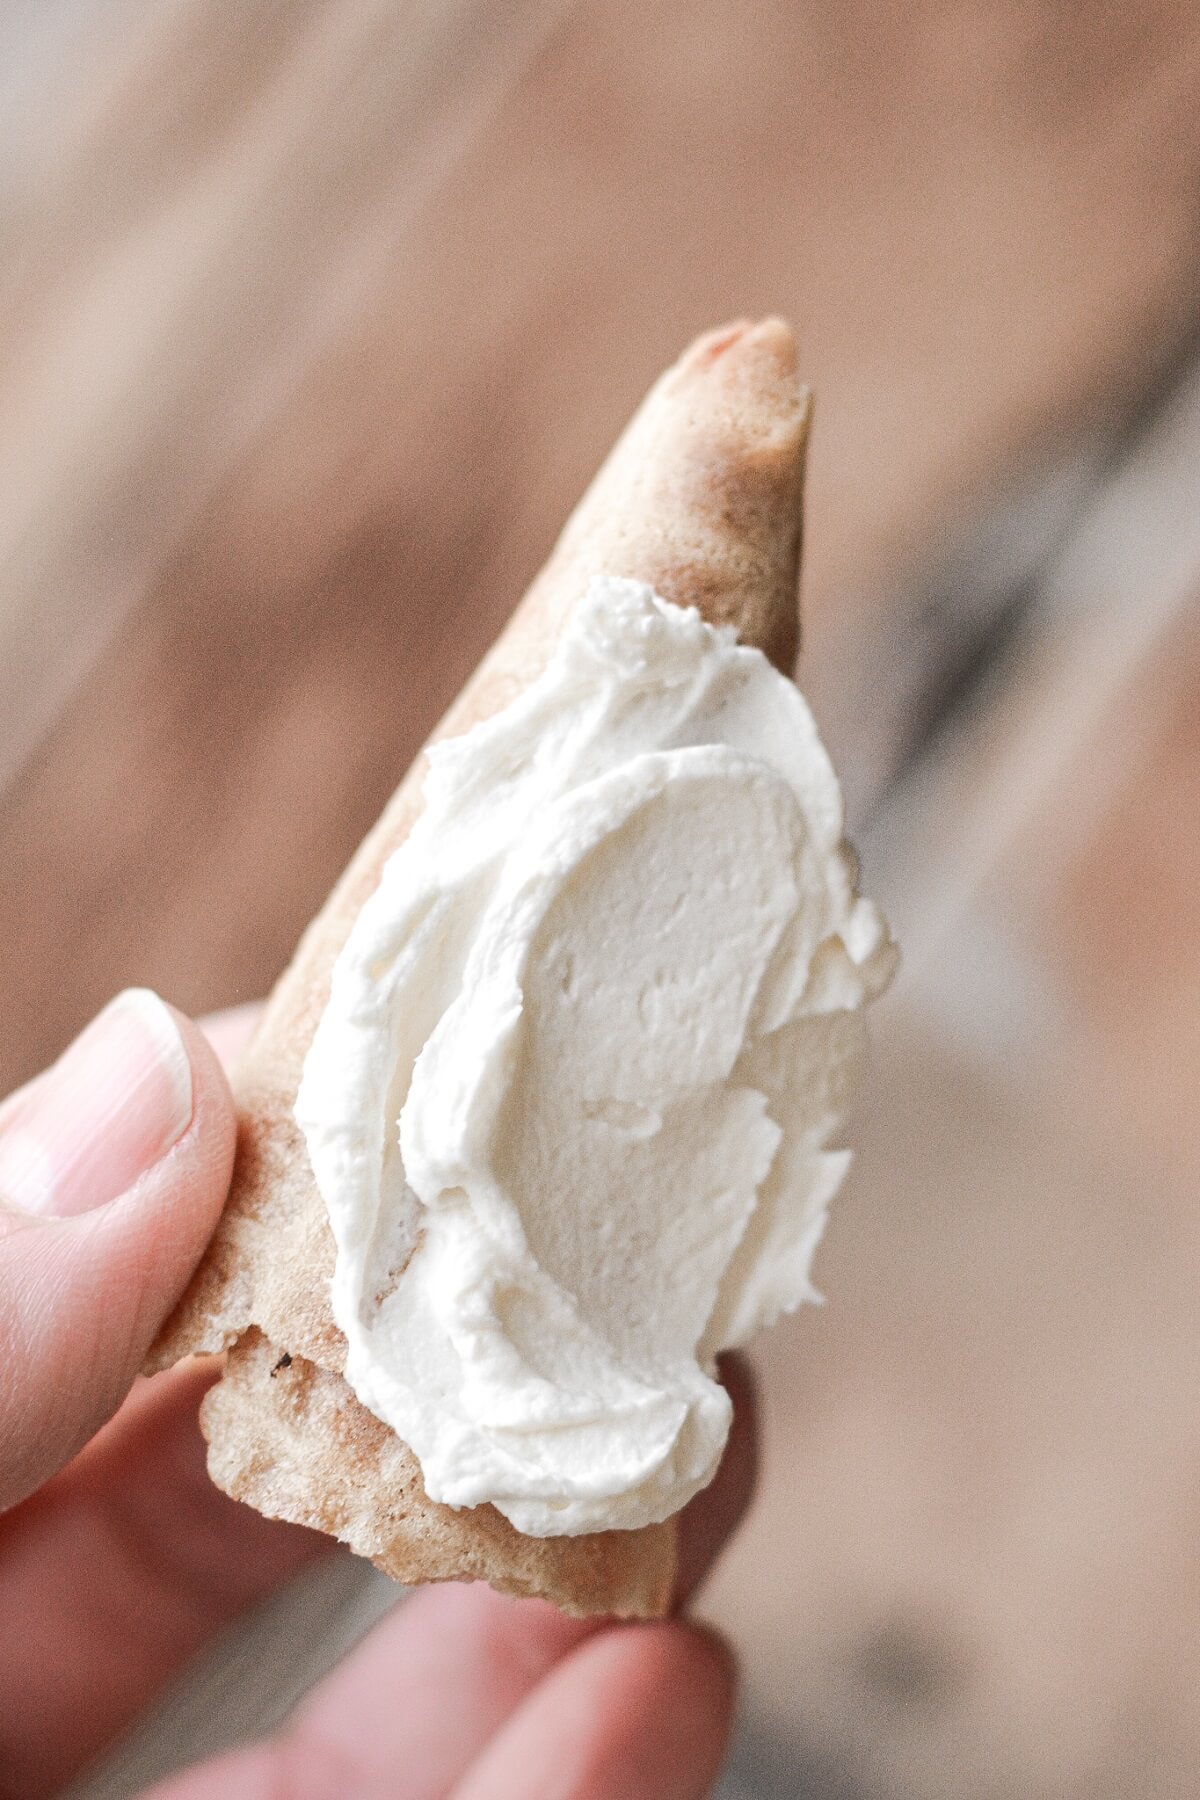
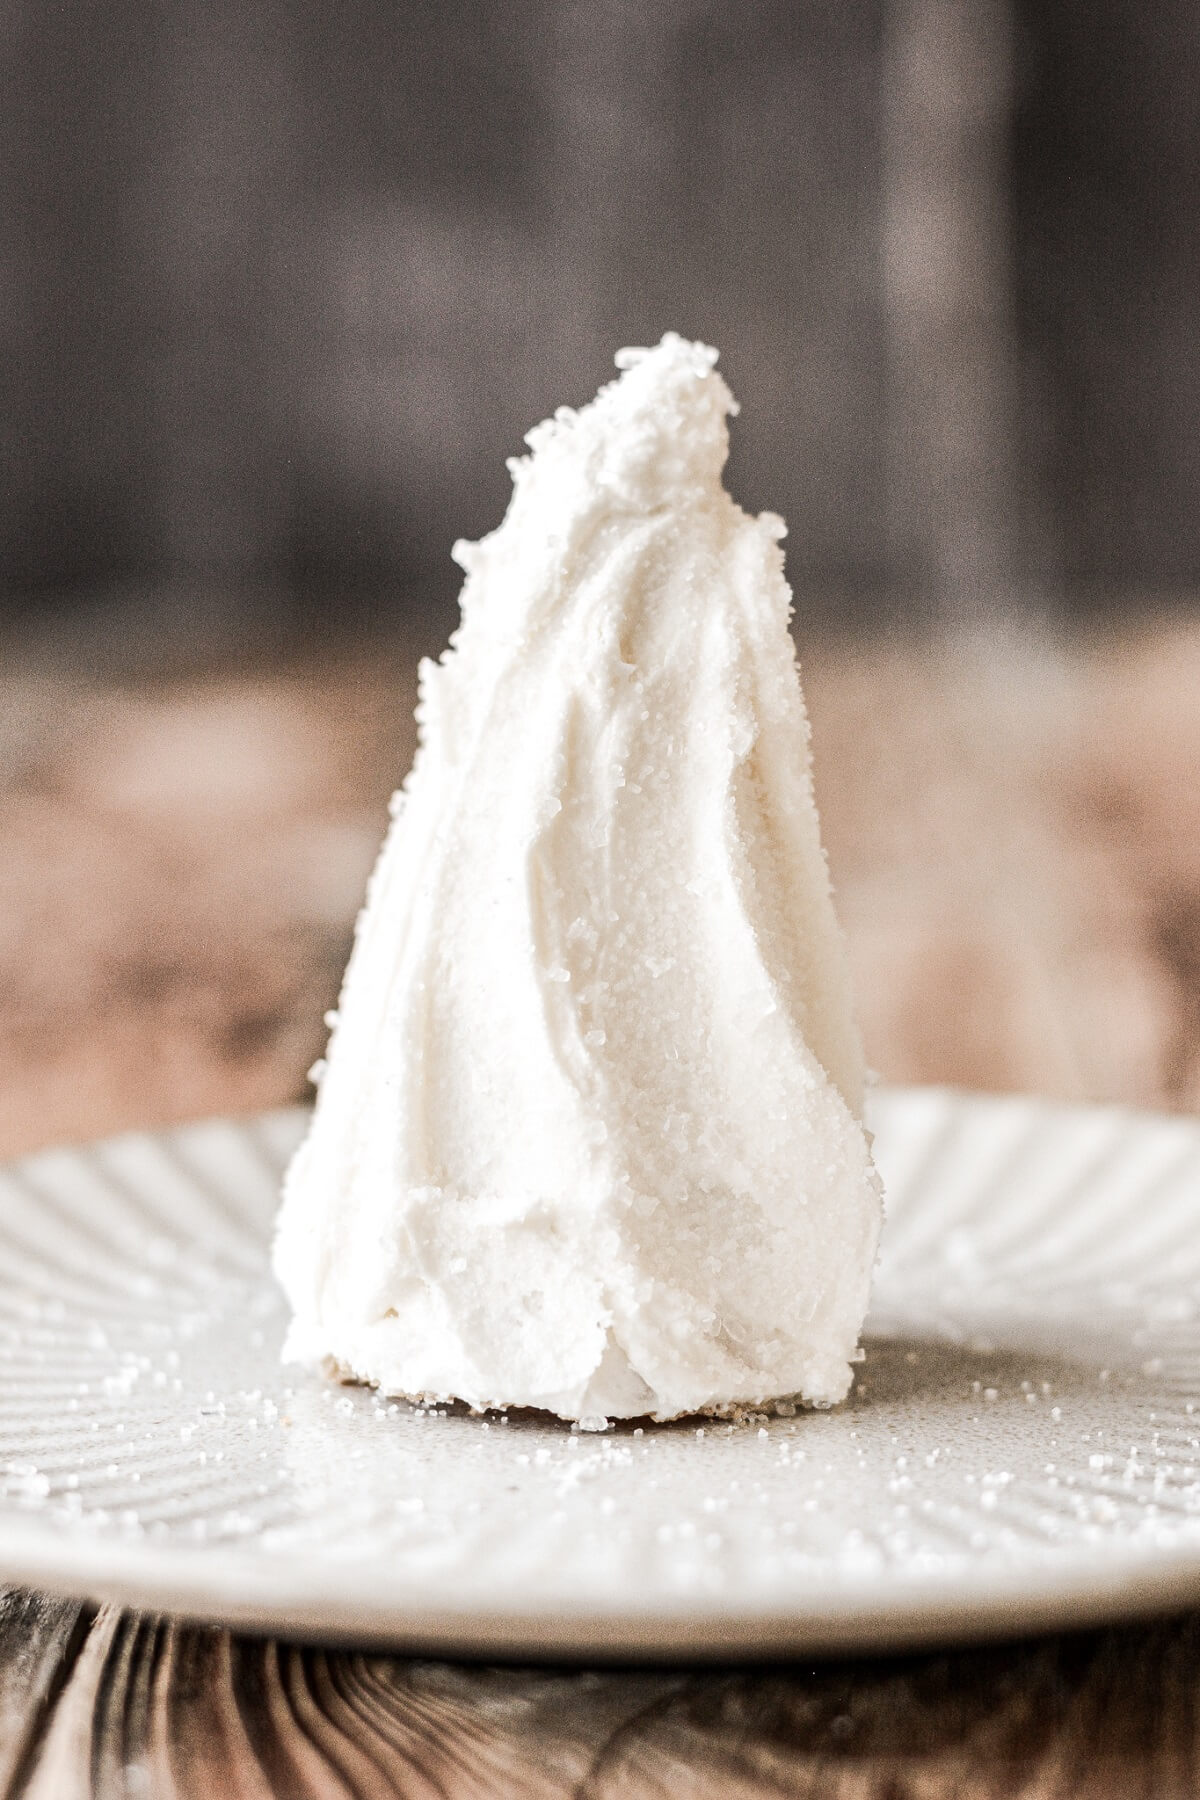
- To decorate the ice cream cones, use a small offset icing spatula to frost the cones, making the buttercream as smooth or textured as you like. Sprinkle the trees with some of the sugar mixture, or roll them in white nonpareils. You can also press larger sugar pearls into the buttercream so the trees look like they’re decorated with ornaments.
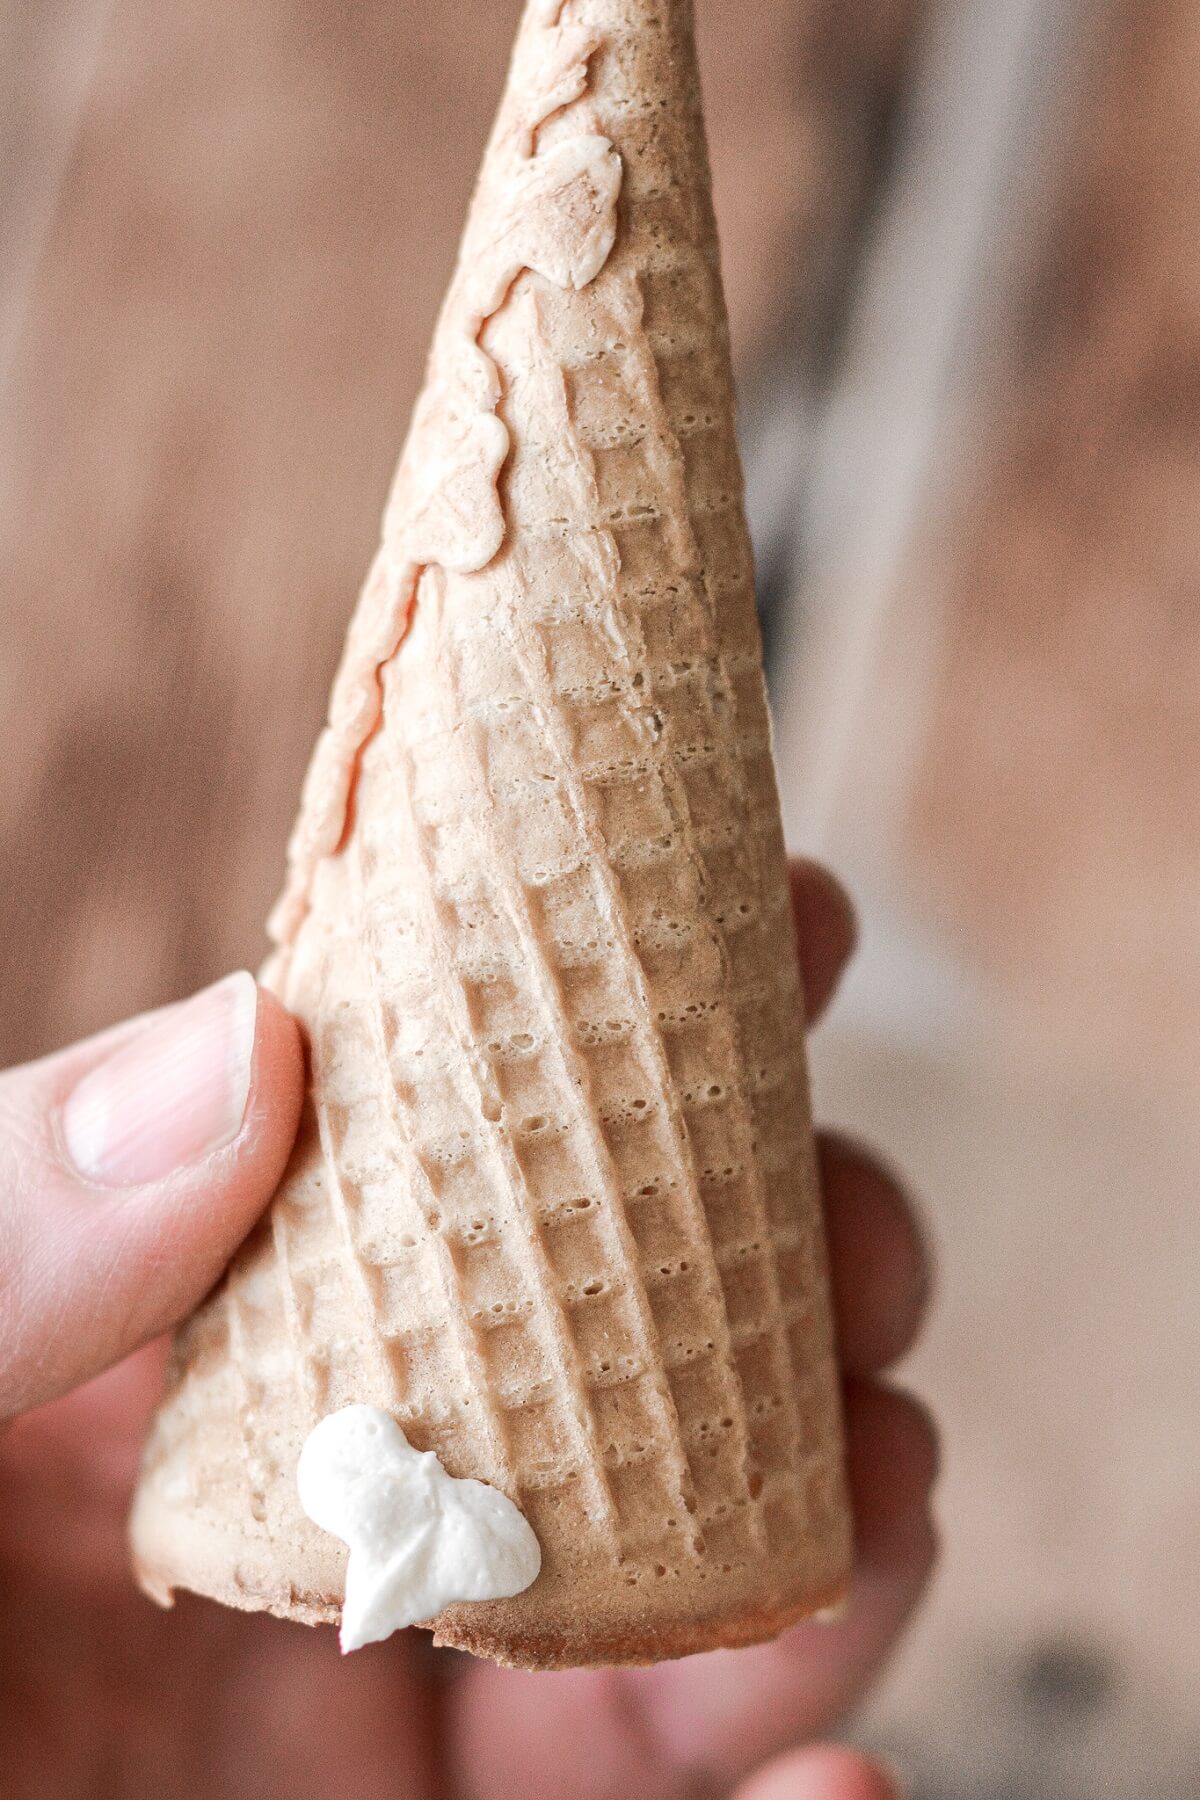
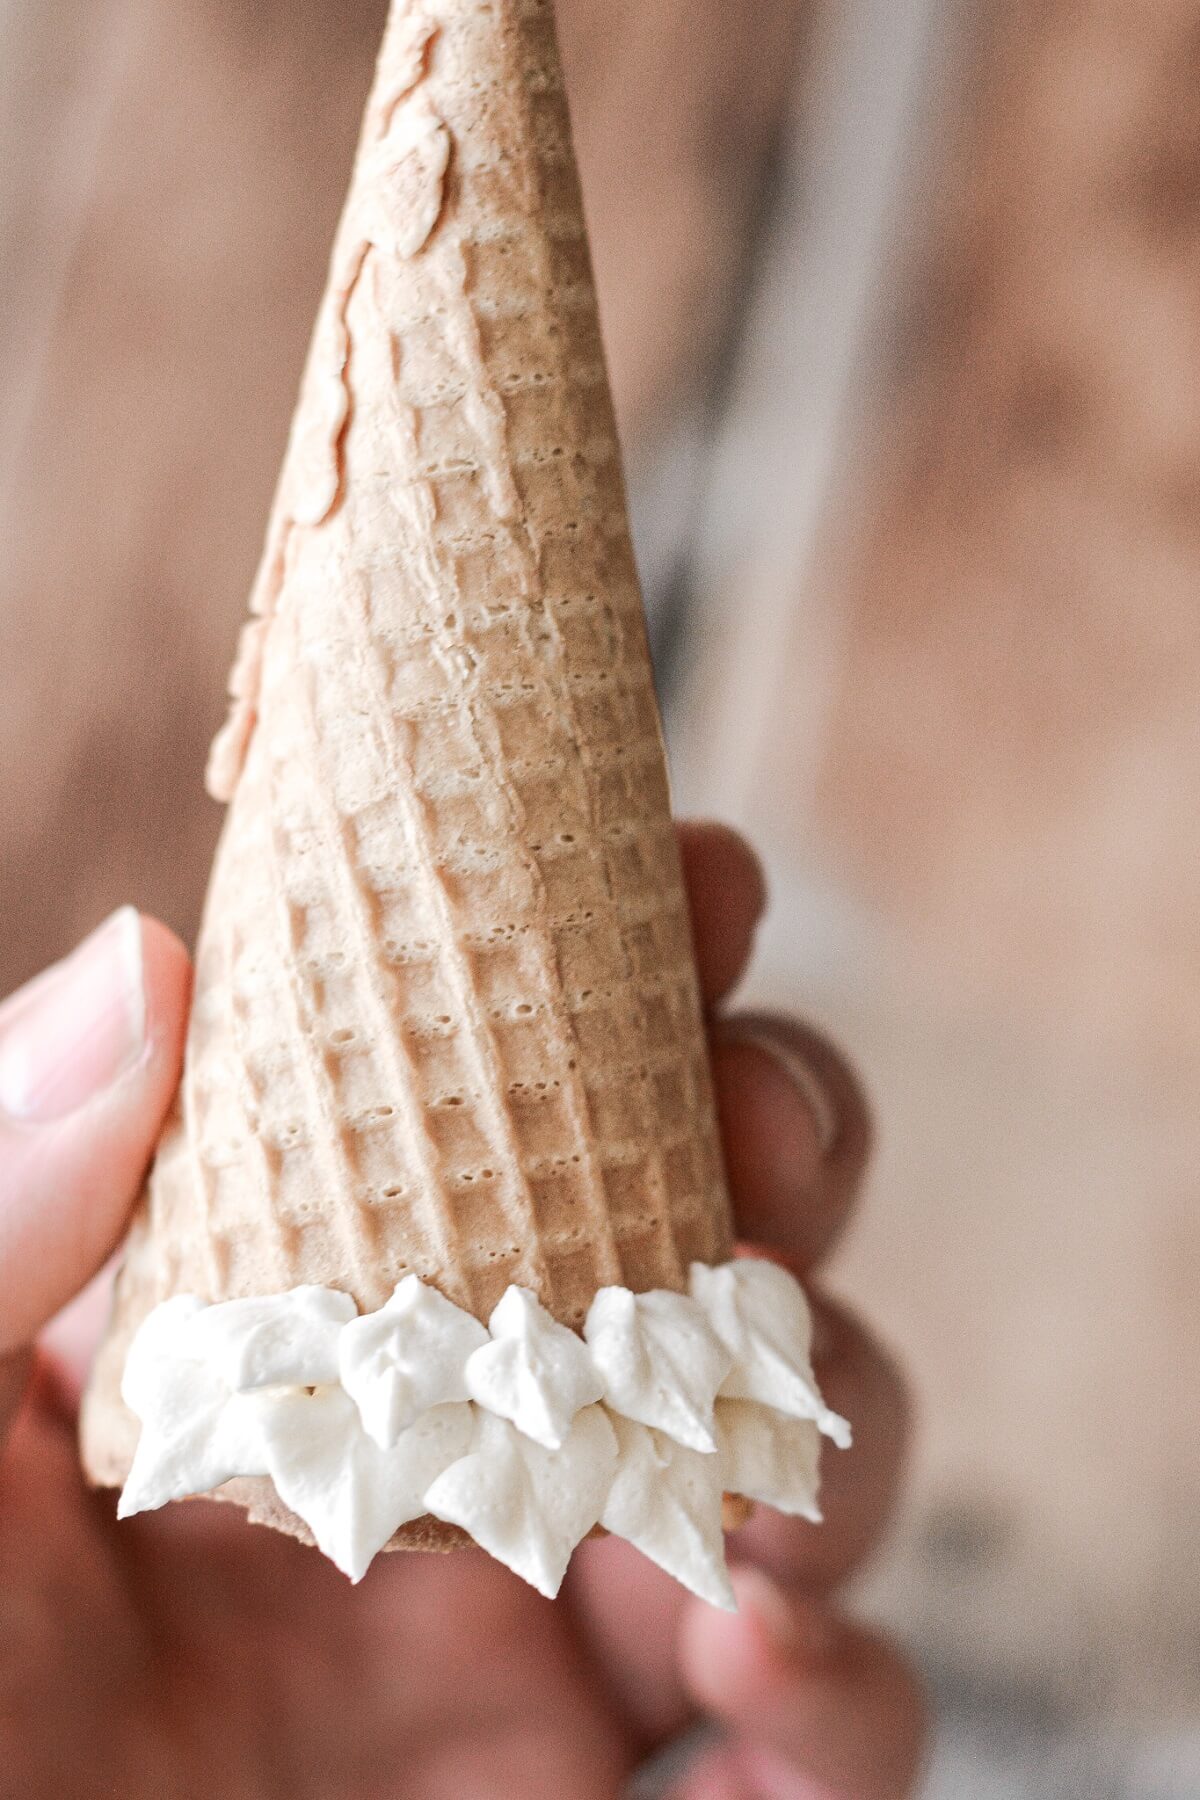
- For the piped leaves, fit a piping bag with tip #352, fill with buttercream, and pipe leaves all over the cone, starting at the bottom, and working your way up to the top.
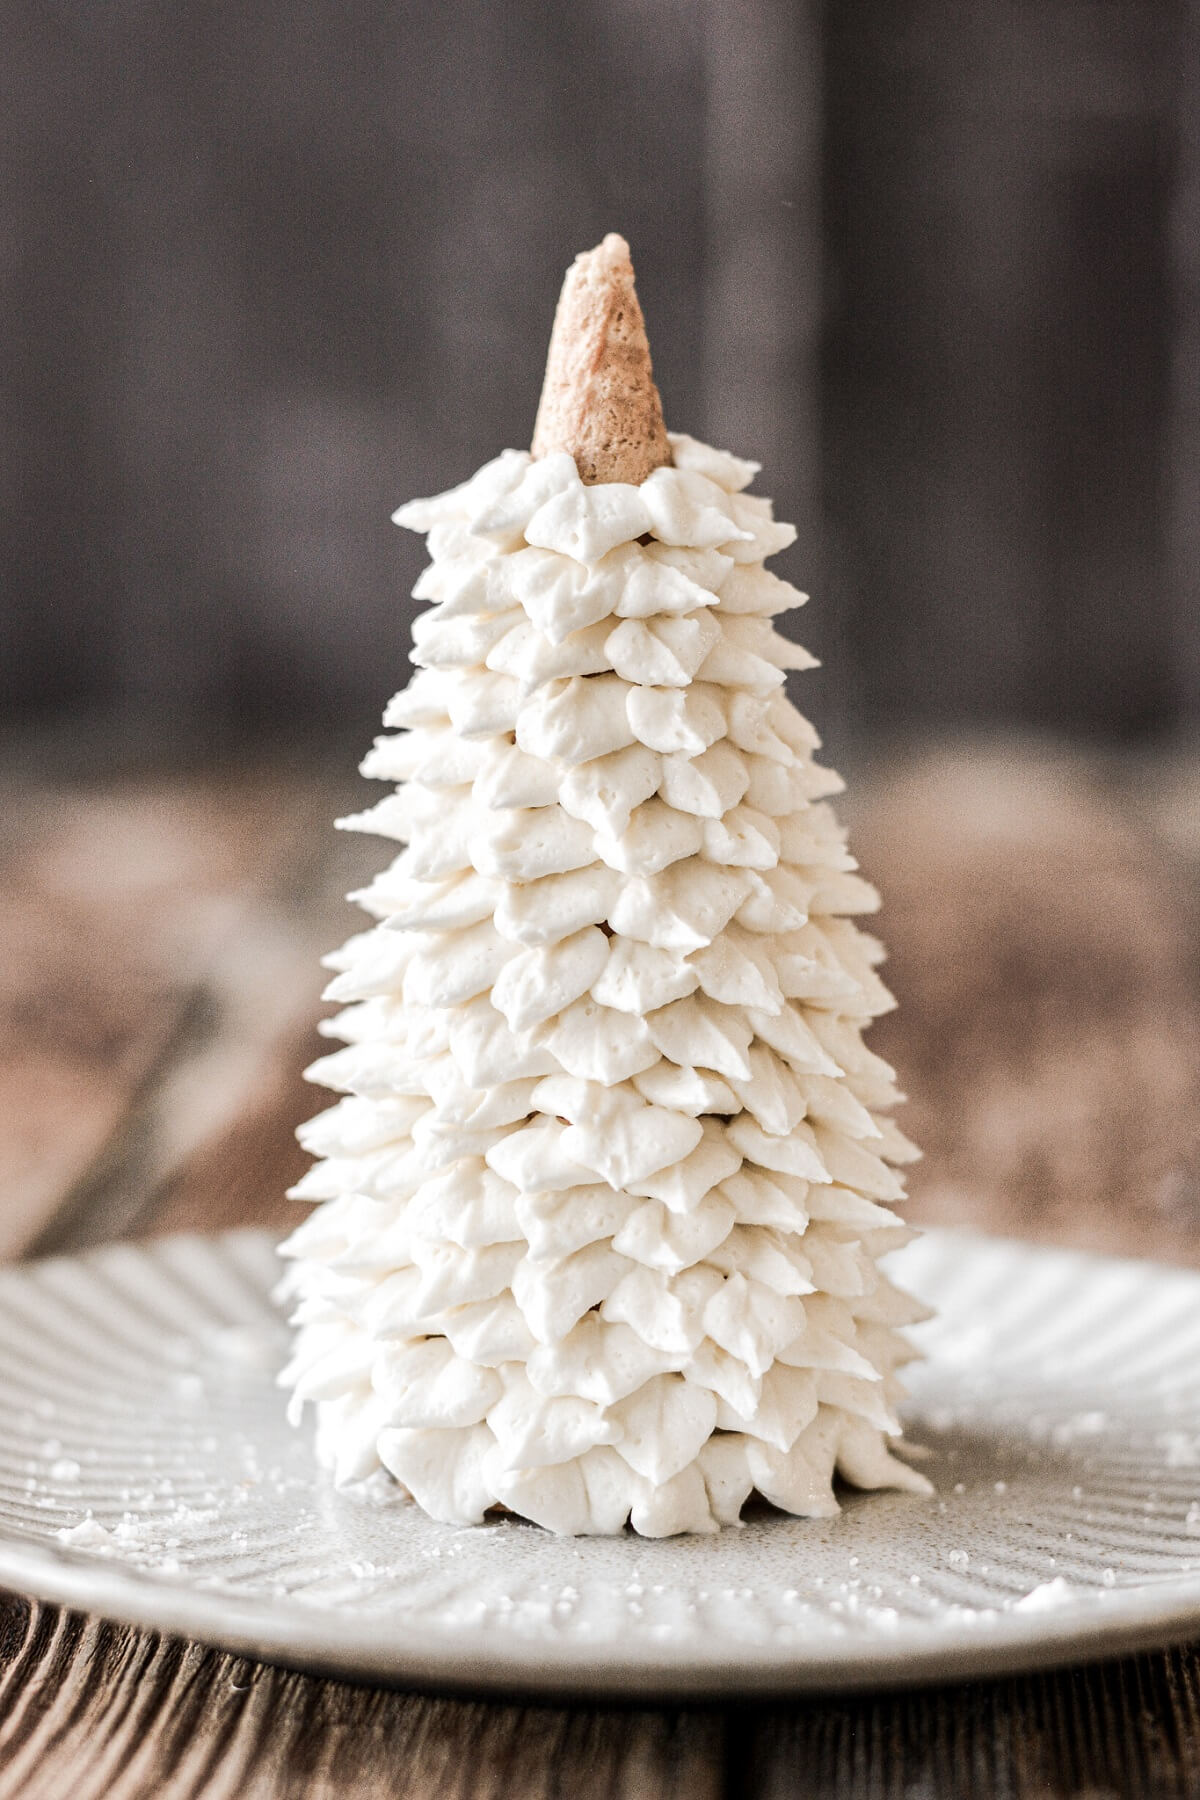
- Place your decorated ice cream cones on a plate and freeze them for 20 minutes, or until you’re ready to place them on your cake.
Be sure to read all of my BAKING FAQs where I discuss ingredients, substitutions and common questions with cake making, so that you can be successful in your own baking! I also suggest reading these comprehensive posts on making Perfect American Buttercream, How to Stack, Fill, Crumb Coat and Frost Layer Cakes and How to Use Piping Bags.
Frequently Asked Questions
How do you hold onto the ice cream cones while frosting them?
This can be a little tricky, but I just lightly held onto the bottom of the cone, or the very tip. When I got to the tip, I set the cone down on a plate, then finished frosting the tip. By freezing them after they’re frosted, it’s much easier to pick them up to place them on your cake, without ruining the buttercream.
Where do you get sparkling sugar?
You can find coarse white sparkling sugar on Amazon, or at craft stores like Michaels, Joanne’s and Hobby Lobby.
How far in advance can I make the cake and the ice cream cone trees?
You can bake and frost the cake, then freeze it in an airtight container or cake carrier for several weeks. Let thaw in the refrigerator overnight, then bring to room temperature before serving.
You can decorate the ice cream cone trees, keeping them frozen in an airtight container for 1-2 weeks. Keep frozen until you’re ready to place them on your cake.
You Might Also Like
Please check out my Amazon Shop for a curated collection of some of my favorite cake pans from trusted brands, baking tools, ingredients, pretty things and fashion finds. I recommend products that I buy and use every day!
Did you love today’s recipe? Please rate the recipe and let me know in the comments what you thought! Also, be sure to follow Curly Girl Kitchen on Instagram, and tag me when you try one of my recipes so I can see all your delicious creations!
White Christmas Cake
All recipes on Curly Girl Kitchen are developed for high altitude at 5,280 feet. See FAQs for adjusting to higher or lower elevations.

Equipment
- 12-inch Piping Bag + Coupler
- Piping Tip #352 (leaf tip)
- Small Icing Spatula
Ingredients
- 1 frosted 6-inch 3-layer cake
- ½ cup granulated sugar
- ½ cup coarse white sparkling sugar
- 3 sugar cones
- 1 cup vanilla buttercream
Instructions
- Bake, cool and frost your cake, using any recipe or flavor you like. I used 1/2 the recipe for my vanilla cake to make a 6-inch 3-layer cake. The full recipe will make an 8-inch 3-layer cake.For the buttercream, I recommend American Buttercream, using half shortening and half butter for a nice white color.
- In a bowl, combine the granulated sugar and coarse sparkling sugar. Before the buttercream on the cake crusts over, scatter sugar over the top and sides of the cake. You can use your hand or a pastry brush to scoop up the sugar and gently press it against the sides of the cake, gathering up what falls off to use again.
- If you want the ice cream cone trees to be different heights, you'll need to use your fingers to gently break pieces off two of the cones to shorten them, so you have one tall, one medium and one short tree. Don't try to cut them shorter with a knife, as this will just break and crush the cones.
- To decorate the ice cream cones, use a small offset icing spatula to frost the cones, making the buttercream as smooth or textured as you like. Sprinkle the trees with some of the sugar mixture, or roll them in white nonpareils. You can also press larger sugar pearls into the buttercream so the trees look like they're decorated with ornaments.For the piped leaves, fit a piping bag with tip #352, fill with buttercream, and pipe leaves all over the cone, starting at the bottom, and working your way up to the top.
- Place your decorated ice cream cones on a plate and freeze them for 20 minutes, or until you're ready to place them on your cake.
 https://curlygirlkitchen.com/
Leave a Reply